Scotch Eggs are one of my favorite brunch foods. They have it all! An egg, sausage, and a crunchy coating. Not to mention that they are beautiful on a plate. Now that I can make these in my Air Fryer, they are a staple in our house!
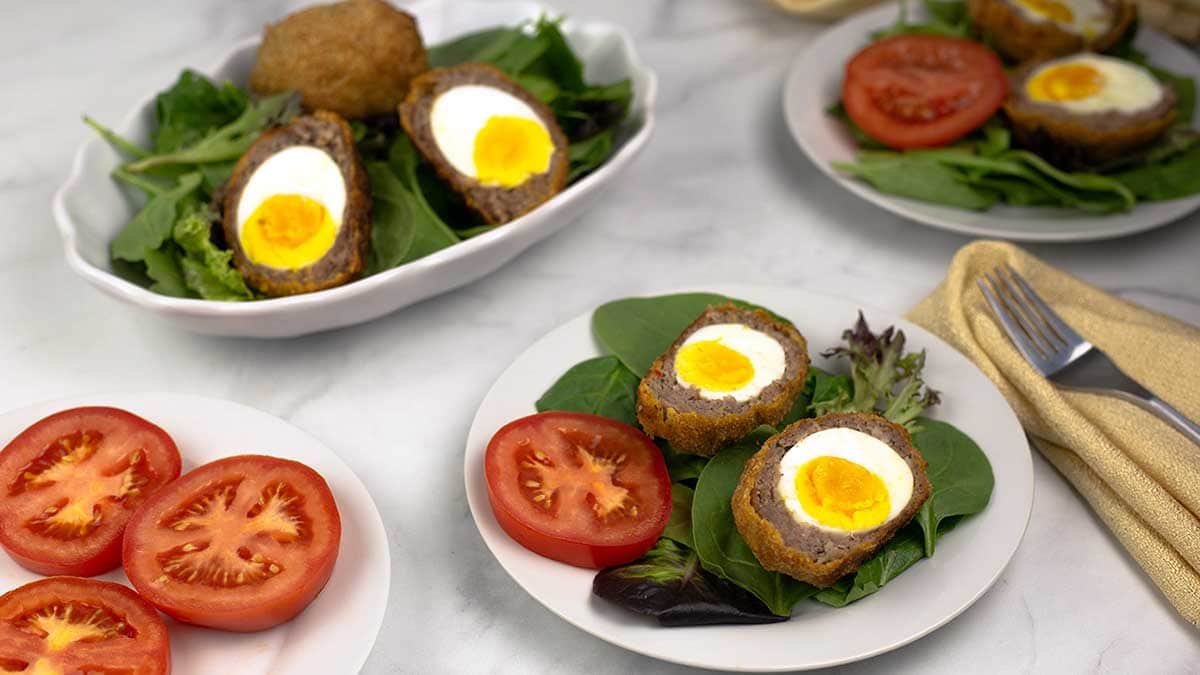
I used to order the Scotch Eggs from a local restaurant every time I went there, then they closed and I never see them on the menu anywhere else. I've always wondered why they aren't more popular because they are absolutely delicious!
I have to be honest here and tell you that I never even attempted to make them at home because they seem so complicated. I also don't like deep frying, so I just went without.
This post may contain affiliate links. If you make a purchase after clicking a link, I may earn a small commission. As an Amazon Associate, I earn from qualifying purchases.
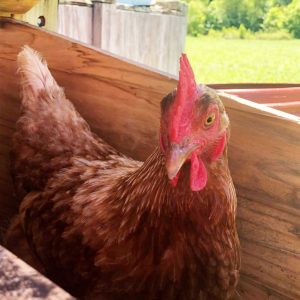
One day I was looking at the surplus of eggs that our wonderful chickens supply us with and I had two brats left over from a recipe for Bangers & Mash in the Ninja Foodi, so, it made sense to give Air-Fryer Scotch Eggs a try. I was quite nervous.
How was I going to get a soft, even runny, yolk with the whites set enough to wrap in sausage? Trial and error! I tried and I failed... several times. Then, it all fell into place and I made Scotch Eggs in the Ninja Foodi that were BETTER than the ones I used to get a the restaurant. I kid you not!
One little funny story before we get into how to make Air-Fryer Scotch Eggs in the Ninja Foodi. Jeff literally turned his nose up at these Scotch Eggs the first time I made them. I forced him to eat one and the look on his face was priceless. He despised them.
He looked like a little kid that was forced to eat peas or something like that. It was so funny, but also very helpful. See, I was just starting to test the recipe and the one I gave him was just an egg wrapped in sausage and coated in breadcrumbs. Kind of boring.
So, I asked him... what do they need to taste like for you to like them? He said, well, they could have a touch of maple flavor or something like that. Okay. Then he said, but don't worry about what I like because I'm never going to like Scotch Eggs. Okay. Challenge on!
Fast forward a few weeks and I'm making them again, this time with my special touches. Jeff is less than enthused to try another one, but I'm his wife and I made him. The look on his face after one bite, was again priceless... but, this time it was the sheer look of joy!
He ate the entire thing and was smiling like he was a kid who just ate an ice cream cone! Mission accomplished! Jeff LOVES these Air-Fryer Scotch Eggs and so will you!
Now, let's get to the important stuff.
What are Scotch Eggs?
Simply put, Scotch Eggs are a soft- or hard-boiled egg that is encased in sausage, dipped in breadcrumbs and deep fried or baked.
They are more popular in the UK than they are in the US, but you can find them on pub menus in the US, as well as at some festivals.
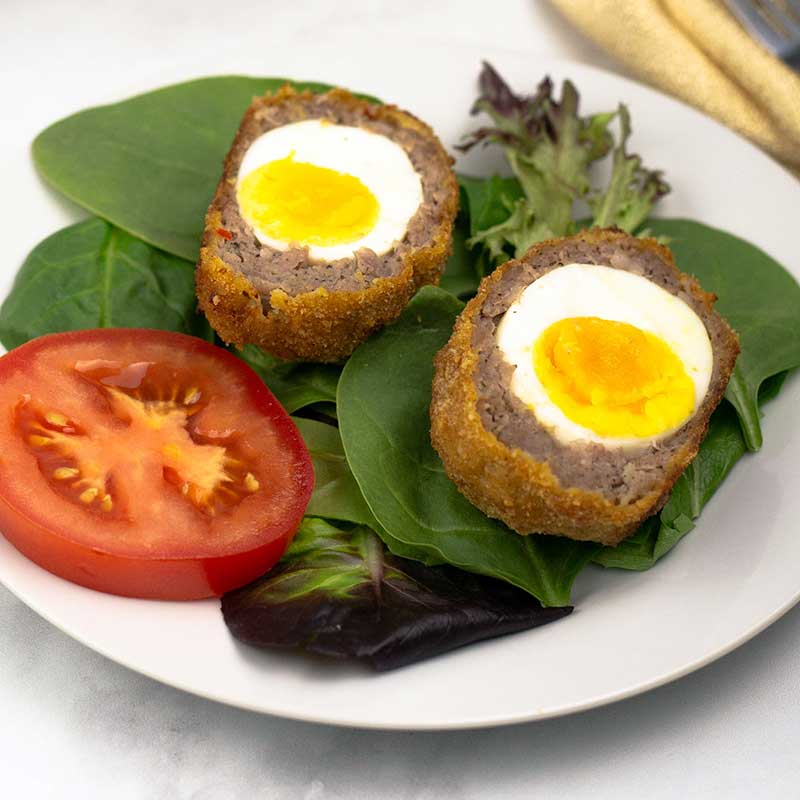
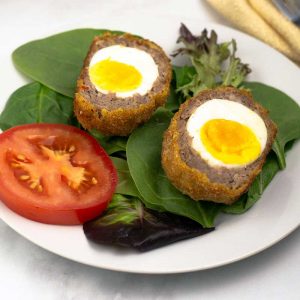
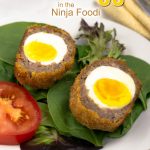
I've seen them mostly served as an appetizer in the US, and it's quite surprising to me that they don't show up on more brunch menus. They are wonderful on a bed of greens with ripe sliced tomato and served with a sauce.
What Type of Sausage Should I use?
You can use any kind of breakfast sausage or brats or even Italian sausage. I've made them with both brats and breakfast sausage, so I'll give you my opinion on those two.
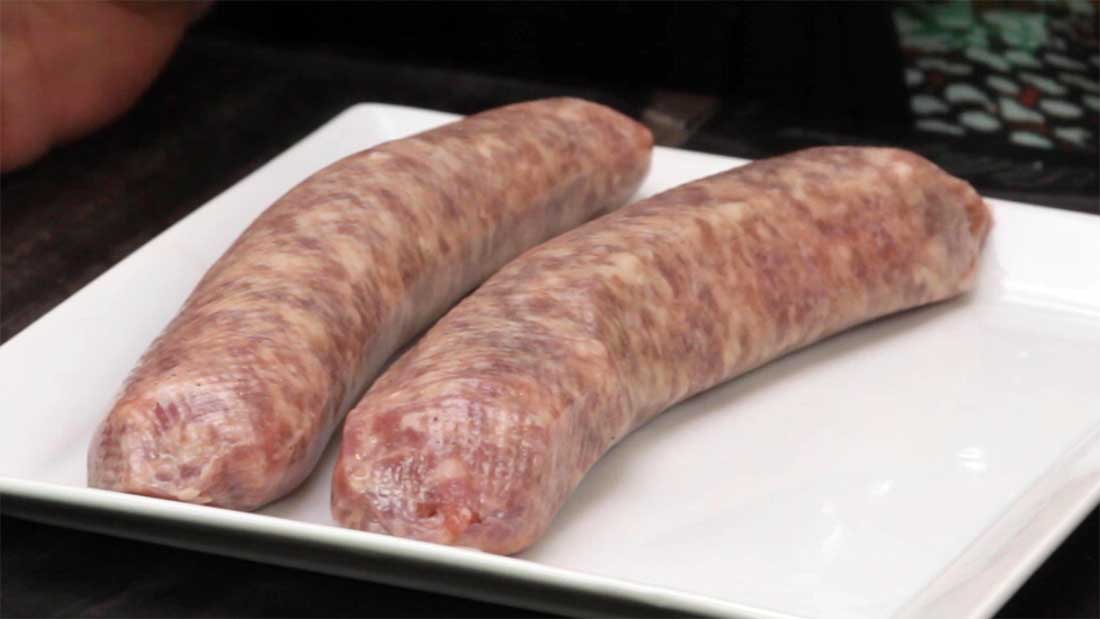
I have to say I enjoyed the flavor of the brats a little more but they were a little harder to form the sausage around the egg. The brats I used where from Sam's Club and they come in a casing. I removed the casing and flattened 2 ounces into a round that I then wrapped around the egg.
It took a little time and patience, but it was worth it!
When I went to take a photo of the Scotch Eggs, my brats were frozen and I had some breakfast sausage (the kind not in a casing) that I need to use, so I made a batch with it.
They were much easier to form the sausage around the egg when I used breakfast sausage, but I found the spices in the breakfast sausage to be a bit much. They overpowered the other flavors that I added to the egg mixture and the breadcrumbs.
All in all, they were both good and it is completely up to you on which sausage you use.
I will say that my eggs were a little more done when I used the breakfast sausage, so that could have helped with forming the sausage around the egg.
What is the Best Timing for Cooking the Eggs?
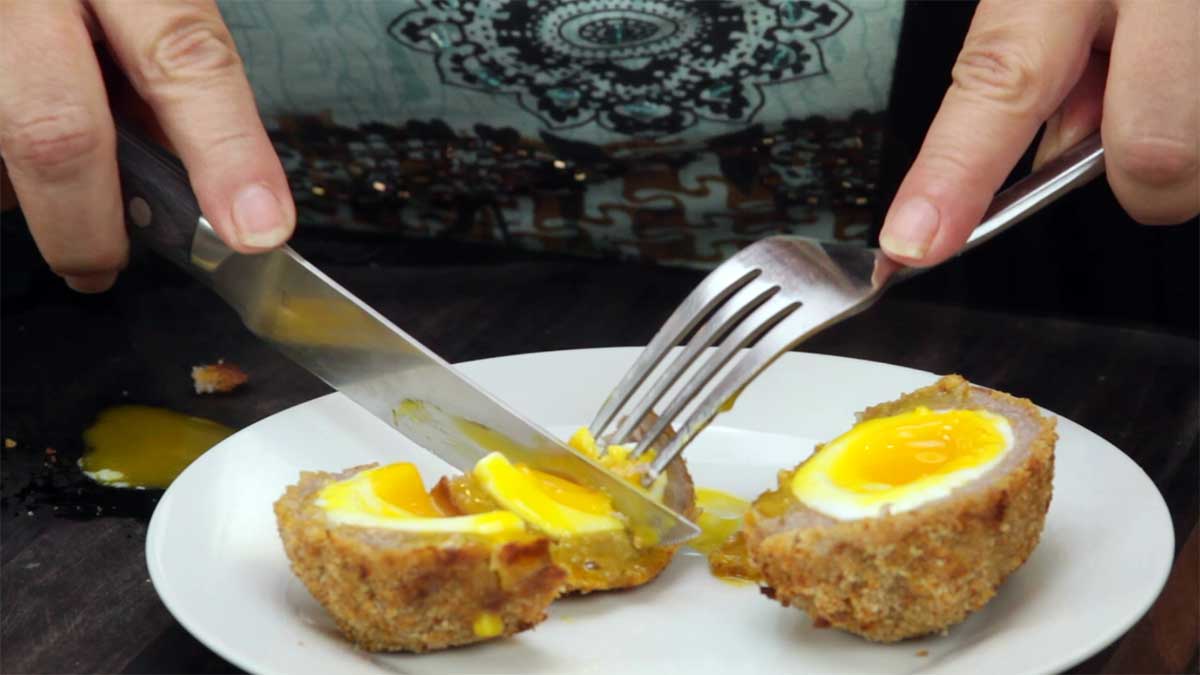
This depends on how you want your yolks. My goal was to have a runny yolk and I achieved that in the video.
However, when I made the batch for the picture, my eggs were more set even though I cooked them the same amount of time. So, I've learned a lot about cooking eggs for Scotch Eggs and I'll go over everything so you can best choose the cook time for the doneness of the yolk that you like.
For a soft, runny yolk:
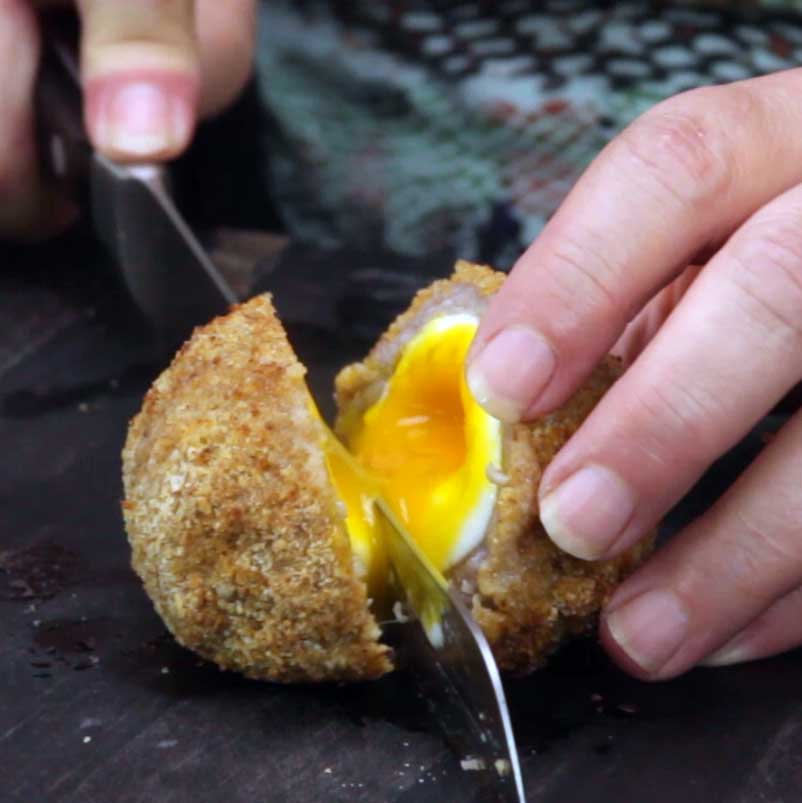
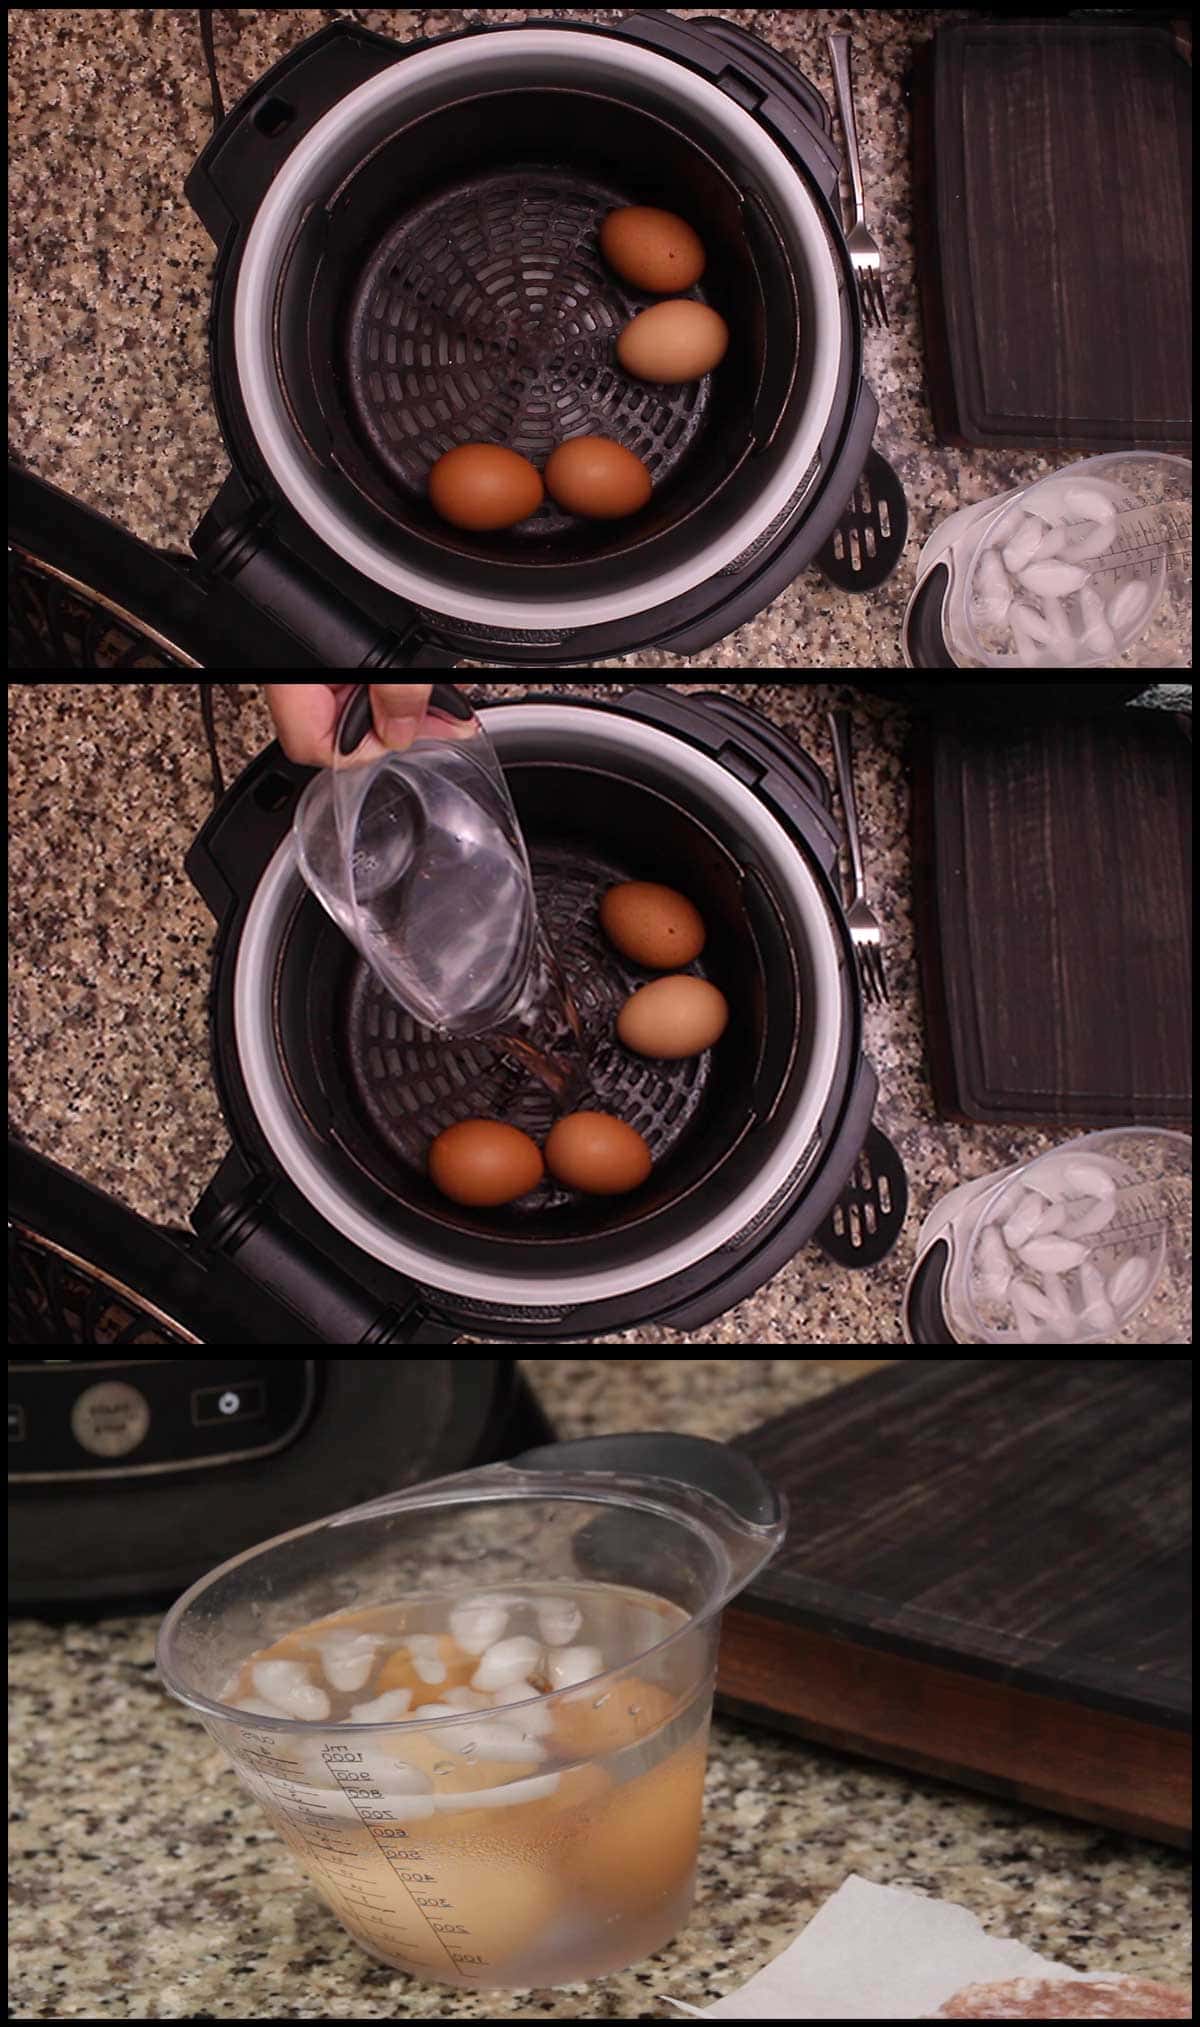
Start with COLD eggs and use large eggs. Use 1 cup of COLD water from the sink. Pressure cook on high with the eggs in the basket for 2 minutes and then immediately release the pressure.
Place the eggs right into an ice bath and leave them there for just a few minutes. They should feel warm when you remove them.
Peel very carefully because they don't have the same structure as a hard boiled egg. I suggest making a few more than you need because they do break open on occasion.
For a soft, but set yolk:
Start with COLD eggs and use large eggs. Use 1 cup of COLD water from the sink. Pressure cook on high with the eggs in the basket for 2 minutes and then immediately release the pressure.
Place the eggs right into an ice bath and leave them there for 10 minutes. They should feel cool to touch when you remove them.
They peel easier because there is more structure on the inside of the egg.
For a firm, set yolk:
It doesn't matter if you use cold or room temp eggs if you want a firm yolk like that of a hard boiled egg.
Use 1 cup of cold water from the sink. Pressure cook on high for 3 minutes and then immediately release the pressure.
Place the eggs into an ice bath for 10 minutes.
You can PC them longer or use hard boiled eggs that you have on hand, but keep in mind that the egg will cook a little more during the air-frying time.
How Can I Make Keto Scotch Eggs?
This recipe is very easy to make Keto friendly!
Omit the maple syrup and maple sugar. You can use a sugar substitute if you want or just leave it out altogether.
Use crushed pork rinds for the breading instead of breadcrumbs.
You can even use a combination of almond flour and crushed pork rinds for the breading. I suggest 2 parts pork rinds to 1 part almond flour.
If you don't want any breading, just skip it and the outer shell will be the sausage.
The assembly and cooking instructions stay the same. Enjoy!
Tips for Making Air-Fryer Scotch Eggs
After making 5 or 6 different batches of these Scotch Eggs, I've learned a few tips.
- Keep your eggs cold unless you want fully cooked yolks.
- Take your sausage out about the time you put the eggs in to cook.
- Don't leave your eggs in the ice bath more than 5 minutes if you want runny yolks.
- Leave your eggs in the ice bath for a full 10 minutes if you want creamy yolks that aren't runny.
- Put 6 eggs in the pressure cooker instead of 4 to have a little backup plan if one breaks.
- Preheat for a full 10 minutes with the air fryer basket in.
- Take your time peeling the eggs, they don't peel as easy as pressure cooked hard boiled eggs.
- Be patient when wrapping the sausage around the eggs, especially when they are soft boiled. It will work, but at first you might feel like throwing the egg across the room. Patience.
- Don't worry if they aren't perfect, they will taste amazing and practice makes perfect.
How to Make Air-Fryer Scotch Eggs in the Ninja Foodi Grill
I tested this recipe in both the Ninja Foodi Pressure Cooker & Air Crisper and the Ninja Foodi Indoor Grill and the Air Frying Instructions are exactly the same.
The only difference is you can't pressure cook in the Indoor Grill so you will have to cook your eggs the way you usually do. Just keep in mind that you want to cook them for less time than you would for hard boiled if you want a nice creamy yolk.
If you have an Instant Pot or a Ninja Foodi Pressure Cooker, you can follow the same instructions listed below and once assembled use the Ninja Foodi Indoor Grill to Air Fry them.
You will want to use the air fry basket that comes with the grill and make sure to allow the Ninja Foodi Indoor Grill to preheat until it says "add food."
The temperature and cook time are the same as in the recipe.
How to Make Air-Fryer Scotch Eggs in the Ninja Foodi Pressure Cooker & Air Crisper
Place 1 cup of cold tap water into the inner pot of the Ninja Foodi and put the basket in. Place the eggs in the basket and put on the pressure lid. Close the seal in the back and set the pressure to high for 2 minutes.
*I suggest adding 1-2 more eggs to the basket in case on breaks while pressure cooking or you break one when wrapping them.
When the time is up, immediately release the pressure and place the eggs into an ice bath for 3-5 minutes.
While the eggs are cooking, mix up your dry breading and your egg mixture. In the video I doubled the amounts in each to have more depth, but the recipe is written just with what you will need.
I suggest using a deep bowl that is about 4-6" in diameter if you have one. That way the eggs get coated fairly easily.
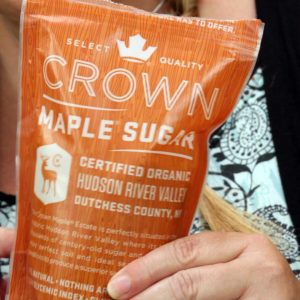
I used a(affiliate link) maple sugar in this recipe and it is the one ingredient that I really think takes these Air-Fryer Scotch Eggs to the next level. If you haven't heard of it or used it before, look for it in the grocery store the next time you go. It is wonderful on oatmeal, yogurt with granola, and any other time you want a hint of sweet maple. It would also be really great in BBQ Rubs. There are several different brands, but the one I use is from Crown.
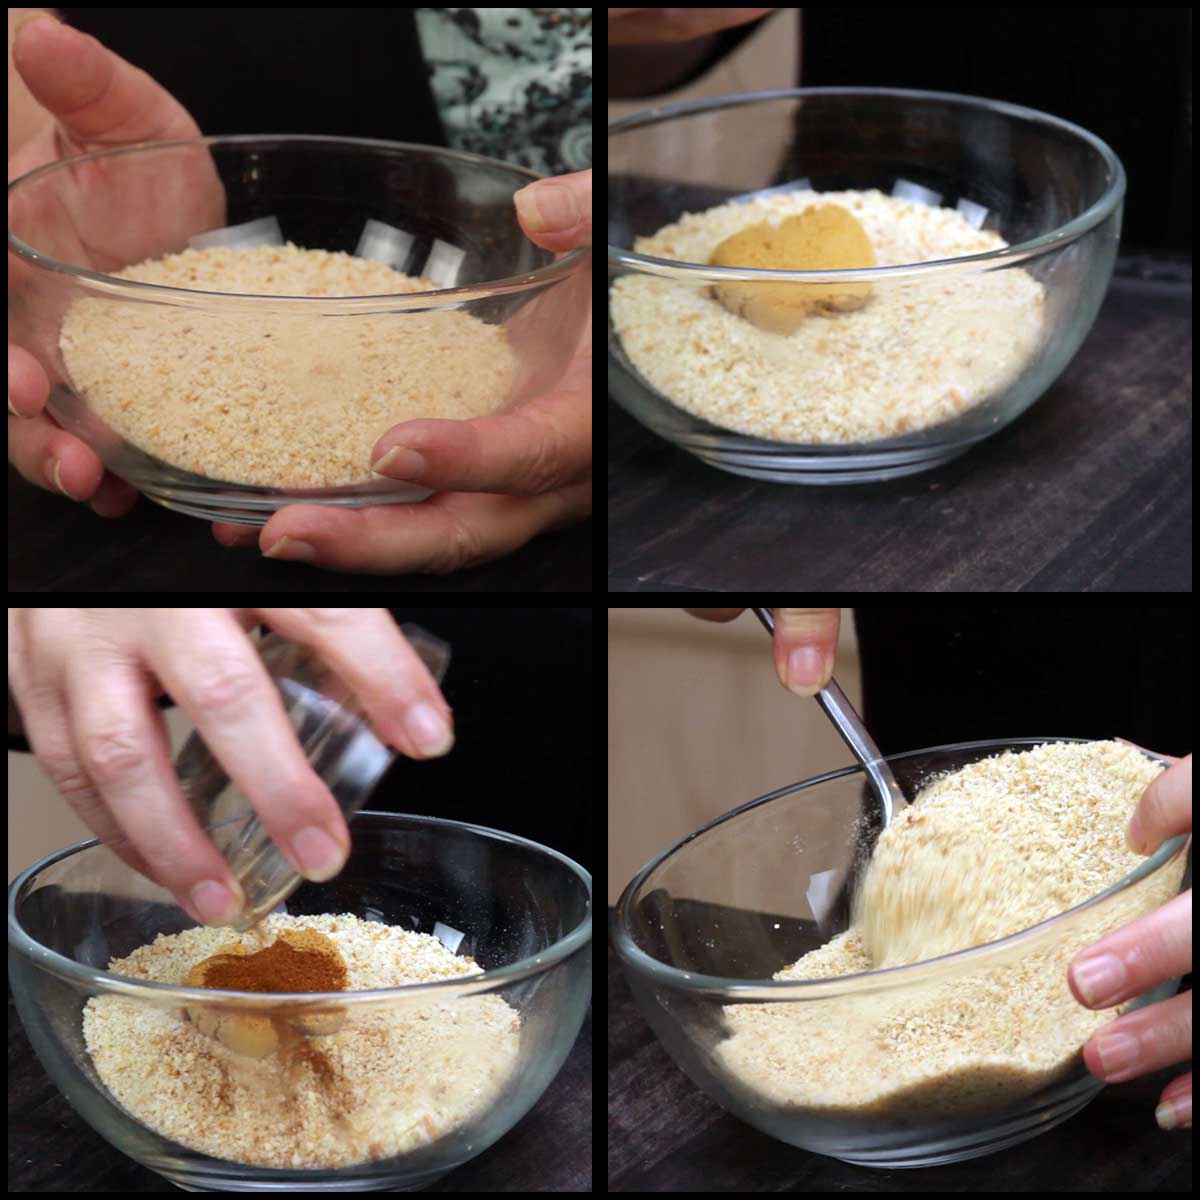
Combine the breadcrumbs, maple sugar, and chipotle in a bowl and mix well. You can certainly omit the sugar or use brown sugar or even white sugar instead. If you don't have chipotle or don't want any spice, try using smoked paprika for a touch of smoky flavor.
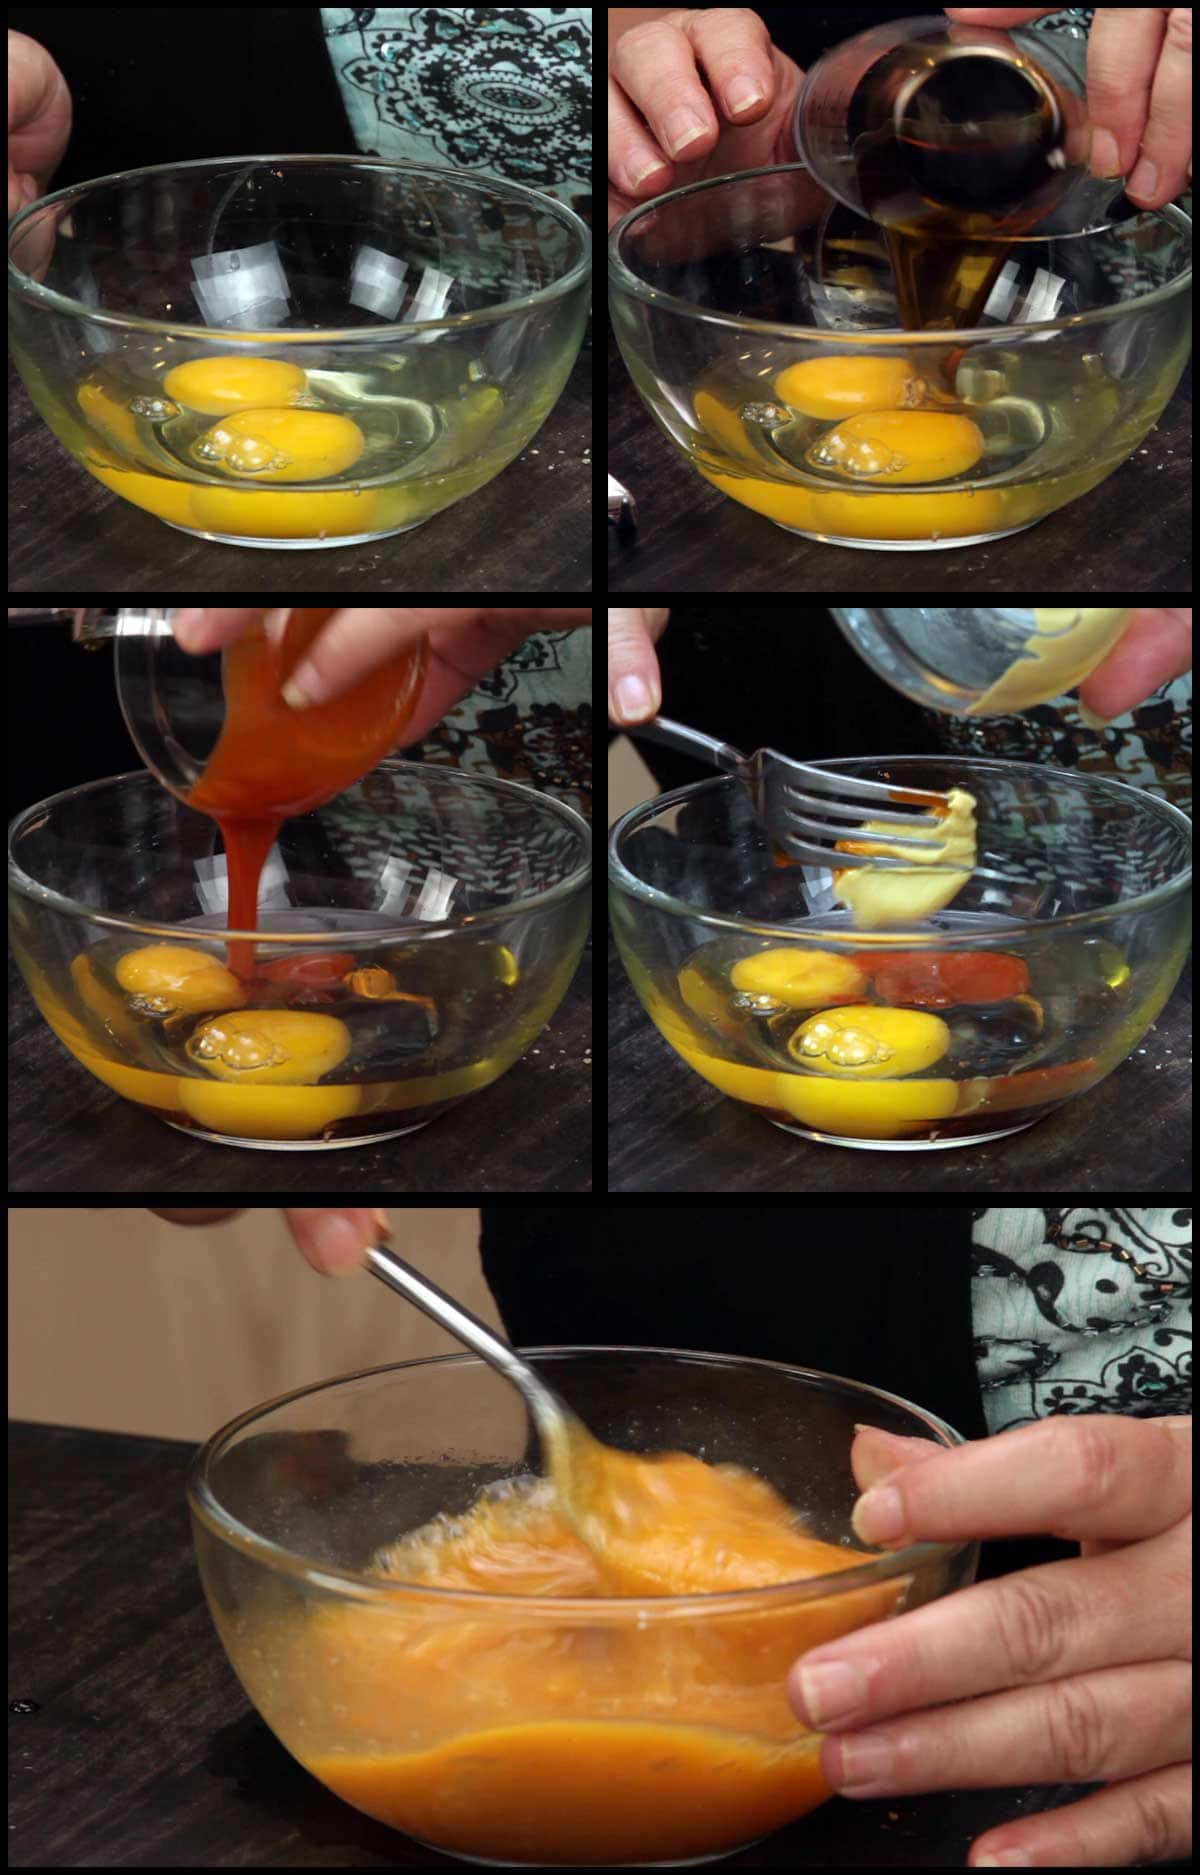
Combine the eggs, maple syrup, mustard, and hot sauce into a second deep bowl and whisk to combine. You can skip the maple syrup or use a breakfast syrup. You can double the hot sauce and mustard or skip it altogether. I found this combination of ingredients really worked so well together, so I do hope you try it!
Once the eggs have been in the ice bath 3-5 minutes, remove one at a time and begin to crack and peel. This takes a little patience, because, if the eggs are only soft boiled, the egg structure is pretty flimsy and they can break easily.
Here is a short video on how I peeled mine.
Once your eggs are peeled, it's time to preheat the Ninja Foodi or whatever air fryer you are using. I preheat on broil for 10 minutes with the basket in. If you aren't using the Ninja Foodi, preheat on the highest setting.
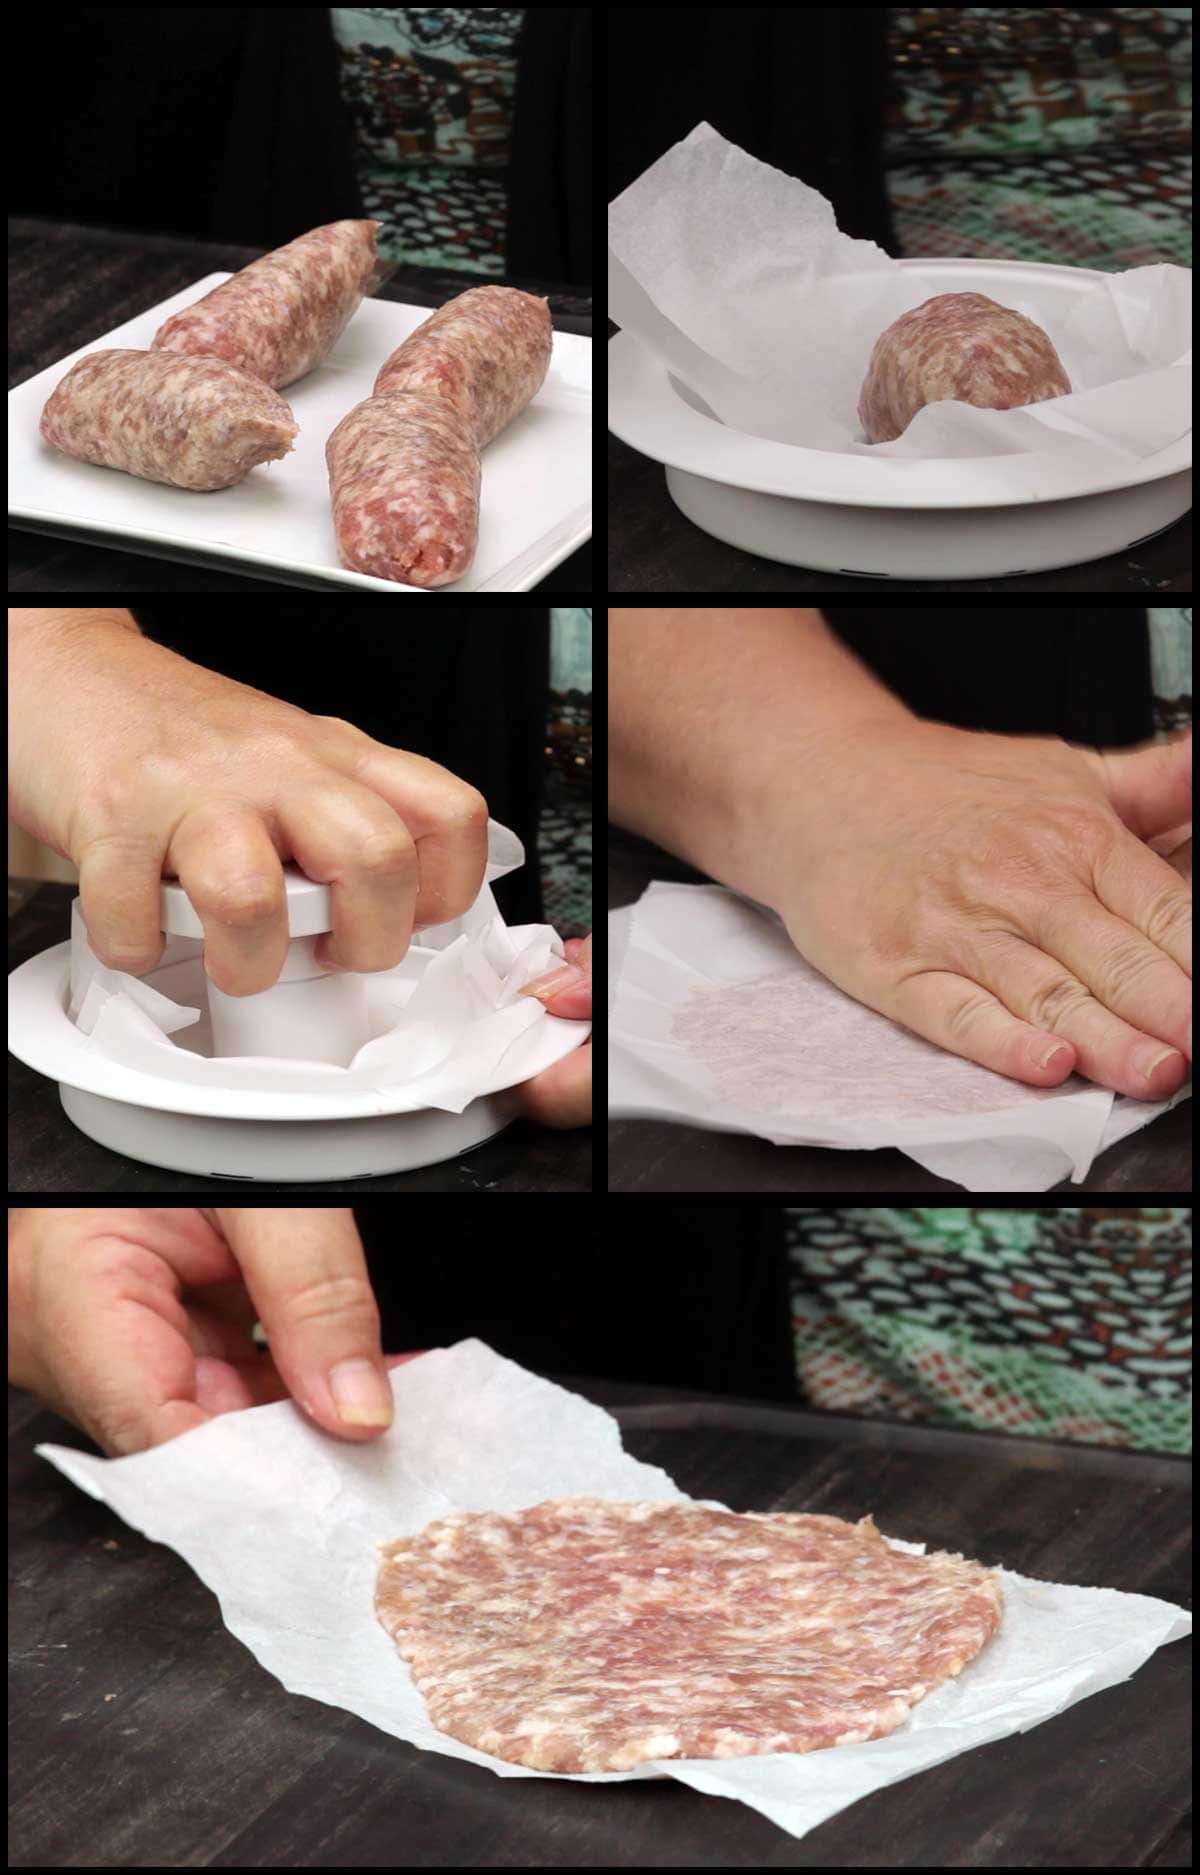
Take 2 ounces of sausage (remove the casing if there is one) and roll it into a ball. Place the ball between two pieces of parchment paper and press to form a circle about 5" in diameter and about ¼" thick.
I used my (affiliate link)Burger Press from Pampered Chef and it worked great. You can also use the flat side of a (affiliate link)meat tenderizer or simply use your hands to flatten out the sausage.
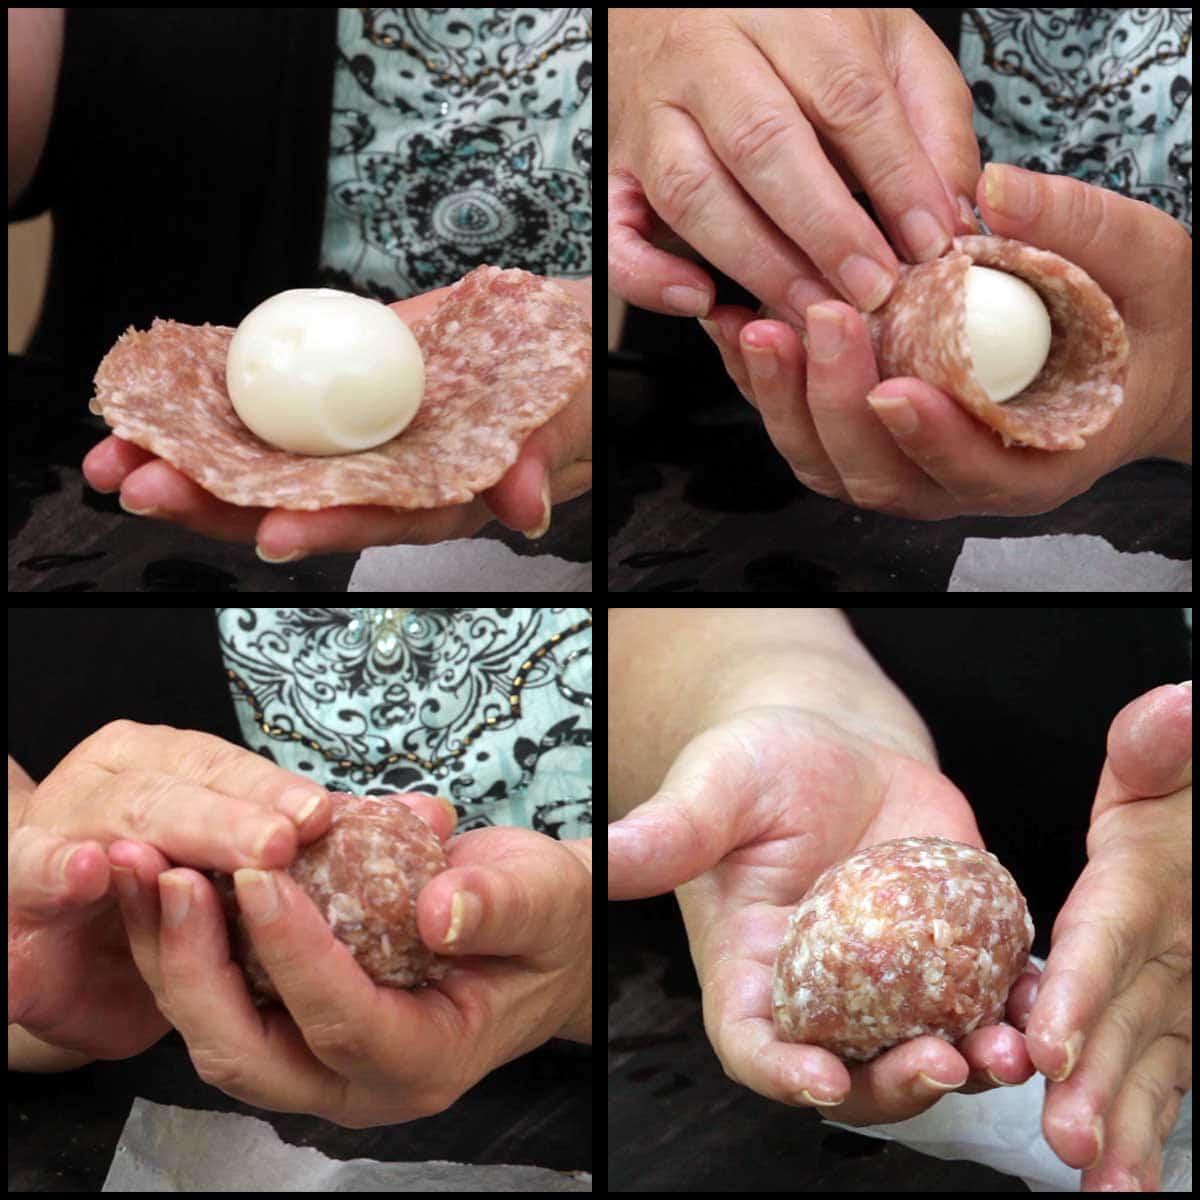
Okay, now to wrap the eggs. This is easy, but it can take some time. Be patient and don't get frustrated, it does work out. The first time I made these, I wanted to throw the egg across the room because the sausage kept tearing. I almost gave up, but then thought... no, just figure out a better way to do it, and that's what I'm going to share with you.
Place the flattened sausage in the palm of your hand with the parchment paper facing up. Remove the parchment and place the egg in the middle of the sausage.
Cup the egg and the sausage in your hand while you gently pull the sausage up and over the top of the egg. As the sausage warms in your hand, it wraps more easily.
Gently smooth the sausage so there are no cracks or tears. Place the wrapped egg on parchment. Repeat until all the eggs are encased in sausage.
*If the Ninja Foodi finished it's 10 minute preheat during the time it took to wrap the eggs, just turn it back on broil until you are done.
Okay, the hardest part is over, it's smooth sailing from here on. Dip the sausage encased egg in the egg mixture, and then coat in the breadcrumbs. Repeat this again for each egg, so you double coat it.
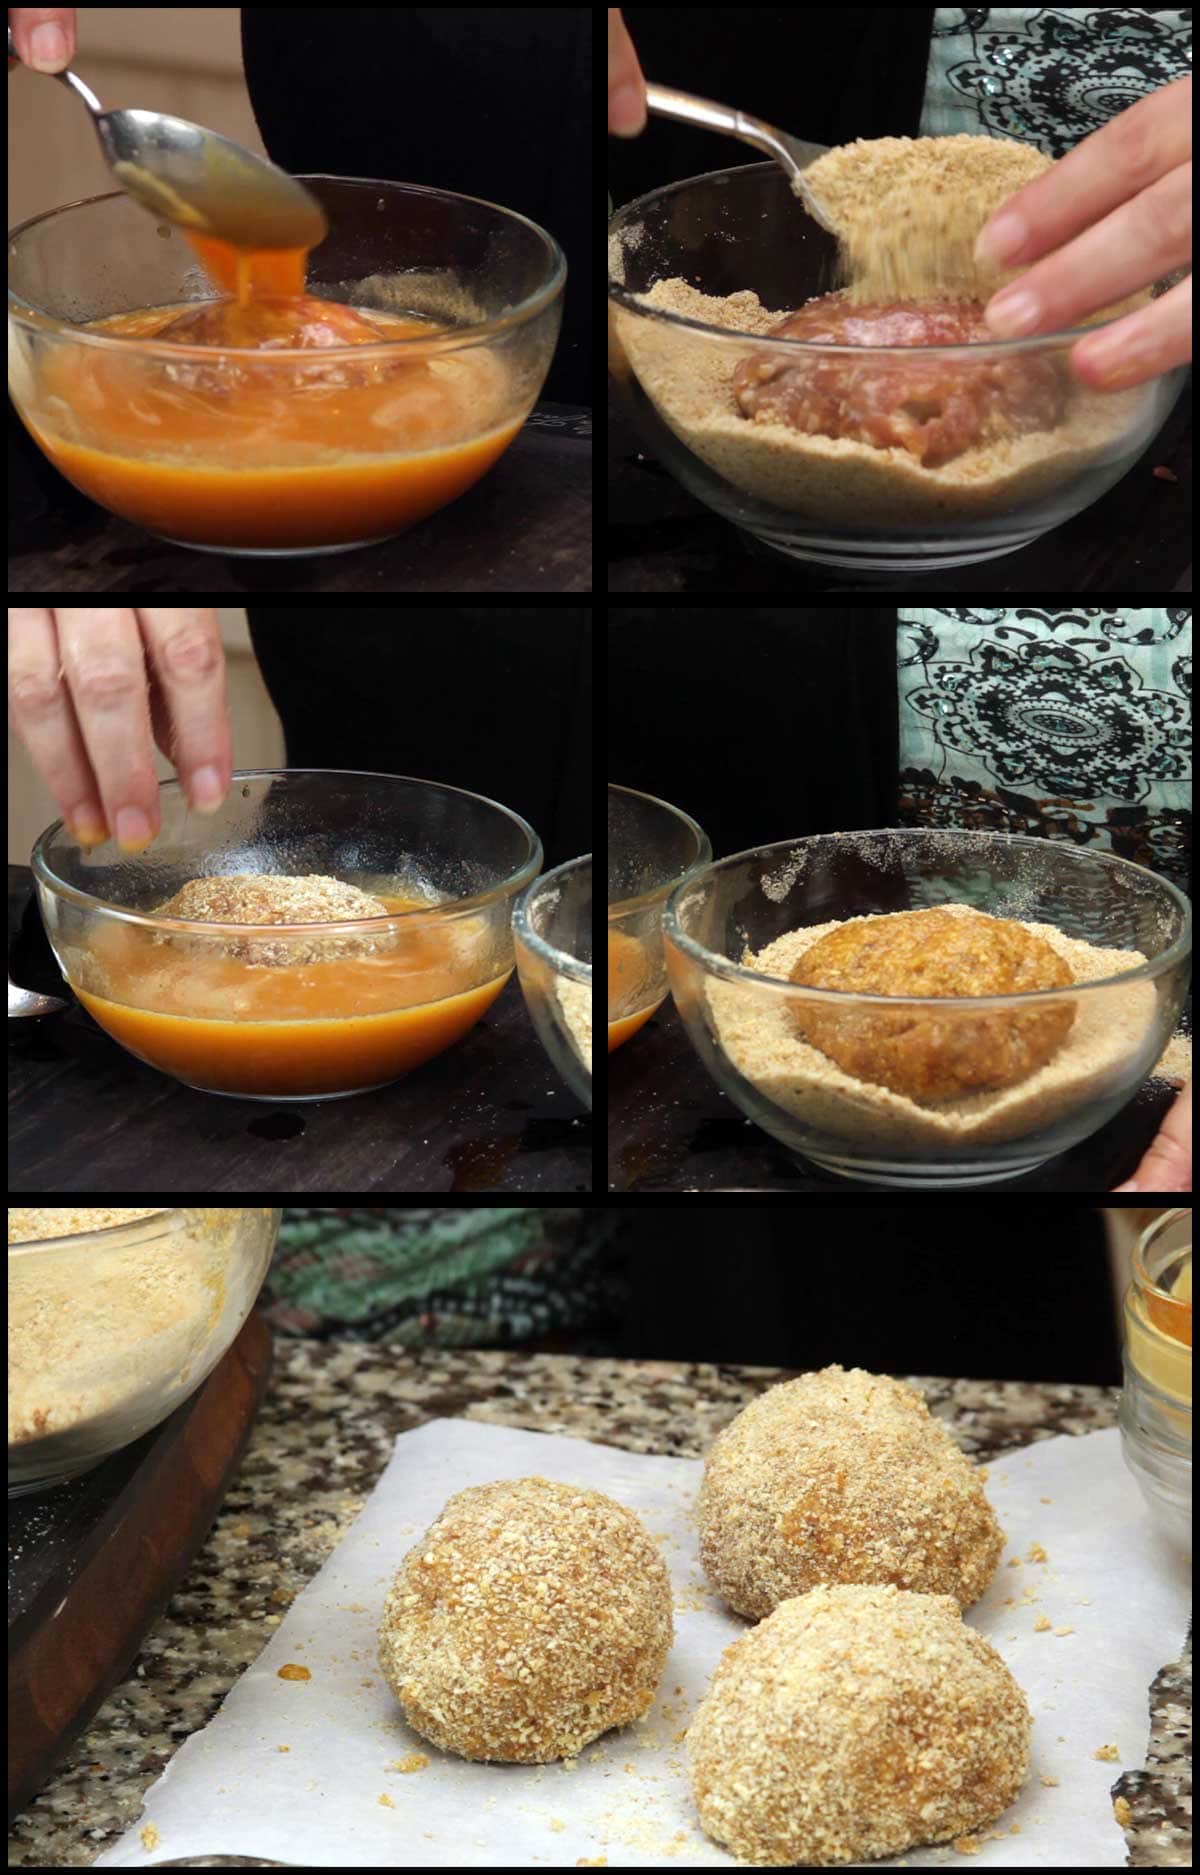
You can set the coated eggs on parchment until they are all done or on a cooling rack.
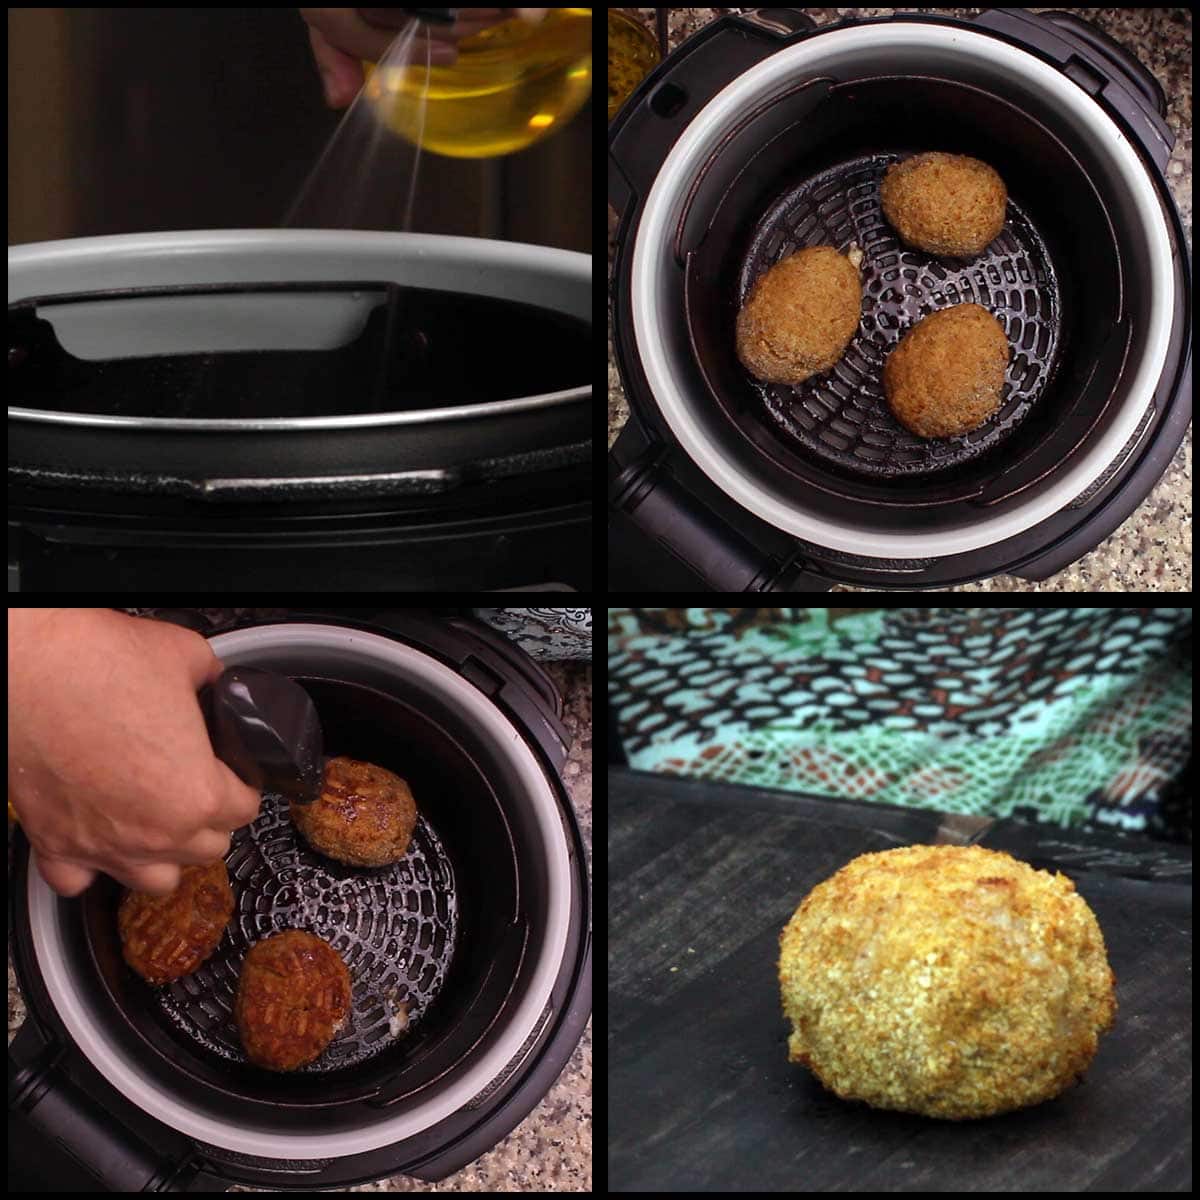
Spritz the basket with the oil of your choice and place the eggs in the basket in a single layer.
If you wanted to do more than 4 or 5, you can use another rack, like this (affiliate link)canning rack to create a second level in the basket. I haven't tried that with this recipe, but it has worked great with other recipes and both levels were brown and crispy.
Spritz the top of the eggs with oil and close the TenderCrisp lid. Select the Air Crisp function at 375℉/190℃ for 7 minutes.
Remember if you used more than 2 ounces of sausage, you will have a thicker layer and will need to increase your time so the sausage cooks.
You don't have to flip, but you can if you want. I usually flip half way through the cooking time because the bottom gets browner than the top.
If you aren't serving the Scotch Eggs right away, sit them on a cooling rack instead of a plate so they don't steam on the bottom. You can even remove the basket and just leave them in the basket.
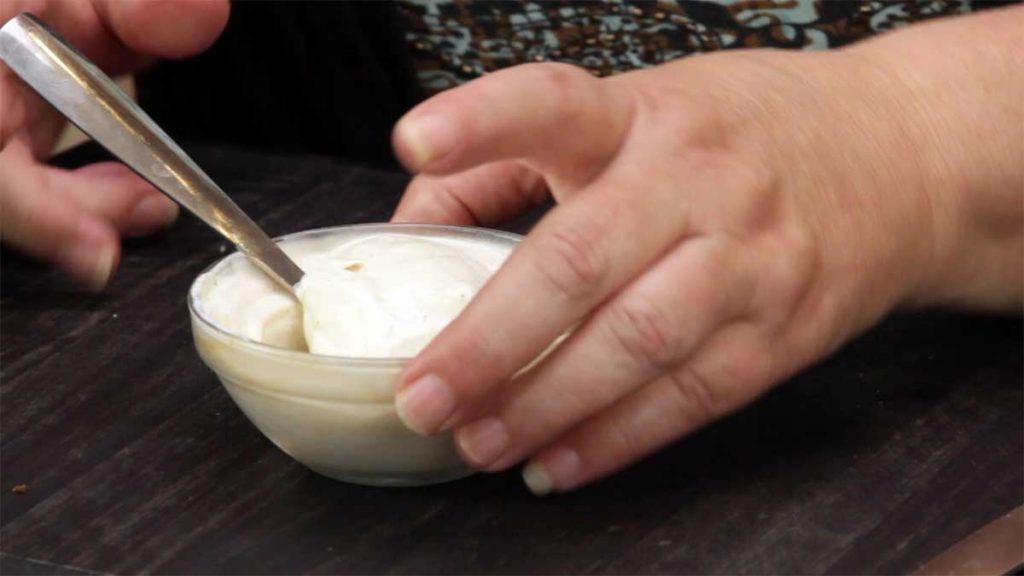
Mix up the dipping sauce, if desired.
Serve & Enjoy!
Air-Fryer Scotch Eggs
Equipment
- Ninja Foodi Indoor Grill
Ingredients
- 4 Large Eggs
- 8 ounces sausage
Breading
- ½ cup breadcrumbs
- ½ tablespoon (affiliate link)maple sugar
- ⅛ tsp chipotle pepper ground
Egg Mixture
- 1 large egg
- 1 Tbsp maple syrup
- 1 teaspoon Cholula or your favorite hot sauce
- 1 teaspoon dijon mustard
Dipping Sauce
- 2 tablespoon sour cream
- 1 teaspoon (affiliate link)maple sugar
Instructions
- Add 1 cup of cold tap water to the inner pot of the Ninja Foodi. Place the basket in the inner pot and put your eggs into the basket. Put the pressure lid on and turn the valve to seal. Set the pressure to high for 1 minute. When the time is up, immediately release the pressure and place the eggs into an ice bath. *see notes Gently peel the eggs. *see post for tips.
- While the eggs are pressure cooking, mix up your breading mixture by combining bread crumbs and make sugar in a round bowl that is at least 3" deep. I find this the easiest way to coat the eggs.
- Combine 1 egg with maple syrup, mustard and hot sauce and mix to combine. I also do this in a round bowl that is about 3" deep.
- Dump the water from the inner pot of the Ninja Foodi and preheat on broil for a full 10 minutes with the basket inside the Ninja Foodi. If you aren't done wrapping and breading your eggs in 10 minutes, turn the broil on for another 10 minutes and when you are done preparing your eggs, you can switch from broil to Air Crisp.
- Press 2 ounces of sausage into an oval or round shape that is about ⅛-¼" thick. I use parchment paper and my burger press (see post) to make this easier. Place the peeled egg in the center and gently wrap the sausage around the egg.
- Dip the sausage encased egg into the egg mixture and coat. Dip into the breading mixture and coat completely. Repeat this step for a second coating.
- When the Ninja Foodi has preheated for 10 minutes on broil, spritz the basket with oil. Place the scotch eggs in the basket and spritz them with oil. Select the Air Crisp function on 375°F/190°C for 7 minutes. You do not have to flip, but you can. I find the bottoms do get more brown and I usually flip after the first 4 minutes.
- If you aren't serving the Scotch Eggs right away, place them on a cooling rack and not a flat plate to avoid steaming the underside.
- Combine sour cream with maple sugar and serve as a drizzle over the eggs or as a dipping sauce.
- Slice the Scotch eggs in half with a sharp knife and serve. Enjoy!
Notes
Nutrition
ABOUT THE RECIPE AUTHOR, LOUISE LONG
Louise is a full-time recipe creator and food blogger @ The Salted Pepper. She has over 30 years of experience with cooking and recipe development. She owned a restaurant for several years and was a full-time RN until retiring to blog full-time.

She published her first cookbook in the Fall of 2018 and is very interested in writing several more.
Louise is also the creator of an online Ninja Foodi Pressure Cooking Course with over 100 instructional step-by-step videos. People absolutely rave about the course and all the value they have received from it.
Louise has several very active Facebook groups that help people with the basics of cooking and getting the most out of the Ninja Foodi.
Louise is also a YouTube creator and you can find most of her recipes in video format on The Salted Pepper YouTube channel.
She is very responsive to messages and eager to help in any way she can. Get more Information about Louise & contact information
I WOULD LOVE TO SEE WHAT YOU ARE COOKING UP IN YOUR KITCHEN! TAG ME @THESALTEDPEPPER ON YOUR FAVORITE SOCIAL MEDIA PLATFORM WHEN YOU MAKE A DISH!
BE SURE TO FOLLOW THE SALTED PEPPER RIGHT HERE ⇓⇓⇓⇓⇓

Jill
Hi Louise,
This is off topic of Scotch Eggs, but egg related.
I LOVE "Baked Eggs" that's what I call them.In Chef's school we made them in an oven. Cooked bacon, cream, eggs & spinach ( under the eggs) then I don't remember if they went under a Salamander or in the oven, or maybe both. Have you ever had these and/or tried making in the steamer of Ninja Foodi? They are heaven in your mouth!
Jill
Louise
Was the yolk runny? I think I've had them, but haven't made them myself. I have this recipe (a very old recipe) that uses pears, bacon, spinach, and eggs as a breakfast bowl and I want to redo it for the Foodi, so I will try the steam function or the bake function. Thanks for the suggestion!
Katrina
Tried these today followed your recommendations for the runny yoke my husband loves a scotch egg they turned out perfect and tasted great
Another fantastic recipe of yours thank you
Louise
That's great!
Shanna Larson
Loved the rest of the recipe but somehow, even with less sausage (did 6 eggs per sausage), we had to cook at higher temp for longer.
Will still make again!
Louise
Do you mind sharing what kind of sausage you used? I'm wondering if that made the difference. I'm glad you enjoyed them though!
Shanna Larson
I used Jimmy Dean All Natural. Sorry I just saw this comment now, months later!
Sandra Tatsuno
Thank you for the great video and such clear, detailed instructions! Looking forward to trying this. Love Scotch eggs! I've had them dining out but had been too chicken to try making them at home, let alone using a pressure cooker and air crisper. Then I found you! So, before going all in I thought I'd best do a test run on the eggs first. First time making eggs of any kind in the Ninja! I like them runny so used the 2 mins at high method, followed by the ice bath. I was shocked! They came out perfect for the most part: nice, runny yolks, and so easy to peel! Only problem was they had cracked while cooking, a bit of the cooked whites poking out. Needless to say the yolks started running out as I began peeling. Any hints? Would cooking them on low instead of high pressure for a bit longer work? Just so disappointed as the yolks were perfect and the peeling a breeze! (I did start with cold eggs right out of the frig, cold tap water in the cooker followed by the ice bath for 2 mins.) Thanks, Louise! You're amazing! 🙂
Louise
I would try warming the eggs up if they are going into the pressure cooker from the fridge. I have found that room temp eggs crack less, but they still can crack. Some eggshells have tiny cracks that you don't see and when they go under pressure, the shells split. You can certainly try low pressure as well and see how that works for you.