
Homemade Creamy Caesar Dressing only takes minutes to make and you don't have to use raw eggs or mayo!

Would you like to save this recipe?
I like to use a blender to make my Creamy Caesar Salad Dressing, but it can be done with a food processor or even by hand, and I will go over those directions as well as using different types of blenders.
Making salad dressings at home lets you control the ingredients from start to finish. You can eliminate any ingredients that you don't like, decrease the salt or sugars, and even make most salad dressings keto friendly. This Creamy Caesar dressing is already Keto friendly!
Frequently Asked Questions
Of course, that depends on how it is made and how much you consume, but in this recipe there are 2 grams of carbs per serving.
I've made several batches of this dressing and when stored properly in an airtight container, I use a glass mason jar with a lid, it lasts at least 5 days.
No, not all Caesar Dressings have anchovies. In fact, it is said that the original creator of the Caesar Salad, restaurateur Caesar Cardini, didn't use anchovies in his salad. Instead, the anchovy flavor came from the Worcestershire sauce. I chose to include them in this recipe because I love the flavor they impart, but you can certainly omit them. The modern caesar dressings usually do include anchovies, though.
Ingredients
The ingredients in Caesar Dressing are fairly simply and while there are some that you can omit or substitute. For the best results I encourage you to follow the recipe as written.
Olive Oil
Olive oil is a key ingredient in this dressing and I recommend using an olive oil that you like the flavor of. You can also substitute another oil, like soybean oil, avocado oil or even a canola or vegetable oil.
Eggs
In this recipe, I use eggs that have been pasteurized to avoid any risk of salmonella. You can buy pasteurized eggs at some grocery stores or pasteurize them yourself, if you have a sous vide machine. It's very easy and here is an article that goes over how to do it: Pasteurize your Eggs at Home
The risk of salmonella in the US is very low, so if you are comfortable using raw fresh eggs that haven't been pasteurized, you can certainly use them in this recipe.
Parmesan Cheese
I recommend using freshly grated parmesan cheese in this recipe and not the pre shredded kind in the bag. Freshly grated will give you the best results and you should use a fine grater to grate the cheese. When blended in the dressing, the cheese gives all the flavor it should, but disappears as far as texture goes. I'm not sure you will get the same result with pre-shredded, bagged parmesan.
Although I have not tried this, I know many people who are dairy-free use nutritional yeast instead of parmesan, so that is worth a try if you want to keep the dressing dairy free. Please let me know if you try it!
You can also use Romano cheese or Asiago cheese in place of the parmesan and it will be delicious.
Anchovies
Using Anchovies in this recipe is optional, but encouraged for the best flavor. I used 2 anchovy fillets, but you could use anchovy paste instead. I would use 1 teaspoon of anchovy paste for the 2 anchovy fillets. If you have whole anchovies, I would clean them and use 1 anchovy in this recipe.
Spices & Flavorings
Vinegar
I used white wine vinegar in this recipe, but you could use a red wine vinegar or even champagne vinegar, if you prefer. I don't recommend using balsamic vinegar, it will change the flavor and color too much.
Mustard
My preference is a dijon mustard, but you can use any mustard you like.
Garlic
I place peeled garlic cloves in the blender whole, but if you are using a food processor or making this by hand, then I would suggest mincing the garlic first.
Salt & Pepper
As with any homemade salad dressings, you can decide how much salt and pepper you want to use. I think a good Caesar dressing needs just a touch of sea salt and black pepper to finish it off, but if you want to wait until after it's blended to decide how much or if you add salt and pepper, that is perfectly fine.
Lemon
While lemon juice is very common in a Caesar dressing, I also like to include the lemon zest. This gives such a brightness and balance of flavor and makes the best Caesar dressing, in my opinion, it is completely optional.
You can even use lemon juice concentrate instead of fresh lemon juice if you don't have a fresh lemon.
Uses for Caesar Salad Dressing
Of course, the number one thing that comes to mind is a Caesar Salad, but there are other uses for Caesar Salad Dressing that you will LOVE!
- Sandwich Spread: That's right, use the creamy and thick dressing in place of mayo on so many sandwiches or wraps. One of my favorites is a Chicken Caesar wrap.
- Pasta Salad: This rich and flavorful salad dressing makes the perfect dressing for a cold pasta salad. Here is a delicious recipe to try: Caesar Pasta Salad
- Marinade for meat and veggies: Marinate chicken or veggies before cooking.
- Vegetable Dip: This dressing is so thick and creamy, you can use it as is for a delicious dip for your fresh veggies.
How to make a Creamy Caesar Dressing By Hand
One of the best Caesar dressings I ever had was made table-side at a fancy restaurant and I watched this guy whip up a beautiful, creamy dressing in no time at all, so it's definitely something that can be done.
What you want to do is get all of your ingredients measured out and, if you have a mortar and pestle, that would be helpful, but if you don't grab a spoon and I'll walk you through everything. Separate the raw egg yolks from the whites. We only use the yolks in this recipe.
Make a paste out of the garlic, anchovies, and salt. You can do this with your mortar and pestle or simply use the back of a spoon and your cutting board to press and mash the ingredients into a paste. Place the paste in a medium size bowl and add the remaining ingredients, except the olive oil. Gently whisk to combine. Slowly add in the olive oil while whisking continuously and vigorously so it emulsifies into the other ingredients. The dressing will become thick and creamy as the oil incorporates. When all the oil is incorporated, give it a taste for seasonings. Adjust as needed and refrigerate until use.
How to Make a Caesar Dressing with a Food Processor
Separate the raw egg yolks from the whites, we only use the yolks in this recipe. Add in all of the ingredients, except the olive oil and pulse until you have a fine paste. If you have a large food processor bowl, this can be difficult with a small amount of ingredients, so you may be better off to make the paste by hand as described above and add the paste to the food processor along with the remaining ingredients (except for the oil). Once the ingredients are combined, turn the food processor on low and drizzle in the olive oil while the food processor is running. The oil should incorporate into the other ingredients and create the emulsified dressing.
If the oil doesn't seem to be incorporating, try increasing the speed of the food processor. When all the oil is incorporated, taste for seasonings and adjust as needed. Refrigerate until use.
How to Make Creamy Caesar Dressing with the Ninja Foodi Cold & Hot Blender
Separate the raw egg yolks from the whites, we only use the yolks in this recipe.
Add all the ingredients except the olive oil and hit the extract button. When the cycle is up, use the manual blend on low with the center of the lid removed and with the blender on, slowly add the oil until it is all incorporated. Increase the speed if needed.
Taste for seasonings and adjust as needed. Refrigerate until use.
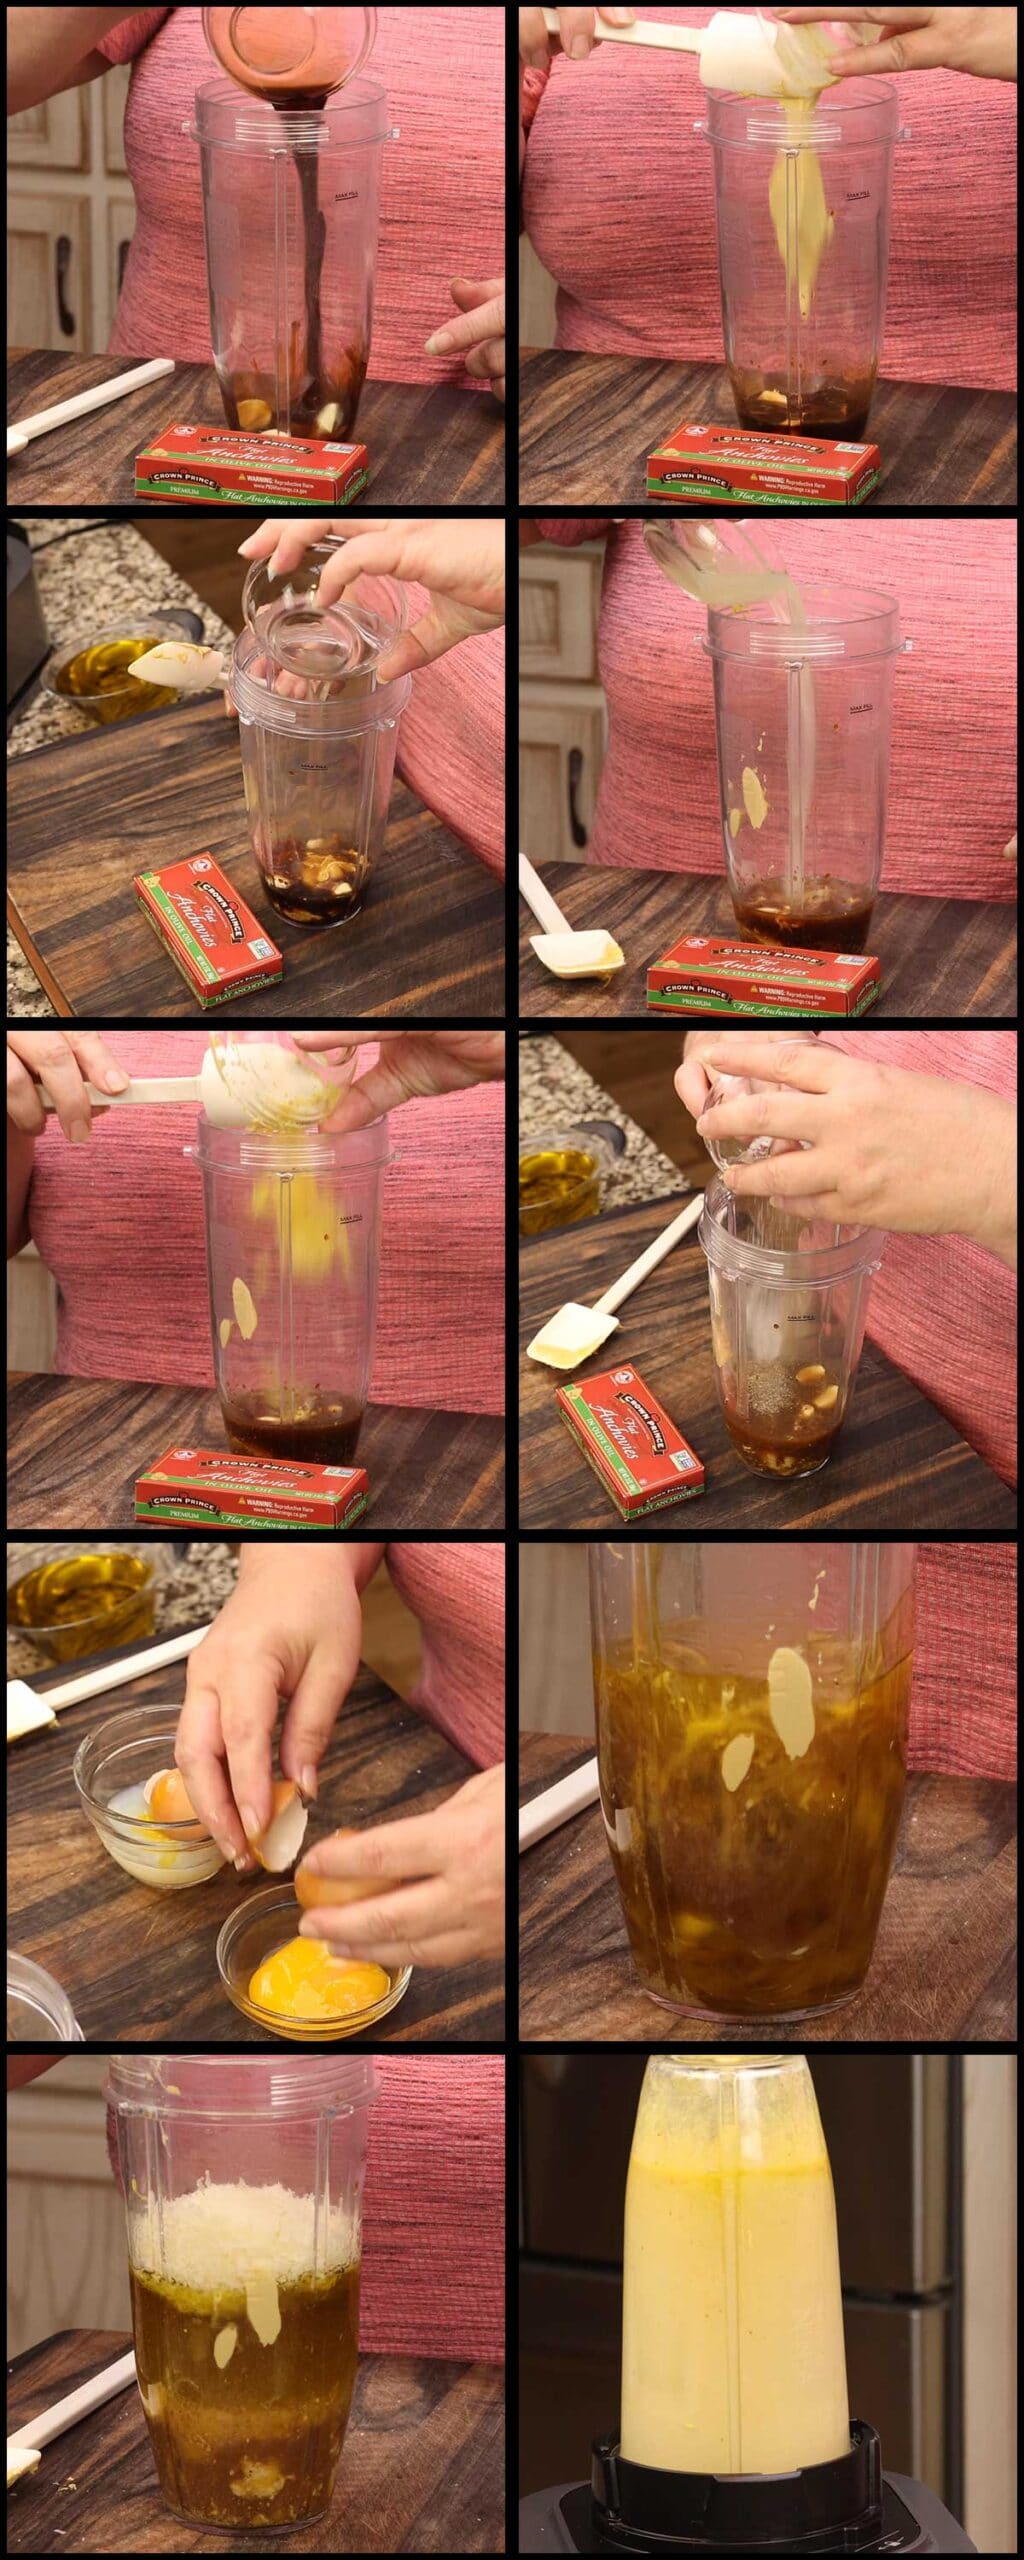
How to Make Homemade Caesar Dressing with a Bullet Style Blender or Immersion Blender
Not only is this the easiest way, there is less clean up in my opinion. With a bullet style blender, like the Ninja Foodi Power Pitcher System or any other blender that has a small container that is often used for making smoothies and other drinks, you simply add ALL the ingredients to the container, screw on the blade and use a high speed cycle to blend everything together to create a delicious, thick and creamy classic Caesar Dressing.
This eliminates the need to slowly pour in the oil as well. The oil and other ingredients emulsify through the high speed blending and I've never once had the dressing split.
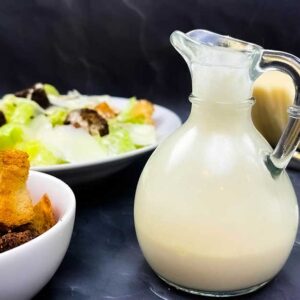
Once the dressing is blended, refrigerate for about an hour before using. The creamy caesar dressing will thicken in the refrigerator. If it is too thick, add 1 teaspoon of water at a time and shake or whisk after each teaspoon until it is the consistency that you like.
Enjoy!
Creamy Caesar Dressing
Equipment
- Blender or Food Processor
Ingredients
- 2 cloves garlic
- 2 Tablespoons Worcestershire sauce
- 2 Tablespoons white wine vinegar
- 2 Tablespoons Dijon mustard
- 1 lemon zested and juiced
- ½ teaspoon fine grind sea salt
- ¼ teaspoon black pepper
- 2 anchovy fillets
- 2 large egg yolks
- 1 cup olive oil
- 1 ounce parmesan cheese freshly grated
Would you like to save this recipe?
Instructions
- Combine the ingredients into the cup of a bullet style blender in the order they are listed and blend for 45-60 sections or until the dressing is creamy and emulsified. Refrigerate for 60 minutes before serving. The dressing will thicken as it sits in the refrigerator.
- If you are using the Ninja Foodi Cold & Hot blender or a Food Processor, add all of the ingredients, except for the oil. Pulse several times to chop up the anchovies and garlic. With the blender or food processor running on low, slowly pour in the oil through the opening at the top. Once the oil has emulsified with the other ingredients and the dressing is creamy, it's done. Refrigerate for 60 minutes before using so it thickens up some.
- If the dressing is too thick, add 1 teaspoon of water at a time and whisk to incorporate until the dressing is the consistency that you like.
Notes
Nutrition
About the Recipe Author, Louise Long
Louise is a full-time recipe creator and food blogger @ The Salted Pepper. She has over 30 years of experience with cooking and recipe development. She owned a restaurant for several years and was a full-time RN until retiring to blog full-time.

She published her first cookbook in the Fall of 2018 and is very interested in writing several more.
Louise is also the creator of an online Ninja Foodi Pressure Cooking Course with over 100 instructional step-by-step videos. People absolutely rave about the course and all the value they have received from it.
Louise has several very active Facebook groups that help people with the basics of cooking and learning more about the appliances they love.
Ninja Foodi Pressure Cooker & Air Crisper 101
Ninja Woodfire Outdoor Grill & Smoker
Louise is also a YouTube creator and you can find most of her recipes in video format on The Salted Pepper YouTube channel.
She is very responsive to messages and eager to help in any way she can. Get more Information about Louise & contact information
I WOULD LOVE TO SEE WHAT YOU ARE COOKING UP IN YOUR KITCHEN! TAG ME @THESALTEDPEPPER ON YOUR FAVORITE SOCIAL MEDIA PLATFORM WHEN YOU MAKE A DISH!
BE SURE TO FOLLOW THE SALTED PEPPER RIGHT HERE ⇓⇓⇓⇓⇓
Jeffron says
how long does this dressing keep for in the fridge?
Louise says
Many times you can find these answers in the Frequently asked questions section of the recipe post. How long will Homemade Caesar Dressing last in the refrigerator?
I've made several batches of this dressing and when stored properly in an airtight container, I use a glass mason jar with a lid, it lasts at least 5 days.
JJ says
Just made their dressing ~ YUM
Louise says
So glad you enjoyed it!