Bacon Mac and Cheese is a marriage made in heaven, for sure! There is something about the smokiness of the bacon that compliments the creaminess of the mac and cheese. This is MUST TRY!
Would you like to save this recipe?
Don't you just love a good mac and cheese? How about loving a GREAT mac and cheese? That is exactly what is going to happen when you make this Bacon Mac and Cheese recipe!
This post may contain affiliate links. If you make a purchase after clicking a link, I may earn a small commission. As an Amazon Affiliate, I earn from qualifying purchases.
You'll take one bite and the birds will sing louder, the sun will shine brighter, and the roses will bloom. Okay, so maybe that won't happen, but what will happen is you will do a dance of joy because this recipe is so delicious and so EASY to make!
If you LOVE Mac and Cheese and are willing to try new things, give my Creamy Mac & Cheese a try, too; and don't skip the figs!
How to make Bacon Mac and Cheese in the Ninja Foodi
If you prefer to watch how this Bacon Mac and Cheese is made, you can do that right HERE: Bacon Mac & Cheese in the Ninja Foodi
Slice ½ of an onion (I used a sweet onion) into ¼" slices and place in the bottom of the inner pot. Cut the bacon in half. Cook 4 slices of thick-cut applewood smoked bacon in the Ninja Foodi. You can do this any way you like, but I usually use the rack in the high position and lay the bacon down in a single layer and air crisp on 360º F for 14-18 minutes, flipping at 7 minutes. Drain cooked bacon on paper towels.
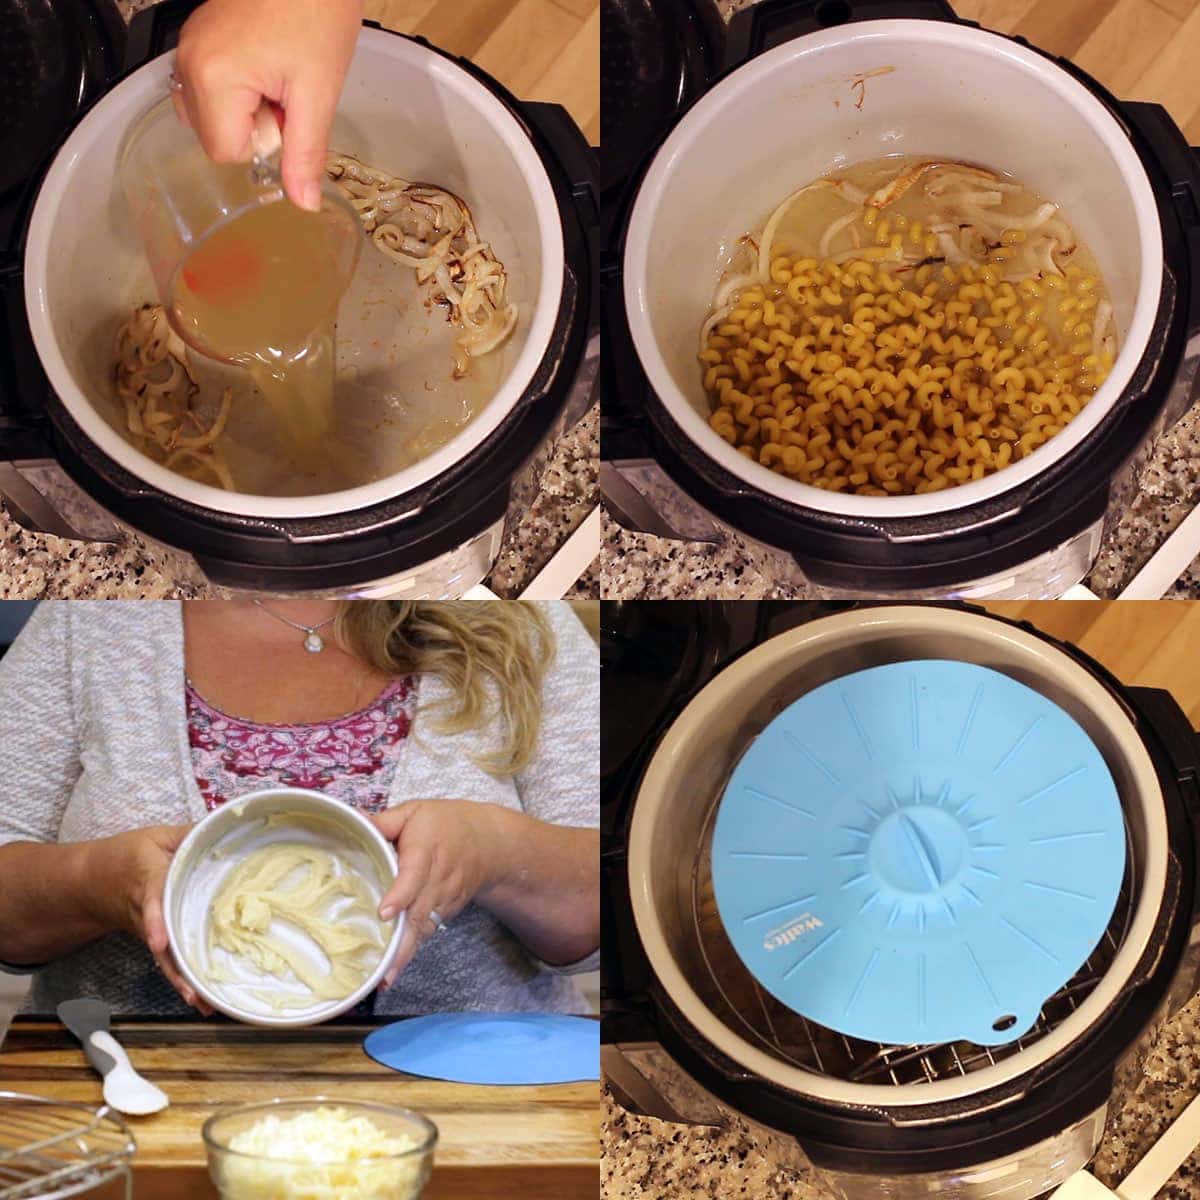
Turn the sear/sauté on high. Deglaze the hot pot with 3 cups of chicken stock or water. Make sure to scrape the bottom of the pot with a non-stick safe utensil. I love to use my Scoop & Spread for this task and this tool comes in handy in many ways! You can order yours right HERE: Pampered Chef Scoop & Spread
Add in 8 ounces of Cellentani pasta or your pasta of choice. Make sure to adjust your time depending on which pasta shape you use. Here are a few suggested cook times for different pastas.
- Elbow Macaroni: I have only made elbow macaroni once in the Ninja Foodi and can't remember how long I cooked it, so this is just a suggestion. Pressure cook on high for 2 minutes with a 3 minute natural release.
- Penne Pasta: Pressure cook on high for 6 minutes with a 2 minute natural release.
- Farfalle Pasta: Pressure cook on high for 4 minutes with a 2 minute natural release.
Make the Roux
The roux is important in this bacon mac and cheese if you want a creamy mac and cheese that does not separate. I tested the recipe and left the roux out and it just didn't work, but don't worry. This roux is super easy to make and no stirring involved!
A roux is a combination (usually equal parts) of a fat and flour. There are various types of roux and you can read all about them in this recipe post for Cajun Jambalaya.
In mac and cheese you usually make a blonde roux, which means that the flour and fat are cooked only for a few minutes and does not darken in color. I wanted to figure out a way to easily make a roux without having to stand over the pot and stir and stir and stir.
The answer is simple! Pressure cook it! Trust me, it works perfectly. Simply add 2 tablespoon of flour and 2 tablespoon of melted butter in a pressure safe pan. I used my Fat Daddio 6" cake pan. Cover with foil or one of these GREAT silicone covers from Walfos! If you haven't seen these yet, you have to check them out right HERE: Walfos Silicone Covers
Set the pan on the rack in the high position in the inner pot. Make sure the pan is pushed towards the front of the Foodi and not blocking the vent.
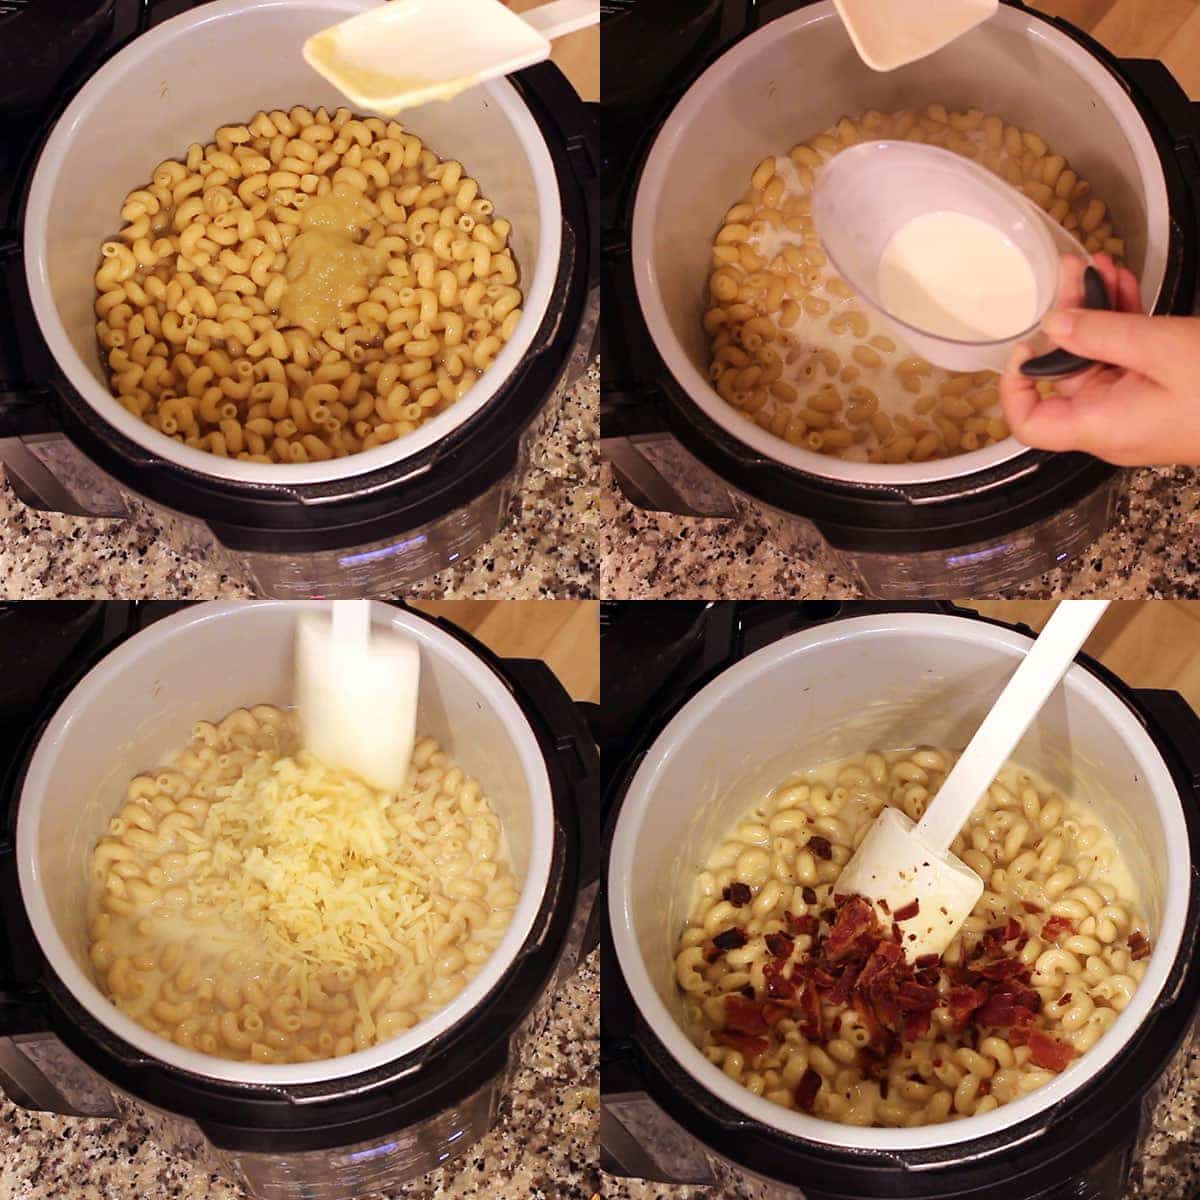
Put the pressure lid on and turn the valve to seal. Pressure cook on high for 8 minutes with a 2-minute natural release. Open the lid and remove the rack with the roux. Stir the macaroni around and dump in the roux and stir.
Add the Milk, Cheese, and Bacon
Add in 1 cup of half & half or whole milk. Turn the sear/sauté on medium.
You can use whatever cheeses you like, but I encourage you to use a blend of a hard cheddar and a softer melting cheese like Monterey Jack. The cheeses I used are 1 cup of smoked Gouda, 1 cup of smoked white cheddar, and 1 cup of Monterey Jack cheese. These cheeses really made this Bacon Mac and Cheese outstanding and I hope you give them a try!
Continue to heat on medium and stir until the cheese is completely melted and combines with the liquid to create a creamy cheese sauce.
Add in 6 strips of bacon crumbled and reserve 2 for topping.
At this point, you can either remove the bacon mac and cheese and put a portion of it in a 14 ounce cast iron pan (any oven safe container is fine) or just leave it in the inner pot and put the topping on the entire batch.
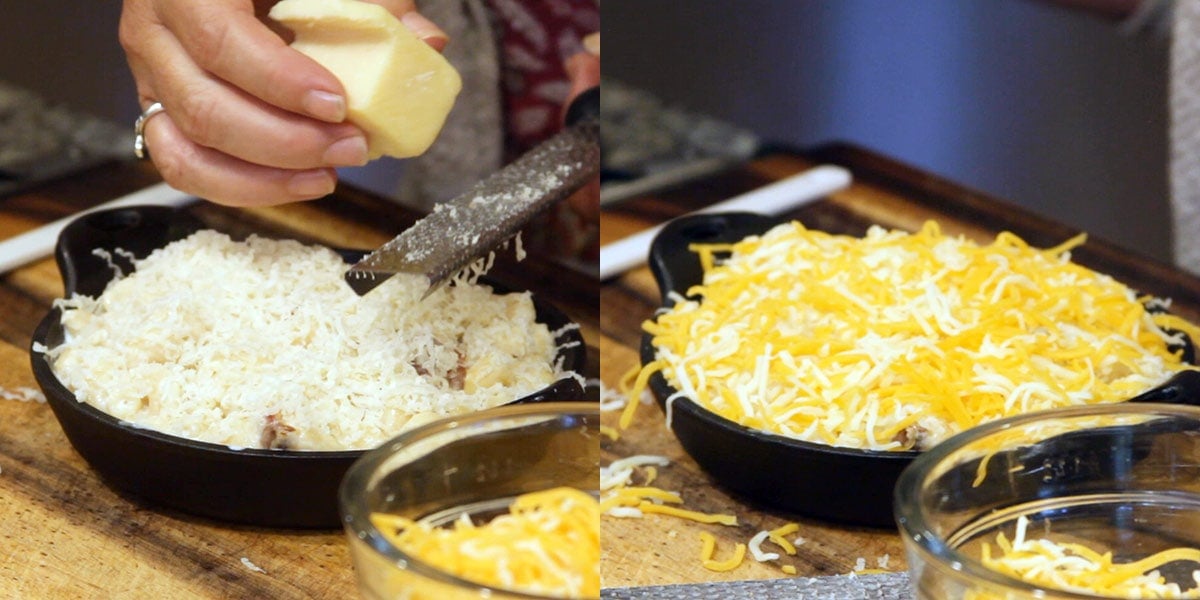
Finish up the Bacon Mac and Cheese
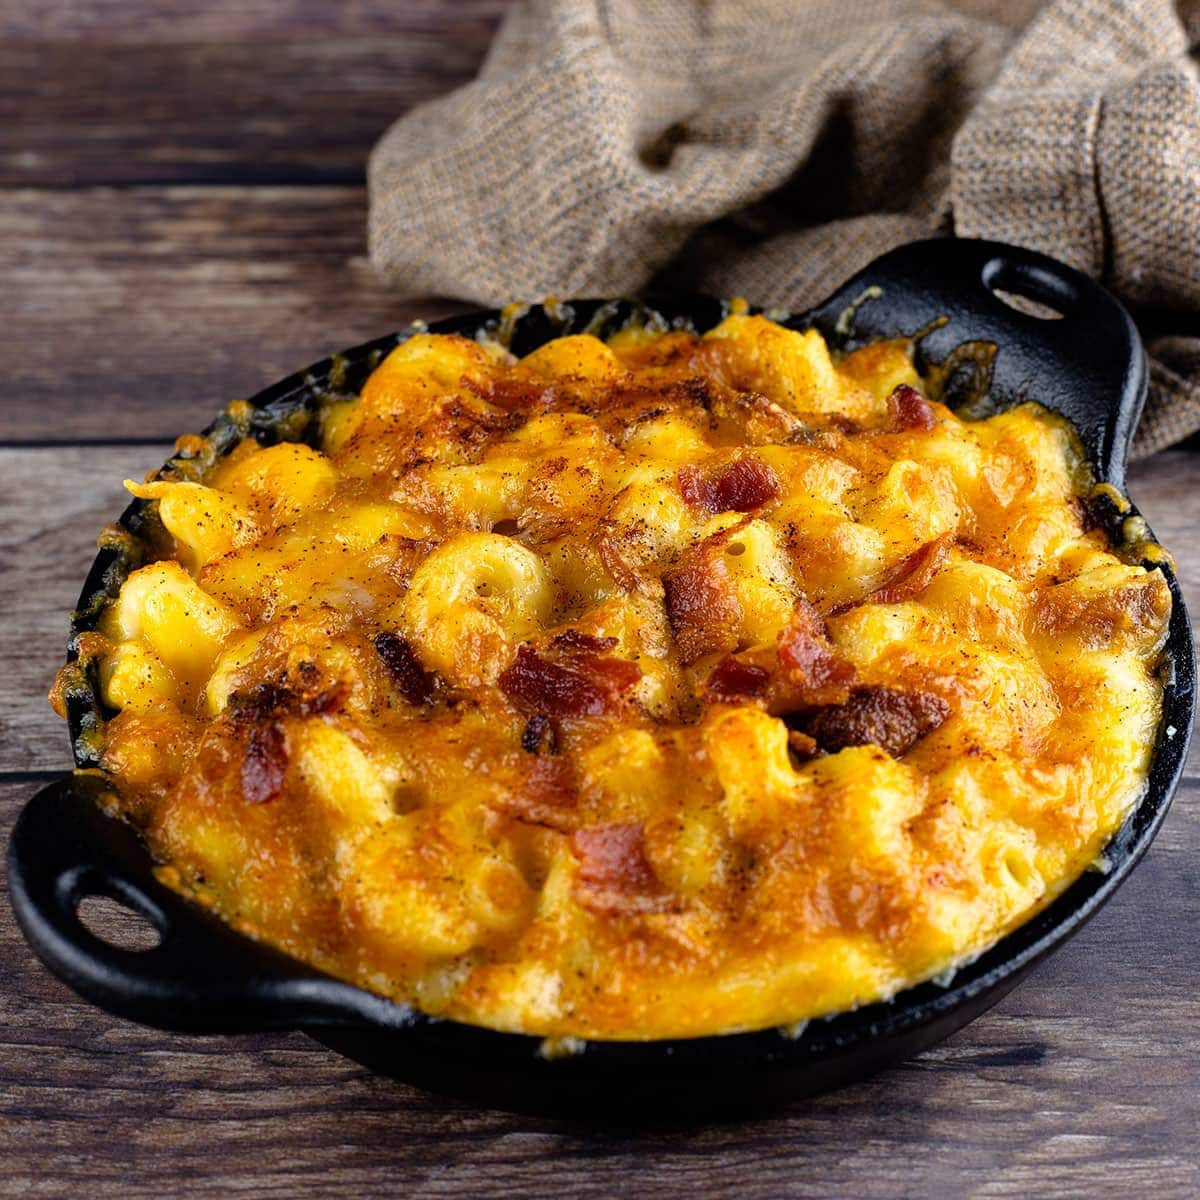
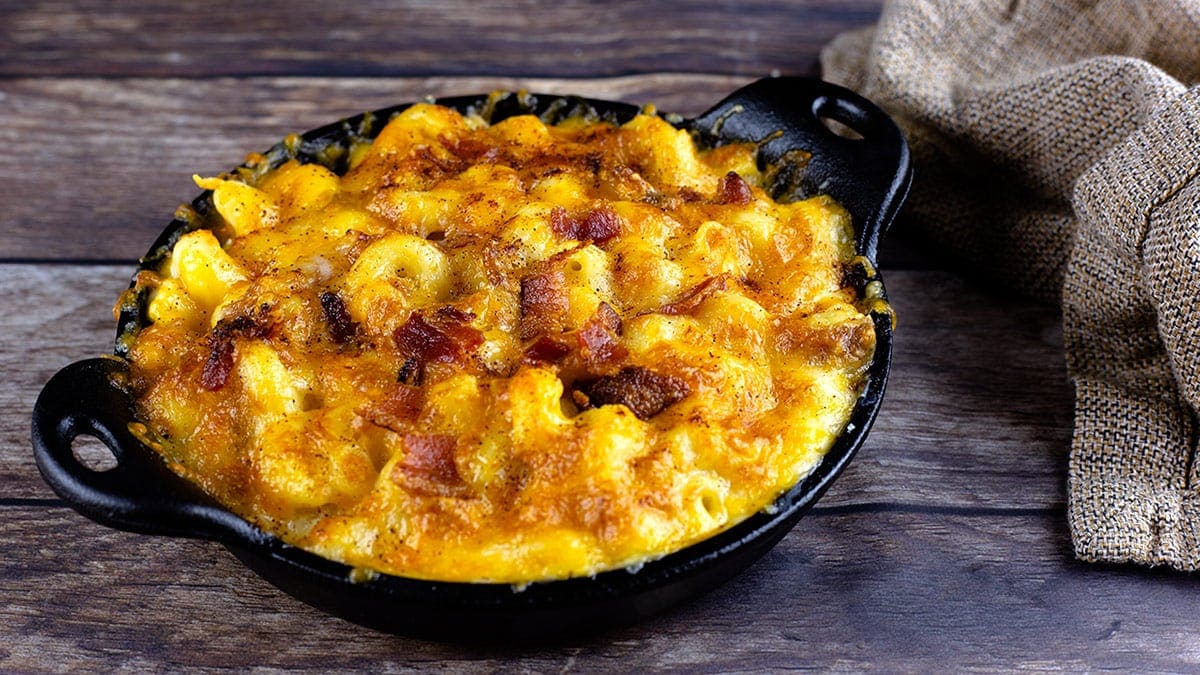
Top the bacon mac and cheese with a little more cheese of your choice and the 2 remaining pieces of bacon crumbled. I used a private reserve extra sharp cheddar and a blend of Monterey Jack and yellow cheddar. I really recommend using the private reserve extra sharp cheddar made by Black Diamond. I find it at my local Sam's Club. It is a very sharp cheese and adds a ton of flavor to any dish.
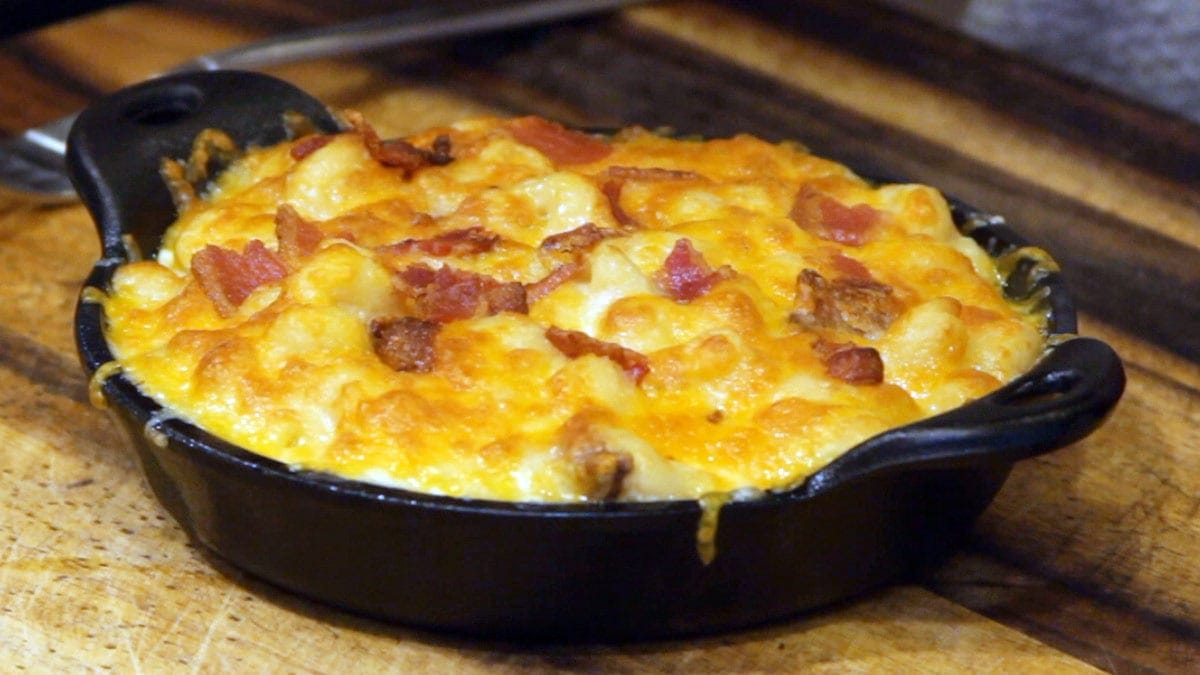
Broil the top of the Bacon Mac and Cheese for 5-10 minutes or until the top has browned.
Sprinkle a tiny amount of chipotle pepper on top if you want a little kick.
Serve & Enjoy!
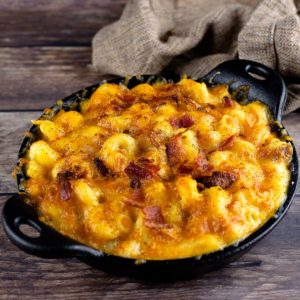
Bacon Mac and Cheese
Equipment
- Pressure Cooker with Mealthy lid
Ingredients
- 4 slices bacon applewood smoked, thick-cut
- ½ onion sweet or yellow
- 3 cups chicken stock or water
- 8 ounces Cellentani
- 2 tablespoon butter
- 2 tablespoon flour
- 1 cup half and half
- 1 cup white cheddar smoked and grated
- 1 cup Gouda smoked and grated
- 1 cup Monterey Jack
Optional Toppings
- 2 tablespoon Sharp Cheddar see post for my recommendation
- ¼ cup Monterey Jack shredded
- ¼ cup Mild Cheddar shredded
- pinch chipotle powder
Would you like to save this recipe?
Instructions
- Slice ½ of an onion into ¼" slices and place in the bottom of the inner pot. Cut bacon strips in half. Cook 4 slices of thick-cut applewood smoked bacon in the Ninja Foodi. Place the rack in the high position and lay the bacon down in a single layer and air crisp on 360º F for 14-18 minutes, flipping at 7 minutes. Drain cooked bacon on paper towels.
- Turn the sear/saute on high. Deglaze the hot pot with 3 cups of chicken stock or water. Make sure to scrape the bottom of the pot with a non-stick safe utensil.
- Add in 8 ounces of Cellentani pasta or your pasta of choice. Make sure to adjust your time depending on which pasta shape you use. See post for more details.
- Add 2 tablespoon of flour and 2 tablespoon of melted butter in a pressure safe pan, stir to combine and cover. Place rack in the high position over the pasta and place the pan on top. Put on the pressure lid and make sure to turn the valve to seal. Pressure Cook on high for 8 minutes. Allow to natural release for 2 minutes and manually release the remaining pressure. Add the roux from the pan into the pasta and broth and stir.
- Add in 1 cup of half & half or whole milk. Turn the sear/saute on medium. Add in 3 cups of cheese and stir until melted.
- Crumble 6 (half) pieces of bacon into mac and cheese and stir. Reserve 2 (half) pieces of bacon for garnish or if you aren't topping with cheese, add in all of the bacon.
- Top the bacon mac and cheese with a little more cheese of your choice and the 2 remaining pieces of bacon crumbled. Broil with the TenderCrisp lid for 5-10 minutes or until the cheese has melted and starts to brown. Sprinkle with a little Chipotle powder for a kick. Serve & Enjoy!
Notes
Nutrition
ABOUT THE RECIPE AUTHOR, LOUISE LONG
Louise is a full-time recipe creator and food blogger @ The Salted Pepper. She has over 30 years of  experience with cooking and recipe development. She owned a restaurant for several years and was a full-time RN until retiring to blog full-time.
Louise has several very active Facebook groups that help people with the basics of cooking and getting the most out of the Ninja Foodi.
Ninja Foodi Fresh & Healthy Meals
Seeing the need for easy, delicious, and high quality recipes, she is focusing all of her efforts creating recipes specifically for the Ninja Foodi. Her recipes are easy for the home cook to follow and provide step-by-step instructions.
Louise is also a YouTube creator and you can find most of her recipes in video format on The Salted Pepper YouTube channel.
She is very responsive to messages and eager to help in any way she can.
Patrick from PHX says
Hopefully Louise will see this, as it's more of a question, than just a comment. This was my first 'real' food experience when I started w/ my 1st Foodi over 2 years ago. The majority of my 'trials' were all dessert related, hence I classified this as 'real' food. It was an amazing success. I remember even posting a picture on FB, when it was about one of Amazon's sale days in July. Anyway, while i now have multiple Ninjaproducts, I don't have multiple Foodi's. I have my original 8 qt Deluxe away this past Holidays season, so I could justify getting the new SmartLid Foodi w/ the temperature Guage. So now, I'm going back to recreate the recipes that I was successful w/ in the new model. i.e. I'm much happier w/ Banana Bread using the steam and bake functionality, vs just pressure cooking. (Directly from the Ninja cookbook).
My question really has to do w/ a comment you made about the new smart lid, not allowing the same ability to use the rack in the upper position, like in this recipe, to make the 'roux'... So, while I believe you indicated that was optional, I'd still like to include it. Any suggestions, or workaround? Sorry for the long winded question.
Patrick from PHX says
p.s. couldn't find the ability to edit. But I gave away the original Foodi.
Louise says
That is such a good question and I haven't really done any experimenting with it, but if you could find a shallow container safe for pressure cooking you should be able to make it work. Or, you could try making a foil cup and then cover it and it should fit on the rack in the high position. Let me know how it goes!
LaRee says
I just made the roux on the stove because I didn't have a shallow enough pressure safe pan or dish that would fit. It only takes a couple minutes in a very small saucepan on the stove.
Eddie says
Off the Hook the Best Mac and Cheese I've ever had and made!!!!! Thank you so much!!!! You are Queen of the Ninja Foodi!
Missy says
I had some Gruyere cheese, so I used that instead of Gouda. It was the best mac and cheese we have ever had! So creamy, and the flavor was magnificent! Thank you for sharing your recipes!
Louise says
I'm so glad you liked it!
Paula says
Hi Louise
You are such an inspiration!!
Want to try your Mac n cheese but not sure what you mean by half n half ?
Half milk half water?
Half cream ?
Regards Paula UK
Louise says
Half and Half in the US is half cream and half whole milk. It might be called single cream in the UK. Hope that helps!
Renee says
After watching the video so many times I didn’t even need to follow the written recipe. This is delicious! The only thing I had to do differently was cook my roux on the stove. Husband said it’s awesome, and he’s a bit of a mac & cheese connoisseur.
Love your videos and love your recipes.
Louise says
That's wonderful! I'm so glad you enjoyed it!