

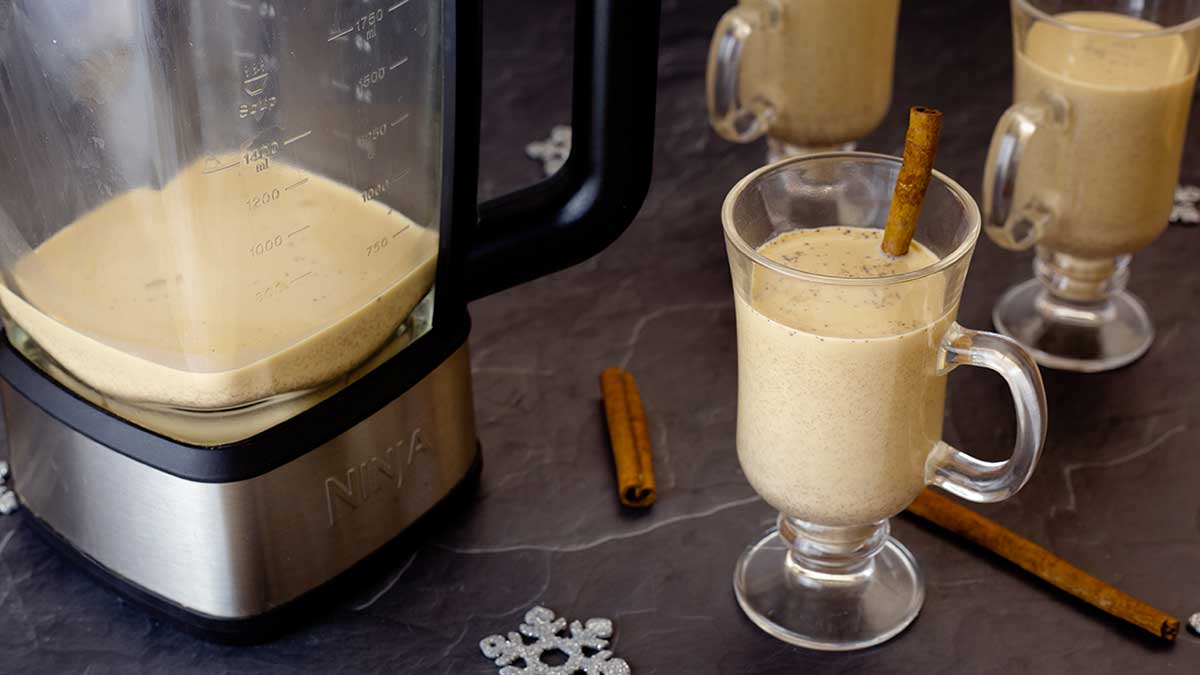
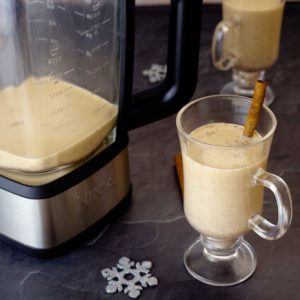
This recipe for Blender Eggnog is a PERFECT way to utilize your Ninja Foodi Cold & Hot Blender! Not only does it whip up perfectly, you can cook the eggnog, too!
Would you like to save this recipe?
My husband absolutely LOVES eggnog, me... not so much. There is something about the thickness and flavor of store-bought eggnog that I just don't like. Now that I have this wonderful Ninja Foodi Cold & Hot Blender, I decided to whip some eggnog for dear hubby and guess what?
It was delicious! I've become an eggnog lover, or at least a lover of this blender eggnog recipe!
This post may contain affiliate links. If you make a purchase after clicking a link, I may earn a small commission. As an Amazon Associate, I earn from qualifying purchases.
If you have been thinking about getting a Ninja Foodi Cold & Hot Blender and aren't sure if you would use it... this recipe might just convince you how incredible it is!
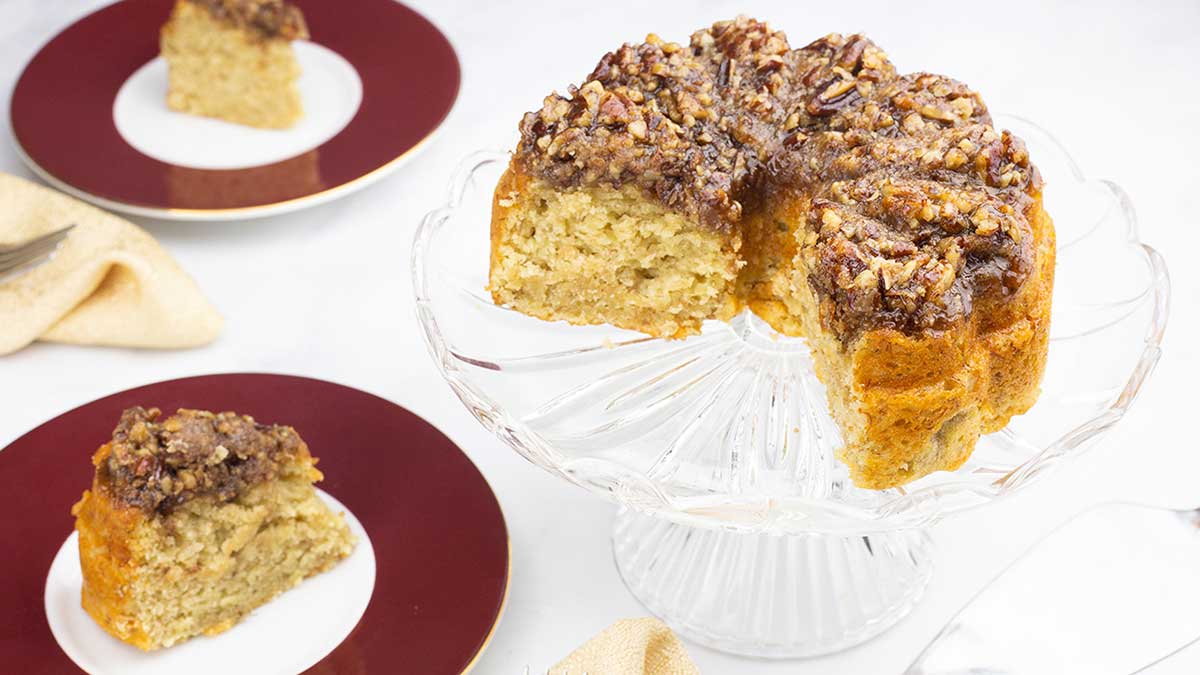
I have been enjoying the blender and using for soups, sauces, and even a praline topping for this incredible banana bread! You know what? This eggnog would be delicious served with the banana bread! Oh my!
So, let's get to the eggnog!
DO YOU HAVE TO COOK HOMEMADE EGGNOG?
No, you don’t have to cook it. You can throw the ingredients in a blender, blend them up and voilà… homemade eggnog. There are a couple of issues with this method that I wanted to quickly address.
The first issue is the one that I think most people will be asking about. That pesky bacteria called Salmonella. Let me start off by saying, the risk of a store-bought egg carrying the salmonella bacteria is very small. The FDA reports that 1 in every 20,000 eggs is contaminated with salmonella. That is a small percentage, but it won’t feel small if you happen to get that 20,000th egg!
This is why I wanted to only create a recipe for an eggnog that is cooked to ensure safety or at lease take those chances of getting sick from salmonella way down. So, I set out to do some research. How can I cook the egg mixture, kill the salmonella and NOT end up with scrambled eggs! That was the question.
Turns out, it’s pretty easy to do. After reading multiple articles about egg temperatures and killing salmonella, I kept seeing that 150°F/66°C will, in fact, kill 99.99% of salmonella if the egg mixture is held at that temp for 5 minutes.
You can also buy pasteurized eggs at the grocery stores and, if you are serving homemade eggnog to young children, older adults, or anyone with a weakened immune system, I would probably go this route and buy the eggs pasteurized AND cook the eggnog to 150°F/66°C for at least 5 minutes.
The other reason I suggested cooking your homemade eggnog is to thicken it. I found that cooking egg mixture for 30 minutes really helped thicken the homemade eggnog to a perfect thickness and the (affiliate link)Ninja Foodi Hot Cold Blender makes it so EASY!
CAN I MAKE BOOZY Blender EGGNOG?
Yes, Yes, Yes! I left this recipe without alcohol for simplicity sake, but you can add any kind or amount of alcohol you want. Some common types of alcohol added are bourbon, brandy, cognac, whiskey, dark rum and I’ve even seen peppermint schnapps added to some!
I had a bottle of pecan whiskey and thought I would give that a try. Oh my goodness, it was so good! I really recommend giving that a try if you want to make boozy homemade eggnog!
The brand I used is Revel Stokes Roasted Pecan Whiskey. I’m not a huge fan of it straight, but mixed in this blender eggnog it was perfection! I added ½ cup to a batch after the cooking process was complete.
Another pecan bourbon that I absolutely love and is superb even straight, is William Wolfe Pecan Bourbon. It’s a little harder to find and more expensive, but it is the BEST!
WHAT CAN I DO IF MY EGGS START TO COOK?
If you notice that your eggs are starting to cook, hit the pulse button and hold it for 5 seconds. Then remove the center piece from the lid of the Ninja Foodi Hot Cold Blender. You will also want to strain your eggnog before serving to remove any pieces of cooked egg.
How to Make Blender Eggnog in the Cold & Hot Blender
This recipe is for a small batch of eggnog, maybe 4 glasses or so, depending on the size. You can certainly double the recipe and have plenty of room in the blender, but it may take longer for your mixture to reach the 150°F/66°C.
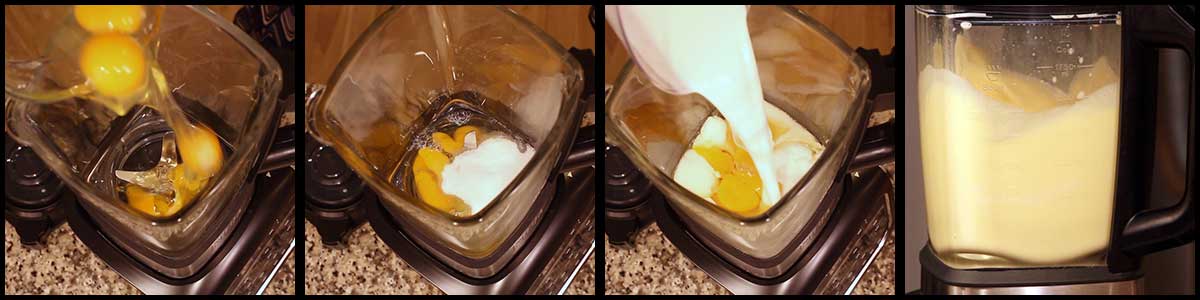
Add the cracked eggs to the blender, along with the sugar and half & half. Put the lid on the blender and select the pulse function. Hold the pulse button down for 5 seconds.
Select the cook mode and press low. Allow the blender to heat the egg and half & half mixture for 25 minutes, but make sure to hit the pulse button for 1 second every 5 minutes. This will prevent the egg mixture from cooking on the very bottom.
I like to take a temperature several times during the 25 minutes just to make sure the mixture isn't getting too hot. I have tested this recipe several times and feel very comfortable that you will be fine making it even if you don't have a thermometer. It takes just about 25 minutes to reach the desired temperature and then we want to hold it there to kill any salmonella that might be present.
After the 30 minutes, add in the spices, heavy cream, and vanilla. Select the smoothie function and when that is complete, your eggnog is done and ready to be chilled.

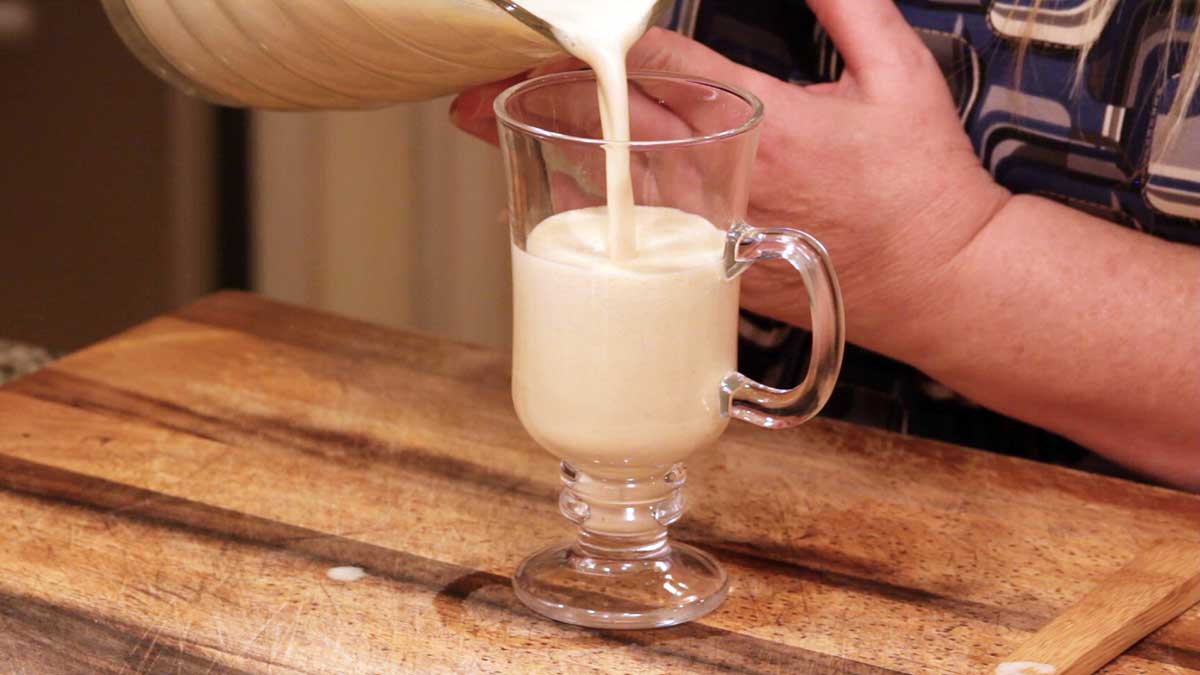
Transfer to a pitcher or other container and chill for at least 4 hours.
Serve & Enjoy!
Blender Eggnog in the Ninja Foodi Cold & Hot Blender
Equipment
- (affiliate link)Ninja Foodi Hot Cold Blender
Ingredients
- 5 large eggs
- ¼ cup sugar
- 1 cup half & half
- ½ teaspoon cinnamon ground
- ½ teaspoon nutmeg ground
- ¼ teaspoon cloves ground
- ½ cup heavy whipping cream
- ½ teaspoon vanilla extract
Would you like to save this recipe?
Instructions
- Crack the eggs into a small bowl or directly into the blender. Add the sugar & half and half and press the pulse button for 5 seconds.
- Select the cook function and choose the low setting. Every 5 minutes press the pulse button for just 1 second. Allow to heat for 25 minutes and check the temperature. By the 25 minute mark, the temp usually is 150°F/66°F and you want to hold that temperature for 5 minutes.
- After the eggnog is cooked and held for 5 minutes at 150°F/66°C, add in the heavy cream, spices, and vanilla extract. Select the smoothie button. Once that program is completed, your eggnog is ready to be chilled.
- Chill for at least 4 hours. Serve and Enjoy!
Notes
Nutrition
About the Recipe Author, Louise Long
Louise is a full-time recipe creator and food blogger @ The Salted Pepper. She has over 30 years of experience with cooking and recipe development. She owned a restaurant for several years and was a full-time RN until retiring to blog full-time.

She published her first cookbook in the Fall of 2018 and is very interested in writing several more.
Louise is also the creator of an online Ninja Foodi Pressure Cooking Course with over 100 instructional step-by-step videos. People absolutely rave about the course and all the value they have received from it.
Louise has several very active Facebook groups that help people with the basics of cooking and learning more about the appliances they love.
Ninja Foodi Pressure Cooker & Air Crisper 101
Ninja Woodfire Outdoor Grill & Smoker
Louise is also a YouTube creator and you can find most of her recipes in video format on The Salted Pepper YouTube channel.
She is very responsive to messages and eager to help in any way she can. Get more Information about Louise & contact information
I WOULD LOVE TO SEE WHAT YOU ARE COOKING UP IN YOUR KITCHEN! TAG ME @THESALTEDPEPPER ON YOUR FAVORITE SOCIAL MEDIA PLATFORM WHEN YOU MAKE A DISH!
BE SURE TO FOLLOW THE SALTED PEPPER RIGHT HERE ⇓⇓⇓⇓⇓
Jennifer Marsden says
Please can you tell me how to hold at a temperature for 5 mins?
Jean Castaldo says
Eggnog makes awesome French Toast!
M Chevalier-Seawell says
I hate eggs, but have been obsessing over them for a week. Decided my body is trying to tell me something. I remembered this recipe. So, not feeling well, I set up the Hot and Cold on a board on the table so I could sit for the 30 minutes. Couldn’t remember how you set the cook, low...burned the eggs in first min while looking at all the buttons. But, I strained it after the 150 degrees part. Washed the H &C. Knocked over the vanilla. Spot cleaned table cloth. Then made smoothie segment. The moral is I have great eggnog in fridge from your recipe, but probably wiser to forego eggnog when not feeling well. LOL.
Louise says
Oh no! I'm sorry for all the mishaps, but so glad you liked the eggnog in the end.
Amber Meyer says
This eggnog is spot on. I bought a store brand to compare against and hands down this eggnog was the winner. Not overly sweet and perfectly balanced with the right spices. I will be making this again (and again). Super easy to make and delicious.
Louise says
I'm so glad you enjoyed the eggnog!