
Homemade Eggnog is so incredibly easy to make and the flavor is AMAZING!
Would you like to save this recipe?
Confession time! I don't really like eggnog. I never have. It's always too thick and just has a weird taste to me. My husband LOVES it and always picks up a container or two around the holidays.
This post may contain affiliate links. If you make a purchase after clicking a link, I may earn a small commission. As an Amazon Associate, I earn from qualifying purchases.
This year, I decided to make it in the Ninja Foodi Hot Cold Blender and I was pleasantly surprised at how good it is! My recipe is a little thinner (but not much) than most store-bought eggnogs and the flavor is simply amazing. I was such a fan of this homemade eggnog that I decided to do a double batch in the Ninja Foodi Pressure Cooker & Air Crisper and WOW!
It's super easy and you can make a huge batch by doubling or even tripling the recipe. This is a cooked version of eggnog, so no worries about using raw eggs!
Do you have to Cook Homemade Eggnog?
No, you don't have to cook it. You can throw the ingredients in a blender, blend them up and voilà... homemade eggnog. There are a couple of issues with this method that I wanted to quickly address.
The first issue is the one that I think most people will be asking about. That pesky bacteria called Salmonella. Let me start off by saying, the risk of a store-bought egg carrying the salmonella bacteria is very small. The FDA reports that 1 in every 20,000 eggs is contaminated with salmonella. That is a small percentage, but it won't feel small if you happen to get that 20,000th egg!
This is why I wanted to only create a recipe for an eggnog that is cooked to ensure safety or at lease take those chances of getting sick from salmonella way down. So, I set out to do some research. How can I cook the egg mixture, kill the salmonella and NOT end up with scrambled eggs! That was the question.
Turns out, it's pretty easy to do. After reading multiple articles about egg temperatures and killing salmonella, I kept seeing that 150°F/66°C will, in fact, kill 99.99% of salmonella if the egg mixture is held at that temp for 5 minutes.
You can also buy pasteurized eggs at the grocery stores and, if you are serving homemade eggnog to young children, older adults, or anyone with a weakened immune system, I would probably go this route and buy the eggs pasteurized AND cook the eggnog to 150°F/66°C for at least 5 minutes.
The other reason I suggested cooking your homemade eggnog is to thicken it. I found that cooking egg mixture for 30 minutes really helped thicken the homemade eggnog to a perfect thickness.
Can I make Boozy Homemade Eggnog?
Yes, Yes, Yes! I left this recipe without alcohol for simplicity sake, but you can add any kind or amount of alcohol you want. Some common types of alcohol added are bourbon, brandy, cognac, whiskey, dark rum and I've even seen peppermint schnapps added to some!
I had a bottle of pecan whiskey and thought I would give that a try. Oh my goodness, it was so good! I really recommend giving that a try if you want to make boozy homemade eggnog!
The brand I used is Revel Stokes Roasted Pecan Whiskey. I'm not a huge fan of it straight, but mixed in this homemade eggnog it was perfection! I added 1 cup to a batch after the cooking process was complete.
Another pecan bourbon that I absolutely love and is superb even straight, is William Wolfe Pecan Bourbon. It's a little harder to find and more expensive, but it is the BEST!
What can I do if my eggs start to cook?
If you notice that your eggs are starting to cook, remove the inner pot from the Ninja Foodi base and whisk constantly until the temp decreases. You will also want to strain your eggnog before serving to remove any pieces of cooked egg.
How to make Homemade Eggnog in the Ninja Foodi
It really doesn't get any easier than this. Add your eggs to the inner pot with the sugar & half and half and whisk while heating on low sear/sauté. I used a (affiliate link)Silicone Whisk from Pampered Chef. If you don't have a silicone or nylon whisk that won't scratch the inner pot, simply whip up the eggs before pouring them into the inner pot.

Then you can use a wooden spoon or any other utensil to stir that won't scratch the inner pot. You want to stir frequently to prevent any of the egg mixture from heating up too much on the bottom. This can cause the egg to set and you will end up with lumpy eggnog. Not good.
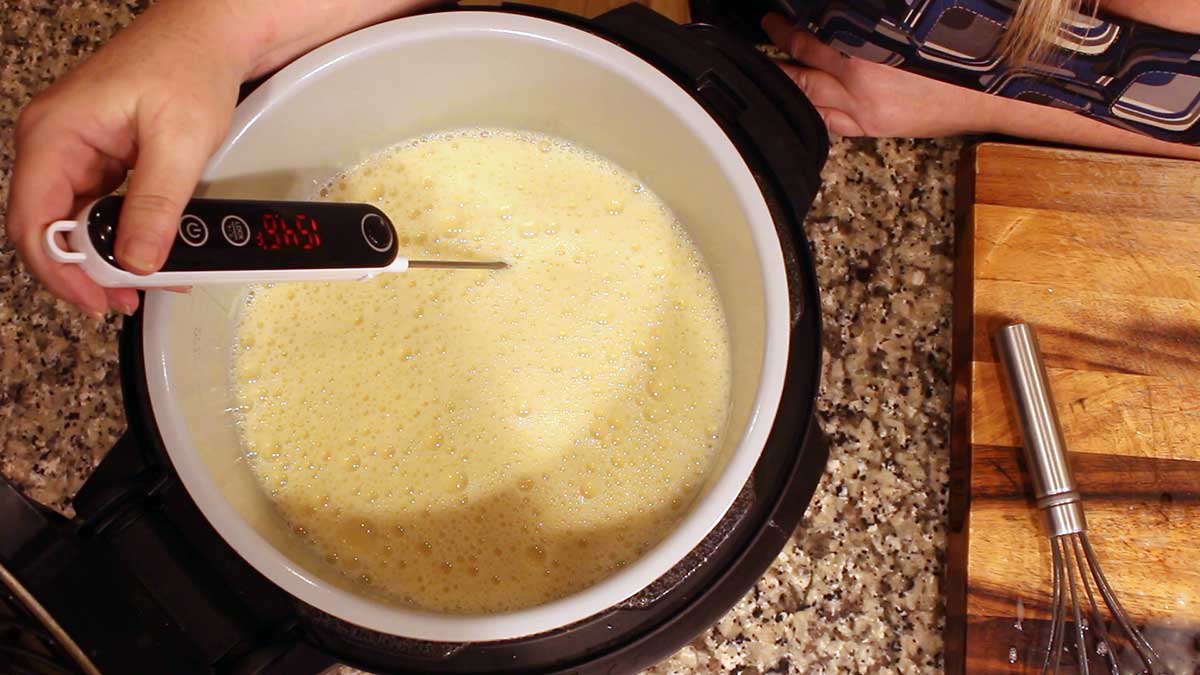
Use a reliable thermometer to monitor the temp of the mixture frequently. You want to bring it up to 150°F/66°C, but not go over 160°F/71°C or your eggs could start to set. I recommend staying on low sear/sauté for 20 minutes and then if you still aren't up to the 150°F/66°C, go up on the heat to low-medium, but watch it carefully and stir continuously. The heat will rise very quickly. The thermometer I use is an inexpensive one from ThermoPro. You can find it (affiliate link)HERE.
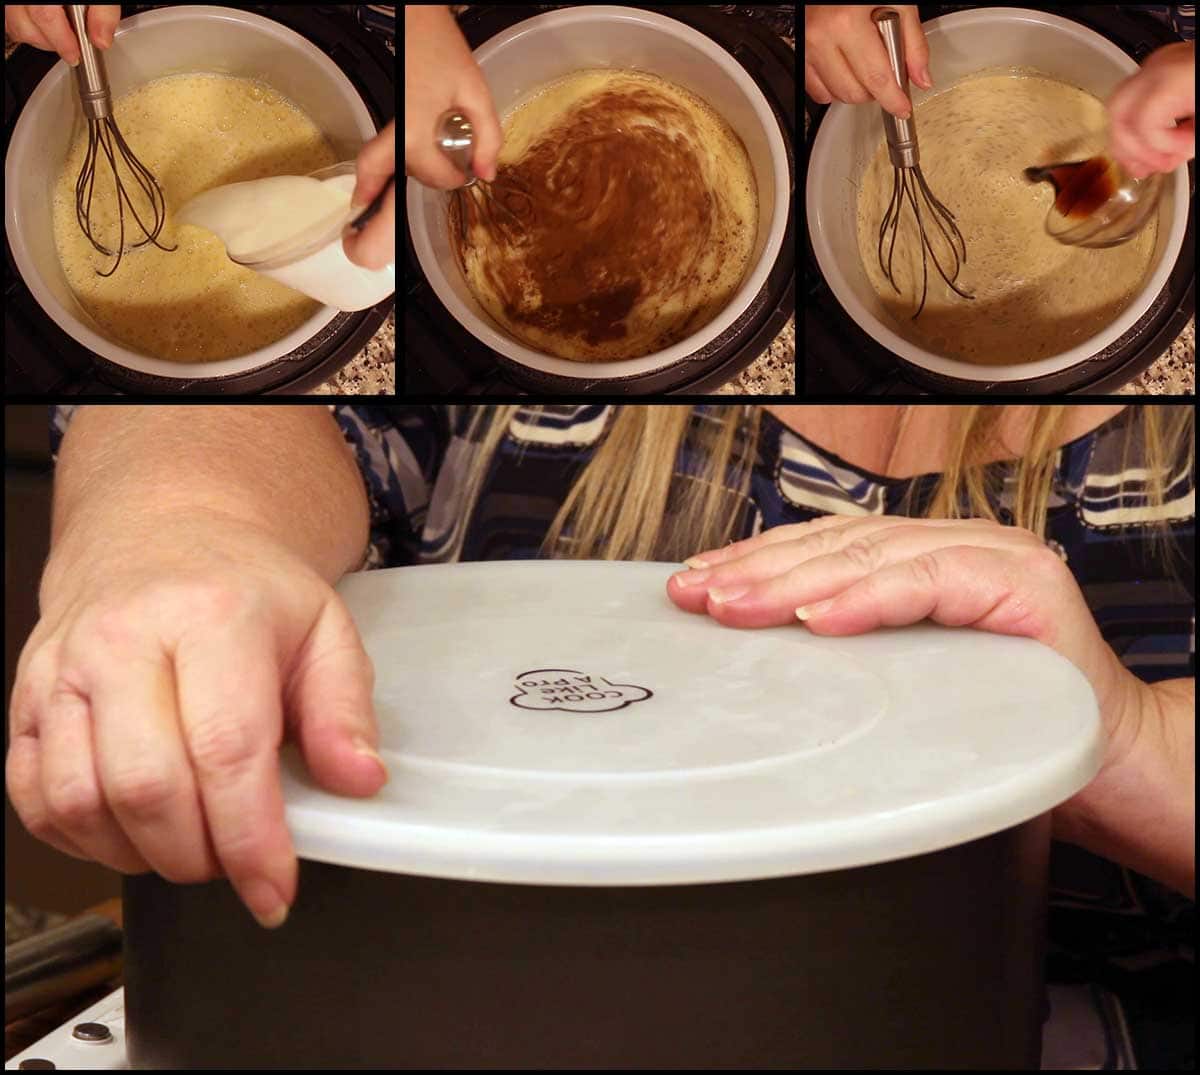
Once it reaches 150-155°F/66-68°C, turn the heat back to low and stir. Hold the temp of at least 150°F/66°C for 5 minutes. This will kill 99.99% of any salmonella that might be present. Turn the heat off and add the remaining ingredients. Whisk to combine and refrigerate for at least 4 hours. I have found that the eggnog really thickens up and has more flavor if it sits overnight in the fridge. I chill it right in the inner pot and put this handy (affiliate link)Silicone Lid on it.
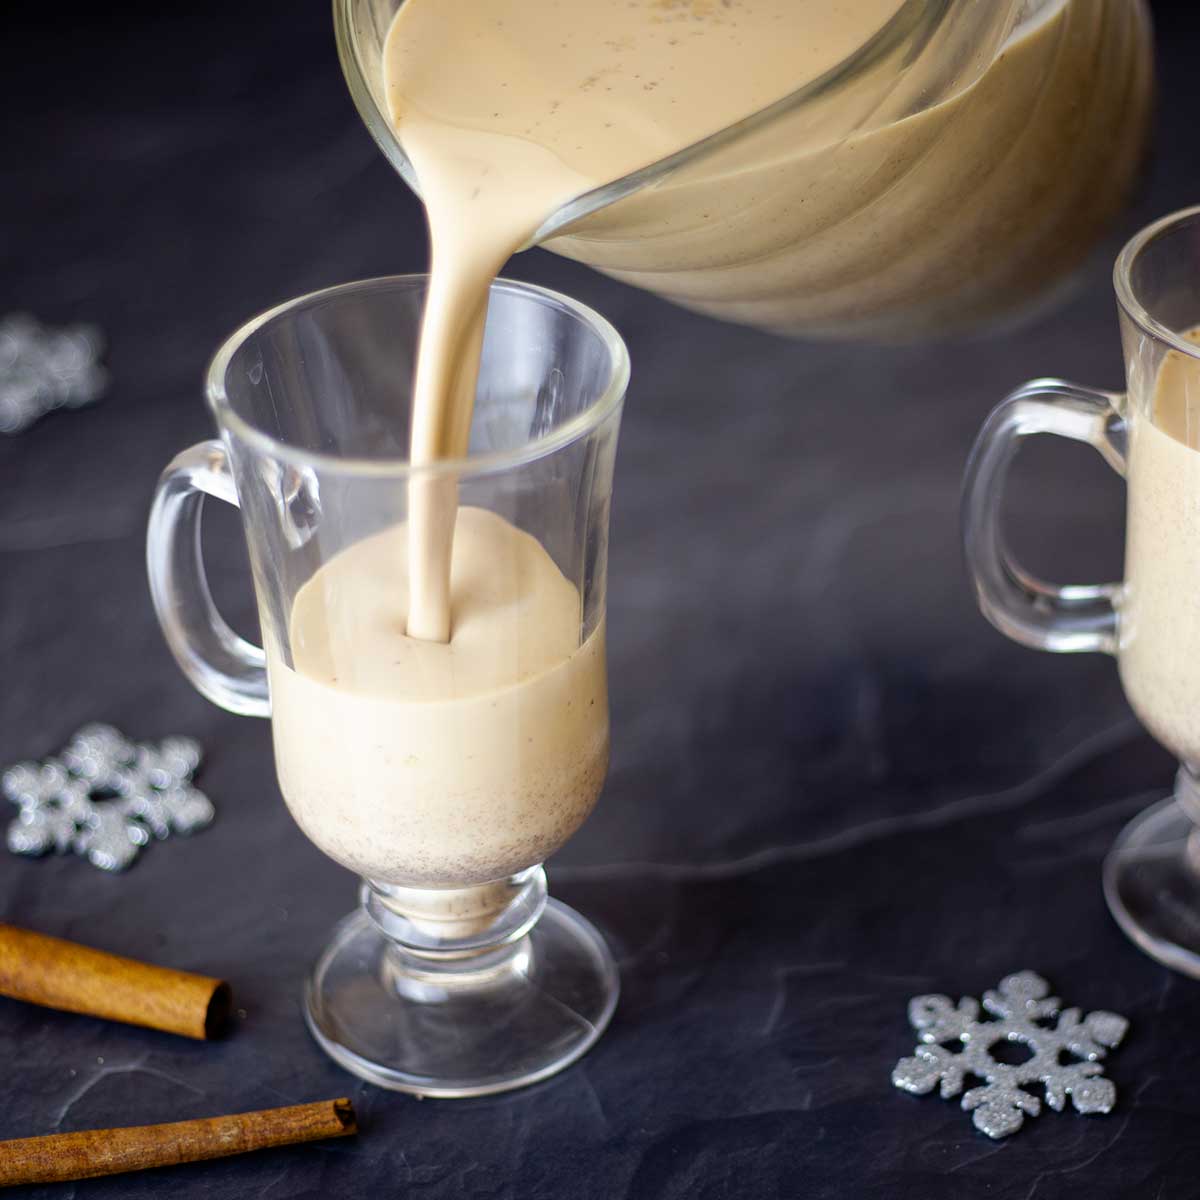
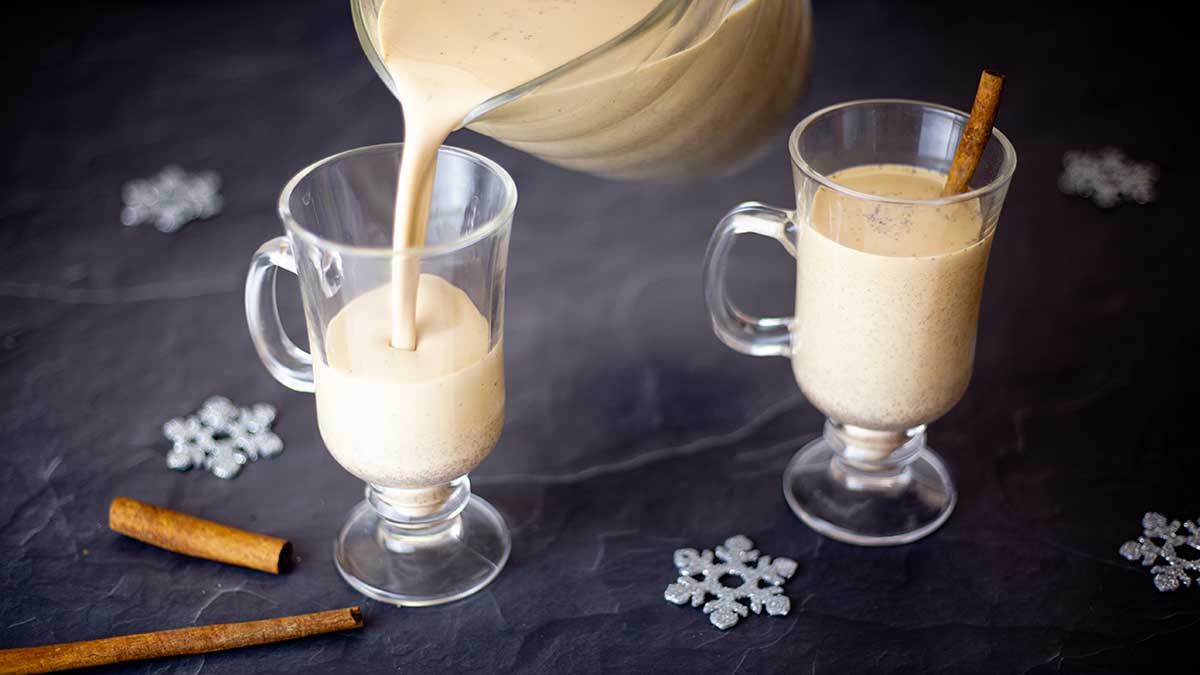
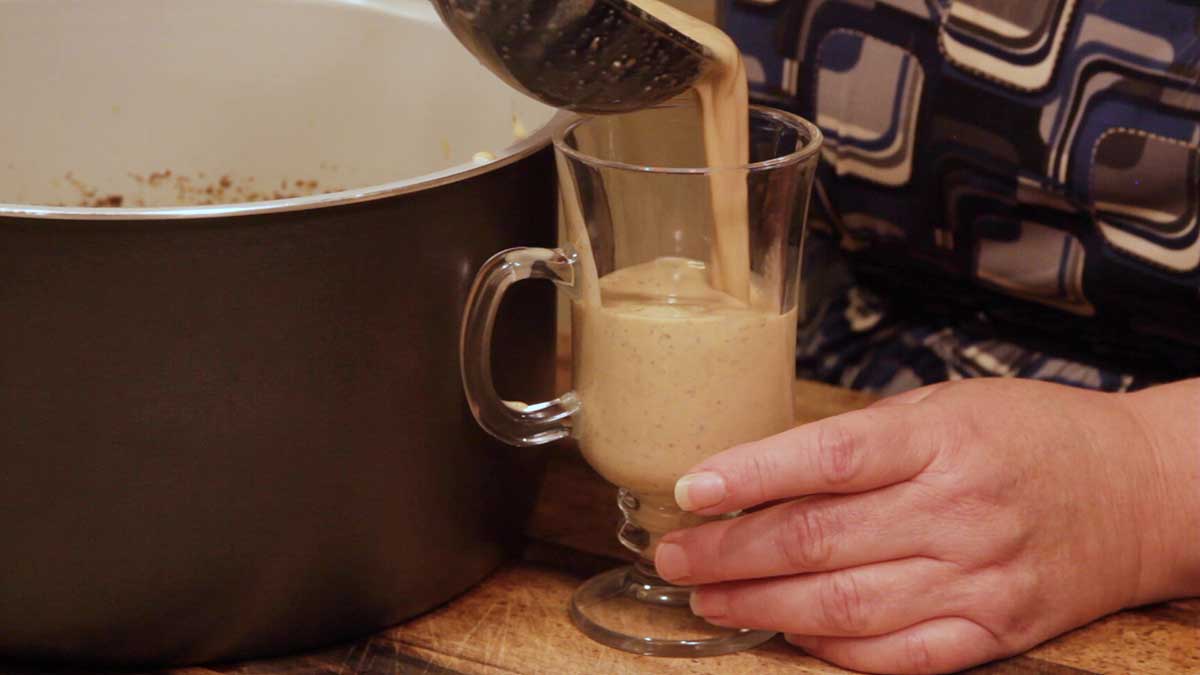
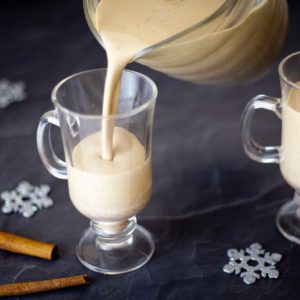
Serve & Enjoy!
Homemade Eggnog
Ingredients
- 10 large eggs
- ½ cup sugar
- 2 cups half & half
- 1 teaspoon cinnamon ground
- 1 teaspoon nutmeg ground
- ½ teaspoon cloves ground
- 2 teaspoon vanilla extract
- 1 cup heavy whipping cream
Would you like to save this recipe?
Instructions
- Crack the eggs into the Ninja Foodi inner pot, add the sugar and half & half. Turn the Ninja Foodi on low sear/sautè.
- Use a Silicone Whisk to whisk up the eggs and half & half. If you don't have a silicone whisk, whip up the eggs before you add them them to the inner pot.
- Allow the pot to heat the mixture to 150°F/66°C. This usually takes about 25 minutes and you want to whisk or stir frequently to prevent any of the egg mixture to cook on the bottom.
- If your mixture is not coming up to 150°F/66°C by the 20 minute mark, increase the heat to low-medium and stir constantly. Bring the temp up to 150-155°F/66-68°F and then take the temperature down to low again and hold the temp at 150°F/66°F for 5 minutes. If your mixture starts to get higher than 160°F/71°F, remove the inner pot so the temp doesn't get any higher and set the eggs. Stir constantly.
- Add the spices, vanilla extract, and heavy whipping cream. Whisk to combine. Chill for at least 4 hours. Serve and Enjoy.
Notes
Nutrition
ABOUT THE RECIPE AUTHOR, LOUISE LONG
Louise is a full-time recipe creator and food blogger @ The Salted Pepper. She has over 30 years of  experience with cooking and recipe development. She owned a restaurant for several years and was a full-time RN until retiring to blog full-time.
Louise has several very active Facebook groups that help people with the basics of cooking and getting the most out of the Ninja Foodi.
Ninja Foodi Fresh & Healthy Meals
Seeing the need for easy, delicious, and high quality recipes, she is focusing all of her efforts creating recipes specifically for the Ninja Foodi. Her recipes are easy for the home cook to follow and provide step-by-step instructions.
Louise is also a YouTube creator and you can find most of her recipes in video format on The Salted Pepper YouTube channel.
She is very responsive to messages and eager to help in any way she can.
Regina Haynes-Brown says
If I don’t have a Ninja Foodi, can I use this recipe in a regular pot on the stove?
Louise says
Yes, absolutely!
Amy Gawelko says
Most of the other recipes, use just the egg yolks. I was going to make meringue cookies with the whites. Now I don't know what to do.
Louise says
You can just use the yolks, I just didn't want to have 10 egg whites leftover
Miriam says
Can this homemade eggnog be frozen? If so, will the mixture separate when thawed? How do I remedy if that happens?
Louise says
That's a good question and while I've never frozen it, I don't see that being a problem. There should be enough fat in the recipe to keep it a good consistency when thawed, but if it is separated I would just blend it up before serving. Please let me know if you try it!
Miriam says
I think I will try it. Thank you for responding. I read that same advice online so its probably pretty accurate that blending it would work if it separates. So excited to make it! I actually plan on making a giant list of recipes you have created. I bought your fall recipe book and am thrilled to be making a lot of whats on that list for thanksgiving.
Louise says
I hope you enjoy the recipes!
Miriam says
Im trying to interact with the recipe book from the flavors of fall file and it says I need a password in order to "make any edits". Also, I tried clicking the link for the private Facebook group and was unable to be sent to it. I tried looking for the private Facebook group but I'm guessing because its private I may not be able to find it.
Louise says
It's a locked document, so you can't make edits, but you can write notes at the bottom of each recipe. Please send me an email and I'll send you the link to the FB group. louise@thesaltedpepper.com
Kelly says
did a second batch with better luck but found that my heating element is apparently very different than yours in that it got very hot pretty fast and got hotter quickly and started cooking the eggs on the edges so I removed from heat and watched from there. The flavor is very good.
Louise says
Were you using the Ninja Foodi on low? I'm very sorry yours heated up too fast. I wonder why they would be different. Was it the 8 qt by chance? I didn't test the recipe in the 8 qt and maybe I should. Thanks for the feedback, I really appreciate when people let me know if they run into issues with any of my recipes. It helps everyone! I'm so glad you liked the flavor!
Kelly says
Not sure how to rate yet -just cooked up the first part of egg mixture and it seems VERY thick to me .. almost like thin grits so I'm hesitant to waste the cream on it. I did as described and whisked the entire time and watched the temp carefully with candy thermometer. Is this the consistency that it should be before adding the spices and cream?
Louise says
I just responded to your other comment. Can you tell me what your temp was reading with the candy thermometer?