

Before you set out to make your own Homemade Caramel Apples, it's important to know some crucial details, tips, and tricks, so that your experience is a fun and stress-free one!
Would you like to save this recipe?
I've been making candy and caramel my entire adult life. Never did I think that making homemade caramel apples would be so challenging, but it was!
From issues with crystallization to pooling caramel, nothing seemed to go right. I kept at it and asked my Facebook groups for guidance, which they gave in abundance!
This post may contain affiliate links. If you make a purchase after clicking a link, I may earn a small commission. As an Amazon Associate, I earn from qualifying purchases.
After taking in all of the suggestions and advice and comparing it to what I had already tried, I was well on my way to making beautiful homemade caramel apples.
There are so many factors that come into play when making homemade caramel apples that I urge you to read through this entire post before making them for the first time. This is not the time to use the "jump to recipe" button.
Before I get into all the tips and tricks, let's go through some questions that I know people are going to have.
Frequently Asked Questions
In my experience, they will last a few weeks if they are refrigerated and not exposed to high levels of humidity.
In this recipe, the caramel is cooked to a soft and tacky stage. Even when fully chilled and set, the caramel is tacky to the touch. This might make it difficult to wrap in plastic without the plastic getting stuck to the caramel. If you don't mind a harder caramel coating, then cook your caramel to soft crack stage and, when set, they will not be tacky.
Yes, of course! I understand that the wrapped caramels work great. I have not tried it, though, and I'm not sure how many bags you would need to unwrap to have enough caramel for dipping. Probably 2-3, depending on the size of the bag. You would want to add a touch of cream to the unwrapped caramels, and then melt over a low/medium heat.
The KEY Factors in Making Homemade Caramel Apples
There are several key factors that you need to think about when making homemade caramel apples.
Temperature, Temperature, Temperature!
I can't stress this enough. Temperature plays a key role in having a successful outcome. Temperature of the caramel when making it, temperature of the caramel when dipping the apples, temperature of the apples, and the temperature in your house will all play a role in this process.
I strongly recommend having a thermometer that is fast and reliable before setting out to make caramel apples. A candy thermometer will work just fine, but I have never found one that I like. If you have suggestions, please let me know!
Instead of a candy thermometer, I use my instant read thermometer. The best instant read thermometer that I've found is the (affiliate link)Thermapen Mk4.
Temperature of the Caramel
When making caramel, you heat it to various temperatures to get the texture that you want. You will read tons and tons of varying information on what is the best temperature for making the caramel for dipping your apples into.
It all gets quite confusing, when one recipe says to heat it to 235℉ and another recipe says 245℉. Believe it or not, that 10 degree temperature difference makes a HUGE difference.
I took the caramel temperature up to 250℉/151℃ on one of the batches and they were gorgeous! I mean gorgeous! Shiny, thick caramel that was not sticky at all. I could even wrap them in a plastic bag and they didn't stick.
However, eating them was a nightmare! The caramel was too hard to be enjoyable. It tasted great and looked great, but was very hard to eat.
After many test batches of these homemade caramel apples, I can tell you that the temperature that works the best is between 245-247℉/118-119℃ IF you want a soft, chewy caramel.
Temperature of the Caramel when Dipping the Apples
This is something that I didn't pay enough attention to when first setting out to make caramel apples. Sure, I let the caramel cool and thicken, but not nearly enough.
Thanks to some wonderful people in my Facebook groups, I learned that this is a crucial step for success. If the caramel is too warm when you dip your apples, they will look great for about 5 minutes and then you will see all the caramel dripping right off the apple. Even if you refrigerate them!
So, make sure to cool your caramel down to about 190℉/88℃ before dipping. Don't worry if it cools down too much, you can always reheat it over low heat using the sear/sauté function on the Ninja Foodi or low heat on the stove.
Temperature of the Apples
I heard various thoughts on whether the apples should be refrigerated or kept at room temperature before dipping in the caramel.
I tried it both ways and found that the refrigerated apples worked a little better than room temperature ones, BUT you have to dry them off first.
When you remove the apples from the fridge and the air in your house is warmer than the fridge, moisture will form on the surface. If you don't dry off the surface of the apples, your caramel will not stick.
This leads me into another factor in making Homemade Caramel Apples.
Humidity, Humidity, Humidity!
Humidity plays a key role in all kinds of candy making, but I found it especially true with these caramel apples.
Several things happened while testing this recipe and most of my fails were because I didn't manage the humidty well enough.
Once I got the temperatures down, I thought I was good to go. I dipped 6 apples and they were gorgeous (except for the color of the apple, which I will get into next).
The caramel was thick and glossy and coated the apples perfectly. I did what I always do with candy and let them set up on the counter.
When I woke up in the morning, all the caramel was pooled on the parchment and not a drop of it was still on the apples. WHY? Because it was humid in my house! I had the AC off because the temperatures were in the 70's, but it was humid outside and inside.
Caramel does NOT like humidity! I know this, but I simply didn't think about it because it didn't feel humid in my house.
Now, there is humidity in the fridge as well, but as long as you are using a refrigerator inside your house, the apples will do very well refrigerated.
I don't recommend using an outdoor refrigerator though. I have a huge commercial refrigerator in my garage and it works perfectly, for most things! It did not work for my 6 beautiful candy apples that I made.
I thought I had finally worked out all the issues and had 6 beautiful caramel apples. I was filming the video and needed to make room in my indoor refrigerator, so I moved the six apples on the tray to my outdoor fridge.
The next day, all the caramel was pooled at the bottom. Keep in mind that they lasted 2 days in my indoor fridge, so I know the caramel and apples were not the issue. It was the outdoor fridge.
When at all possible make your caramel apples on a dry, cool day or a day where you are running the AC.
Gravity, Gravity, Gravity!
I put this section in because I don't want anyone to have unrealistic expectations. I know I did when I first went into this caramel apple making experience and I hope to save you from the frustration I experienced.
Not every apple is going to be perfect and that's okay. Out of the 18 apples I made AFTER I corrected all my early issues, maybe 8 of them were what I would consider perfect.
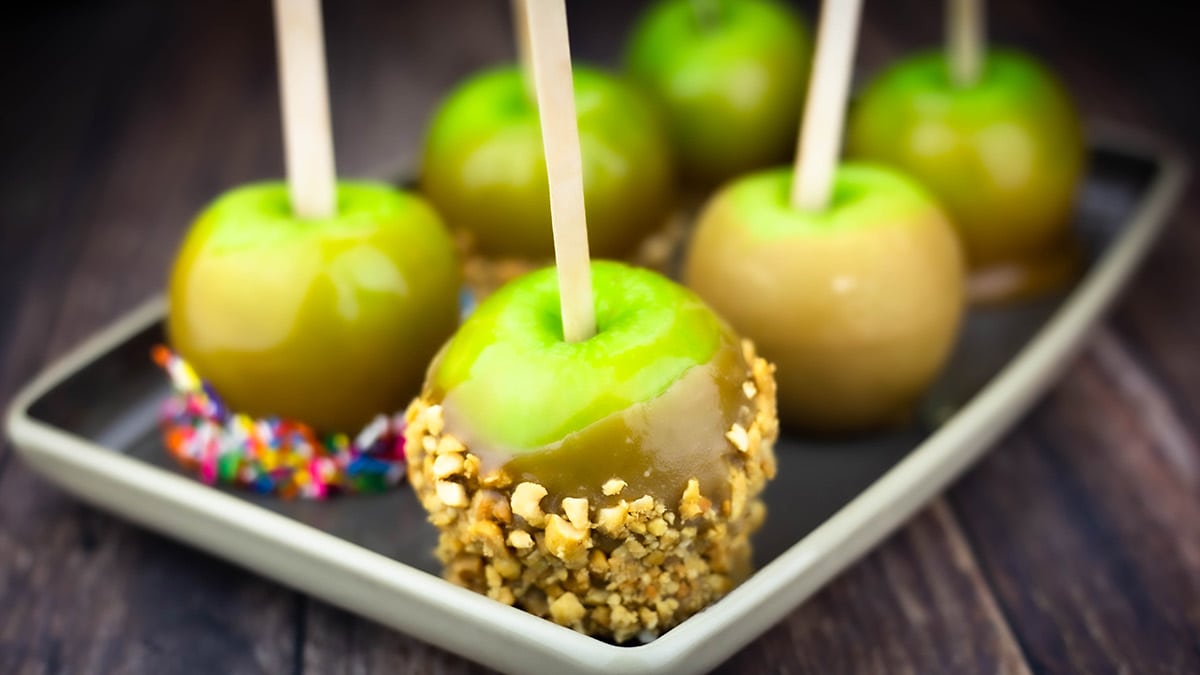
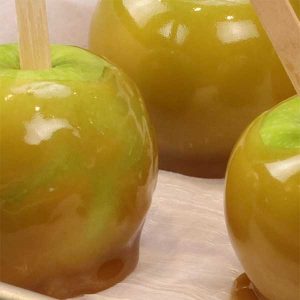
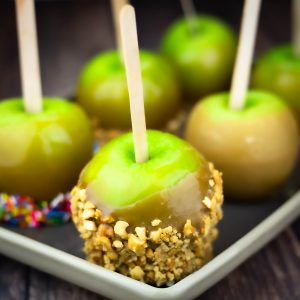
In the main photo for this post, you don't see 6 perfect apples and that's because I put some of the perfect ones in that outdoor fridge that ended in disaster.
Even when you do everything right, have cold, wax-free, dry apples and the correct dipping temperature of the caramel, some of the caramel will pull down towards the bottom of the apple. It's gravity and, while there are a few things you can do to help this, it's doubtful that you will prevent it on all of the apples you make.
Some tips to try when dipping your apples to help the caramel set before you put the dipped apple on the buttered parchment is to hold the apple upside down for a few minutes and/or dip the apple in a cold ice water bath for a few seconds.
Both of these techniques worked fairly well for me, but I ended up just holding them upside down in the video.
Dipping the apples once, instead of twice will also help because the caramel isn't going to be as heavy. However, I would rather have some pooling caramel at the bottom than not having a thick enough caramel coating, so I continue to dip them twice.
That is simply my preference, though.
What Apples Should I Use for Caramel Apples?
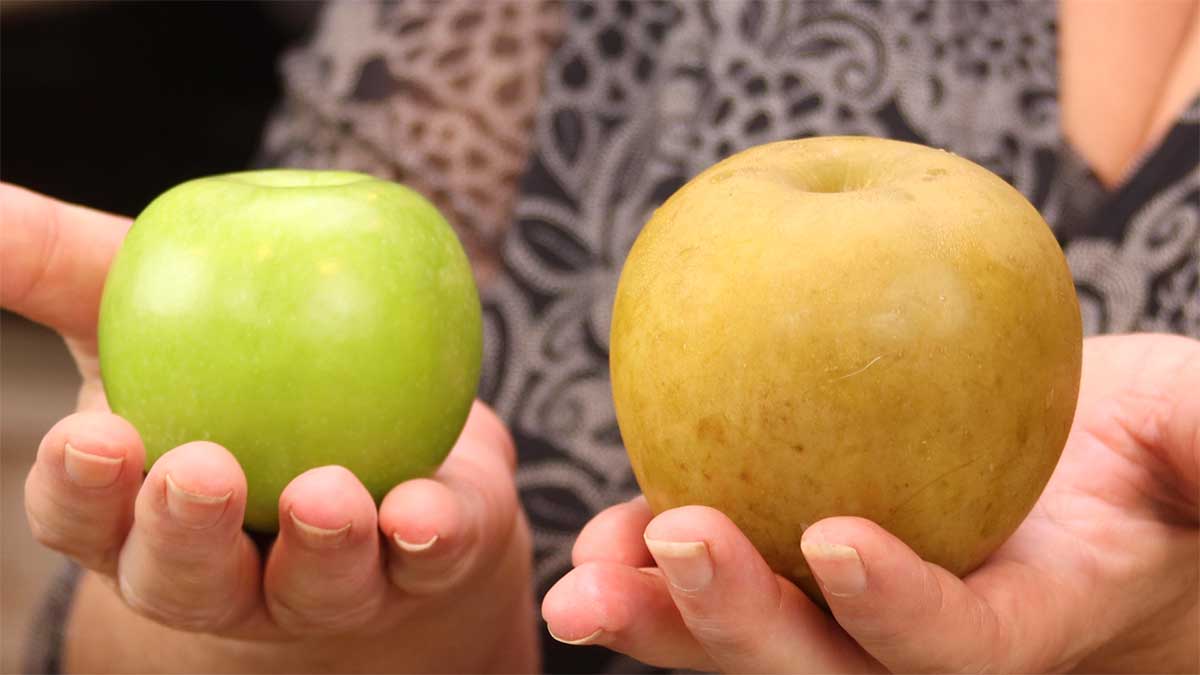
The type of apple you use is completely up to you, but most common are Granny Smith apples because the tart compliments the sweet of the caramel.
You can use whatever type of apple you like the most and it will be fine, but I do suggest picking smaller apples because they are much easier to work with and cover with the caramel.
More important than type or even size is the condition of the apple. You want to choose apples that do not have any cuts in them. Inspect the apple and make sure there aren't any areas where the skin has been compromised.
If there is a place on the apple where the skin is not intact, the juice from the apple can leak out and this will dissolve the caramel in that area.
Can I Cut the Apples into Wedges and Dip Them in the Caramel?
Wouldn't that be nice and easy! It won't work, though. The caramel is not going to stick to the cut apple because of the juices.
You can, however, alter the recipe and make more of a caramel dip by adding more cream at the end. This extra cream will prevent the caramel from hardening and setting up.
I would add about ½ cup of heavy cream to the finished caramel and keep the caramel dip warm until you are ready to serve it.
How to Prep the Apples for Homemade Caramel Apples
Perhaps I should have started with this topic, since it was the first disaster I encountered!
Although I've been making candy for many years, I had never made caramel apples before. So, I always do research on the internet before setting out to make something for the first time.
I spent about an hour or so reading all the different ways to prep your apples before dipping them in the caramel. The prep is important because store-bought apples almost always have a food grade wax coating.
Yes, even organic ones! Now, if you are lucky enough to have an apple tree or a local farmer's market or an apple orchard nearby, you won't have to worry about the wax removal. For most of us, this is something we have to deal with.
I read that a few things can happen if you don't remove the wax, the biggest one being that the caramel won't stick. Now, in all my batches of caramel apples, for some reason I never tried to dip a waxed apple, so I can't say for sure if the caramel slides off or not. It made sense to me that it would, so I didn't question the recommendations to remove the wax.
The other thing that people talked about was the wax creating bubbles in the caramel. That makes sense to me, as well, so I wanted to remove the wax.
The most popular method that was recommended is to boil water or a water/vinegar mix and dunk the apples into the boiling water for 8-10 seconds, remove them and put them into an ice water bath.
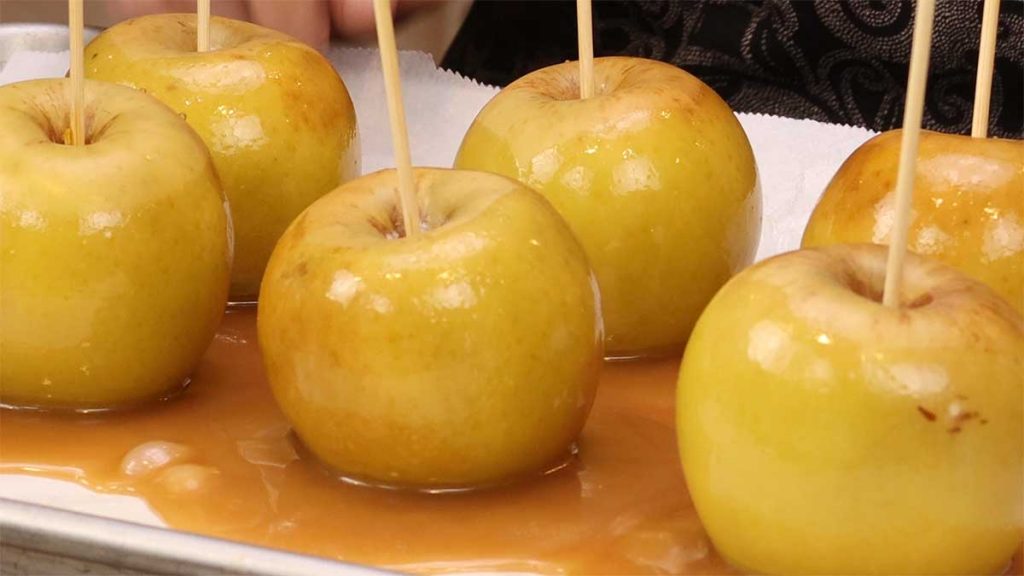
Sounds reasonable and easy, so I decided to use a water/vinegar mix and it worked! It was cool to see the wax floating off in the ice water bath and I was onto the next step. I dried the apples really well, made the caramel and I noticed the color of my apples changing to this puke green color. It was horrid. I thought maybe I used too much vinegar which caused the discoloration.
Okay, no problem. I'll just use boiling water. It worked the same and the wax floated off. I was very careful not to keep them in the boiling water for more than 8 seconds this time and I kept them in the ice bath for a good 10 minutes before drying them. So far, so good. They were bright green and beautiful.
I proceeded with dipping them and they were gorgeous... but that only lasted a short time. Those bright green apples started turning a muted shade of green right before my eyes. I'm not going to pretend I didn't cry, because I did.
How could I be failing so badly??? I read everything I could on the internet, I was prepared, yet still failing. I realized a little too late that even dipping the apples in the hot water for just a few seconds is enough to start to cook the skin. That was why they were turing the gross green/yellow color.
Why NO ONE mentioned this in their recipes when suggesting to dip the apples in hot water is beyond me. I'll never understand why that detail didn't seem important, but I must move on.
The next day, I woke up and tried again, but with a different method for removing the wax.
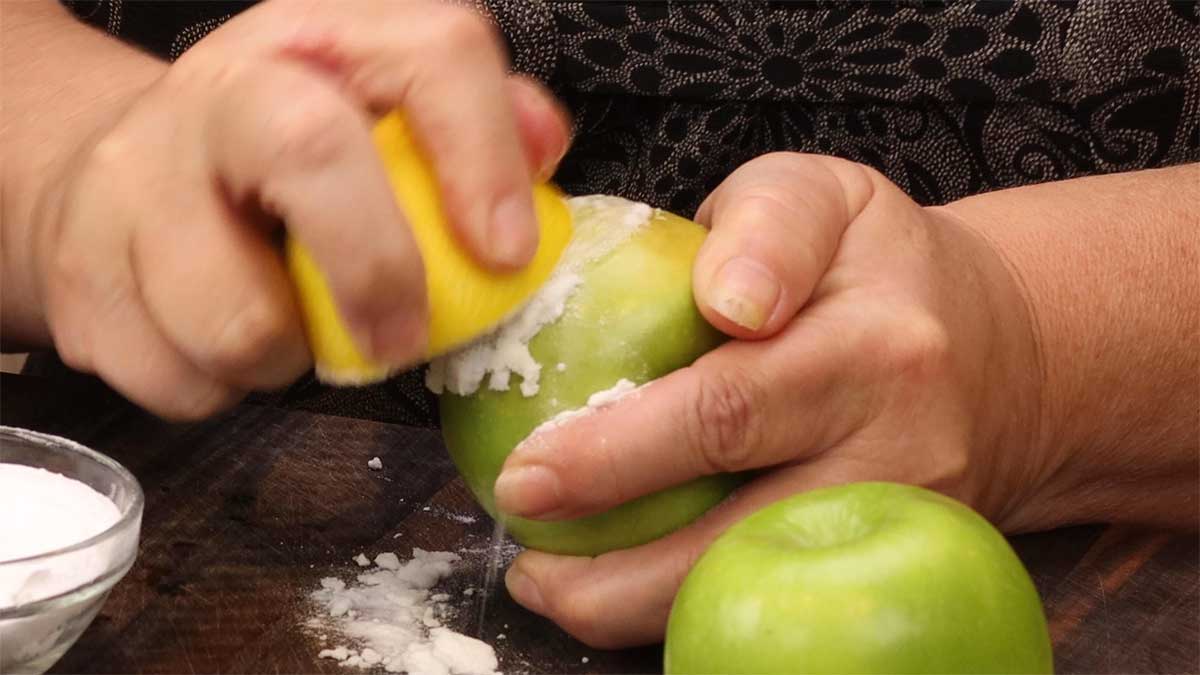
This time, I used a lemon cut in half and dipped in baking soda. With this method you can't see the wax floating off, so I wasn't sure if it worked, but the caramel would let me know in a bit.
I dipped them in the caramel and it stuck! I did have a few bubbles, so who knows if the wax was completely gone and, honestly, I didn't care! I had my first successful batch of caramel apples where the apples stayed vibrant green.
So, my suggestion is NOT to use the boiling water method, and instead use the lemon and baking soda OR another method that doesn't involve heat.
Also, make sure to rinse the apples really well to remove all of the baking soda.
How to Dip the Caramel Apples into Nuts or Other Toppings
Yes, I failed at this the first 2 times! The caramel apples were beautiful with peanuts and rainbow sprinkles for about 5 minutes. Then the nuts and sprinkles pulled the caramel down and most of the nuts/sprinkles ended up at the bottom of the apple. It was so frustrating!
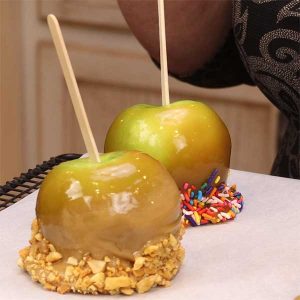
In fact, I told Jeff I wasn't even going to put nuts or sprinkles on them when I filmed the recipe, but my friend, Amber, said she had faith that I could figure it out, and I can't let Amber down!
So, I figured it out. The main reason I failed the first two times was because my caramel was too hot. See the section on temperature above for details on that. You HAVE to let the caramel cool down and set just enough, but not too much or the nuts won't stick.
The easiest way I found to do this was to dip my apples twice in caramel. The first time I dipped them, I let them set up in the fridge for about 5 minutes before dipping the second time.
While this isn't absolutely necessary, I found it easier.
The other reason I failed is because I didn't crush my nuts fine enough. I had large pieces of the nuts and the weight of them also helped pull them towards the bottom of the apple, and they took the caramel with them.
I also found that putting a thin layer of the topping on a flat plate works better than a bowl and you tap your caramel coated apple in the topping.
You can get creative when decorating your caramel apples and use any kind of toppings you like. Just make sure they aren't too heavy!
How to Make Homemade Caramel Apples
Please read all the above tips before starting, so you can plan your time accordingly. Although it doesn't take long to make the caramel apples, you do need to plan for refrigeration time.
Clean and remove the wax from your apples. I used a lemon cut in half that I dipped in baking soda and that seemed to do the trick. Wash all of the baking soda off of the apple, dry it well and place in the refrigerator for at least 2 hours.
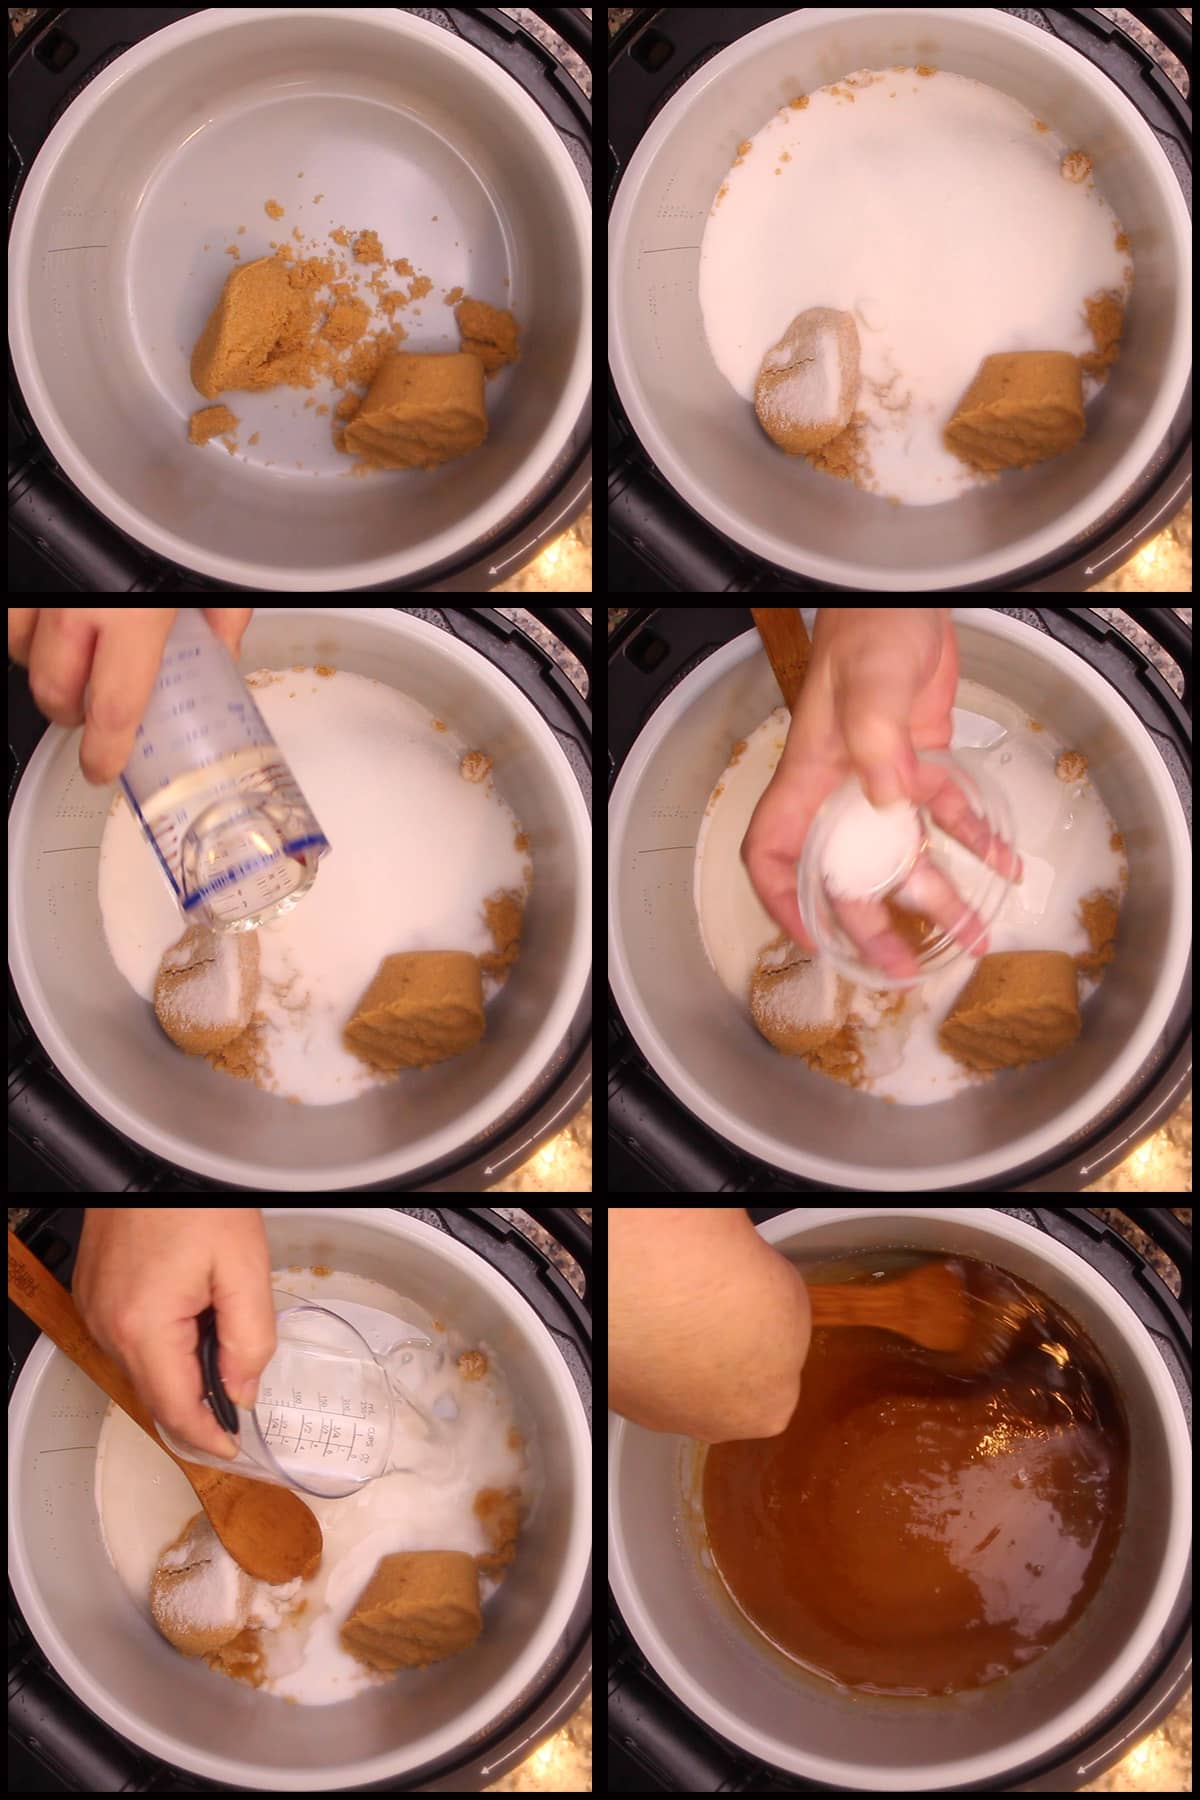
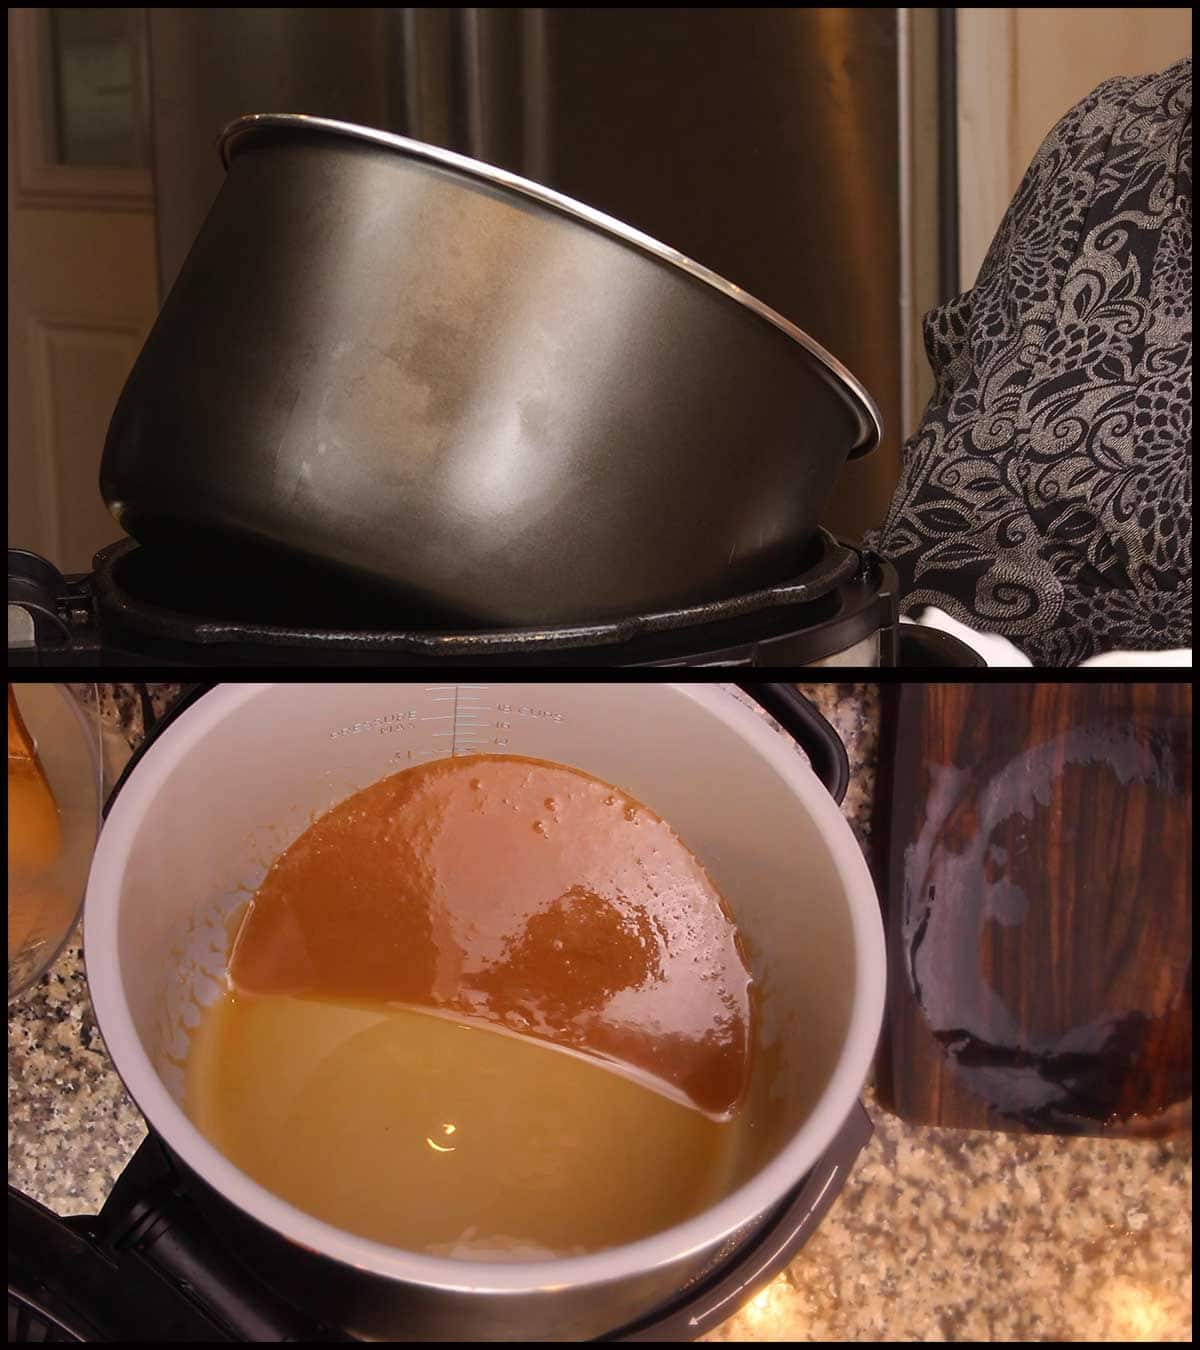
Add the brown sugar, white sugar, water, light corn syrup*, salt and water to the inner pot of the Ninja Foodi or a deep pot on the stove. If using the stove, you want to make sure you have a good quality pan that has a thick bottom. Thinner pans can heat too fast and cause your caramel to scorch.
*a note about the corn syrup. The Karo light corn syrup that I used does not contain fructose. See this article for more information: Corn Syrup vs. High-Fructose Corn Syrup: There Is a Difference
Turn the sear/sauté on high on the Ninja Foodi or use medium/high heat on the stove. Stir the mixture until all of the sugar is melted.
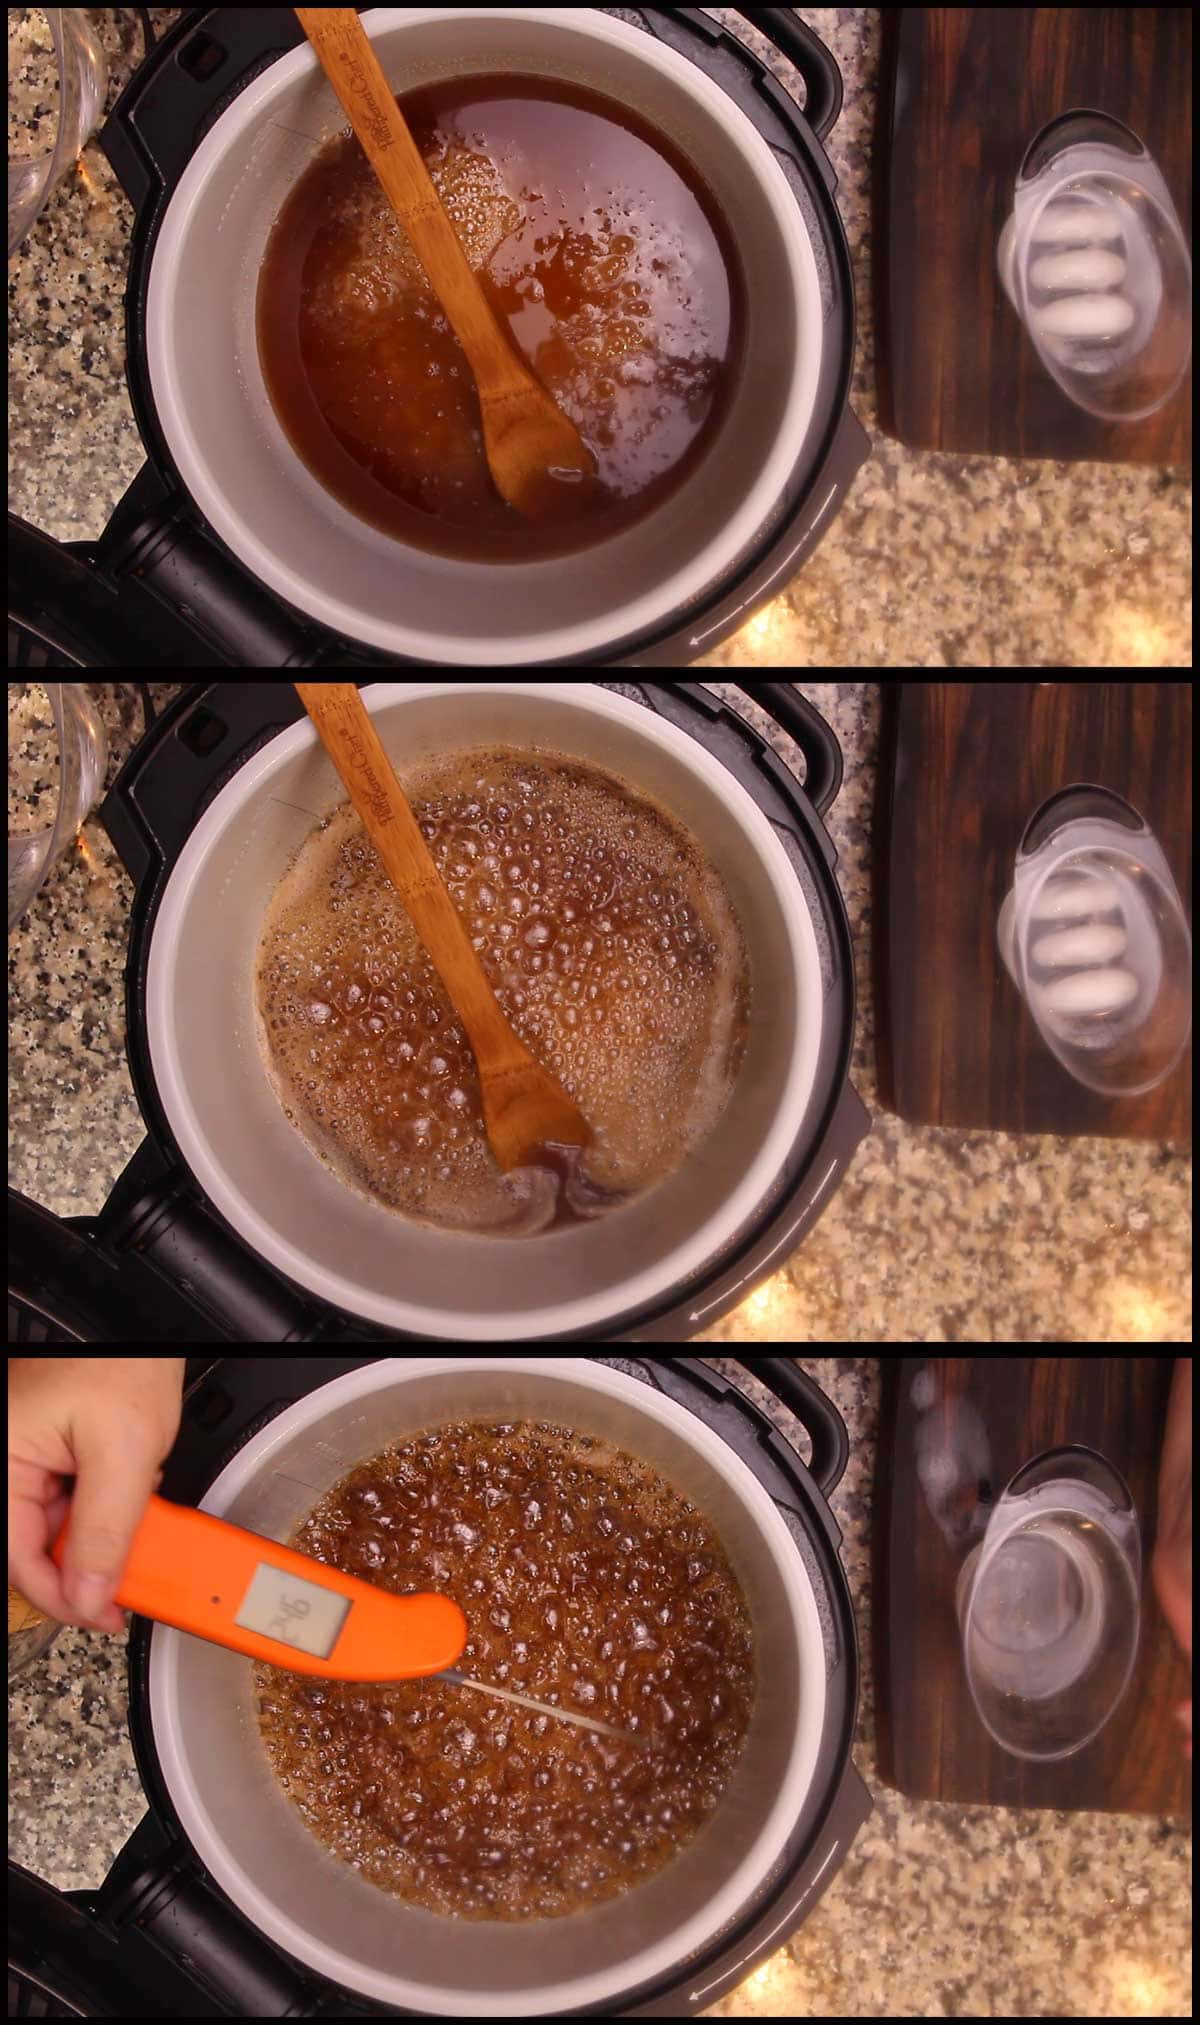
After the sugars are melted, do not stir the mixture The mixture will begin to bubble and boil. At first you will see smaller bubbles and they will become bigger. Bring the temperature of the sugars to 245-247℉/118-119℃. You can decrease your heat to medium if you smell the sugars burning. I didn't have to when using the Ninja Foodi ceramic inner pot.
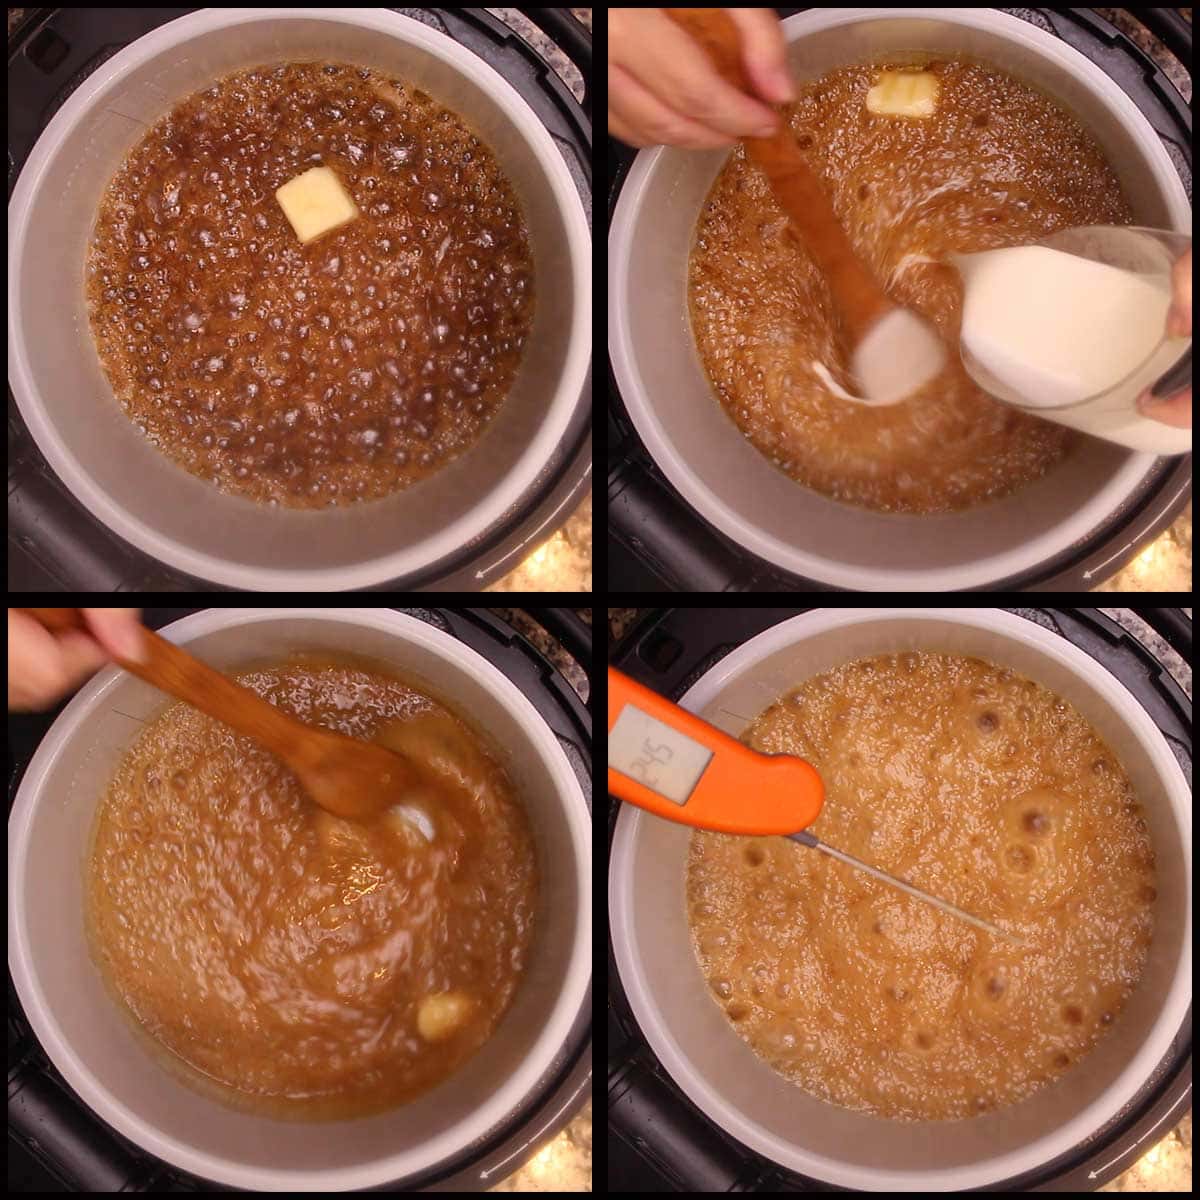
With the heat still on, add in the butter and stir. Slowly add in the cream and stir. Bring the temperature back up to 245-247℉/118-119℃ and turn the heat off.
Allow the caramel to cool slightly and then add in the vanilla extract. Stir to combine. I remove the pot from the Ninja Foodi and stir until the boiling stops and then add the vanilla. Adding the vanilla when the caramel is too hot will result in the flavor being cooked off.
Cool the caramel to 190℉/87℃ before dipping the apples. Don't worry if your caramel cools down more than that, you can warm it up using the sear/sauté function on low or medium or on the stove on medium heat.
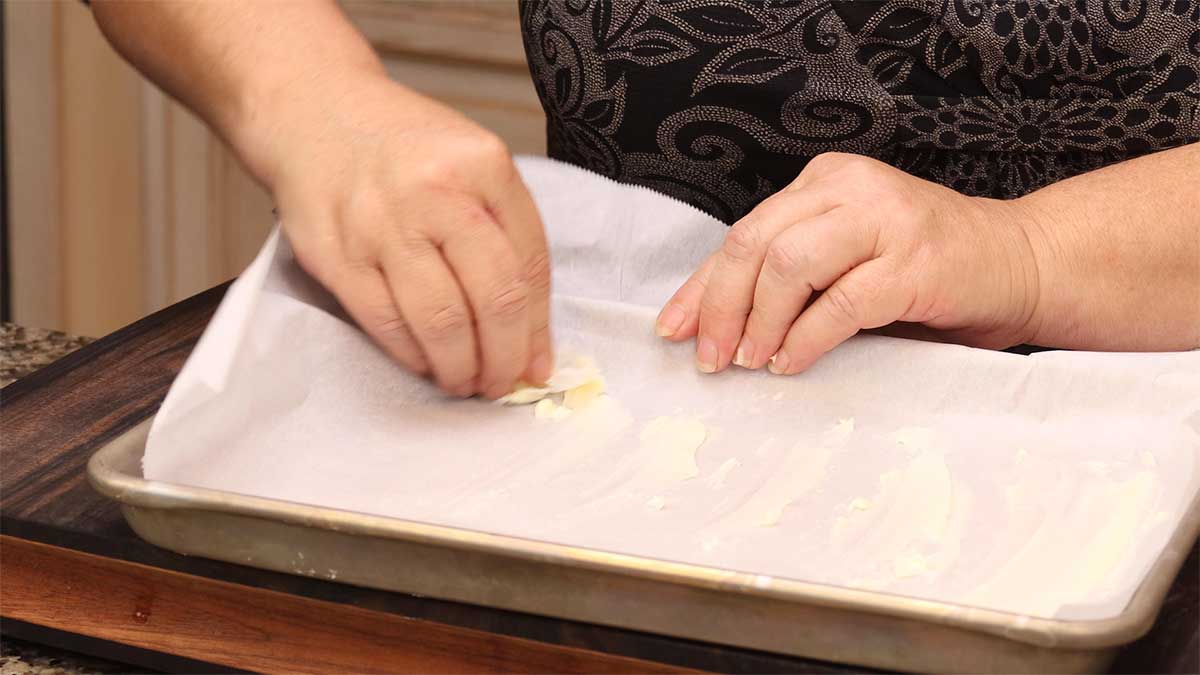
While the caramel is cooling, prepare your tray. You can line a sheet pan with a silpat type of mat or use buttered parchment paper lining the tray.
Just before you are going to dip the apples, remove them from the refrigerator and make sure they are dry before dipping. As they sit at room temperature, condensation might form on the apple, so it's best to dry them with a paper towel just before dipping in the caramel.
This is what it looks like when you dip an apple that isn't dry!
If this happens, don't worry. You can let it set up and dip it again OR simply wash off the caramel, dry the apple really well and start over.
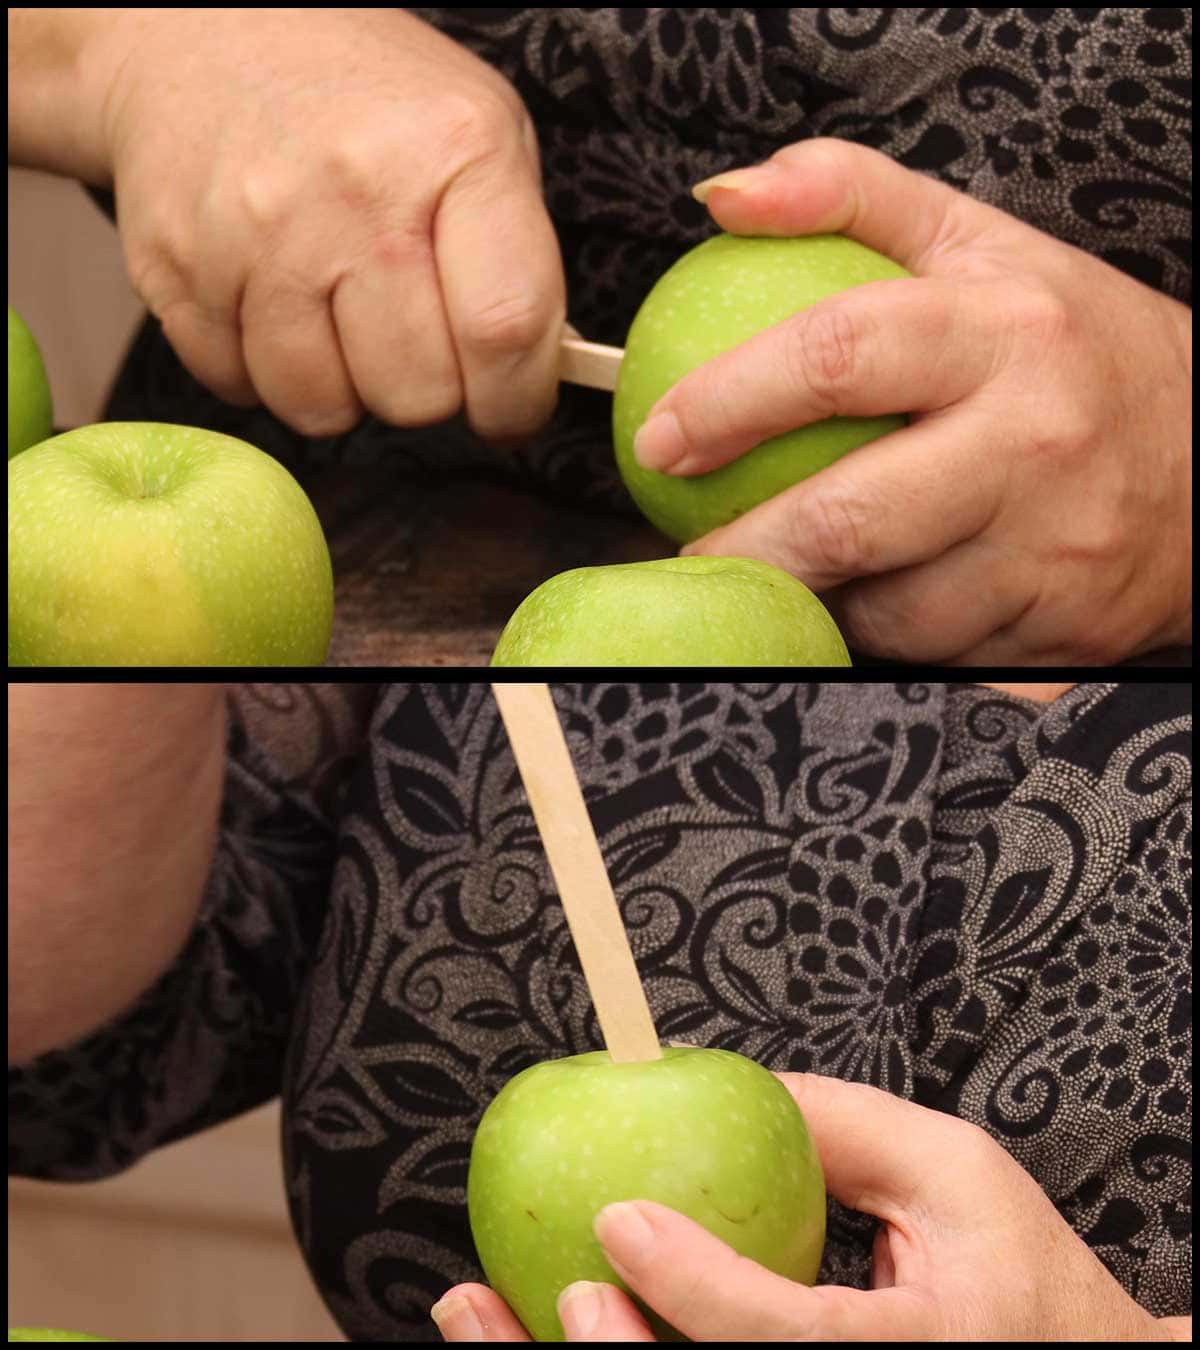
Insert the popsicle sticks or wooden skewers about ¾ of the way into the apple. If there is a stem on the apple, I remove it and go right through the core.
I did try to use the white sticks that are often used for cake pops, but found they didn't hold up well. You can use skewers as long as they can handle the weight of your apples.
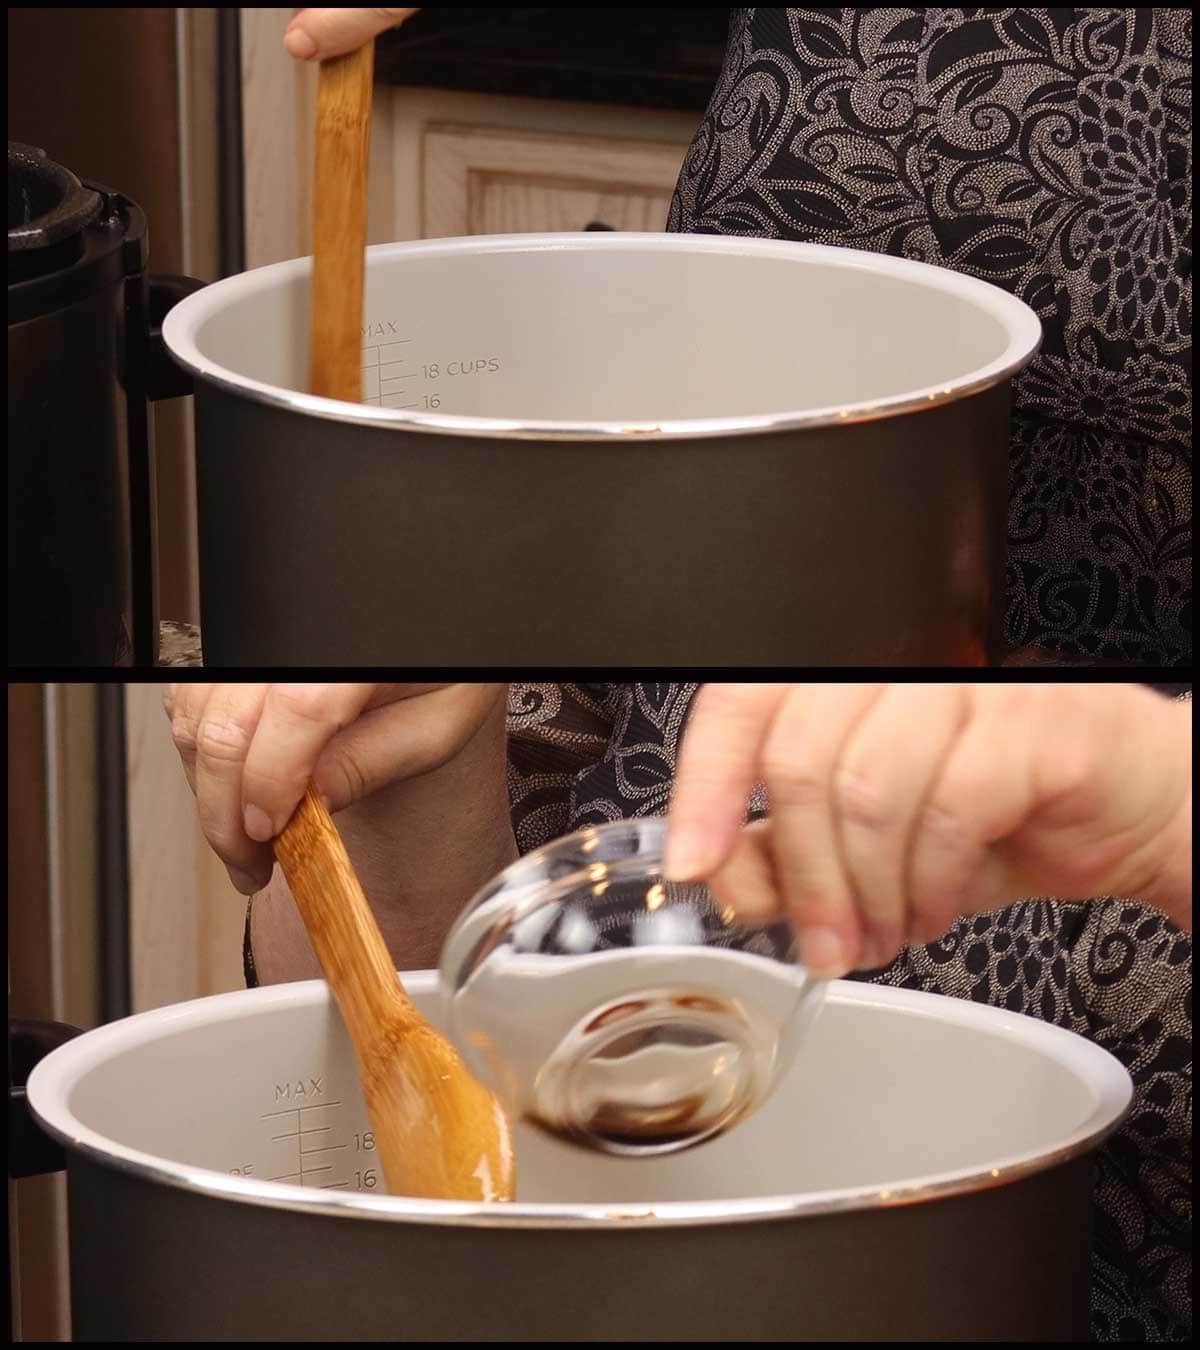
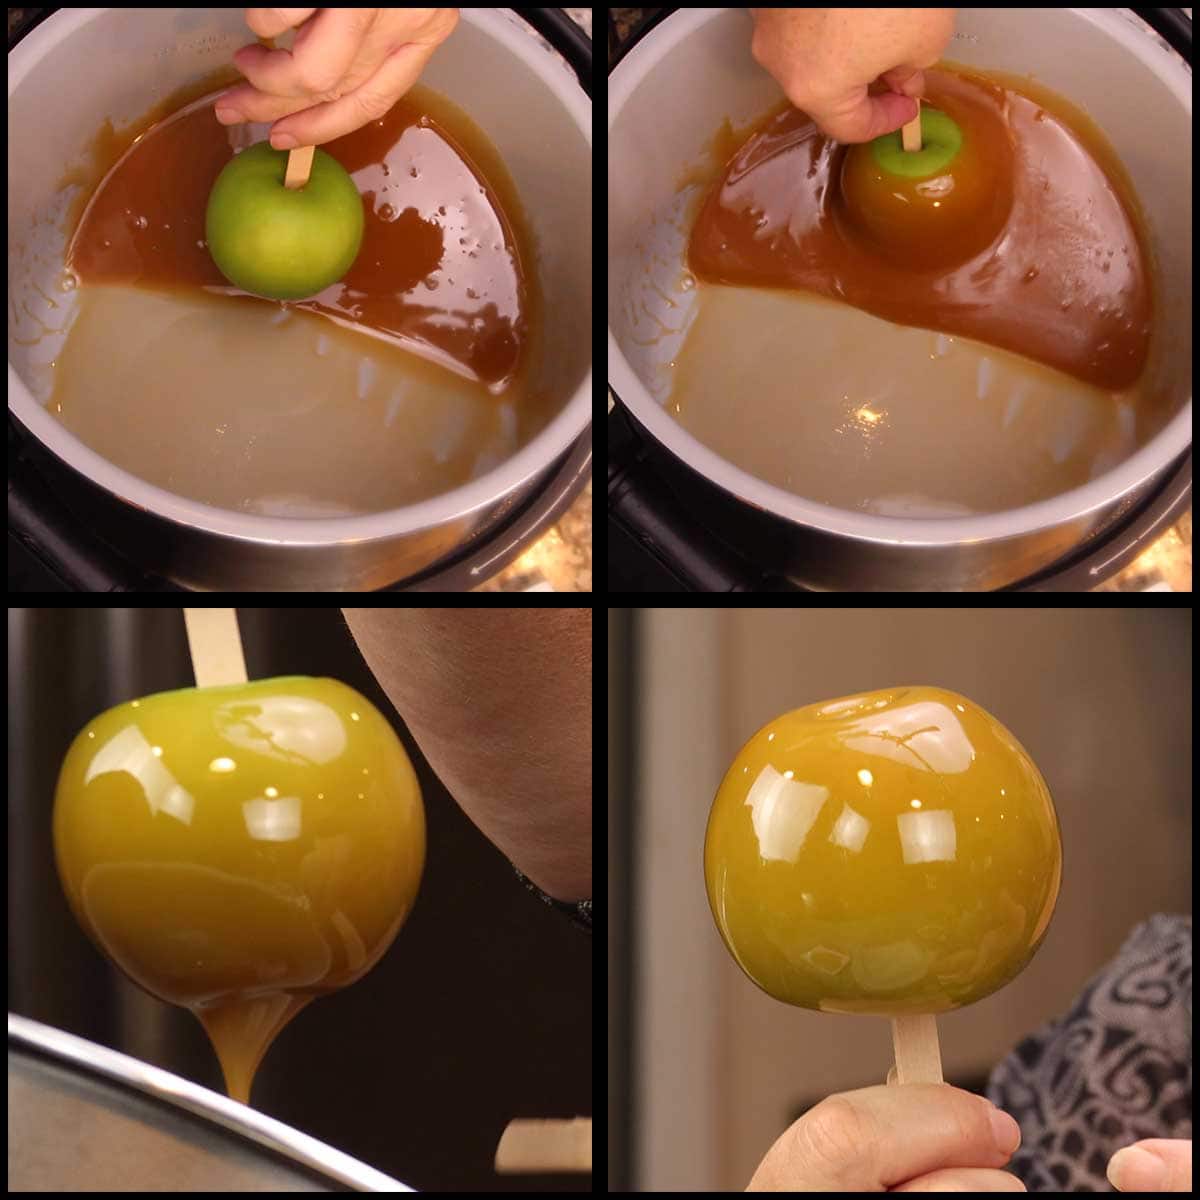
I found the Ninja Foodi to be perfect for making these homemade caramel apples because you can tilt the pot and have it rest in the Ninja Foodi which causes the caramel to pool in one area. This is perfect for dipping the apples! Make sure your caramel has cooled enough before dipping!
If you are using the stove instead of the Ninja Foodi, you may want to use a saucepan with a handle so you can tilt the pot as you dip.
Twirl your apple in a circular motion 3 times, coating the apple almost to the top. I like to leave a small ring of the green apple. Pull the apple out of the caramel and then let the excess caramel drip off the bottom.
I use a popsicle stick along the bottom to help remove the excess and then I twirl and immediately turn the apple upside down while I hold the popsicle stick. I hold the apple upside down for a few minutes to allow the caramel to set before placing it on the tray.
You can also use a container of very cold ice water (I remove the ice or make sure it won't touch the apples) to dunk the apples into to help chill and set the caramel. I did this a few times and it worked fine, but I found holding the apple was just as easy for me.
In this video you can see me dip the apples using this technique.
Once all of your apples are dipped and on the tray, immediately place it in the refrigerator for at least 5 minutes.

If you only want to dip your apples once, then you will have enough caramel to do about 10-12 apples, depending on their size. I dipped my apples twice and was able to make 6 apples with some leftover caramel.
After the first coating of caramel is set, I repeat the process and dip all 6 apples a second time. This is when you want to add your coatings if using.
Place a thin layer of the coating you want to put on your apples on a flat plate. While using a bowl to do this might seem like a better option, it didn't work well for me.
I like to coat my no-so-perfectly-dipped apples in toppings because it hides the flaws!
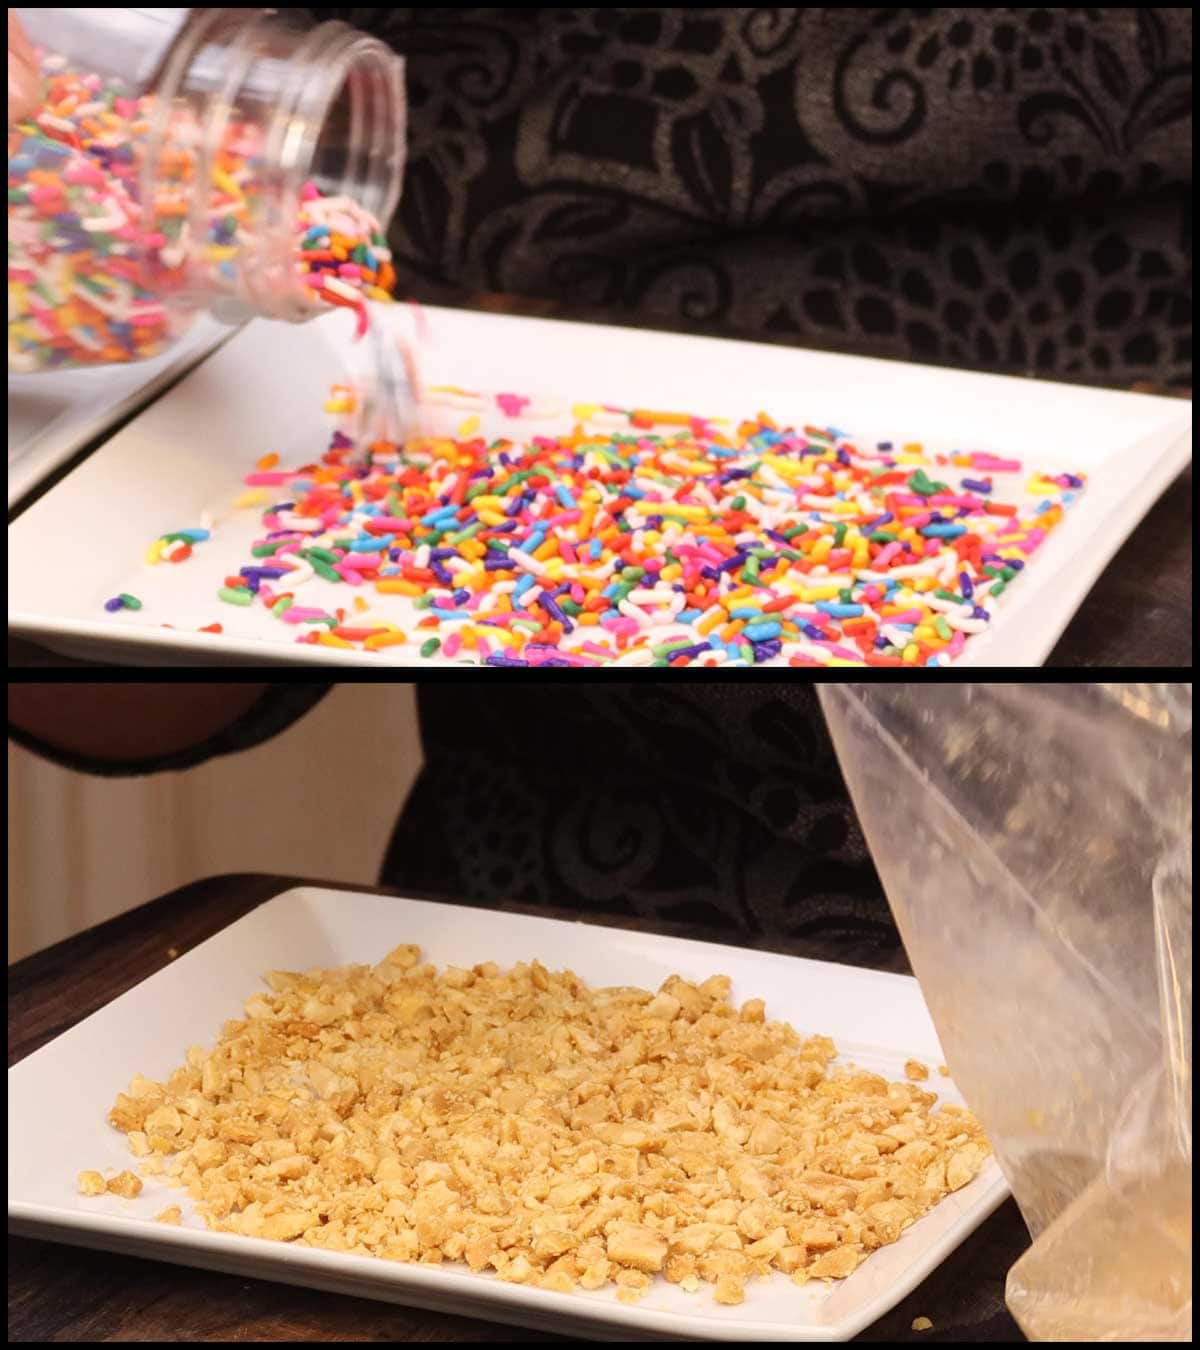
After you dip the apple in caramel and hold it up for a few minutes, press it into the toppings. Rotate the apple on it's side and move around the plate to get the toppings onto the side of the apple. Then press the bottom of the caramel apple into the toppings. I hold the apple upside down for another few minutes before placing on the tray.

Once your caramel apples are dipped, store them in the refrigerator until you are ready to serve them.
The easiest way to serve and eat the caramel apples is to slice them, but do this right before serving because the inside of the apple will darken as it sits.

Homemade Caramel Apples
Ingredients
- 6 small apples
- 1 cup brown sugar
- 1 cup white sugar
- ½ cup light Karo Syrup
- ½ teaspoon find grind sea salt
- ½ cup water
- 4 tablespoon butter salted or unsalted
- ½ cup heavy cream
- 1 teaspoon vanilla extract
Ingredients for removing the wax from the apples
- 1 lemon
- ¼ cup baking soda
For the tray
- parchment paper
- 1 tablespoon butter
Would you like to save this recipe?
Instructions
How to Prep the Apples
- Make sure the apples you use have intact skin, any cuts will cause the juice from the apple to leak out and cause the caramel not to stick.
- Remove the stems from the apples. Cut the lemon in half and dip into the bowl of baking soda. Scrub the apples with the baking soda and lemon to remove the wax. Rinse the apples to remove the baking soda.
- Dry the apples and put them in the fridge for at least 2 hours, but I recommend refrigerating them overnight to make sure they are very cold.
How to Make the Caramel
- Combine the brown sugar, white sugar, light Karo syrup, salt, and water in the inner pot of the Ninja Foodi or a heavy bottom pot on the stove.
- Turn the heat on high sear/sauté if using the foodi or medium-high to high on the stove. Stir the sugar mixture until all the sugar has melted and then don't stir and let it come to a boil.
- When the temperature has reached between 245-247°F/118-119°C, add the butter and stir. Slowly add the cream and stir. Keep the heat on high sear/sauté or medium-high to high on the stove and bring the temperature back up to 245-247℉/118-119°C and then turn the Ninja Foodi or the burner on your stove off.
- Remove the pot and stir. When the boiling subsides, add the vanilla extract and stir. Allow the caramel to cool to 190°F/87°C before dipping the apples.
How To Dip the Apples
- Line a tray with parchment paper and apply a thin layer of butter so the caramel doesn't stick.
- Remove the apples from the refrigerator just before dipping them. Insert the popsicle sticks through the core going about ¾ of the way into the apple. Dry the apples very well before dipping. I find it best to dry each one just before dipping in case any condensation has formed.
- Tilt the inner pot of the Ninja Foodi or regular pot to the side so the caramel collects on the side. Dip the apple about ¾ of the way up and twirl the apple in the caramel 3 times. Allow the excess to drip off and then hold the caramel apple upside down for a few minutes to allow the caramel to set. This prevents the caramel from pooling on the parchment. You can also dip the caramel coated apple in a large bowl of ice water.
- Place the apple onto the buttered parchment lined tray. Repeat for each apple and put them directly in the refrigerator for 5 minutes if you are doing a second dip or until you are ready to serve them if only dipping once.
- If dipping your apples twice, remove them from the refrigerator after the 5 minutes and repeat the dipping process. If your caramel has cooled too much, warm it back up and make sure it isn't not hotter than 190°F/87°C before dipping. Keep your apples in the fridge until the caramel is the right temperature.
Applying toppings
- If you want to decorate your apples, finely crush the toppings you want to use. Sprinkles can be left whole.
- Put a thin layer of the topping on a flat plate. When the caramel is still tacky, press the apple sides into the topping and then press the bottom of the apple into the topping. Place the decorated apples on the sheet pan and refrigerate until you are ready to serve them.
Cutting and serving the Caramel Apples
- Slice the apples down the side avoiding the core and cut into wedges. Serve & Enjoy!
Notes
Nutrition
About the Recipe Author, Louise Long
Louise is a full-time recipe creator and food blogger @ The Salted Pepper. She has over 30 years of experience with cooking and recipe development. She owned a restaurant for several years and was a full-time RN until retiring to blog full-time.

She published her first cookbook in the Fall of 2018 and is very interested in writing several more.
Louise is also the creator of an online Ninja Foodi Pressure Cooking Course with over 100 instructional step-by-step videos. People absolutely rave about the course and all the value they have received from it.
Louise has several very active Facebook groups that help people with the basics of cooking and learning more about the appliances they love.
Ninja Foodi Pressure Cooker & Air Crisper 101
Ninja Woodfire Outdoor Grill & Smoker
Louise is also a YouTube creator and you can find most of her recipes in video format on The Salted Pepper YouTube channel.
She is very responsive to messages and eager to help in any way she can. Get more Information about Louise & contact information
I WOULD LOVE TO SEE WHAT YOU ARE COOKING UP IN YOUR KITCHEN! TAG ME @THESALTEDPEPPER ON YOUR FAVORITE SOCIAL MEDIA PLATFORM WHEN YOU MAKE A DISH!
BE SURE TO FOLLOW THE SALTED PEPPER RIGHT HERE ⇓⇓⇓⇓⇓
Leave a Reply