These aren't nearly as weird as they sound, I promise! Maybe you've heard of Arancini Balls and maybe you haven't. You may even be like me and have eaten them, loved them, and never knew what they were called! You might be more familiar with the term fried rice balls.
In this recipe, we are going keto with these Cauliflower Arancini Balls and believe me when I tell you that you can't tell the difference!
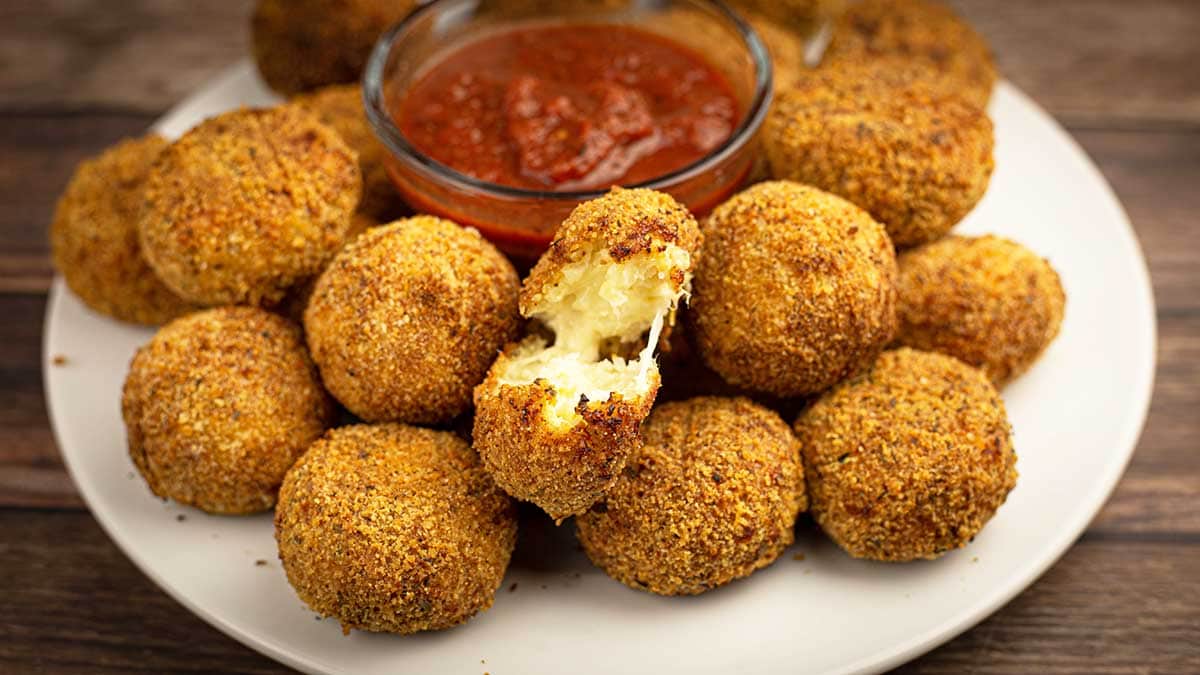
They are creamy, cheesy, and absolutely delicious! My husband always says he can tell when I substitute rice with cauliflower, but he couldn't tell this time!
This post may contain affiliate links. If you make a purchase after clicking a link, I may earn a small commission. As an Amazon Associate, I earn from qualifying purchases.
There are tons of different ways you can make these Cauliflower Aranacini Balls, but, before I get into all the different variations, let me go over what they are for those of you who aren't familiar with them.
What are Arancini Balls?
Basically, they are balls of rice with various additions that are coated in breadcrumbs and deep fried. They are Italian, but the basic technique can be used to make all kinds of different types.
Normally they are made with Arborio rice (the kind used for risotto), but you can use any kind of rice or even substitute the rice for cauliflower like I did in this recipe.
Some have a cheese, meat, and tomato filling, but I decided to keep them very basic so you can customize them how you like.
*If you are using cauliflower to make your arancini balls, I do not recommend using much -- if any liquid -- sauces to mix in. You can use cooked and drained ground meat, but anything liquid will prevent the balls from staying together.
Variations for Cauliflower Arancini Balls
After I made the basic recipe, I started to think about all the possibilities of how to make them differently and here are some of my ideas. I bet you have some of your own and I'd love to hear them! Leave me a comment and let me how you changed this recipe to make it deliciously yours!
Mexican Fried Cauliflower Arancini Balls
To make Mexican inspired fried cauliflower balls, I would start off the same way but add in some cumin, chipotle pepper, finely diced onion and green peppers (or jalapeno peppers) to the cauliflower mixture. You can even put in some ground taco meat, but make sure it is well drained and fully cooked.
You will still want to use the cream cheese and the mozzarella, but you could switch the provolone for monterey jack and even add in some shredded Mexican cheese.
Instead of using Marinara Sauce as the dipping sauce, this recipe for Homemade Enchilada Sauce would be PERFECT! I can't wait to try these!
Mediterranean Fried Cauliflower Arancini Balls
Add some sundried tomatoes, feta, and chopped olives to the cauliflower mixture and whatever spices you like. I would use the same cheese blend as in the original recipe, but omit the Parmesan. You have to have a stringy melting cheese to hold the balls together.
These would be great dipped in a Tzatziki Sauce!
Asian Fried Cauliflower Arancini Balls
Add a little chili garlic sauce, some fresh grated ginger, and even some shredded carrots and make an Asian inspired variety!
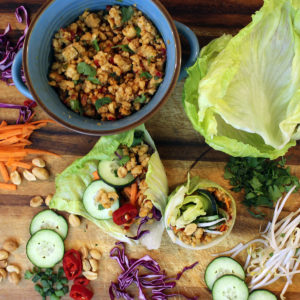
You could use some of the ground chicken from this recipe for Asian Lettuce Wraps, just make sure it is drained well.
I would use the cream cheese and use all mozzarella in place of the provolone and Parmesan since mozzarella is so mild in flavor.
I bet they would be great dipped in this Peanut Sauce or a garlic soy dipping sauce!
There are so many variations that you can make using this basic recipe and I hope that is exactly what you do! Don't forget to tag me @TheSaltedPepper when you make your version!
Can I use Rice instead of Cauliflower?
Of course! I definitely plan on making a recipe using rice and probably a meat mixture.
The most common type of rice used is Arborio rice and first you make a risotto and form the risotto into balls. You can either stuff the center with a cheese and spice mixture or you can add the cheese and spices directly to the risotto, and then form the balls.
Let the balls chill for an hour or so, and then dip into the egg mixture and the breadcrumbs. Air Crisp as directed in the recipe.
I have not tried this yet, so let me know if you do!
What can I use instead of Pork Rinds for the coating?
I chose pork rinds and almond flour for this recipe so it was Keto/low carb, but I'm not a huge fan of them and neither is my husband, Jeff.
What I will say is that there was very little difference between using breadcrumbs or pork rinds in the finished Cauliflower Arancini Balls. The flavor was exactly the same and if there was any difference at all, the breadcrumb coating might have been a touch crunchier.
To use breadcrumbs instead of pork rinds/almond flour, simply replace the combined amounts with breadcrumbs and use the same seasonings.
You may need to decrease your air crisp time from 10 minutes down to 7-8 minutes, but use your judgement based on how brown and crispy you want your fried cauliflower balls.
Can I use different cheeses or skip the cheese?
You can use different cheeses, but you really can't skip the cheese altogether. Because we are using cauliflower in this recipe, you need the cheese to be the binder to hold it all together.
You want make sure you use a good melting cheese that will combine with the cauliflower rice and help hold it together. You can use mozzarella, provolone, or monterey jack as 50% of the cheese and then you can use other cheeses for flavor.
Feta or blue cheese would give a wonderful flavor, but it won't hold the cauliflower balls together, so use a combination of the melting cheese and the crumbly cheese for the best outcome. A good ratio if you are using a crumbly cheese would be 75% melting cheese to 25% crumbly cheese.
If you are allergic to dairy and can't use cream cheese or any cheese, I would try mixing an egg and 1 tablespoon of flour or even coconut flour into the cauliflower mix as you sauté it. I haven't tried it, but it might work to bind the cauliflower so you can make a ball out of it. You will want your heat on low so you don't scramble the egg.
Can I make this recipe without the Ninja Foodi?
Although I think the Air Crisp function on the Ninja Foodi Pressure Cooker & Air Crisper is better than other air fryers I've used, you can certainly make these in any air fryer.
I would make sure to preheat for 10 minutes at the highest setting and this includes using the Ninja Foodi Digital Air Fry Oven which preheats in 1 minute. Let it heat up for 10 minutes to ensure that it is hot enough to start cooking the outside before the cauliflower ball gets warm and softens.
I would also pay attention to how close the heating element is to your Cauliflower Arancini Balls and decrease the temperature accordingly. So, if I were making these in the Ninja Foodi Indoor Grill or the Digital Oven, I would start out using the air fry function at 400℉/200℃ for the first 3-5 minutes, and then, when I flipped them, I would decrease the temperature to 350-375℉/175-190℃
The most important thing when air frying anything is to check on the food and adjust accordingly.
How to make Pork Rind "Flour"
If you are low carb or keto, making your own pork rind flour can really come in handy!
You can (affiliate link)buy it online already crushed up for you, but boy is it expensive! It is much more economical to get a (affiliate link)large container of pork rinds and make the flour yourself. Ounce for ounce, it's half the price!
The most important thing is to start out with a dry blender or food processor. If there is any moisture, your pork rinds can turn into paste.
You can use a blender or a food processor to make the Pork Rind "flour" and I like to use the pulse button so I have control over how much I crush them. For this recipe, they were a little smaller than the size of panko, but not quite as fine as bread crumbs.
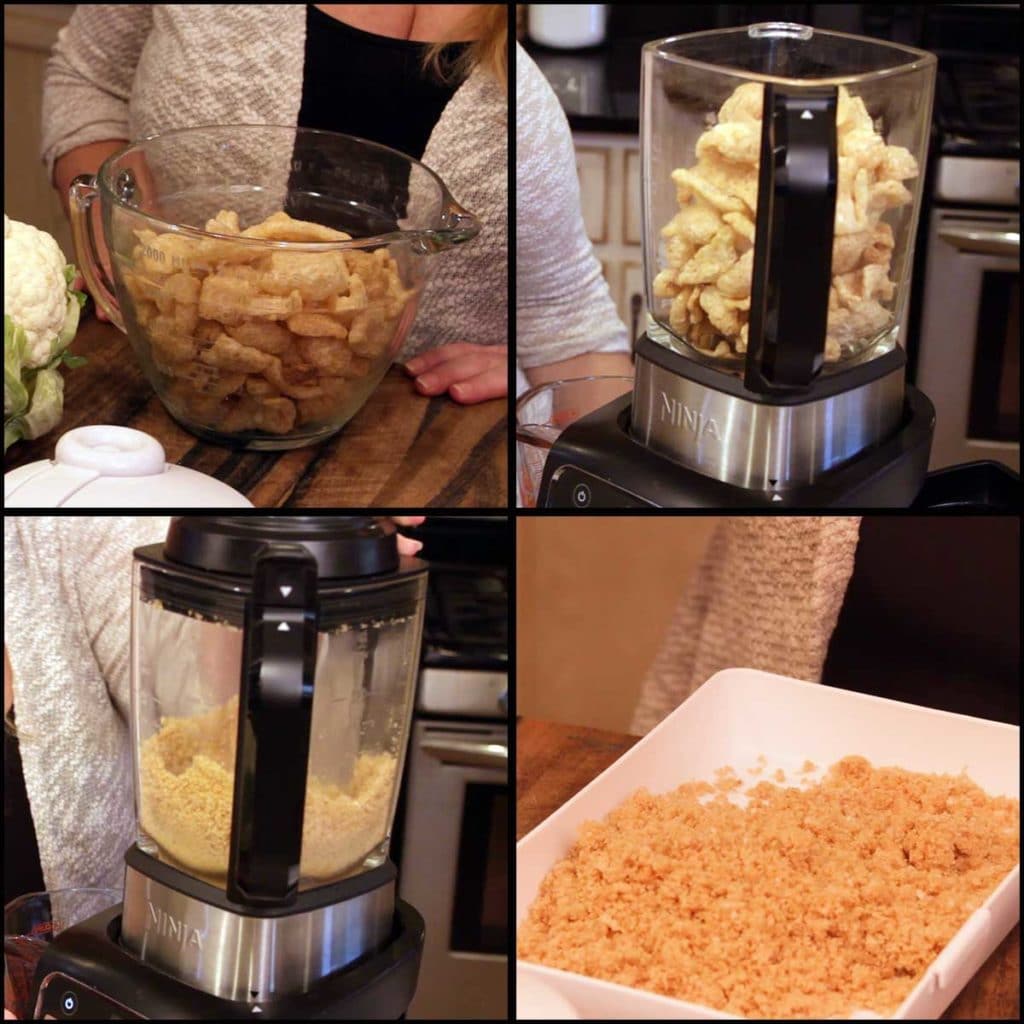
You can also make pork rind flour by placing the pork rinds into a large sealable bag and using a meat tenderizer or hammer to pound them into small pieces.
I will warn you that the smell of crushed pork rinds is off putting, to say the least! The flavor, however, is exactly the same as bread crumbs. So, if you want crunchy, breaded snacks and are low carb or keto, this is a great alternative!
What is the Best Way to Store and Reheat the Arancini Balls?
I froze several batches of these Cauliflower Arancini Balls and found that while it is possible to freeze them before they are cooked, they do much better if you air fry them first and then freeze them.
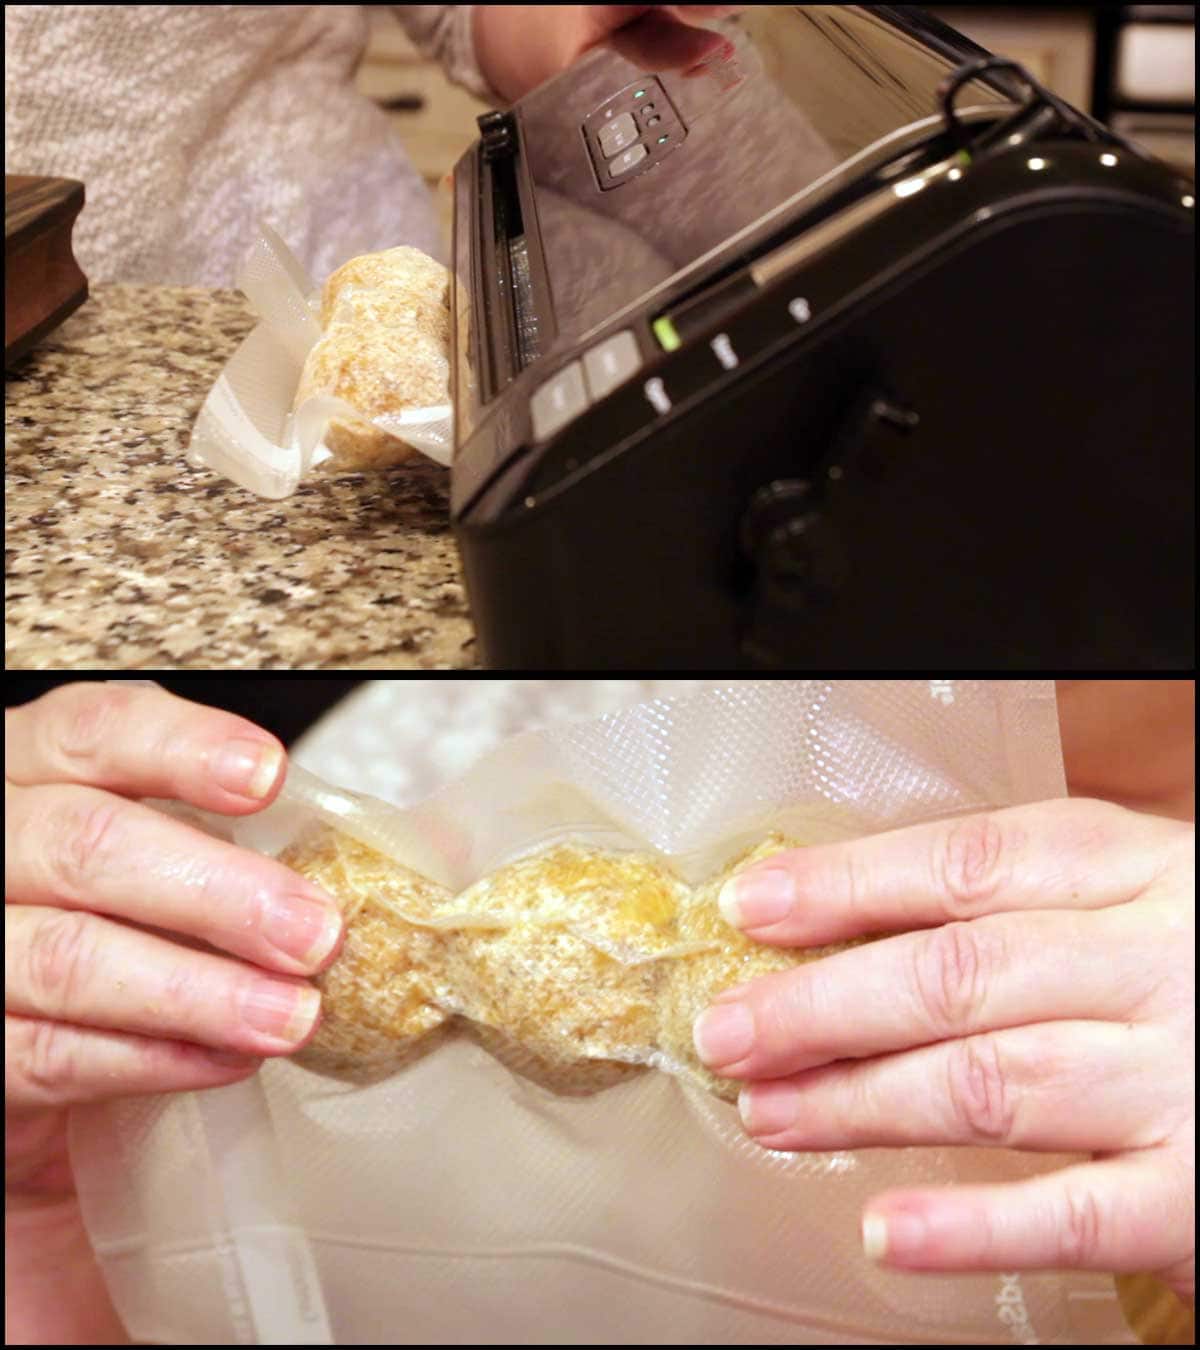
The best way to freeze them is to place them on a parchment-lined tray and freeze them for several hours or overnight. Then place them in ziplock bags or you can use your Food Saver like I did.
When I froze them before they were cooked and vacuum sealed them they were hard to get apart without removing some of the coating. It still worked out okay, but I really suggest cooking them and then freezing them.
To reheat them from frozen, you preheat the Ninja Foodi with the basket in the inner pot on broil for 10 minutes and then place them in the basket and AC them on 375℉ for 5 minutes, flip and AC another 5 minutes. If they are getting too brown before they are warmed through, just decrease the temperature.
To reheat them from thawed, preheat the Ninja Foodi with the basket in the inner pot on broil for 10 minutes. AC them on 375℉ for 3-5 minutes. Flip and air crisp for another 3-5 minutes.
If you do decide to freeze them before cooking, simply remove them from the freezer bag and follow the same cooking directions as in the original recipe.
How to Serve Cauliflower Arancini Balls
I love these so much, I make them into a meal! You won't believe how delicious they are as a meatball substitute with a plate of angel hair pasta and marinara sauce.
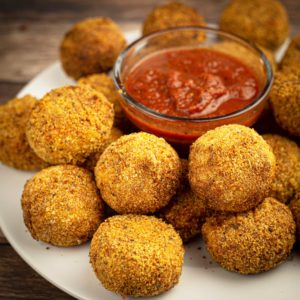
The most common way to serve them is as an appetizer. They are best right out of the Ninja Foodi and dipped in marinara sauce!
Try making your own marinara sauce with this really easy recipe and I bet you won't ever buy it again!
Easy Marinara Sauce Recipe
How to make Cauliflower Arancini Balls in the Ninja Foodi
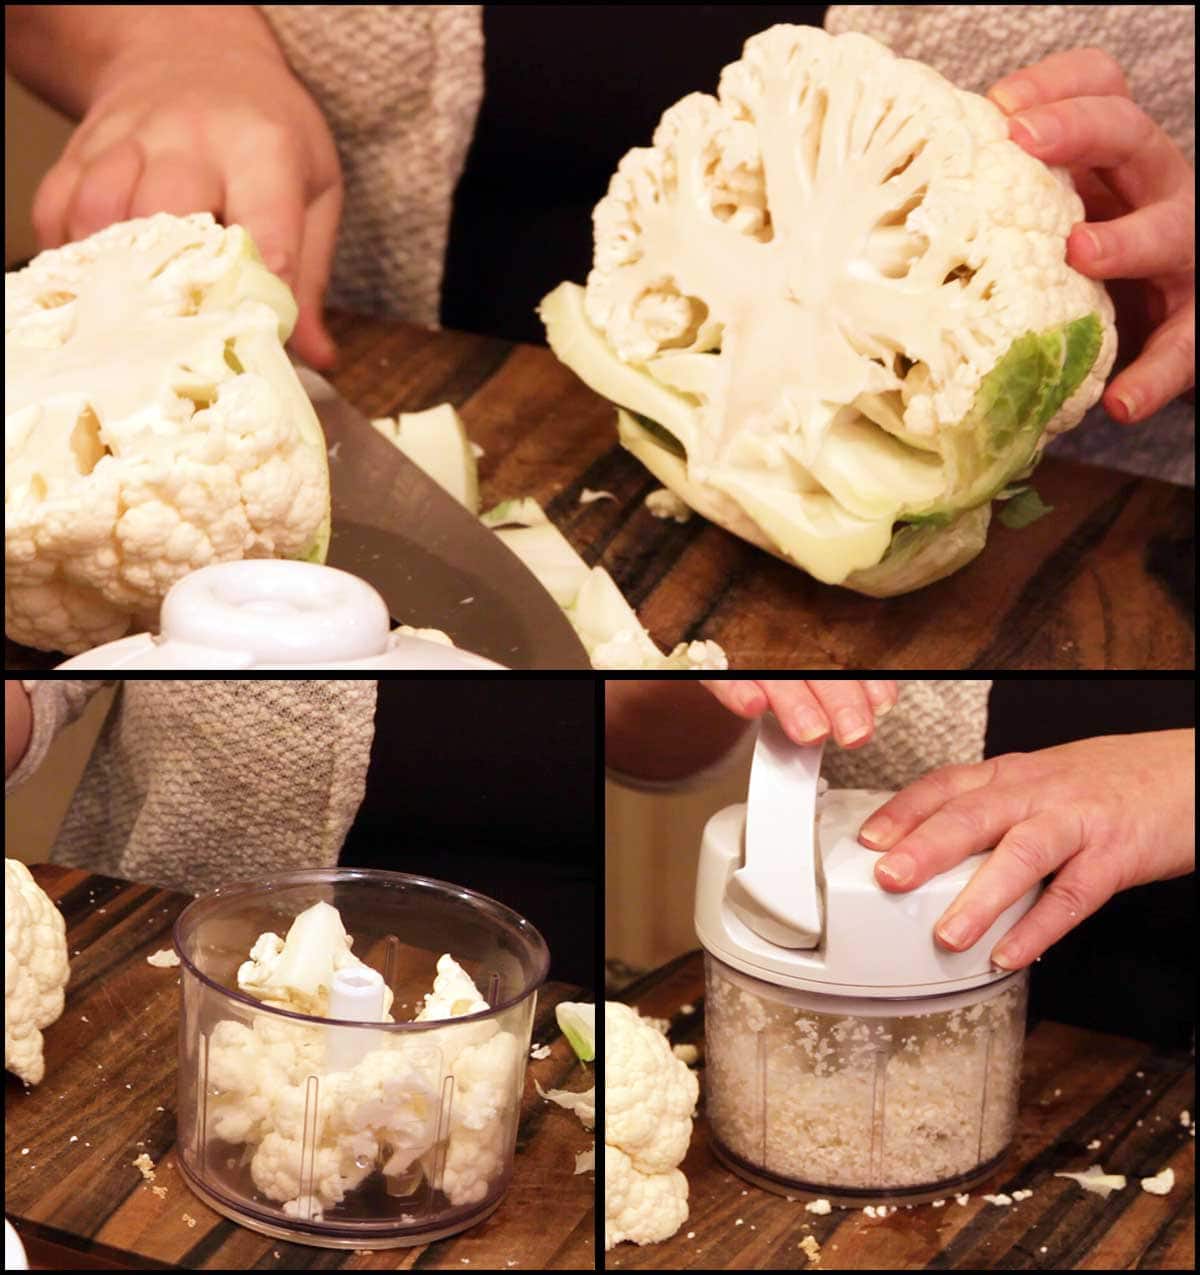
Use a food processor or blender to rice the cauliflower florets. I like to use a (affiliate link)manual food processor so I have total control over the size of the "rice." You can also buy the cauliflower already riced. You will need about 4 cups of cauliflower "rice," which was ½ of a large head of cauliflower.
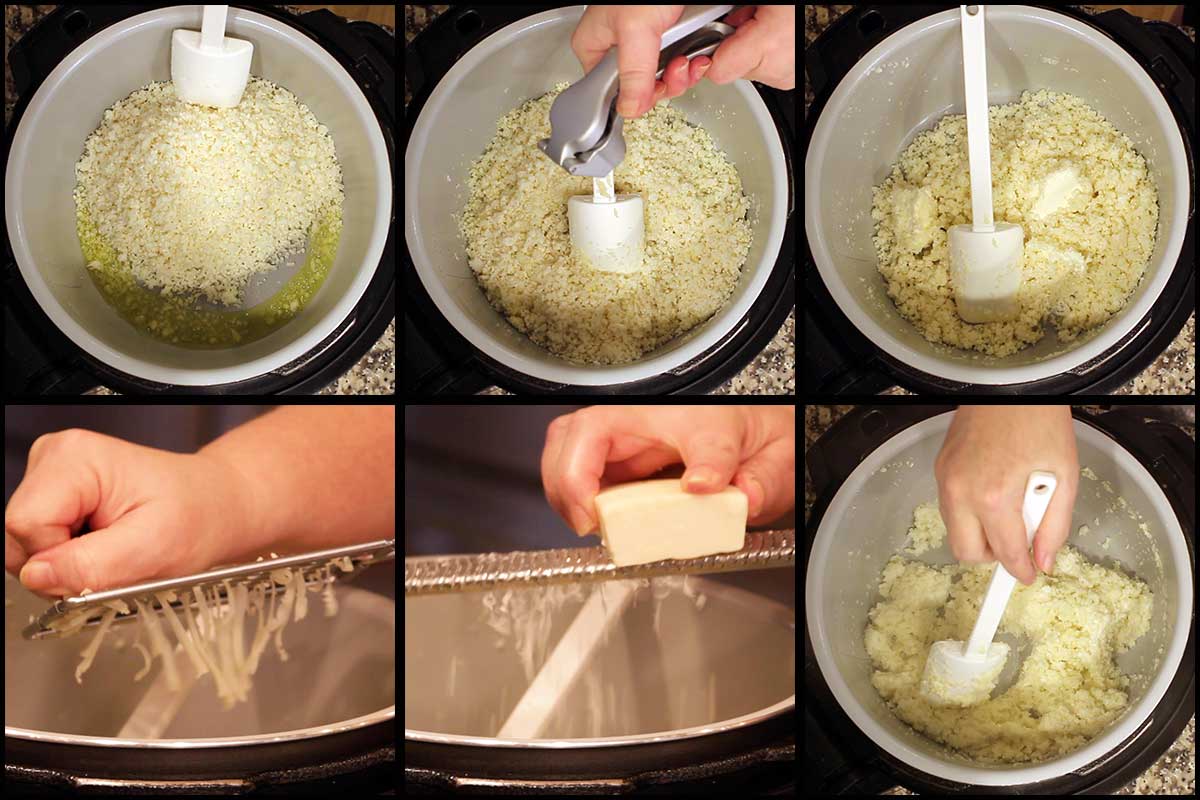
Turn the Ninja Foodi on High Sear/Sauté and add 1 tablespoon of olive oil. When heated, dump in your cauliflower rice and sauté for 2-3 minutes. Add in the cream cheese and mince one clove of garlic into the rice and sauté another 2 minutes.
Grate in the cheeses and stir until melted. Turn off the heat and place the mixture in a bowl to cool. I stick mine in the fridge for a few minutes.
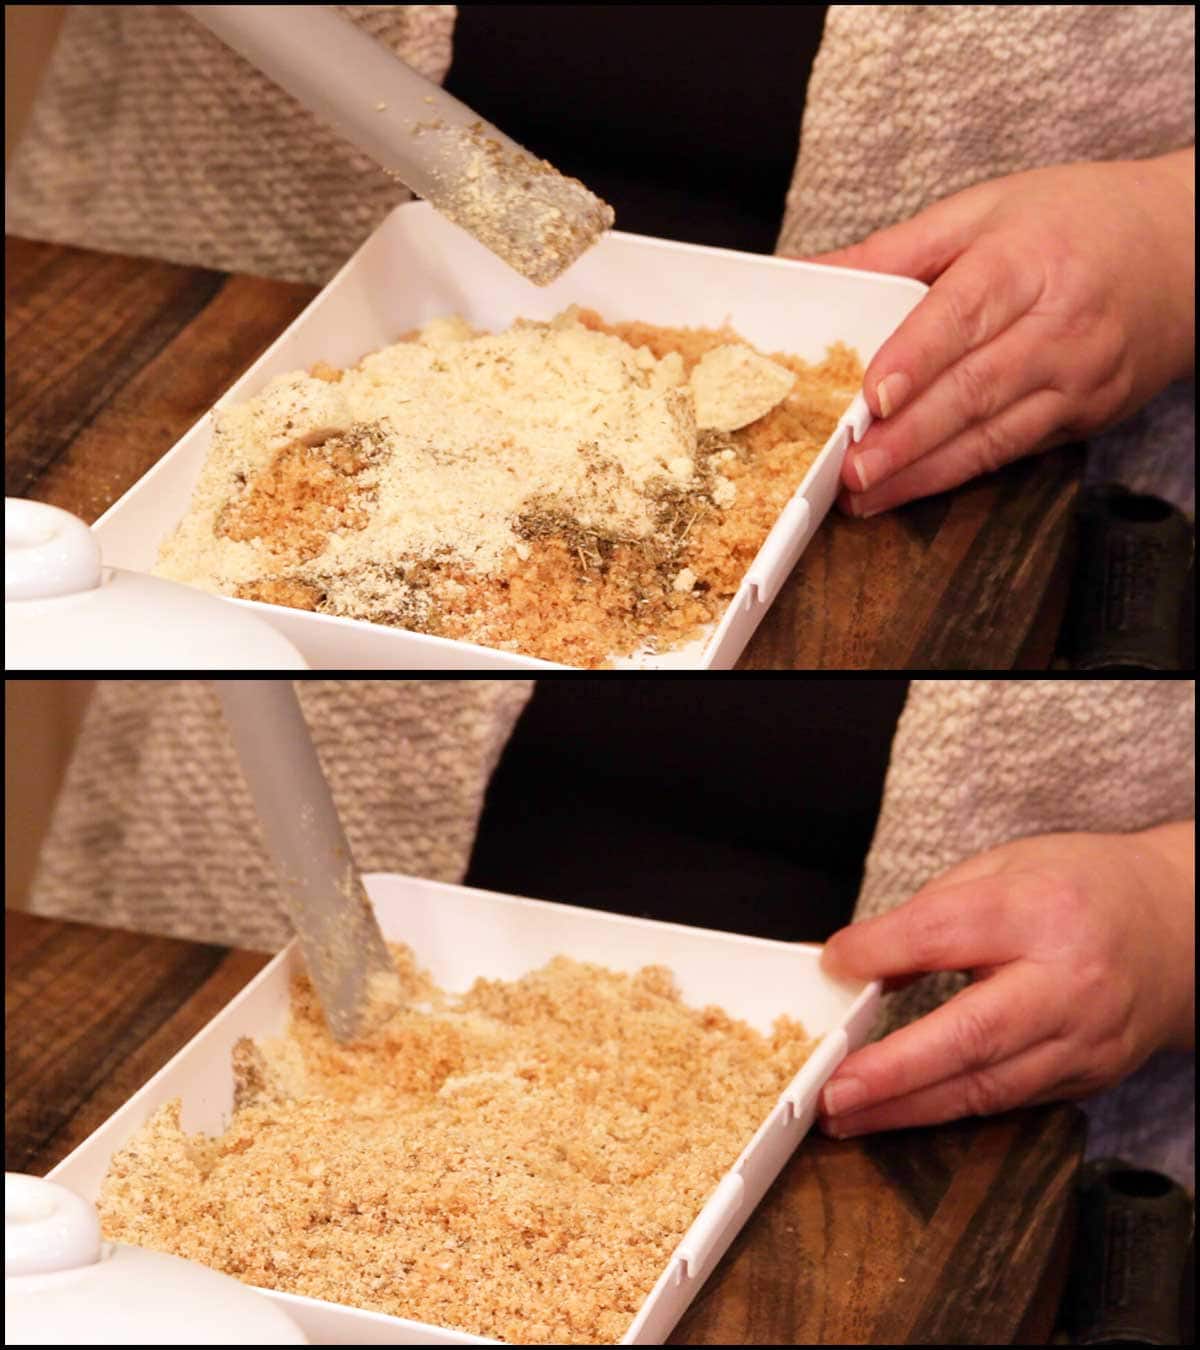
Prepare your breading mixture. You can use ground up pork rinds and almond flour like I did in the recipe or unseasoned bread crumbs works perfectly as well. You want about 2 cups of the pork rind "flour" and ½ cup of almond flour or 2 ½ cups of bread crumbs.
You can also use some hard cheese like Asiago or Parmesan in the breading mixture. About ¼ cup is good.
Mix the pork rinds and the almond flour (or breadcrumbs) with the seasonings in a shallow tray. I used a (affiliate link)coating tray from Pampered chef and I love it.
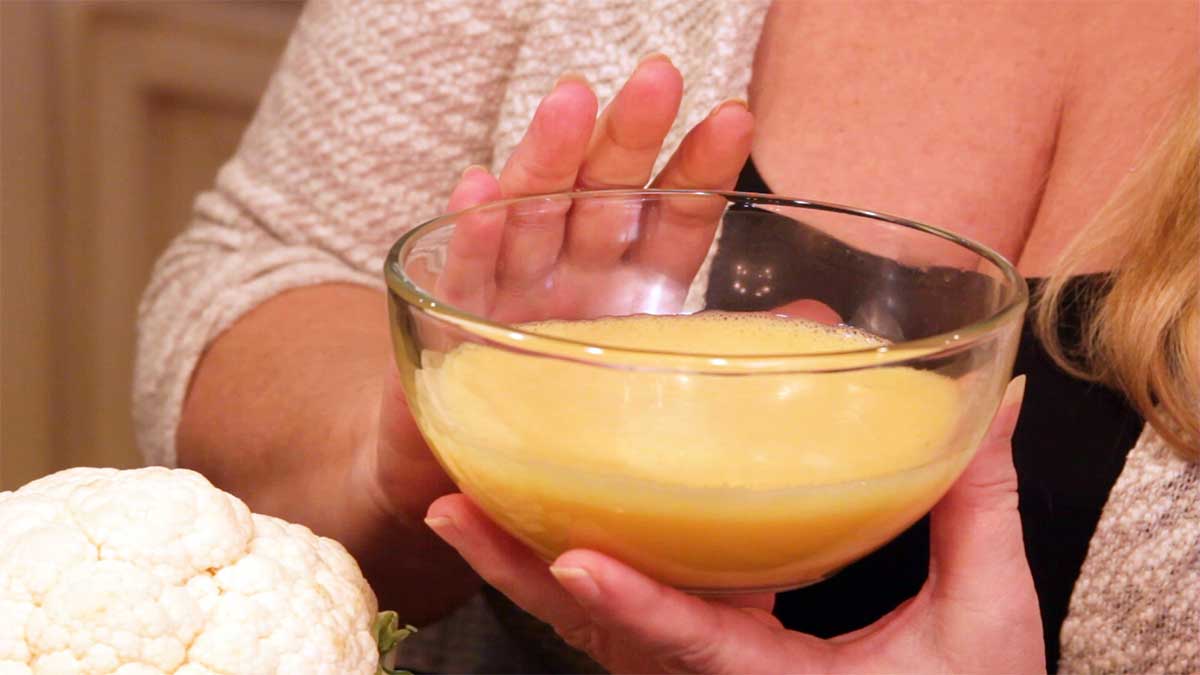
Whip up the eggs really well. You want to make sure there is no white visible. I used an (affiliate link)immersion blender for this and it worked great.
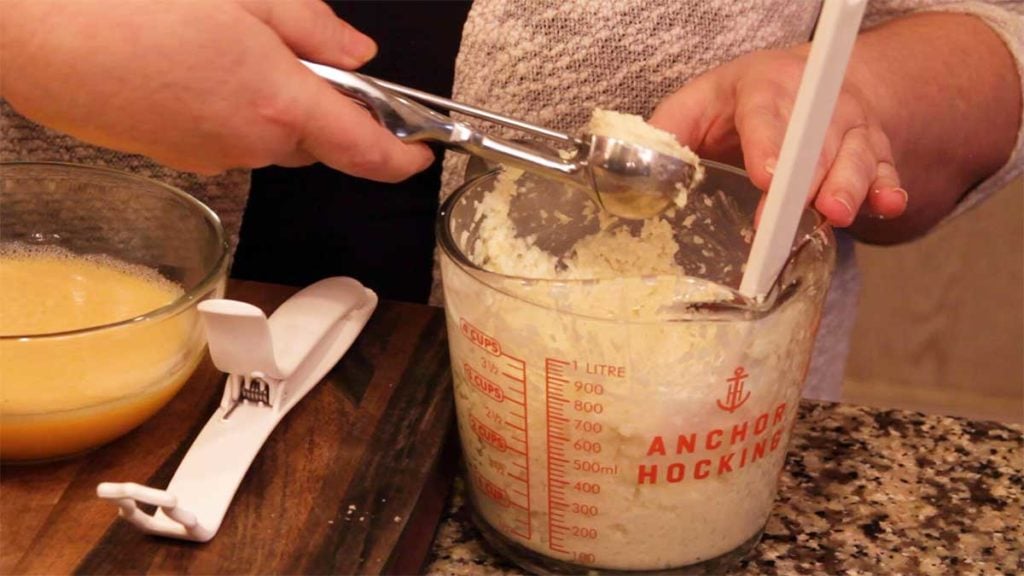
When your cauliflower mixture is cool enough to form into balls, scoop out about 1½ tablespoon and roll into a ball. I used the (affiliate link)medium scoop from Pampered Chef which is the perfect size, in my opinion.
You can make these as small or as big as you want and the cook time is the same.
Before you start to scoop and roll the Cauliflower Arancini Balls, start preheating the Ninja Foodi on Broil. You want the Ninja Foodi to preheat for at least 10 minutes and it takes about 15 minutes or so to roll all the balls.
If you don't have the broil (it's called grill on the UK models) function, just use the hottest air crisp setting.
Coat each ball with the egg mixture and roll in the pork rind mixture to evenly coat. Then coat the same ball with the egg mixture again and roll in the pork rind mixture to coat.
I found that doing the coating twice really improved the texture.
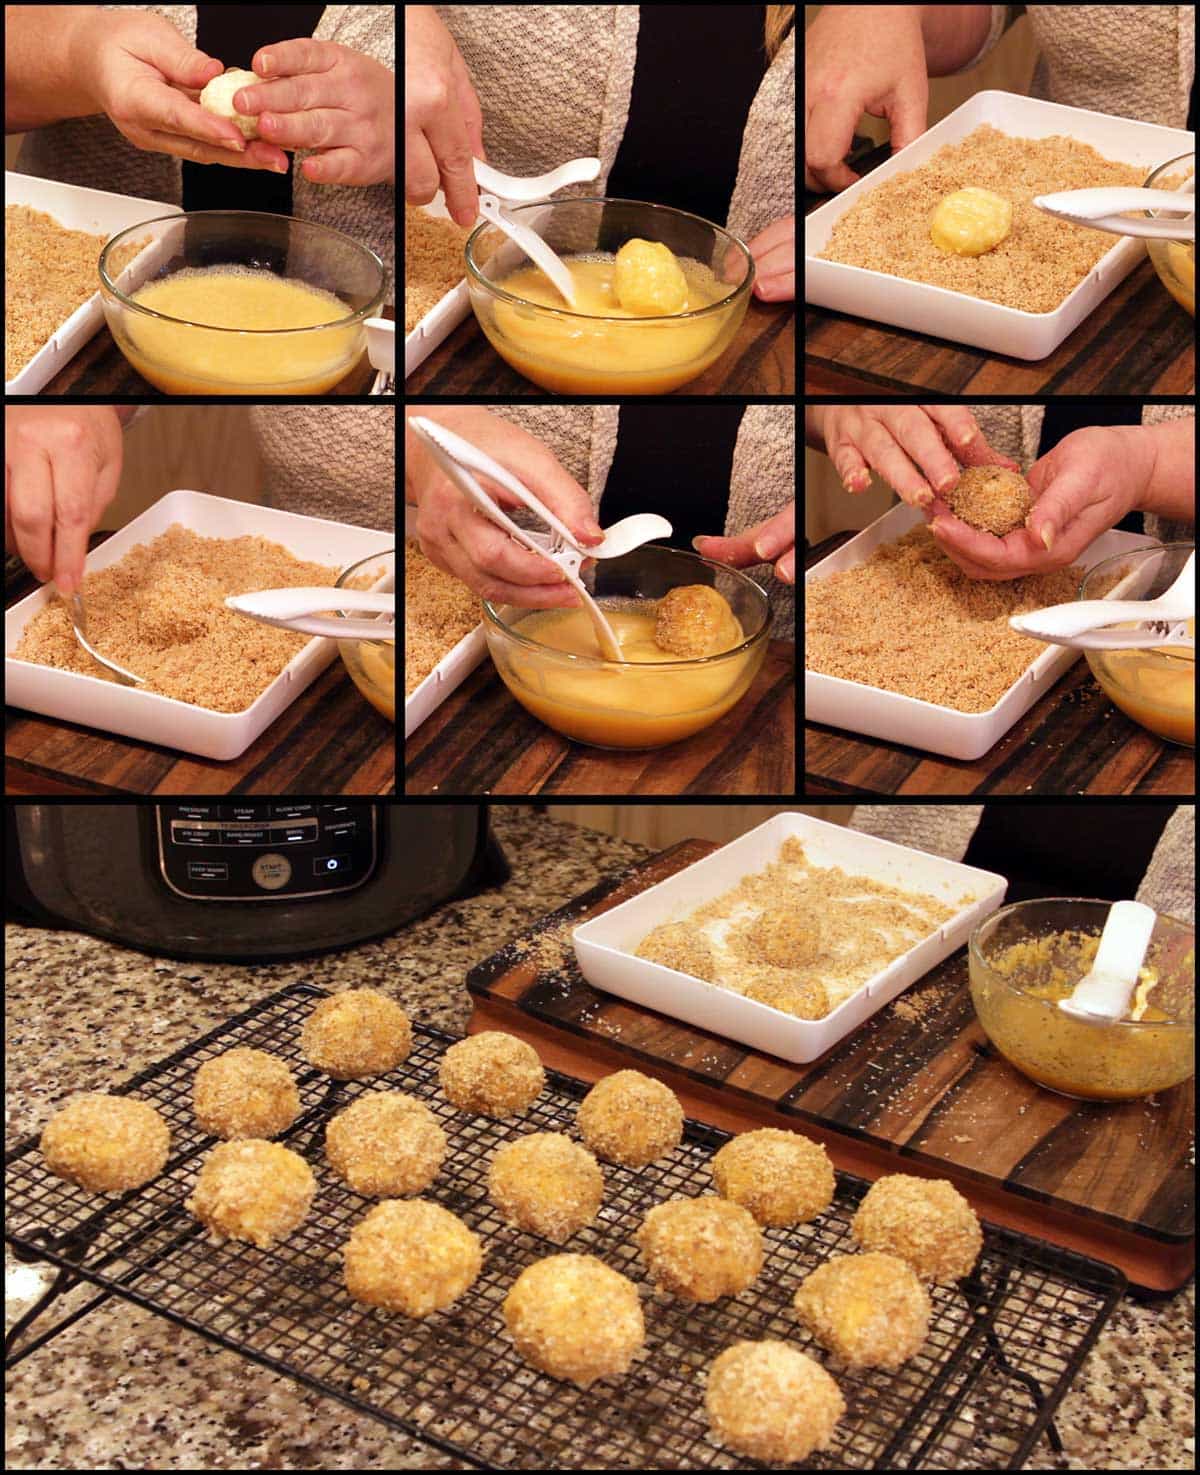
I like to place the coated arancini balls on a cooling rack, but you can also use a parchment-lined tray.
When the Ninja Foodi has preheated for at least 10 minutes, spritz the basket with oil and place 6-8 cauliflower arancini balls in the basket. Spritz the tops and Air Crisp on 400℉/200℃ for 5 minutes.
Carefully flip the balls over and spritz again and continue to Air Crisp for another 3-5 minutes or until they are nicely brown and crispy.
Remove and place on a cooling rack. You really want to use a cooling rack for this step or the bottoms can start to steam and you will lose some of the crunchiness.
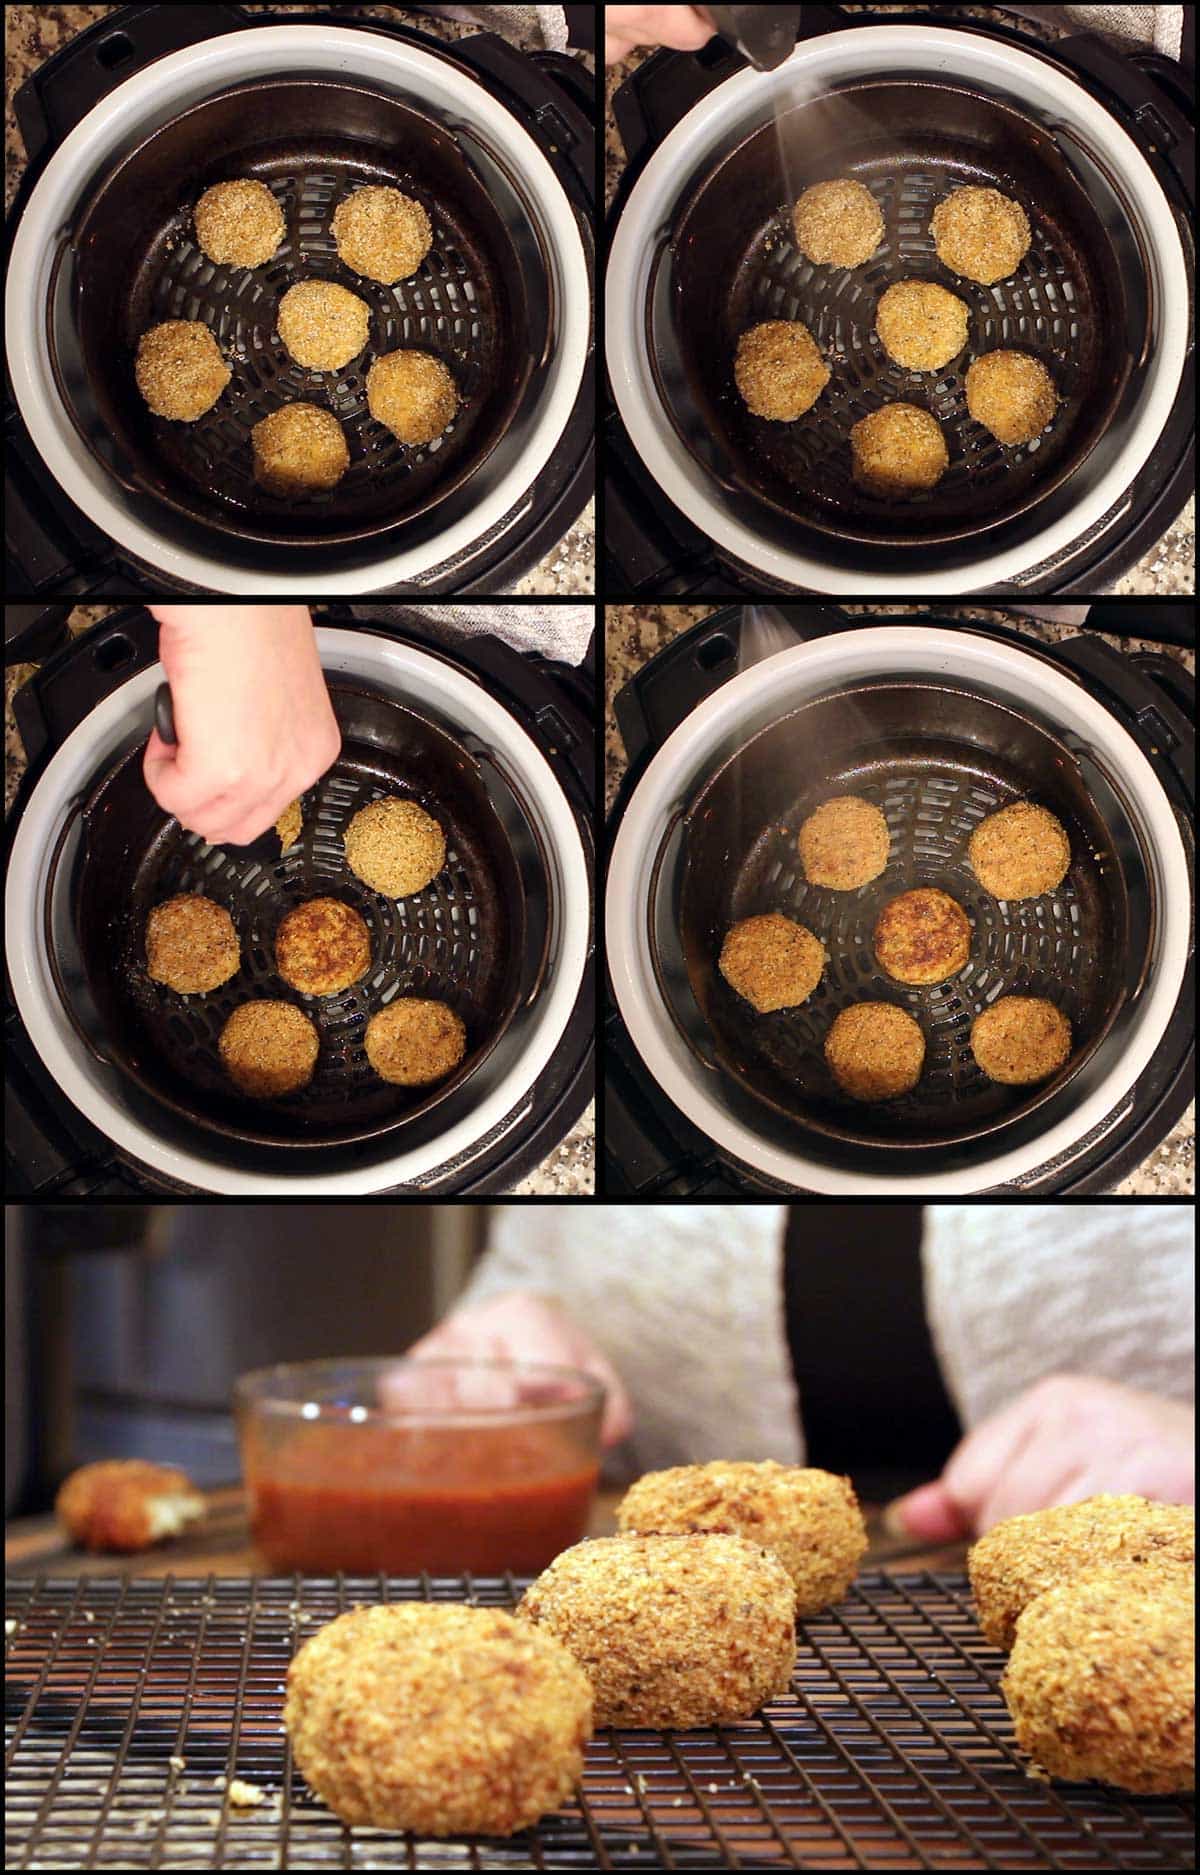
Repeat the process with the remaining balls.
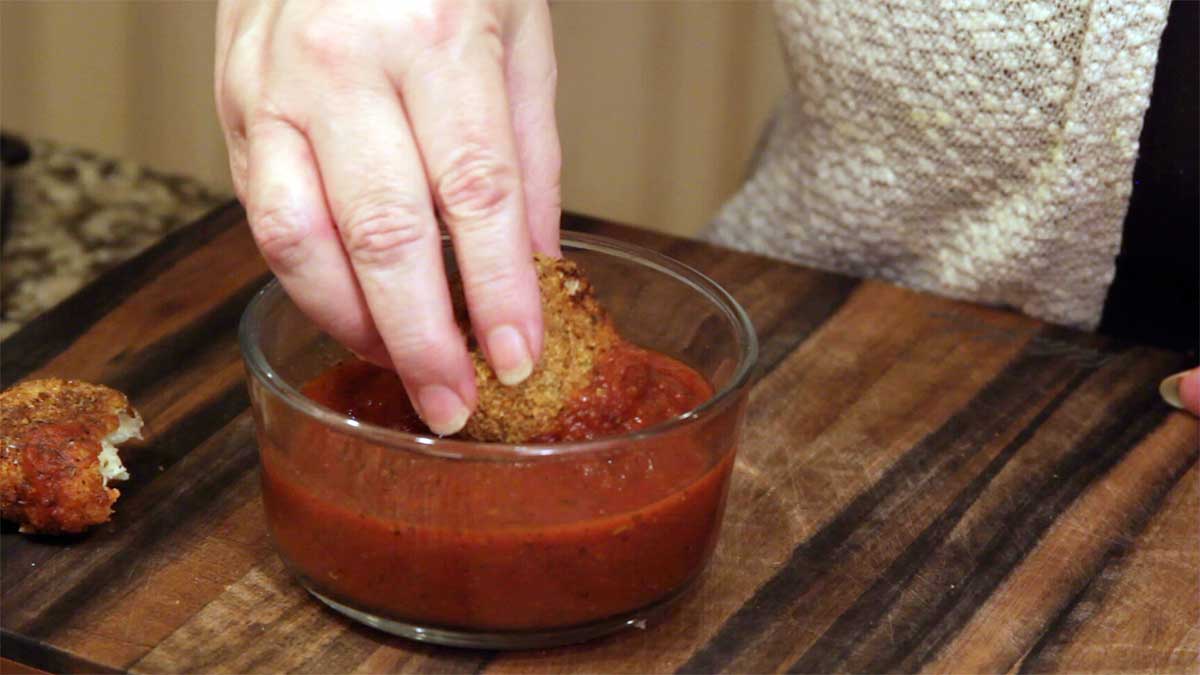
Dip in a delicious Homemade Marinara Sauce and enjoy!

Cauliflower Arancini Balls
Equipment
- Ninja Foodi Pressure Cooker & Air Crisper
- Air Fryer
Ingredients
Breading for Cauliflower Arancini Balls
- 10 cups pork rinds 2 cups of pork rind flour
- ½ cup almond flour
- 1 tablespoon Italian seasoning
- ½ teaspoon sea salt
- 4 large eggs whipped
Instructions
- Cut the florets off of the head of cauliflower and using a food processor, rice the cauliflower until you have 4 cups.
- Heat the 1 tablespoon of olive oil in the inner pot on high sear/sauté. Add the cauliflower, salt, minced garlic, cream cheese and saute for about 2 minutes. Stir frequently. Once the cream cheese starts to melt, grate in the mozzarella, provolone, and Parmesan cheeses. Stir and cook until the cheese is melted, about 3-5 minutes. Remove the cauliflower mixture from the inner pot and place in a container or bowl in the fridge to cool. Wash the inner pot.
- Place the pork rinds into a dry blender or food processor and pulse until they are a fine texture like bread crumbs. You should have about 2 cups of pork rind "flour". Add the processed pork rinds to a shallow tray and mix in almond flour and seasonings.
- Whip up 4 eggs using an immersion blender or other blender. Make sure they are whipped so no whites are showing.
- Preheat the Ninja Foodi with the basket in on broil for 10 minutes. While the NF is preheating, make up the cauliflower balls.
- Scoop about 1.5 tablespoon of cauliflower mixture and form a round ball. Coat with the egg mixture and then roll in the pork rind/almond flour mixture. Coat the same ball again with the egg mixture and then roll in the pork rind/almond mixture and set aside on a cooling rack until you are ready to bake them. Repeat with the remaining cauliflower mixture. You should have about 18 balls.
- When the Ninja Foodi has preheated for 10 minutes on broil, spritz the basket with oil and place 6-8 balls in the basket. Close the TenderCrisp lid and select the Air Crisp function on 400℉/200℃ and air crisp the balls for 5 minutes. Flip them over, spritz with oil and AC another 5 minutes. Remove and set on cooling tray. Repeat with the remaining balls.
- Serve & Enjoy!
Notes
Nutrition
ABOUT THE RECIPE AUTHOR, LOUISE LONG
Louise is a full-time recipe creator and food blogger @ The Salted Pepper. She has over 30 years of experience with cooking and recipe development. She owned a restaurant for several years and was a full-time RN until retiring to blog full-time.

She published her first cookbook in the Fall of 2018 and is very interested in writing several more.
Louise is also the creator of an online Ninja Foodi Pressure Cooking Course with over 100 instructional step-by-step videos. People absolutely rave about the course and all the value they have received from it.
Louise has several very active Facebook groups that help people with the basics of cooking and getting the most out of the Ninja Foodi.
Louise is also a YouTube creator and you can find most of her recipes in video format on The Salted Pepper YouTube channel.
She is very responsive to messages and eager to help in any way she can. Get more Information about Louise & contact information
I WOULD LOVE TO SEE WHAT YOU ARE COOKING UP IN YOUR KITCHEN! TAG ME @THESALTEDPEPPER ON YOUR FAVORITE SOCIAL MEDIA PLATFORM WHEN YOU MAKE A DISH!
BE SURE TO FOLLOW THE SALTED PEPPER RIGHT HERE ⇓⇓⇓⇓⇓


Phil
These were awesome! Crispy on the outside and soft and gooey on the inside! And they went super well with your marinara.
Just like you did in the video, I also ran out of the pork rind breading. I am just seeing that in the text description you call for 2 cups of the pork rinds (vs the 1.5 cups in the recipe). But I think I probably would need a full 3 cups of that breading. I also just saw in the text description the idea of adding cheese to the breading...next time!
Finally, I wish I had watched the video before buying the ingredients...I would have also used Asiago instead of Parmesan...another next time! 🙂
Louise
Thank you so much! I appreciate the feedback on the pork rinds! I'll update the post so people don't run out. I'm so glad you enjoyed them!
Patricia Koenig
Could you use frozen cauliflower rice?
Louise
I haven't tried that, but it should work!
Patricia Vavra
I meat to say in the first sentence that I prepared the cauliflower arincina balls.
Patricia Vavra
Hi Louise, since I am eating Keto, low carb these days, this recipe really appealed to me. I prepared it, and yes, they are delicious! At that time, I had not purchased my Ninja Foodi, so I baked them in the oven. I received my Foodi two days ago and jumped right in. On the first day, I prepared bacon, jalapeno poppers, hard-boiled eggs, and your recipe for the Asian chicken wings. The 'to die for' wings were made with alternative brown sugar since I can't eat honey. They were spectacular, brown sugar worked out just fine. Yesterday I made your meatloaf recipe, just skipped the cheese, and of course, the crackers. Best meatloaf I have ever made!!!! I did roasted potatoes for my husband. Today I made the Raspberry glazed ribs. Oh my, who needs smoked ribs! I need to say that I was comfortable using my Foodi because of all of your videos I watched on YouTube. Thank you for all of your creations. I can't wait to try more.
Louise
That is so wonderful! You will love some of the new recipes I have coming out that are lower carb! I'd love to know which brown sugar you use instead of honey.