
You might call this Corn Pudding or you might call it a very moist cornbread, but either way... I know you will call it delicious! 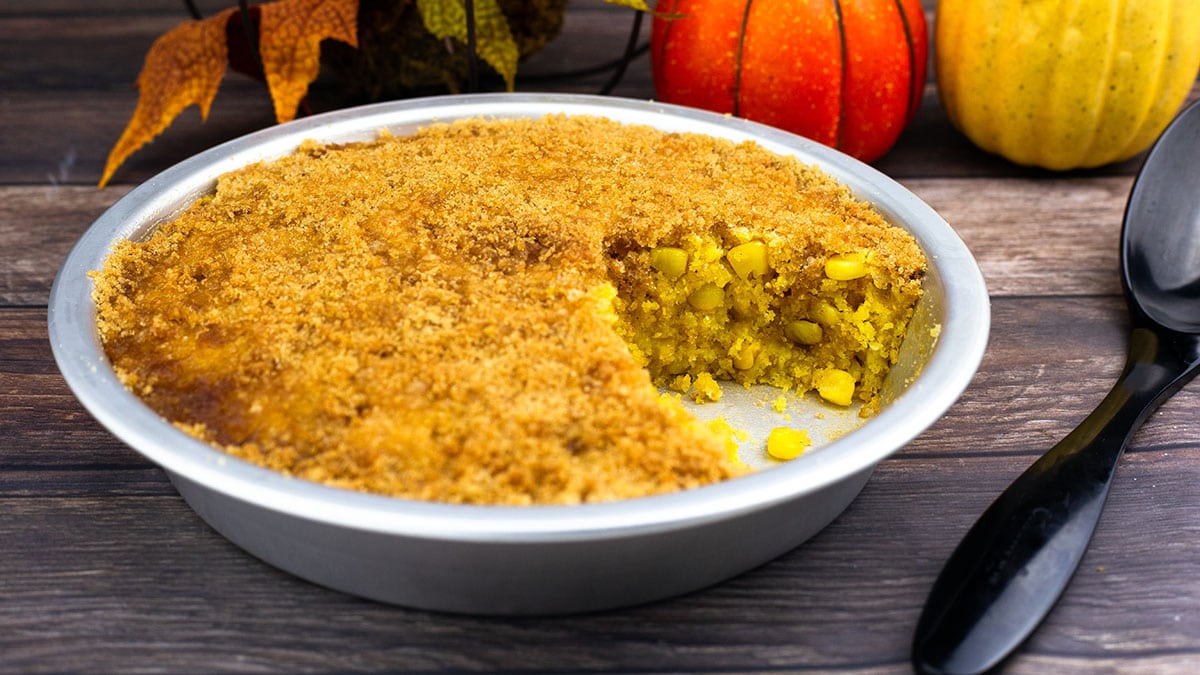
I've had several kinds of corn pudding and I absolutely fell in love with a corn pudding that a client's daughter made one Thanksgiving. It was creamy and rich, simply delicious. It really leaned more towards the corn casserole side of things. I even think she called it corn casserole.
While experimenting with a Mexican sweet corn cake recipe, the idea hit me to combine the two. It was delicious! I did some research to see what in the world I could name this fusion dish and I read about the various corn pudding recipes. Some are like the one I mentioned above, casserole like, and others are more like a dense, moist cornbread.
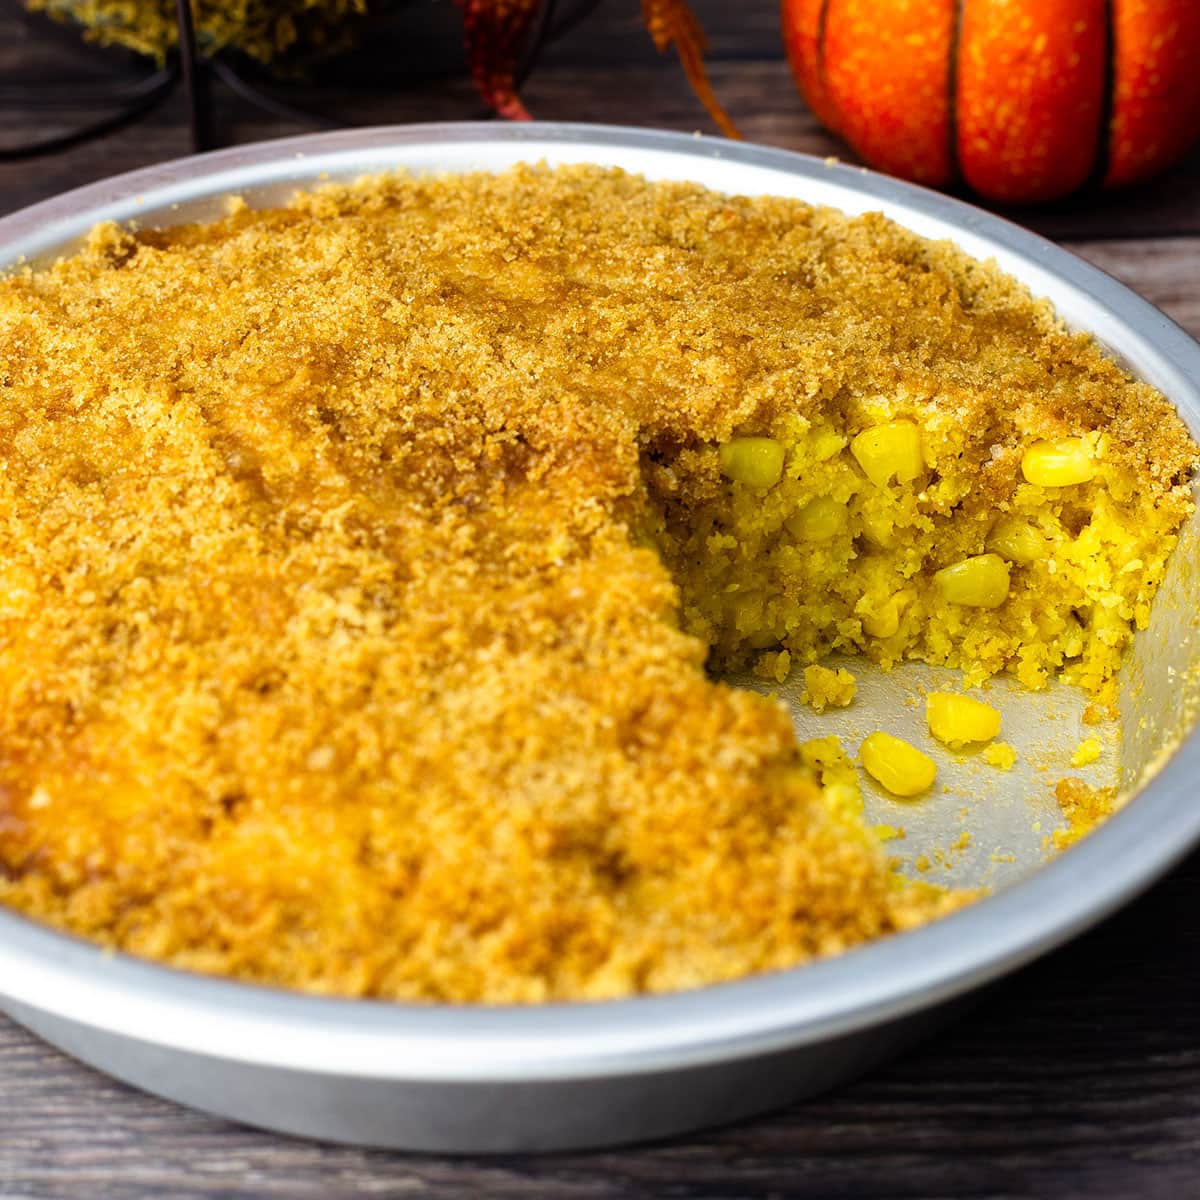
So, I named this recipe corn pudding. Is it really? I'm not 100% sure, honestly. It is different than most cornbreads though. This corn pudding has a lot of corn it it, no flour. It's a little sweet with a little heat. Personally, I think it's perfect and I'll bet you will love it, too!
What is Corn Pudding?
That is a good question! It's probably easier if I start off with what it isn't. Corn pudding not a creamy pudding like rice pudding or chocolate pudding. It pretty much always has whole corn kernels in it. It isn't usually served as a dessert, although I have had some that are sweet enough for dessert.
Corn pudding is a side dish, especially popular in the South. There are sweet versions, savory versions, custard-like versions, bread-like versions, and I'm sure many more versions. It is usually made with creamed corn & whole kernel corn. That is about where the similarities end as far as I can tell.
Some recipes call for cornmeal or a jiffy cornbread mix, some don't. Some call for vanilla extract and some don't. Some have bell peppers, some don't. So, basically you can make it any way you want.
I decided to make my corn pudding a little sweet and a little sassy and I think it is perfect even if you decide to call it cornbread!
Do I need a special pan to make corn pudding in the Ninja Foodi?
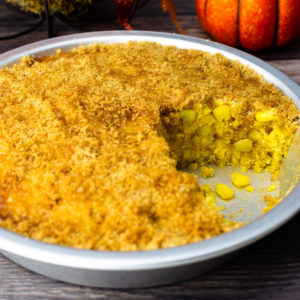
Not really. As long as your pan is pressure-safe and fits in the Ninja Foodi, you are good to go. I decided to use a (affiliate link)9 inch Fat Daddio pie pan because it  was the perfect size and I wanted to cut mine into wedges, like a pie slice, for serving.
If you look at the (affiliate link)Fat Daddio 9 inch pie pan on Amazon, don't worry about where it says 9" x 0.5", the depth is standard size, not 0.5". They are referring to the lip that goes around the pie pan.
You can use any 9", 8", 7", or even 6" pan. Just make sure it is deep enough to hold the batter. If you use a 9" or 8" baking pan, you do not need to make any adjustments in time.
If you use a 7" or 6" pan, the depth of the batter will increase and you will need to increase your pressure cooking time accordingly. I would suggest increase by 5 minutes for a total pressure cook time of 25 minutes and keep the natural release at 5 minutes.
How to make Corn Pudding in the Ninja Foodi
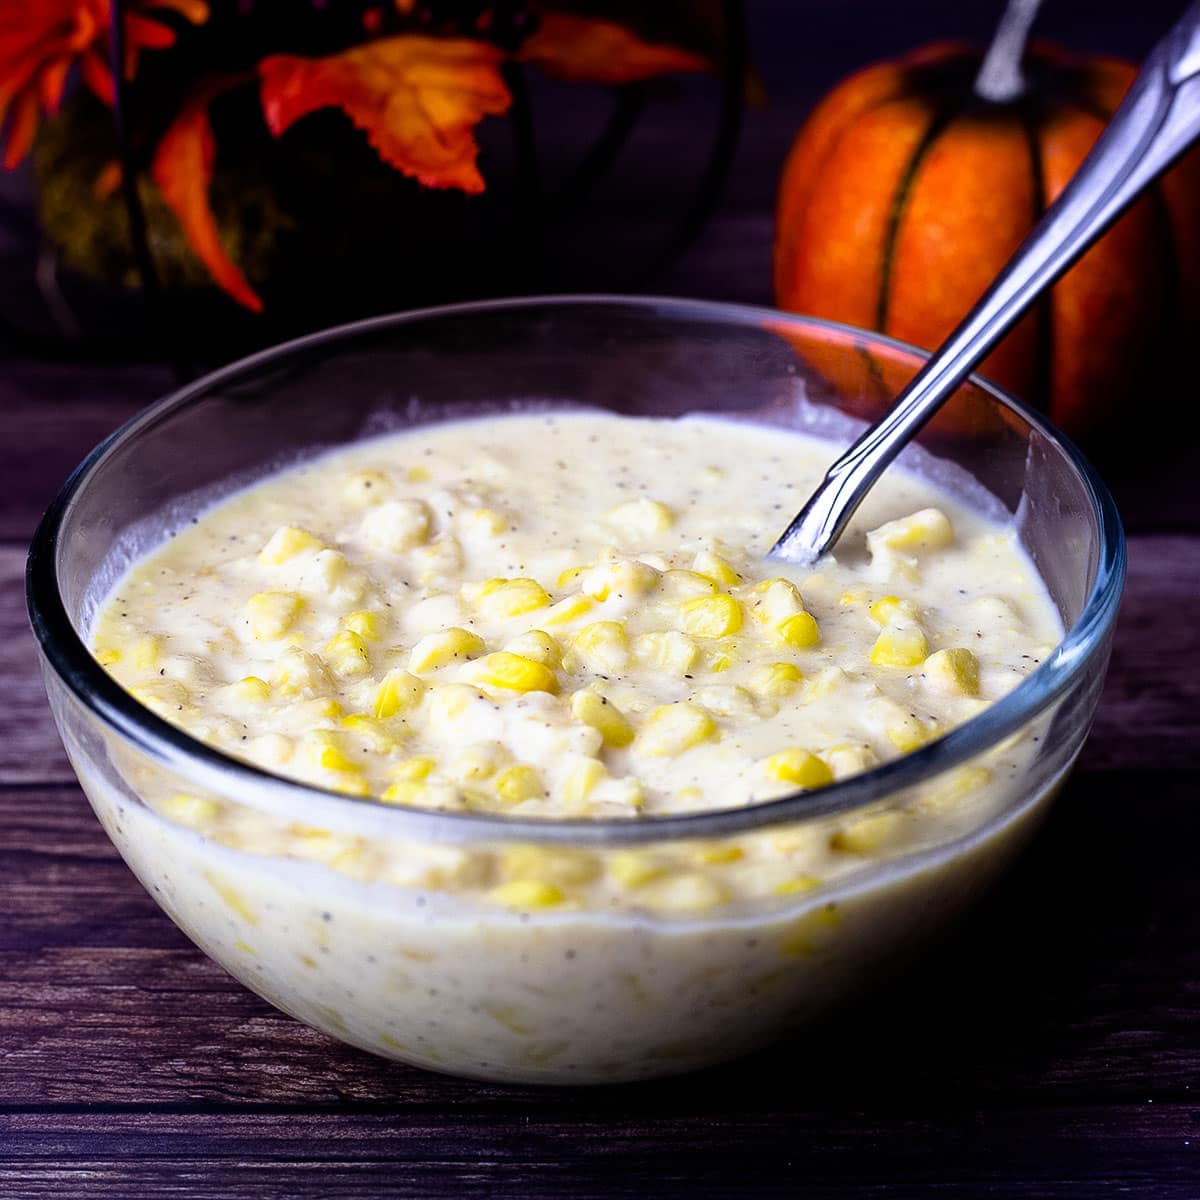 The first thing to decide is if you want to make your own creamed corn or use a canned product. Both will work just fine, but I prefer homemade cream style corn.
I just made some in my new Ninja Foodi Hot Cold Blender and it was so fast and easy, I couldn't believe it! You can check out the video right here: Creamed Corn in the Ninja Foodi Hot Cold Blender
Or, you can read the written recipe right here: Homemade Cream Style Corn
In the written recipe, I also give instructions on how to make it stovetop or in the Ninja Foodi.
If you want to use canned corn, that is completely fine! Just get one can of cream style corn and one can of whole corn kernels and mix together 1 cup of the cream style corn with 1 cup whole corn kernels that have been drained. That's it!
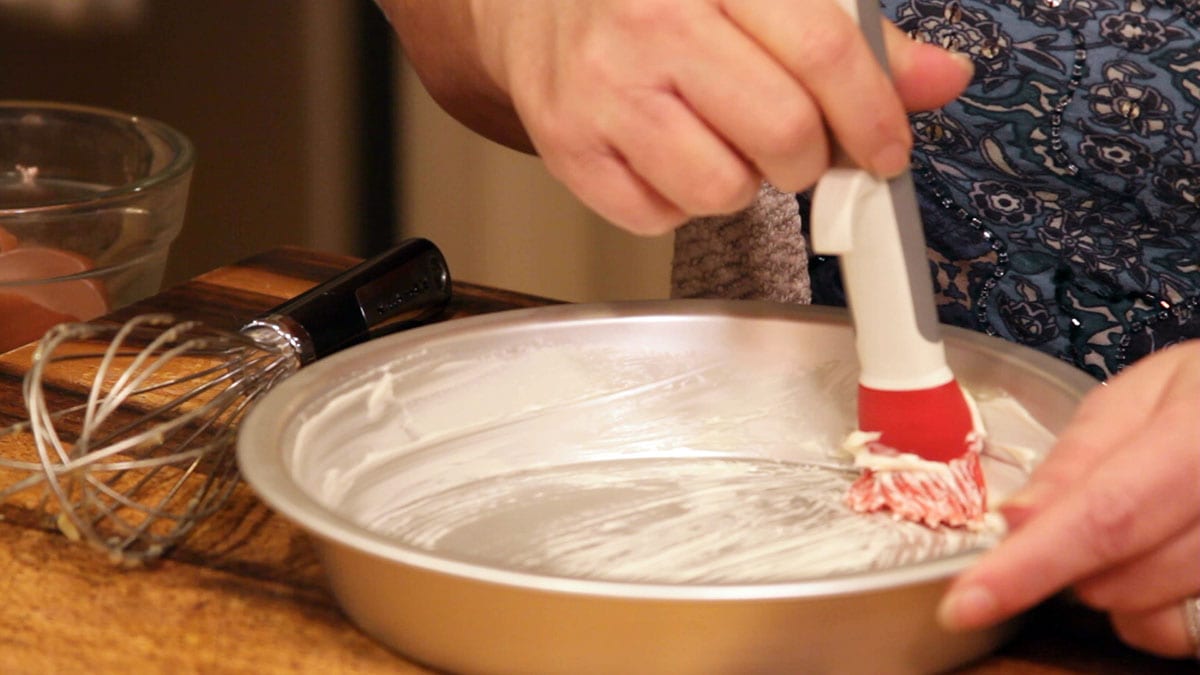
Butter or grease your baking pan.
Add ⅓ cup of sugar and 5 tablespoons of melted butter that has cooled some to a medium size mixing bowl. Add in 2 eggs and whisk until eggs are lightly beaten. Add in 2 cups of homemade cream style corn or the combination of ½ cream style canned corn and ½ whole (drained) corn kernels. Mix to combine.

Add 1 cup of cornmeal. I haven't had a chance to retest my recipe, but I am thinking about dropping that down to ¾ cup. I think the corn pudding was just a little grainier than I would like, so feel free to do that. Of course, if you make any changes, I want to hear about them!
Add ¼ teaspoon sea salt, 1 teaspoon baking powder, and ¼ teaspoon of cayenne pepper. The cayenne is the sassy part of my sweet and sassy corn pudding. If you don't like any spice, feel free to omit it. I happen to love the touch of heat and think it pairs really nicely with the sweet topping we are putting on later.
Pour the batter into your prepared pan.

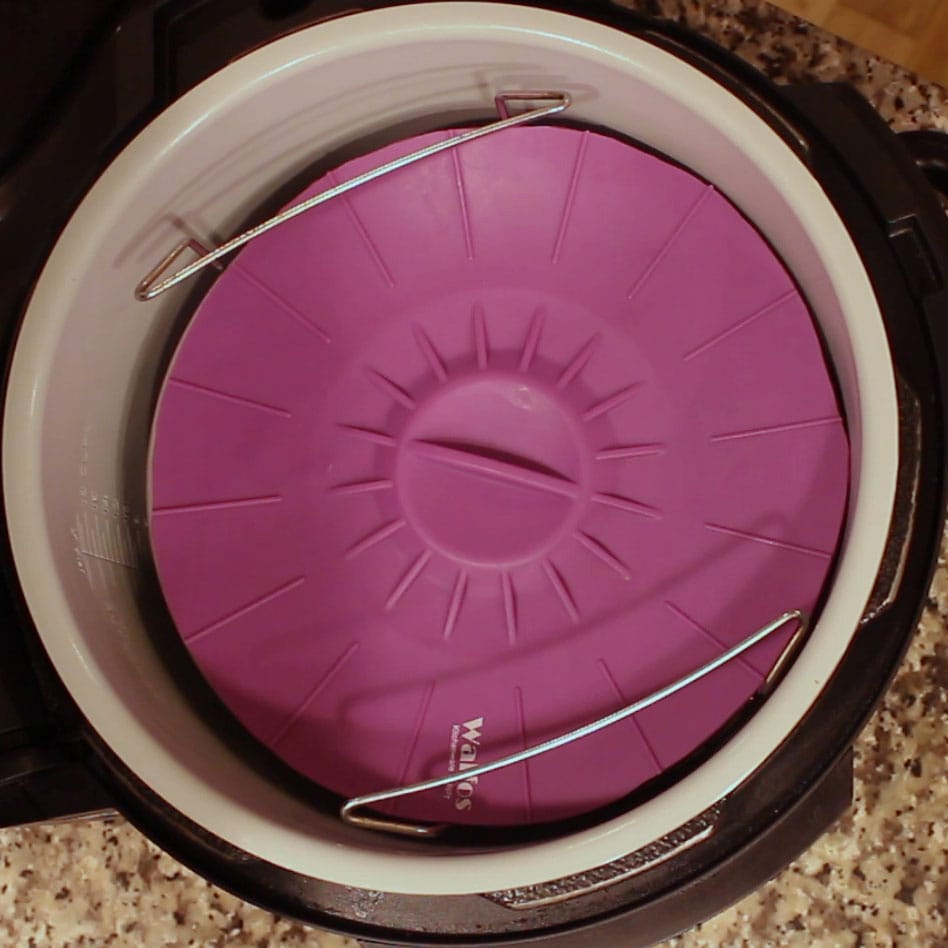 Cover with foil or a silicone cover. I love using these (affiliate link)silicone covers from Walfos.
Place the pan on the rack in the low position. Add 1 cup of tap water to the inner pot. Place the rack into the Ninja Foodi. Put the pressure lid on and turn the valve to seal. Set the pressure on high for 20 minutes.
When the time is up, allow the corn pudding to naturally release for 5 minutes and then manually release the remaining pressure.
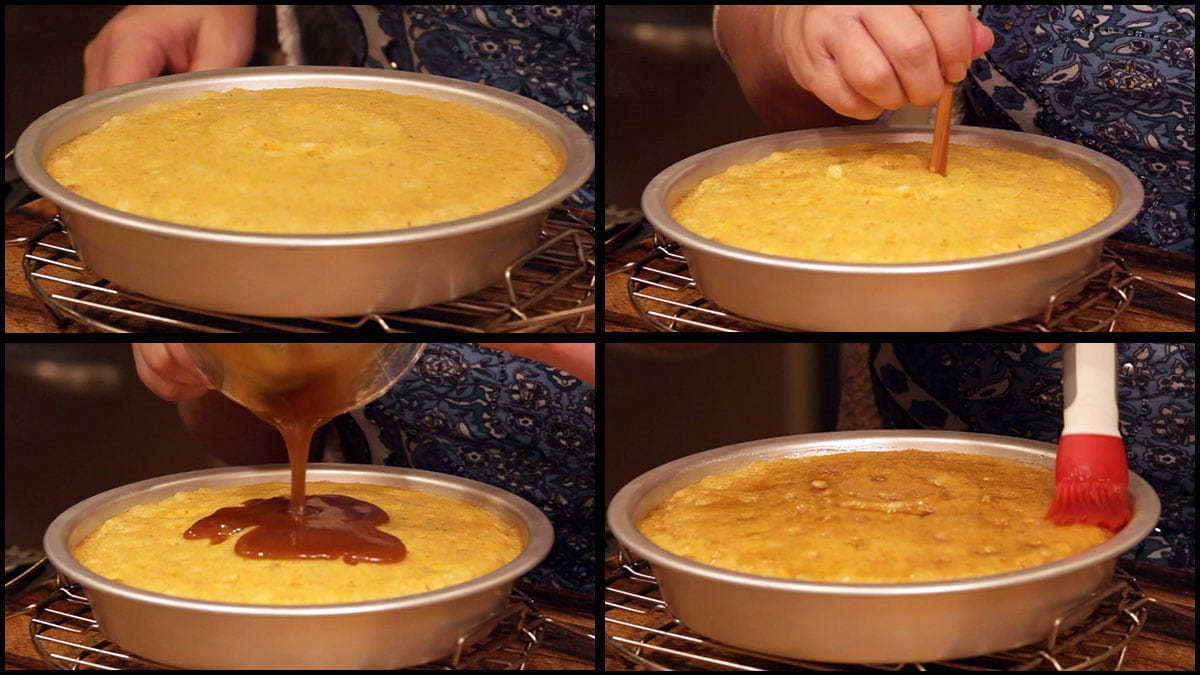
Remove the silicone cover and allow to cool slightly. This makes it easier to poke clean holes in the corn pudding. Meanwhile mix up 1 Tablespoon of maple syrup, 1 Tablespoon of water, and ¼ cup of brown sugar.
Poke holes about ¼" in diameter around the corn pudding. I use the end of a chopstick, but you can use a skewer or even a fork. The holes will be smaller, but that will be fine.
Pour the mixture over the corn pudding and spread it out to cover the top and let it soak into the holes.
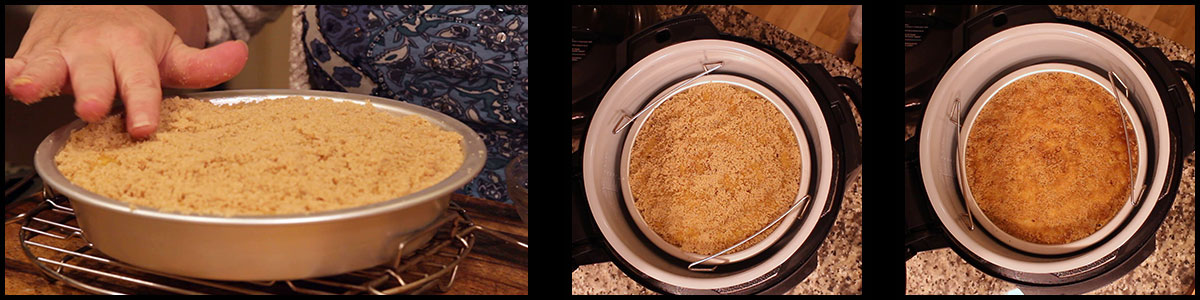
Sprinkle a thin, even layer of brown sugar on the top. I used about ¼ cup of brown sugar.
Place the baking pan back onto the rack in the low position and place the rack back into the Ninja Foodi.
Put the Air Crisper lid down and select broil. Broil for 7-12 minutes or until the brown sugar melts. Check on it frequently so the sugar doesn't burn.
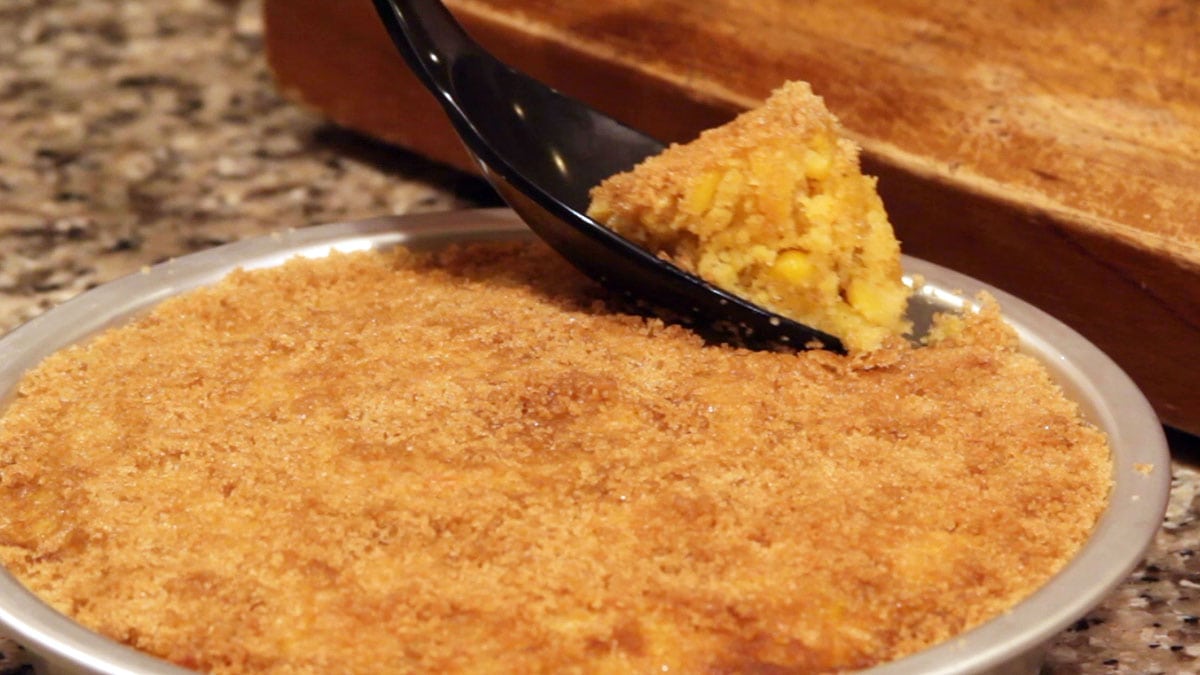
When it is brown and bubbly, remove and allow to cool for a few minutes.
To serve, you can cut slices or simply scoop it out!
Enjoy!
Sweet & Sassy Corn Pudding
Ingredients
Corn Pudding Batter
- ⅓ cup sugar
- 5 tablespoon butter melted
- 2 large eggs
- 2 cups Homemade Cream Style Corn see notes for alternative
- 1 cup cornmeal
- 1 teaspoon baking powder
- ¼ teaspoon sea salt
- ¼ teaspoon cayenne powder
Topping
- 1 tablespoon maple syrup
- 1 tablespoon water
- ½ cup brown sugar divided
Would you like to save this recipe?
Instructions
- Butter or grease your baking pan.
- Add ⅓ cup of sugar and 5 tablespoons of melted butter that has cooled some to a medium size mixing bowl.
- Add in 2 eggs and whisk until eggs are lightly beaten.
- Add in 2 cups of homemade cream style corn or see notes for alternative. Mix to combine.
- Add 1 cup of cornmeal,¼ teaspoon sea salt, 1 teaspoon baking powder, and ¼ teaspoon of cayenne pepper. Mix until combined.
- Pour the batter into your prepared pan. Cover with foil or a silicone cover.
- Place the pan on the rack in the low position. Add 1 cup of tap water to the inner pot. Place the rack into the Ninja Foodi. Put the pressure lid on and turn the valve to seal. Set the pressure on high for 20 minutes. Allow to natural release for 5 minutes and then manually release the remaining pressure.
- Remove the silicone cover and allow to cool slightly. Mix up 1 Tablespoon of maple syrup, 1 Tablespoon of water, and ¼ cup of brown sugar.
- Poke holes about ¼" in diameter around the corn pudding. I use the end of a chopstick, but you can use a skewer or even fork. The holes will be smaller, but that will be fine.
- Pour the mixture over the corn pudding and spread it out to cover the top and let it soak into the holes.
- Sprinkle a thin, even layer of brown sugar on the top. I used about ¼ cup of brown sugar.
- Place the baking pan back onto the rack in the low position and place the rack back into the Ninja Foodi. Put the Air Crisper lid down and select broil. Broil for 7-12 minutes or until the brown sugar melts. Check on it frequently so the sugar doesn't burn.
- When it is brown and bubbly, remove and allow to cool for a few minutes. To serve, you can cut slices or simply scoop it out!
Notes
Nutrition
ABOUT THE RECIPE AUTHOR, LOUISE LONG
Louise is a full-time recipe creator and food blogger @ The Salted Pepper. She has over 30 years of  experience with cooking and recipe development. She owned a restaurant for several years and was a full-time RN until retiring to blog full-time.
Louise has several very active Facebook groups that help people with the basics of cooking and getting the most out of the Ninja Foodi.
Ninja Foodi Fresh & Healthy Meals
Seeing the need for easy, delicious, and high quality recipes, she is focusing all of her efforts creating recipes specifically for the Ninja Foodi. Her recipes are easy for the home cook to follow and provide step-by-step instructions.
Louise is also a YouTube creator and you can find most of her recipes in video format on The Salted Pepper YouTube channel.
She is very responsive to messages and eager to help in any way she can.
I WOULD LOVE TO SEE WHAT YOU ARE COOKING UP IN YOUR NINJA FOODI! TAG ME @THESALTEDPEPPER ON YOUR FAVORITE SOCIAL MEDIA PLATFORM WHEN YOU MAKE A DISH!
BE SURE TO FOLLOW THE SALTED PEPPER RIGHT
Linda says
Louise,
Another fantastic recipe! I made this for Thanksgiving as an alternative to green bean casserole. It was so good and fun to make! I like the whole corn in it too. I did make it with your cream corn recipe in the Cold & Hot blender. (I had to make 2 batches to get the 2 cups, but was quick and easy to do). The. Corn pudding was still delicious warmed up in the microwave with wax paper over it for about a minute. I did a piece at a time. (I cut it in wedges with no problems with the slices coming out of the Fat Dadio pan. I also used 3/4 cups cornmeal.
Thank you, I also made the bacon wrapped sweet potatoes and will rate them 5 stars on a separate review.
Linda McLaughlin
Louise says
YAY! I'm so glad you liked the corn pudding!
Corina says
Louise,
Thank you for this recipe. 3/4C was just right on the corn meal. I made the sweet version but will try the cayenne pepper next time. My husband & I loved this recipe! Making the creamed corn was fantastic & I’ve never liked canned cream of corn. Everyone should try the cream of corn recipe!
Thanks again,
Corina
Louise says
I'm so glad you liked it!
Terry Rieger says
We love this recipe! My wife, who is not to partial to corn pudding, loves it with the heat! We're making it for the second time since we've owned the Foodi (1 month) as I'm typing (Waiting for the P/C cycle).
Two questions if you don't mind:
1) Does your Foodi sometimes make a "Popping" noise?
2) Who makes that big batter bowl that you use & how big is it? I think it's an Anchor Hocking 2 Quart.My wife likes yours.
Thank you!
Your loyal follower, Terry Rieger
Louise says
I'm so happy to hear that you and your wife like the recipe! Yes, I hear popping from time to time. Sometimes I think I don't dry the bottom of the pot enough. It hasn't caused any issues, so I don't worry about it. The big batter bowl that I use is from Pampered Chef and the super big one I use is their old design, but they carry two sizes. The big one is 2qts and the smaller one is 1 quart. Here is the link to my PC website if you are interested at looking at either of them: https://www.pamperedchef.com/pws/thesaltedpepper/shop/Storage+%26+Cleaning/Food+Storage/Classic+Batter+Bowl/2431