

- Mandolin (helpful, but optional)
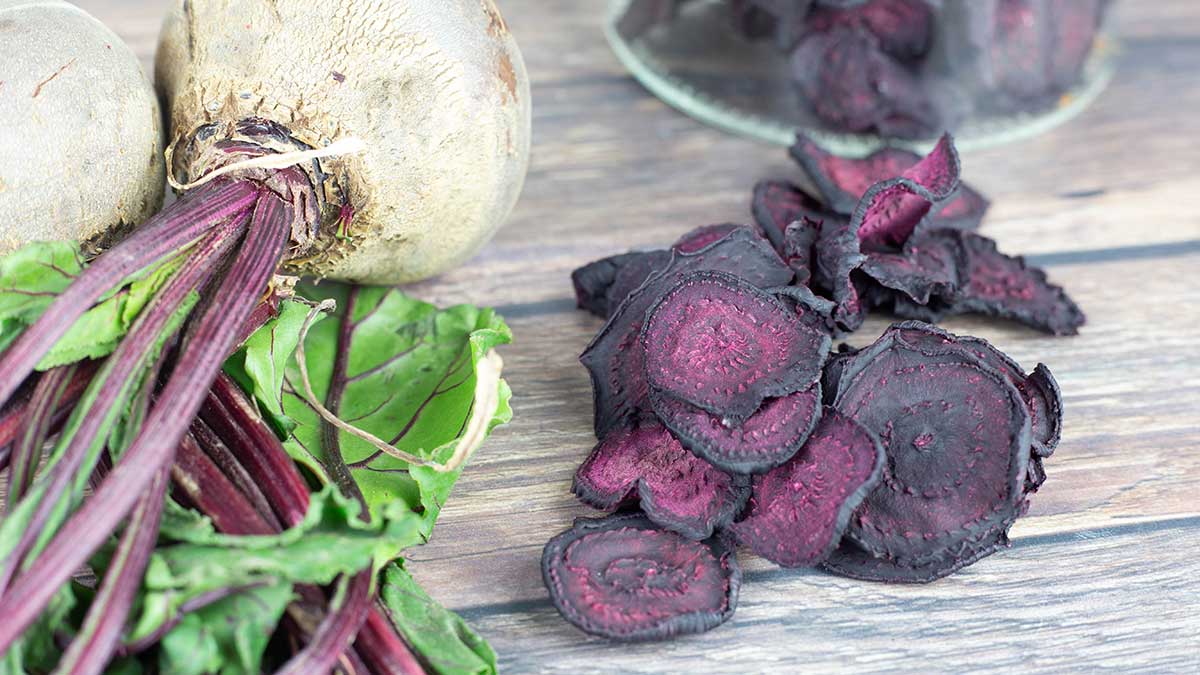
What do you do when you have so many beets that you don't know what to do with them all? Preserve them through dehydration! Although the process takes between 16-24 hours, it's super easy to do and almost completely hands-off.
Beets are one of my favorite root vegetables and in the fall I went to an auction and bid on beets. I won the bid and that's when I found out just how many beets were in 4 bushels! It's A WHOLE LOT of beets! They ranged in size from very small, almost bite size, to the size of a baseball. The small ones I processed and froze, but wanted to experiment with the medium to large beets.
Would you like to save this recipe?
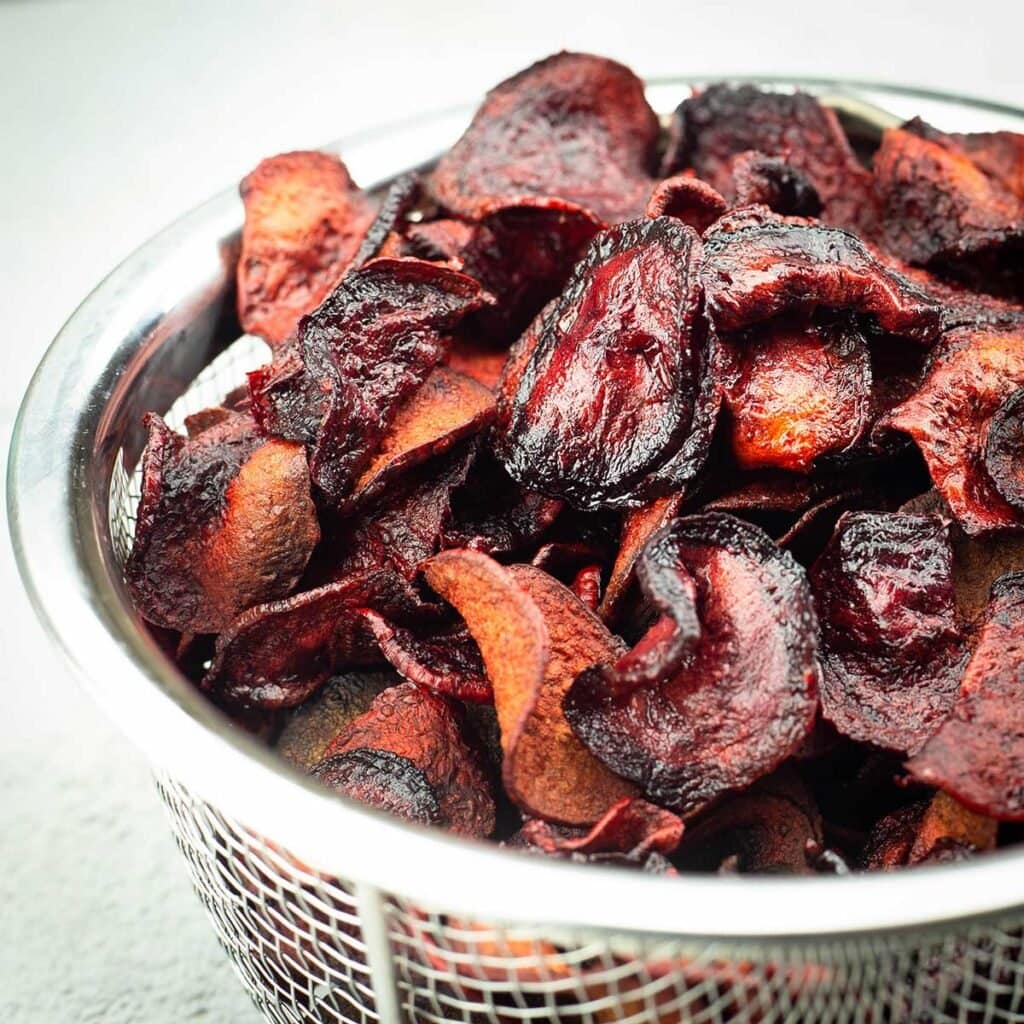
I saw several recipes for making beet chips using dehydration, so I thought I would try that for a healthy snack. I don't recommend it! If you want delicious and crispy chips that are a replacement for potato chips, use this recipe for Air Fryer Beet Chips instead. You will love them. The dehydrated beets were not crisp or pleasing in this form, BUT I found so many cool ways to use them. Dehydrating beets is absolutely a great way to preserve your beets for longer term storage.
Frequently Asked Questions
For the best results, I recommend a short cook time by either blanching the beet slices quickly or processing the whole beet like I do in this recipe. Keeping the beets whole with the skin on for a short pressure cook or boil time makes the process so easy. Once slightly cooked, the skins basically fall off and the beets are so much easier to slice.
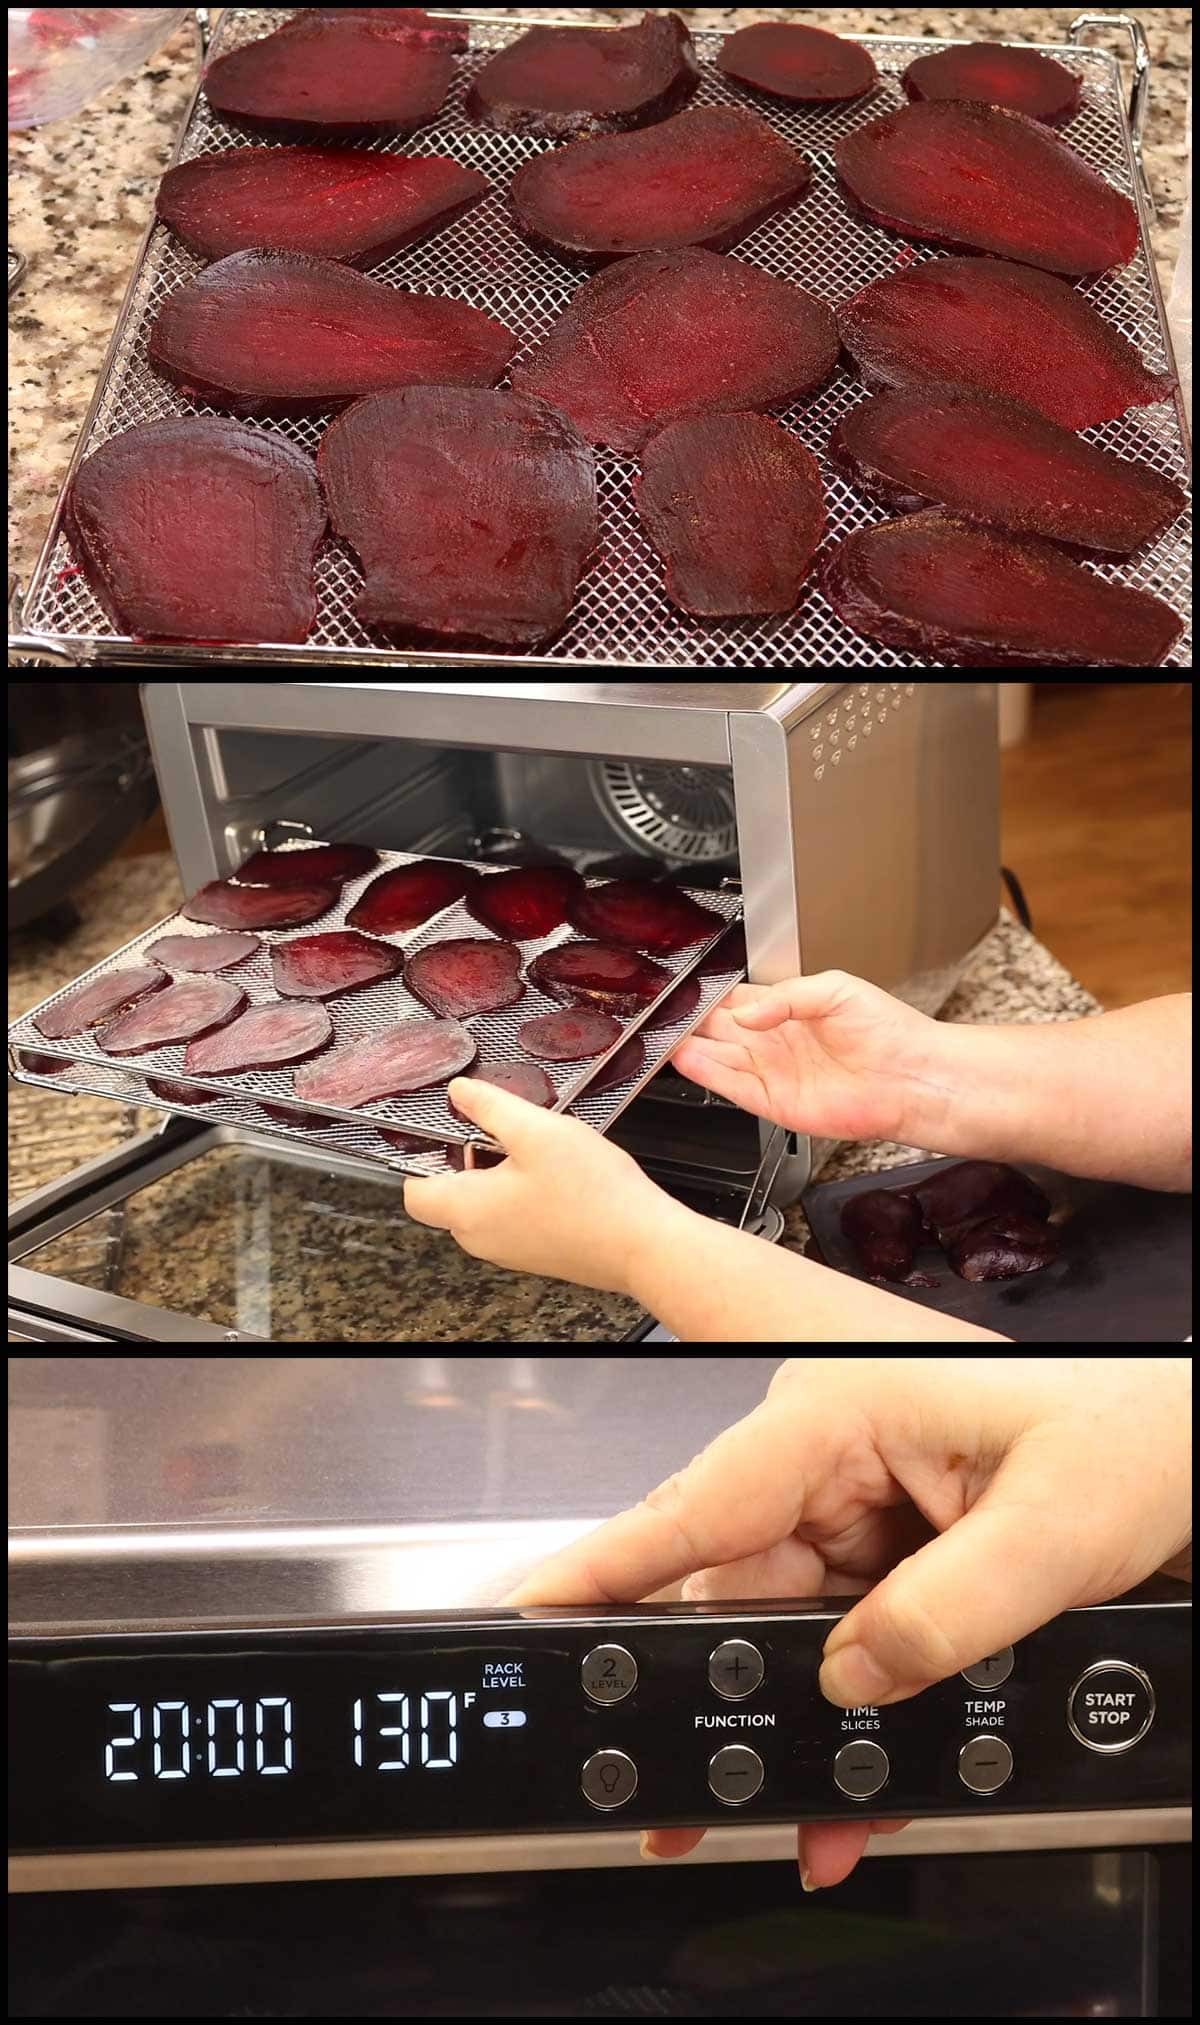
I have found that the beet slices dehydrate better at a low temperature, which most ovens can't be set for. The ideal temperature I found is 130℉/55℃. At this temperature, the sliced beets dry evenly without actually cooking. Since most ovens don't go below 200℉/100℃, the results may not be as good in an oven. However, if you have a warming function on your oven, that would be a good choice to try. Simply line a baking sheet with the beet slices and put them in the oven on the warming setting and keep them there for 16-24 hours or until they are completely dry.
Forever! I read somewhere that when properly dehydrated, beets will last up to 33 years. That's forever to me! However, I always try to use them up within a couple of years.
The most important thing is to make sure they are completely dry. If there is any moisture left in the homemade beetroot chips, they are susceptible to growing bacteria or mold. It is also important to store them correctly so they don't absorb moisture from the air. I like to vacuum seal my dehydrated beet chips, but you can store them in any airtight container. You also want to store them at room temperature.
Uses for Dehydrated Beets
There are a lot more uses for dried beets than you may think! I've been trying different ways to use them and have been very pleased with the results. As I explore dehydrated foods and uses for them, I will be adding more recipes on using them in dishes as well as other uses, so stay tuned!
Here are some of the things I've done with great success.
Beetroot Powder
To make beetroot powder, simply take the dehydrated beet slices and process them into a fine powder using a high speed blender like a Vita-mix type blender or the Ninja Foodi Blender.
Uses for Beet powder:
Mix with a small amount of water to make a plant-based dye for food or clothing
Add to smoothies for extra nutrition. A beet-blueberry smoothie is amazing!
Add the powder to chocolate cake instead of red food coloring for Red Velvet Cake
Quick Pickled Beets
I have a recipe coming out for this in just a few days and I will update this post with the pictures and link. I'm so excited that I can make a jar of pickled beets with eggs in a matter of minutes any time I want!
Reconstitute for Eating
There are several ways to reconstitute the dehydrated beets depending on what you want to use them for.
If you wanted to serve the beets as a side dish with dinner, the easiest way I found is to pressure cook them in water for a few minutes. Simply place the dried beet slices into the inner pot of your pressure cooker and add 1½-2 cups of water for every 1 cup of dehydrated beet slices and pressure cook on high for 2 minutes. When the time is up, let the pot do a full natural release. This is important because it's during the natural release that the beets fully absorb the liquid and plump up.
I've also simply placed the beets in a bowl of cold water and let them soak until they are reconstituted fully. This technique is great if you want to add fairly firm beets to a salad or grate them into a dish.
Supplies Needed for Dehydrating Beets
Food Dehydrator
You can use any kind of dehydrating appliance that you have. What I use for all of my dehydrating needs is the (affiliate link)Ninja Foodi XL Pro Oven. I find that this appliance is perfect for dehydrating, but also has tons of other uses and sits on my countertop all the time.
If you are using a different appliance that has multiple uses, like the (affiliate link)Ninja Foodi Pressure Cooker & Air Crisper, you may need to reduce the amount of beet slices you can do at once and it might be necessary to rotate the shelves of the (affiliate link)dehydrating rack.
Dehydrator Trays
If you have the Ninja Foodi oven, you can use the air fryer basket and even the dark tray lined with parchment paper if you don't have the dehydrating trays that fit. For the XL model, you can purchase the dehydrating kit on their website: Ninja Foodi XL dehydrating kit. The beets that are on a solid surface tray will take longer than those that are on the mesh basket because of reduced air flow.
Mandoline Slicer or a Very Sharp Knife
A mandolin is going to make slicing the beets so much easier and quicker. The other advantage of using a mandolin is the uniformity of all the slices. The mandolin that I use is metal and comes with a cutting glove, which I absolutely LOVE. You can find it here on Amazon: (affiliate link)Mandolin Slicer with Cut Resistant Glove
If you don't have a mandolin, use a sharp knife that is large enough to slice through the beet in one pass. I recommend an (affiliate link)8" chef's knife.
Pressure Cooker
I'm including this in the list, but it is completely optional. Obviously, you can dehydrate beets without a pressure cooker. However, you do need to par cook them for the best results and I found that using a pressure cooker with whole unpeeled beets was the easiest way to cook them.
So, if you have a pressure cooker definitely use it and I'll include the instructions below.
How to Dehydrate Beets
Par cooking the Beets
I've seen recipes that say you don't have to cook the beets first, and this very well may be true, but if you have ever tried to slice a raw beet into uniform slices that are about ¼" thick, then you know what a pain that is.
I have not tried this recipe without par cooking the beets and I don't plan to because I don't want the hassle of peeling and slicing a raw beet ever. I like my sanity, or what's left of it.
Pressure Cooking
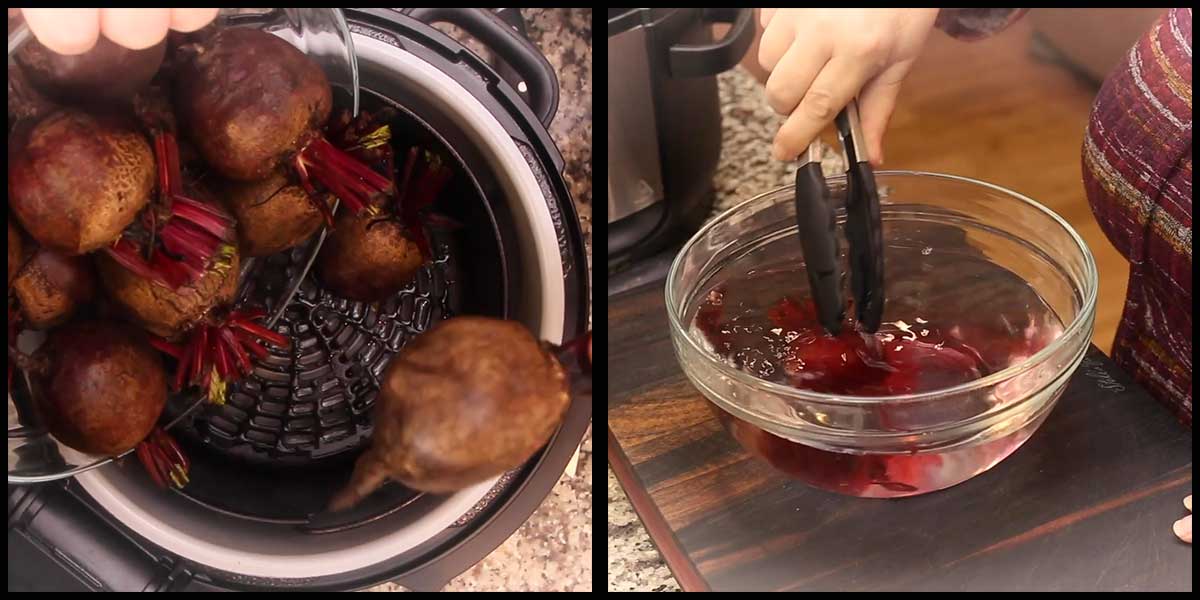
The easiest way I've found to par cook the beets is in my Ninja Foodi Pressure Cooker. I put 1 cup of water in the inner pot, use the basket or the rack to hold the beets and pressure cook for 5 minutes on high with an immediate release of pressure.
Then put the beets under cold running water and rub the skin off. Or, put the beets in a bowl of cold water and rub the skins off.
Here is a quick video showing how I do this.
Stovetop
You can also fill a pot with water and bring it to a boil and put the beets into the pot to boil for about 20 minutes or so. Then, remove and place in cold water to peel them.
Blanching works as well, but you would have to slice the beets first and I avoid that at all cost!
Cutting the Beets
I chose to slice my beets, but you can cut them other ways. You can dice them into 1" cubes or cut them into strips. It really doesn't matter how you cut them, but the larger they are, the longer they will take to dehydrate.
For this reason, I like to do ⅛-¼" slices. I use a (affiliate link)mandolin to ensure my slices are uniform so they all dehydrate at the same time.
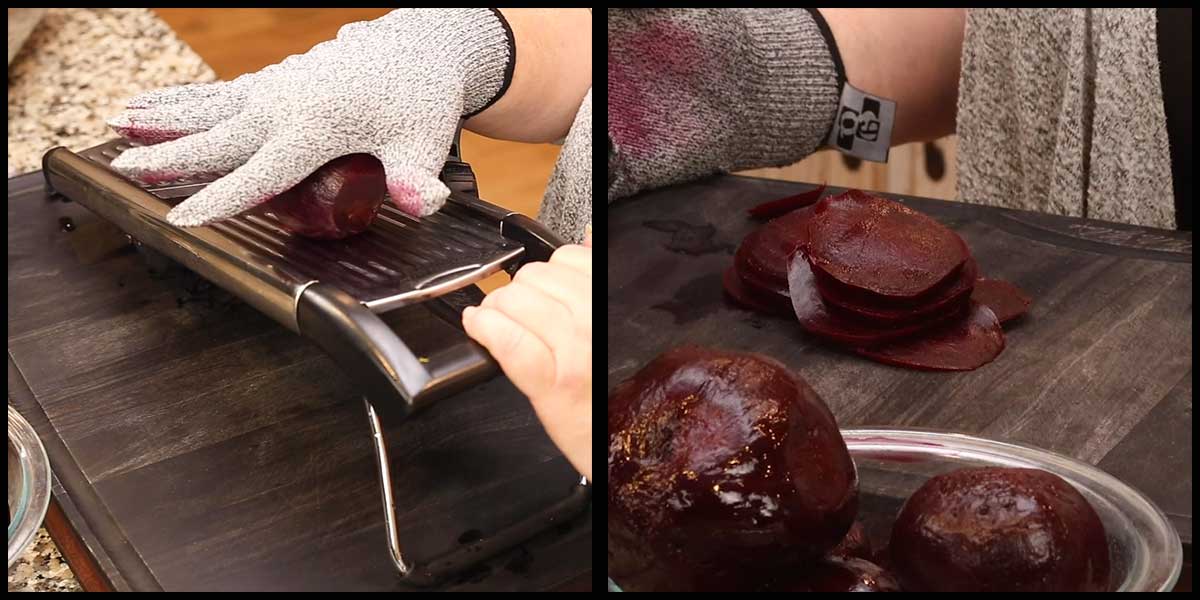
A sharp knife also works and a little tip is to slice off a tiny bit of the side of the beet to create a flat surface on the cutting board. This will provide stability and it's easier to get uniform slices.
Dehydrating Beets
Line the beet slices on your dehydrating trays in a single layer. Set the dehydrator to 130℉/55℃ and set the time for 20 hours.
I've tested this recipe a lot of times and the time it has taken for the ⅛-¼" slices has varied from 16 hours to 20 hours. So, check on the beets at 16 hours if you want, but you will not do any harm in letting them go the entire 20 hours.
You may also find, depending on the style of dehydrator that you have that you have to go longer to get them completely dehydrated. That is perfectly fine. You won't over dehydrate them if you go longer. The drier they are the better for long term storage.
This is one of the most important parts about dehydrating food for storage, you have make sure you remove all the water content from the food or it can grow bacteria or mold. When in doubt, dehydrate longer. *This is not the case with things you are going to eat right away like beef jerky or fruit leather, you can over dehydrate those things.
Storage of Dehydrated Beets
The way you store your dehydrated beets is very important for longevity. There is moisture in the air and if they are not in an airtight container and have limited exposure to humidity, they can absorb water and spoil.
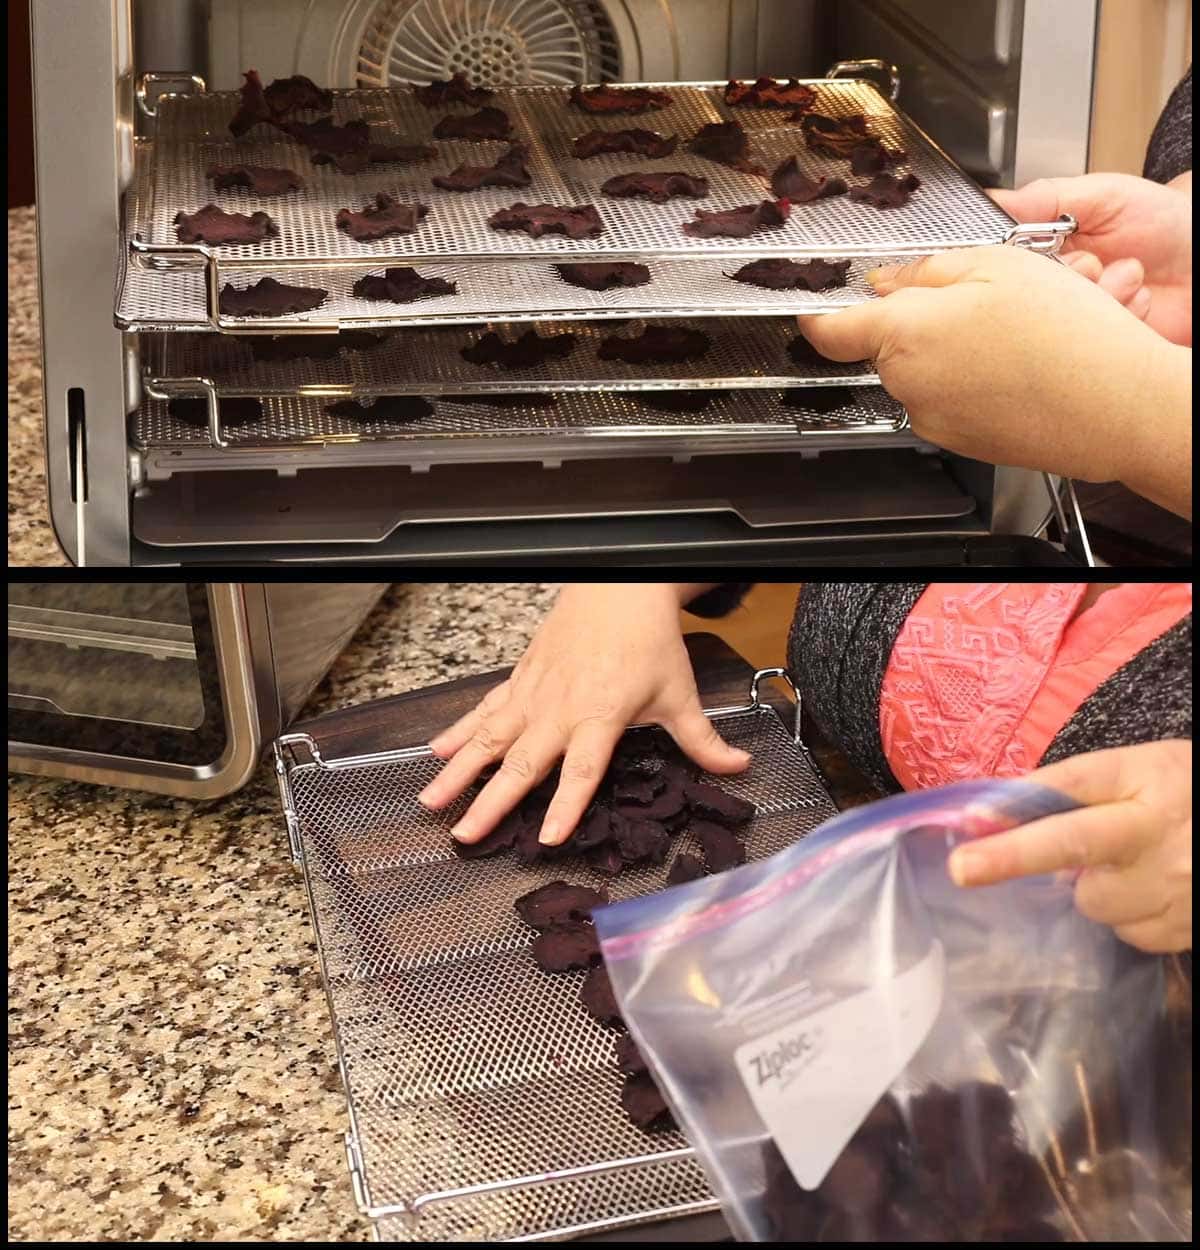
Remove the dried beets from the trays and either use a vacuum sealer or another airtight container to put the beets in for storage.
Don't put the dehydrated beets in the refrigerator or freezer, these environments can lead to them absorbing moisture.
Store the beets in a cool dry place in the proper container and they will last a very long time!

How To Dehydrate Beet Slices
Equipment
- Mandolin helpful, but optional
Ingredients
- 6 medium beets You can dehydrate as few or as many beets as your dehydrator allows.
Would you like to save this recipe?
Instructions
- Par cook the beets until a fork can be inserted, but they are still firm. I pressure cook mine for 5 minutes and it works perfectly. You don't even have to peel the beets before pressure cooking, simply run them under cold water when they are done and the skins will rub right off.
- Using a mandolin or a sharp knife slice the peeled beets into ⅛-¼" slices.
- LIne the dehydrator trays with a single layer of beet slices. Set the dehydrator to 130℉/55℃ for 20 hours. They usually take between 16-20 hours to completely dehydrate, but if your humidity levels are higher or if your slices are thicker, it could take longer. Continue dehydrating them until they are completely dry.
- Remove the dehydrated beets from the trays and transfer them to an airtight container. Store in a cool, dry place. When properly dehydrated & stored, the beets will last many years.
Nutrition
About the Recipe Author, Louise Long
Louise is a full-time recipe creator and food blogger @ The Salted Pepper. She has over 30 years of experience with cooking and recipe development. She owned a restaurant for several years and was a full-time RN until retiring to blog full-time.

She published her first cookbook in the Fall of 2018 and is very interested in writing several more.
Louise is also the creator of an online Ninja Foodi Pressure Cooking Course with over 100 instructional step-by-step videos. People absolutely rave about the course and all the value they have received from it.
Louise has several very active Facebook groups that help people with the basics of cooking and learning more about the appliances they love.
Ninja Foodi Pressure Cooker & Air Crisper 101
Ninja Woodfire Outdoor Grill & Smoker
Louise is also a YouTube creator and you can find most of her recipes in video format on The Salted Pepper YouTube channel.
She is very responsive to messages and eager to help in any way she can. Get more Information about Louise & contact information
I WOULD LOVE TO SEE WHAT YOU ARE COOKING UP IN YOUR KITCHEN! TAG ME @THESALTEDPEPPER ON YOUR FAVORITE SOCIAL MEDIA PLATFORM WHEN YOU MAKE A DISH!
BE SURE TO FOLLOW THE SALTED PEPPER RIGHT HERE ⇓⇓⇓⇓⇓
Karen says
How do you par boil them in the pressure cooker? How much water do you add? Thanks!
Louise says
I go over that in the written article, there is a whole section on it. I use 1 cup of water.
Michelle Atkin says
Do you ever use your dehydrated beets for soups? Like borch?
Louise says
I haven't made borscht yet, but I do want to try it!
Sharon says
Hi how do you use them to make pickled beets later?
Louise says
I guess I never put out that recipe for some reason! 1 cup dehydrated beets
2 large eggs
1 cup white vinegar
1 cup water
1/2 cup sugar
peppercorns
bay leaf
mustard seed
Put all of the ingredients in the inner pot of the pressure cooker except the eggs. Put the eggs on a rack above the liquid ingredients. PC for 2 minutes with a full natural release. Chill the eggs and then peel them. Place the beets with the juices and the peeled eggs into a jar with a lid and put in the fridge until chilled. Store in the fridge.
Amy G says
Im dehydrating basil I'm confused do I use the pressure cooking lid or the crisping lid?
I loved your chicken tortilla soup!
Louise says
The dehydration function only works with the crisping lid. Lower temps work best with herbs.