

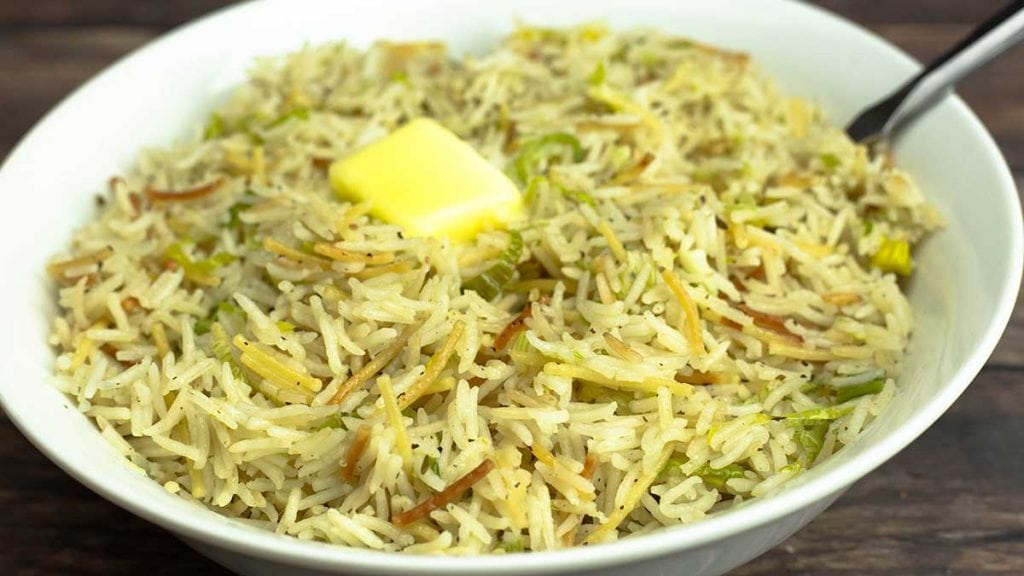
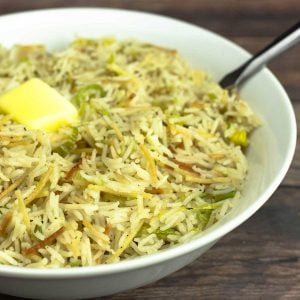
Making homemade Rice-A-Roni® in the Ninja Foodi or stove top is so easy and absolutely delicious. It's also a side dish that can be turned into a quick dinner with just a few additions!
Would you like to save this recipe?
I've always loved how easy making a rice side dish is and this homemade version of Rice-A-Roni is no exception! In just about 10 minutes you can have a delicious side dish and you don't need any special equipment to make it!
This post may contain affiliate links. If you make a purchase after clicking a link, I may earn a small commission. As an Amazon Associate, I earn from qualifying purchases.
I used the Ninja foodi Pressure Cooker & Air Crisper to make it, because using the steam function takes just 7 minutes to cook the rice, but you can do this stovetop, too! I'll go over the differences in cooking time and technique later in the article.
Frequently Asked Questions
As written, the recipe for Homemade Rice-A-Roni makes 3.5 cups of rice.
The store-bought Rice-A-Roni comes in different flavors, so the ingredients vary, but the basic ingredients are rice & pasta that are browned in butter and then cooked in water with seasonings.
Homemade Rice-A-Roni is the same basic ingredients, but you can customize it in all kinds of ways to make your own version of Rice-A-Roni.
Yes, very much so. Rice pilaf is a combination of rice (sometimes pasta) with seasonings, and sometimes other ingredients like vegetables are added in. Rice pilaf and Rice-A-Roni are styles of loose rice where the cooking technique produces rice grains that do not adhere to each other.
Basmati rice works the best, in my experience, but you can use a variety of different rices. Long grain rices are going to be the best choice so you achieve the correct texture. Sticky rices do not work as well in a pilaf style rice.
Ingredients & Substitutions
Vermicelli Pasta
While Vermicelli pasta is common in rice pilafs and Rice-A-Roni style rices, you can certainly use any long, thin pasta such as spaghetti noodles, thin spaghetti, or even angel hair.
You can also omit the pasta, if you choose. I will say that the pasta gives a special flavor (a little nutty) when toasted and it's delicious in this recipe!
Basmati Rice
Any long grain rice will work in this recipe, but in my experience the basmati rice is the best for having an end result that is light and fluffy.
If you wanted to use brown rice, you will need to change the cooking time. Brown rice usually takes about 35-40 minutes to steam. Usually, a 1:2 ratio of rice to liquid is fine for brown rice, so I would start with that and maybe check on the rice when it's 75% done.
Leeks, Garlic, & Seasonings
The beauty of a recipe like this is you can omit and add anything you like. No rules!
Well, maybe one. If you add in ingredients that have liquid, then you want to reduce the amount of water you add so you maintain a 1:2 rice to water ratio.
Other than that, use whatever ingredients you like. I chose leeks because I had some leftover from a delicious Colcannon recipe and I needed to use it up. I also happen to love the mild onion flavor.
Substitutions for leeks would be shallots, green onions, scallions, and even a sweet white onion. You can also omit the onion or leek.
I use 4 cloves of garlic that I crush, peel, and dice. This gives a nice garlic flavor without being overbearing.
If you like a stronger garlic flavor, mince the garlic and for a very subtle garlic flavor leave the cloves whole or use roasted garlic.
You can use as little or as much of the garlic as you want. You can omit it.
As far as the seasonings go, that is completely up to you. This blend gave a nice flavor without any spice being overpowering. You can also adjust the seasonings after cooking the rice.
Water
I enjoyed this recipe with plain water, but you can use any thin liquid that you like or even a combination of thin liquids.
You can use chicken stock, beef stock, beer, wine or any combination thin liquids that you want.
If using a seasoned stock, you might want to decrease the salt by half or omit it until after cooking. Always remember, you can add more spices, but it's hard to take them out.
Can I Turn this Rice-A-Roni into a Whole Meal?
Absolutely! It would be delicious with just about any vegetables. Just keep in mind the cook time of the vegetables so you can cut them small enough for them to cook while the rice is cooking.
If you want to use vegetables that won't cook in 7 minutes, then you can always cook them halfway through and then cook them the rest with the rice.
This particular combination of ingredients would be amazing with chicken and more vegetables. You can add leftover cooked chicken or cut the chicken into small enough pieces so they cook in the 7 minutes of steam time.
Keep in mind, raw chicken will give off liquid and you will want to reduce the amount of thin liquids to adjust for that. I would plan on reducing the liquid by ¼ cup for a pound of raw chicken.
How can I make Homemade Rice-A-Roni on the Stove?
Making homemade Rice-A-Roni on the stove is almost the exact same instructions as using the Ninja Foodi. The main difference is stirring the rice a bit and making sure it doesn't lose too much liquid during the cooking process.
Heat the butter and oil over medium high heat in a large sauté pan that has a lid. Be sure the sauté pan will hold all the food once the rice has expanded (at least doubled in size), a 3 qt pan should be fine.
Break the vermicelli noodles into small pieces over the sauté pan and then add the rice. No need to rinse the rice before adding. Peel and chop the garlic and sauté everything together for about 2-3 minutes or until the vermicelli starts to brown.
Add in the remaining ingredients and stir. Bring to a boil, then reduce the heat to a simmer and put the lid on the pan. Cook for about 12-15 minutes, stirring once or twice during the cooking process.
Once almost all of the liquid is absorbed, turn the heat off and keep covered for about 5 minutes.
Serve & Enjoy!
How to Make Homemade Rice-A-Roni in the Ninja Foodi or Instant Pot
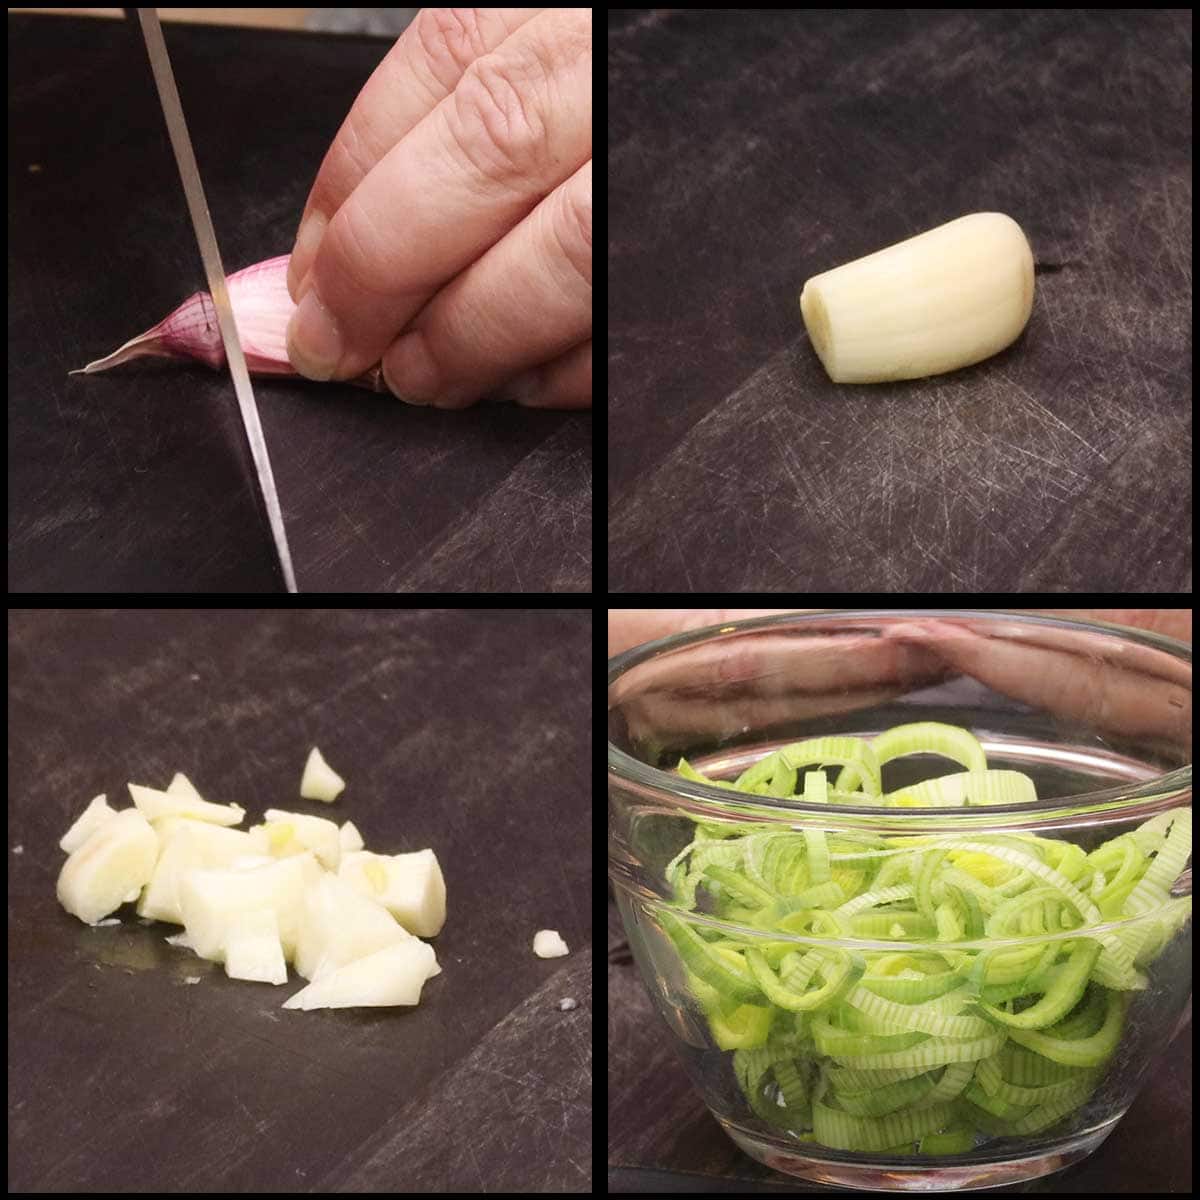
Prepare the garlic and leeks. I cut the ends off of my garlic, smash it with the flat blade of a chef's knife, remove the paper and roughly chop it. You can add it in whole for a milder flavor or mince it for a stronger flavor. The more surface area of the garlic (smaller pieces = more surface area), the stronger the flavor will be.
Slice the leeks into thin rounds.
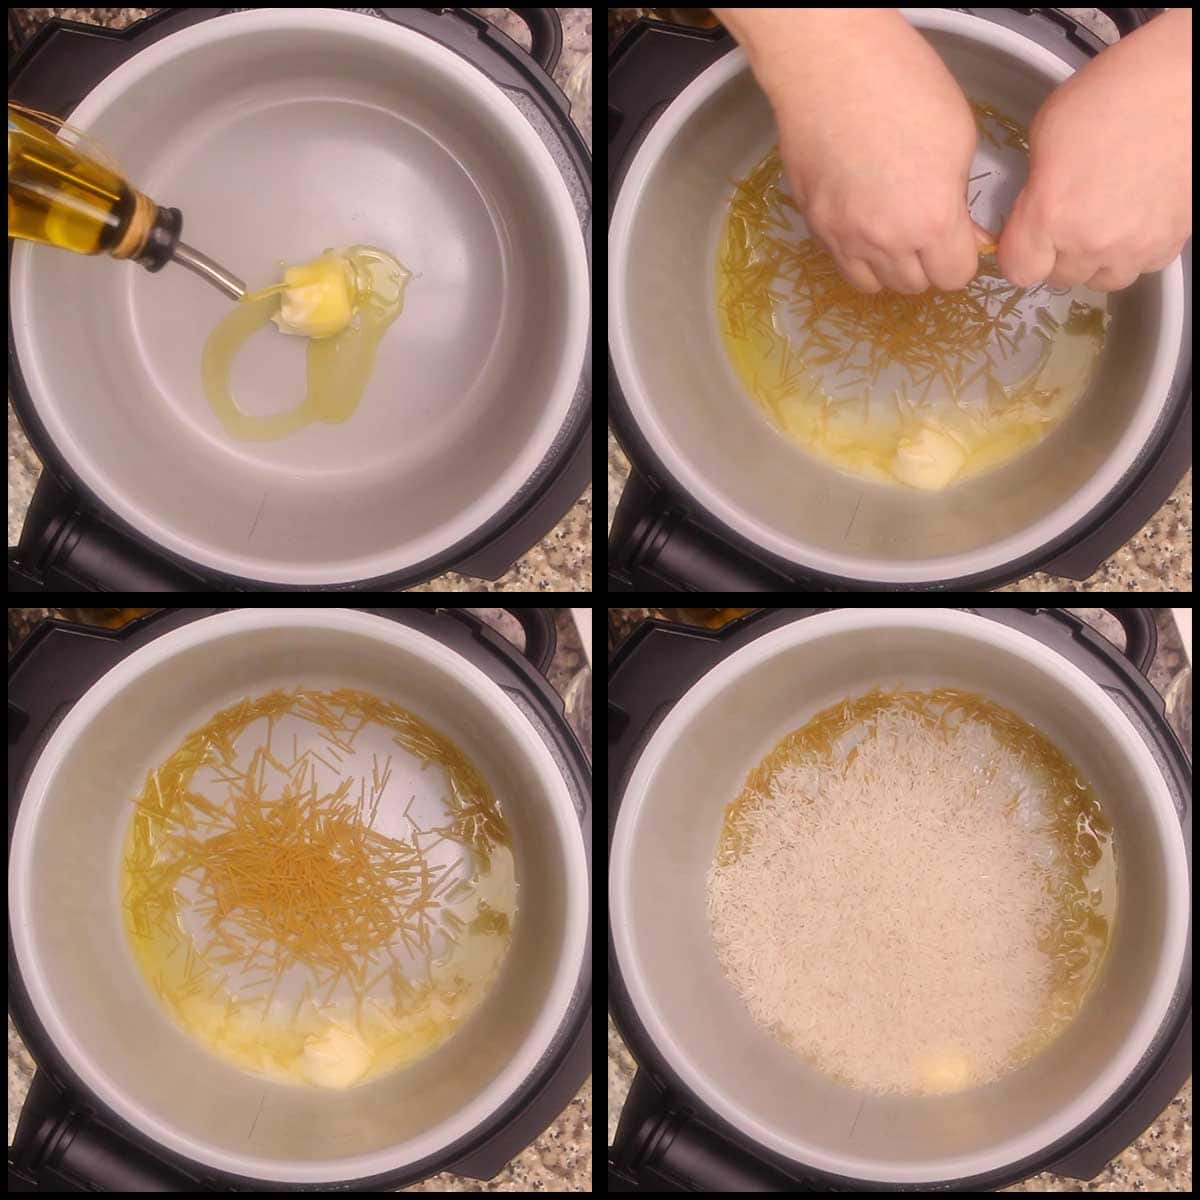
Turn the sear/sauté on medium-high and add in 1 Tablespoon of olive oil and 2 Tablespoons of butter. You can also use all butter, but I would turn the heat down to medium so you don't burn it.
When the butter has almost completely melted and is sizzling, break the vermicelli into small pieces over the top of the pot. I used 1 ounce of vermicelli, which is about ¼ cup. You can also use thin spaghetti or regular spaghetti or even the cut spaghetti which is sometimes called, Fideo.
Add in the 1 cup of basmati rice and stir. You do not need to rinse the rice before adding and I don't recommend rinsing it because you want to lightly toast it and any moisture will create steam and inhibit the toasting.
The pasta will brown pretty quickly, so you want to stir it a few times so you don't burn it. Once the pasta starts to brown, add the garlic and sauté until the pasta is golden brown (this usually takes 2-3 minutes).
Add the leeks and the seasonings and stir well.
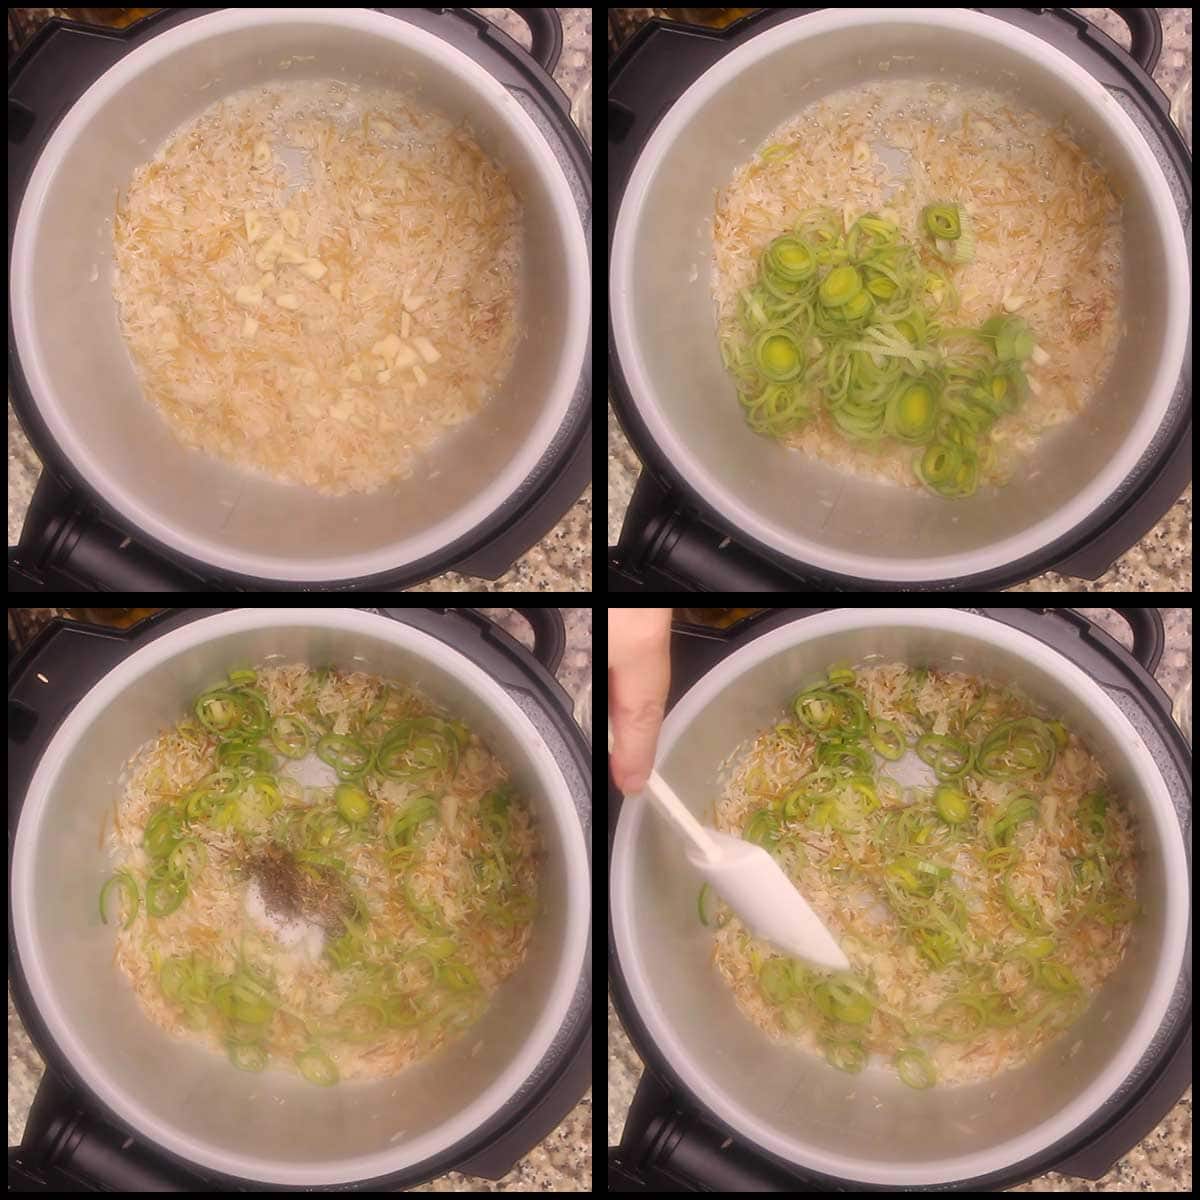
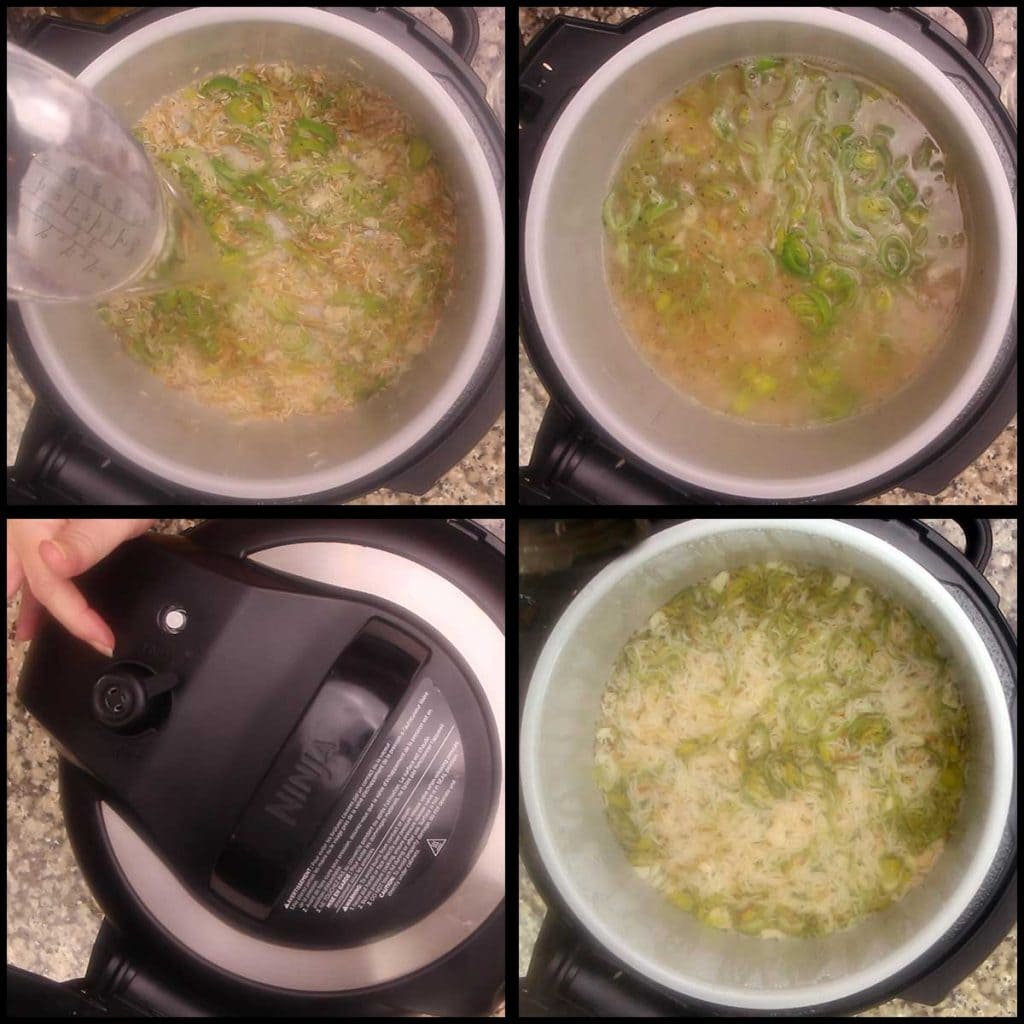
Deglaze the pot with the water and make sure to scrape the bottom of the pot to make sure nothing is stuck to the bottom.
Place the pressure lid on and turn the valve to VENT. Select the steam function and set the time for 7 minutes. When the time is up, turn the Ninja Foodi off and wait for the pin in the back to drop if it is up. Immediately open the lid once the pin drops and give the rice a stir.
Taste a small amount for seasonings and desired doneness. If the rice is still a little wet, put the lid on the pressure cooker and keep it vented for a few minutes and the remaining liquid will be absorbed.
*If you are using an Instant Pot that requires the valve to be sealed when steaming, then decrease your cook time to 5 minutes with an immediate release to avoid overcooking.
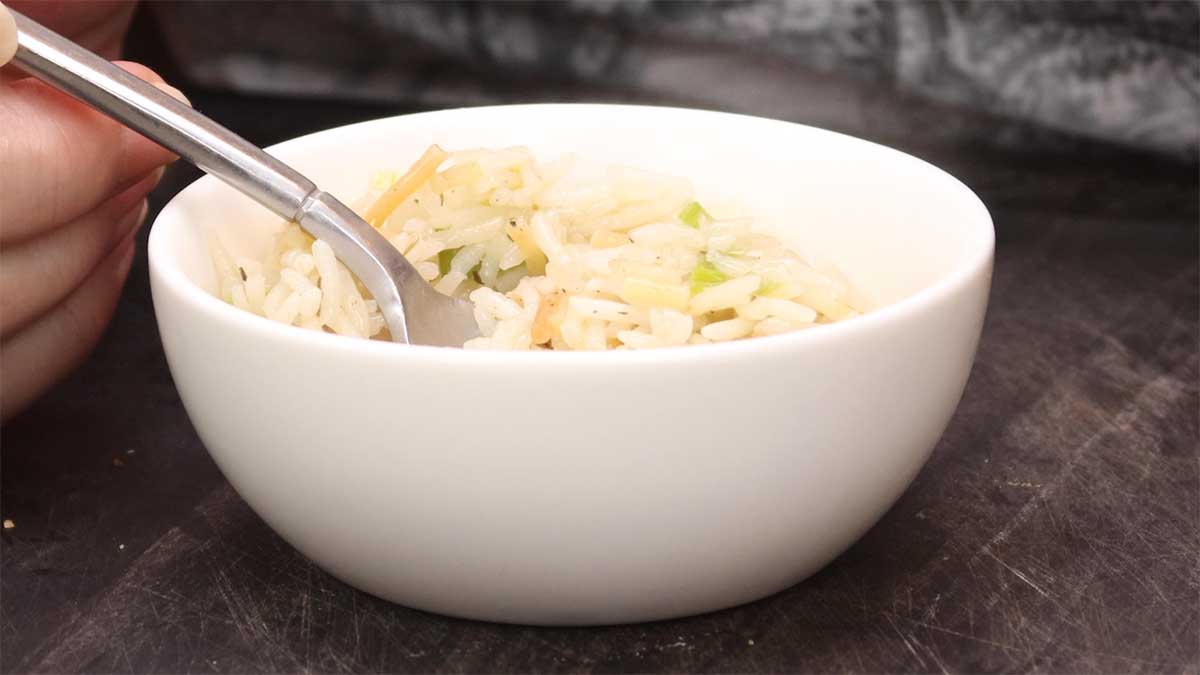
Fluff the rice, serve & enjoy!
Homemade Rice-A-Roni
Ingredients
- 1 tablespoon olive oil
- 2 tablespoon butter salted or unsalted is fine
- 1 ounce vermicelli
- 1 cup Basmati rice
- 4 cloves garlic
- 1 cup sliced leeks
- 1 teaspoon sea salt fine grind
- ¼ teaspoon pepper
- ¼ teaspoon thyme leaves dried or 1 teaspoon fresh thyme leaves
- ¼ teaspoon basil dried or 1 tablespoon fresh basil
- 2 cups water
Would you like to save this recipe?
Instructions
- Slice the leeks into thin strips and set aside. Peel and dice the garlic. Measure out the spices and other ingredients.
- Heat 1 tablespoon olive oil with 2 tablespoon butter on sear/sauté set to medium high. When hot break the vermicelli noodles into small pieces into the pot. Add the rice and stir. Add in the garlic and sauté 2-3 minutes or until the vermicelli starts to brown.
- Add in leeks, seasonings and stir. Add the water and put the pressure lid on. Turn the valve to VENT and select the steam function, set the time to 7 minutes.
- When the time is up and the button on the lid has dropped, open the lid and fluff the rice. Serve & Enjoy
Notes
Nutrition
About the Recipe Author, Louise Long
Louise is a full-time recipe creator and food blogger @ The Salted Pepper. She has over 30 years of experience with cooking and recipe development. She owned a restaurant for several years and was a full-time RN until retiring to blog full-time.

She published her first cookbook in the Fall of 2018 and is very interested in writing several more.
Louise is also the creator of an online Ninja Foodi Pressure Cooking Course with over 100 instructional step-by-step videos. People absolutely rave about the course and all the value they have received from it.
Louise has several very active Facebook groups that help people with the basics of cooking and learning more about the appliances they love.
Ninja Foodi Pressure Cooker & Air Crisper 101
Ninja Woodfire Outdoor Grill & Smoker
Louise is also a YouTube creator and you can find most of her recipes in video format on The Salted Pepper YouTube channel.
She is very responsive to messages and eager to help in any way she can. Get more Information about Louise & contact information
I WOULD LOVE TO SEE WHAT YOU ARE COOKING UP IN YOUR KITCHEN! TAG ME @THESALTEDPEPPER ON YOUR FAVORITE SOCIAL MEDIA PLATFORM WHEN YOU MAKE A DISH!
BE SURE TO FOLLOW THE SALTED PEPPER RIGHT HERE ⇓⇓⇓⇓⇓
Cyndi Seefeldt says
Making this for a baby shower side dish, doubling the recipe. Can this be made in advance? If so, suggestions for warming? Or make it a couple of hours before eating and keeping it warm ?
Louise says
If you don't need the Foodi for anything else, I'd just leave it on keep warm. You might want to check on it and even add a bit of butter or water if it seems to be getting dry. You can also transfer it into another dish and put the dish on the rack covered with some water in the bottom of the Foodi and use the keep warm function that way to prevent direct heat from drying it out. I hope all goes well with doubling it!