- Large Mixing Bowl
- Long Handled slotted spoon
If you pay attention to social media and own a pressure cooker, you've probably heard about the 5-5-5 method for pressure cooking hard boiled eggs. Well, I tried it when I first got my Ninja Foodi and it didn't work out for me all the time. About 50% of the time, the yolks were too dry with a green ring around them and the shells were starting to brown on the inside, indicating that the eggs were just starting to overcook. So, I decided to do some experimenting to find out what timing would give me the perfect hard boiled egg and it wasn't 5-5-5!
I also started to see in my Facebook group, Ninja Foodi 101 ~ Pressure Cooking & Air Crisper, that other people were having issues. Sometimes the eggs were cracking, sometimes they were overdone, sometimes they were perfect. There were many answers and suggestions given, such as, fresh laid eggs take longer to cook, cold eggs need more time than room temperature eggs, and on and on.
All of these variables made perfect sense to me, but there had to be a better way to hard boil eggs in the Ninja Foodi where people didn't have to worry about all of them. The idea is that it's a simple and quick method for cooking eggs and they peel like a dream! After months and months of testing hard boiled eggs in the Ninja Foodi, I am happy to say I found a timing that has worked for me 100% of the time with all kinds of eggs! The 4-4-4 method is the new 5-5-5!
What is the 5-5-5 Cooking Method for Eggs?
First, let me review what 5-5-5 means, in case you aren't sure. It's 5 minutes of pressure cooking on high with a 5 minute natural release. Then, you release the remaining pressure and immediately place the eggs in an ice bath. Once they have chilled for 5 minutes, you peel them to use or refrigerate them for later.
This method is shared all over the place, especially on Facebook, and don't get me wrong, it works out fine and if you are happy with the results you get, keep doing it that way!
If not, then give the 4-4-4 method a try and see if your eggs turn out a little better.
Frequently Asked Questions
No, the timing is the same for 1 egg as it is for 18 eggs. As long as the eggs are placed in such a way that the hot steam can circulate around them, they will all cook at the same time. I like to use the air fryer basket and I've done 18 eggs at once without any issues.
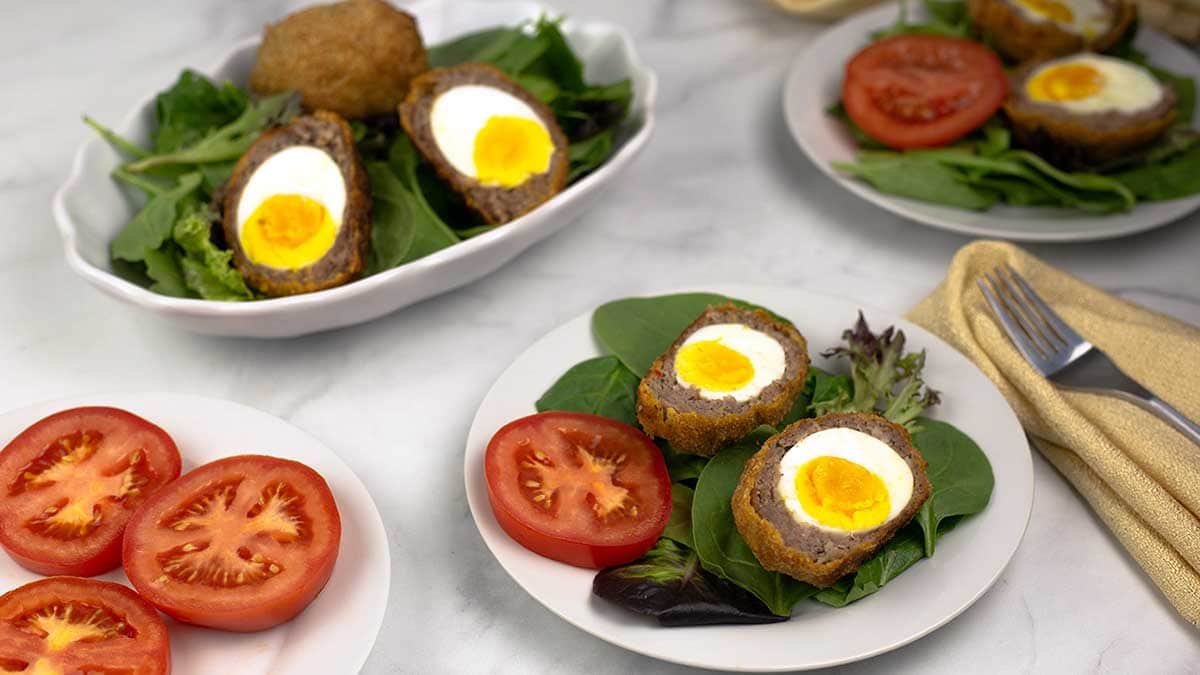
Yes, absolutely. When you want to have the white set, but slightly runny yolks, you do need to make some changes in timing. When I made this recipe for Air Fryer Scotch Eggs, I found that 1-minute pressure cook on high with an immediate release of pressure worked great.
Make sure to put the eggs directly into an ice bath to help set the white before peeling. You don't have to completely chill the eggs if you want to eat them warm, just shock them in the cold water for a minute.
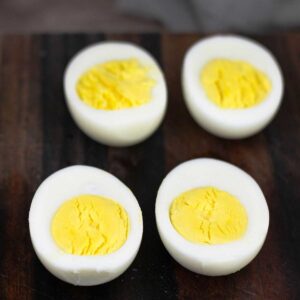
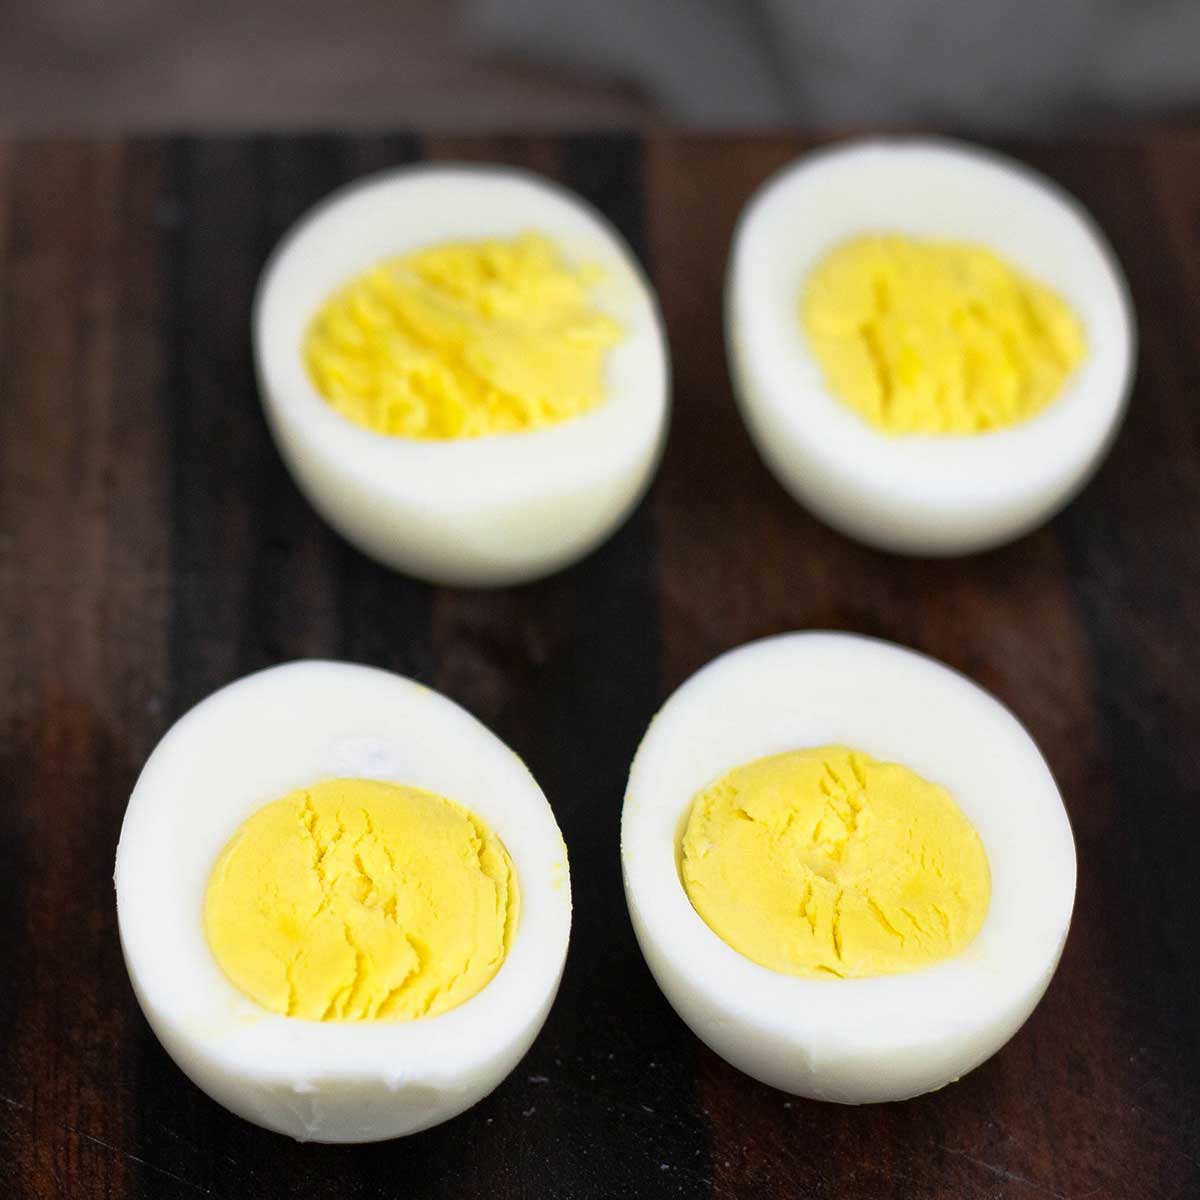
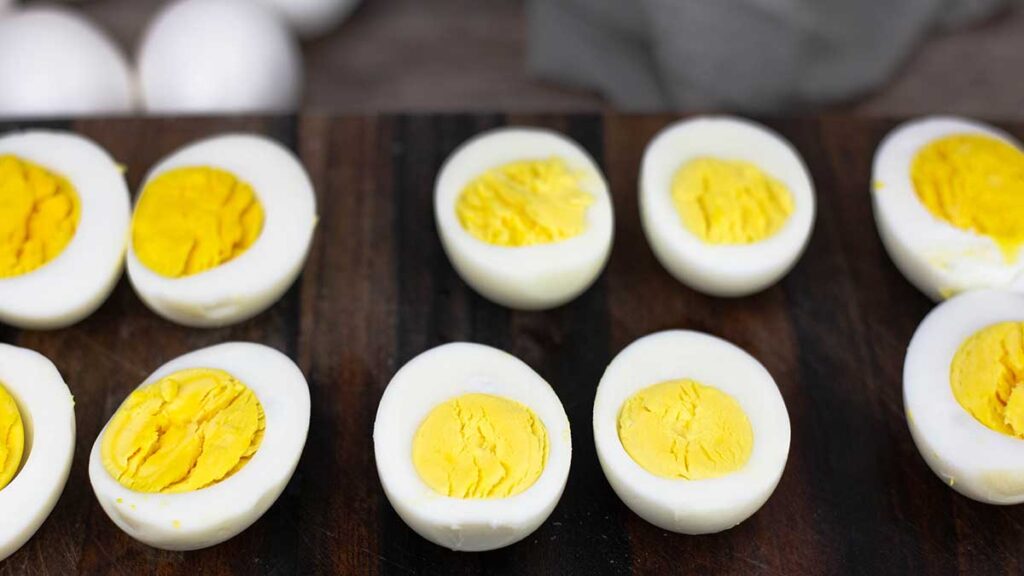
If you want your yolks less cooked than pictured below, then try 1 minute using low pressure and see how they are. Sometimes it takes trying out a few timings to figure out what works best for how you like your eggs cooked.
When making a bunch of hard boiled eggs for meal prep or to use at a later date, I recommend keeping them in the shell. This will keep the eggs fresh the longest, and properly stored hard boiled eggs in the shell will last 7 days. Peeled hard boiled eggs kept in the fridge won't last as long and they will begin to dry up in a few days. If you want to peel and store them, make sure to wrap them in cling wrap to protect them from exposure to air. Properly stored peeled hard boiled eggs should last at least 5 days in the refrigerator.
Advantages to Using a Pressure Cooker to Cook Hard Boiled Eggs
It's easy, it's quick, and it's predictable. I know there will be many people who simply can't be convinced to move away from boiling eggs on the stove and that's perfectly fine. If it works for you, it works. Boiling eggs for hard boiled eggs never worked for me! That might be an exaggeration because it may have worked 1 time out of 20. The biggest issue for me has always been peeling them. There is nothing more frustrating than boiling a dozen eggs for deviled eggs and they are so hard to peel that half the white part comes off with the shell resulting in an egg that looks more like the moon than an egg with all the craters.
Pressure cooking the eggs takes care of that issue almost 100% of the time. Every so often, I'll get an egg that is a little harder to peel, but even then I don't get the craters. For me, this is the primary reason why I recommend pressure cooking your eggs when you want them hard boiled.
The cooking process is also straight forward no matter what timing you use. Once you find the best combination of pressure cook time and pressure release time for you, you simply do it the same way again and again and you never have to watch the pot! Personally, I think it takes less time, but that is up for discussion. A dedicated egg cooker might be faster, but I've never had one.
Here are my list of advantages and why I will never hard boil eggs any other way.
- You don't have to watch a pot of water boil
- It doesn't take any longer than boiling on the stove, in fact I think it's quicker
- It's straightforward and the results are predictable
- Peeling the eggs is EASY! The shells practically fall off.
So, if you have an electric pressure cooker, like the Ninja Foodi or the Instant Pot, try it! I bet you won't ever use a pot of boiling water on the stove again!
The Experiment & My Findings
I'm kind of a nerdy person when it comes to figuring things out and I love my experiments. One of the most interesting things about creating recipes for a living is being able to think about all the variables that might be present when someone goes to follow it and despite these differences still have the recipe turn out perfectly. Ninja Foodi Hard Boiled Eggs is a perfect example because, not only, do the eggs vary in freshness and temperature, there are also so many different models of the Ninja Foodi Pressure Cooker & Air Crisper and the recipe has to work in all of them!
For those of you who also like to know all the details, here is what I did and why I think the 4-4-4 method is the best way to make hard boiled eggs in your Ninja Foodi or Instant Pot.
So, the first thing I did was play around with the timing, low pressure, high pressure and pressure release time. I always used large eggs, but the ones from my hens did vary in size a little bit. I tried 6-4-5, Six minutes of high pressure cook, 4 minute natural release, 5 minute ice bath. 6-0-5, Six minutes of high pressure cook time, quick release of pressure, 5 minute ice bath, and various other combinations until I tried 4-4-4. That's 4 minutes of high pressure cook time, 4 minutes of natural release time, and 4 minutes of an ice bath using 1 cup of water (close to room temp) for pressure cooking. That worked perfectly. I did this several times using my fresh eggs from my hens and then began the real experiment.
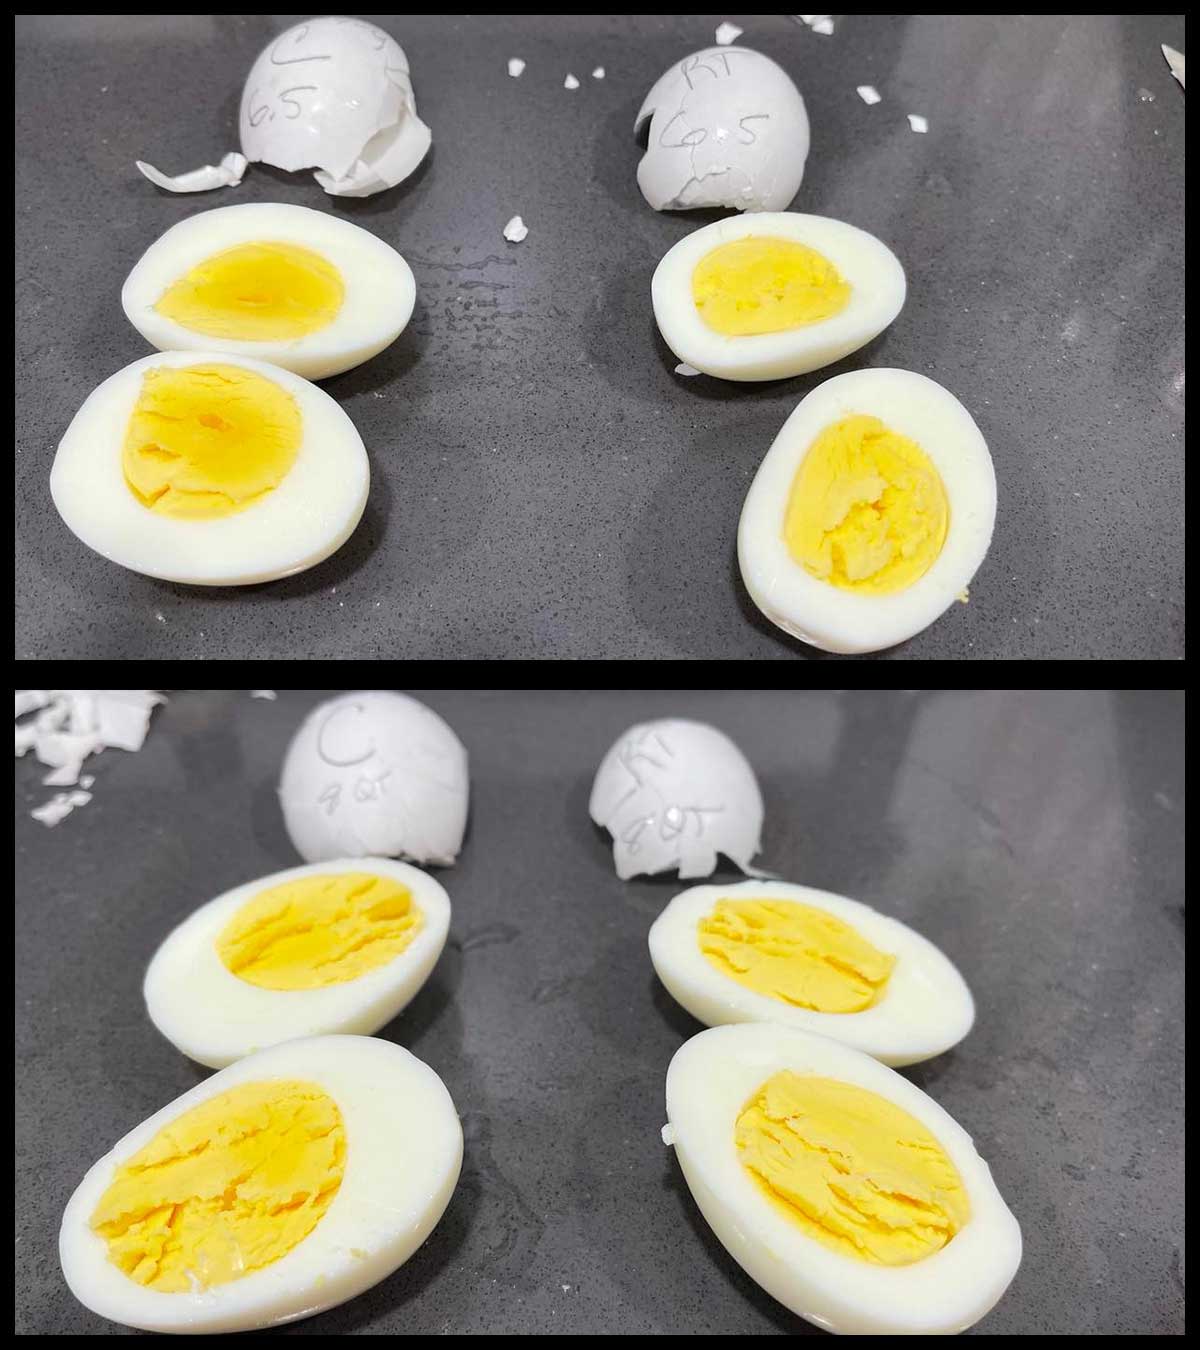
I wanted to see if this method would work with grocery store eggs, cold eggs, or room temperature eggs. It did! On occasion, but not every time, the yolk from the cold eggs was a little less done than the room temperature eggs, but not enough to worry about.
I also tested this timing in the 6.5 qt Ninja Foodi, the 8 quart Ninja Foodi, and the 8 qt Ninja Foodi with Smart Lid. No issues at all. The 8 quart took about 35 seconds longer than the 6.5qt (on average) to come to pressure, but that did not affect the eggs enough to worry about.
You will see in the photo below that the cold egg, cooked in the 6.5qt has a slightly less done spot in the very center. That did not happen all the time, but I did want to point it out because if you are worried about it happening, simply increase your natural release to 5 minutes. So, you would do 4-5-4.
The bottom line when making anything, it is more about what works for you than what people say to do. While I like the 4-4-4 method best, if 5-5-5 works for you keep doing it.
If you prefer boiling them on the stove or using an egg cooker, keep doing that! There are so many ways to accomplish our cooking goals and there isn't a right way or a wrong way because it's always right if the end results are what you like.
How to Avoid Exploding Eggs
If you've pressure cooked enough eggs, you have probably had them explode or leak on occasion. The results can be comical and most of the time they are fine to use for egg salad, but they definitely are too disfigured to make nice looking deviled eggs.
While there is nothing you can really do to prevent this from happening 100% of the time, you can take measures to reduce the likelihood of it happening by inspecting the eggs before cooking them and gently placing them into the pressure cooker on a rack or in a basket above the water. Eggs sometimes have hairline fractures in them that are visible and those eggs will most likely leak or explode when cooked. So, inspect the eggs and if any have tiny cracks in the shell, use them in another egg recipe that doesn't require them to be cooked in the shell.
You can cause hairline cracks just by putting them into the basket or on the rack, so be careful when placing them in the pressure cooker. I also don't recommend placing them directly on the bottom of the pot because, as the water heats up, the energy can cause the eggs to move around and bump into each other causing cracks sometimes. Another way you can test for hairline cracks is by putting them in a large bowl of water and seeing if you any have air bubbles coming from the egg. This indicates a crack. I don't usually go that trouble, though. If you need a certain amount of eggs for something like deviled eggs, simply add an extra 2-3 eggs to cook so you have some backups.
Finding Your Perfect Timing for Hard Boiled Eggs
Sometimes finding what works for you is going to be a little bit of trial and error, but that doesn't mean you have waste eggs doing it.
If you try the 4-4-4 method and it isn't exactly how you like your eggs, you can try different timing with only 1 egg. Here are some ideas to change the timing based on what your preferences are.
- I like the egg whites a bit firmer: Increase your PC time by 1 minute (5-4-4 would be your timing to try)
- The whites were fine, but I like the egg yolk a little dryer: Increase your natural release by 1 minute (4-5-4 would be your timing to try)
- I prefer both the whites and the yolk cooked a little more: Change your timing to 5-5-4)
- I want the yolks a little less done: Reduce your Natural Release Time by 2 minutes (4-2-4 would be the timing to try) or decrease your PC time & your NR time to 3 minutes (3-3-4 would be your timing to try)
- None of these timings resulted in the perfect egg for me. Try increasing your water to 2 cups or use cold water so the time to pressure is longer and see if that works.
Once you find the perfect timing for making hard boiled eggs the way you like them, write it down and make notes about the temperature of the water and the eggs. That way you can repeat the process every time you want to make hard boiled eggs in the Ninja Foodi or the Instant Pot.
4-4-4 Method for Making Hard Boiled Eggs
First get everything you need ready, especially the bowl of ice water. I also like to have a long-handled, slotted spoon to remove the eggs after the cooking time.
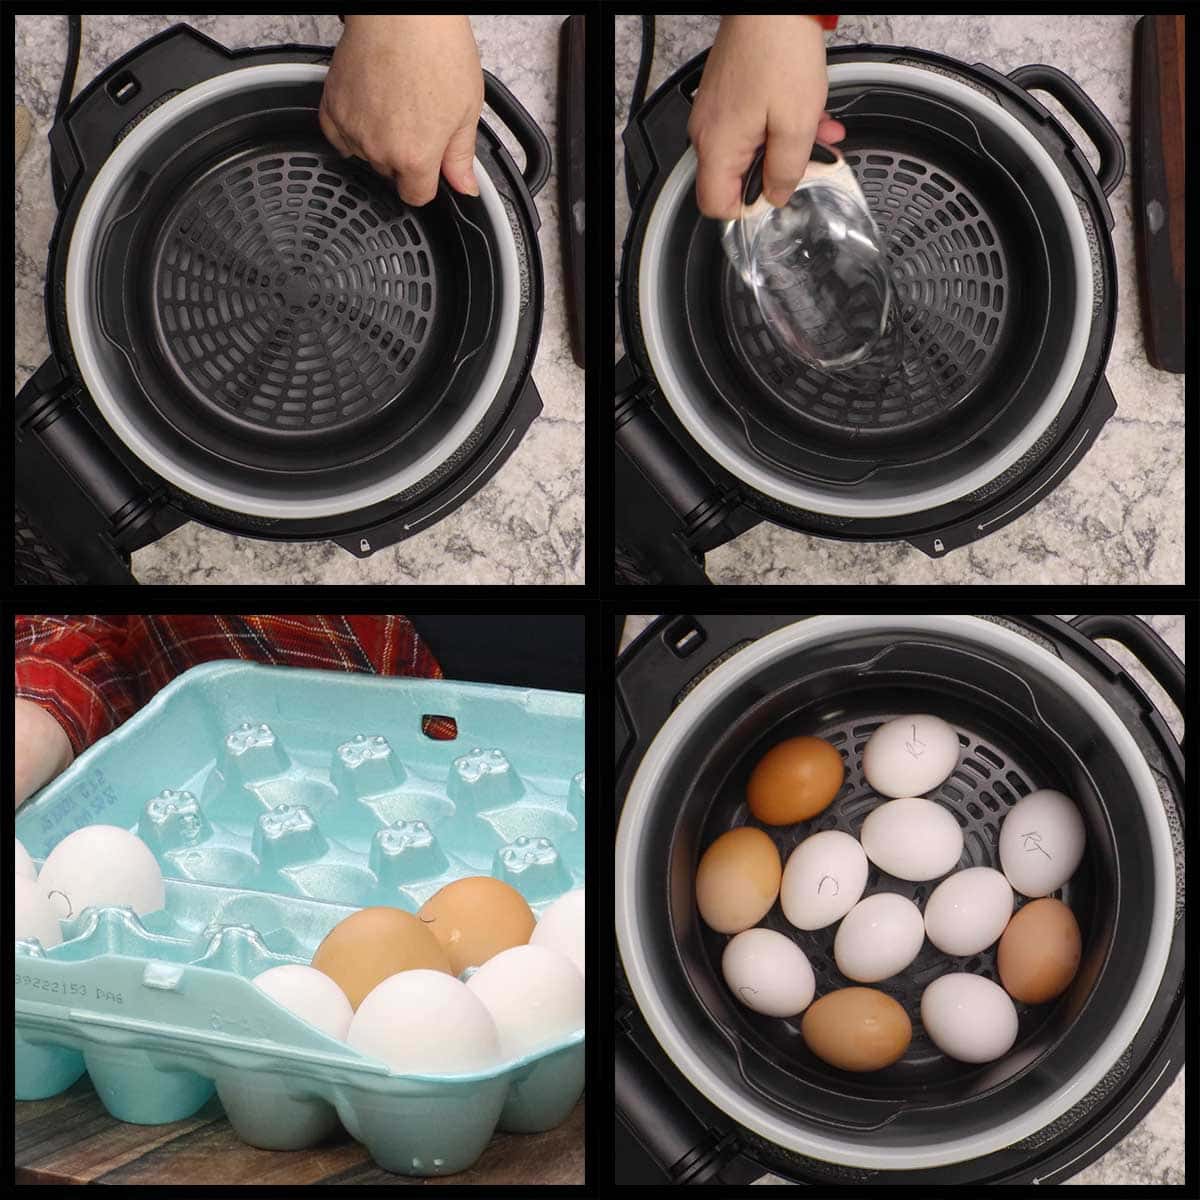
Put 1 cup of water (close to room temp) into the inner pot. Place the basket, crisping plate, or an egg rack into the pressure cooker. Gently place the eggs into the basket or on the crisping plate or egg rack.
Lock the pressure lid into place and make sure the valve is turned to seal.
Set the pressure on high for 4 minutes. It will take about 5 minutes for the pressure to build and the countdown to start.
When the pressure cooking time is down, let the pot naturally release the pressure for 4 minutes. This means that you don't do anything. The Ninja Foodi will switch over to keep warm and you will see the clock counting up. When 4 minutes is up, move the pressure valve to vent and release any remaining pressure. This can take a few minutes.
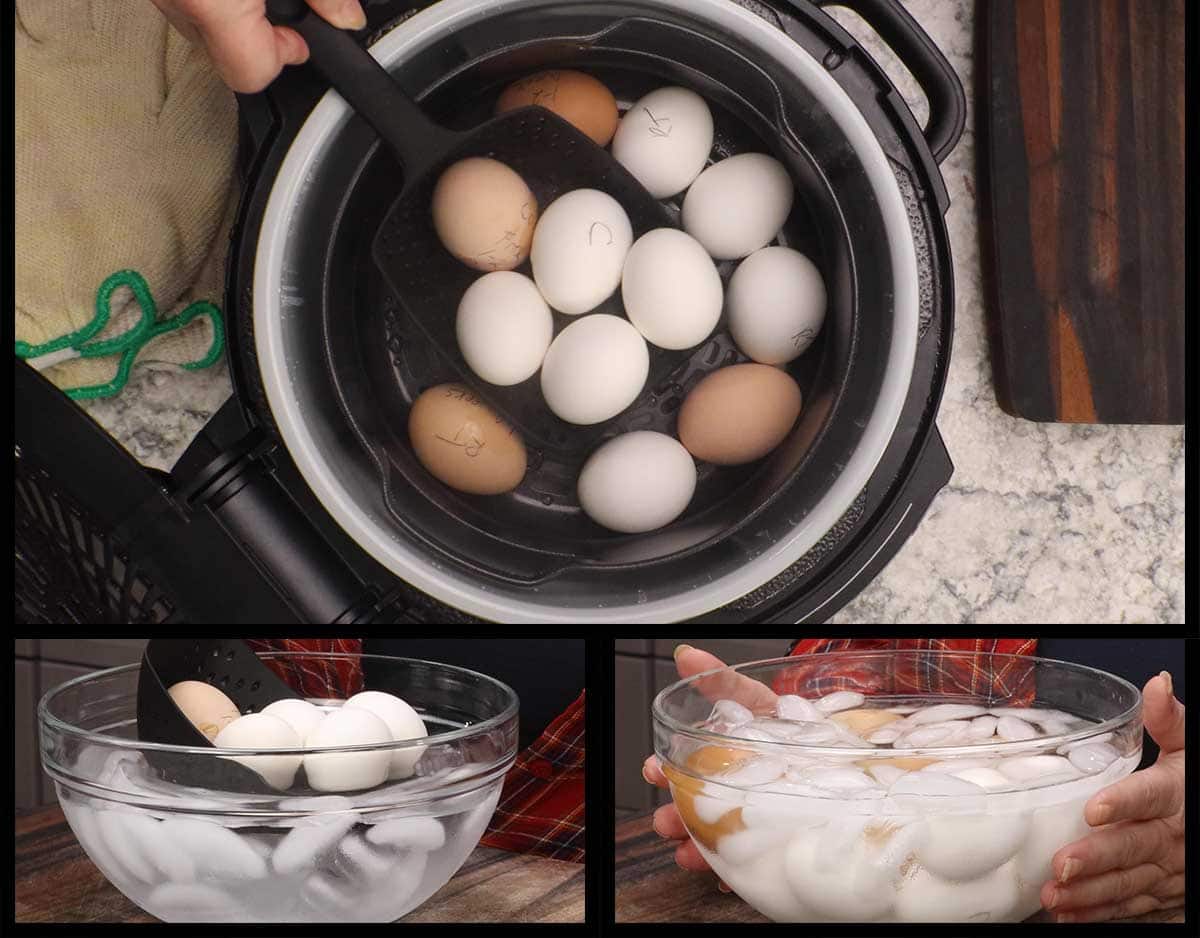
When the pin drops, it's safe to open the lid. Once the pressure cooker lid is removed, immediately place the eggs into an ice water bath. You can remove them after 4 minutes or they can stay in there for a longer period of time, that won't make any difference. You can even store the eggs in the bowl of water in the fridge if you don't want to peel them right away.
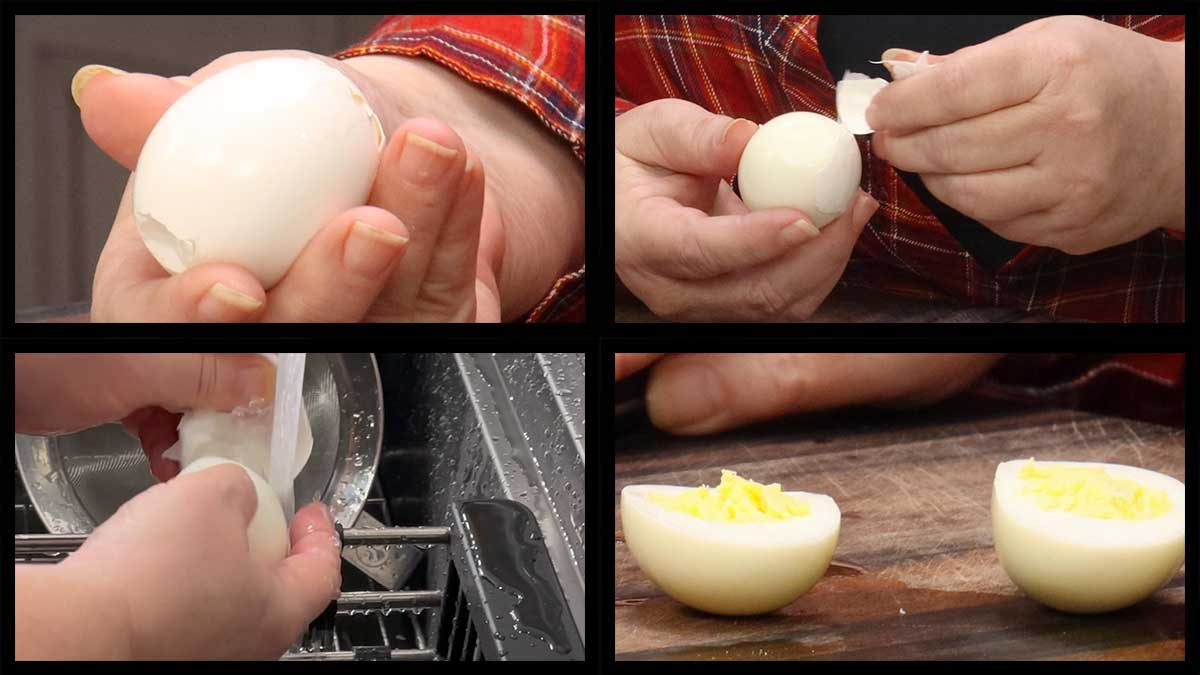
When peeling your hard boiled eggs, tap the top and the bottom of the egg to crack it. Begin peeling where the air pocket is and try to get the thin membrane off with the shell. This makes peeling them even easier. I also like to peel mine under running water.
Ninja Foodi Hard Boiled Egg Recipe
Equipment
- Large Mixing Bowl
- Long Handled slotted spoon
Ingredients
- 12 Large Eggs
- 1 cup water close to room temperature
Would you like to save this recipe?
Instructions
- Inspect the eggs for any hairline cracks. If any are visible, they will most likely leak out of their shell during cooking. This is fine for egg salad, but not great for deviled eggs. It's up to you if you decide to hard boil them or not.
- Fill a large mixing bowl with 2 cups of ice and fill halfway with water.
- Pour 1 cup of room temp (or close to it) water into the inner pot. Place whatever you are using to elevate your eggs into the inner pot. I like using the air frying basket that comes with some models of the Ninja Foodi. The rack, crisping plate, or an egg rack will work as well.
- Gently place the eggs onto the cooking surface and you do want the eggs elevated above the water. Put the pressure lid on and turn the valve to seal. Set the pressure on high for 4 minutes. It will take about 5 minutes for the pressure to build and then cook for 4 minutes.
- When the time is up, the Ninja Foodi will switch over to keep warm and you will see the timer begin to count up. Let it count up for 4 minutes, this is the 4 minute natural release. When the timer says 4 minutes, turn the valve to vent and release the remaining pressure. This can take a few minutes (usually about 2 minutes).
- When the pin drops, it's safe to open the lid. Use a long handled spoon to remove the eggs from the Ninja Foodi and place them immediately into the ice bath. Make sure all of the eggs are submerged, add more water if needed. Let them sit in the ice bath for 4 minutes. Longer is perfectly fine.
- Peel under running water or store with the shell on in the fridge for later use. Enjoy!
Nutrition
About the Recipe Author, Louise Long
Louise is a full-time recipe creator and food blogger @ The Salted Pepper. She has over 30 years of experience with cooking and recipe development. She owned a restaurant for several years and was a full-time RN until retiring to blog full-time.

She published her first cookbook in the Fall of 2018 and is very interested in writing several more.
Louise is also the creator of an online Ninja Foodi Pressure Cooking Course with over 100 instructional step-by-step videos. People absolutely rave about the course and all the value they have received from it.
Louise has several very active Facebook groups that help people with the basics of cooking and learning more about the appliances they love.
Ninja Foodi Pressure Cooker & Air Crisper 101
Ninja Woodfire Outdoor Grill & Smoker
Louise is also a YouTube creator and you can find most of her recipes in video format on The Salted Pepper YouTube channel.
She is very responsive to messages and eager to help in any way she can. Get more Information about Louise & contact information
I WOULD LOVE TO SEE WHAT YOU ARE COOKING UP IN YOUR KITCHEN! TAG ME @THESALTEDPEPPER ON YOUR FAVORITE SOCIAL MEDIA PLATFORM WHEN YOU MAKE A DISH!
BE SURE TO FOLLOW THE SALTED PEPPER RIGHT HERE ⇓⇓⇓⇓⇓


Mary R says
It works it works! I’ve never been able to do hard boiled eggs. The shells would never peel for me.
Louise says
I feel the same way! I tried everything and was so excited when I pressure cooked them and I could finally make decent looking deviled eggs!
BRENDA JEWELL says
My husband recently found out he was diabetic so he has to watch more what he eats. He said he could have as many hard boiled eggs as he wants. He liked the 5-5-5 method, but loves the 4-4-4 so much better.
Thank you for taking the time to find a way to make them SO much better.. All your recipes are great!
Kendel Kam says
These came out perfect but quite a few cracked in cooking. Not a good recipie for Easter egg dying.
Louise says
I'm sorry that happened, how frustrating! Did you put the eggs directly in the pot, in the basket, or on the rack? I've pressure cooked eggs hundreds of times, and it's rare I have any crack, so I know it isn't the recipe. It could be the eggs; some have much weaker shells (off brands, usually). It's also important to not release the pressure immediately from the pot or the sudden change in pressure can also cause them to crack.
Marissa says
This recipe worked great in the Ninja Foodi even at altitude.