
- Or any Pressure Cooker
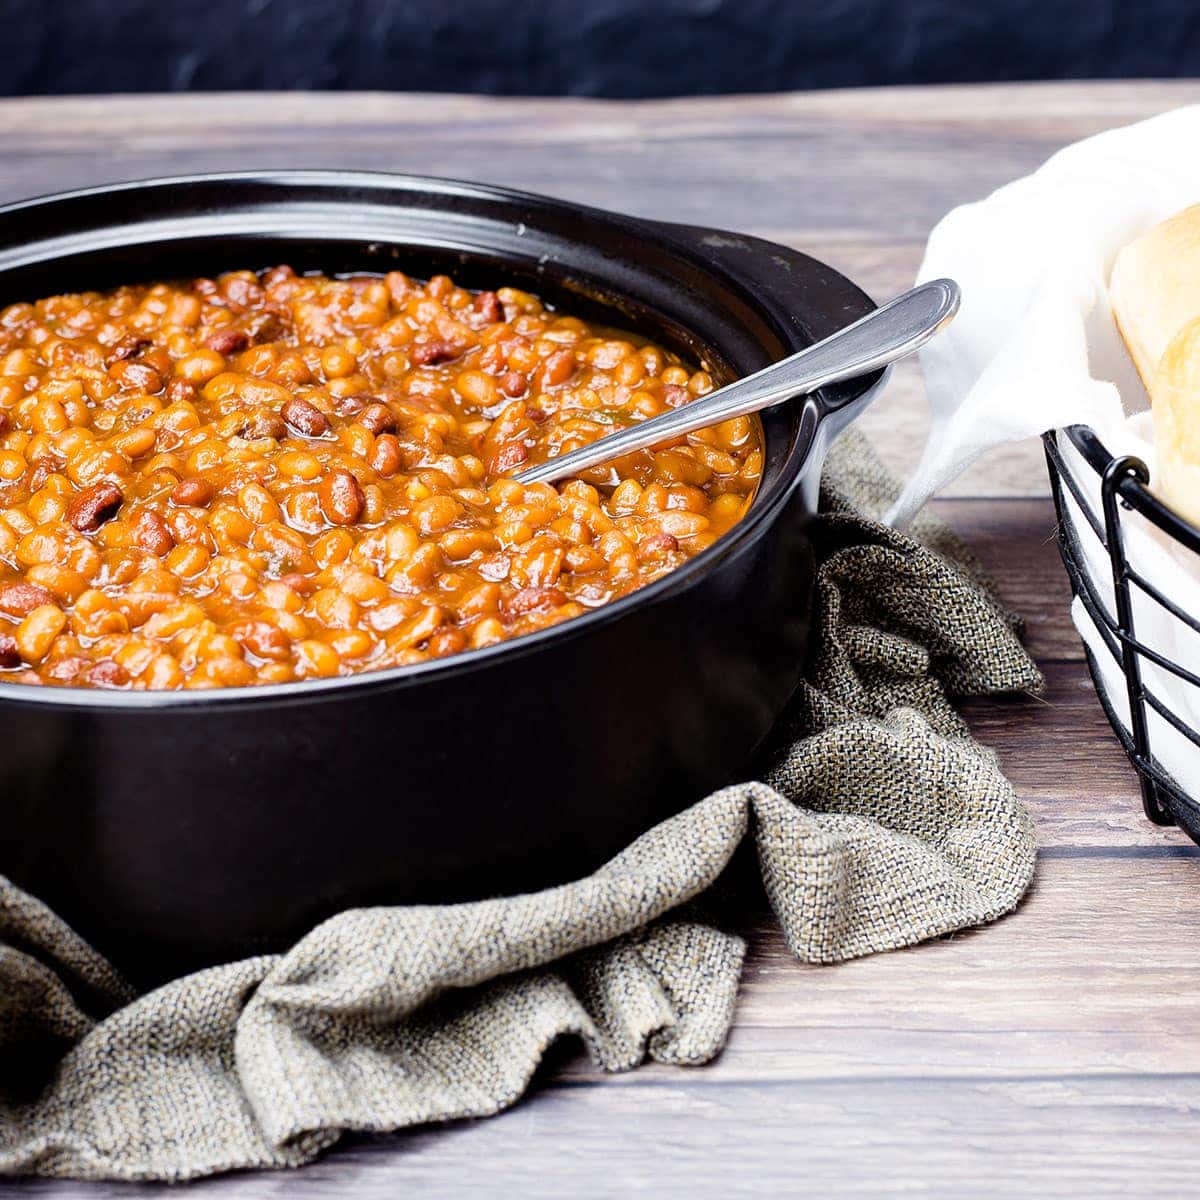
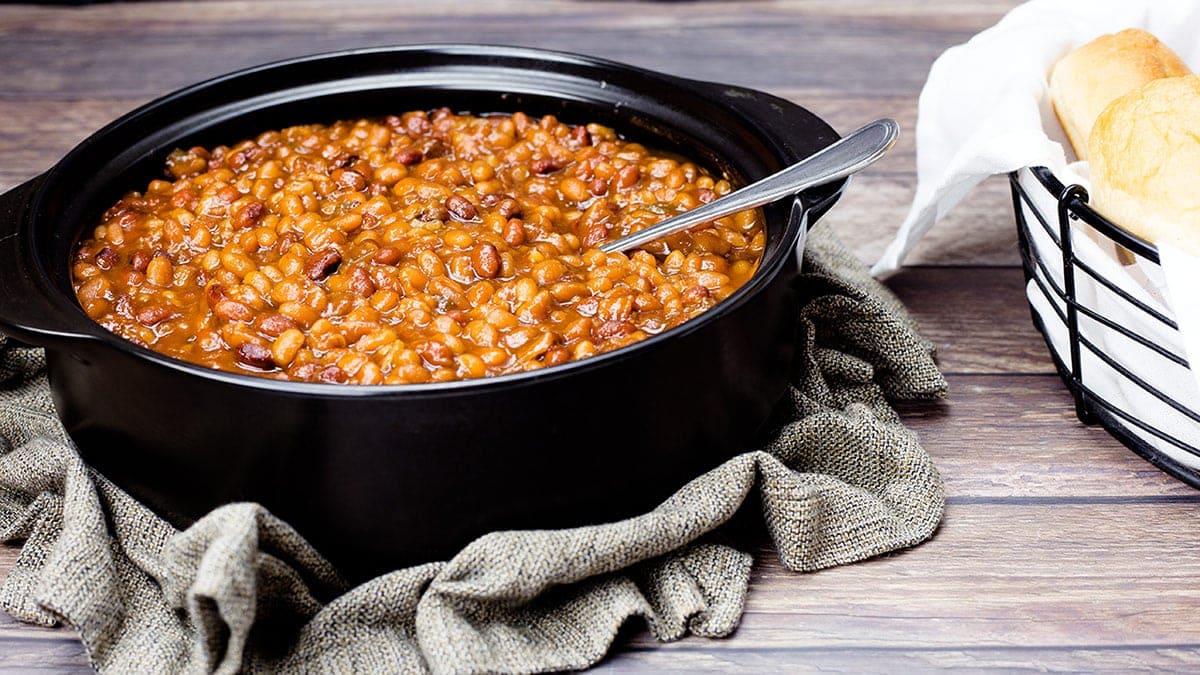
Pressure Cooker Baked Beans are so incredibly easy to make and they taste BETTER than any canned product... even BUSH'S.
I've always been a baked bean doctorer. I use (or used to use) the canned stuff and add ingredients to make it even more delicious. Oh, I've tried to make baked beans from scratch many times and the result has always been less than stellar (until now).
Would you like to save this recipe?
Either the beans aren't the right texture or the flavors are slightly off. Mostly it's the texture though. I've tried soaking the beans, followed by boiling the beans, and then baking the beans... nope! I always went back to doctoring a can of baked beans.
This post may contain affiliate links. If you make a purchase after clicking a link, I may earn a small commission at no additional charge to you.
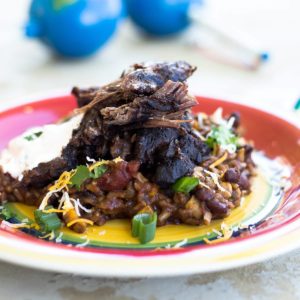
Then, I discovered how easy it is to make beans in the Ninja Foodi. If I can make beans for this delicious Mexican Pot Roast, then surely I can make pressure cooker baked beans too!
I played around with the Ninja Foodi until I developed the PERFECT recipe for Pressure Cooker Baked Beans and now you can make them too!
Do I Have to Soak the Beans First?
No. You can simply rinse the beans and pressure cook them like I do in this recipe. However, many people like to soak their beans prior to cooking for a few reasons.
It speeds up cooking. Re-hydrating beans before cooking will allow them to cook faster for sure. In fact, if you soak your beans overnight, you can probably get away with about 30 minutes of pressure cooking instead of 60 minutes, as called for in this recipe. One thing to make sure is that you drain and rinse the beans after soaking.
Some say it helps reduce the complex sugars in the beans. If you have a sensitive digestive system, you may want to pre-soak your beans. It is thought that by reducing the complex sugars, you will also reduce the chances of intestinal discomfort... or, how can I say this politely? It reduces flatulence otherwise known as gas.
I've heard people say they don't cook evenly if the beans aren't pre-soaked. I haven't found this to be true when testing this recipe for pressure cooker baked beans. The small red beans are slightly firmer than the navy beans, but all the beans I have tested have been very similar in texture. After making this recipe no less than 4 times, I'm beginning to think I'm a bean connoisseur!
Prevents beans from splitting. This is one argument for soaking beans that I have to disagree with based on testing a gazillion batches of pressure cooker baked beans. My beans have never split open more than they do had they been soaked. What causes beans to split open when pressure cooking is the rapid release of pressure.
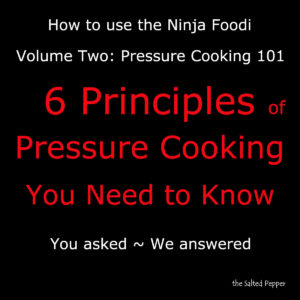
If you read my article on Pressure Cooking 101, you are already familiar with this concept. Pressure cooking uses super heated water/steam to cook foods faster. The water/steam is pushed into the foods and when you rapidly change the pressure like you do in a quick release, the water/steam comes out of the food quickly resulting in split beans. This is the same principle behind naturally releasing the pressure of meats (when not submerged in liquid) to prevent the meat from drying out.
The bottom line is: it is up to you. You can soak, or you can not soak.
If you soak your beans overnight, I would decrease the pressure cooking time to 30 minutes and see if they are the texture you like.
If you soak your beans for just a few hours, I would decrease the pressure cooking time to 45 minutes and see how they are.
Or, you can do the 1-minute quick pressure soak. This is something I haven't tried, but I have read about it. You can cover your beans with water in the Ninja Foodi Inner Pot and pressure cook on high for 1 minute. I would allow the pressure to naturally release for at least 5 minutes, then drain the water and proceed with the recipe.
Of course by the time you do the 1 minute pressure soak, you might as well just cook the beans for 60 minutes, unless you are doing this for digestive reasons.
Can I Double the Recipe for Pressure Cooker Baked Beans?
I wouldn't. Even if you have the 8 quart and might have enough room, I think you might run into other issues like the beans not cooking evenly. Now, I haven't tested a double batch, so if you do decide to do this, let me know how it turns out.
This recipe makes 10 cups of beans, which is quite a lot of beans!
You can easily make ½ of a batch though. Just ½ all the ingredients and follow the same instructions and cook time.
Can I Freeze Baked Beans?
Yep! What do you think I did with 40 cups of baked beans that came from testing this recipe? LOL! Let's just say, I have plenty of baked beans in my freezer!
To get the best results from frozen baked beans, allow them to cool completely before putting in freezer bags. This goes for any food that you want to freeze. When you put hot food in a closed bag, it releases steam that is trapped inside, as the steam cools it turns into water droplets and those water droplets cause ice crystals on your food.
You also want to get as much air as possible out of the freezer bag, as you can to avoid trapped air that can cause freezer burn.
Do I Have to Use Two Different Kinds of Beans?
Of course not! You can use any type of bean or beans you like. Navy beans are traditionally used for baked beans, but that isn't written in stone. There are some recipes that use several different types of beans in their baked beans.
I chose navy beans and small red beans mostly for the look. I like seeing those darker beans among the navy beans. I think it lets everyone know that these are homemade. We deserve the credit, don't we? Anyone can pour a can of beans into a crock pot and call it a day. Let's be noticed for our accomplishments, right? Right!
I also noticed just the slightest texture difference, the red bean retains a bit more bite to it and I like that.
Just keep in mind cooking times and try to choose beans that cook in a similar time.
Or, if you really wanted different varieties of beans that require various cooking times, consider breaking the cook time up. Pressure cook the ones that take the longest for a period of time and then add the quicker cooking beans so they are all cooked correctly.
Should I Use Bacon, Salt Pork, or Ham Hock?
Any or all is fine. I used all Salt Pork in one batch and missed that smoky flavor from the thick-cut bacon. I didn't try this recipe with a ham hock, but I know it would be delicious too!
After testing my numerous batches to get the ingredients and timing correct, I decided on a half-and-half split between thick-cut bacon and salt pork.
When I owned a BBQ restaurant we even added some pulled pork at the end to really jazz up the baked beans, so if you have some on hand... throw it in!
You can even omit the meat all together if you want. I would add in extra spices though because the pork really adds a ton of flavor.
Tips for Making Pressure Cooker Baked Beans
Don't add the tomato sauce or vinegar until AFTER pressure cooking the beans. As I think back on my dreadful attempts to make baked beans, this could have been the culprit on an occasion or two.
I specifically remember a time when I soaked my beans (this was way before I had a pressure cooker), but decided to throw everything into a slow cooker and just slow cook the beans and all the seasonings. I ended up with rock hard beans no matter how long I cooked them! I didn't realize my mistake until I made the same on creating this recipe.
If you add the acid (tomatoes/vinegar) BEFORE cooking the beans, it changes the outside of the bean and does not allow the absorption of liquid, and guess what happens then? Rock hard beans.
You should have seen my husbands face when I asked him to taste my first attempt at Pressure Cooker Baked Beans. Keep in mind that I knew they were hard after the PC time, but I then slow cooked them for 8 hours. Yes! 8 more hours. Surely they are good now? Nope. He looked at me and said, "they are hard, did you cook them?" LOL! I guess I had wanted them to be tender so badly that when I tasted them, I thought they were okay. I mean they were a little better anyway!
Okay, so no acid goes into the beans before cooking them. We got it!
Change up the ingredients to suit your taste! I won't be upset... I promise! My goal with every recipe is to offer you a guideline from which you can create your own version of a recipe that is perfect for you!
I like sweet and slightly spicy baked beans. That's how I always made them at my BBQ restaurant and they are perfect in my opinion. However, if you don't like anything spicy, leave out the jalapeno pepper.
You can also leave out the green pepper and/or onion if you don't like them. Seriously, they are your baked beans!
I recommend tasting the beans after you add in all the ingredients and before you bake them so you can adjust the seasonings to your liking.
If you like sweeter baked beans, you can add in more brown sugar, molasses, or maple syrup. I've even added in pancake syrup before!
How to Make Pressure Cooker Baked Beans
This is where you find out just how easy this recipe really is! If you would prefer to watch me make this recipe, you can do that right here: BETTER than BUSH'S Homemade Baked Beans
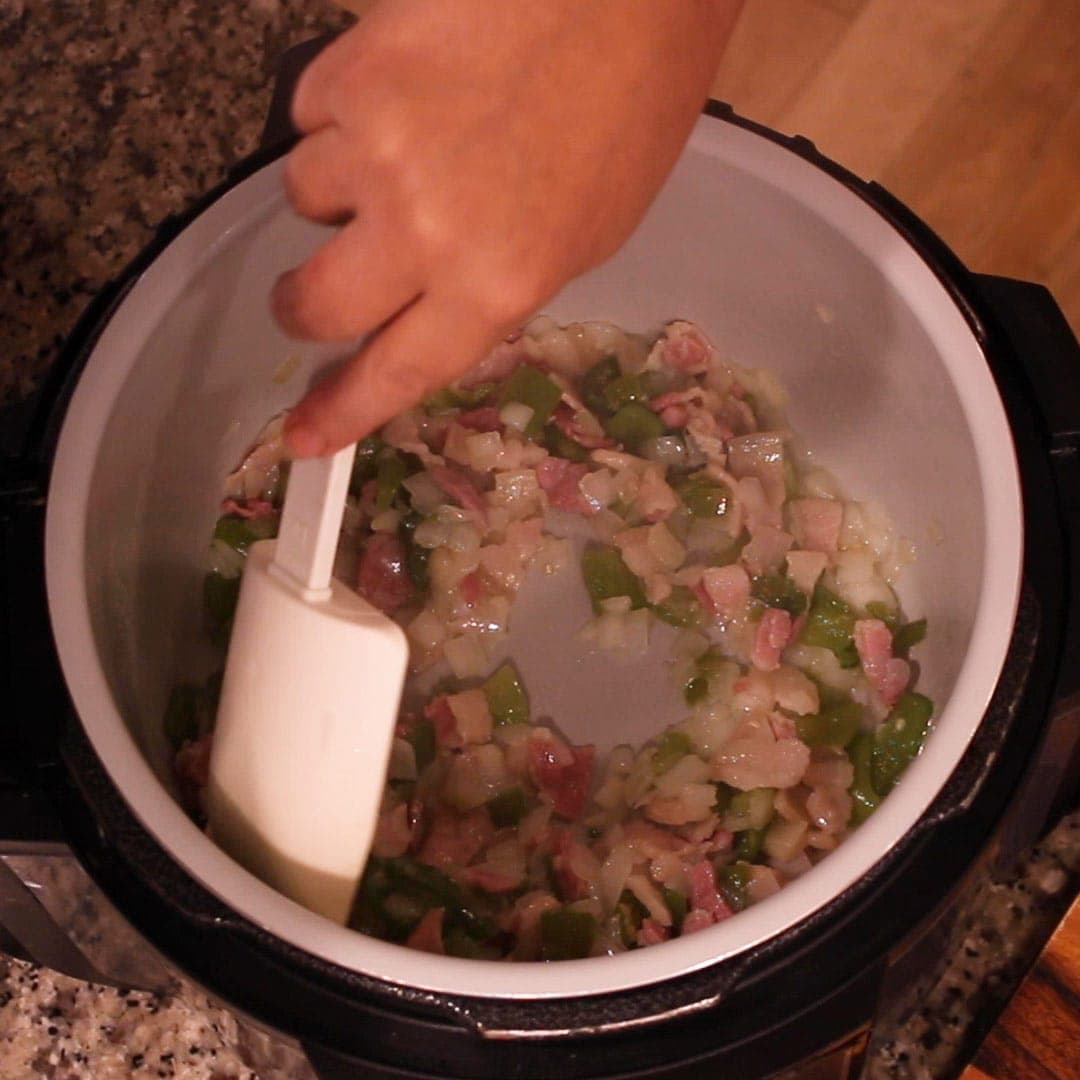
Cut up 8 ounces (227 grams) thick-cut bacon or salt pork into ½" strips. Add to Inner pot and turn the sear/sauté on high. While the pork is sautéing, cut up 1 medium size onion into ½" dice. Cut the jalapeno pepper into rings and the green pepper into ½" dice.
Add to the inner pot with the pork and sauté on high for about 10 minutes.
Rinse the beans under cold water and add to the pot. I used 1 pound (454 grams) of navy beans which is about 2 ⅓ cups and 6.5 ounces (184 grams) of small red beans which is about 1 cup.
Add in 2 teaspoon salt, 3 teaspoon onion powder, and 2 teaspoon garlic powder. Stir.
Pour in 3 ½ cups (875 ml) of water and stir. Most of the beans should be covered with the water.
Put the pressure lid on and make sure the valve is to the seal position. Set the pressure on high for 60 minutes.
When the time is up, allow the Ninja Foodi (or other pressure cooker) to naturally release the pressure for at least 30 minutes. I let it completely natural release which takes about 30-35 minutes.
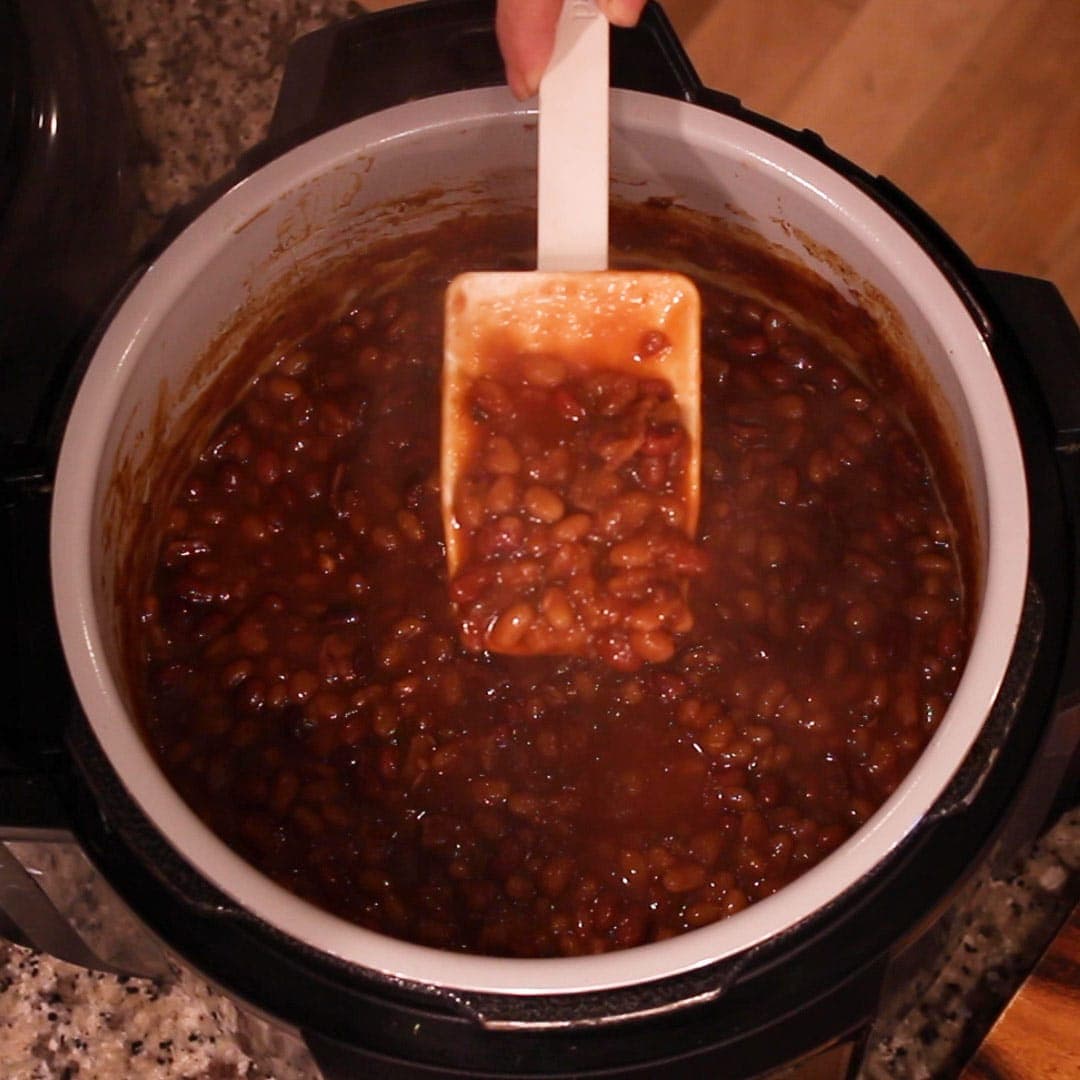
Give the beans a stir. You can check for doneness at this point if you are concerned that they aren't cooked enough. I found that 60 minutes was the perfect time for the beans to have a nice soft texture for baked beans.
The red beans are a little firmer than the navy beans and I like the difference in texture, however, if you want all of your beans to be very soft, increase the PC time from 60 minutes to 75 minutes with a full Natural Release.
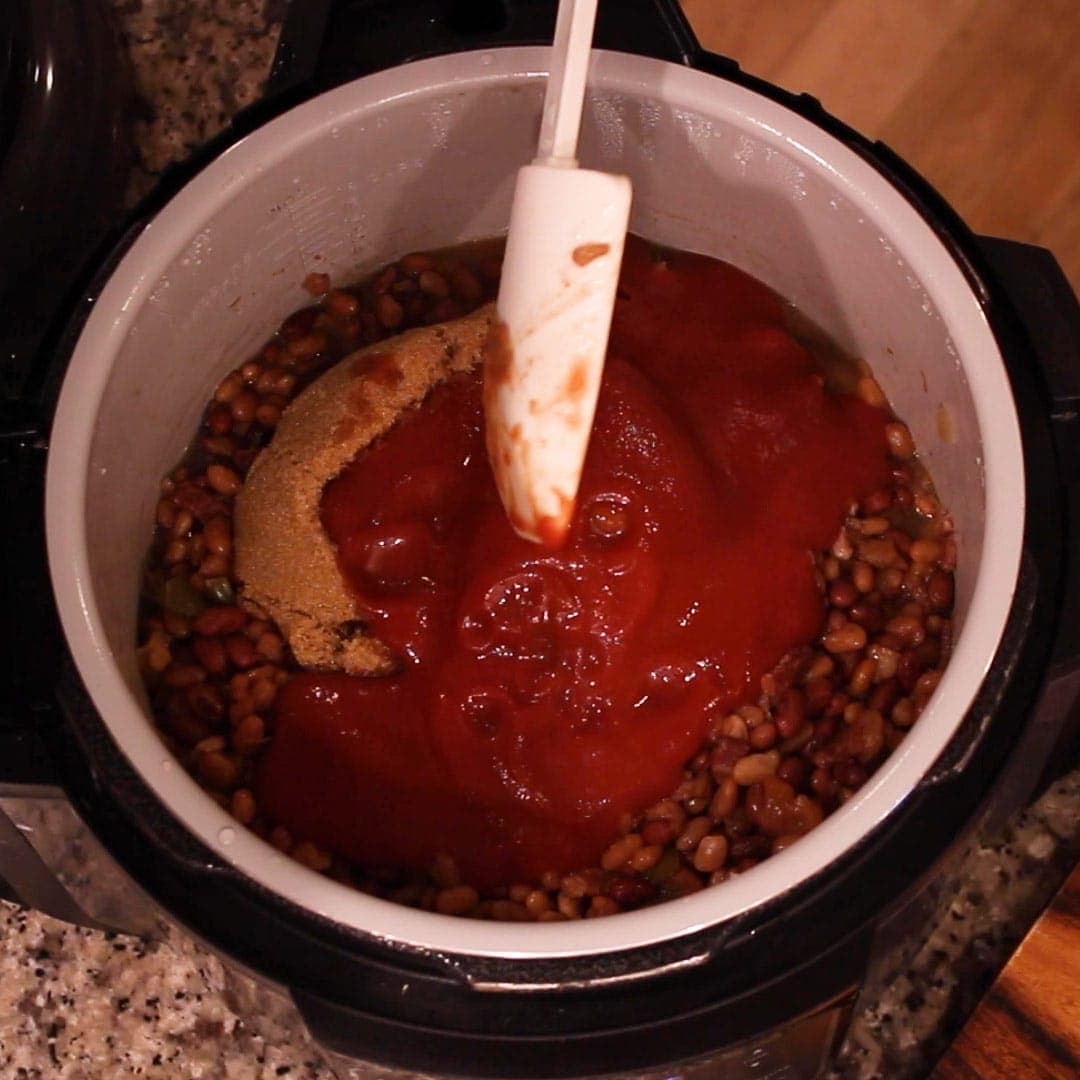
Add in 15 ounces (450ml) of tomato sauce, ½ cup (4 ounces or 120 ml) apple cider vinegar, and 1 ¾ cups (385 grams) of brown sugar. Stir. If you don't want to bake the beans, you can let them sit on keep warm or close the TenderCrisp lid for a few minutes. I really loved the way the pressure cooker baked beans turned out after baking, so I hope you try the extra step!
Put the TenderCrisp lid down and set the bake/roast function on 325° F (about 163° C) for 45 minutes. Stir every 15-20 minutes.
Serve and Enjoy!

Pressure Cooker Baked Beans ~ Ninja Foodi Recipe
Equipment
- Or any Pressure Cooker
Ingredients
- 8 ounces salt pork or thick-cut bacon
- 1 green pepper about 1 cup
- 1 onion about 2 cups
- 1 jalapeno optional, but so good!
- 1 lb navy beans about 2 ⅓ cups
- 6 ½ ounces (affiliate link)red beans small red beans, not kidney (about 1 cup)
- 2 teaspoon sea salt
- 2 teaspoon garlic powder
- 3 teaspoon onion powder
- 3 ½ cups water
- 15 ounces tomato sauce
- ½ cup apple cider vinegar
- 1 ¾ cups brown sugar
Would you like to save this recipe?
Instructions
- Cut up the thick-cut bacon or salt pork into ½" strips. Add to Inner pot and turn the sear/saute on high.
- While the pork is sauteing, cut up 1 medium size onion into ½" dice. Cut the jalapeno pepper into rings and the green pepper into ½" dice. Add to the inner pot with the pork and saute on high for about 10 minutes.
- Rinse the beans under cold water and add to the pot. Add in 2 teaspoon salt, 3 teaspoon onion powder, and 2 teaspoon garlic powder. Stir.
- Pour in 3 ½ cups of water and stir. Most of the beans should be covered with the water. Put the pressure lid on and make sure the valve is to the seal position. Set the pressure on high for 60 minutes. Allow the Ninja Foodi to naturally release its pressure for at least 30 minutes. I usually do a full natural release which takes 30-35 minutes.
- Give the beans a stir. Add in 15 ounces (450ml) of tomato sauce, ½ cup (4 ounces or 120 ml) apple cider vinegar, and 1 ¾ cups (350 grams) of brown sugar. Stir.
- Put the TenderCrisp lid down and set the bake/roast function on 325° F (about 163° C) for 45 minutes. Stir every 15-20 minutes. Serve and Enjoy!
Notes
Nutrition
ABOUT THE RECIPE AUTHOR, LOUISE LONG

Louise is a full-time recipe creator and food blogger @ The Salted Pepper. She has over 30 years of experience with cooking and recipe development. She owned a restaurant for several years and was a full-time RN until retiring to blog full-time.
Louise has several very active Facebook groups that help people with the basics of cooking and getting the most out of the Ninja Foodi.
Ninja Foodi Fresh & Healthy Meals
Seeing the need for easy, delicious, and high quality recipes, she is focusing all of her efforts creating recipes specifically for the Ninja Foodi. Her recipes are easy for the home cook to follow and provide step-by-step instructions.
Louise is also a YouTube creator and you can find most of her recipes in video format on The Salted Pepper YouTube channel.
She is very responsive to messages and eager to help in any way she can.
Mardie Scott says
I was wanting good old home made baked beans and went to my mentor, Louise for a no fail recipe. I haven't made them in many years since we found B&M brickoven beans in the brown jar...no longer available. So I used her recipe and made a few changes and will make more next time. I did not soak the beans. I followed the recipe exactly and found that there was not enough bacon flavor for me so next time I will use the whole pound and also use some of the ham broth I have saved from baking hams. I had covid which destroyed my taste and smell so I could be totally off but these were too sweet for me. Hubby loves them. So I"ll add more meat flavor and use regular brown sugar instead of Swerve. I need more onion flavor too so I will either increase the onion powder or the diced onion. I used the red beans with the navy beans and really like the the gentle crunch of the red beans. The consistency of the beans when done was perfect and the taste issue may only be because of my bastardized taste buds. Thanks Louise for another great recipe. You're the best!
Rose Dombrowski says
It's very good, but we do soak our beans overnight.
Louise says
Thanks! Beans can be funny and stay harder than we want sometimes. When I tested the recipe, I didn't run into that issue, but I have since and have been thinking about updating the recipe to include an overnight soak of the beans. I'm glad you liked them!
Anne says
This is my favourite bean recepie , I have made it many times , Thankyou Louise.
Louise says
I'm so glad you like it!
CB says
I really love these beans Could you pressure can these beans?
Louise says
It's not an approved canned recipe, so I personally wouldn't.
Yvonne Sylvia Owens says
Hi Louise!
I have made your baked beans recipe a few times now and they always turn out great!! I also use your site for other recipes and they all turn out fabulous! As a matter of fact I have a pot of baked beans on as I write this!! You are my go-to-gal for recipes! Thank you!
Louise says
Thank you so much! I'm so glad you like the beans and other recipes!