
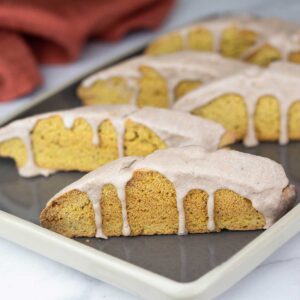
Pumpkin Biscotti cookies are the perfect cookie for dipping into a hot cup of coffee or tea, they make great gifts, and they are super easy to make! You can dress them up with fancy decorations or keep them simple and let the pumpkin flavor shine through. Biscotti are one of my favorite cookies to give away as gifts because they look so pretty and, with the right decorations, can be quite fancy to look at even though they are one of the easiest cookies to make.
When I made homemade biscotti the first time, I had no idea what I was doing or how they were made. Being an avid cookie maker, especially during the holiday season, I was intrigued by these little cookie spears. I had more questions than answers, but I still muddled through. Turns out it's pretty hard to mess these cookies up, and my Christmas Biscotti Cookies turned out great!
Would you like to save this recipe?
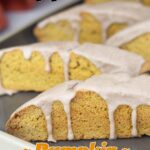
So, this year I decided to make a pumpkin version and these just may be one of my favorite things in life. The crunch is perfect, the flavor is perfect, and when I made a spiced icing to decorate them with, well... next level pumpkin spice biscotti right there!
Ingredients & Substitutions
This biscotti recipe is made a little differently from other cookie recipes, so while there are dry and liquid ingredients, some of the dry ingredients get mixed directly with the wet ingredients. For simplicity reasons, I am grouping them as dry and wet ingredients and will give suggestions for substitutions based on their role in the biscotti cookie.
Dry Ingredients
Flour
I use all purpose flour (plain flour in the UK) in this recipe, but you can also use cake flour if you want to and the amounts would be the same.
For Gluten Free Biscotti, I would use a gluten free flour that is a 1:1 ratio substitution to wheat flour and use a gluten free flour mix that has xanthan gum in it, Bob's Red Mill Gluten Free flour is a good choice and gets great reviews for baking.
If you want to make a keto version of pumpkin biscotti, I would look up a keto biscotti recipe and adapt it with the pumpkin flavors in this recipe. From my limited research, it looks like almond flour can be used in place of regular flour. Keep in mind that if you are adding in the pumpkin puree, you will need to increase the dry ingredients to have them hold together.
Baking Powder
The baking powder in this recipe is the leavening agent (along with the eggs) and, even though the dough doesn't rise that much, it is an important ingredient.
If you don't have baking powder and need to use baking soda instead, use only ½ teaspoon and also add in 1 teaspoon of lemon juice to the wet mixture.
Salt
There is just a touch of salt in this recipe which helps to bring out all the other flavors. I use a fine grind sea salt or kosher salt in the recipe. If you are using table salt, only use ¼ teaspoon.
Spices
I use a combination of ground cinnamon, cloves, allspice, and nutmeg in this recipe, which is similar to the spices in a pumpkin pie spice blend except for the ginger. You can certainly add in about ¼ teaspoon of ginger, if you like.
You can also substitute 1 Tablespoon of pumpkin pie spice instead.
Wet Ingredients
Sugar
It might seem funny that sugar is in the "wet ingredients" section, but since it is creamed with the butter, it is considered a wet ingredient. I use white sugar in this recipe, but you could also use brown sugar or a combination of white and brown sugar.
You can also use a 1:1 sugar substitution like Swerve, if you prefer. I haven't tested this recipe with Swerve, but, from what I've read, using an erythritol sugar substitute works fine in baked goods.
Eggs
The eggs in this recipe give lift to the dough as it bakes and help to leaven it. They also act as a binder with the pumpkin puree and flour to hold everything together.
If you want to cut down on the fat, you can use the egg whites only or, if you can't have eggs, try using aquafaba liquid from cooked chickpeas or canned chickpeas. While I haven't worked with aquafaba, I understand it's a great egg white substitute.
Pumpkin
I use plain pumpkin in a can for this recipe, but you can certainly use pumpkin puree from a pie pumpkin if it's pumpkin season when you make these cookies. I wouldn't use pumpkin pie filling, the kind you get in the can, just because it's going to throw the other ratios off. Canned pumpkin pie mix has sugar and spices already in it and you would need to decrease the sugar in the recipe and increase the pumpkin which would throw off the flour ratio. So, keep it simple and stick to either homemade pumpkin puree or the canned pumpkin without all the other stuff.
Butter
I use salted butter in this recipe, but you can certainly use unsalted and increase the salt in the recipe by a pinch (about ⅛ teaspoon). You can also omit the butter in the recipe. In fact, a traditional Italian biscotti doesn't container butter, but it's added in so the cookie isn't so hard that you risk breaking a tooth unless it's dunked into a liquid, like coffee or tea.
So, if you skip the butter, have a pumpkin spice latte handy for dunking!
Vanilla Extract
You can choose to use vanilla extract like I did or substitute in pumpkin extract for an extra boost of pumpkin flavor. You can also omit the extract and the pumpkin biscotti will turn out just fine.
How to Make Pumpking Biscotti
Mise En Place
Take your eggs and butter out of the refrigerator 1-2 hours before making the biscotti so they can warm to room temperature. This allows them to incorporate easier into the batter.
Measure out all of your ingredients and have them ready to go.
Preheat the oven by setting the oven temperature to 350℉ or, if using a convection oven with fan preheat to 325F
Take a cookie sheet or sheet pan and line it with parchment paper.
Make the Biscotti Dough
I use a stand mixer to make life easier, but you can absolutely do this with a hand mixer and a large mixing bowl.
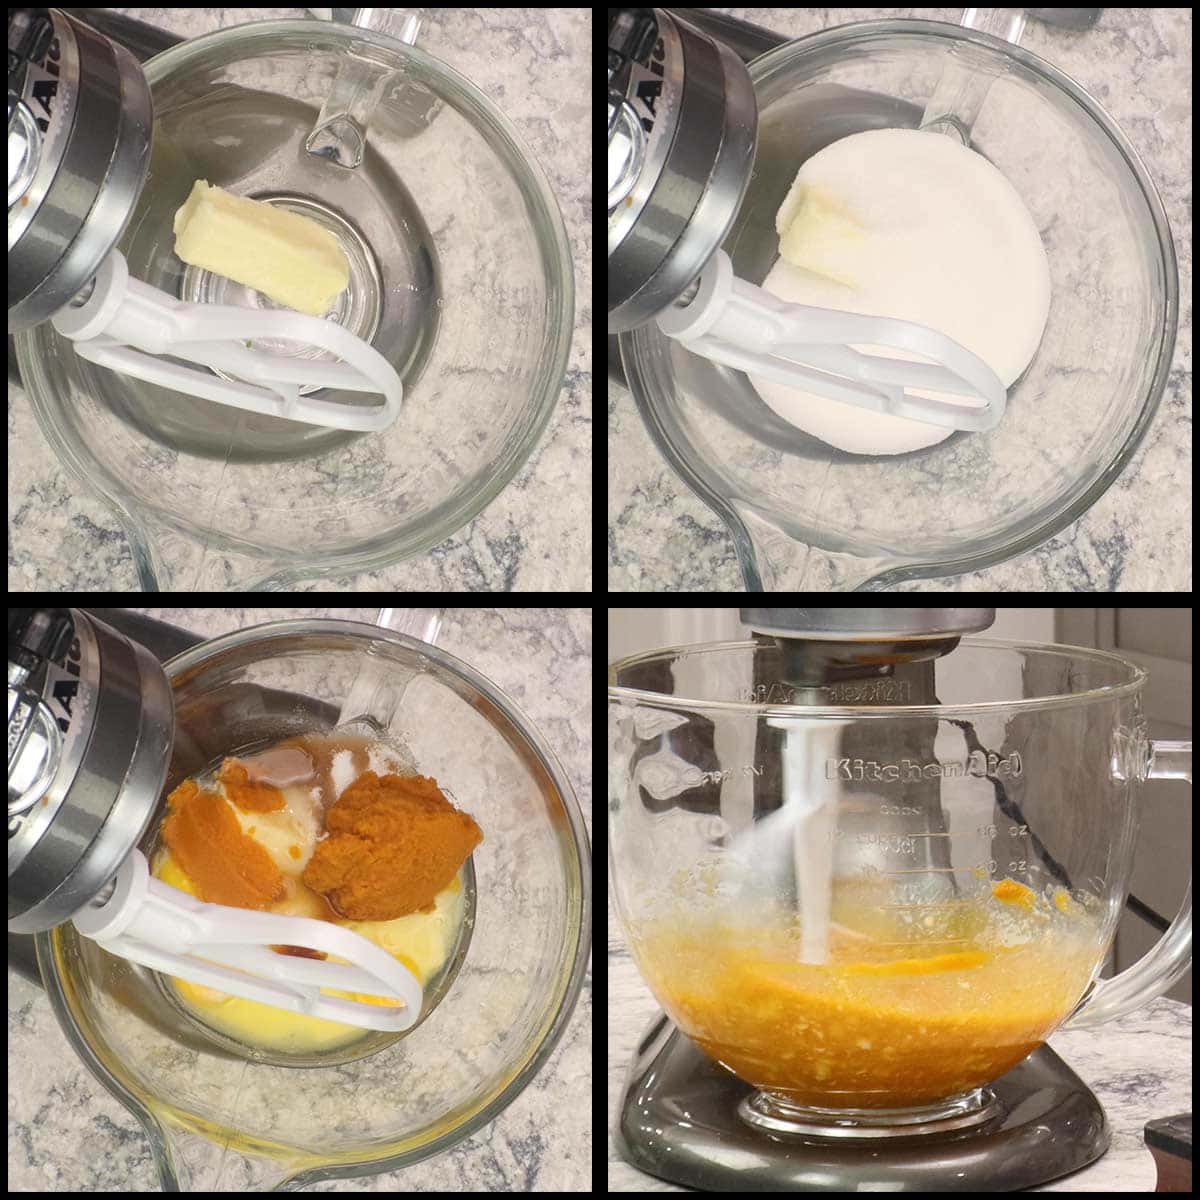
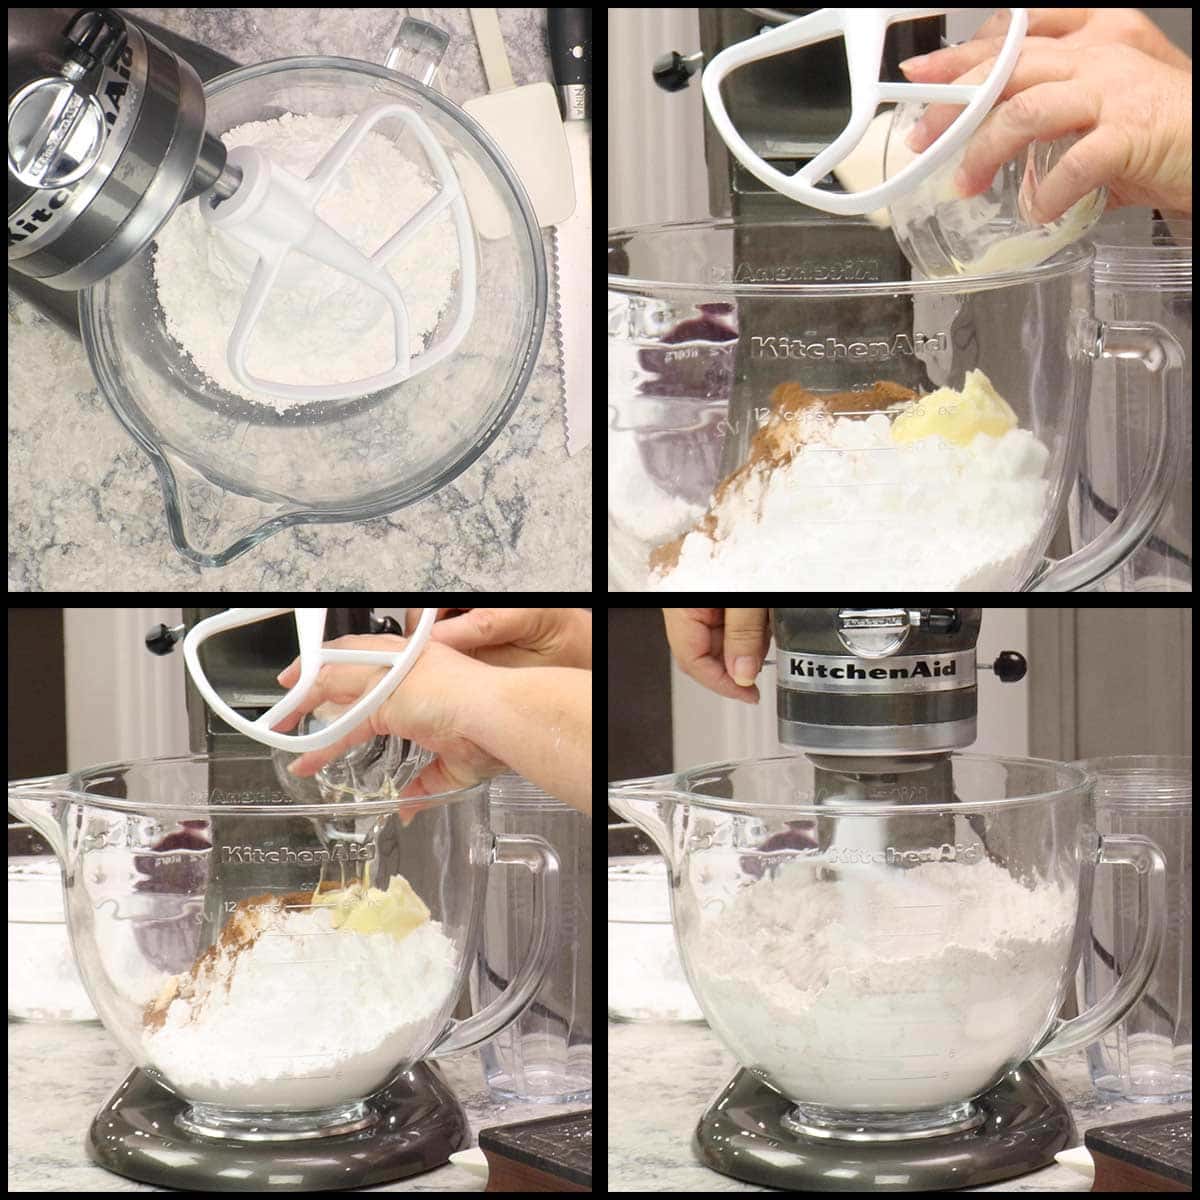
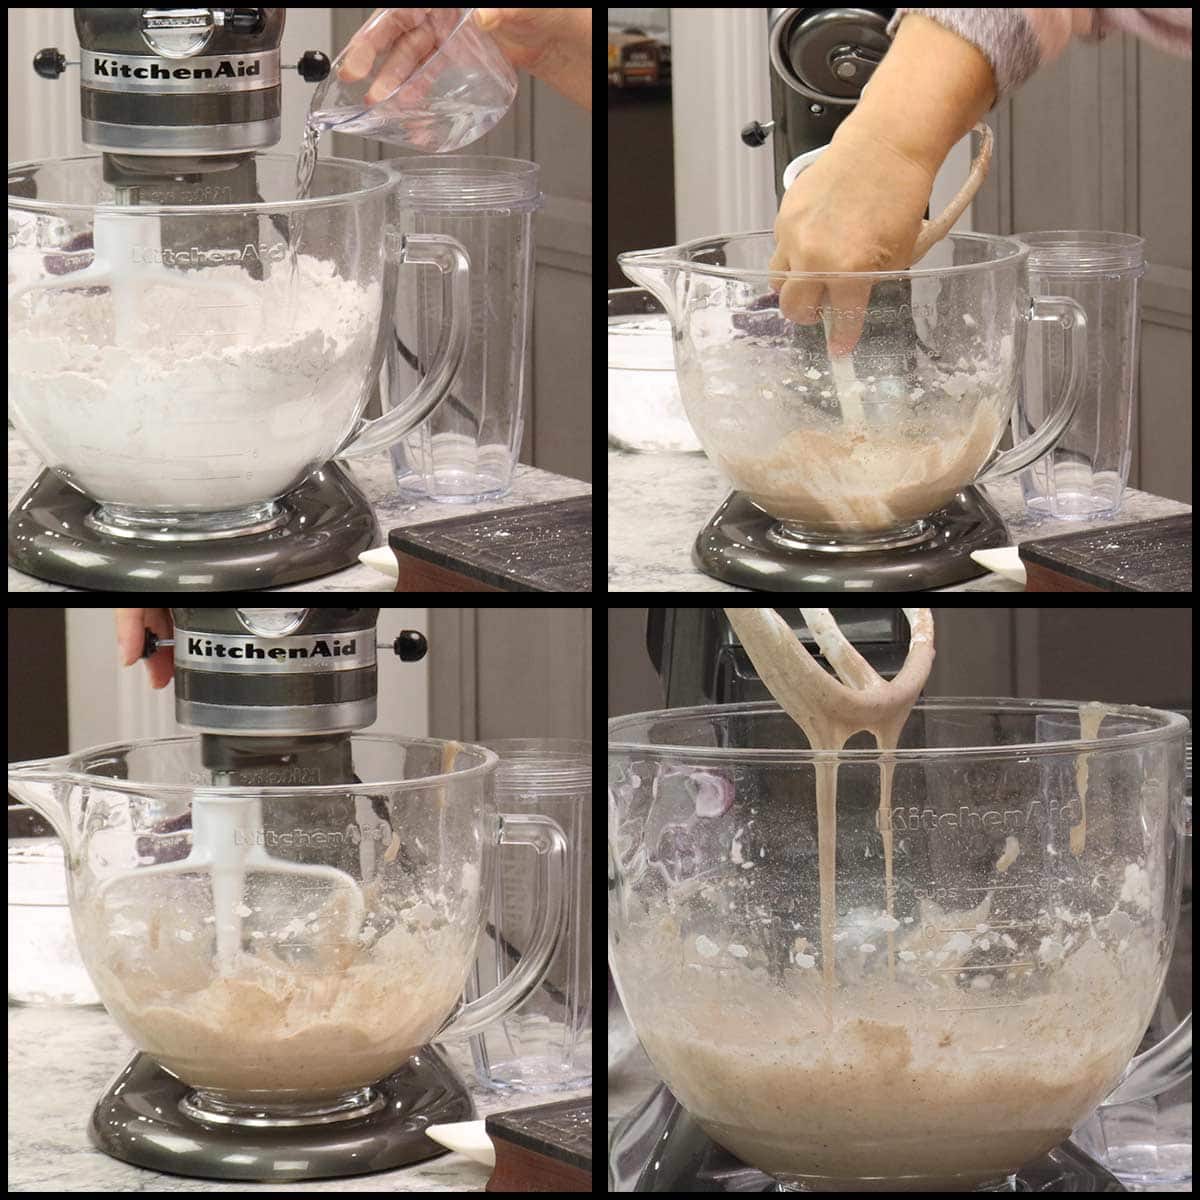
Add the butter, sugar, eggs, pumpkin puree, vanilla extract, baking powder, and and salt to the bowl of a stand mixer OR a large mixing bowl if you are using a hand held mixer.
Mix on medium speed until well combined. You may see some small lumps and that is fine, they will get smoothed out when we add the flour.
This may be different from cookie recipes you are used to making where the dry ingredients get mixed together and added to the wet ingredients. I do it this way because I don't always use all of the flour and if the salt and baking powder are mixed in with the flour and it doesn't all get used, then all of the salt and baking powder aren't in the cookie dough.
Once the wet ingredients, along with the baking powder and salt are mixed, begin adding in the flour, starting with ½ cup at a time and mix after each addition on medium speed.
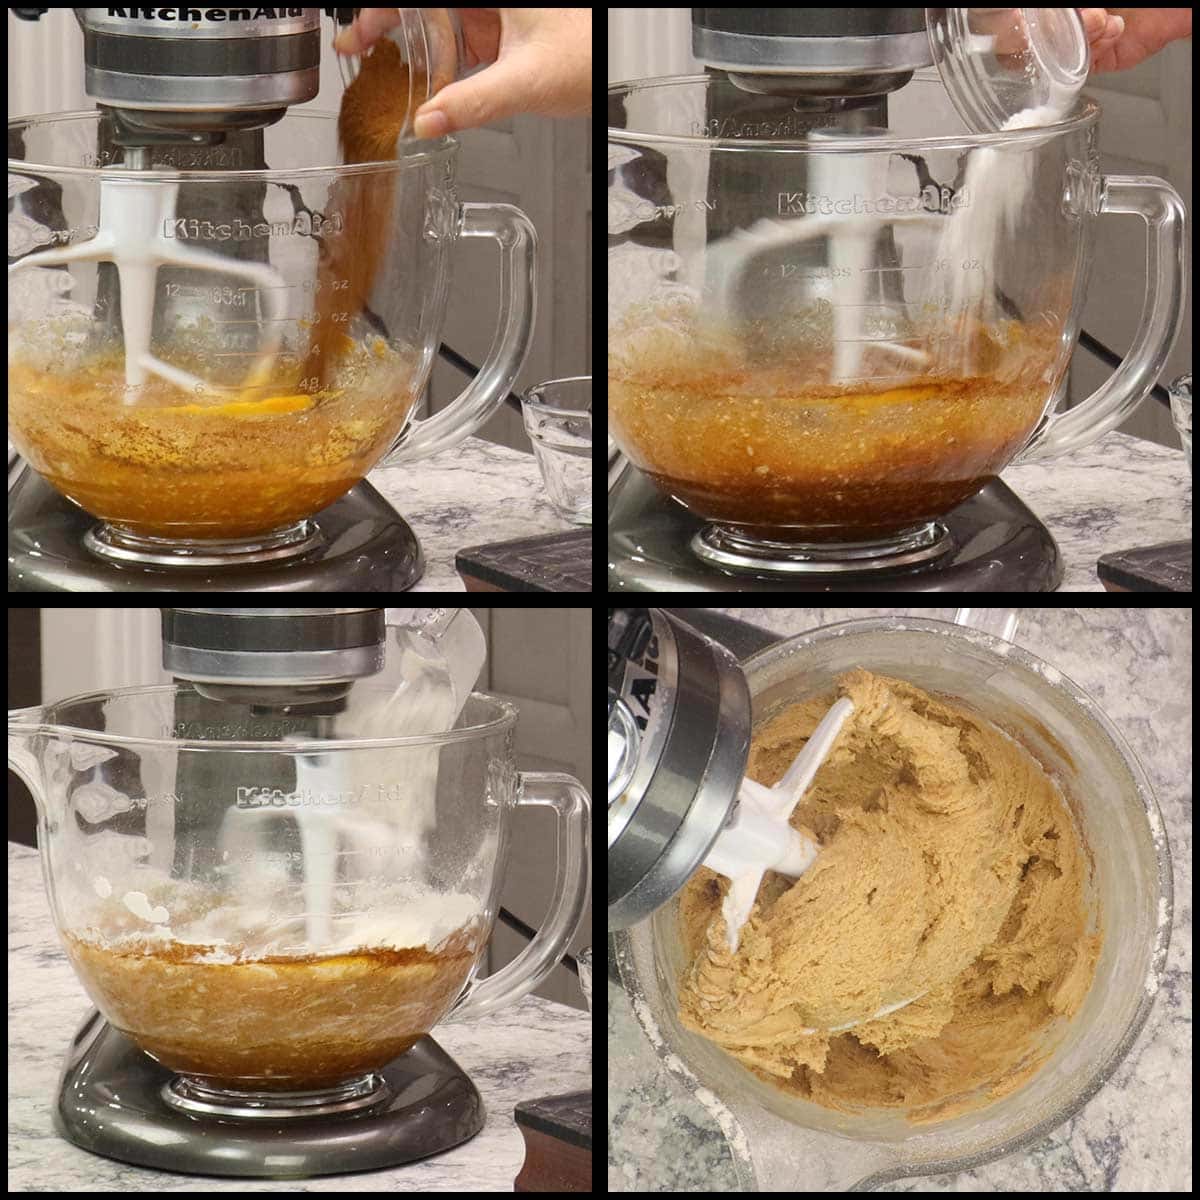
Once you have 4 cups of flour in the dough mix, begin adding just 1-2 Tablespoons at a time until the dough is soft, but no longer sticking to your fingers. Make sure to use a silicone or rubber spatula to scrape the very bottom of the bowl and the sides to incorporate all of the flour.
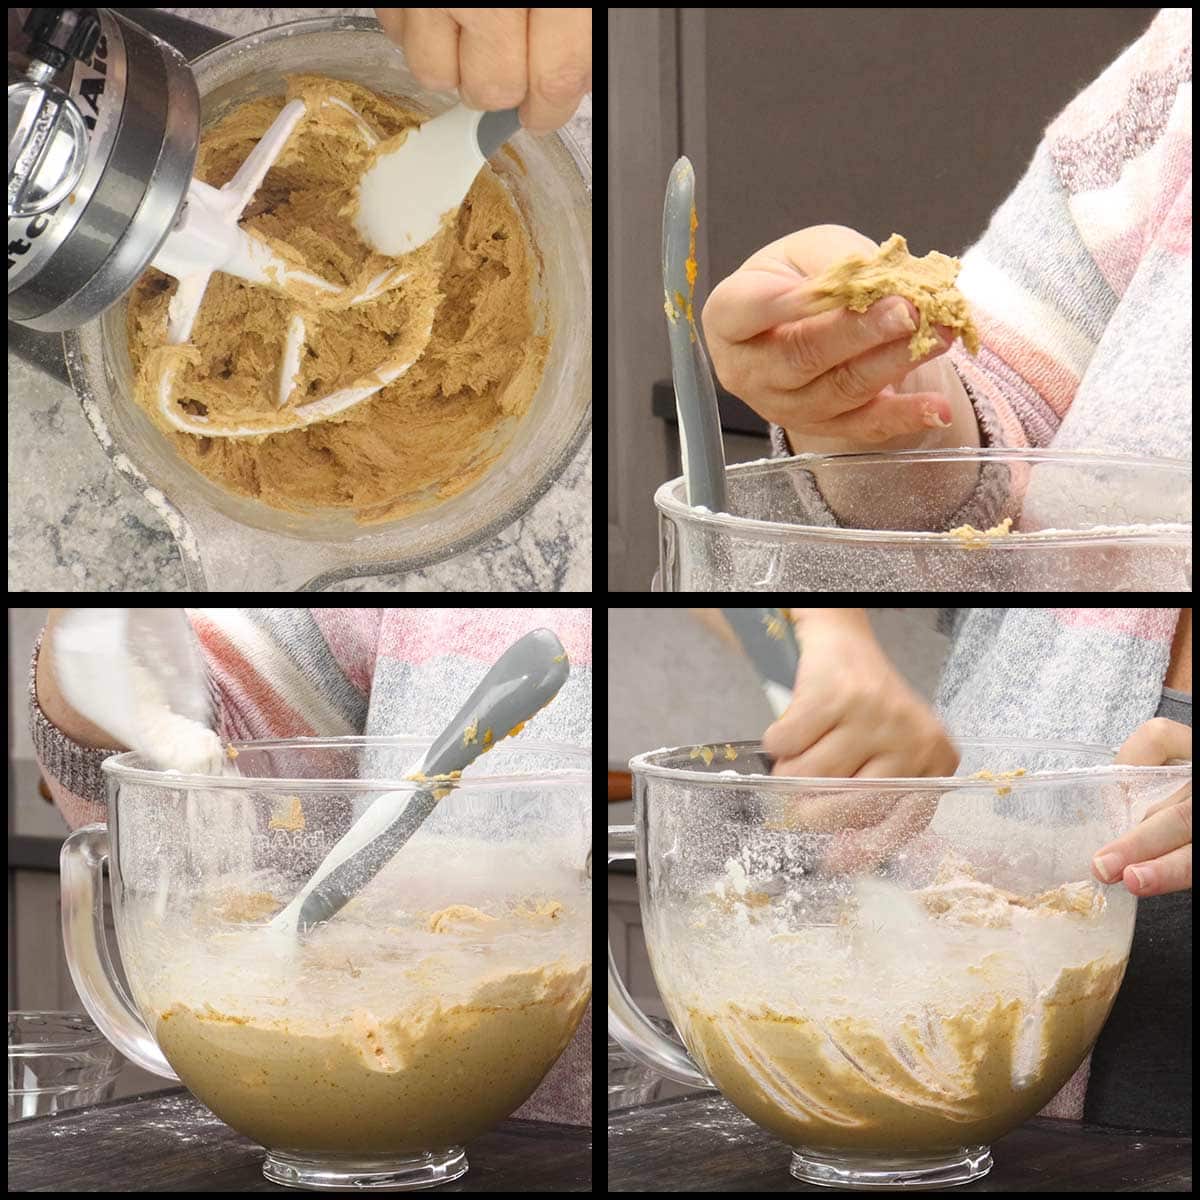
Use any remaining flour for your cutting board and for shaping the dough.
Forming the Biscotti Logs
When the dough is no longer sticky to touch, sprinkle some flour on a cutting board or flat surface that is at least 16" in length.
Place the dough onto the cutting board and if it still feels tacky, you can add a little flour to the top and fold the dough to incorporate the flour. The dough should be soft, but not sticking to your hands.
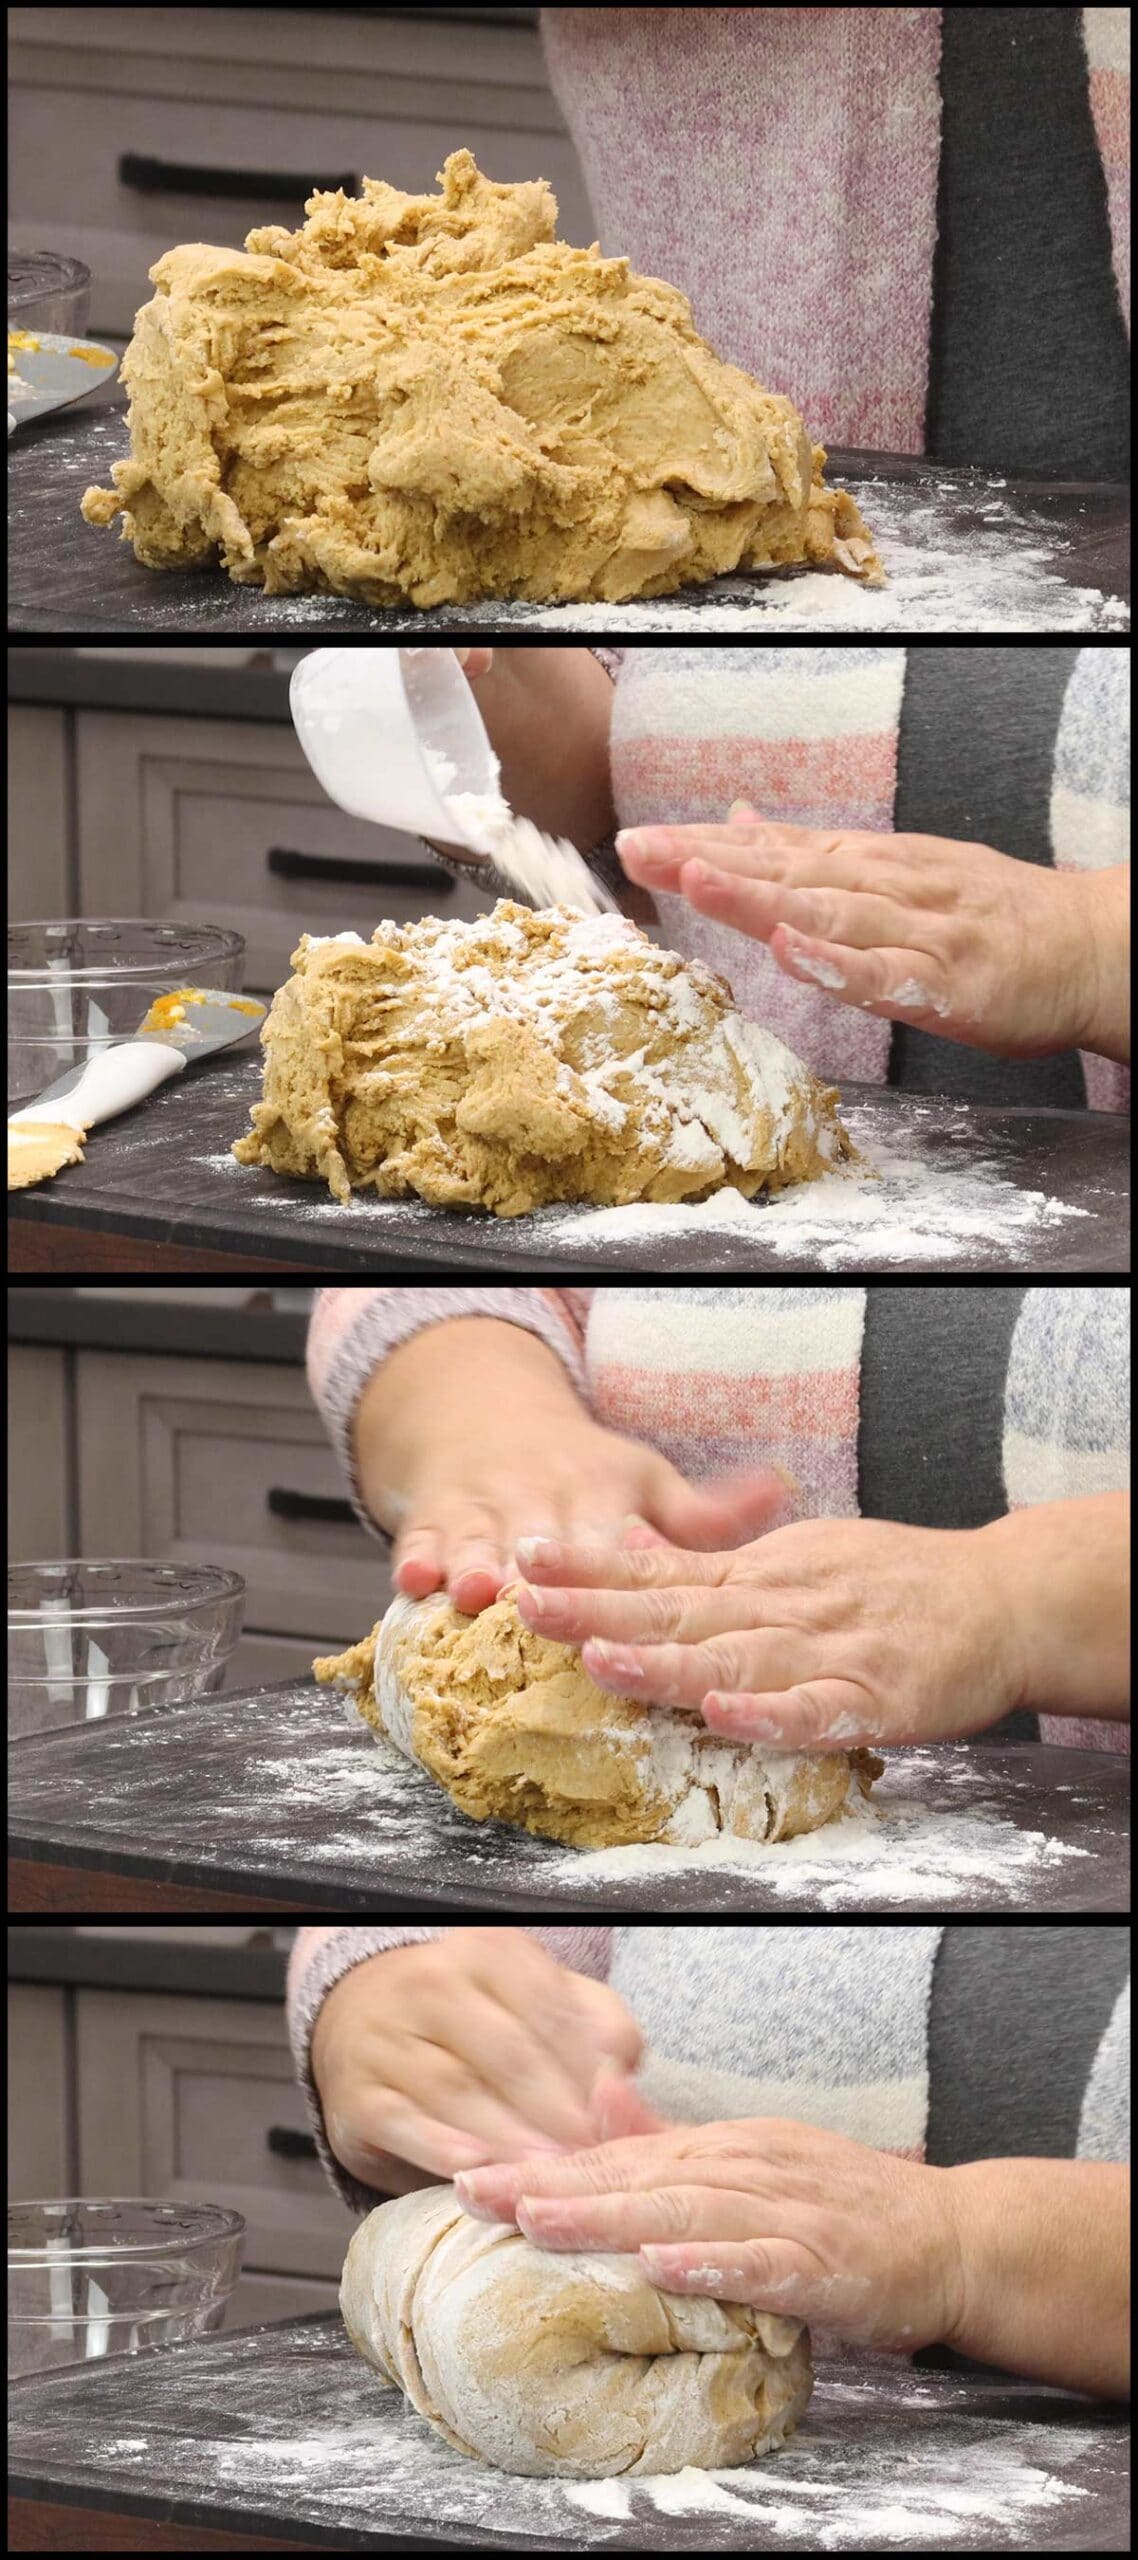
Divide dough into 2 equal pieces. Sometimes the inside of the dough will still be sticky and you can dust the cut part with flour to make it easier to work with.
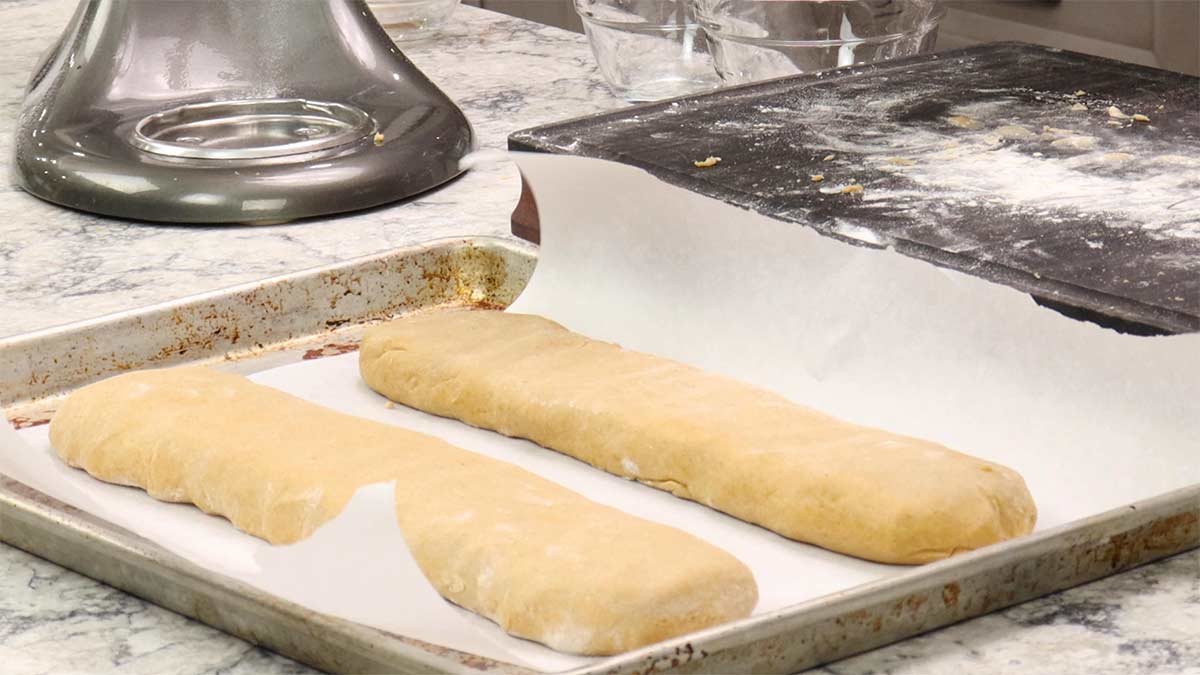
With one piece of the dough, form a log about 12" long and 2-3" thick. Gently press down on the top to flatten it out so it's more of a rectangle shape. Place on a parchment-lined baking sheet.
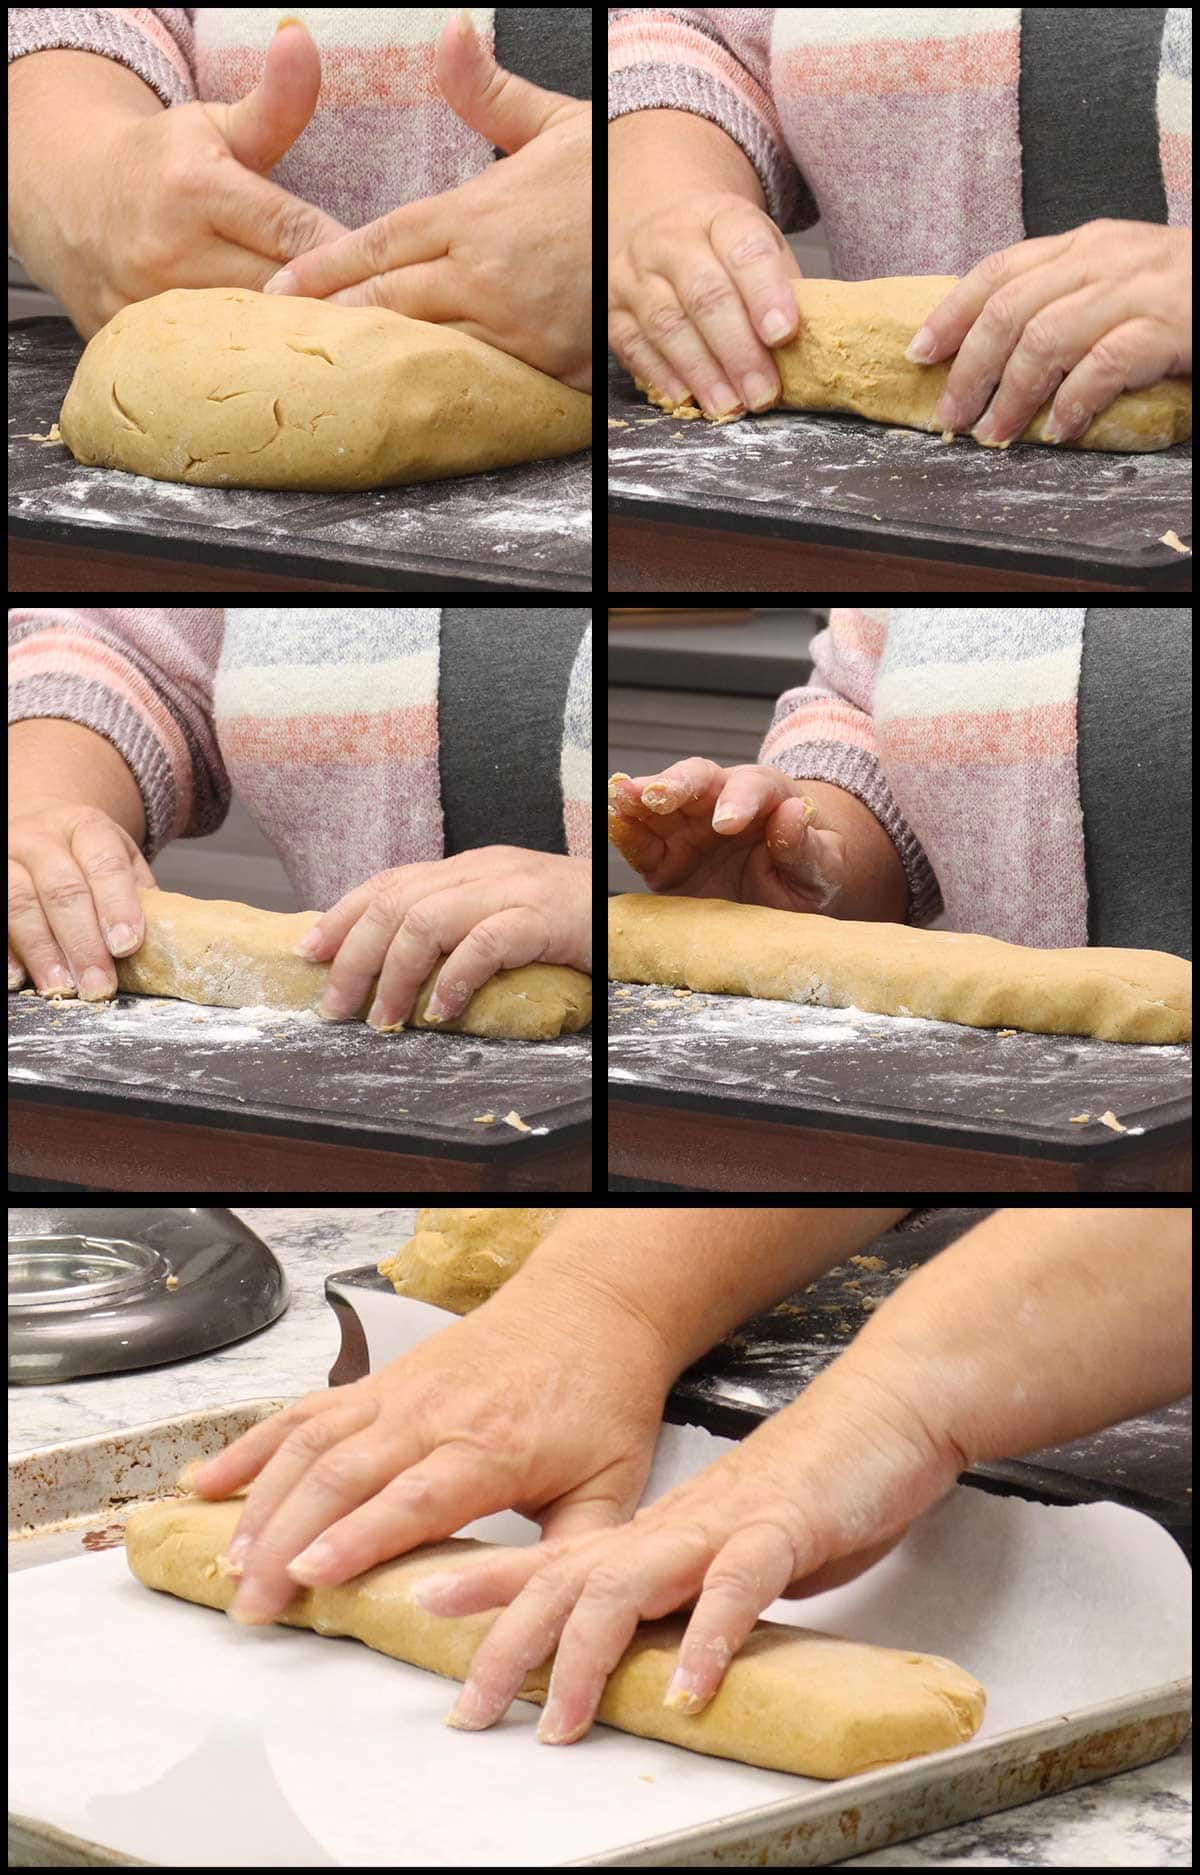
Repeat for the second piece of dough so you have two long logs on the prepared baking sheet.
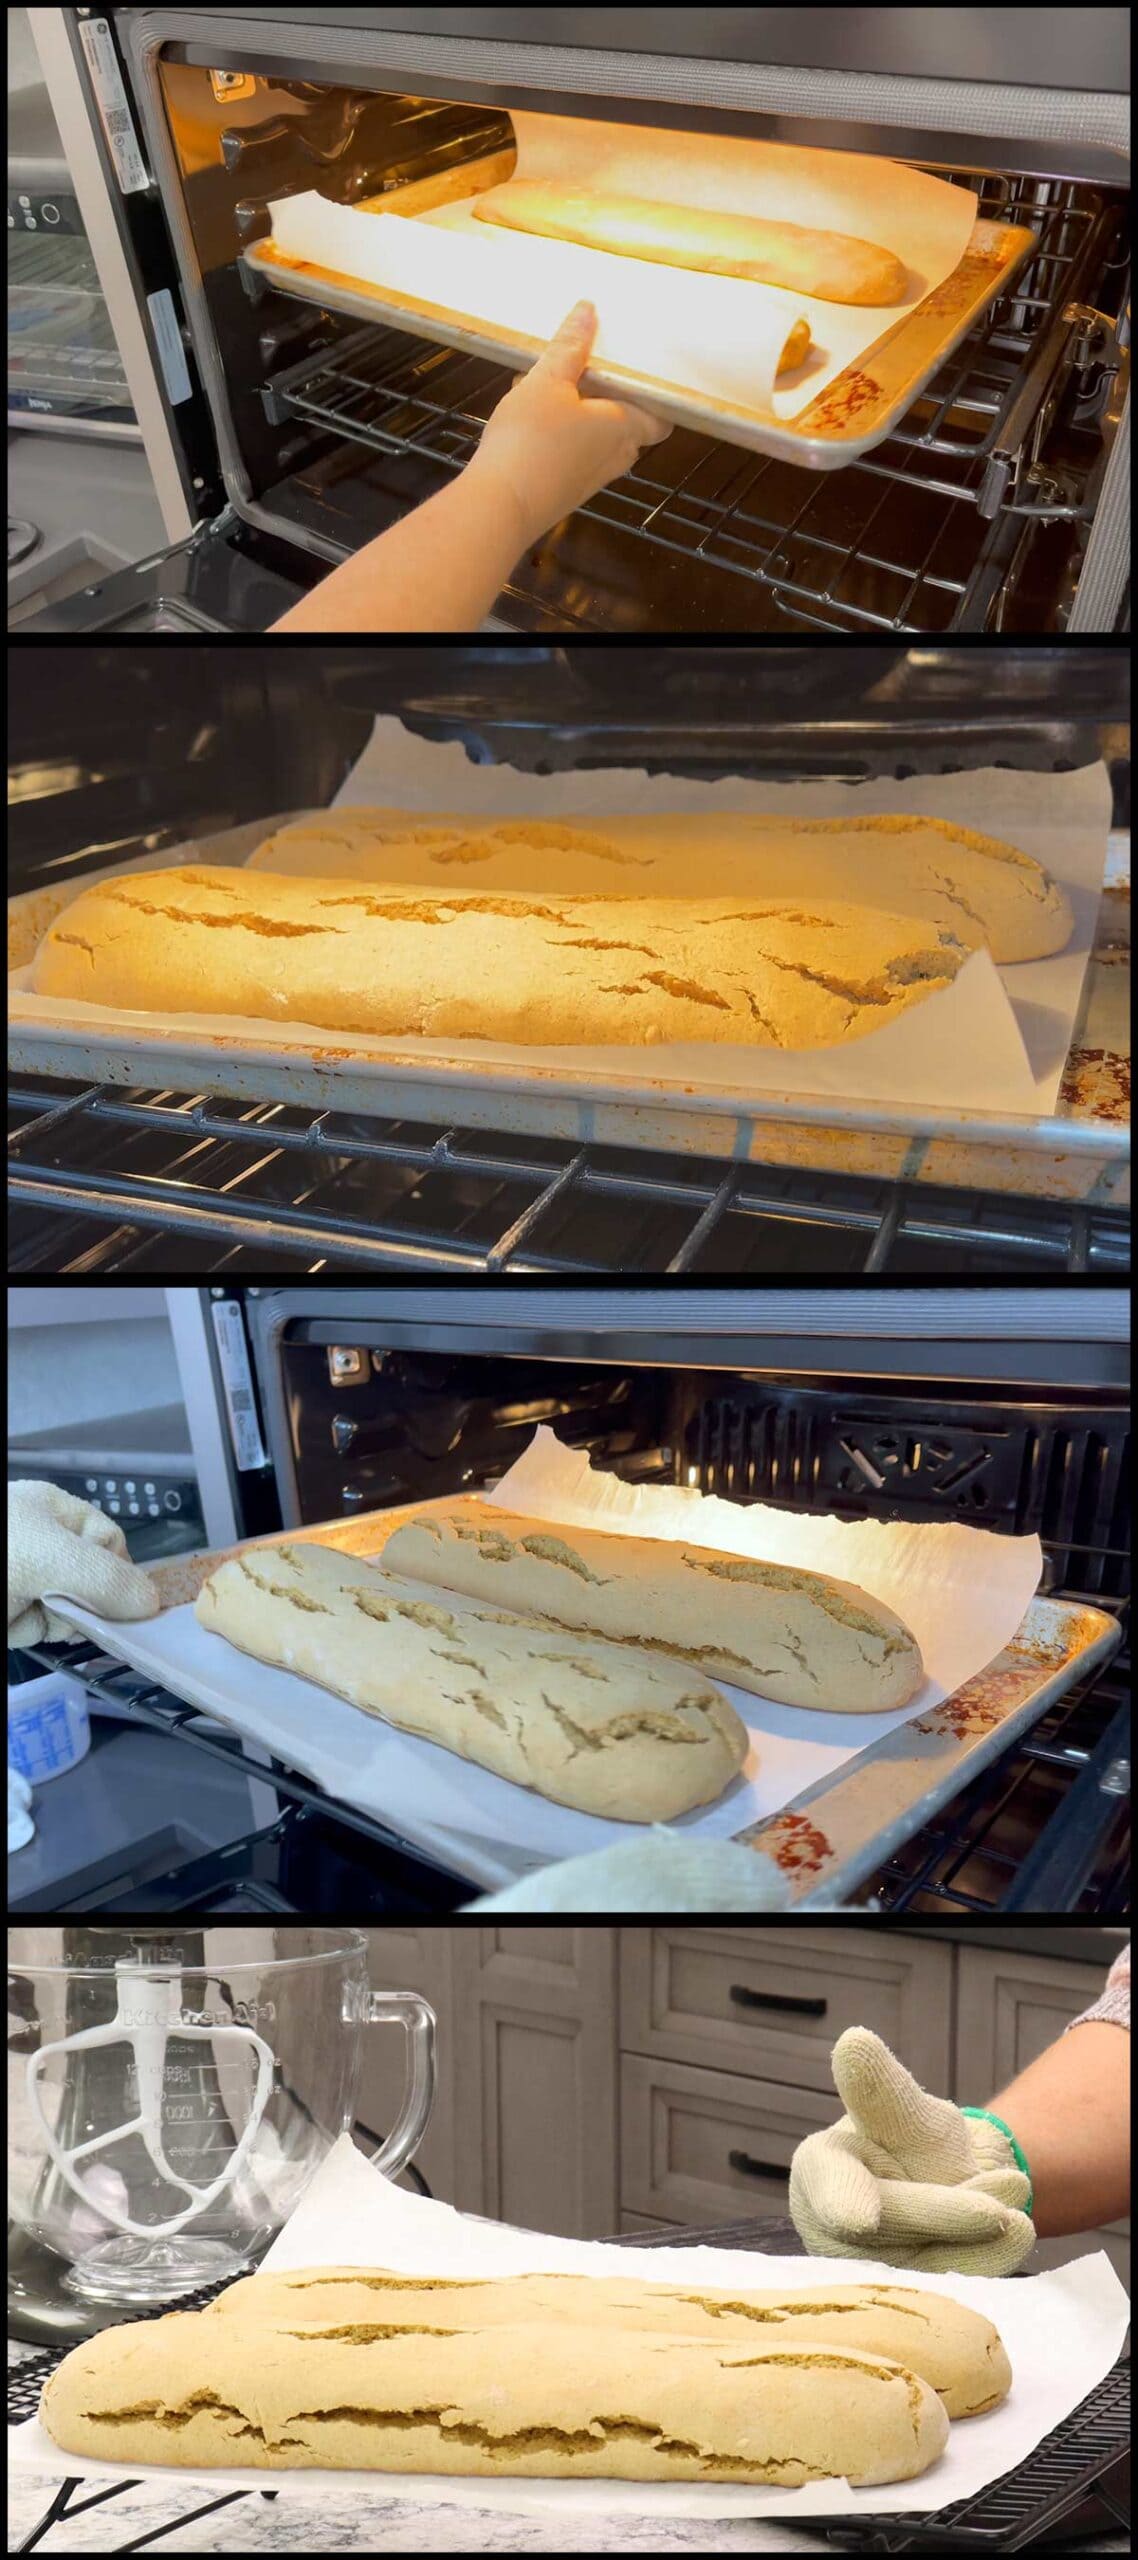
First Bake & Cool
Place the baking sheet with the biscotti logs into a 350F preheated oven and bake for 25-30 minutes. The logs should be golden brown and you may even see some cracking. That is perfectly normal. The baked log is still going to be a little soft, so don't press into it.
Pull the parchment paper with the baked logs onto a cooling rack and let cool for at least 30 minutes, but I usually let them cool 1-2 hours. If you start to cut the biscotti and it is falling apart, it isn't cool enough yet. A little crumbling at the edges is normal.
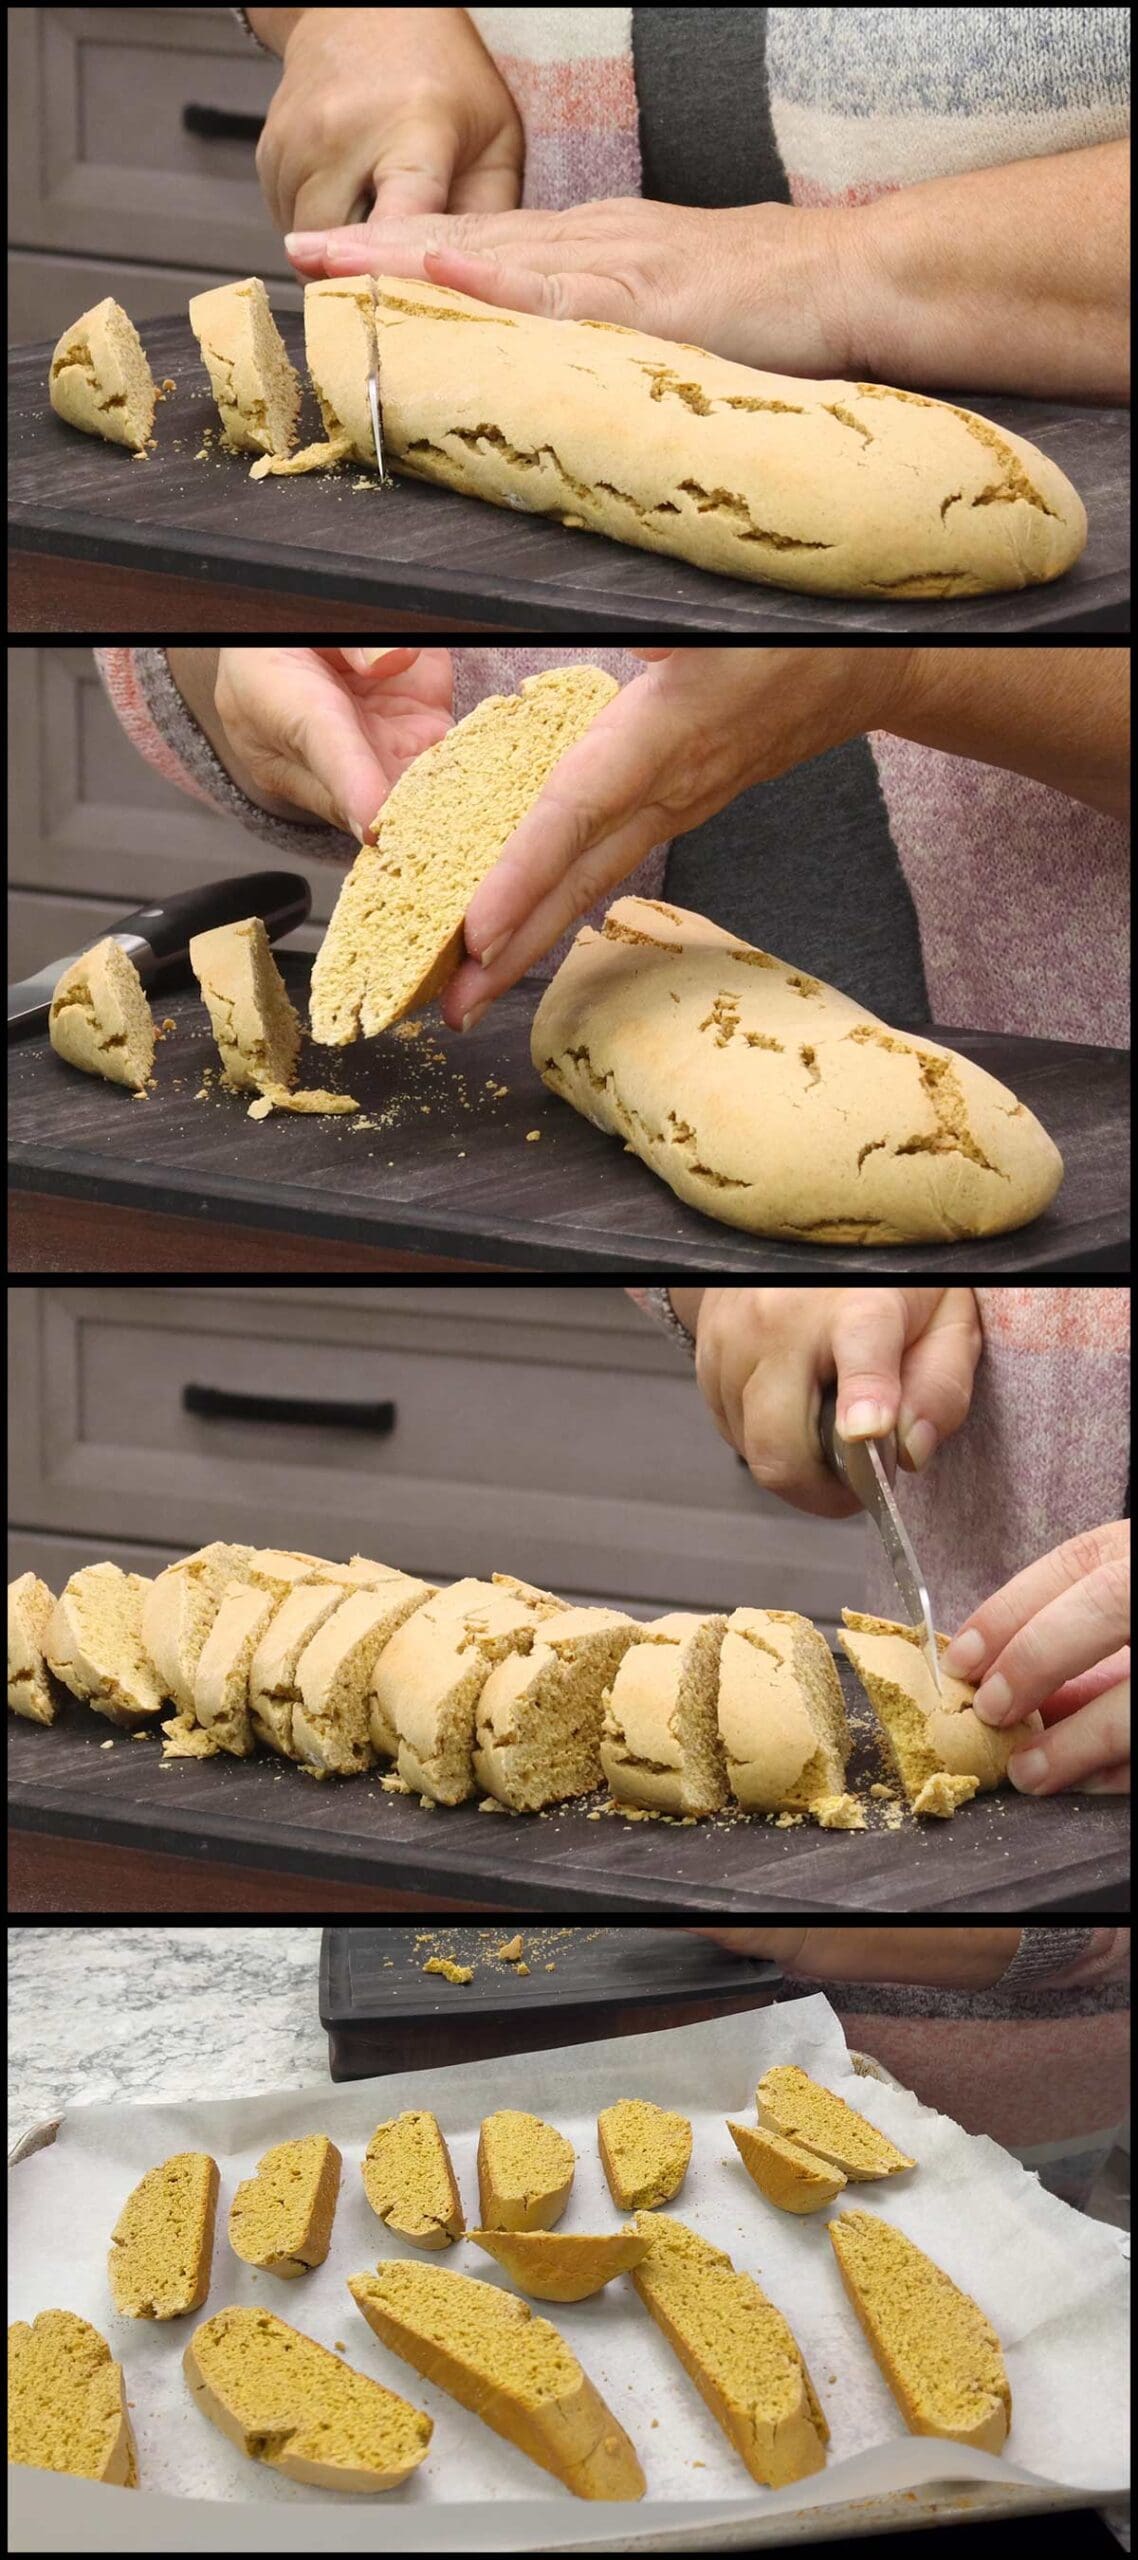
Slicing the Biscotti Logs & Second Bake
When the biscotti are cool enough to handle, use a sharp, serrated knife to cut each log into the biscotti cookies. If your oven is off now, preheat it to 350℉.
How thick you make them is up to you, but normal is between ½" and ¾". You can cut them straight for shorter cookies or on the diagonal for longer cookies.
Place the cut biscotti on a parchment lined cookie tray or sheet pan. I use the same parchment paper as before.
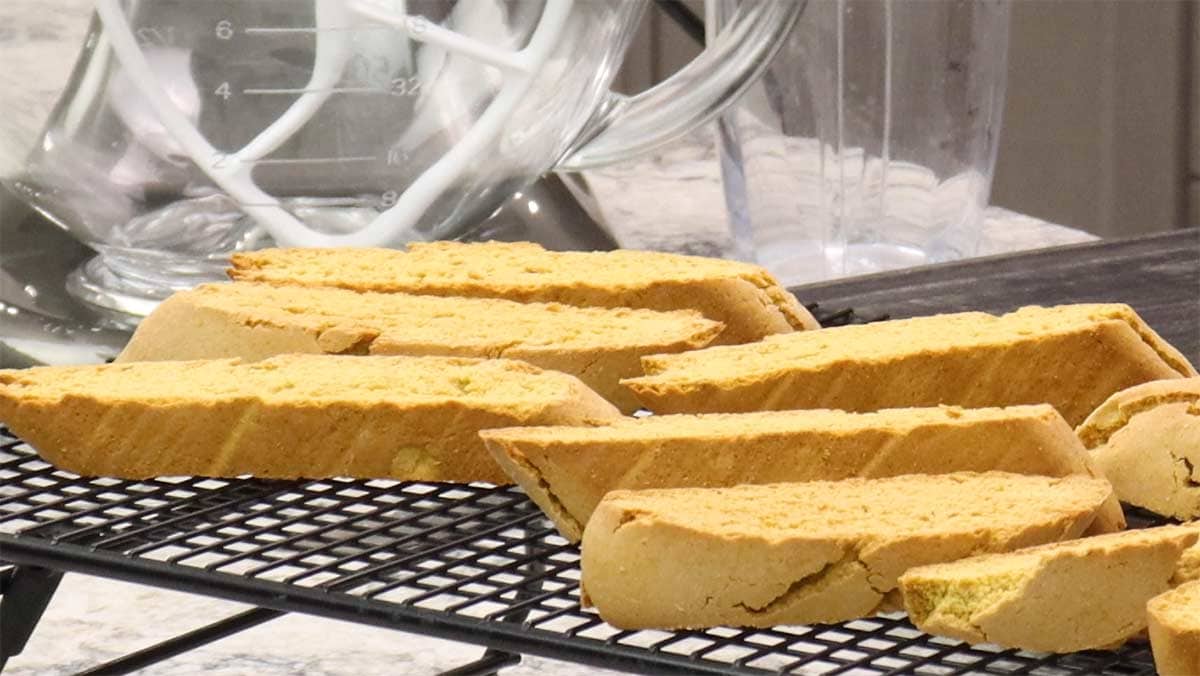
Bake at 350°F for between 7-20 minutes. I realize this is huge timeframe, but the second baking time really depends on how thick you cut the pumpkin biscotti. You want them to dry and lightly toasted color. It will also depend on how much flour you ended up needing to use. The first few batches I tested baked in 7 minutes because I cut them thinner (about ½") and used a little more flour. The last two batches I made, I used a little less flour (about 4¼ cups) and cut them into ¾ inch pieces and they needed 20 minutes for the second bake.
When they are slightly toasted looking, remove them from the oven and transfer them to a cooling rack. Let the biscotti cool on a wire rack completely before decorating with cinnamon spiced icing or melted white chocolate.
Cinnamon Spice Icing Recipe
This spiced icing is a variation of a traditional royal icing and will get firm on the cookies so that they can be stored and handled without worrying about the icing coming off.
You can skip this step and leave the cookies undecorated or you can dip in melted white chocolate. Personally, I didn't like the flavor combination with the white chocolate and the pumpkin biscotti.
In the bowl of a stand mixer or a large mixing bowl, add 4 cups of sifted powdered sugar. Sifting it will help reduce clumps. Add the butter, spices, and corn syrup. Mix on low or medium speed until combined. The mixture will be a little crumbly.
Begin adding in the water 1-2 Tablespoons at a time. I usually use about ¼ cup, but go by consistency more than the amount of water. You want the icing to be thin enough to dip the cookies in, but not so thin that the icing runs off.
If you think it's too thin, add more powdered sugar. If it's too thick, add a little more water.
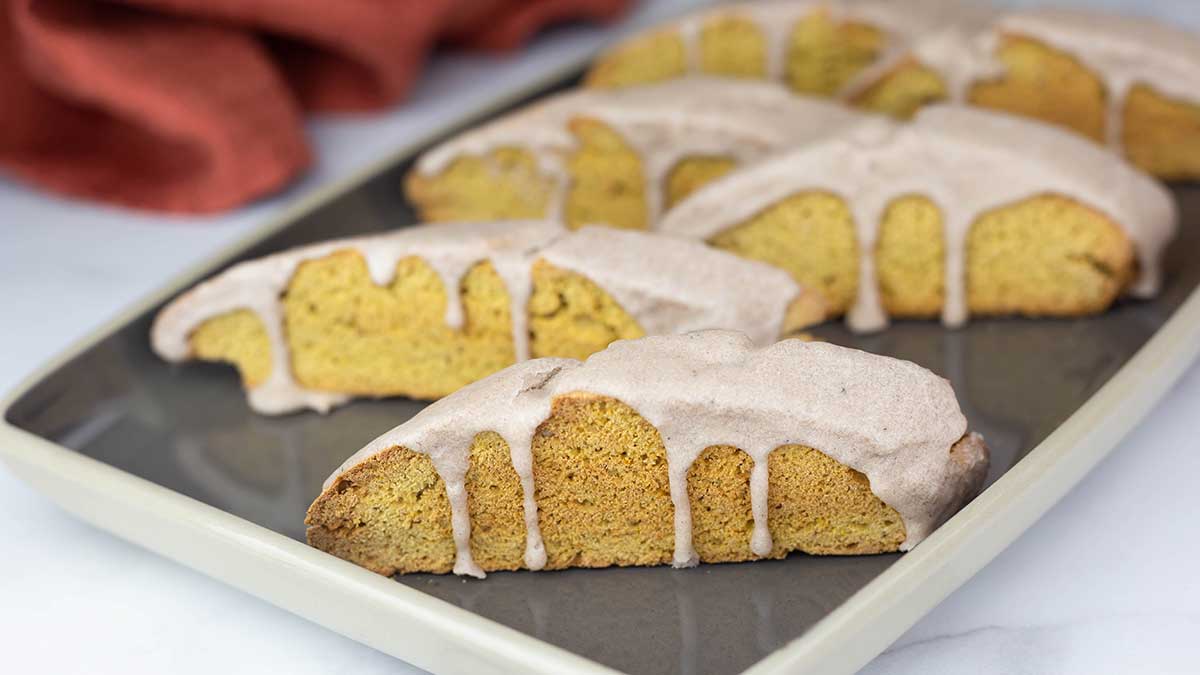
There are tons of ways you can use the icing to decorate the biscotti. My two favorite ways are to dip the cookie into the icing on the diagonal so that only half of the cookie is coated.
Another way is to drizzle the tops of the cookies and let the icing drip down the sides.
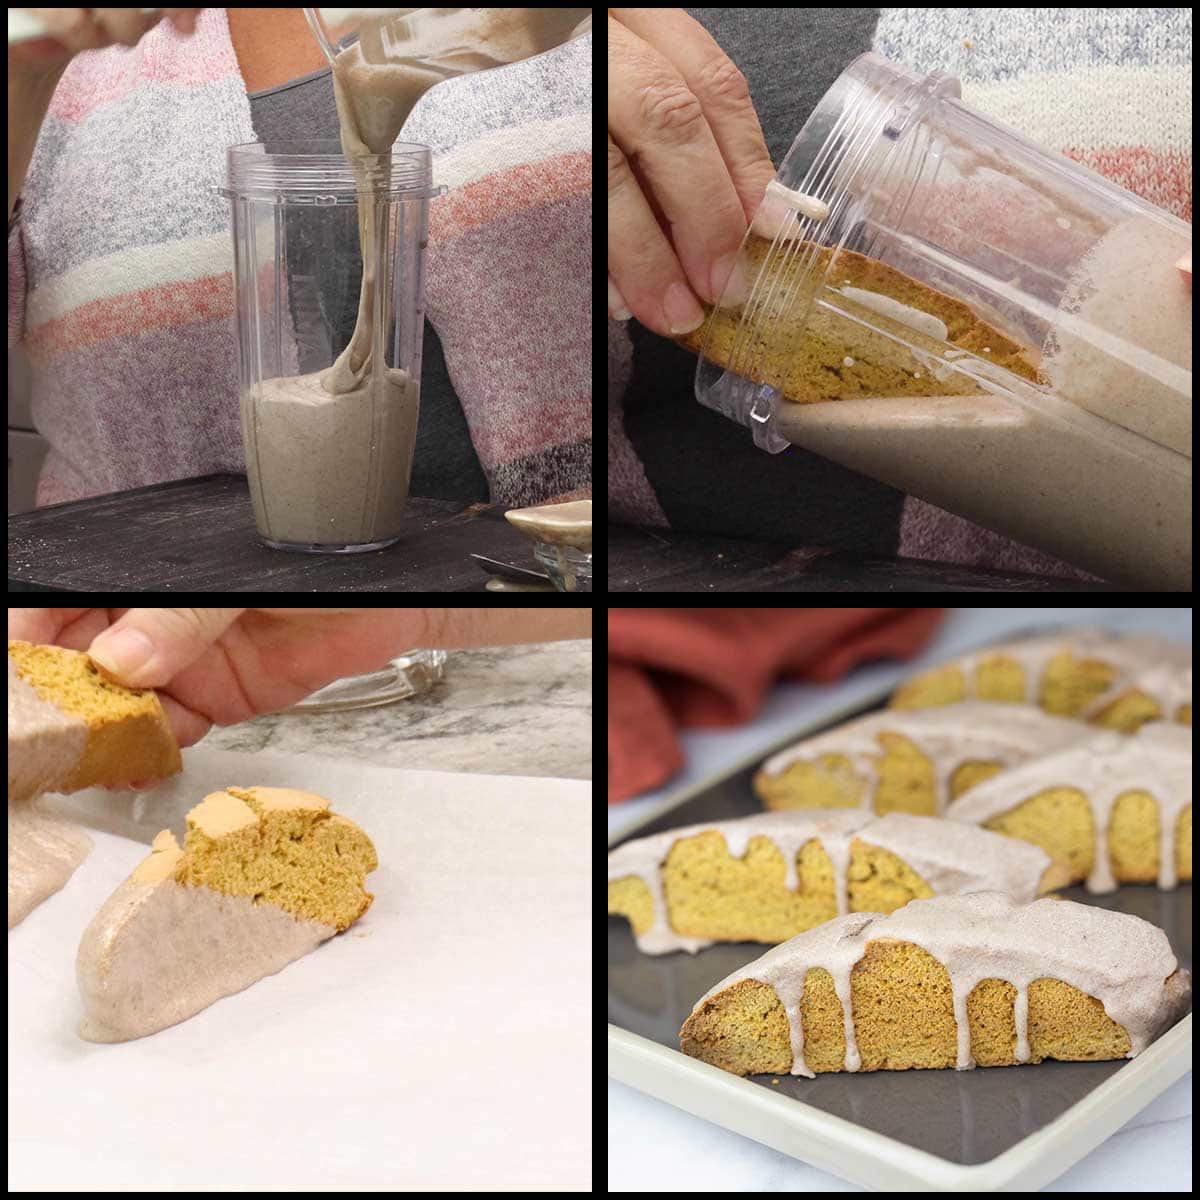
Once the icing is on the cookies, place them on parchment until the icing sets. Some will drip off onto the parchment, but once the icing is set you can pull it right off the parchment to store. I leave them uncovered overnight to allow the icing to fully set before bagging them up.
Enjoy!
Frequently Asked Questions
Once the biscotti are cooled and the icing is set, you can store them in an airtight container on the counter for about 5 days. After that, they do start to get a little stale.
Freeze them for longer storage.
Doubling the recipe would be easy to do just by doubling all of the ingredients. You an also cut the recipe in half if you like, instead of using 3 large eggs, use 2 medium eggs or you can lightly whip 1 large egg and either weigh it to use half or just eyeball it.
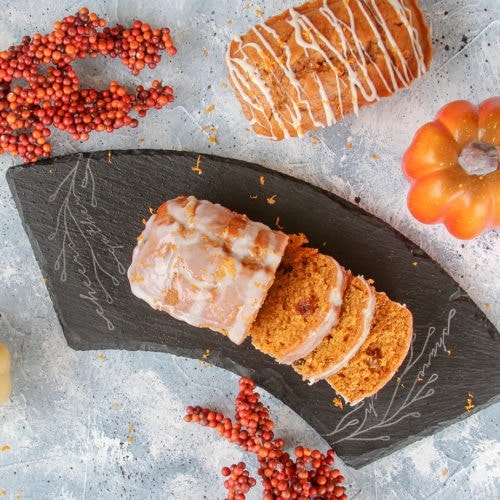
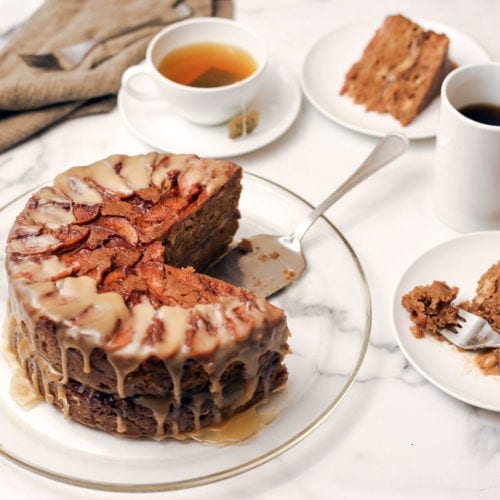
Fall-Inspired Dessert Recipes
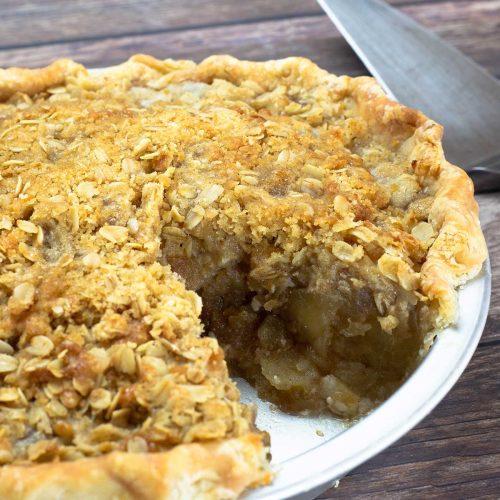
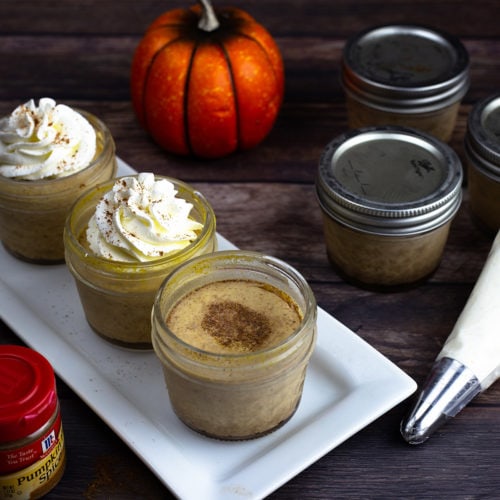
As soon as September comes, I'm all about the pumpkin and apple flavors! Here are some favorites.
Pumpkin Biscotti Cookie Recipe
Equipment
- stand mixer or hand held mixer
Ingredients
- 6 Tablespoons butter, room temperature salted or unsalted
- 1¼ cups white sugar
- 3 large eggs
- 1 teaspoon vanilla extract
- ½ cup canned pumpkin
- 2 teaspoons baking powder
- 4½ cups flour divided in recipe
Spice Blend
- 2 teaspoons cinnamon
- ½ teaspoon fine grind sea salt
- ½ teaspoon ground cloves
- ½ teaspoon ground allspice
- ½ teaspoon nutmeg
Cinnamon Spice Icing
- 4 cups sifted powdered sugar
- 1 teaspoon ground cinnamon
- ½ teaspoon ground cloves
- ½ teaspoon ground nutmeg
- ½ teaspoon ground allspice
- 4 Tablespoons salted butter room temperature
- 2 Tablespoons corn syrup
- water to thin the icing ¼-⅓ cup
Would you like to save this recipe?
Instructions
- Preheat the oven to 350°F/175°C
- LIne a sheet pan with parchment paper
Make the Biscotti Dough
- Add the room temperature butter, sugar, eggs, vanilla extract, and pumpkin to the bowl of a stand mixer or a large mixing bowl. Using the paddle attachment on the stand mixer, mix together ingredients on medium speed or you can use a handheld electric mixer on medium speed. Don't worry about all the lumps, they will work themselves out during the rest of the mixing process.
- Add the spice blend and baking powder to the wet mixture and blend on medium speed until incorporated.
- Begin to add in the flour in ½ cup increments and blend each addition on medium speed. Once you have 4 cups of flour into the wet batter, turn the mixture off and remove the bowl from the base.
- Feel the dough and if it's still sticking to your fingers, add in 1-2 Tablespoon increments at a time until it no longer sticks to your fingers.
Form the Biscotti Logs
- Flour the cutting board and turn the dough out onto the cutting board. Divide the dough in half and begin forming the logs. If it's hard to form the logs because the dough is sticky, you can add a little more flour.
- Using half of the dough, form a log about 12" long by 3-4" wide. Flatten down so it looks like a rectangle. Transfer to the parchment lined tray. Repeat with the second half of the dough.
First Bake, Cool & Cut
- Place the tray with the two logs into the preheated oven and bake for 30 minutes.
- Transfer the logs to the cooling rack and let cool at least 30 minutes, but I usually let them cool 1-2 hours and sometimes overnight.
- Make sure to preheat the oven to 350°F/175°C for the second bake.
- Once they are cool to touch, slice them into ½"-¾" pieces. You can cut them straight or on the diagonal.
Second Bake
- Place the cut biscotti with the flat area pointing up on the parchment lined tray. I use the same parchment as I used in the first bake.
- Bake again to lightly toast the biscotti. The timing will vary based on how thick you cut the biscotti. You want them to have a slightly toasted look. For ½" thickness, bake 7-15 minutes. For ¾" bake 12-20 minutes.
- Remove from oven and allow to cool on a cooling rack and cool completely before decorating.
Decorating with Cinnamon Spice Icing
- Add the sifted powdered sugar to the bowl of stand mixer or large mixing bowl. Add the spices, butter, and corn syrup. Mix on low until well combined. Scrape down the sides of the bowl as needed. The mixture will look crumbly and dry.
- Add in 2 Tablespoons of water and mix on low. Continue adding water, 1 Tablespoon at a time, until the icing is the consistency you want. It should be thin enough to coat the the cookies, but not so thin that it runs off the cookie. I usually find that ¼ cup of water is perfect.
- Decorate the cooled biscotti cookies by either dipping them into the icing or simply spooning the icing over the tops like I did in the picture.
Notes
Nutrition
About the Recipe Author, Louise Long
Louise is a full-time recipe creator and food blogger @ The Salted Pepper. She has over 30 years of experience with cooking and recipe development. She owned a restaurant for several years and was a full-time RN until retiring to blog full-time.

She published her first cookbook in the Fall of 2018 and is very interested in writing several more.
Louise is also the creator of an online Ninja Foodi Pressure Cooking Course with over 100 instructional step-by-step videos. People absolutely rave about the course and all the value they have received from it.
Louise has several very active Facebook groups that help people with the basics of cooking and learning more about the appliances they love.
Ninja Foodi Pressure Cooker & Air Crisper 101
Ninja Woodfire Outdoor Grill & Smoker
Louise is also a YouTube creator and you can find most of her recipes in video format on The Salted Pepper YouTube channel.
She is very responsive to messages and eager to help in any way she can. Get more Information about Louise & contact information
I WOULD LOVE TO SEE WHAT YOU ARE COOKING UP IN YOUR KITCHEN! TAG ME @THESALTEDPEPPER ON YOUR FAVORITE SOCIAL MEDIA PLATFORM WHEN YOU MAKE A DISH!
BE SURE TO FOLLOW THE SALTED PEPPER RIGHT HERE ⇓⇓⇓⇓⇓
Leave a Reply