One of the absolutely best chicken breasts I have ever tasted was done using the sous vide function on the Ninja Foodi. The chicken remains juicy and tender with sous vide cooking and that is due to cooking for a longer time at a lower temperatures.
I was not a real fan of Sous Vide Cooking because I'm not big on planning or waiting hours for a piece of meat to cook and that is part of sous vide cooking, however when I was creating my Online Course for the Ninja Foodi Pressure Cooker & Air Crisper, I had to test it out in order to teach about it and boy was I shocked!
Sous Vide is now my go-to when I want to make steak, pork chops, or chicken breasts!
If you own a Ninja Foodi Pressure Cooker & Air Crisper and don't feel like you are using it to its fullest potential or need some assistance getting over the intimidation of it, check out my online course:
Ninja Foodi Pressure Cooker & Air Crisper ~ The Basics & Beyond
While I used the Ninja Foodi Pressure Cooker & Air Crisper to sous vide my chicken breast, you can use this same technique with your immersion style precision cooker.
If you haven't given sous vide cooking a try, I hope you start with this amazing chicken breast recipe. I bet you'll be hooked like I am!
Frequently Asked Questions
According to sources on Google it is fine to sous vide chicken breasts from frozen when you add about 45-60 minutes to the cook time, however, I have some concerns about that and will have to do some independent testing to make sure it is indeed safe. My concern is with a thick frozen chicken breast, will the internal temp get up to 140F within the 2 hour time frame in accordance with food safety guidelines. Once I know the answer, I will share it with you. For now, the safest practice, in my opinion, is to thaw the chicken prior to sous vide cooking.
No, not at all. While my favorite way to sous vide is using vacuum bags with a vacuum sealer, it isn't a necessity to be successful with sous vide cooking. Ziploc bags using the water displacement method works great and I go over exactly how to do that in this post.
Yes, surprising well. The reason I say it's surprising is because the temperature control is not as exact as my stand-alone circulator sous vide cooker that I use. From my testing, the temperature starts off about 10 degrees higher than what is set. I wasn't sure how this would work, but after cooking steaks, pork chops, and plenty of boneless chicken breasts, I can say, it works just fine. There a few things that you can do to ensure a good outcome and I go over that in more detail below.
Sous Vide Chicken Breast Recipes
There is so much you can do with sous vide chicken breasts, from making your favorite chicken salad recipe to using it in recipes to speed up prep time. Depending on how you want to use it in recipes will determine when you might want to sous vide followed by a quick sear or simply sous vide the chicken.
I don't usually bother to sear the chicken after sous vide cooking for things like chicken salad, adding to a recipe calling for leftover rotisserie chicken or even adding to soup. I will sear it when I want to use it to top a salad or for chicken sandwiches. It is a personal preference whether you choose to sear or not.
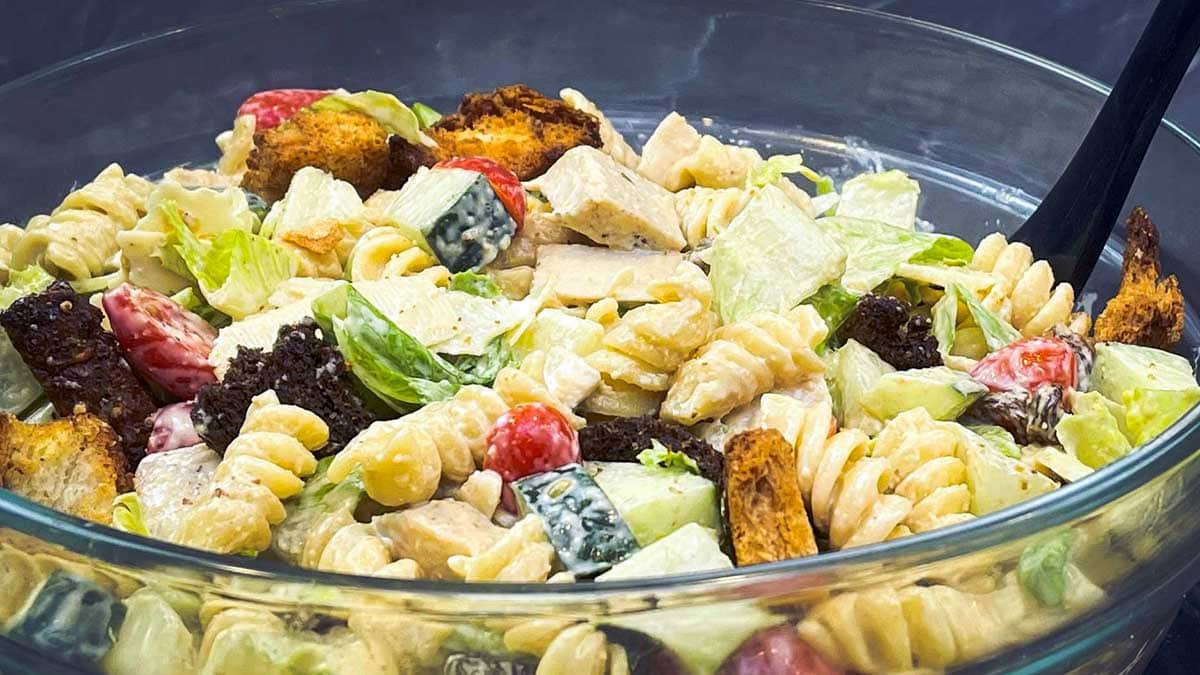
One of my favorite recipes is this Chicken Caesar Pasta Salad and sous vide chicken breast would work amazingly in the recipe! In fact, you could marinate the chicken breasts in the Caesar dressing and then sous vide it right in ziplock bags or vacuum sealed bags.
Here are a few more recipes where adding in sous vide chicken breasts would be a time saver and taste amazing.
What is Sous Vide Cooking?
In case you are not familiar with sous vide cooking, it is basically cooking in a temperature-controlled water bath with the food sealed in a plastic bag or sometimes a glass container.
The goal of a good sous vide machine is to hold an exact temperature throughout the cooking process which results in the food being cooked to that temperature eliminating overcooking every single time. It is the ultimate set it and forget it type of cooking. However, the cooking time is usually much longer than other traditional cooking methods.
So, while it is very hands-off, it is something that you need to prepare for ahead of time. The time it takes to cook something depends on what it is and how big or small the cut of meat is. For example, boneless skinless chicken breasts that range from 8-10 ounces take approximately 90 minutes cooking time to reach a safe internal temperature throughout the entire chicken breast.
One of the best things about sous vide cooking for me is meal prep! I love seasoning up boneless skinless chicken breasts with different seasoning blends and fresh herbs and then using the sous vide function on the Ninja Foodi to cook up 4-6 at a time to use in different ways throughout the week. It makes dinner super easy!
One thing that it is important to know about sous vide cooking is you can "overcook" your food. Not in the traditional sense of overcooking because the food reaches too high of a temperature, but because the fibers in the meat or even vegetables can break down over time. I think one of the best websites that explains this is Serious Eats, their sous vide articles are very insightful and the testing they do is amazing and thorough.
Seasoning Tips for Sous Vide Chicken Breasts
The great thing about sous vide method of cooking is all the prep and seasoning can be done before hand, even days before hand. Although I only recommend seasoning chicken breasts and other thinner cuts of meat the day before cooking, you can season and freeze and then thaw them in the fridge before using.
I often will buy a value pack of chicken breasts, trim them up right when I get home from the store and then place an individual seasoned chicken breast into each bag and use my vacuum sealer to remove as much of the air as possible and then pop them in the freezer. One to two days before I want to use them, I grab however many I want to use and let them thaw in the fridge. Once thawed, I will cube, shred, chop, or sear, depending on how I'm using them.
Some of my favorite seasonings are:
Salt and Pepper: I like to use only simple salt and pepper when I'm not sure what I'm going to make with the cooked chicken. This way I have a flavorful, tender chicken breast that I can use for absolutely anything and the flavors will never compete.
Cajun Seasoning: This is a great way to really get tons of flavor into your chicken breasts. You can use my Cajun Seasoning blend or your favorite. I would add a little olive oil to the chicken and coat in the seasoning blend.
Mexican Seasoning: If you love Mexican food then you will love coating the chicken with your favorite Mexican seasoning blend and adding fresh cilantro and perhaps a touch of olive oil and lime juice.
Herbed Chicken: One of the easiest things to use to season your chicken breast is sprigs of fresh thyme and rosemary with olive oil and sautéd garlic or roasted garlic.
Safe Cooking Temperature for Chicken Breasts & Other Safety Tips
First let's go over a few safety tips when it comes to Sous Vide Cooking
- Don't Sous Vide with raw garlic: You don't want to use raw garlic because it will not cook at low temperatures and the flavor will be unpleasant and bitter. There are also concerns about raw garlic producing botulism in anaerobic (low oxygen) environments and using a vacuum sealer to seal a bag does remove most of the oxygen. For these reasons I do not suggest sous vide cooking with raw garlic. However, sautéing it first or roasting it is perfectly fine.
- Never set the sous vide temperature lower than 130℉/55℃ for any high-risk meats like chicken, pork, and ground meats. If you want to cook beef to a lower temperature, you may want to sear it first since most of the bacteria on beef is only only on the outside. Searing will kill any pathogens on the surface.
So, what exactly is a safe and optimal internal temperature for sous vide chicken breasts? To determine this we look at pasteurization techniques, because cooking chicken or any other food to a certain temperature in order to kill any potential pathogens is a pasteurization process.
So, this is where things get very interesting and will send some into a panic. The best temperature for sous vide chicken breast isn't 165°F!!! It's much lower. Think around 145°F-150°F. Please don't panic, let me explain the rationale behind this and then it might make much more sense.
I'm sure you are used to hearing that Chicken MUST be cooked to an internal temperature of 165°F in order to kill the bacteria that could make us sick if it is present in the chicken. This is very much true and an established safety guideline WHEN you are cooking chicken and serving right away. What I mean by this is if you have a hot oil in a skillet and are cooking a chicken breast, then any bacteria that could be present is killed immediately when the internal temperature reaches 165°F. Instantly is the key word here. So, the very second the internal temp reaches 165°F all the bacteria is killed. This could happen in 30 minutes using low temperatures or it can take only 10 minutes using high temperatures. Time does not matter, reaching the internal temperature of 165°F is the only thing that matters.
Now, with sous vide cooking, time does matter. In fact it's key. Pasteurization is a process where bacteria is killed instantly from reaching a certain temperature OR it happens when a lower temperature is reached and held for a longer period of time.
This is why it is perfectly safe to sous vide thawed chicken breast to an internal temperature of 145℉/63℃ over 90 minutes. Once the chicken breasts reaches 130℉/54.4℃ the process of killing the bacteria begins and as long as the temperature is held at 130℉ or higher. At around 135℉/57.2℃ it take about 28 minutes to kill enough of the bacteria to effectively pasteurize it. At a temperature of around 140℉/60℃ it takes about 9 minutes to effectively kill enough of the bacteria that the chicken is considered pasteurized and safe to eat. As the temperature increases, the amount of time needed to kill any pathogens decreases.
So, while you can absolutely set your sous vide temperature to lower than 145℉/65℃ and let the chicken cook long enough to be safe, you may not be happy with the texture. I found through the testing that I did that 145℉/63℃ was the best temperature to set. The meat retains its juiciness and the meat has the same texture that we are used to. Any lower of a temp and the meat was too soft and, to me, unpleasant.
Some recipes say it is perfectly fine to sous vide a chicken breast for 60 minutes and you can keep it in for 2 hours before the texture starts to change. I felt most comfortable from a safety standpoint setting my time for 90 minutes. Once you try it, I know you will love it!
How to Sous Vide Chicken Breast
What you need to sous vide chicken breasts are individual skinless, boneless chicken breasts. You can make as many or as few as you like and there aren't any changes to cooking time or temperature.
There are a few different styles of sous vide cookers and in this recipe I'm using the Ninja Foodi Pressure Cooker & Air Crisper sous vide function. If you have a different style, the temperature and time remain the same and you should follow the manufacturer's instructions for operating the sous vide cooking device you have.
I do always recommend that you keep your chicken breasts around the same size and the size I use in this recipe is 8-10 ounces per chicken breasts, but if you have a few larger ones, simply increase the time by 20-30 minutes to ensure that they are cooked all the way through.
Trim and season your chicken breast with your preferred seasonings. Fill your cooking container, which is the inner pot when using the Ninja Foodi, with about 8 cups of water. I recommend using cold or room temperature water. Hot water will affect how the Ninja Foodi Sous Vide function works. Also, when using the sous vide function on the Ninja Foodi it works much better if you don't cook with it just before using the sous vide function.
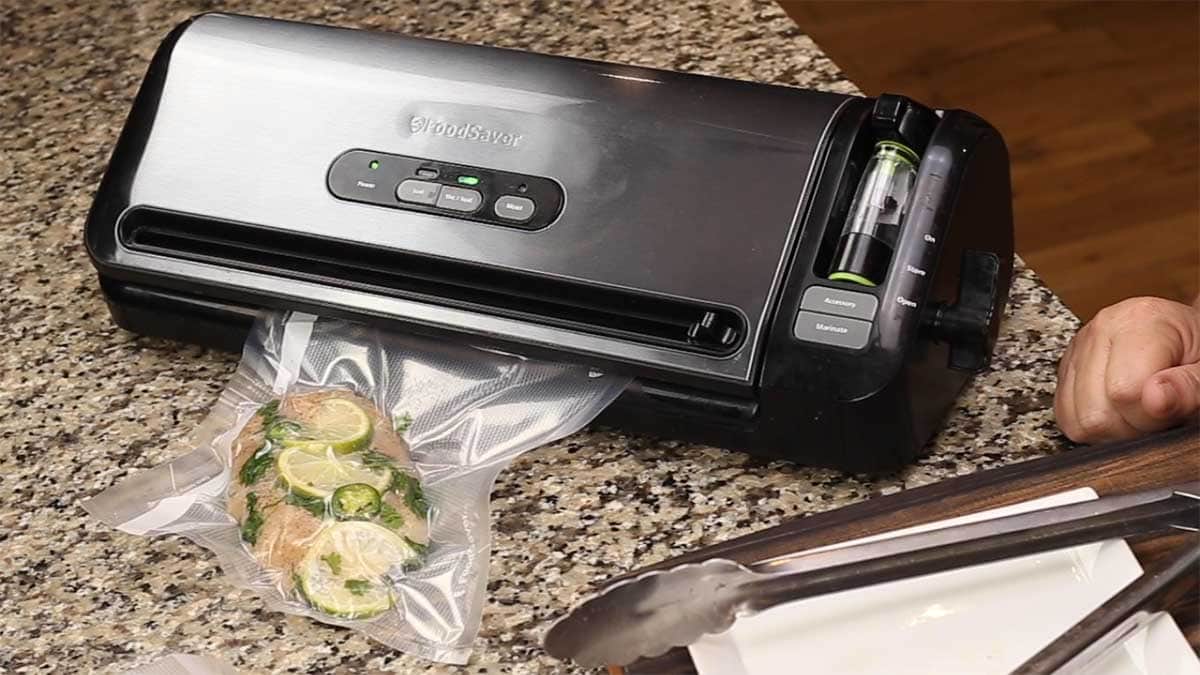
Decide what kind of bags you are going to use for your chicken. If you are using a vacuum sealer, then use the recommended bags. You can put more that one chicken in a bag, but make sure they are not touching each other or stacked on top of each other so they will cook properly. The hot water must surround the chicken breasts to conduct heat to it which results in it cooking.
If you are not using a vacuum sealer, then I recommend a quality ziplock bag or another brand name and you will want to use the water displacement technique to remove as much of the air from the bag as possible.
Water Displacement Technique
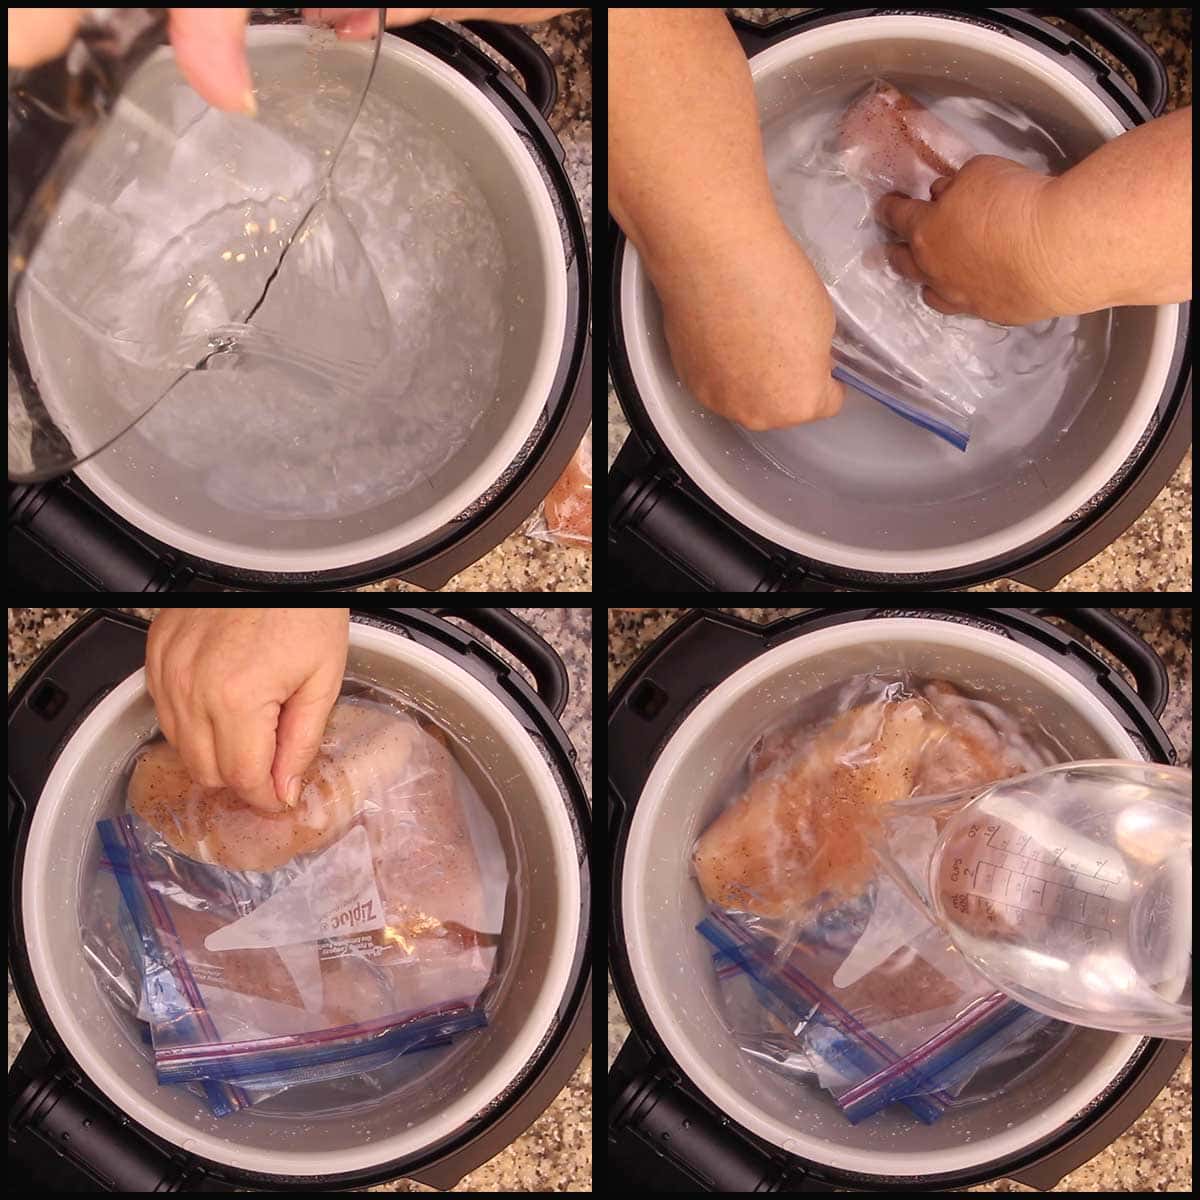
Place the chicken breast in the ziplock bag and slowly lower it into the inner pot that is filled with at least 8 cups of water. As the chicken submerges into the water, the air will be pushed out. Make sure to keep the ziplock part of the bag above the water line and once the air is out, zip it closed.
Here is a quick video showing you how to do this.
Once all of the bags are sealed, place them all in the inner pot and make sure they are all covered with water. If they aren't, then add water until they are. Remove the bags from the inner pot and set aside.
Using the Ninja Foodi Sous Vide Function
With the inner pot filled with at least 8 cups of water (or more, if needed to fully cover the food), put the pressure lid on and turn the valve to VENT. Select the Sous Vide function and set the temperature for 145℉/65℃. I don't usually worry about setting the time at this point, but you can if you prefer.
Allow the Ninja Foodi to heat up WITHOUT the food inside the pot because it heats up to about 10 degrees hotter than what you set, but that temp lowers when you add the food and this has produced great results for me each and every time.
When the Ninja Foodi tells you to "ADD FOOD," open the lid and put the bags of chicken into the inner pot. If they are floating above the water line at all, you can use a small plate or something else to weigh them down.
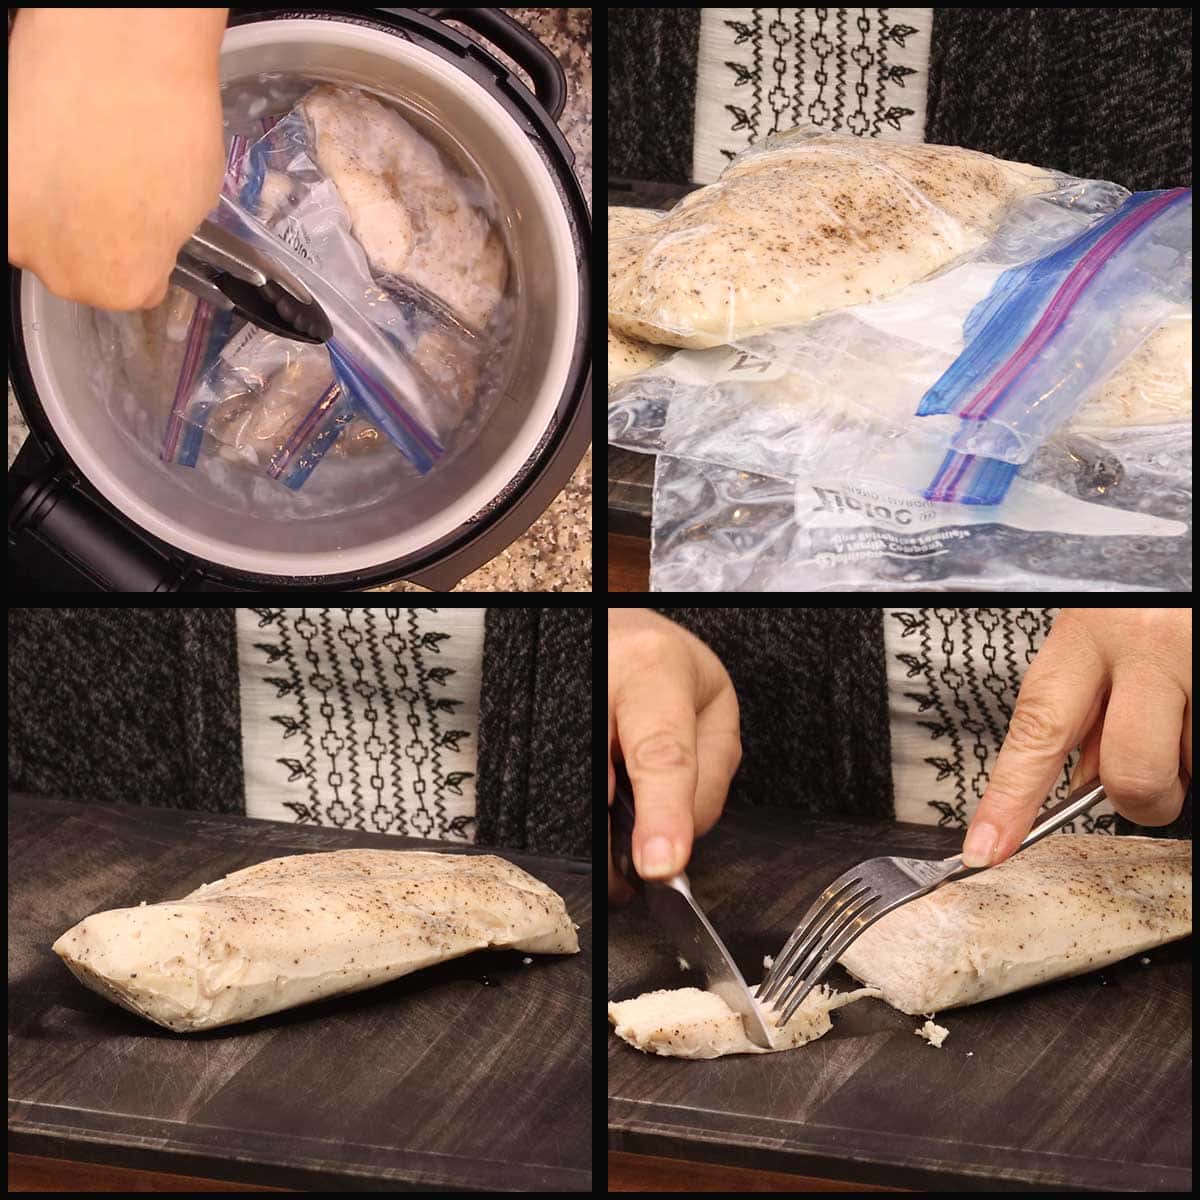
Put the lid on with the valve VENTED and set the time for 90 minutes, if you haven't already. When the 90 minutes is up, remove the bags with the chicken and cut them open. If you want to refrigerate them right in the bags, throw them in a bowl of ice water to quick chill and then refrigerate.
You do not have to let the chicken rest before cutting it, either. Because of the slow cooking and low temperature, you will not lose juices from cutting it right away.
Searing the Chicken Breast after Sous Vide Cooking
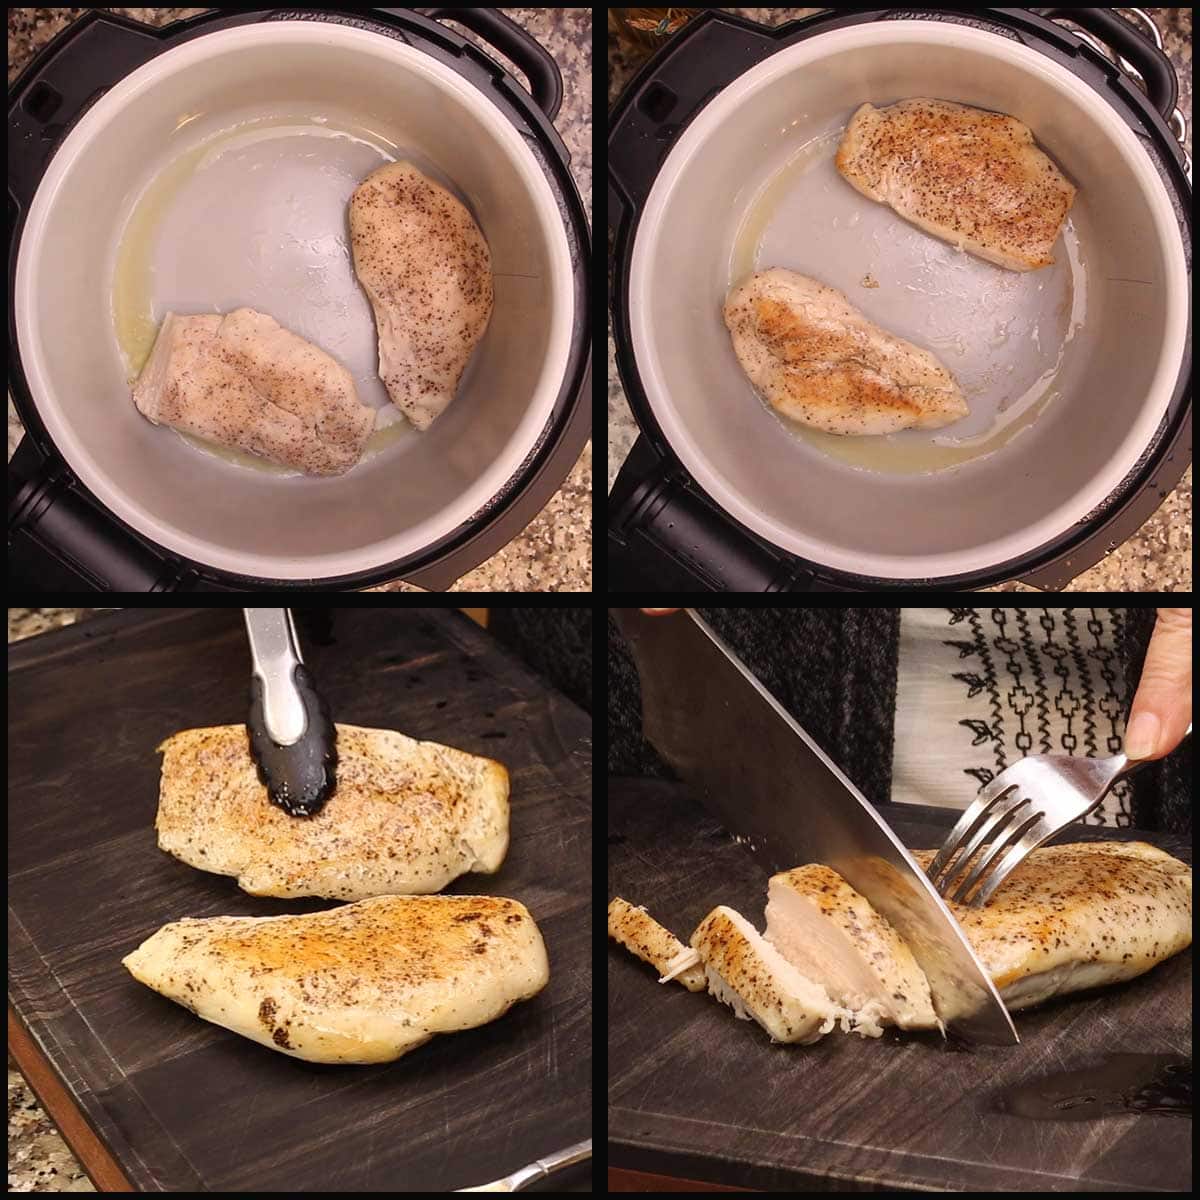
While the sous vide boneless chicken breast is the BEST chicken you will ever taste, it's not the most beautiful right out of the bag. At the low sous vide temperatures, the meat is cooked perfectly, but without higher temperatures, you can't develop the Maillard reaction which is responsible for the beautiful golden brown color.
No worries though, a quick sear on both sides takes care of that and will not overcook your chicken!
Simply heat some oil or a butter an oil combination in a skillet or in the inner pot of the Ninja Foodi (using sear/sauté on high) until it's sizzling, but not smoking. Place the chicken breast down in the pan/pot and do not disturb it for about 2-3 minutes. Flip and repeat. Remove the chicken from the pan/pot and serve.
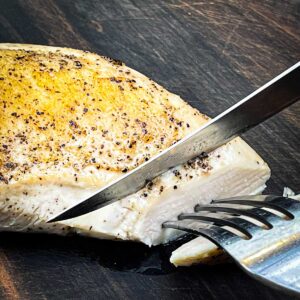
Sous Vide Chicken Breast Recipe
Equipment
- Sous Vide Cooker
Ingredients
- 4 8-10 ounce boneless skinless chicken breasts
- seasoning of choice
Instructions
- Fill the inner pot of the Ninja Foodi or your sous vide container with at least 8 cups of water. Place the seasoned chicken in ziplock bags or vacuum bags and seal using vacuum sealer or water displacement technique.
- Place the bags of chicken in the water and make sure they are fully submerged. Add water if needed and remove the chicken breasts.
- If using the Ninja Foodi, put the pressure lid on and turn the valve to vent. Select the sous vide function and set the temperature to 145°F/65°C and hit start. Allow the Ninja Foodi to heat up and when it says, "ADD" open the lid and put the chicken breasts in the water, making sure they are submerged. Put the pressure lid on and turn the valve to VENT. Set the time for 90 minutes.
- If using an immersion circulator, place it in the container of water, set the temperature to 145°F/65°C and cover the container with foil or another covering. When the water is heated to the correct temp, add the chicken breasts in the bag. Make sure they are fully submerged and recover the container. Set the time for 90 minutes or if your circulator doesn't have a time setting, set another timer for 90 minutes.
- When the 90 minutes is up, remove the bags of chicken. If you are planning on refrigerating them or freezing them, place the bags in an ice bath to quick chill. If you are serving them right away, you can serve them as is or sear them.
- To sear the chicken breasts, add about 1 Tablespoons of oil to the inner pot of the Ninja Foodi or a skillet and turn on the sear/sauté (stove burner) on high to heat the oil until it is sizzling, but not smoking. Add the chicken breasts and sear on the first side for 2-3 minutes, flip and sear on the other side for 2-3 minutes. Remove and serve.
Notes
Nutrition
ABOUT THE RECIPE AUTHOR, LOUISE LONG
Louise is a full-time recipe creator and food blogger @ The Salted Pepper. She has over 30 years of experience with cooking and recipe development. She owned a restaurant for several years and was a full-time RN until retiring to blog full-time.

She published her first cookbook in the Fall of 2018 and is very interested in writing several more.
Louise is also the creator of an online Ninja Foodi Pressure Cooking Course with over 100 instructional step-by-step videos. People absolutely rave about the course and all the value they have received from it.
Louise has several very active Facebook groups that help people with the basics of cooking and getting the most out of the Ninja Foodi.
Louise is also a YouTube creator and you can find most of her recipes in video format on The Salted Pepper YouTube channel.
She is very responsive to messages and eager to help in any way she can. Get more Information about Louise & contact information
I WOULD LOVE TO SEE WHAT YOU ARE COOKING UP IN YOUR KITCHEN! TAG ME @THESALTEDPEPPER ON YOUR FAVORITE SOCIAL MEDIA PLATFORM WHEN YOU MAKE A DISH!
BE SURE TO FOLLOW THE SALTED PEPPER RIGHT HERE ⇓⇓⇓⇓⇓


Carol
I finally found the courage to make the Suous vide Chicken reasts. I cooked for the time you suggested as opposed to what the Ninja cook book recommended. When I took it out it felt so soft, I cut one open and was amazed in had cooked all the way through. I made chickan sald with grapeds, cepery and pecans. It was delicious. Thank you for testing.
Louise
I'm so glad to hear that! It's perfect for salads! If you wanted to eat it like a chicken breast, definitely sear it so the outside has the texture we are used to and the inside is still just as tender as can be!
Judy
I have Foodi 9 in 1 that doesn’t have sous vide mode, do you think I could do it in a dehydrator mode?
Louise
Unfortunately, you really need the sous vide function to be able to sous vide. There are some workarounds, but it is labor intensive.
Susan
You wrote. One of my favorite recipes is this Chicken Caesar Pasta Salad and sous vide chicken breast would work amazingly in the recipe! In fact, you could marinate the chicken breasts in the Caesar dressing and then sous vide it right in ziplock bags or vacuum sealed bags.
Question if I marinate it in a ziplock bag with the Caesar dressing do I just put the bag in the sous vide water or should I take it out and put it in another ziplock bag before sous vide? Is it okay to sous vide the chicken in the dressing?
Louise
That's a great question! I would remove the chicken from the dressing before sous viding just because there is raw garlic and eggs in the dressing. Raw garlic can contain botulism spores which thrive in oxygen poor environments and the eggs might cook. So, I would marinate and then blot the marinade a bit and seal the chicken in the bag.
Molly
I have the OL501 and have used the sous vide function twice. I’m doing chicken breasts now but like the first time, while doing steak, the temperature of the water is not higher than what I set, but is lower…about 120 degrees…I set the temp for 145. Should I cook it longer? How common is this for others using the sous vide method? Can’t wait to try the chicken!
Louise
I have heard this about the OL series and I think it has to do with heat loss through the vents in the lid. I'm going to do some testing on mine soon and see if putting a regular lid on it or foil will correct the issue. If your water is reading 120F, the chicken will only be 120F. You would have to adjust the temperature setting so the water reaches 145F. Cooking it longer will not help as it won't get above the temperature of the water.
Clancy
Hello Louise, new OL601 Ninja owner. Did you have the time to experiment why the OL series seems to not keep the correct temp? I’m now hesitant to sous vide any foods, especially chicken and pork. Thank you for helping this new Foddi fan out with your recipes and tips. I’m learning quite a bit from your YouTube channel.
Louise
Yes, I have and what I suggest is for you to fill the pot with water and set the temp to 145F and let it heat up (no food this time around). What I have found is the "add food" prompt happens before the actual temperature reaches what you set, but if you just let it keep going and use a thermometer to test the water it will get up to temp. Once about 20 minutes has passed, check your water temp and see how close it is to 145F. This will let you know if you have an issue that should be addressed by Ninja. If it's not that far off you can simply make adjustments in your temp setting to accomodate for it.
Don
Do you have more spud vide recipes
Louise
Do you mean potato recipes or sous vide recipes?