

Air Fryer Hasselback Potatoes are much easier to make than you may think! They are a beautiful and tasty side dish that goes well with just about any meal that you would want to serve a baked potato with. When I first saw a hasselback potato, I thought they were way too much of a hassle to make, but they really don't take much longer than a regular baked potato and the textures are amazing!
Think of them like a cross between a baked potato and homemade thick cut potato chips . You have the crispy exterior, which includes some of the potato, and then the softer potato on the inside. Seriously, these potatoes are the perfect side dish! Then, you can top with them all kinds of toppings, or simply baste them with a little extra butter!
Would you like to save this recipe?
The one issue I ran into when testing this recipe using my air fryer is the outside of the potato and the top part was cooked perfectly, but the bottom was still hard. Of course, you can fix that by cooking longer on a lower temperature so you don't burn the top; but, I found that adding a little steam during the cooking process was a better solution! Once I did this, I was able to get perfectly cooked hasselback potatoes from top to bottom.
My favorite air fryer for this recipe is the one-lid (affiliate link)Ninja Foodi Pressure Cooker & Steam Fryer. Because this appliance is designed to steam and air fry, it works perfectly. However, don't worry if you have the older model of Ninja Foodi or a different air fryer. You can still make this recipe, and I'll go over all the details below.
Frequently Asked Questions
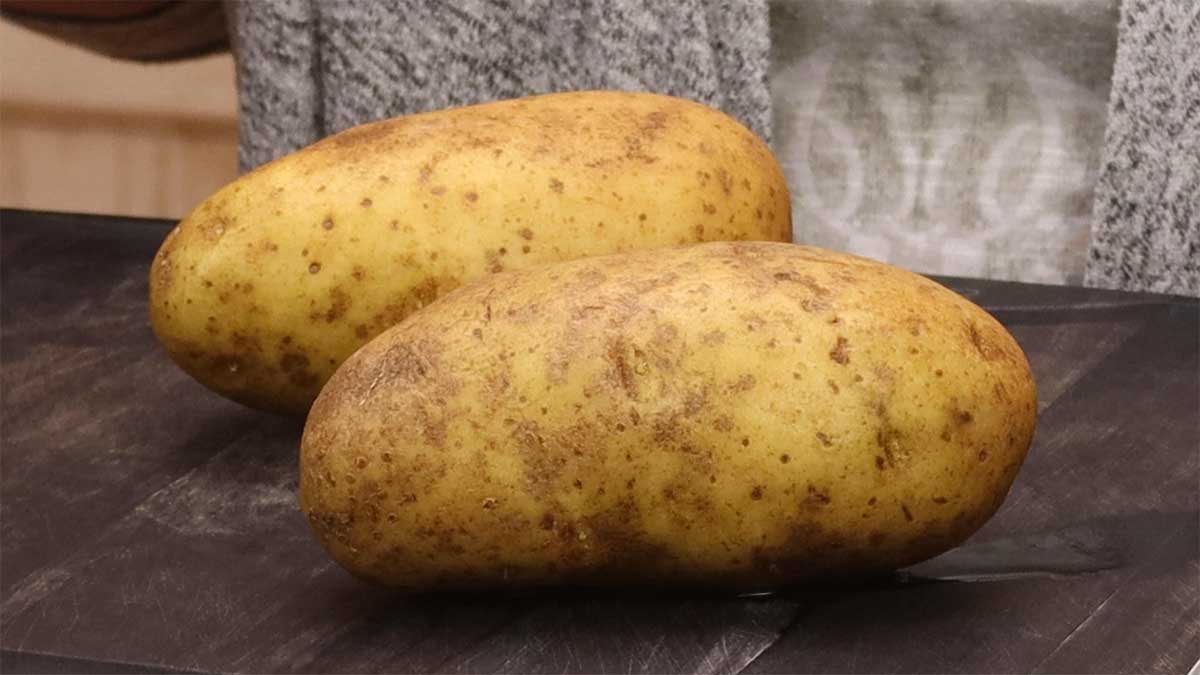
I like to use Russet potatoes, but really you can use any variety of potato that you like. You can even make appetizer-size mini Hasselback potatoes by using small new potatoes. The reason I like to use Russet potatoes is because of the texture. They are soft and fluffy with crispy edges and skin. Thinner skinned potatoes like Yukon gold or new potatoes aren't going to give you the same textures, but they are still delicious.
Absolutely! In fact they are a great make-ahead side dish. Once they are completely cooked, you can refrigerate them until about 2½ hours before you want to serve them. Let the cooked potatoes sit at room temp for about an hour and then put them into your air fryer on 325°F and reheat them for about 10-15 minutes.
I don't recommend freezing them, because potatoes tend to change texture when frozen. While it's possible to freeze mashed potatoes with good results (in part due to the fat content of the cream and butter used), frozen whole or sliced potatoes don't do as well when reheated. The water in the potato freezes and then thaws which results in a watery and grainy tasting potato.
Ingredients & Substitutions
Potatoes
Like I said earlier, I prefer using Russet potatoes for this recipe, but you can use any type of potato that you like.
You can even make a hasselback sweet potato if you want. The one thing to keep in mind is sweet potatoes are harder to cut than white potatoes, so I recommend par cooking the sweet potato first to make it easier to slice. You can do this by pressure cooking a whole sweet potato for about 5 minutes or bake it in the oven for 20 minutes, or so. You don't want it too soft, just soft enough to easily make your cuts.
The potatoes I used are medium-sized, about 8 ounces each. You can also use any size potatoes that you like. Just keep in mind that larger potatoes will take longer to cook.
The timing in this recipe is based on 8- to 9-ounce Idaho potatoes (Russet) I also tested a 1-pound potato and I found it took a very long time to cook through. So, plan on at least an hour or so if using a very large potato. You may also find that you need to lower your temperature when air frying large potatoes so they don't get too done on the outside before fully cooking on the inside.
The reverse is also true, if you are using a smaller potato that only weighs a few ounces, your timing would decrease. I would keep the temperature the same.
You can make as few or as many potatoes as you want at the same time, as long as they fit in your air fryer. As long as they are about the same size, they will cook at the same time, so no adjustments needed.
Oil/Butter
You can skip the oil and butter if you want to reduce the fat, however I would place the potato on piece of parchment so it doesn't stick to the air fryer basket. I had this happen during one of my test runs where I didn't use oil to coat the potato.
I used olive oil, but you can use any oil that you like. Avocado oil is also a great choice. You an also use vegetable oil. I would avoid heavy, flavored oils like toasted sesame or other nut oils because it will impart a flavor in your potato, and I don't think you would enjoy it!
You can also baste with a garlic butter by mixing melted butter with garlic powder or garlic salt. There are so many ways to customize these potatoes. Have fun and experiment!
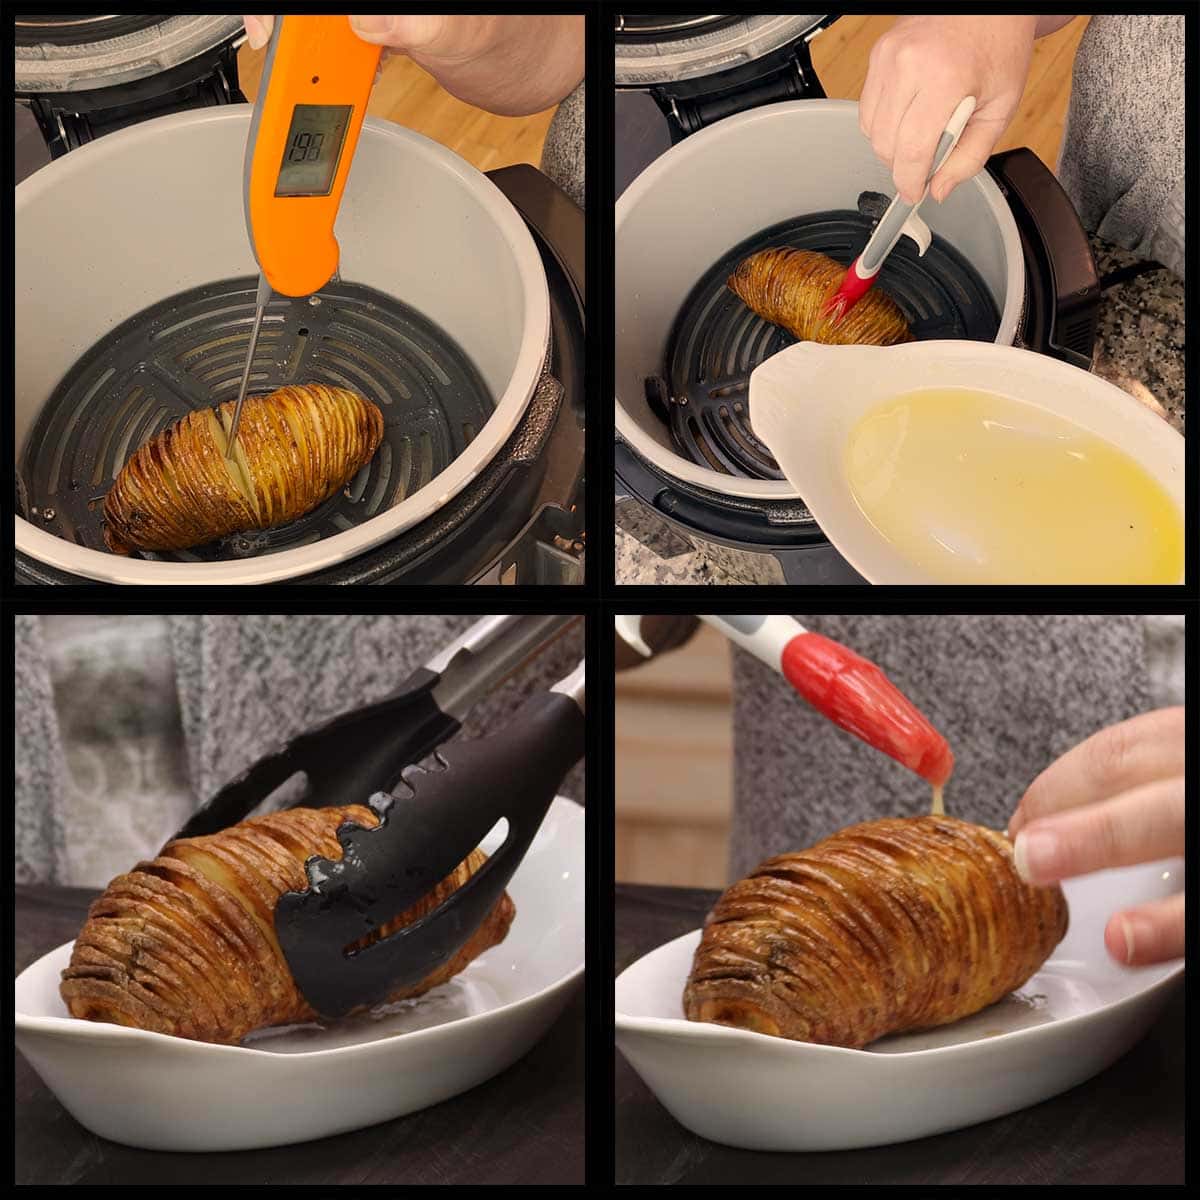
I coat the entire potato in olive oil before air frying, but halfway through I also baste with a 50/50 mixture of olive oil and melted butter starting at about 20 minutes into cooking. Not only does this add some flavor, it also helps open up the potato slices for more even cooking.
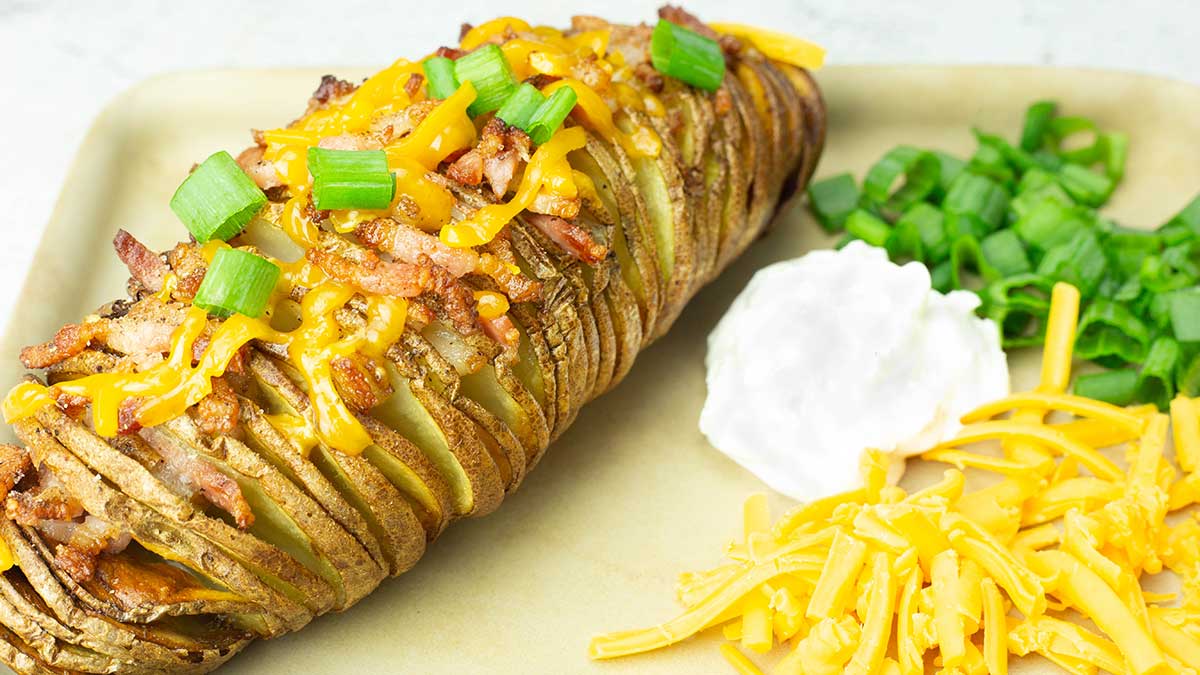
Toppings
This is where it gets fun, you add your favorite toppings! You can create a loaded hasselback potato by adding crispy bacon bits, shredded cheese, sour cream, chopped green onion or chives or anything else you enjoy on your potatoes. Or, you can keep it simple and add some melted butter plain or mixed with your favorite seasoning. Anything goes! You could even top them with chili and cheese or butter and some fresh parsley.
You could also turn them into nacho potato chips by adding some melted cheese and pulling the slices apart. That would be amazing!
How to Cut Hasselback Potatoes
This is probably the part that is the most intimidating of all and, most likely, prevents people from even trying to make them. I know that was the case for me. I couldn't imagine making all those thin slices without ruining the potato or cutting myself. Turns out it's super easy! You can use butter knives to help guide you. Wooden chopsticks also work, but I find using two butter knives to be easier.
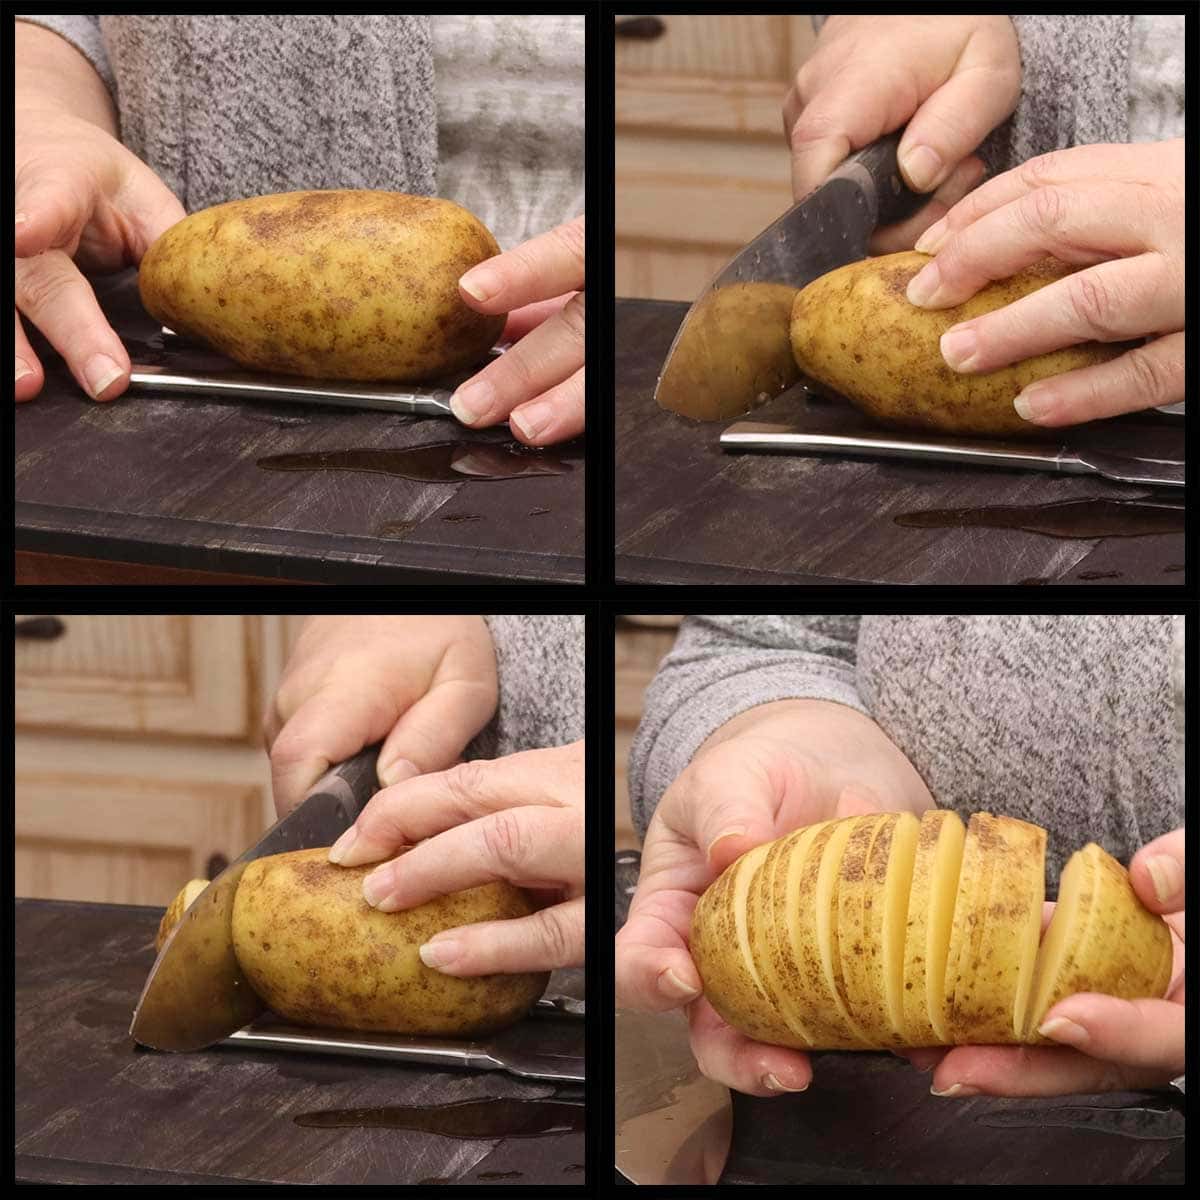
You also need a sharp knife that is long enough to cut straight through the potato with one slice. I recommend an (affiliate link)8" Chef's knife. When cutting a potato to make a Hasselback potato, you want to cut multiple slices into the potato without cutting through the base of the potato. This is much easier than it may seem.
If you want to watch how I cut the potato for making Hasselback potatoes, here is a quick video.
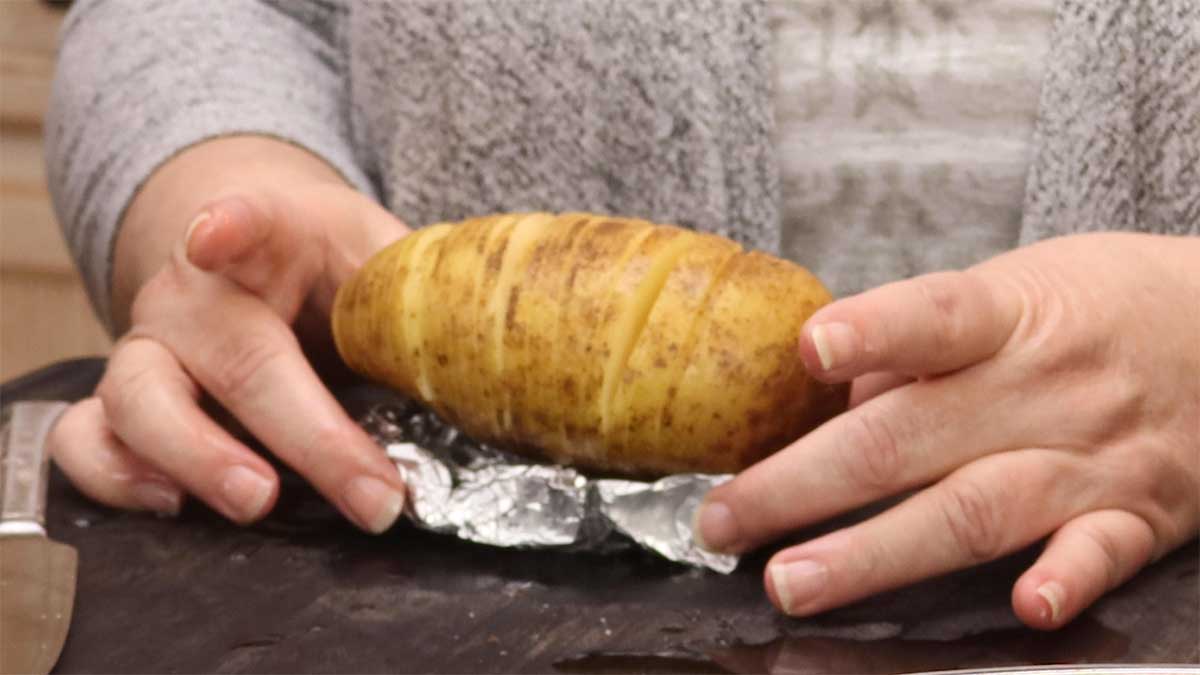
Simply place your potato on a cutting board and place a butter knife on each of the long sides of the potato. Sometimes the ends of the potatoes don't quite reach the butter knife for the knife to create the stopping point, so I usually slice the ends about ¾ of the way to the bottom of the potato, and I don't rely on the knife. Once I make a few slices by hand at the ends, then the butter knives provide a stopping point for the knife and won't allow you to cut through the entire potato.
You want your slices to be thin, about ⅛-¼" and try to get them as uniform as possible so they cook evenly.
I also like to to always cut from the right side, so once I get ½-¾ of the potato cut, I flip it around and cut the other end.
Tips for Making Hasselback Potatoes
Soaking Potatoes Before Air Frying
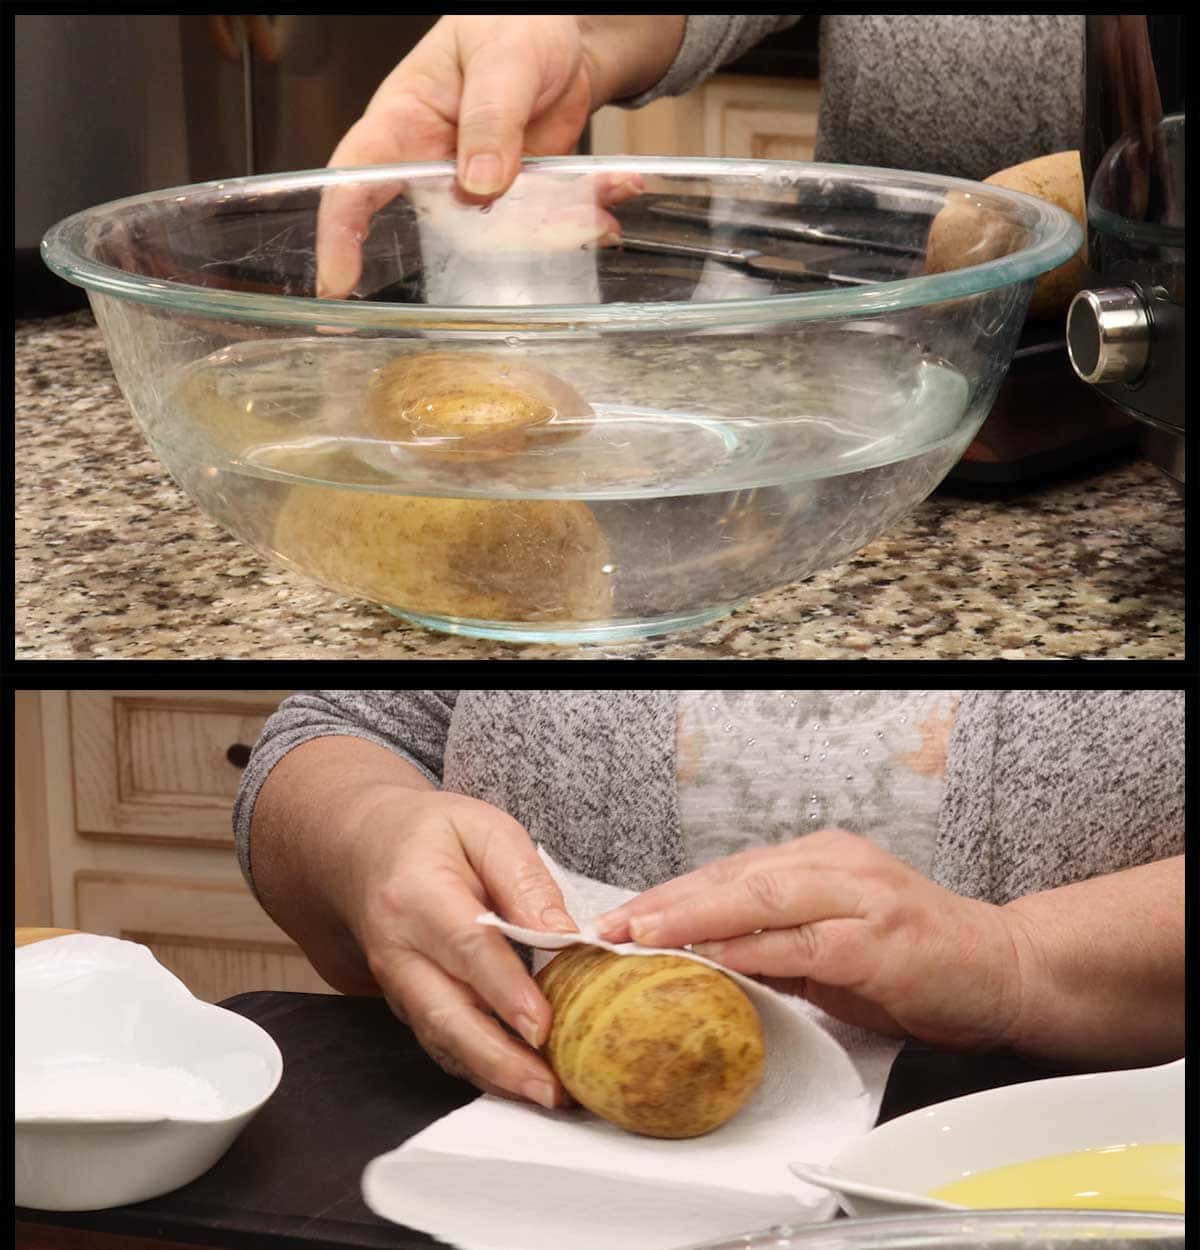
While this is optional, I have found that soaking the potatoes for 30 minutes in cold water after you make the slices helps to fan out the slices which helps everything cook faster and more evenly. To do this, fill a bowl with cold water and place the potatoes cut-side down into the water. Make sure the water is covering all of the potatoes. Let soak for 30 minutes and then dry the outside with a paper towel.
Air Frying with Steam
One of the issues I ran into when testing this recipe is that the underside of the potatoes were still a little hard, while the outer potatoes were perfectly cooked and golden brown. I tried various temperatures and times and still was running into issues. Then, I made them in the new Ninja Foodi with steam crisp technology and they were absolutely perfectly cooked from end-to-end and top-to-bottom! The steam was the key!
This makes perfect sense, since steam cooks much faster than dry hot air. The only problem was, not everyone has the Ninja Foodi Pressure Cooker & Steam Fryer and this recipe is for Air Fryer Hasselback Potatoes, so I had to make sure that any air fryer will work for this recipe. It turns out there is a very easy solution. Add ½ cup of water to your air fryer basket and raise your potato above it. The heat generated by the air fryer will heat the water and create steam which helps cook the bottom of your potato more efficiently.
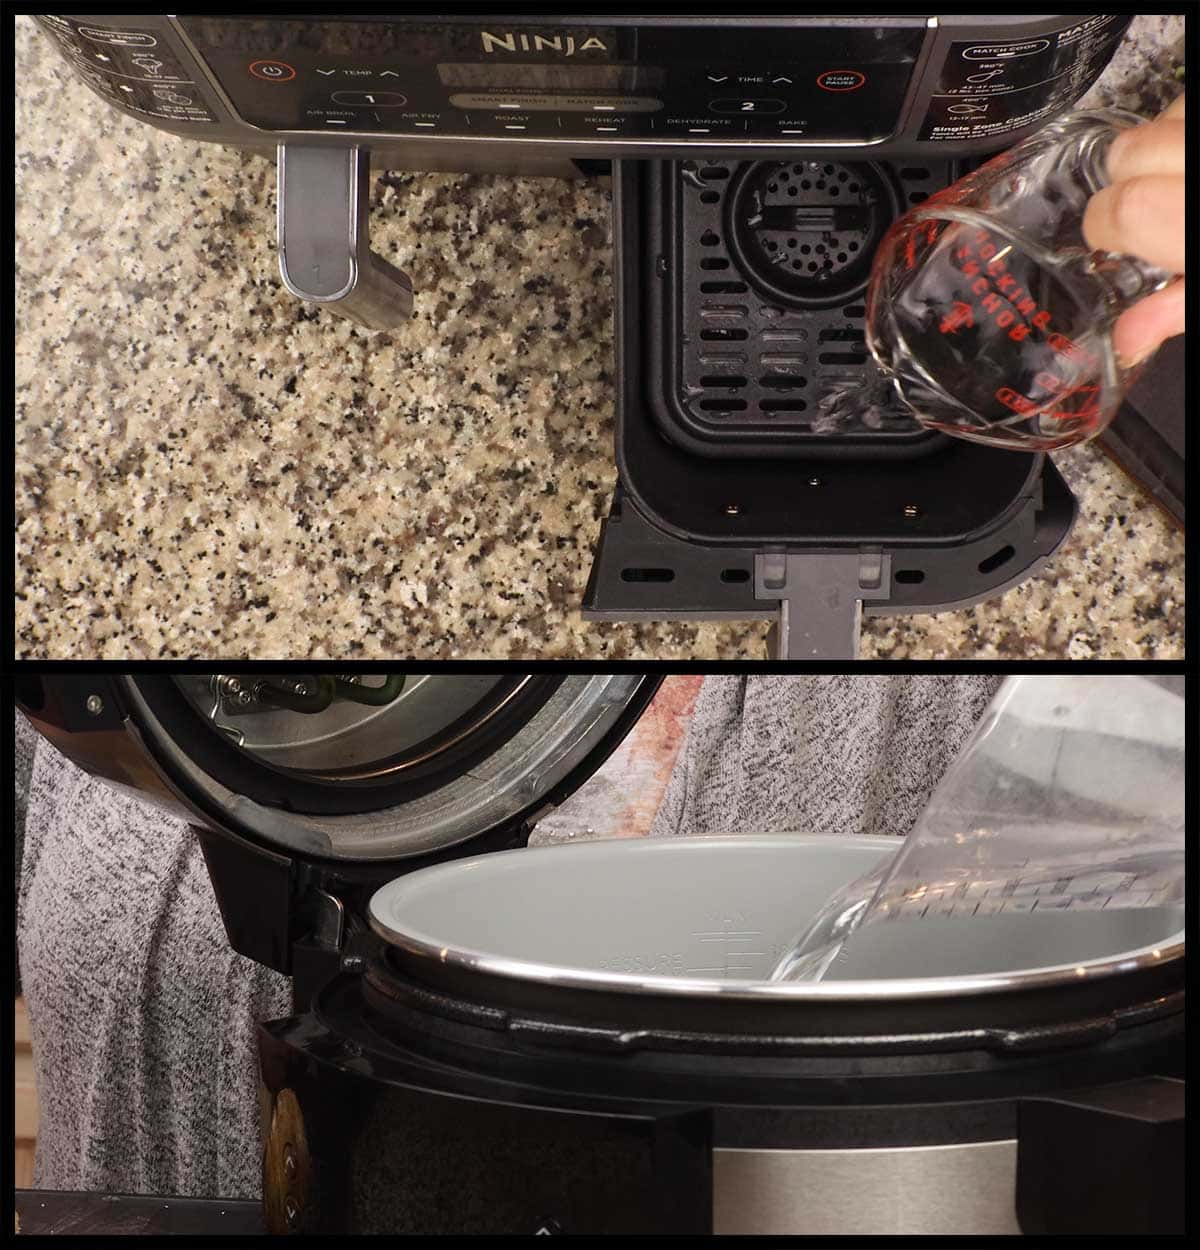
My Ninja Foodi dual basket air fryer comes with a little crisping tray, but, if your air fryer doesn't, you can use any rack that will fit or simply make a little foil holder for your potatoes. You want the steam to be able to get to the potato, so I recommend doing something like the picture below where you create an oblong foil holder that is slightly smaller than the potato and leaves the center open.
How to Air Fry Hasselback Potatoes
No matter which kind of air fryer you have, you can follow these step-by-step instructions for the perfect outcome!
Prep
Try to pick out potatoes that are about the same size and shape for even cooking. Put about 3 cups of cold water into a large mixing bowl for soaking your cut potato in.
Place potatoes on a cutting board with one butter knife (or chopstick) on each of the long sides. Slice the potatoes using two butter knives or chopsticks as a guide so you don't cut through the entire potato. See section above for more details on this. Make even slices about ⅛-¼" thick across the potato, making sure not to go all the way through the potato.
Soak the potatoes for about 30 minutes to remove some starch which allows for more crisping and the slices to fan out more.
Coating in Oil
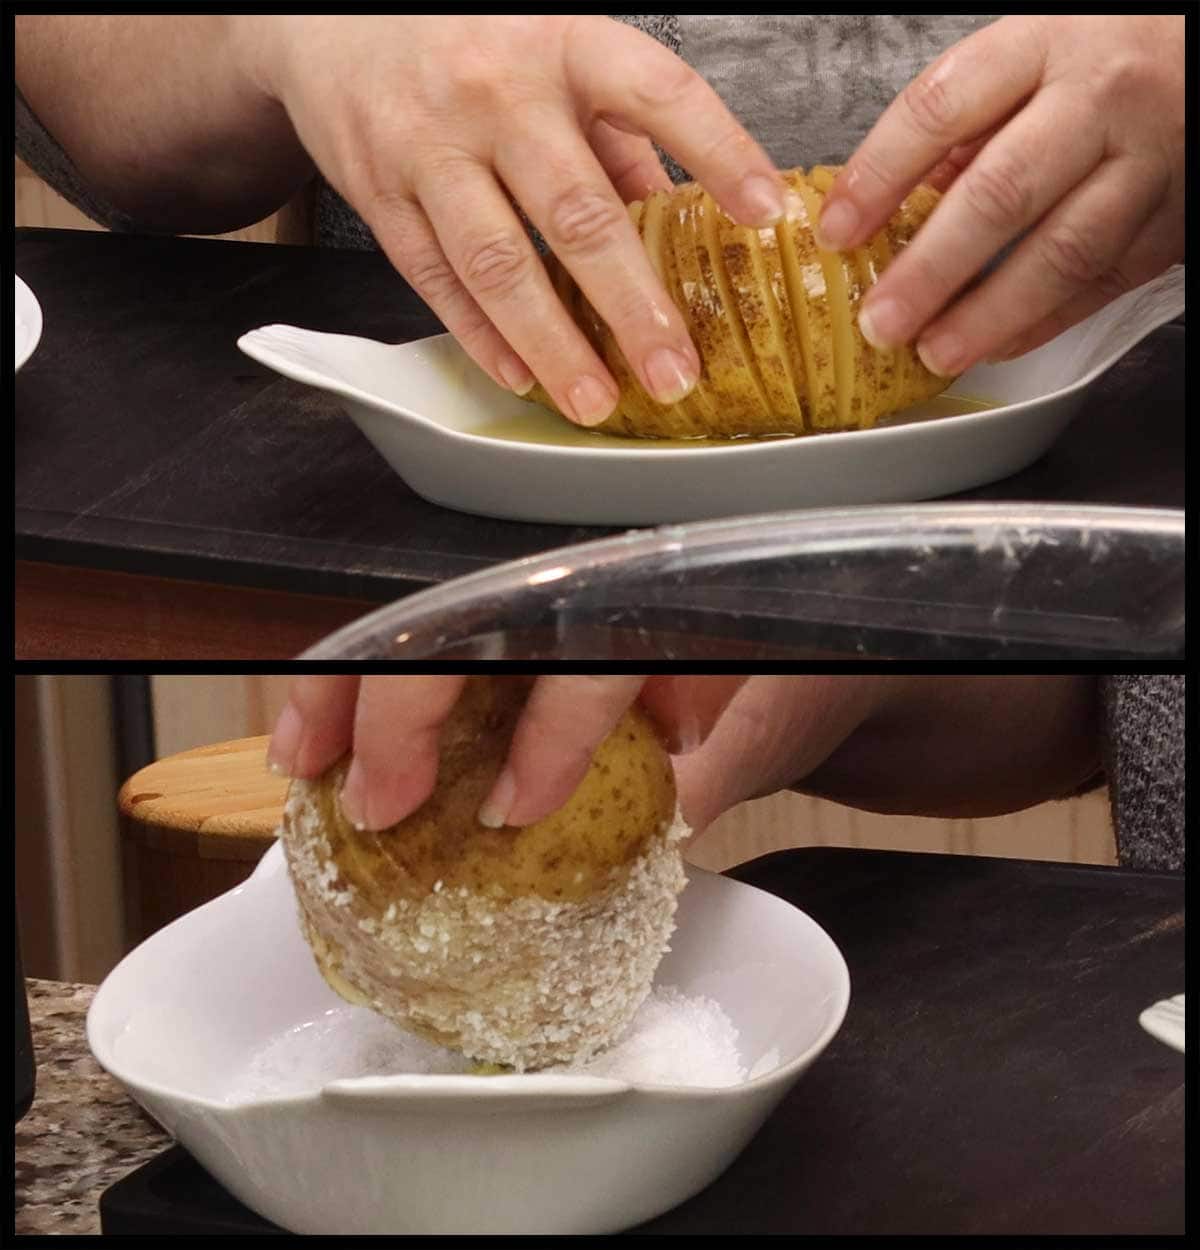
Remove the potatoes from the water and dry with paper towels. Either spritz the potato with oil or brush it all over the potatoes and make sure to get into the individual slices.
Coat the bottom with coarse kosher or sea salt if desired. Sprinkle the tops with fine grind sea salt or any seasoning you like.
Air Frying in Basket Style Air Fryer
The times and temperatures used in this recipe are based on a 9-ounce Russet potato using the (affiliate link)Ninja Foodi dual basket air fryer.
Depending on what kind of air fryer you have, you can add about ½ cup of water to the bottom of the air fryer to create some steam during the air frying process. I found this really helps to get the bottom of the potatoes done before the tops get too brown.
If you can't add the water, decrease your air frying temperature to around 325℉/160℃ OR you can flip the potatoes over for the first (or last) 5-10 minutes of air frying.
Place the potatoes in a single layer into your air fryer. You want to make sure they are not sitting in the water, so, if you don't have a rack that fits your air fryer, you can make one out of aluminium foil or parchment paper.
The cooking time and temperature will depend on the air fryer you are using and the size of your potatoes. Remember to always check on your food during the cooking process and make adjustments in time and temperature as needed to get the results you desire.
In the Ninja Foodi Dual Air Fryer, set the temperature to 350℉/175℃ and the time to 45 minutes. Hit start. Open the air fryer after about 20 minutes and baste with butter/oil mixture. Check the temperature and adjust the temp/timing as needed based on how your potatoes are cooking.
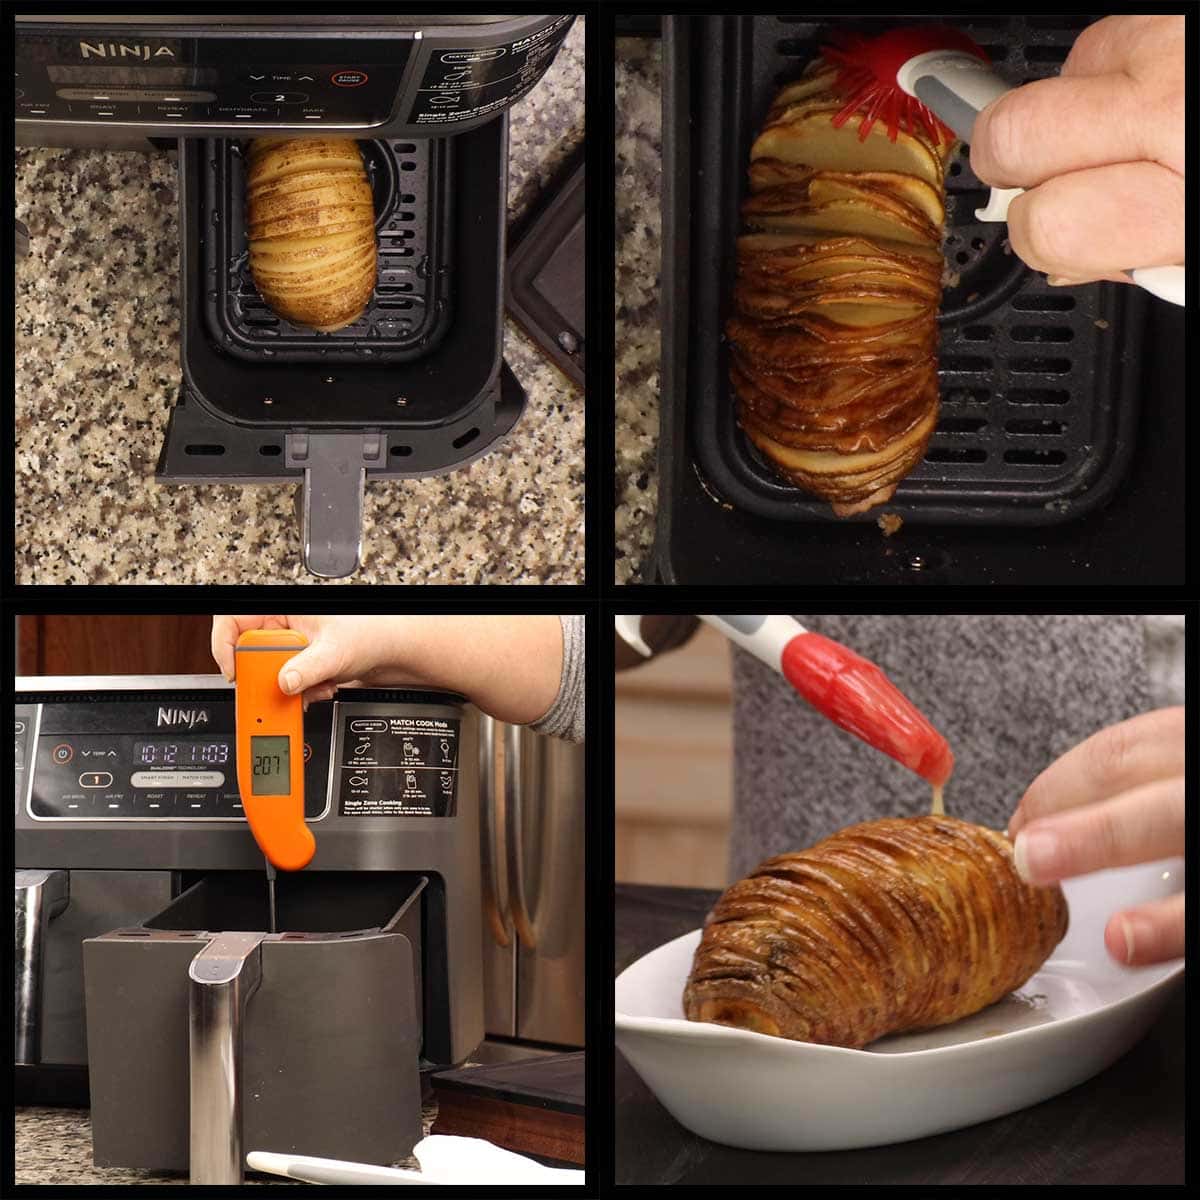
Once your potato reaches at least 200℉/93℃ at the bottom of the potato slice, it is done. If your potato isn't as crispy as you'd like, increase the temperature to 400℉/200℃ and continue to air fry until desired crispiness is achieved.
Remove from the air fryer and top with your favorite toppings! Enjoy!
Air Frying in Ninja Foodi Smart Lid Models
If you have one of the new Ninja Foodi models (OL series) with the steam & crisp function, this recipe works perfectly! The end result is crispy outer edges with a soft potato slice.
Once you have your potato sliced, soaked, and oiled, add ½ cup of liquid to the inner pot. Place the potato on the crisping plate, air fryer basket, or the rack. The closer it is to the heating element in the lid, the crispier the edges of your potato will be.
Move the slider to the middle position and select the steam/crisp function. Set the temperature to 375℉/190℃ and the time to 35 minutes. Close the lid and press start. It doesn't matter if your valve is vented or sealed for this function.
The water will being to heat up and produce steam. This will last 5-8 minutes or so and then it will automatically switch to air fry mode. For the first 10 minutes of the countdown, don't open the lid. You want the steam to stay inside the Foodi to help cook the potato.
When you have about 15 minutes left on the timer, open the lid and see how the potatoes are cooking. You an always increase the temperature if you want more crisping. I also like to take a temperature to make sure the potato is getting close to the 200℉/93℃ mark. If it isn't, you may want to decrease the temperature and cook longer than the 35 minutes.
Add your favorite toppings and enjoy!
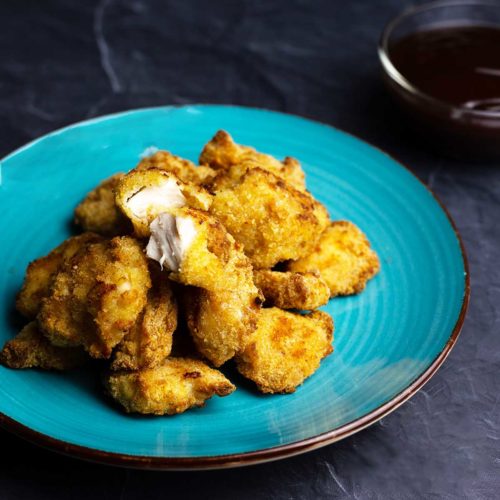
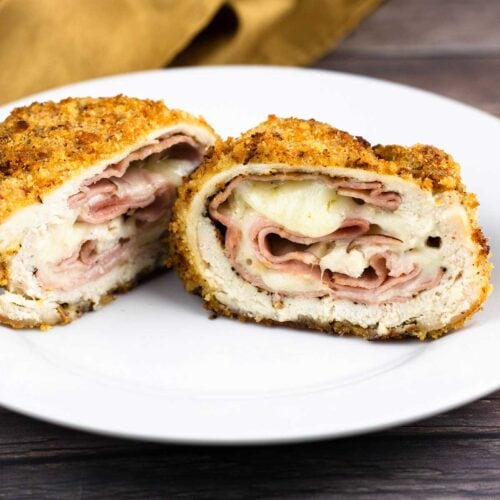
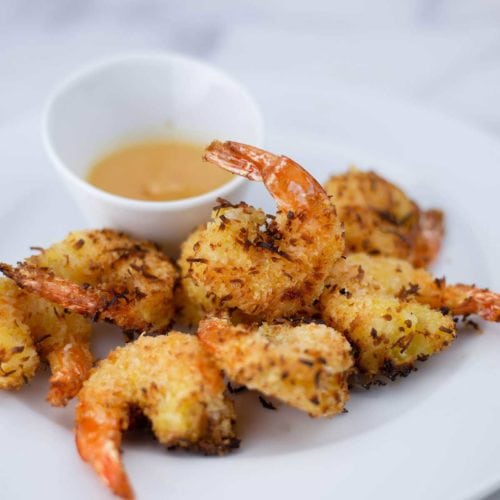
More Air Fryer Recipes!
I love using my air fryer to make all kinds of delicious food, here are some of my favorite recipes for you to try!


Air Fryer Hasselback Potatoes
Equipment
- Air Fryer
Ingredients
- 2 (9 ounce) Russet potato
- 1 Tablespoon olive oil
- 1 Tablespoon salted butter
- coarse salt for bottom of potato
- 1-2 teaspoons fine grind sea salt for top of potato
Would you like to save this recipe?
Instructions
- Wash and cut the potato using two butter knives as a guide so your slices only go about ¾ of the way through the potato. See post for details and video on how to do this.
- Soak the cut potato in a bowl of cold water for 30 minutes.
- Blot dry the potato with paper towels and coat with oil, getting the oil down in between the slices. Coat the bottom with coarse sea salt if desired. Sprinkle fine grind sea salt on top.
Steam & Crisp Directions
- Follow these instructions if you are using the Ninja Foodi OL series with steam/crisp function.
- Add ½ cup of water to the inner pot. Use the crisping plate, basket or rack to elevate the potato above the liquid. The higher the potato sits in the pot, the more direct crisping it will get.
- Move the slider to the center position and select steam/crisp. Set the temperature to 375℉/190°C and the time for 35 minutes. The steam cycle will last 5-8 minutes and then automatically switch over to air frying. Don't open the lid for at least 10 minutes into the air frying time or you will let the steam out.
- When there is about 15 minutes left on the timer, open the lid and check on it. You can baste it with melted butter or a combination of olive oil and butter if desired. Continue cooking until the temperature of the potato at the bottom is over 200℉/93℃.
- When the timer is up, the potato should have crispy edges and soft potato slices. Top with desired toppings and enjoy!
Basket Style Air Fryer
- Use these directions for basket style air fryers. Since all air fryers do not cook the same, adjust your temperature and timing as needed based on how the potato is cooking.
- Place ½ cup of water into the basket of your air fryer and place the potato on a rack or foil ring to elevate it above the water line.
- Set the temperature for 350℉/175℃ and the time for 45 minutes. After about 20 minutes, check on the potato and see how it is cooking. Adjust your temperature as needed. Continue to cook until the potato at the base reaches at least 200℉/93℃
- Top with your favorite toppings and enjoy!
Nutrition
About the Recipe Author, Louise Long
Louise is a full-time recipe creator and food blogger @ The Salted Pepper. She has over 30 years of experience with cooking and recipe development. She owned a restaurant for several years and was a full-time RN until retiring to blog full-time.

She published her first cookbook in the Fall of 2018 and is very interested in writing several more.
Louise is also the creator of an online Ninja Foodi Pressure Cooking Course with over 100 instructional step-by-step videos. People absolutely rave about the course and all the value they have received from it.
Louise has several very active Facebook groups that help people with the basics of cooking and learning more about the appliances they love.
Ninja Foodi Pressure Cooker & Air Crisper 101
Ninja Woodfire Outdoor Grill & Smoker
Louise is also a YouTube creator and you can find most of her recipes in video format on The Salted Pepper YouTube channel.
She is very responsive to messages and eager to help in any way she can. Get more Information about Louise & contact information
I WOULD LOVE TO SEE WHAT YOU ARE COOKING UP IN YOUR KITCHEN! TAG ME @THESALTEDPEPPER ON YOUR FAVORITE SOCIAL MEDIA PLATFORM WHEN YOU MAKE A DISH!
BE SURE TO FOLLOW THE SALTED PEPPER RIGHT HERE ⇓⇓⇓⇓⇓
Lynn says
Hi there.
Love the recipe but the butter knives as barriers could ruin your knife. Why not try chop sticks; much less noise and won't ruin your knife.
Thanks
Love your program.
Louise says
I've done it with chopsticks, but figured not everyone will have them at home and most people have butter knives.
Dana L says
This was the first recipe I wanted to try in my new Steam & Crisp. Everyone really liked them, some even better than AF baked potatoes. I did one sweet potato as well. Since you warned about being hard to cut, I microwaved it for one minute, and I had no issue slicing it. I've found that AF sweet potatoes usually take less time than russets. This one was larger than my russets so I cooked it for the same amount of time. Thank y'all for all you do create and test recipes to help others.
Louise says
Thanks for letting me know about the sweet potato, I can't wait to try it! I'm glad you enjoyed them!