- Ninja Possible Cooker Pro or Slow Cooker
- Baking Sheet Pans
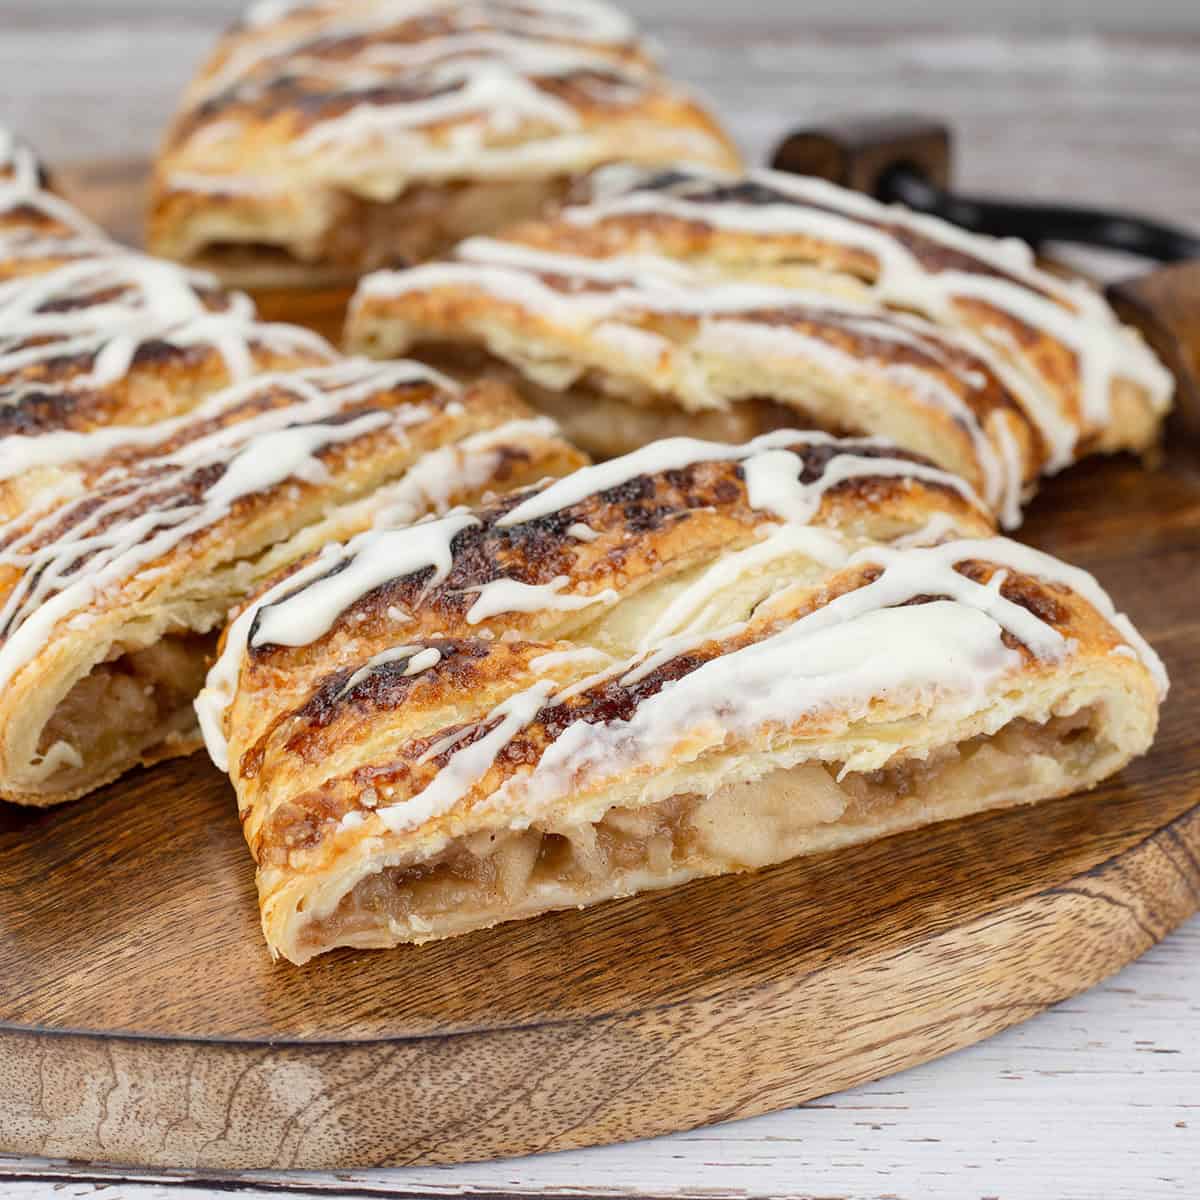
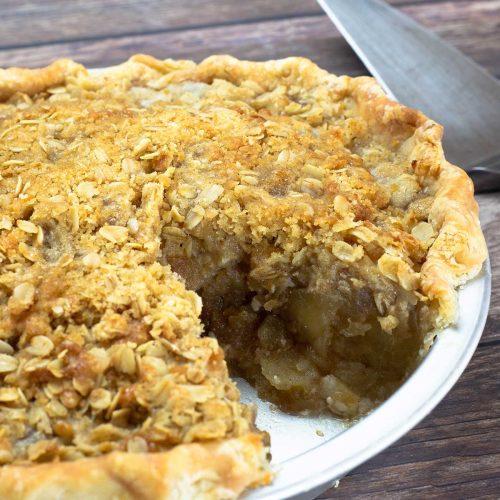
This delicious apple dessert combines tender apples with flaky pastry for a stunning braided treat that looks like it came from a bakery! Using store-bought puff pastry and fresh apples cooked to perfection, this easy recipe delivers warm apple pie flavors in an elegant presentation that's perfect for brunch, dessert, or any special occasion.
Would you like to save this recipe?
You may notice that we cook the apple filling before assembling the pastry, and that's on purpose. When I first started making this puff pastry recipe, I didn't like how raw apples would shrink during the baking process, leaving gaps in my beautiful pastry.
So after many batches, I found that pre-cooking the filling gives the best results! The tender apples hold their shape, the filling tastes amazing, and you can focus on getting that puff pastry crust perfectly golden brown without worrying about whether your apples are cooked through.
Suggested Kitchen Tools for Apple Puff Pastry
- Slow cooker or Ninja Foodi Possible Cooker Pro for the apple filling
- Sharp knife or pizza cutter for cutting pastry strips
- Rolling pin for rolling out the puff pastry sheets
- Pastry brush for applying egg wash or cream
- Baking sheet (preferably without raised edges for best airflow)
- Parchment paper to prevent sticking
- Measuring cups and spoons
- Small bowl for mixing glaze
Ingredients & Substitutions
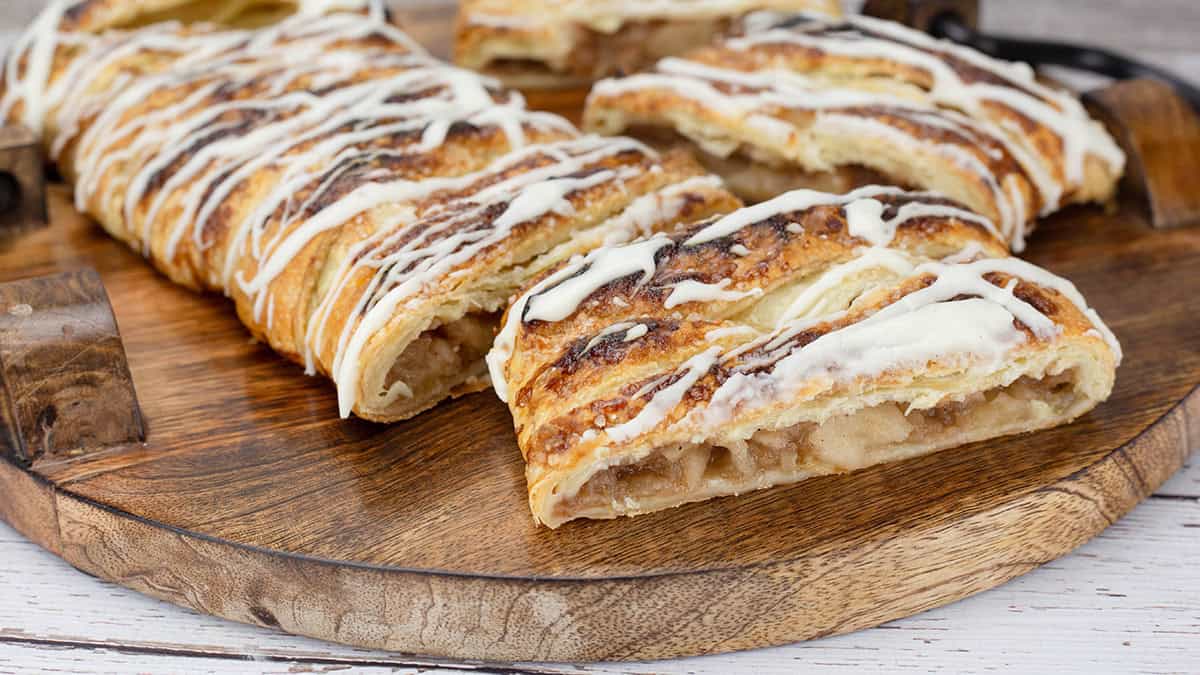
Simple ingredients and prep come together to create a beautiful apple puff pastry that you can proudly serve at a fancy brunch or enjoy with a coffee.
Granny Smith Apples
Used in this Recipe: 3 pounds of tart apples, peeled and cut into eighths
What it does in this recipe: Provides the perfect balance of tartness and structure - green apples hold up beautifully during cooking
Substitutions: Honey crisp apples for a sweeter version, or any type of apple you prefer. Adjust sugar and cooking time based on your apple choice.
Store-Bought Puff Pastry
Used in this Recipe: 2 frozen puff pastry sheets from the freezer section (like Pepperidge Farm)
What it does in this recipe: Creates those beautiful flaky layers without hours of work making homemade puff pastry dough
Substitutions: Homemade puff pastry if you have the time, or in a pinch, pie crust or phyllo dough (though results will differ)
Sugar & Spices
Used in this Recipe: Granulated sugar, cinnamon, nutmeg, and coarse sugar for topping
What it does in this recipe: Sweetens the filling and creates that classic cinnamon sugar flavor, while coarse sugar adds crunch
Substitutions: Dark brown sugar for deeper flavor, add cardamom or cloves for variation
Citrus
Used in this Recipe: Juice and zest of one orange (or lemon juice)
What it does in this recipe: Prevents browning and adds bright citrus notes to complement the apple filling
Substitutions: Bottled lemon juice (about 1 tablespoon) if fresh citrus isn't available
Glaze Ingredients (optional)
Used in this Recipe: Powdered sugar, heavy cream, and orange zest for a sweet finishing drizzle
What it does in this recipe: Creates a beautiful bakery-style finish that adds sweetness and visual appeal. The glaze sets to a soft consistency that complements the flaky pastry without making it soggy.
Substitutions:
- Instead of powdered sugar glaze: Brush warm pastry with apricot jam thinned with water for a glossy finish
- Cream alternatives: Use milk, half-and-half, or even orange juice (though it may curdle slightly)
- Flavor variations: Add vanilla extract (use clear vanilla to maintain white color), lemon zest instead of orange, or maple extract for fall flavors
- Simple dusting: Skip the glaze entirely and dust with powdered sugar just before serving
- Caramel sauce: Drizzle with store-bought or homemade caramel sauce for a caramel apple twist
How to Make Apple Puff Pastry
You can prepare this apple dessert in stages - make the filling days ahead if needed! Just remember to thaw puff pastry at room temperature before assembling.
Mise En Place
Prepare your ingredients
- Peel and cut 3 pounds of Granny Smith apples into eighths (toss in the sugar and citrus juice if prepping ahead to prevent browning).
- Remove frozen puff pastry from freezer to reach room temperature (about 1 hour)
- Zest and juice your orange or lemon.
Prepare your equipment
- Line baking sheet with parchment paper
- Have your rolling pin ready on a lightly floured surface
Cook the Apple Filling
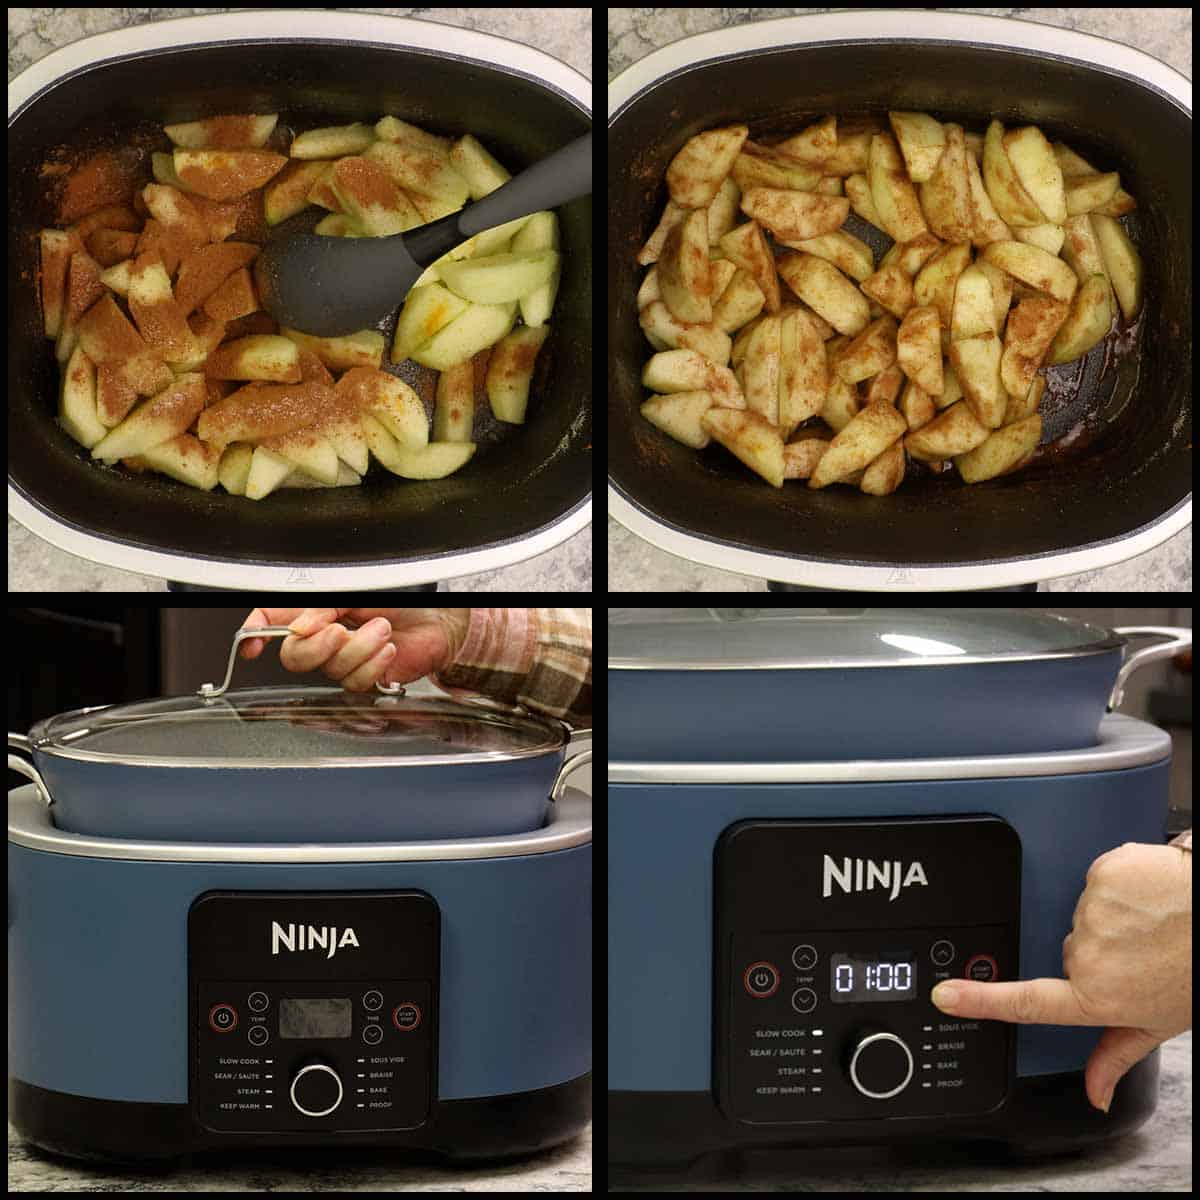
- In your slow cooker (or Ninja Foodi Possible Cooker Pro on high slow cook), combine the sliced apples with orange/lemon juice to prevent browning. This is the best part - no need for additional liquid!
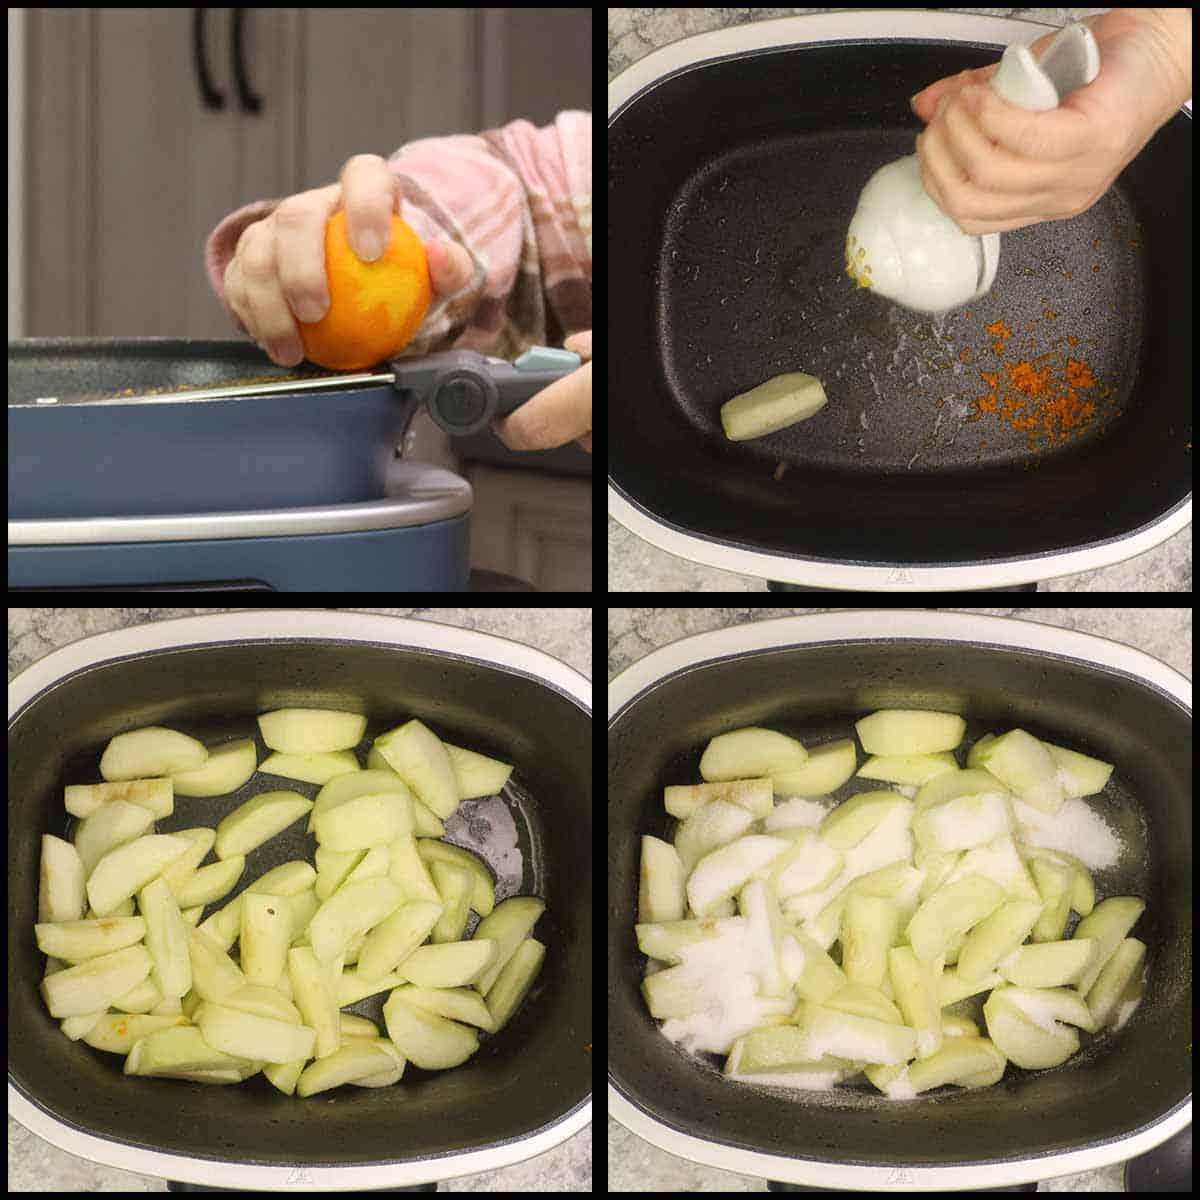
- Add ½ cup sugar, ¼ teaspoon salt, 1 teaspoon cinnamon, and ½ teaspoon nutmeg. Stir to coat the apples evenly.
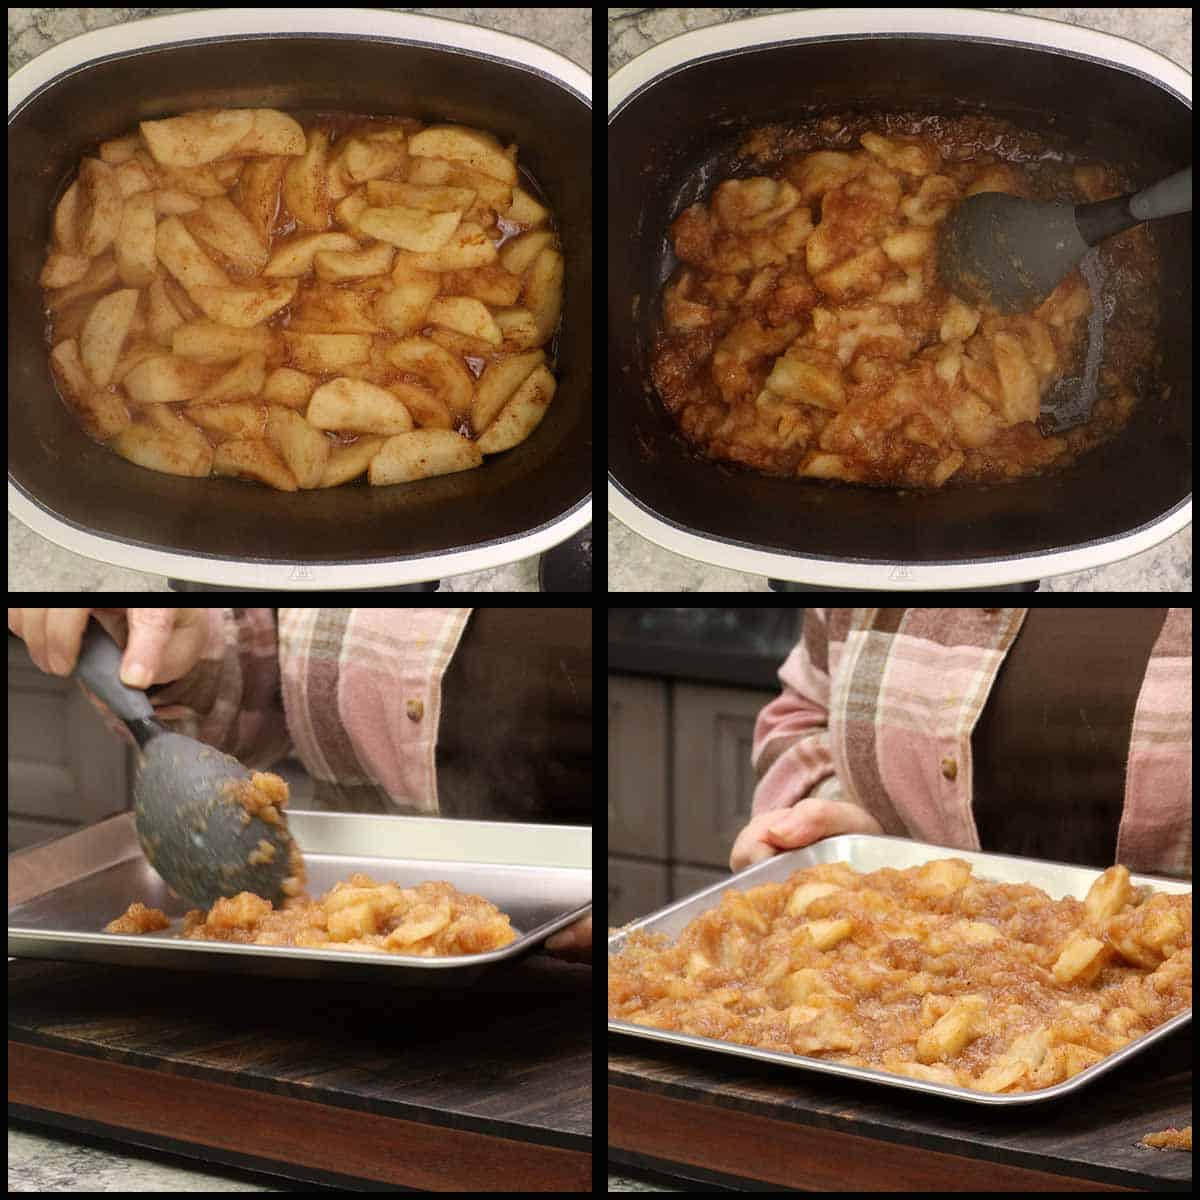
- Slow Cook on high for 1 hour until apples are just starting to break down but still have some texture. You can also cook the apples on the stove instead of a slow cooker if desired.
- Stir the apples and transfer to a metal tray to cool quickly - spread in a single layer for fastest cooling. Refrigerate once cooled to room temperature. You can store in an airtight container for 2-3 days before using.
Prepare the Puff Pastry
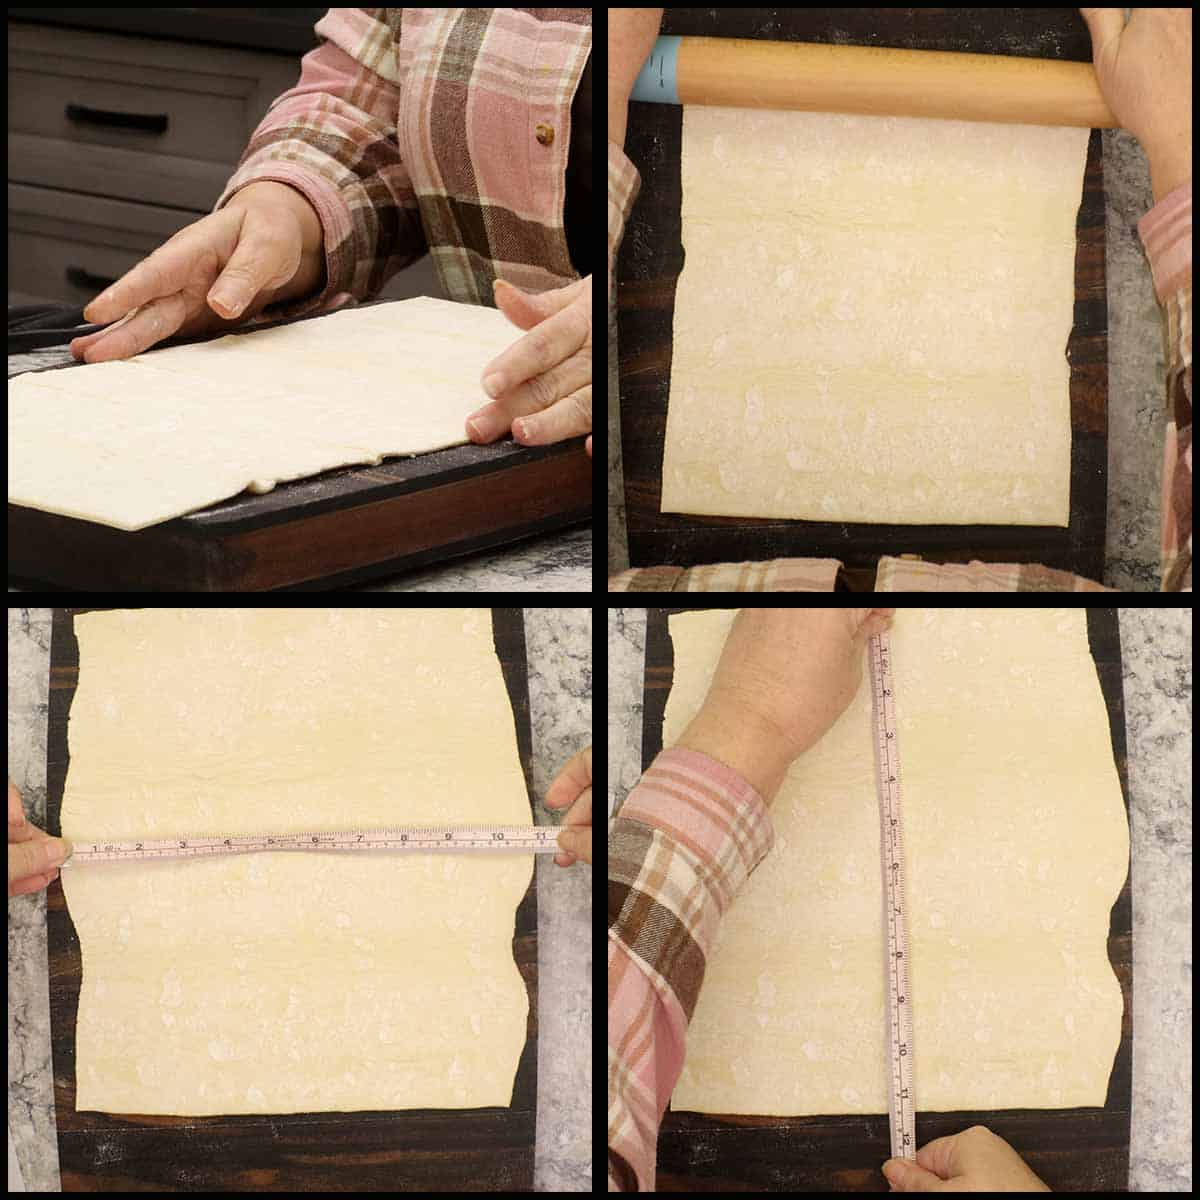
Once your puff pastry reaches room temperature (it should unfold easily without cracking), place on a lightly floured surface. Roll each sheet to about 11x12 inches wide and 12-14" long, maintaining a rectangular shape.
Quick Tip:
If making one large pastry instead of two smaller ones, overlap two sheets and roll the seam together to create a 20-inch long pastry.
Assemble the Pastry
Here is a short video showing how I assemble and braid the apple puff pastry.
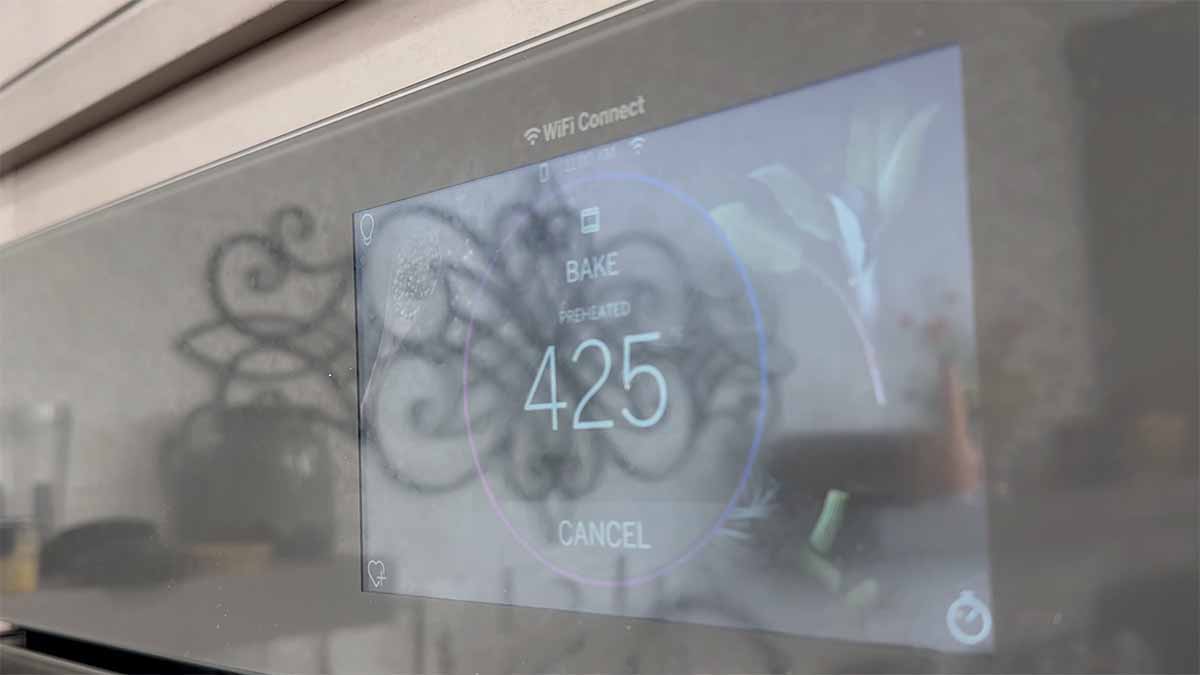
- Preheat the oven to 425℉/220℃.
- Place apple filling down the center of your pastry, leaving 1 inch at top and bottom, and 4 inches on each side. Cut corner pieces out and fold bottom and top edges toward the filling and create a seal.
- Using a sharp knife or pizza cutter, cut 1-inch strips along both sides. Create the braid by alternating strips from each side, stretching gently over the filling and pressing to seal.
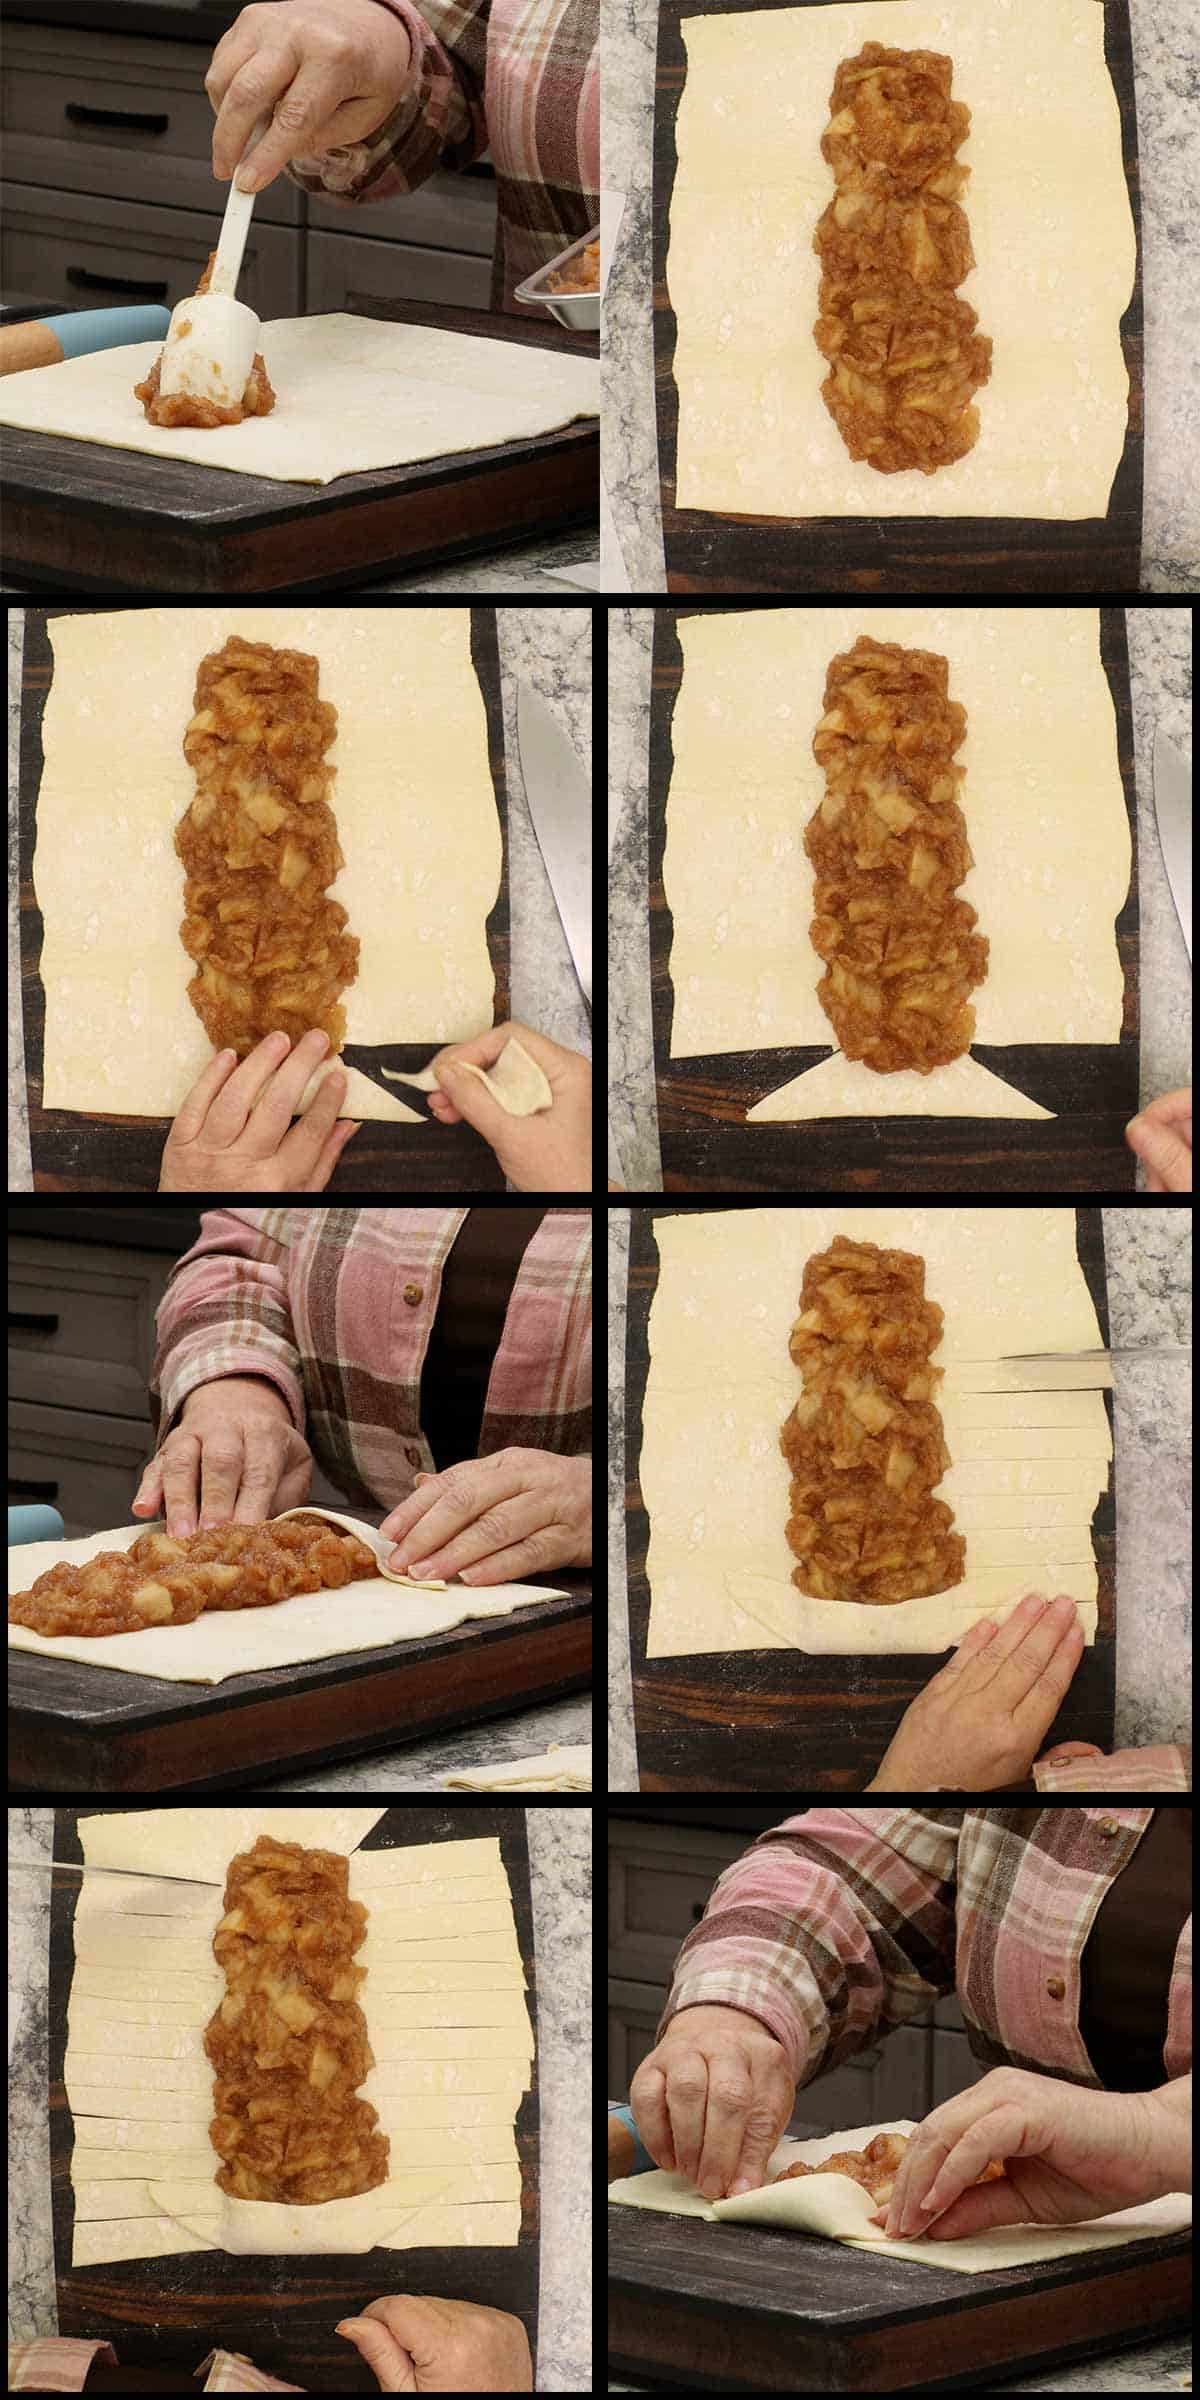
- Create the braid by alternating strips from each side, stretching gently over the filling and pressing to seal.
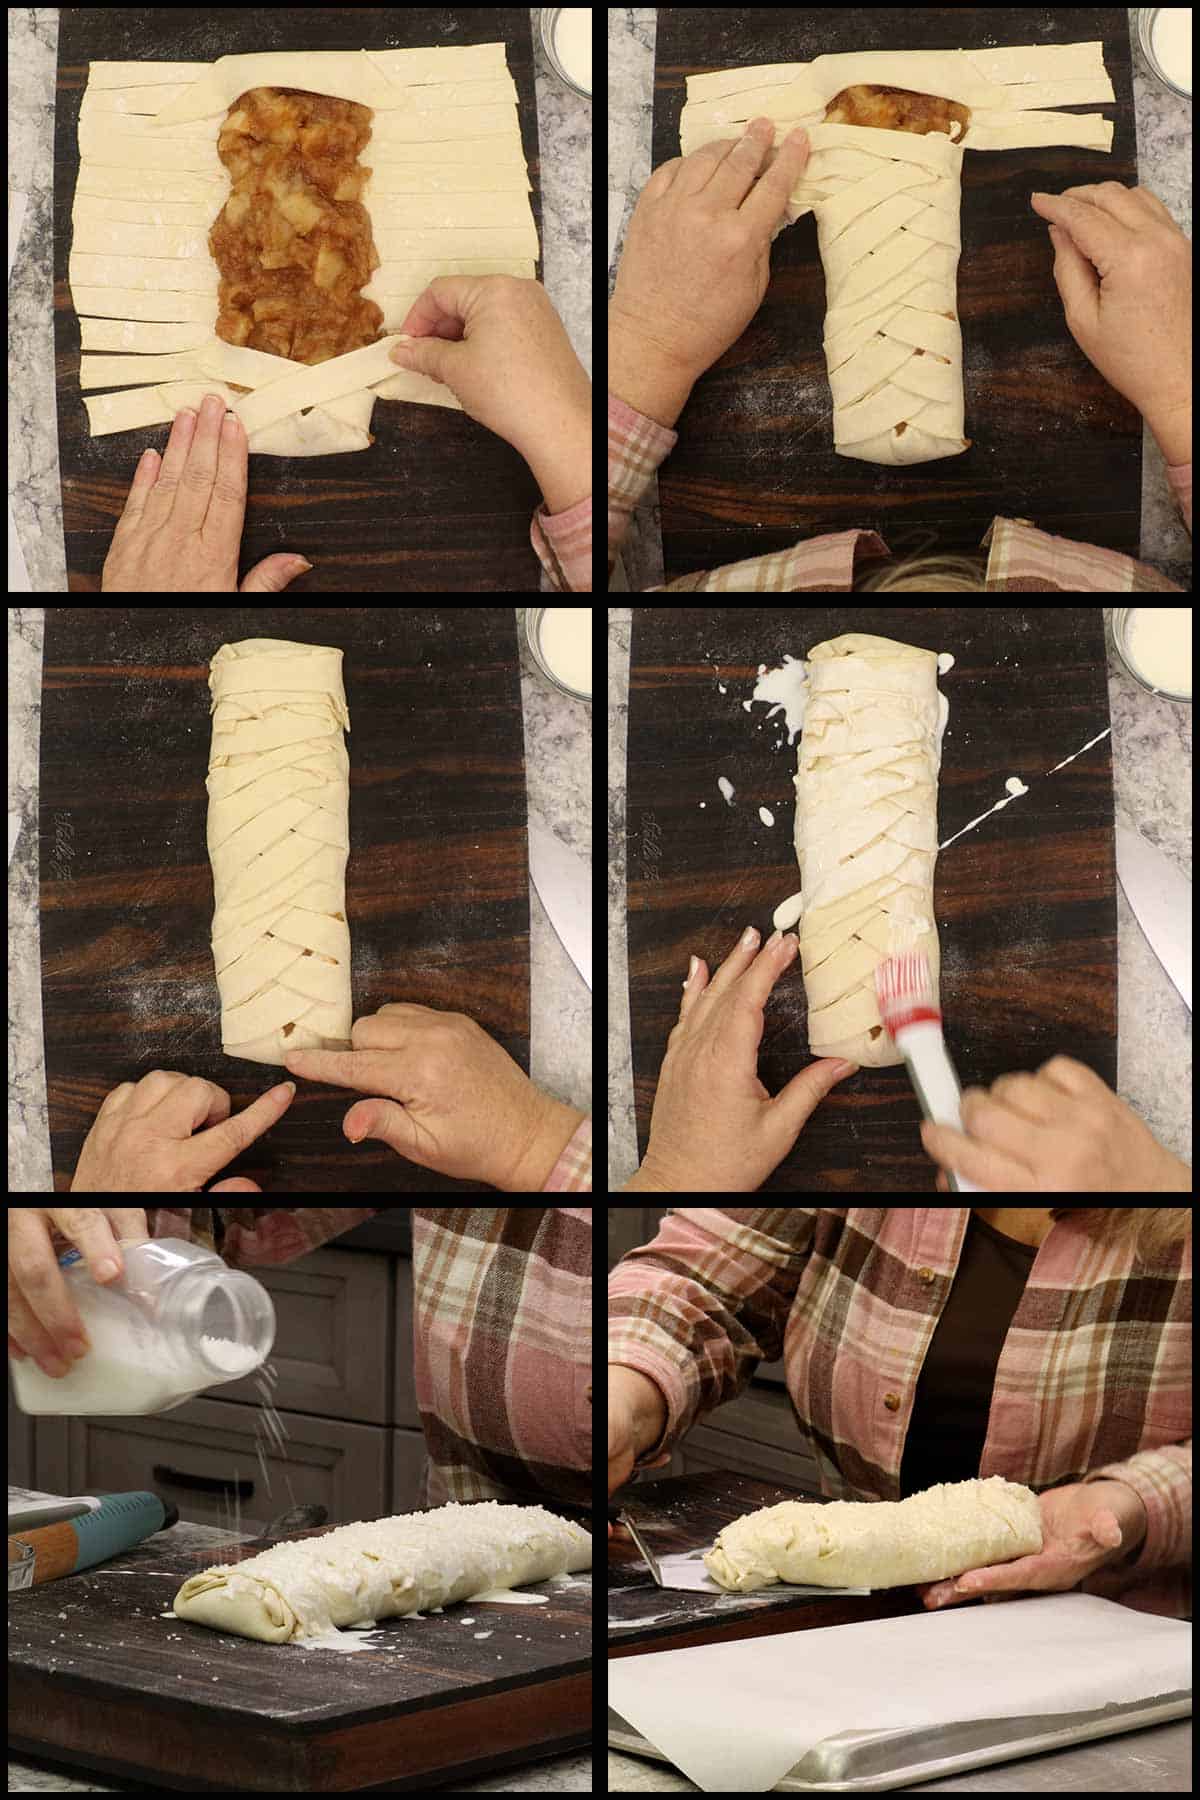
- Lightly brush with heavy cream (or you can do an egg wash if preferred)
- Sprinkle the top with coarse sugar.
Baking Apple Puff Pastry
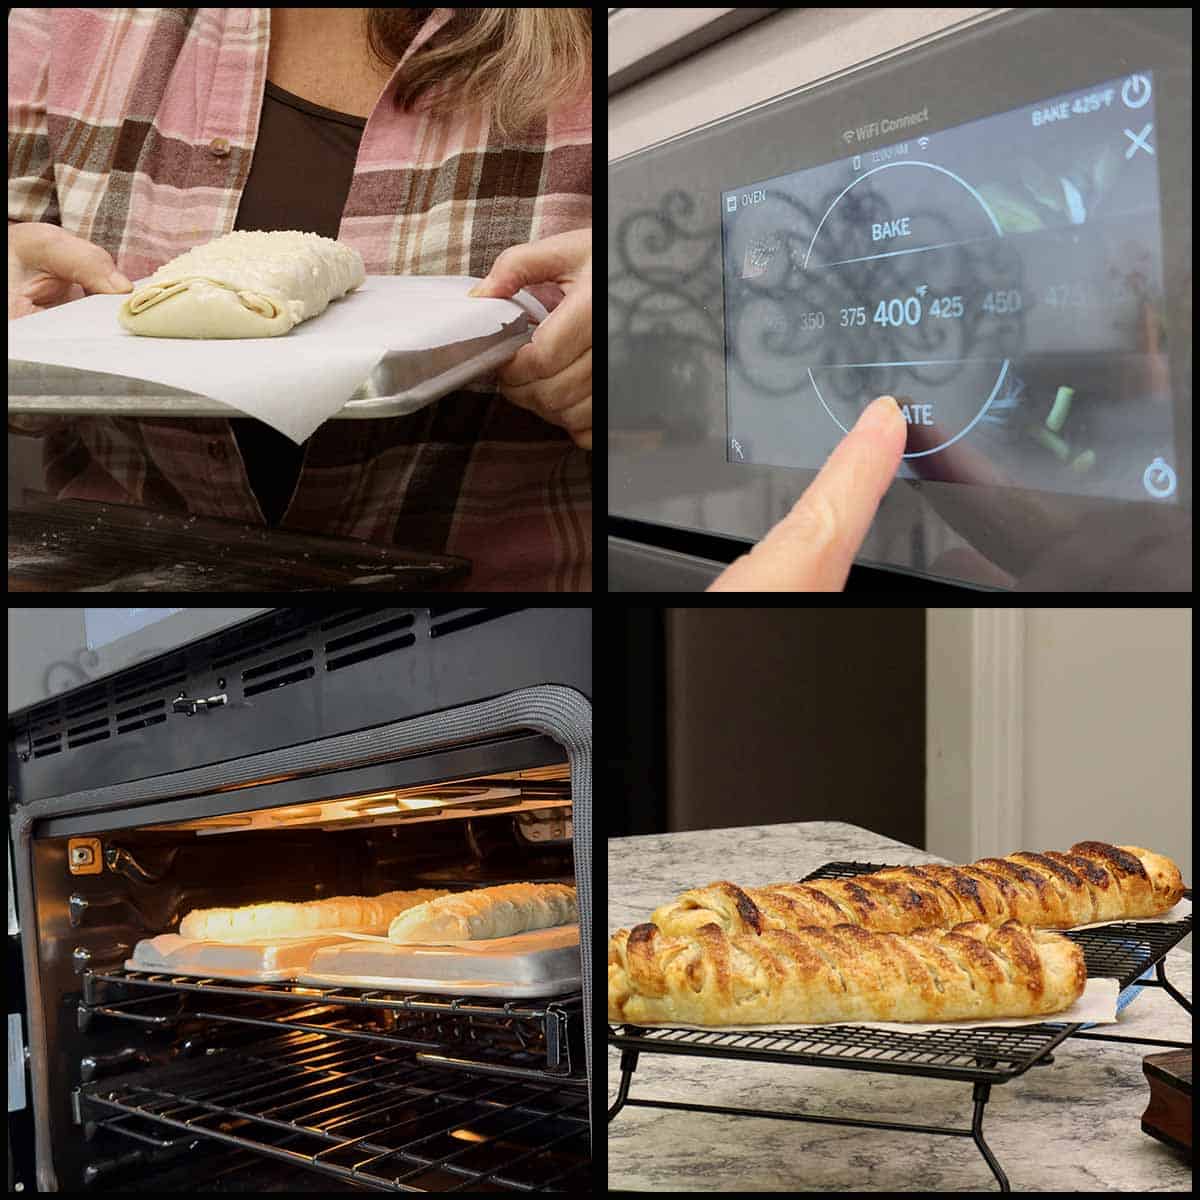
- Transfer the pastry to parchment lined baking sheets. If your baking sheet has a lip, turn the pan over so the pastry is on the flat bottom which helps with heat circulation.
- Once pastries are in the oven, reduce to 400° F and bake for 25 minutes until golden brown. The slightly lower temperature prevents the sugar from burning while ensuring your pastry gets perfectly crispy.
- Remove the pastries when they are golden brown and cool completely on a cooling rack.
Quick Tip:
Rotate pans halfway through if baking multiple pastries for even browning.
Glazing the Apple Puff Pastry
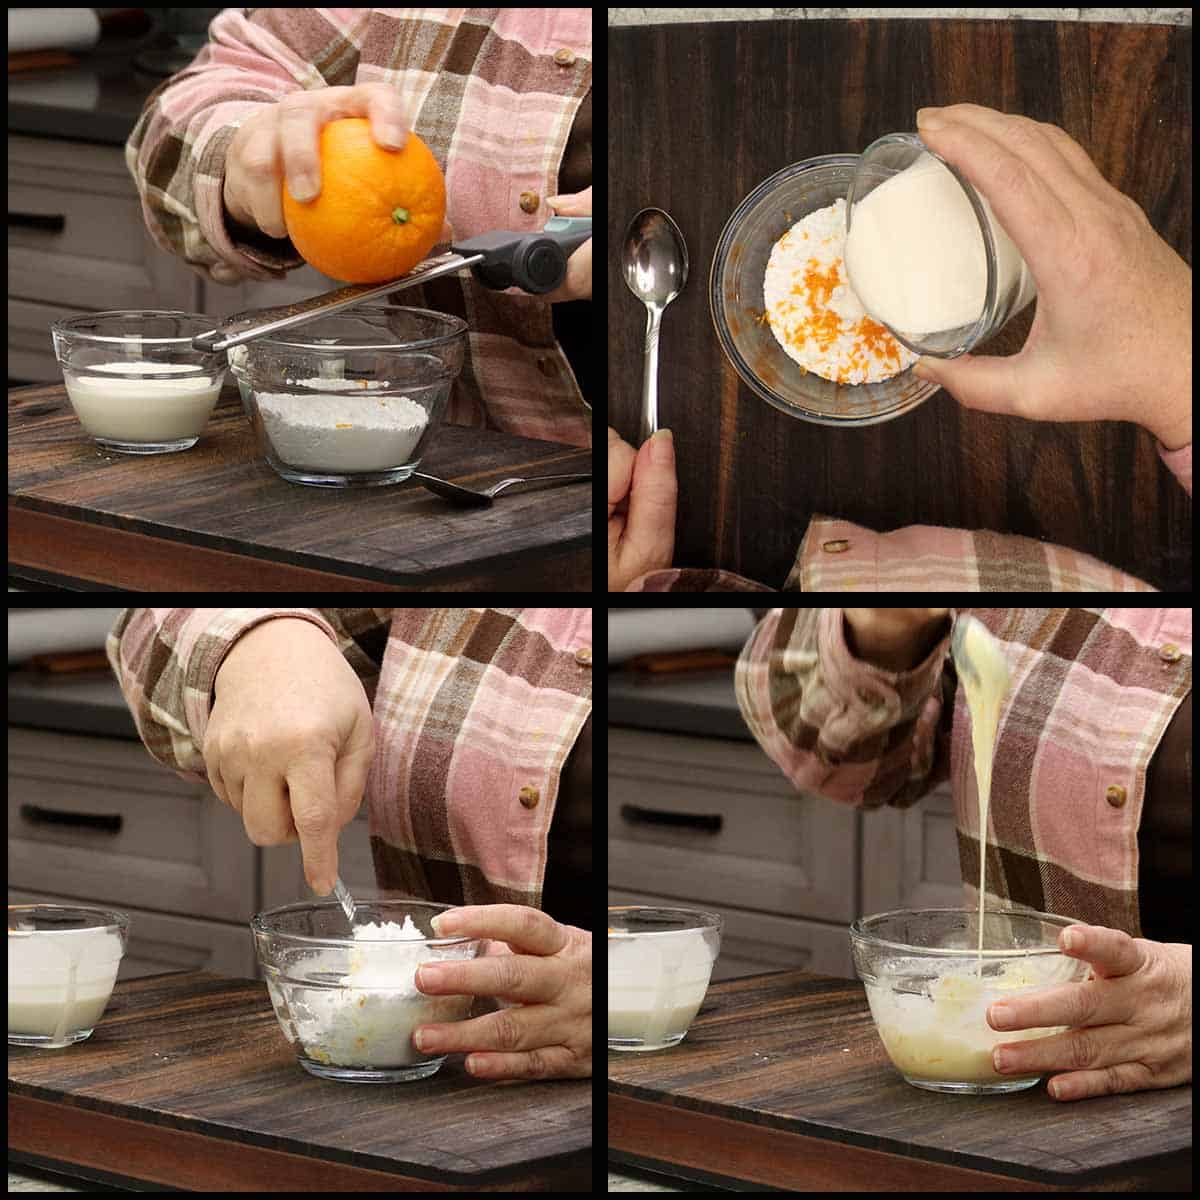
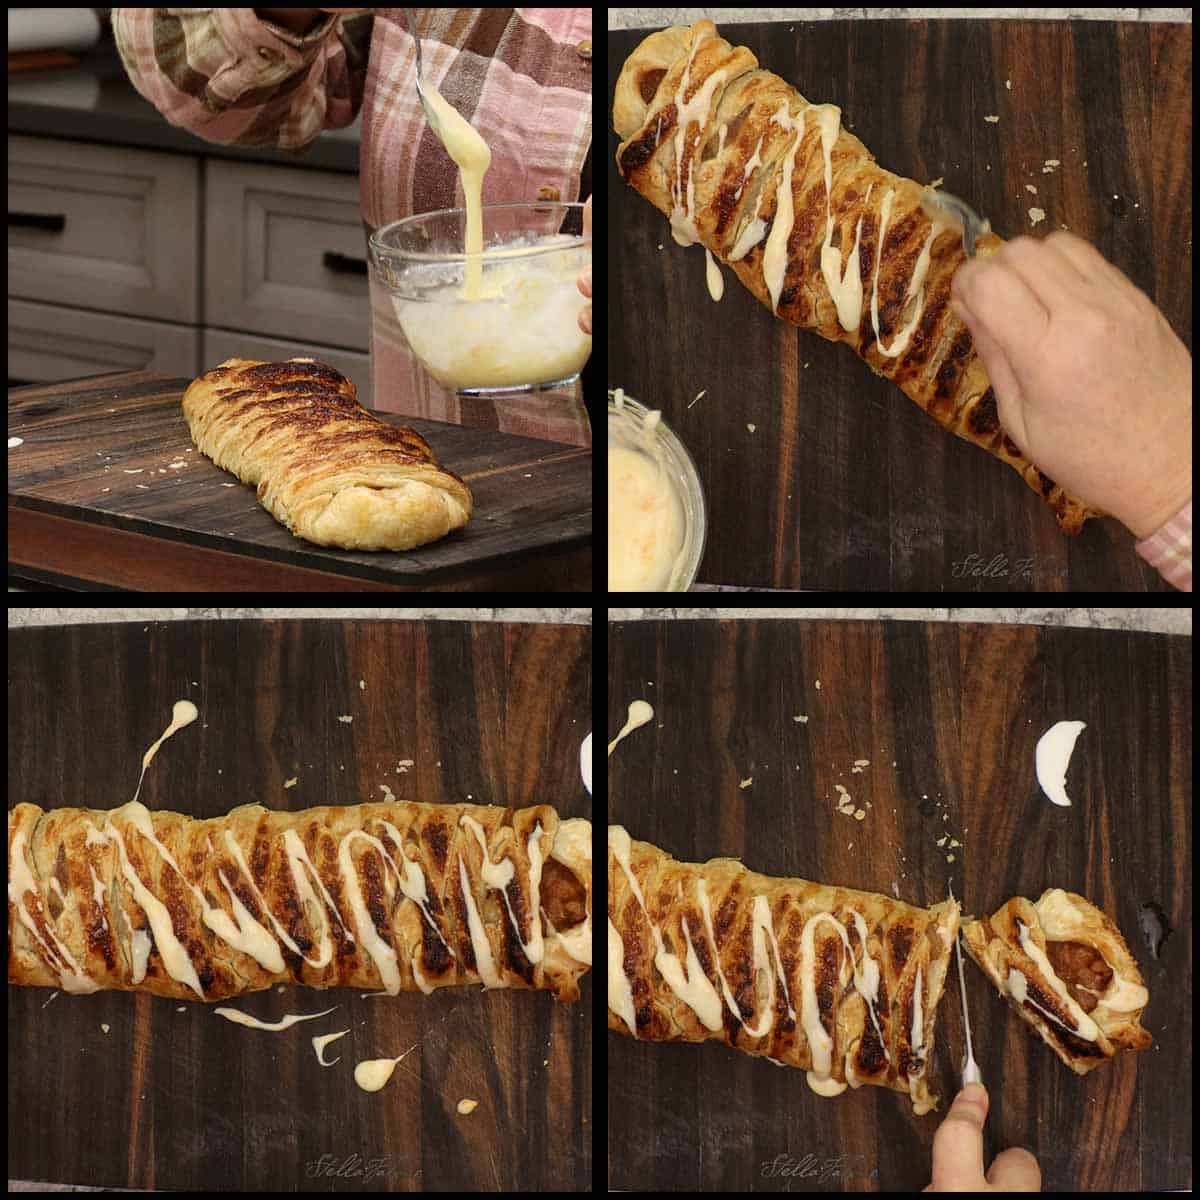
- For the optional glaze, mix ½ cup powdered sugar with orange zest and 1-2 tablespoons cream until desired consistency.
For the optional glaze, mix ½ cup powdered sugar with orange zest and 1-2 tablespoons cream until desired consistency.
- Drizzle glaze over cooled pastry for a bakery-style finish.
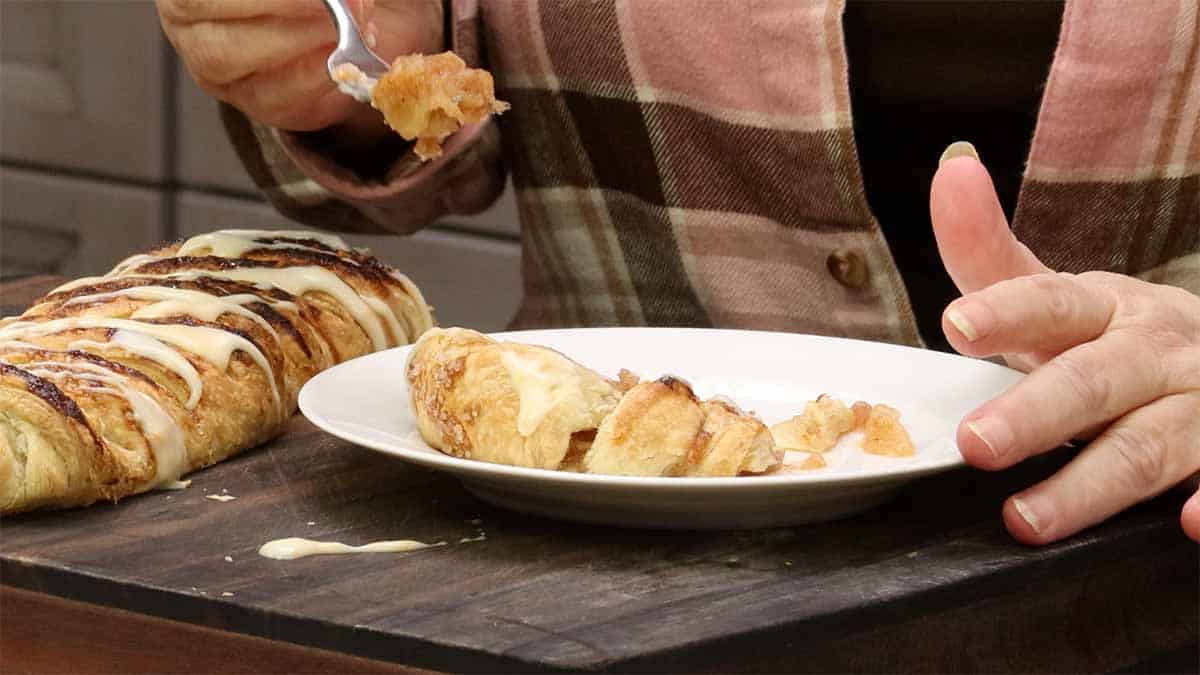
Serve with a scoop of vanilla ice cream or caramel sauce for an extra special treat!
Storage & Reheating Instructions
How to Store Leftover Apple Puff Pastry
Short-term storage: Wrap in aluminum foil or store in airtight container at room temperature for up to 2 days
Best practice: These are best enjoyed the first time, fresh from the oven, but leftovers can be refreshed in a 350°F oven for 5 minutes
Freezing option: Freeze unbaked assembled pastries on baking sheet, then wrap well. Bake directly from frozen, adding 5-10 minutes to baking time. Will keep frozen for up to 2 months.
Frequently Asked Questions
Pre-cooking ensures tender apples that won't shrink during baking, leaving you with a full, delicious filling and no raw apple surprises!
While pie crust works, it won't give you those signature flaky layers. Puff pastry from the grocery store gives professional results with minimal effort.
Absolutely! Make filling up to 3 days ahead and refrigerate. Assemble morning-of or freeze assembled pastries for later baking.

Easy Apple Puff Pastry Recipe
Equipment
- Ninja Possible Cooker Pro or Slow Cooker
- Baking Sheet Pans
Ingredients
Apple Filling
- 3 pounds Granny Smith apples peeled, cored and cut into eighths
- ½ cup granulated sugar
- 1 teaspoon ground cinnamon
- ½ teaspoon teaspoon nutmeg
- ¼ teaspoon kosher or sea salt
- 1 Navel Orange or lemon, juiced and zested
Pastry
- 2 sheets store-bought puff pastry 17.3 oz package, thawed to room temperature
- 2 Tablespoons heavy cream or 1 egg, beaten
- 2 Tablespoons coarse sugar
Optional Glaze
- ½ cup powdered sugar (confectioner sugar/icing sugar)
- 1-2 Tablespoons heavy cream
- Orange Zest to taste
Would you like to save this recipe?
Instructions
Prep for Recipe
- Remove frozen puff pastry from freezer and let thaw at room temperature for about an hour. I do this while the apple filling is cooking. It's important that you can unfold the pastry without it cracking.2 sheets store-bought puff pastry
Cooking the Apple Filling
- Zest and juice the orange into the slow cooker or Possible Cooker Pro. Peel and core the apples and add to the slow cooker pot. Toss the apples in the citrus juice to prevent browning.1 Navel Orange, 3 pounds Granny Smith apples
- Add the sugar and spices. Stir to combine. Set the slow cooker on high for 1 hour. Stir once 30 minutes into the cooking process.½ cup granulated sugar, 1 teaspoon ground cinnamon, ½ teaspoon teaspoon nutmeg, ¼ teaspoon kosher or sea salt
- Transfer cooked apples to a metal tray.Spread apples in a single layer for faster cooling. Cool at room temperature for 30 minutes.
- Preheat your oven to 425°F and line your baking sheets with parchment paper. Pro tip: flip your baking sheet upside down if it has raised edges - this helps with airflow and gives you better puff!
Braiding the Puff Pastry
- On a lightly floured surface, roll each puff pastry sheet out to about 11x12 inches. Try to keep it in a nice rectangle shape as much as possible.
- Divide your chilled apple filling in half (I just eyeball it), and place half down the center of each pastry sheet. Leave about an inch at the top and bottom, and about 4 inches on each side
- Cut out the corners at a 45-degree angle. Fold the edge s up over the filling and press it down to create a little seal so your filling doesn't leak out during baking.
- Using a sharp knife or pizza cutter, cut 1-inch strips along both sides of the pastry. Don't worry about being too precise - even when mine look messy, they turn out beautiful.
- Starting at one end, take a strip from one side and fold it diagonally over the filling, then take a strip from the opposite side and fold it over. Keep alternating sides all the way down - stretch the strips gently if you need to, they're pretty forgiving.
- When you get to the top, fold that edge down and seal it just like you did the bottom. If you end up with an extra strip or things look uneven, don't worry! Just trim off any extras - these are so forgiving, they always look gorgeous once baked.
- Carefully transfer your braided pastries to the prepared baking sheets. I like to use the parchment paper to help lift them.
- Brush the tops with heavy cream (you could use an egg wash, but I love how the cream works with the coarse sugar). Sprinkle about a tablespoon of coarse sugar over each pastry - this gives such a beautiful, bakery-style finish.2 Tablespoons heavy cream, 2 Tablespoons coarse sugar
- Place in your preheated oven on the middle rack and immediately reduce the temperature to 400°F. This lower temperature helps prevent the sugar from burning while still getting that perfect golden brown color. Bake for about 25 minutes. If you're baking both pastries at once, rotate the pans halfway through. You might be tempted to pull them early when they start looking golden, but I usually go the full 25 minutes to get the sides and bottom perfectly crispy.
- Transfer the pastries to a cooling rack and remove the parchment. Let them cool on the baking sheet for at least 30 minutes before cutting. This allows the puff pastry to finish cooking from the residual heat and ensures it's not doughy inside.
Make the Glaze
- Mix the powdered sugar with a little orange zest and 1-2 tablespoons of cream - you want it thick enough to coat a spoon but thin enough to drizzle nicely. Drizzle over your cooled pastries and watch them transform into something that looks like it came from a fancy bakery!½ cup powdered sugar (confectioner sugar/icing sugar), 1-2 Tablespoons heavy cream, Orange Zest to taste
- Cut into slices and serve ❤️
Notes
Nutrition
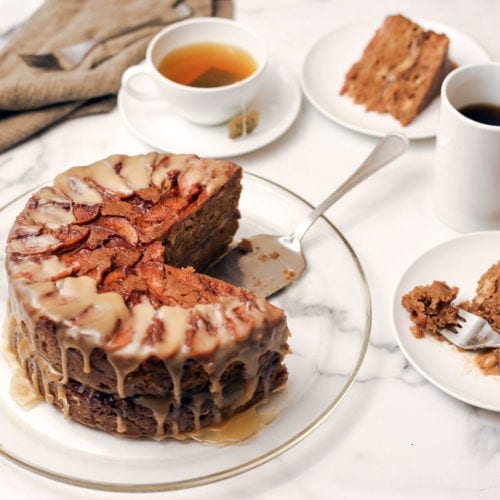
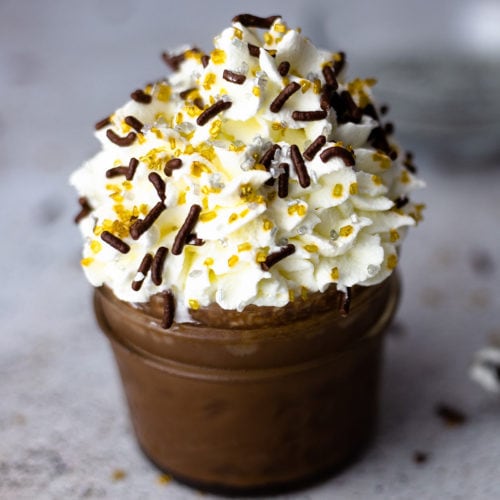
Easy Dessert Recipes
Whether you're planning a holiday dessert table, need a last-minute treat for guests, or just want something sweet after dinner, these easy dessert recipes have you covered year-round
About the Recipe Author, Louise Long
Louise is a full-time recipe creator and food blogger @ The Salted Pepper. She has over 30 years of experience with cooking and recipe development. She owned a restaurant for several years and was a full-time RN until retiring to blog full-time.

She published her first cookbook in the Fall of 2018 and is very interested in writing several more.
Louise is also the creator of an online Ninja Foodi Pressure Cooking Course with over 100 instructional step-by-step videos. People absolutely rave about the course and all the value they have received from it.
Louise has several very active Facebook groups that help people with the basics of cooking and learning more about the appliances they love.
Ninja Foodi Pressure Cooker & Air Crisper 101
Ninja Woodfire Outdoor Grill & Smoker
Louise is also a YouTube creator and you can find most of her recipes in video format on The Salted Pepper YouTube channel.
She is very responsive to messages and eager to help in any way she can. Get more Information about Louise & contact information
I WOULD LOVE TO SEE WHAT YOU ARE COOKING UP IN YOUR KITCHEN! TAG ME @THESALTEDPEPPER ON YOUR FAVORITE SOCIAL MEDIA PLATFORM WHEN YOU MAKE A DISH!
BE SURE TO FOLLOW THE SALTED PEPPER RIGHT HERE ⇓⇓⇓⇓⇓
Mary Ann says
I thought I might make for my husbands 88 th birthday, he wood rather this than cake. But, sounds kind of involved.
Louise says
It's really easy to make, did you watch the video? Make the filling a day or two ahead of time and it doesn't take long to assemble and bake.