

- (affiliate link)Ninja Possible Cooker Pro OR
- Pot on the Stove
These colorful Fruity Pebbles marshmallow treats are a delicious and colorful twist on the classic Rice Krispie treats we all know and love.
With vibrant colors and fruity flavor, these easy treats come together in just minutes and are perfect for parties, bake sales, or an easy snack anytime!

Would you like to save this recipe?
You may notice that the ratios of cereal to marshmallows are different in this recipe, and that is on purpose. When I first starting testing the recipe, I didn't like the level of sweetness and lack of fruity flavor when making them with the same ratios of cereal to marshmallows as Rice Krispie treats.
So, after many batches, I found the ratio in this recipe to be the winner! They are fruity and not overly marshmallowy and they don't harden as much as Rice Krispie treats, which I really love and I hope you do too!
Suggested Kitchen Tools for Marshmallow Treats
- Large pot or any appliance with sear/sauté. I used the Ninja Foodi Possible Cooker Pro because it has the perfect size pot.

- Silicone or Rubber spatula
- 9x13 inch pan
- Parchment paper
- Measuring cups
- Sharp knife for cutting
Ingredients & Substitutions
A handful of ingredients is all you need to make delicious Fruity Pebble Marshmallow Treats, 3 to be exact!
Butter
Used in this Recipe: Salted Butter
What it does in this recipe: Contributes to a soft, chewy texture and adds a richness.
Substitutions: Unsalted butter (add a pinch of salt), coconut oil or any other oil of choice. Some people make them with olive oil, but I would be concerned the olive oil would change the flavor too much.
When substituting a liquid oil for butter, use half as much oil so your treats set up properly. Coconut oil solidifies like butter, so you can use the same amount as listed in the recipe.
Marshmallows
Used in this Recipe: Mini marshmallows
What it does in this recipe: Creates the binding "glue" for the treats which holds the cereal together and provides sweetness
Substitutions: Large marshmallows (same weight), marshmallow fluff (same weight).
When substituting mini marshmallows with bigger ones it is important to go by weight because the volume changes based on the size of the marshmallow.
Cereal
Used in this Recipe: Fruity Pebbles cereal is the star ingredient that gives these treats their fruity flavor and bright colors
What it does in this recipe: Provides structure, crunch, and fruity taste
Substitutions: Regular Rice Krispies (for traditional treats), other fruit-flavored cereals or you can experiment with various types of cereal that you love. Cocoa pebbles is another option!
How to Make Fruity Pebbles Marshmallow Bars
You can whip up these treats in under 10 minutes, but remember they do have to cool and set up so allow at least 1 hour from making them to serving them.
Mise En Place (prep for recipe)
Measure out your ingredients
- 10 ounces of marshmallows total (about 6 cups) for a full recipe and set aside about 1 cup of mini marshmallows and 2 cups of larger marshmallows
Prepare your pan
- Remove the butter from the wrapper and set aside. Rub the bottom, corners and sides of the 9x13 pan with the butter left on the wrapper
- Line the pan with parchment paper (the butter helps the parchment lay flat and stay in place)

Melt the Butter & Marshmallows
In a large pot over medium-low heat (or use the sear/sauté function on the NInja Foodi Pressure Cooker or Possible Cooker Pro), begin to melt 4 tablespoons of butter.
In the Possible Cooker Pro, I melt the butter while the pot is preheating on high sear/sauté, which is the perfect amount of heat needed. The marshmallow treats are done before the preheat finishes!

Add most of the marshmallows: When the butter is halfway melted, add about 5 cups of mini marshmallows, reserving 1 cup for later. Stir constantly until completely melted and smooth.

Mix in the Fruity Pebbles
Immediately add all of the Fruity Pebbles cereal (about 6-7 cups). Stir quickly until the cereal is completely coated with the marshmallow mixture.

Turn off the heat so nothing burns and remove the pot from the possible cooker or from the stove to a heat resistant surface like a wood cutting board.
Add whole marshmallows (mini): Stir in the reserved cup of mini marshmallows. These won't melt but will add a fun texture and visual interest to your treats.
Quick Tip
If you are using large marshmallows, cut them up into small pieces before adding to the marshmallow treats.

Transfer to the Pan
Pour the cereal mixture into your prepared pan and use a spoon or buttered spatula to spread it evenly.
Quick Tip
For thicker bars, use an 8x8 square pan

Press flat: Place a piece of parchment paper on top and press down firmly to create an even layer and compact the mixture.

Cool & Serve
Cool completely: Allow the treats to cool at room temperature for 1-2 hours before cutting.
Cut into squares: Remove from the pan using the parchment paper handles, then cut into approximately 2-2.5 inch squares to make about 24 treats.

Serve & Enjoy!

Microwave Instructions for Fruity Pebbles Marshmallow Treats
The process is pretty much the same, but you use the microwave to melt the butter and marshmallows.
Each microwave is different, but I recommend heating the butter and marshmallows together in short time intervals and stirring after each one.
Here's how to make these treats using the microwave method instead of the stovetop:
- Prepare your pan: Line a 9x13 inch pan with parchment paper and set aside.
- Combine butter and marshmallows: Place 4 tablespoons of butter and 4-5 cups of mini marshmallows in a large microwave-safe bowl (make sure it's large enough to hold all the cereal too).
- Microwave in short intervals: Heat on high for 1 minute, then remove and stir well. If marshmallows aren't completely melted, return to microwave and heat in additional 15-30 second intervals, stirring after each until mixture is smooth and fully melted.
- Add cereal: Immediately add the 6-7 cups of Fruity Pebbles cereal to the melted marshmallow mixture and stir quickly until all cereal is evenly coated.
- Add whole marshmallows: Fold in the reserved 1 cup of mini marshmallows.
- Transfer to pan: Pour the mixture into your prepared pan and use a buttered spatula or parchment paper to press it into an even layer.
- Cool and cut: Allow to cool completely (1-2 hours) before cutting into squares.
Quick Tip
If you don't have a large enough bowl for the cereal and marshmallow mixture that is microwave safe, then put the cereal in a large pot and use a smaller bowl to melt the butter and marshmallows and pour it over the cereal. Mix well to combine.
Storage Instructions
How to Store Leftover Fruity Pebble Treats
Short-term storage: Store cut treats in an airtight container at room temperature for up to 3 days.
Best practice: If not serving all at once, keep the treats in one sheet and only cut what you need. This helps prevent them from drying out.
Freezing option: Wrap individual treats in plastic wrap and freeze for up to 2 months.
Frequently Asked Questions
Use slightly less marshmallow than traditional Rice Krispie treats to let the fruity flavor shine through without making them too sweet or hard.
Don't overcook the marshmallows (stir constantly to prevent burning), and make sure to remove from heat as soon as they're melted. Also, storing them in an airtight container helps maintain their chewy texture.
Yes, but to double the recipe, I would suggest making a single recipe twice so you don't run into issues with the mixture cooling down before it is completely mixed.
To cut the recipe in half, use an 8x8 pan and cut the ingredients in half. The cooking and cooling time remains the same.
Absolutely! You can form ice cream bowls by pressing the warm mixture into buttered bowls. Or, make thinner sheets for ice cream sandwiches by dividing the mixture between two 9x13 pans or halving the recipe for on 9x13 pan.
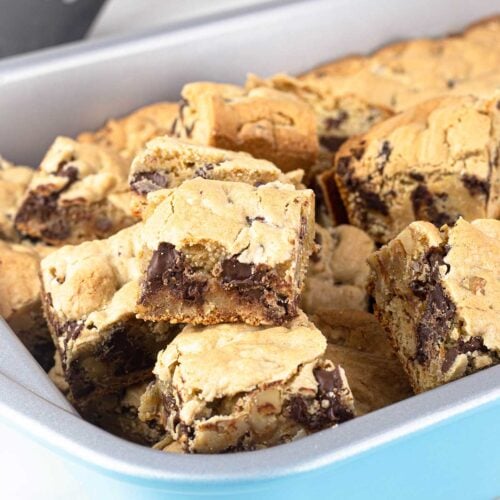
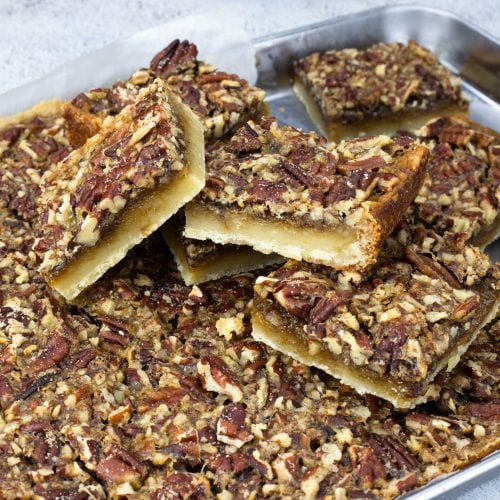
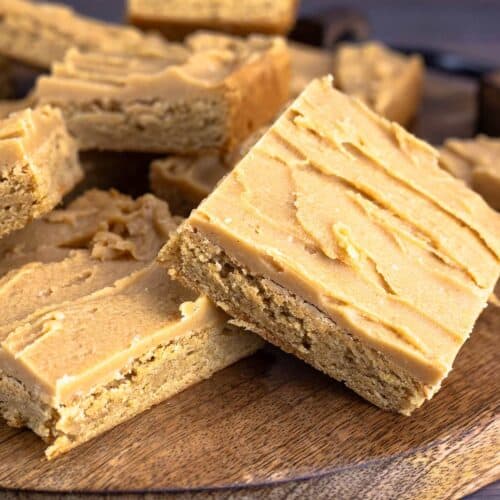
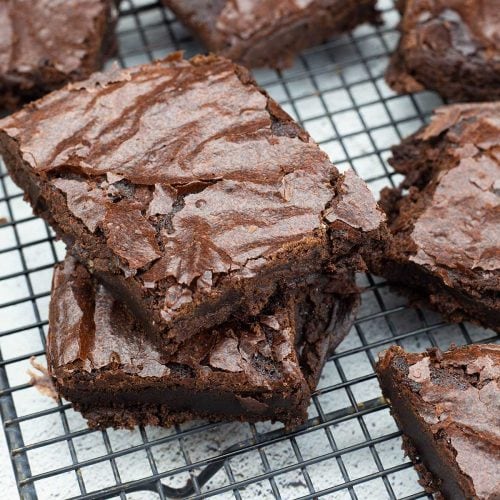
Easy Recipes for Your Dessert Table
Whether you are hosting a birthday part, bridal shower, baby shower, or another type of fun event, having a dessert table is always a great addition.
You can have people bring their favorite bar dessert or make them all yourself. The great thing about these recipes below is they can all be made ahead of time and frozen until party day!


Fruity Pebbles Marshmallow Treat Recipe
Equipment
- (affiliate link)Ninja Possible Cooker Pro OR
- Pot on the Stove
Ingredients
- 4 Tablespoons butter salted
- 10 ounces mini marshmallows 6 cups, divided in recipe
- 11 ounces Fruity Pebble Cereal 6½ cups
Would you like to save this recipe?
Instructions
- Remove the butter from the wrapper and use the wrapper to coat the corners and sides of your 9 x 13 pan with a small amount of butter. This will help the parchment stay in place. Line the pan with parchment paper. Although this step is optional, it makes it easy to remove the marshmallow treats to cut them.
Ninja Foodi Possible Cooker Pro Directions
- Measure out 10 ounces of mini marshmallows and remove 1 cup for use later.
- Turn the Ninja Possible Cooker on high sear/sauté and immediately add the butter. When the butter has melted about 50%, add in all the marshmallows except for the reserved 1 cup. Stir frequently and allow the mixture to melt completely. This process is usually complete before the Possible Cooker finishes preheating. Turn the Possible Cooker off. Remove the pot and place it on a heat resistant surface and mix in the fruity pebbles until they are coated completely. Add the 1 cup of reserved marshmallows and stir to combine. The mixture will be cool enough now not to melt the added marshmallows.4 Tablespoons butter, 10 ounces mini marshmallows, 11 ounces Fruity Pebble Cereal
Stovetop Directions
- Heat a large pot (big enough for the marshmallows and cereal) over medium-low heat and heat the butter and marshmallows (except for 1 cup) until both are completely melted. Stir frequently while melting to avoid burning the mixture. Turn the stove off and add the cereal to the pot. Mix well to combine the cereal with the marshmallow and butter mixture. Add in the reserved cup of marshmallows and stir to combine. The mixture will be cool enough now not to melt the added marshmallows.4 Tablespoons butter, 10 ounces mini marshmallows, 11 ounces Fruity Pebble Cereal
Transfer and Cool
- Transfer the mixture to your prepared pan and spread as evenly as possible into the pan. Place a piece of parchment on top and press the mixture into the pan to compress the fruity pebble and marshmallow mixture. Remove the top layer of parchment and discard or keep it on top if desired. Let cool at room temperature for about an hour.
Cut & Serve
- Remove the Fruity Pebble treats from the pan using the parchment paper and place them on a flat surface. Cut into 2-2½" squares. Serve and enjoy!
Notes
Microwave Instructions
- Prepare your pan: Line a 9x13 inch pan with parchment paper and set aside.
- Combine butter and marshmallows: Place 4 tablespoons of butter and 4-5 cups of mini marshmallows in a large microwave-safe bowl (make sure it's large enough to hold all the cereal too).
- Microwave in short intervals: Heat on high for 1 minute, then remove and stir well. If marshmallows aren't completely melted, return to microwave and heat in additional 15-30 second intervals, stirring after each until mixture is smooth and fully melted.
- Add cereal: Immediately add the Fruity Pebbles cereal to the melted marshmallow mixture and stir quickly until all cereal is evenly coated.
- Add whole marshmallows: Fold in the reserved 1 cup of mini marshmallows.
- Transfer to pan: Pour the mixture into your prepared pan and use a buttered spatula or parchment paper to press it into an even layer.
- Cool and cut: Allow to cool completely (1-2 hours) before cutting into squares.
Nutrition
About the Recipe Author, Louise Long
Louise is a full-time recipe creator and food blogger @ The Salted Pepper. She has over 30 years of experience with cooking and recipe development. She owned a restaurant for several years and was a full-time RN until retiring to blog full-time.

She published her first cookbook in the Fall of 2018 and is very interested in writing several more.
Louise is also the creator of an online Ninja Foodi Pressure Cooking Course with over 100 instructional step-by-step videos. People absolutely rave about the course and all the value they have received from it.
Louise has several very active Facebook groups that help people with the basics of cooking and learning more about the appliances they love.
Ninja Foodi Pressure Cooker & Air Crisper 101
Ninja Woodfire Outdoor Grill & Smoker
Louise is also a YouTube creator and you can find most of her recipes in video format on The Salted Pepper YouTube channel.
She is very responsive to messages and eager to help in any way she can. Get more Information about Louise & contact information
I WOULD LOVE TO SEE WHAT YOU ARE COOKING UP IN YOUR KITCHEN! TAG ME @THESALTEDPEPPER ON YOUR FAVORITE SOCIAL MEDIA PLATFORM WHEN YOU MAKE A DISH!
BE SURE TO FOLLOW THE SALTED PEPPER RIGHT HERE ⇓⇓⇓⇓⇓
Leave a Reply