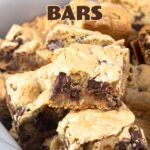
Is it a cookie or is it a brownie? This congo bar recipe is a little of both. The ingredients are very similar to a chocolate chip cookie with a flaky top and gooey center. Some may call them a bar cookie or blonde brownies, but growing up they were simply congo bars and my Aunt Kathy made the best!
Even if it's your first time making cookies or brownies, this recipe is so incredible easy that you will have no trouble at all. There are also tons of variations that work great with this recipe, so you can start your own congo bar tradition with a recipe filled with ingredients you and your family love.

Would you like to save this recipe?
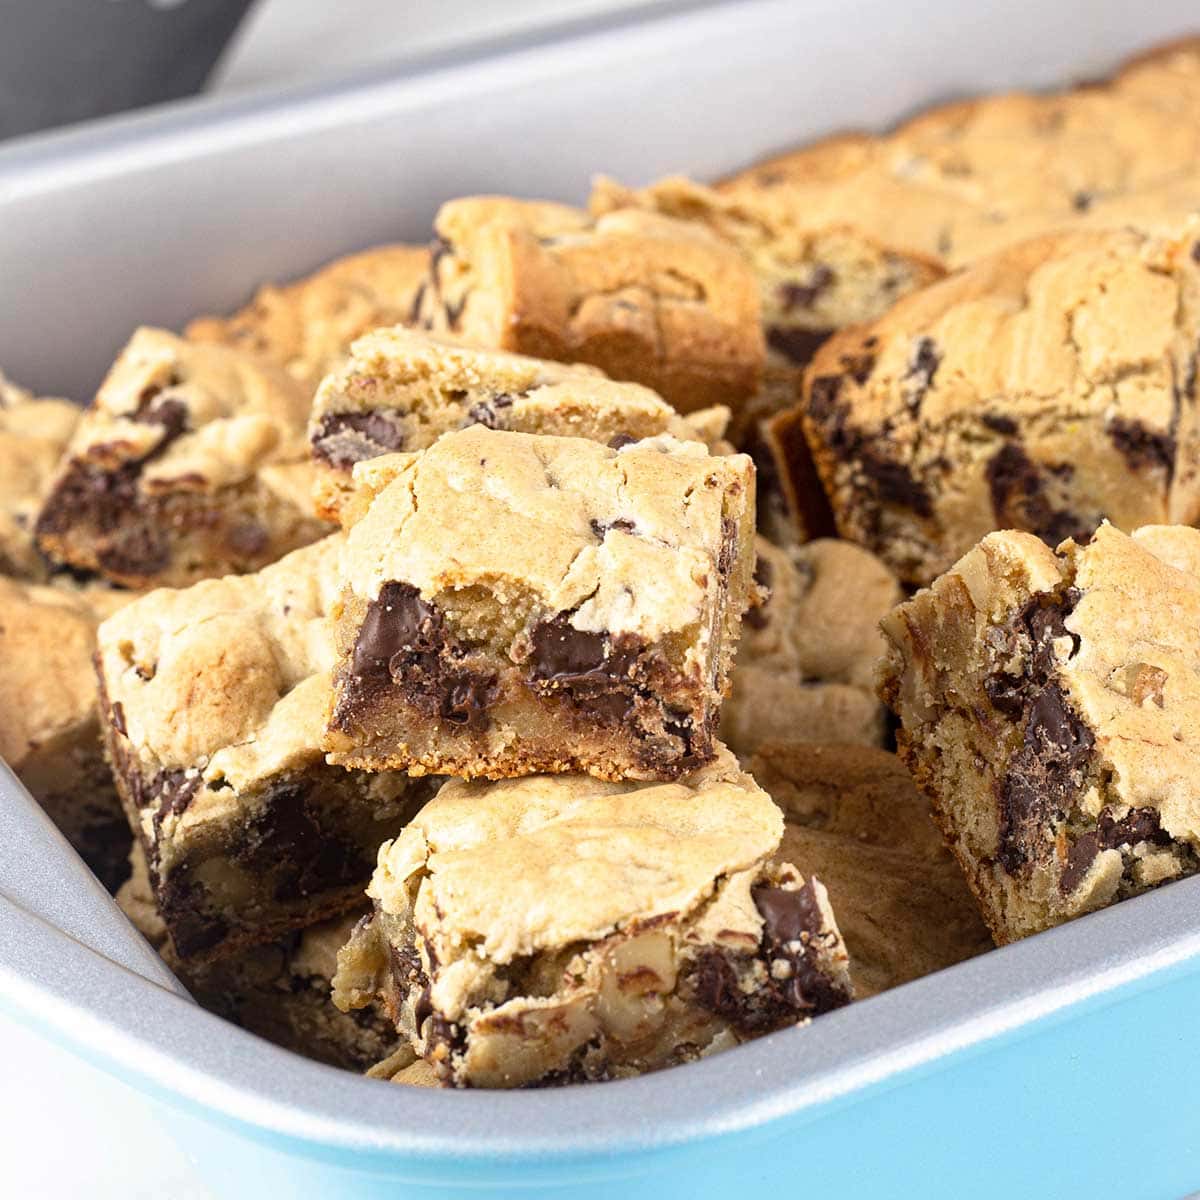
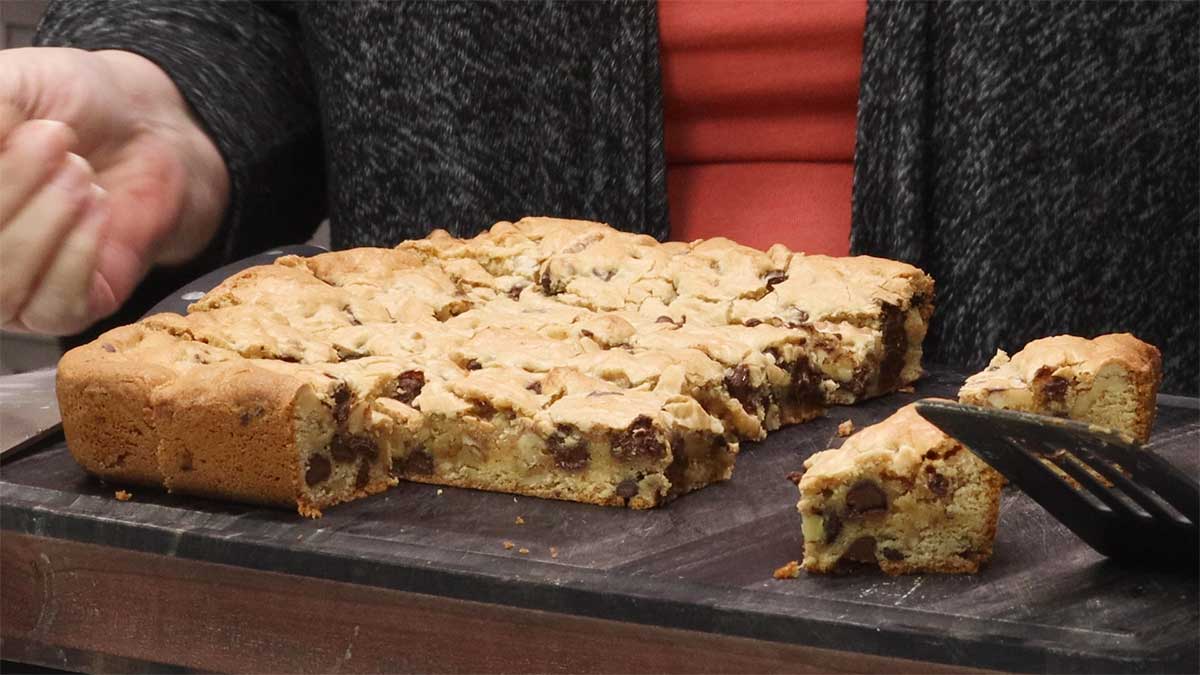
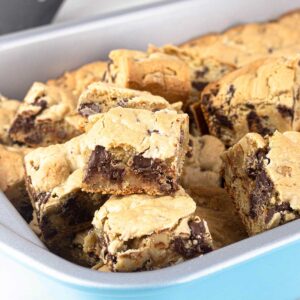
One of the best things about these cookie bars is the flaky, brownie-like top with a fudgy center. Just look at the layers!
Supplies Needed to Make Congo Bars
When baking bar cookies, it's important to use as close to the same size pan that the recipe calls for so the bar cookies are the correct height and they bake evenly. I used a 9x13 pan in this recipe and that size pan will give you the best results. You can also use an 8x14 pan or a 10x12 pan without any changes to the recipe or baking time.
Also, keep in mind that the materials of the pan will affect the baking time slightly. If you are using a dark colored pan, you may want to decrease your bake time by a few minutes. Silicone pans will require a slightly longer bake time.
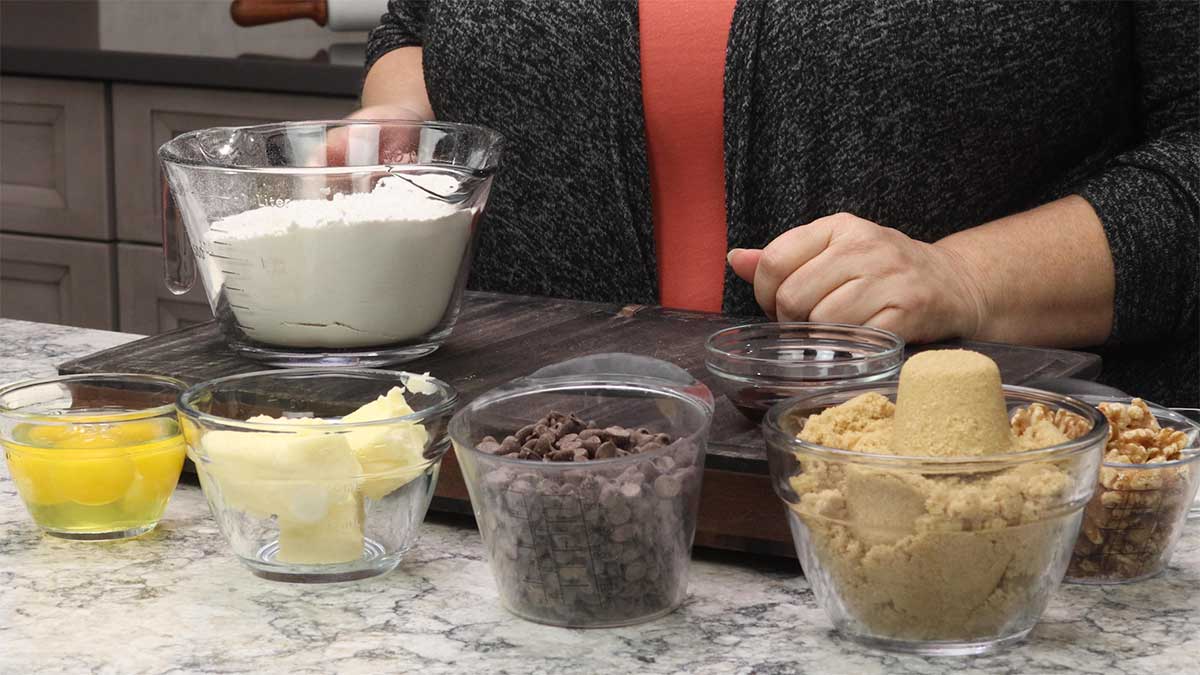
Here are the supplies I used in the recipe.
- (affiliate link)9x13 pan
- Stand mixer or electric hand mixer
- medium bowl
- large bowl (or bowl of stand mixer)
- spatula
Ingredients & Substitutions
Flour
I use all purpose flour (also known as plain flour) in this recipe. I don't recommend using self rising flour since it already contains baking powder and salt, but not in the same quantities that the recipe calls for.
I have not made the recipe with Gluten free flour, so I am not sure how it would turn out. If you wanted to try to use a gluten free flour, make sure you get one that is a 1:1 ratio for all purpose flour and has all the extra additions (like xanthan gum) that allow it to work in baking recipes. I have heard great things about Bob's Red Mill Gluten Free flour and used it in cookies recently with a great outcome.
Sugar
I use all brown sugar in this recipe, but you can use dark brown sugar or a combination of light and dark brown sugars or even some white sugar with some brown sugar should be just fine. I don't recommend using all white sugar in this recipe because the brown sugar does help create those fudgy layers in the congo bars.
I have not tried this recipe using a sugar substitute, but have had good results using swerve brown sugar instead of regular brown sugar.
I don't recommend using honey because it will change the texture and also the flavor of the recipe.
Butter & Eggs
I use 3 large eggs and 10 Tablespoons of salted butter in this recipe. The original recipe called for margarine and you can certainly use that, if you prefer. You can also use unsalted butter and add an extra ¼ teaspoons of sea salt to the recipe.
Nuts
I used walnuts in this recipe, but you can use 1 cup pecans, cashews, or any other kind of nut you like. You can also omit the nuts, which I have done on numerous occasions and the congo bars are still delicious.
Chocolate
I have tried this recipe with all kinds of different chocolate and you can use whatever you have on hand and it will work great. I have used dark chocolate, milk chocolate chips, and semi sweet chips and, even though I love dark chocolate, I prefer this recipe with semi sweet chips.
You could also use chocolate chunks, or chop up your favorite chocolate bars. I think adding in some peanut butter chips or butterscotch chips would be incredible. You could also use part or all white chocolate chips.
Extras
You aren't limited to nuts and chocolate, though; you can use all kinds of dried fruit, like dried cranberries, would be wonderful. Doesn't white chocolate chips, dried cranberries, and almonds sound good!
Get creative and put in the ingredients you love. Coconut and almonds or Reeses pieces. Pretty much anything you would put into a cookie, you can add into your congo bar. Just keep the total amount of the mixins to about 3 cups maximum or your ratios will be off. I recommend using 2 cups of some sort of chocolate, or dried fruit and then ½-1 cup of nuts or shredded coconut.
How to Make Congo Bars
Mise En Place
The prep for this recipe is easy and straightforward.
- Make sure the butter and eggs are out of the refrigerator a few hours before making the congo bars so they have time to come to room temperature.
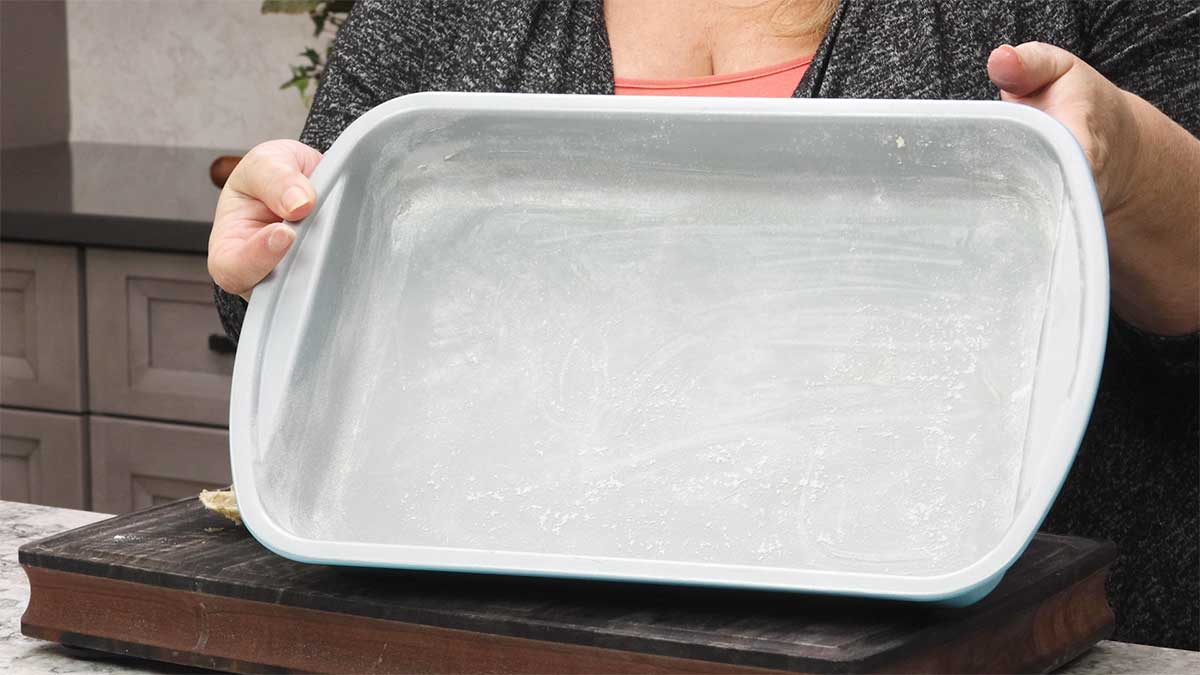
- Prepare a 9x13 pan by spraying with baking spray, using pan grease, or lightly butter and flour the pan. Alternatively, you could line the pan with parchment paper, but I find that to be a little harder to spread the mixture into the pan.
- Preheat the oven on 350℉/175℃
- Measure out the ingredients.
Mixing the Batter
The only important thing to know when mixing the batter is not to rush the first step of mixing the brown sugar with the butter. I have rushed this in the past and it resulted in dry and crumbly congo bars instead of the decadent and moist centers that are traditional in this recipe.
I like to use a stand mixer with the paddle attachment because it's hands off, but a hand held electric mixer will also work fine.
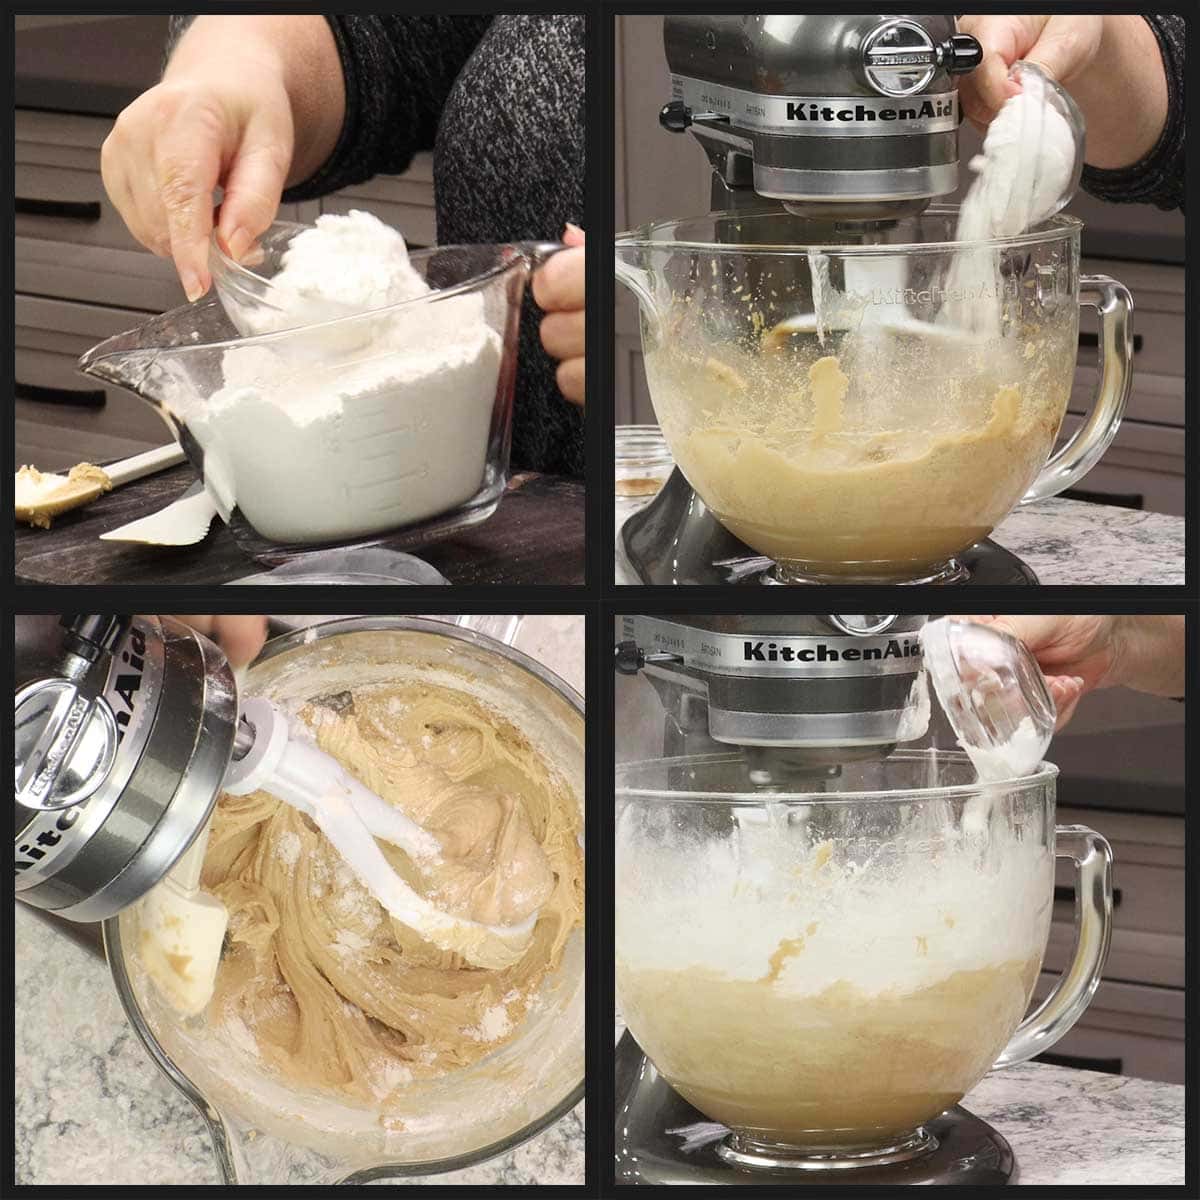
Wet Ingredients
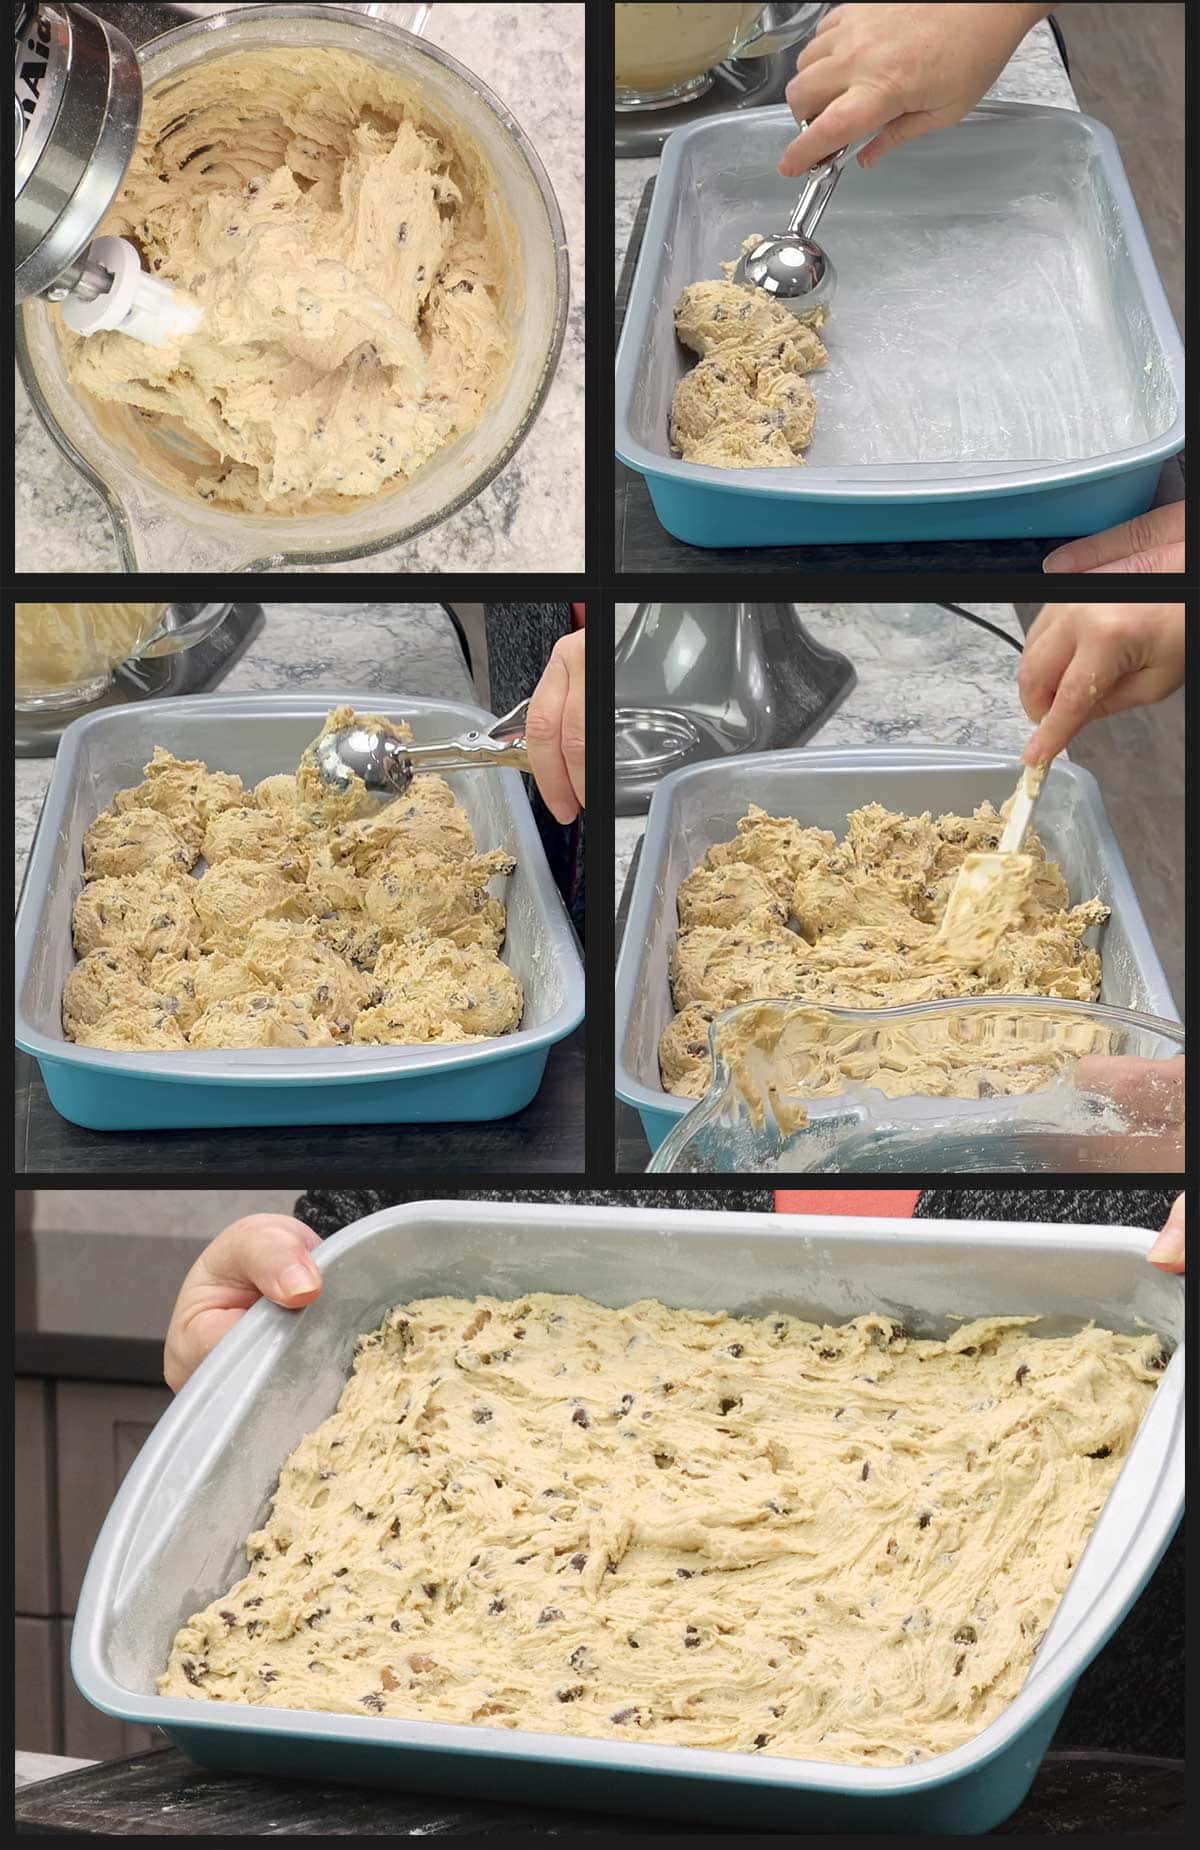
Combine the room temperature butter and brown sugar into a large bowl or the bowl of your stand mixer. Mix for 7-10 minutes or until the mixture lightens up and becomes fluffy.

Once the brown sugar and butter have lightened up in color to about the color of a light tan, add in one egg at a time and mix on low until incorporated. Scrape down the sides of the bowl as needed.
Once all the eggs have been incorporated, add in the vanilla extract and mix for 30 seconds or until the vanilla has been incorporated.
Dry Ingredients
In a medium size bowl, combine the flour, salt, and baking powder. Mix well.
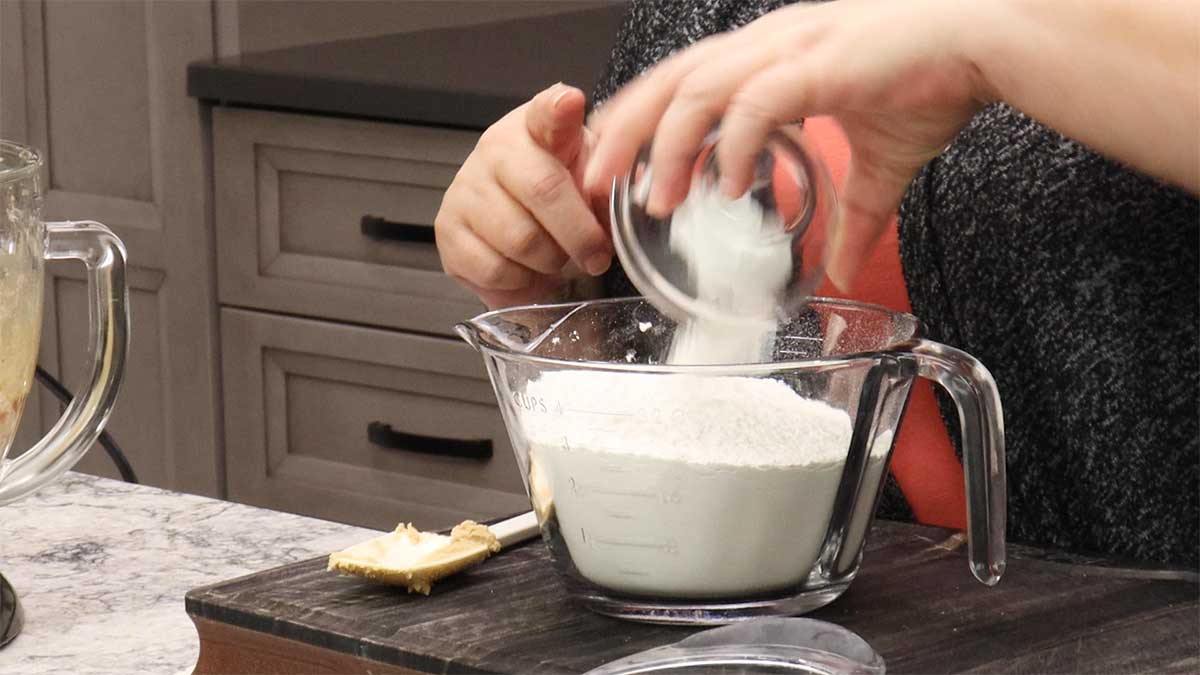
Add about ⅓ of the flour mixture to the wet ingredients and mix on low speed until incorporated. Scrape down the sides of the bowl as needed. Add another ⅓ of the flour mixture and mix until incorporated. Repeat with the remaining flour mixture.
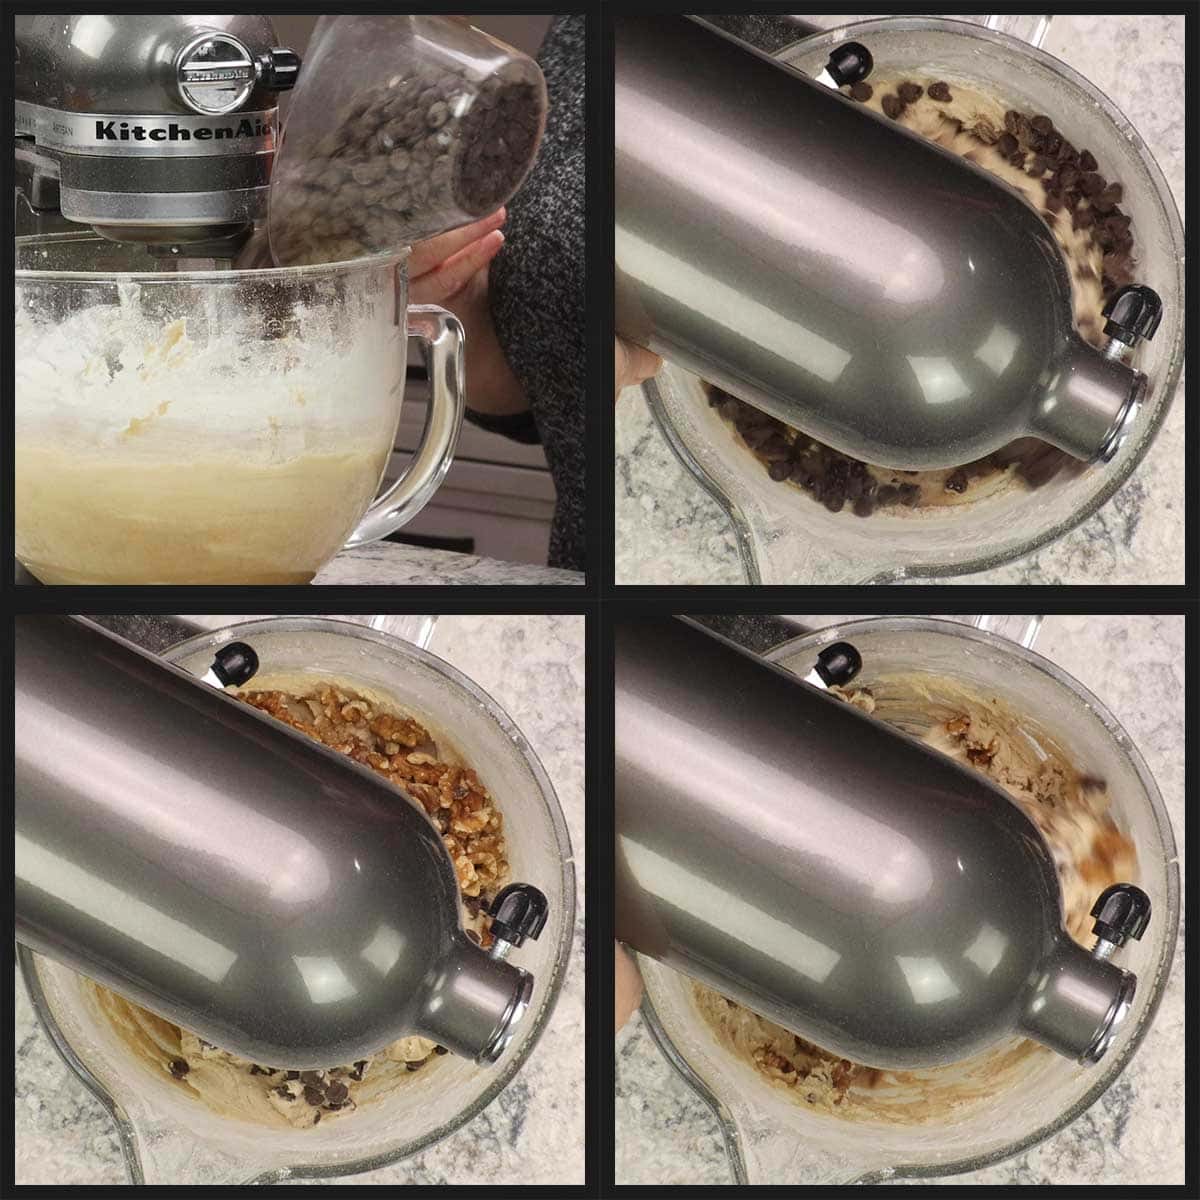
Add in the chocolate chips and stir by hand or mix on low speed with the stand mixer. Add in the walnut pieces and stir by hand or mix on low speed with the sand mixer.
Baking the Congo Bars
I find scooping the batter using a (affiliate link)large scoop or ice cream scoop makes it easier to spread them then pouring the batter into the center of the pan and spreading. The batter is very thick.
If you haven't already, prepare the 9x13 pan with a light coating of butter and flour or spray with baking spray.
Scoop the batter into the prepared pan and spread into an even layer.
Put the pan on the center rack in a preheated oven (350℉/175℃) and bake for 25 minutes. If you are using a convection oven, decrease the temperature to 325℉/160℃.
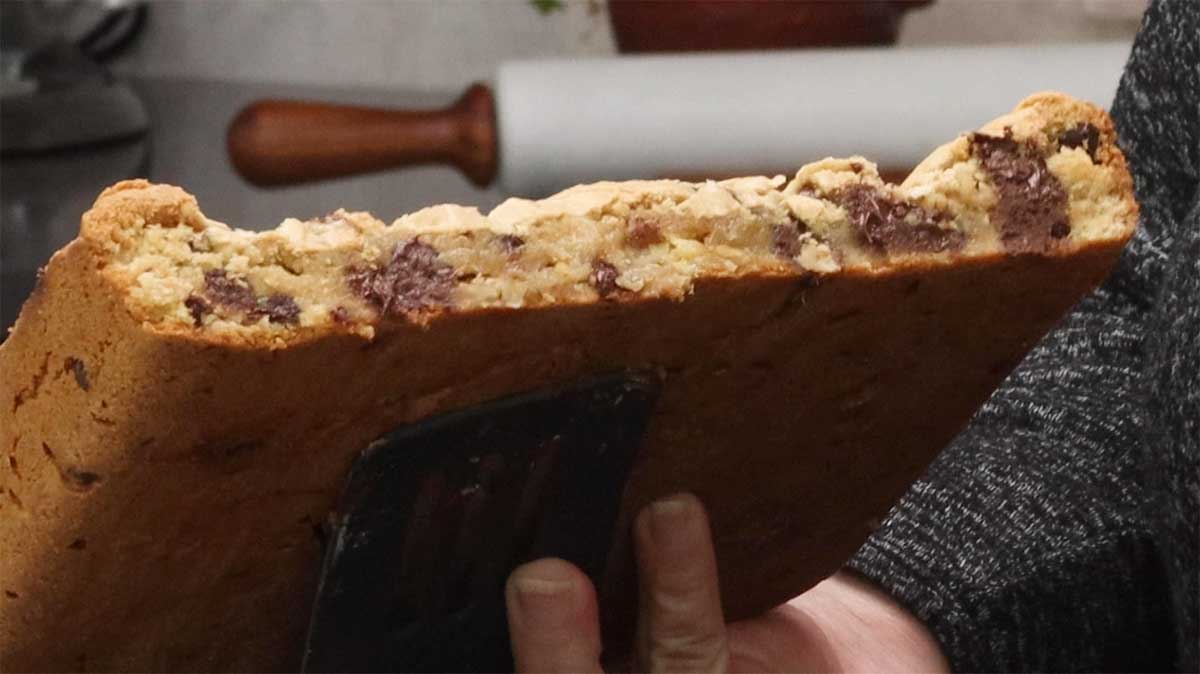
The congo bars are done when the top is a light golden color and looks flaky. A toothpick test or knife test will not work in this recipe because the center continues to cook after the pan is removed from the oven.
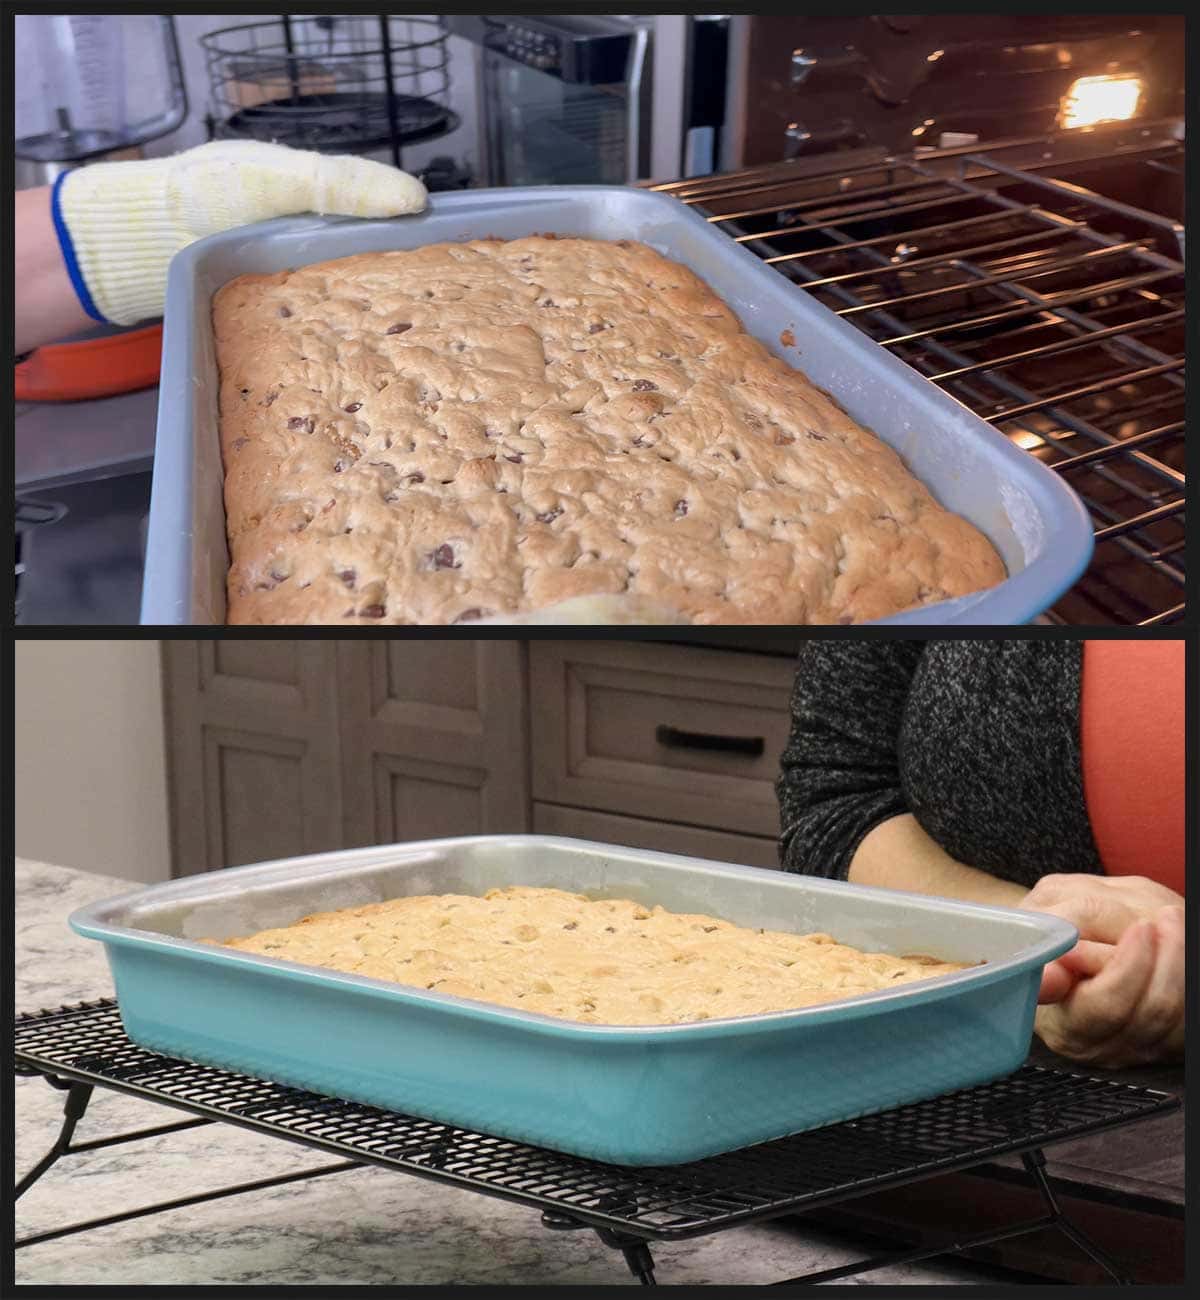
Place the pan of congo bars onto a cooling rack and let cool for a full 2 hours before cutting them. You may notice that they sink a little during the cooling process, this is normal.
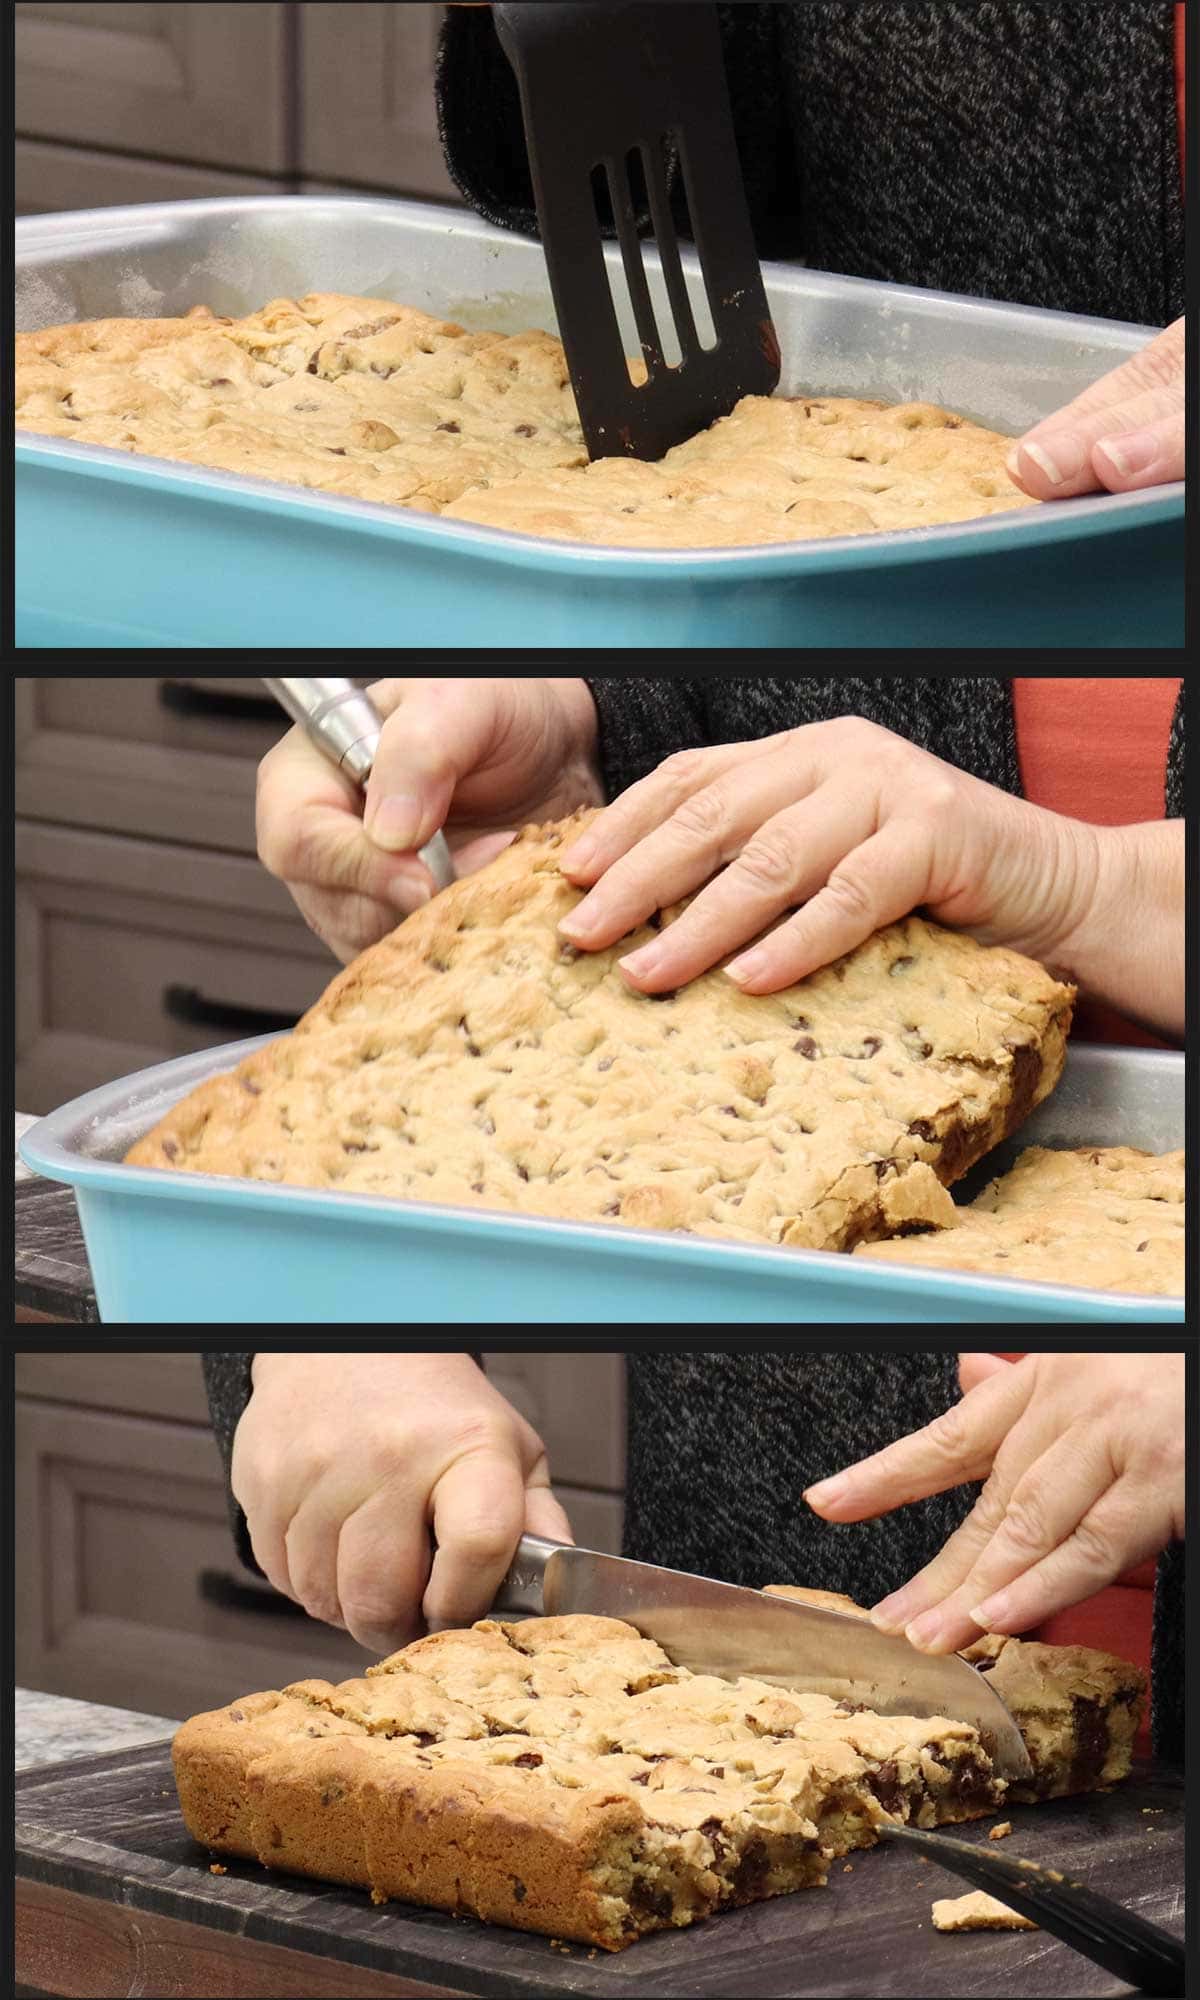
Cutting and Serving Congo Bars
Once cooled, you can cut the bars any size you want. I usually cut them down the middle and remove one block from the pan and cut into even squares. If you plan on freezing half of the bars, leave it in a block for the best texture after freezing and thawing. I get 40 bars from a 9x13 pan.
Serve & Enjoy!
Frequently Asked Questions
You can store them at room temperature in an airtight container or heavy duty bag for up to 7 days. You can store them in the fridge in an airtight container for 10-14 days and in the freezer for up to 3 months.
Absolutely! Just let them cool completely before freezing to avoid ice crystals from forming. Then package them in an airtight container and freeze. They will stay good for about 3 months and then they tend to dry out some in the freezer.
If you store them uncut, they do better in the freezer.
You can also wrap each bar in plastic wrap and then foil and then place in a freezer bag which will keep them from drying out in the freezer and they should last up to 6 months.
You absolutely can adjust the ingredients in the recipe to make less or more of the congo bars, but you will also want to adjust your pan size.
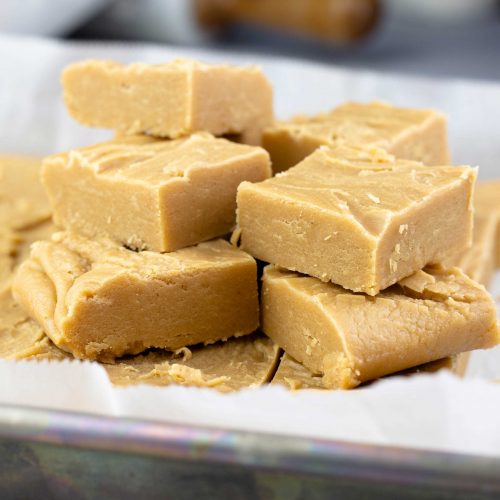
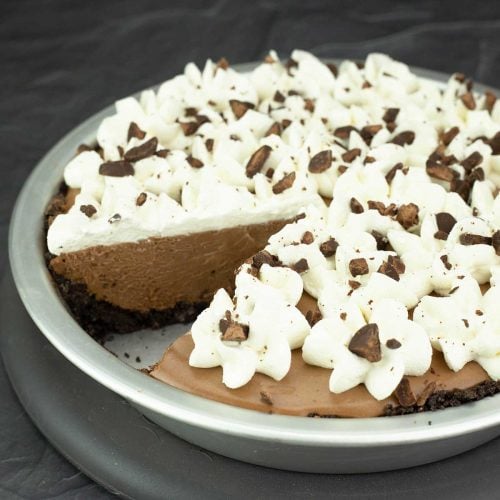
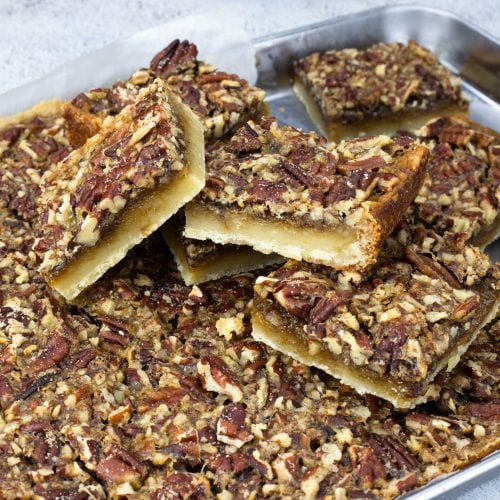
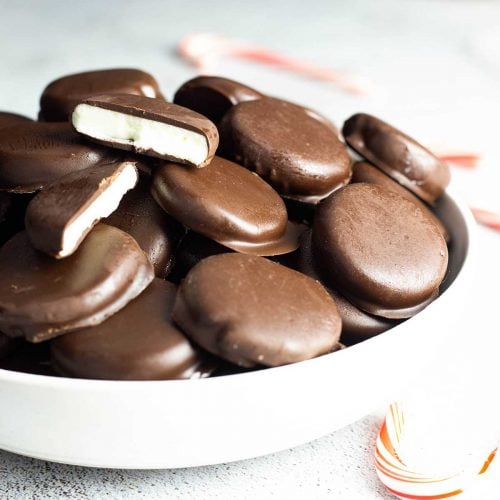
Delicious Dessert Recipes
Whether you are making desserts for a holiday celebration or a picnic, these recipes are all crowd pleasers and easy to make!
Congo Bar Recipe
Ingredients
- 10 Tablespoons butter salted & room temperature
- 2 cups brown sugar packed
- 3 large eggs room temperature
- 1 teaspoon vanilla extract
- 2¾ cups all purpose flour
- 1½ teaspoons baking powder
- ½ teaspoon fine grind sea salt
- 12 ounces semi sweet chocolate chips about 2 cups
- 1 cup walnut pieces optional
Would you like to save this recipe?
Instructions
- Prepare a 9x13 pan by either using pan grease, spraying with baking spray or lightly coat with butter and flour. Preheat the oven on 350°F/175°C
- In a large bowl or the bowl of a stand mixer, combine the butter and the brown sugar. Mix on medium speed (using the paddle attachment if using a stand mixer) until the butter and brown sugar become light and fluffy. Scrape down the sides of the bowl at least once. Mixing of the butter and brown sugar is very important in the recipe and the mixing will take 7-10 minutes to achieve the fluffy result. At first the mixture will be heavy and even crumbly, but after mixing for 5 minutes, you will start to see it lighten up and become fluffier.10 Tablespoons butter, 2 cups brown sugar
- With the mixer on low speed, add in one egg at a time and mix until incorporated. Repeat with the remaining eggs and mix between additions. Add in the vanilla extract and mix just until incorporated.3 large eggs, 1 teaspoon vanilla extract
- In a medium bowl, combine the flour, salt, and baking powder. Mix well.2¾ cups all purpose flour, ½ teaspoon fine grind sea salt, 1½ teaspoons baking powder
- Add about ⅓ of the flour mixture to the wet ingredients and mix on medium speed until the flour is incorporated. Scrape down the sides of the bowl as needed. Repeat with the remaining flour mixture.
- Add in the chocolate chips and either stir in by hand or put the mixer on low for about 30-60 seconds. Add in the walnuts if using and mix together.12 ounces semi sweet chocolate chips, 1 cup walnut pieces
- Spoon or scoop the cookie mixture into the prepared 9x13 pan and spread out into an even layer. Bake in a preheated 350°F/175°C oven for 25 minutes.
- When the baking time is up, the top should be a light golden color and look flaky. Remove the pan from the oven and place on a cooling rack. Allow to cool for a full 2 hours before cutting and serving.
- Cut the congo bars into 40 equal pieces. Serve & Enjoy!
Notes
Nutrition
About the Recipe Author, Louise Long
Louise is a full-time recipe creator and food blogger @ The Salted Pepper. She has over 30 years of experience with cooking and recipe development. She owned a restaurant for several years and was a full-time RN until retiring to blog full-time.

She published her first cookbook in the Fall of 2018 and is very interested in writing several more.
Louise is also the creator of an online Ninja Foodi Pressure Cooking Course with over 100 instructional step-by-step videos. People absolutely rave about the course and all the value they have received from it.
Louise has several very active Facebook groups that help people with the basics of cooking and learning more about the appliances they love.
Ninja Foodi Pressure Cooker & Air Crisper 101
Ninja Woodfire Outdoor Grill & Smoker
Louise is also a YouTube creator and you can find most of her recipes in video format on The Salted Pepper YouTube channel.
She is very responsive to messages and eager to help in any way she can. Get more Information about Louise & contact information
I WOULD LOVE TO SEE WHAT YOU ARE COOKING UP IN YOUR KITCHEN! TAG ME @THESALTEDPEPPER ON YOUR FAVORITE SOCIAL MEDIA PLATFORM WHEN YOU MAKE A DISH!
BE SURE TO FOLLOW THE SALTED PEPPER RIGHT HERE ⇓⇓⇓⇓⇓
Jackie Beddow says
The ingredients lists 2 eggs, but the instructions say add one egg. Should it say add one egg at a time instead?
Louise says
There are 3 eggs in the recipe and yes, it should have said add one egg at a time. Thank you for bringing this to my attention and I have fixed it in the written recipe. You may need to refresh your browser to see the changes.
Ethan says
Just made these for the first time using cannabutter! I love all your recipes, and just like always this one was a black off!
Louise says
I'm so glad you enjoyed them.
Maranda Aycock says
This is so so delicious!
Louise says
I'm so glad you like them!