Ready, Set, STOP! If you are planning on making a ham in the Ninja Foodi, you really want to read this article. How to cook a ham in the Ninja Foodi depends on several variables and especially what type of ham you are making.
I'm 6 hams in. Yes, 6 hams in two weeks! I have so much ham right now that my brain is in overdrive creating recipes using leftover ham. If you have any suggestions, please let me know! Thankfully, ham freezes well and I won't have to buy another ham for at least a decade!
When I started out testing ham recipes, I never thought that ham would give me so much trouble. I figured the part I would be testing was the glaze, not the technique or cooking times.
This post may contain affiliate links. If you make a purchase after clicking a link, I may earn a small commission. As an Amazon Associate, I earn from qualifying purchases.
I was wrong. I knew that spiral sliced hams would reheat differently from uncut hams and I figured that bone in would take longer than boneless. This last thought would lead me down a path of ruin. A completely ruined ham, that is. I must admit, I was shocked by the outcome and after spending 2 ½ hours filming a video, I felt a little deflated as well.
Why was ham giving me such a fit? It's already cooked and my job is just to reheat it. How hard can that be? Well, it's not hard at all, but the timing and method required many hams to get "almost" perfect results with each type of ham I tested.
The reason I say "almost," is because the bone-in spiral cut ham has not been perfected yet, but I've learned enough to give you some sound suggestions and I hope this helps you when you want to serve a delicious ham.
What are the Different Types of Ham?
I am no expert on ham, but I have done a lot of reading and testing different types of ham over the past few weeks and knowing what type of ham you have or want to get is the first step. There are so many different types, some more common than others. The types of hams also vary by country, since I am only familiar with the ones sold in the US, those are the types I will be discussing.
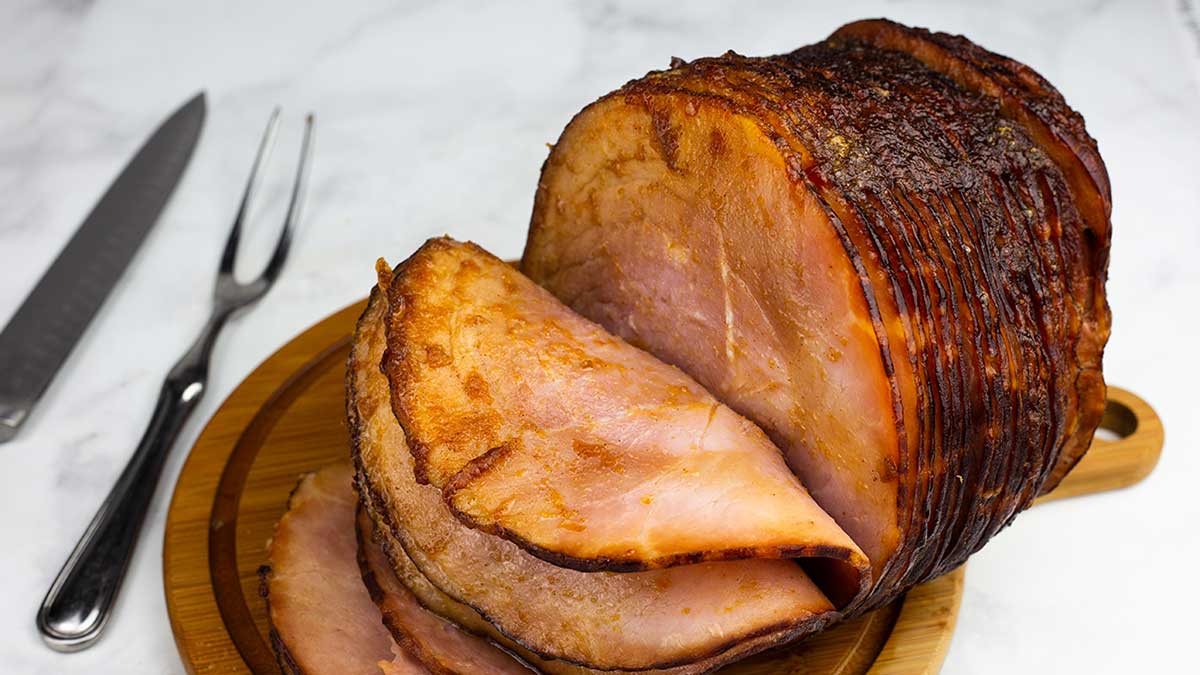
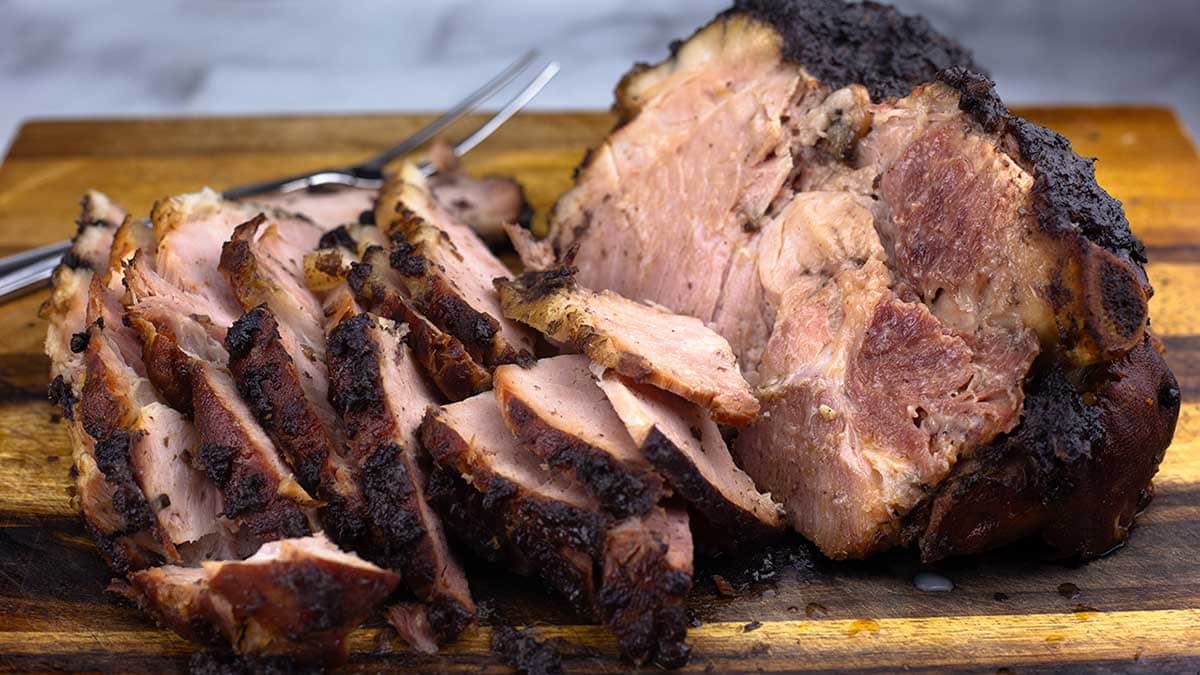
Fresh Ham: A fresh ham is cut from the hind leg of a hog and it is not cured or processed. A fresh ham MUST be cooked and the meat has the same color and texture of an uncooked pork roast. Essentially, that is exactly what it is. A pork roast cut from the hind leg. I have eaten fresh hams many times and they are very tender and delicious, but not exactly what most people think of when they think of ham. Fresh hams are not pre-sliced.
Country Ham: Country hams are salt cured and can either be smoked or not smoked. These are the hams you see in the cotton bags out of the refrigerator section. While they are not considered fully cooked, the salt prevents any bacteria from growing and do not need to be refrigerated. This type of ham needs to be soaked quite a while before cooking or the saltiness is too much for most people. Country Ham is very popular in the southern United States and you will often see it all over the US being pan fried and served up for breakfast. You can even buy pre-soaked and sliced country ham, so all you have to do is throw it in a skillet and cook it up. Country Ham is also wonderful to use in collard greens or beans because it really adds that depth of flavor to these types of dishes. Country Hams are not usually sliced unless prepackaged.
City Ham: This is the type of ham that most people purchase from their local grocery store. It is a wet brined ham, most of the time smoked, and they are ALMOST always fully cooked. These hams come in a variety of "styles" and trust me, it's confusing! City Hams are what I tested and despite reading labels (I thought) very carefully, I bought the wrong type a few times. No worries though, I ended up making them all and I get to share all that experience with you! So, let's delve into that!
Which type of City Ham do I choose?
Chances are, you already have a city ham that you are looking for guidance on how to prepare and that is fine. I have cooked several (not all) different types and I will let you know everything I learned. If you haven't already purchased your ham, I really hope this helps you make the decision to buy an uncut city ham. Don't get me wrong, I love the spiral sliced hams. I really do. However, they can be very temperamental, especially in a pressure cooker!
So, first things first. I haven't bought a lot of hams in my lifetime, in fact, I've never given ham as much thought in the past 49 years as I have the past three weeks. I made major mistakes when purchasing hams to test in the Ninja Foodi. In fact, I only meant to test a spiral sliced boneless ham versus a bone in uncut ham. Only after unwrapping them (some came in shiny foil packaging), did I realize that this was way more involved that I thought.
READ THE LABELS CAREFULLY! That is my first advice.
Whole City Hams are very large usually, weighing in at about 15-20 pounds. Most of the time you will see the ham cut into to two sections. This is where you need to make another choice. Which section do you want? The butt end or the shank end.
Butt Portion: This is the half of the ham that has the most fat, so it has more flavor and tends to be very tender. Sounds like a no brainer, right? Get the butt end! Well... not so fast! The butt end is harder to carve because it has more than one bone to deal with. That doesn't mean it isn't a great choice, it is. Just understand that it will be a little trickier to carve.
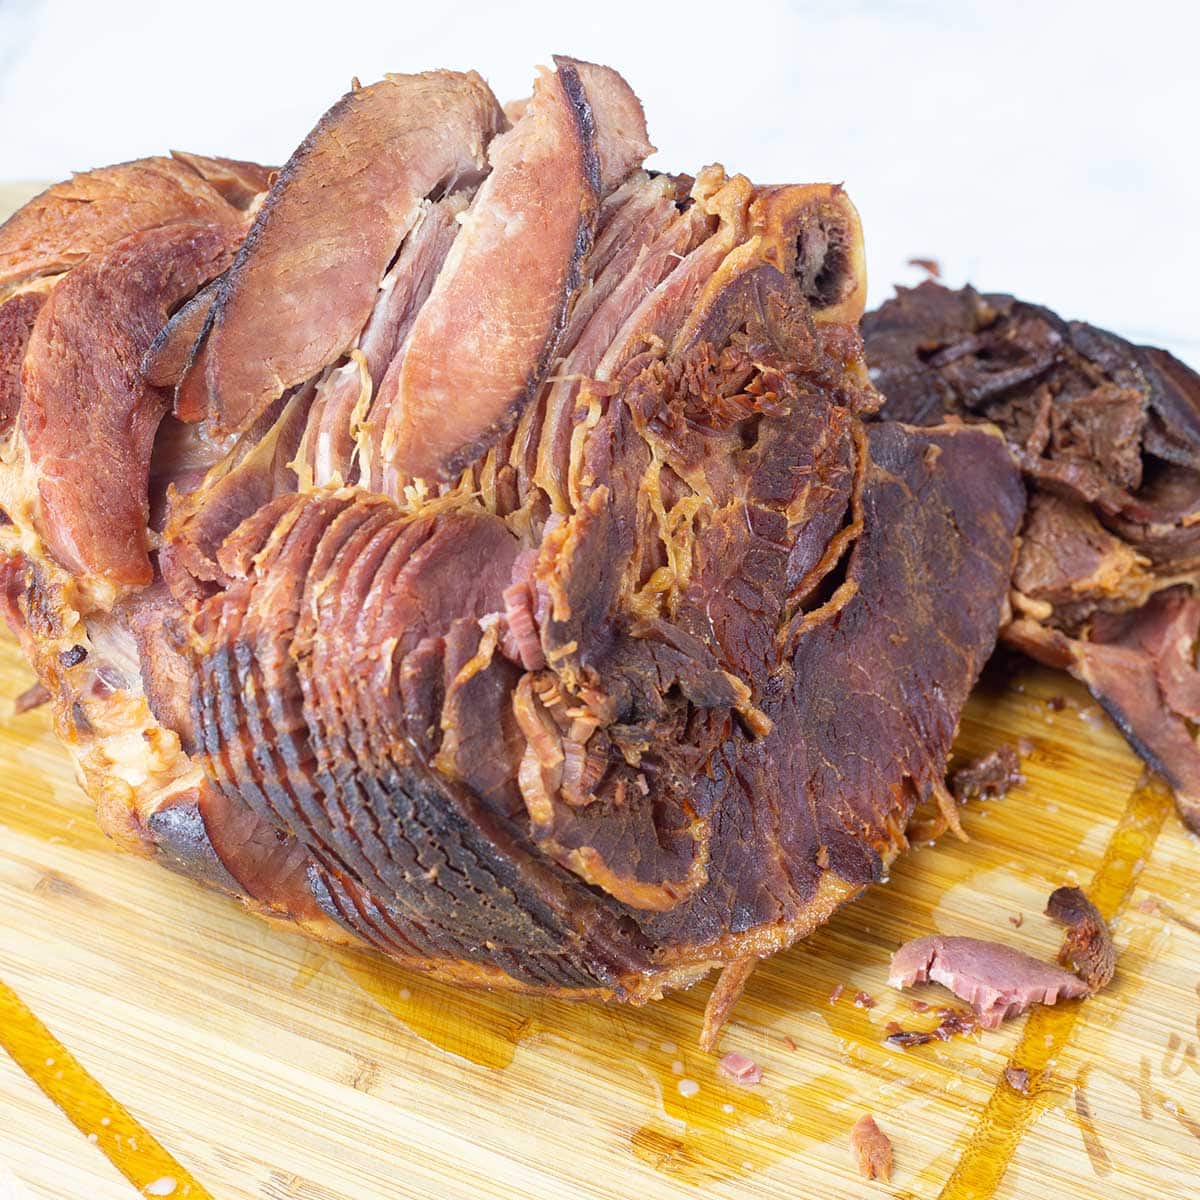
I will make one suggestion if you get the butt end, get one that is uncut. The ham I destroyed was the butt end and I do believe the bones played a roll in that. Usually when meat has bone in, we cook it longer because the bone insulates the meat around the bone and it takes longer to get done. What I found is that a spiral sliced butt portion bone-in ham dries out faster than the boneless spiral cut OR the bone in uncut ham.
Why? Well, it's probably not because the bones conduct heat because while bone does conduct heat, the air pockets inside the bone act as an insulator and meat closest to the bone doesn't cook as fast. So, why was this ham so overdone? I think it is the way the butt portion of a ham is spiral sliced.
It allowed so much of the super heated steam to penetrate the meat and therefore drying it out. That is my thought anyway! I was not happy with that ham at all and would not recommended pressure cooking a butt portion if it is spiral sliced.
Here is a video that goes over the process of carving a butt portion.
Shank Portion: The shank portion has the femur bone and the shank bone. This one is easier to carve since you don't have to negotiate around the ball joint of the femur. The meat is super flavorful, but can be tougher.
If you want to get a spiral sliced ham, I recommend getting the shank portion. They heat up better under low pressure and the slices of meat you get from a spiral sliced one are larger and more uniform in my opinion.
If you get an uncut ham that is the shank portion, here is a video on how to carve it:
Should I buy a Spiral Sliced Ham or an Uncut Ham?
My preference is uncut. This is the most forgiving ham and you don't have to worry too much about it drying out. The uncut shank portion was the best ham out of the six that I made.
I also love that you have total control over the thickness of your slices. You can slice it thin for sandwiches, an inch thick for ham dinner, and even cube it for things like casseroles and ham pot pies.
I love the convenience of a spiral sliced ham, but they are tricky to reheat. Many people bake their spiral sliced hams in the oven on a low temp. This is a fine technique, but I think it tends to dry the ham out too much. You can certainly baste it frequently to help keep it moist, but that is time consuming for sure.
If you are set on buying a spiral sliced ham, then I suggest either the bone-in shank portion or a boneless ham. I will get into cooking methods and timing later in this post.
Lastly, do you want a bone in ham?
Should I get a Ham that is Boneless or Bone in?
This is really based on your preference. The bone in, uncut hams are wonderful and if you don't mind doing some carving around the bone, I would recommend this type of ham for sure.
Personally, I'd choose a bone-in uncut ham over any other type of ham for the versitily, easy of reheating, and it's almost foolproof! I love having the bone to make soups and bone in ham is more flavorful in my opinion.
I also had good luck with a boneless spiral sliced ham, but make sure to read the label! Some boneless hams are not the entire ham portion, but ham pieces that are gelled together.
The hams you find in cans are usually made this way, so read carefully.
There are also semi-boneless hams. These hams have had the shank or hip bone removed, leaving only the femur bone. These are easier to carve for sure! I didn't test a semi-boneless ham, but I would follow the cooking times for a bone in ham.
What Size Ham will Fit in my Ninja Foodi?
In the 6.5 qt, I found that hams up to 7 pounds fit fine. This also depends on the shape of the ham, so to be sure I would take the inner pot to the store with you. I know that sounds silly, but if you want to make sure it fits that is the way to do it. My 7 pound ham was able to fit on a silicone sling to raise it above the liquid, but if you don't have a sling, you may want to use the rack. If using the rack, stick with a smaller ham around 4-6 pounds.
In the 8 quart, I found that an 8 pound ham fit just fine. Again, this depends on the shape of the ham and the only way to know for sure is to take the inner pot with you when you go ham shopping!
What can I serve with my Ham?
Now that you have decided on which type of ham is going to work best for you, let's talk about what to serve with it! Personally, I think potatoes go perfectly with 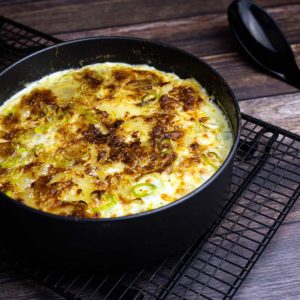
No more worrying about undercooked potatoes because you make sure they are fully cooked (right in the Ninja Foodi) before you pour the cream over and bake. The infused cream makes this scalloped potato dish over-the-top delicious and it's easy to make!
The hardest part is cutting those potatoes, but if you have a mandoline like I do, even that is easy and quick! I recently bought a new mandoline and I LOVE it! If you are interested in getting one, you can find the one I have right here: (affiliate link)Mandoline Slicer
Another great choice to serve with ham is this recipe for Cheesy Garlic Mashed Potatoes. They are divine and don't be alarmed at the amount of garlic, I promise it isn't overwhelming at all.
Brussels Sprouts also go very well with ham and these Candied Brussels Sprouts are so darn good, you'll even like them if you don't normally like Brussels Sprouts!
What glaze should I use on my Ham?
I used three* different glazes during my test and I will be working on getting the instructions out in separate recipe posts, but for now I will list the ingredients and instructions for each one right here. If you prefer to watch me make these glazes and see how the hams turned out, here is the video:
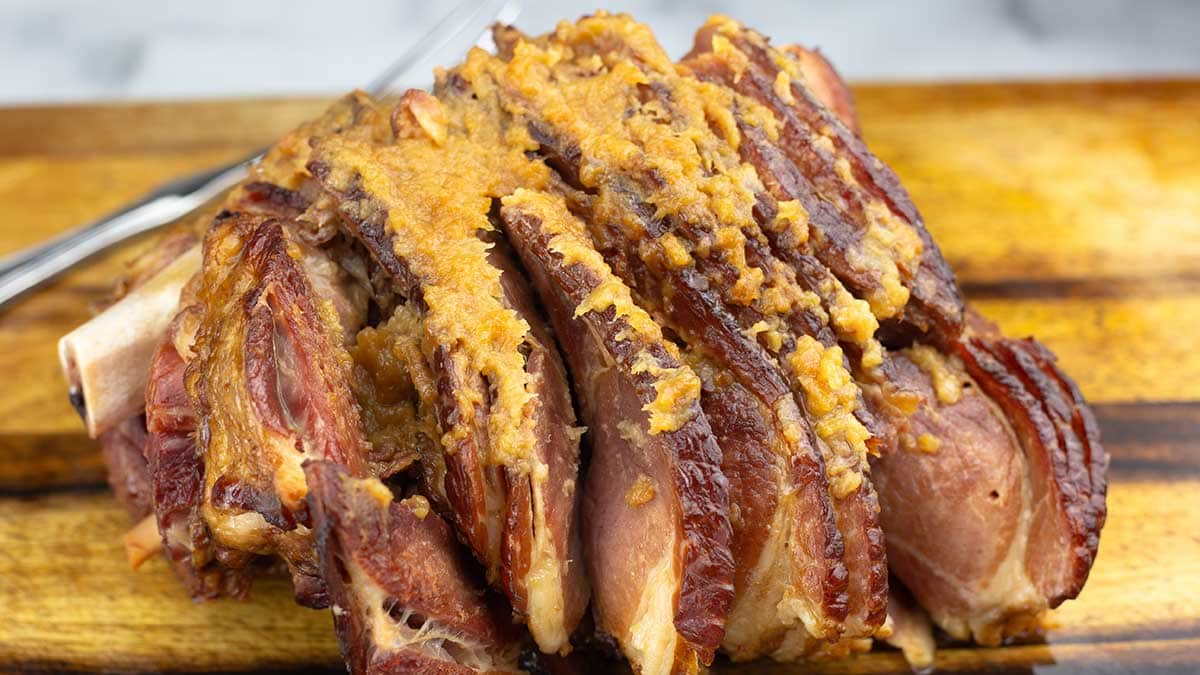
What glaze you use is totally up to you. Most spiral sliced hams come with a glaze packet and you can use that if you want. I tend not to use those and prefer to make up my own. My absolute favorite was the sour cherry and pineapple glaze. If you don't mind your ham looking darker on the outside, I really recommend this one!
Sour Cherry & Pineapple Glaze
Ingredients:
- 1 Tablespoon of whole cloves
- 24 ounces of sour cherries, drained
- 20 ounce can of pineapple chunks, drained (you can also use about 8 ounces of crushed pineapple)
- 3 Tbsps of the reserved cherry juice, divided
- 3 Tbsps of the reserved pineapple juice, divided
- ¾ cup brown sugar
Instructions:
Score the ham (if it is uncut) and press in the cloves. If you are using a spiral sliced ham, add ½ tablespoon of the cloves in cheesecloth to the inner pot.
Add the cherries and the pineapple to the inner pot along with the 2 Tablespoons of reserved pineapple and 2 Tablespoon of reserved cherry juice. Cook your ham according to the recommended times.
Drain the liquid and reserve the fruit. Add the fruit to the inner pot and add the brown sugar and remaining reserved pineapple and cherry juices. Cook on sear/saute on high for about 3-5 minutes or until the mixture is boiling. Remove the cloves from the ham or the liquid.
Use an immersion blender to blend up the fruit. Pour the glaze over the ham and broil for 5-10 minutes.
Cinnamon Apple Honey Glaze
Ingredients:
- 4 Fuji Apples - peeled, cored, and sliced into wedges
- 2 cinnamon sticks
- ¼ cup water
- ½ cup butter, salted or unsalted
- ¼ cup honey
Instructions:
Add the cinnamon sticks, apple wedges, ¼ cup of water into the inner pot of the Ninja Foodi. Place your ham on a sling or on the rack, pour the honey over the ham and cook according to the instructions specific for your ham.
Drain the juices and reserve the apples (they will be like applesauce now), remove the cinnamon sticks. Place the apples back into the inner pot and add the butter. Cook until bubbly and hot.
Pour the glaze over your ham and broil or air crisp for 5-10 minutes.
*The third glaze will be written up soon
How to cook a Ham in the Ninja Foodi
Okay, let's delve into the suggestions and things I have learned from cooking all these hams! How to cook a ham in the Ninja Foodi really depends on the type of ham and if it is spiral sliced or uncut.
The following suggestions are ONLY for fully cooked hams. Check your label and make sure it says fully cooked. If your ham needs to be cooked prior to serving, there will be cooking instructions on the label.
Please keep in mind that these are only my suggestions based on my experiences. I always encourage you to cook less rather than more, especially in this instance because your ham is already fully cooked.
All of my tests were done with hams ranging from 6 pounds to 8 pounds. If your ham is half a circle and pre-sliced, these times and cooking methods may not be the best for your ham.
After completing all of my testing on 6 different hams, I really don't recommend pressure cooking any ham that is spiral sliced. If you do, use minimal time to avoid drying out the ham. I think wrapping the ham in foil will also help if you decide to pressure cook and please, use the LOW setting for any spiral cut hams.
Bone in, uncut hams are wonderful in the pressure cooker and I would do that again in a heartbeat. Not only is it a time saver, the ham is simply delicious pressure cooked!
I really hope these suggestions are helpful and that you make a ham that is spectacular!
Bone In Spiral Sliced Ham Cooking Suggestions
Use ¼ cup of thin liquid. Pressure cook on LOW for 1 minute per pound. Naturally release the pressure for at least 15 minutes. Remove the juices from the inner pot. You want the internal temperature to be somewhere between 130-140°. If the ham is not warmed enough after the 1 minute PC time, use the steam function to finish warming through. You will want to drain the liquid and replace with water so you don't have ham juices coming out of the valve.
*** If you are serving a ham for a special occasion, I really recommend trying a different method if you haven't pressure cooked a spiral sliced ham before.
Bone In Uncut Ham Cooking Suggestions
Use ¼ cup of thin liquid. Pressure cook on HIGH for 3-3 ½ minutes per pound. Naturally release the pressure for at least 15 minutes. Remove the juices from the inner pot. If you are glazing the ham, pour the glaze over the ham and broil for 5-10 minutes.
Boneless Uncut Ham Cooking Suggestions
Use ¼ cup of thin liquid. Pressure cook on HIGH for 3 minutes per pound. Naturally release the pressure for at least 15 minutes. Remove the juices from the inner pot. If you are glazing the ham, pour the glaze over the ham and broil for 5-10 minutes.
Boneless Spiral Sliced Ham Cooking Suggestions
Use ½ cup of thin liquid. Pressure cook on LOW for 2 - 2 ½ minutes per pound. I rounded down in my YouTube video and I always suggest using less time rather than more time. You can always reheat more, but once the ham dries out, you can't fix it. Naturally release the pressure for at least 10 minutes. Remove the juices from the inner pot. If you are glazing the ham, pour the glaze over the ham and broil for 5-10 minutes.
*** If you are serving a ham for a special occasion, I really recommend trying a different method if you haven't pressure cooked a spiral sliced ham before.
You can also skip the pressure cooking and choose the steam function for any of these hams and steam until the ham is warmed through. You can remove the pressure lid at any time during the steaming process to check the internal temp. Steam just long enough to warm the ham through. This will take about 1 hour in my experience.
Or, you can use the bake roast function on 250° F, but I would recommend covering a spiral sliced ham with foil to protect it from drying out.
I hope this helps you make the perfect ham!
All My Best,
Louise
ABOUT THE RECIPE AUTHOR, LOUISE LONG
Louise is a full-time recipe creator and food blogger @ The Salted Pepper. She has over 30 years of  experience with cooking and recipe development. She owned a restaurant for several years and was a full-time RN until retiring to blog full-time.
Louise has several very active Facebook groups that help people with the basics of cooking and getting the most out of the Ninja Foodi.
Ninja Foodi Fresh & Healthy Meals
Seeing the need for easy, delicious, and high quality recipes, she is focusing all of her efforts creating recipes specifically for the Ninja Foodi. Her recipes are easy for the home cook to follow and provide step-by-step instructions.
Louise is also a YouTube creator and you can find most of her recipes in video format on The Salted Pepper YouTube channel.
She is very responsive to messages and eager to help in any way she can.


Robyn
Please do a Ninja Foodi Smart Lid one with a boneless spiral ham. We have a favorite local ham that comes boneless and spiraled. I’d think Steam and crisp would work well, but I have no clue where to start time wise.
Connie
Louise, I loosely followed your recipe for bone-in butt portion ham (not spiral sliced). I didn’t have ingredients on hand for either glaze, so I added apple sauce, cinnamon, a small bit of syrup and the cloves to pot while it cooked. Cooking time was spot on. Everyone loved it. Looking forward to leftovers and using the bone in my black eye peas for New Years.