As a previous owner of a BBQ restaurant, I've made plenty of Pulled Pork using our wood-fired smoker. You can't beat the flavor of a smoked pork shoulder, BUT with the combination of pressure cooking and air crisping, you can make a wonderful pulled pork in the Ninja Foodi!
Would you like to save this recipe?
The BEST news of all is it takes a whole lot less time.
It's completely normal to smoke a pork shoulder for 8-10 hours. It takes that long for the meat to become tender and develop the bark that is a signature sign of a smoked pork shoulder.
By using the Ninja Foodi PC & AC, or the Instant Pot Duo Crisp, or even the new Instant Pot Pro Crisp, you can achieve those same results (minus the smoke flavor) in about 2-3 hours, depending on how big of a pork shoulder you have.
It's also pretty much a hands-off process, so you can be doing other things while your pork is making itself.
Frequently Asked Questions
Yes, you can. Pressure cooking with soda will not cause any issues, but I'm not sure how much flavor it adds.
I've tried pressure cooking pork with various liquids and unless I'm putting the meat directly in the liquid (which you can do) and using the cooking liquid to season the shredded pork, I have not noticed a difference in flavor.
You can use pretty much any cut of pork to make pulled pork (even pork chops or tenderloin) in a pressure cooker. However, for the best flavor and texture of the pulled pork, I would use a pork butt (also called Boston butt).
You can use a boneless pork butt or the bone-in like I did. There is only one small bone in the pork butt, so it's not difficult to remove after cooking.
Yes, you can, but it needs to be thinned down some in order for the steam to build that puts the pot under pressure. By the time you thin it down and all the juices and fat renders from the pork, it will be very diluted.
Instead of using the bbq sauce to pressure cook with, I suggest adding it at the end, so you can mix it in with the meat and maybe some juices to get the flavor you want.
What is the difference between a Pork Picnic Roast and a Pork Butt?
There is a very important distinction between these two cuts of meat and, while they are both pork shoulder, they are from different areas of the shoulder.
The butcher will remove the entire pork shoulder and this is called a primal cut. It is then broken down into two sub-primal cuts, called the pork butt and the pork shoulder. I know, confusing! Why do they call it pork butt when it is the shoulder?
From what I've read, the pork butt is named after the containers (called butts) that the pork was stored in. You may also hear this sub-primal cut be called a Boston butt and that is because it was considered a specialty in New England.
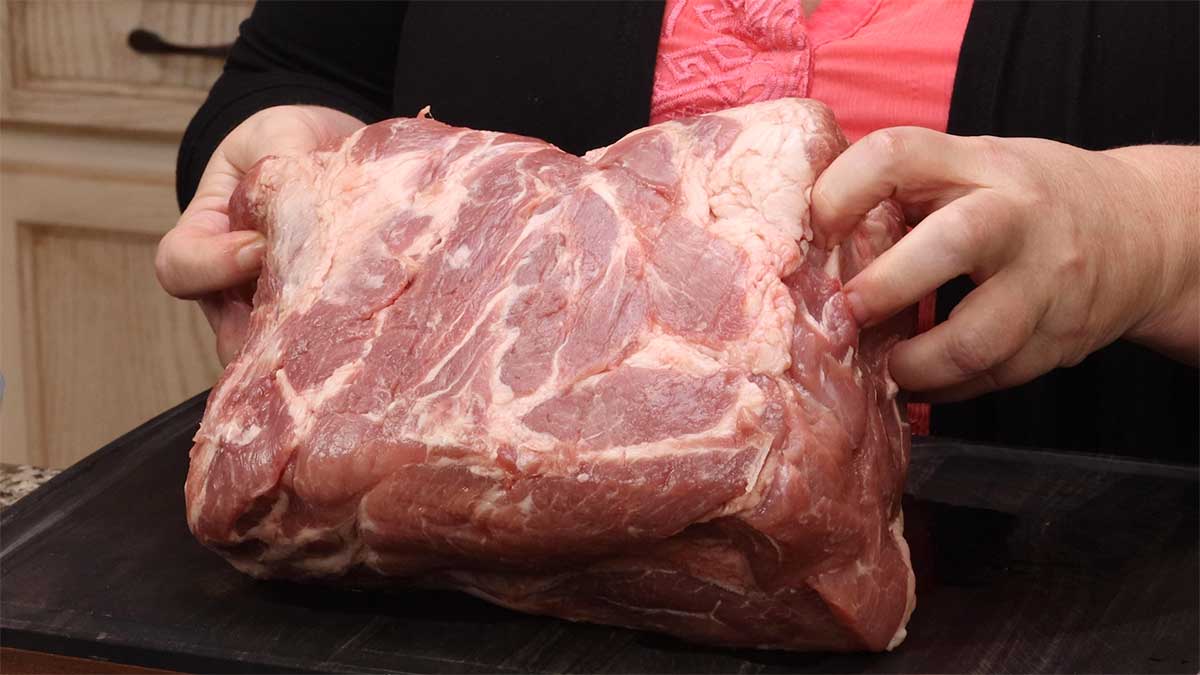
The pork butt or Boston butt is cut from the top of the shoulder and is a well-marbled piece of meat with a good amount of fat. The shape is usually a fairly uniform rectangle and it is skinless, but one side should have a fat cap on it. The one I cooked for this recipe, had a fat cap only on one side and it was not quite as good as previous ones I have made.
The pork picnic roast (also called pork shoulder or picnic shoulder) is cut from the lower part of the shoulder towards the legs and it also has a good amount of fat around the meat, but less fat marbled through the meat. The meat tends to be slightly tougher and may require longer to cook. It is often sold with some of the skin on and that should be removed before pressure cooking. You can also remove some of the fat from around the meat, but you want to leave some of the fat intact because it helps keep the meat moist and flavorful.
The shape of a picnic roast is usually tapered slightly and usually has the bone left in. The picnic roast or picnic shoulder is often used for pulled pork and you can certainly use it. I prefer the pork butt though.
If you want a visual guide to these and other cuts of pork, check out this article: Pork Cuts 101- A Visual Diagram
Pressure Cooking Times Based On Weight of Pork
I've cooked 5 or 6 pork butts in the pressure cooker and they have varied in size, so these are my suggestions for cook time based on weight of your pork butt. Keep in mind that I have also found some variations in cooking times for the same size pork butt, some just needed longer than others.
Pork butts are usually 5-7 pounds, but I've cooked an 8 pound and I've cut a 5 pound one in half. The first thing you want to do is make sure your pork butt will fit in the Ninja Foodi and that the pressure lid will close.
For the best results, I would try to find a pork butt that is between 5-7 pounds.
These times are based on this recipe and include an 1-hour Air Crisp after the PC time. If you are skipping that, you will want to add 15-30 minutes to the times.
- 2 ½ pound pork butt takes about 45 minutes on high pressure with a full natural release
- 4-5 pound pork butt takes about 60 minutes on high pressure with a full natural release
- 6-7 pound pork butt takes about 70 minutes on high pressure with a full natural release
- 7-8 pound pork butt takes about 90 minute on high pressure with a full natural release.
Because a pork butt is a fatty cut of meat, you aren't going to hurt anything by cooking it longer, but if you cook it long enough it will start to fall apart and that can make the air crisping a little more difficult.
Recipes that Compliment Pulled Pork
When I think of pulled pork, I think of bbq and all the sides that are served in bbq restaurants and here are some of my favorites.
I like to cook my pork shoulder with just spices and then add the sauces when I serve it. That way, if I have leftover pulled pork, I can turn it into other things and I'm not committed to the flavor of the bbq sauce.
Here are my two favorite bbq sauces that are perfect with this Ninja Foodi pulled pork.
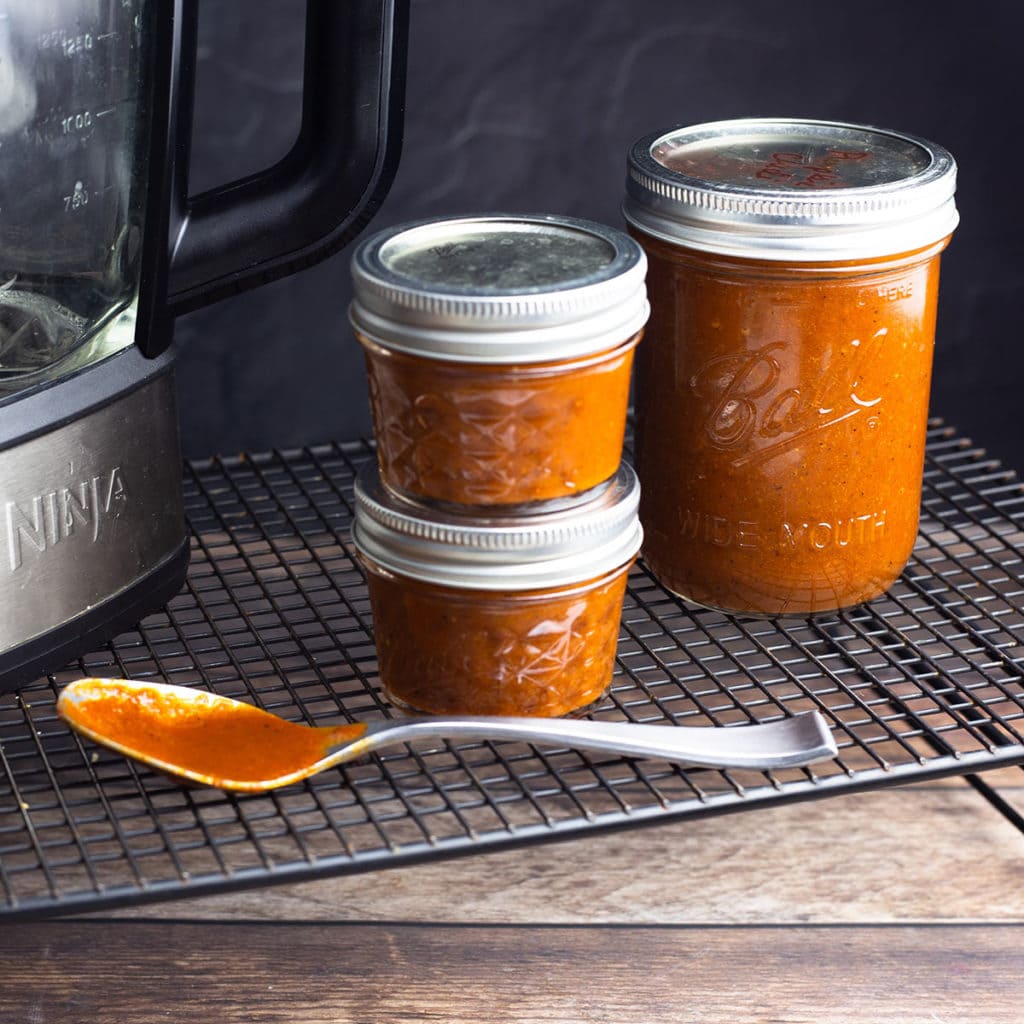
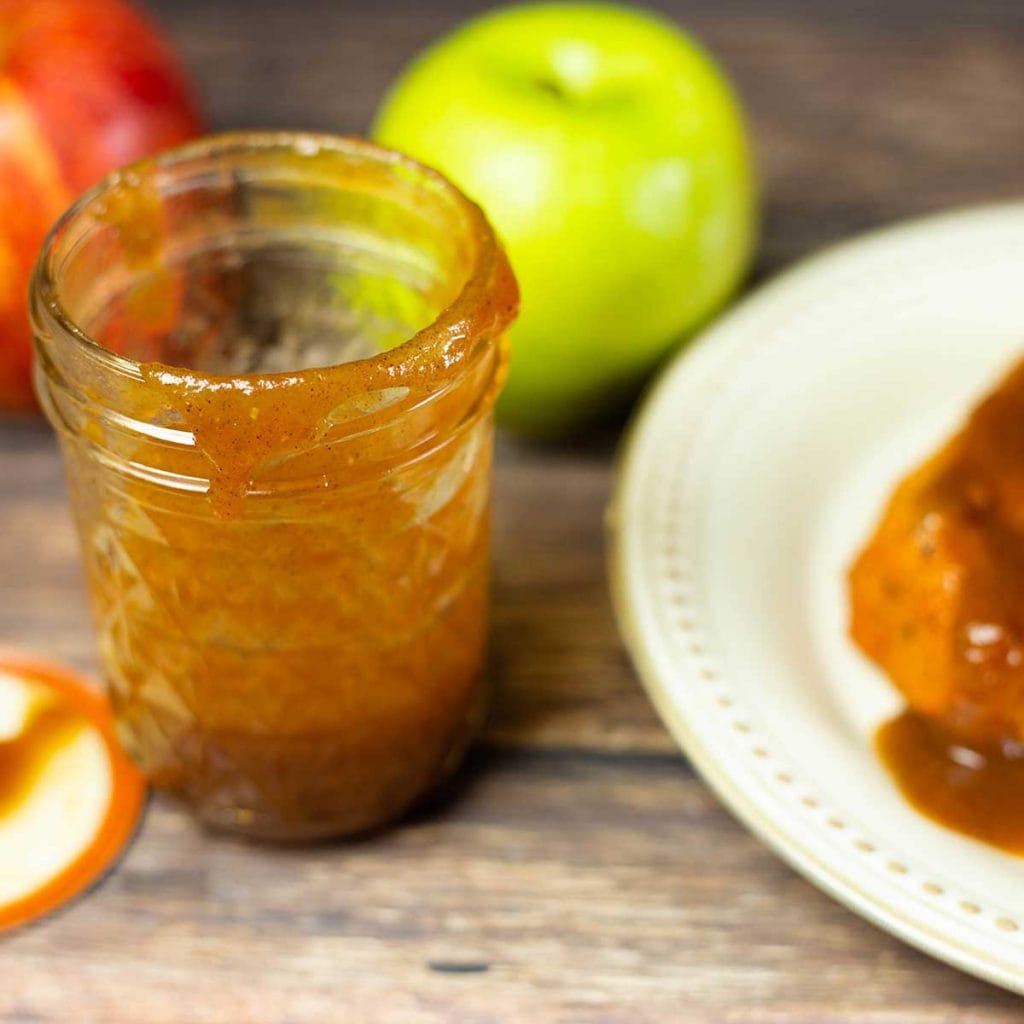
Apple Butter Bourbon BBQ Sauce Recipe

10-minute BBQ Sauce apple butter bourbon BBQ sauce
As far as side dishes are concerned, there are so many things that go perfectly with pulled pork, but here are some of my suggestions.
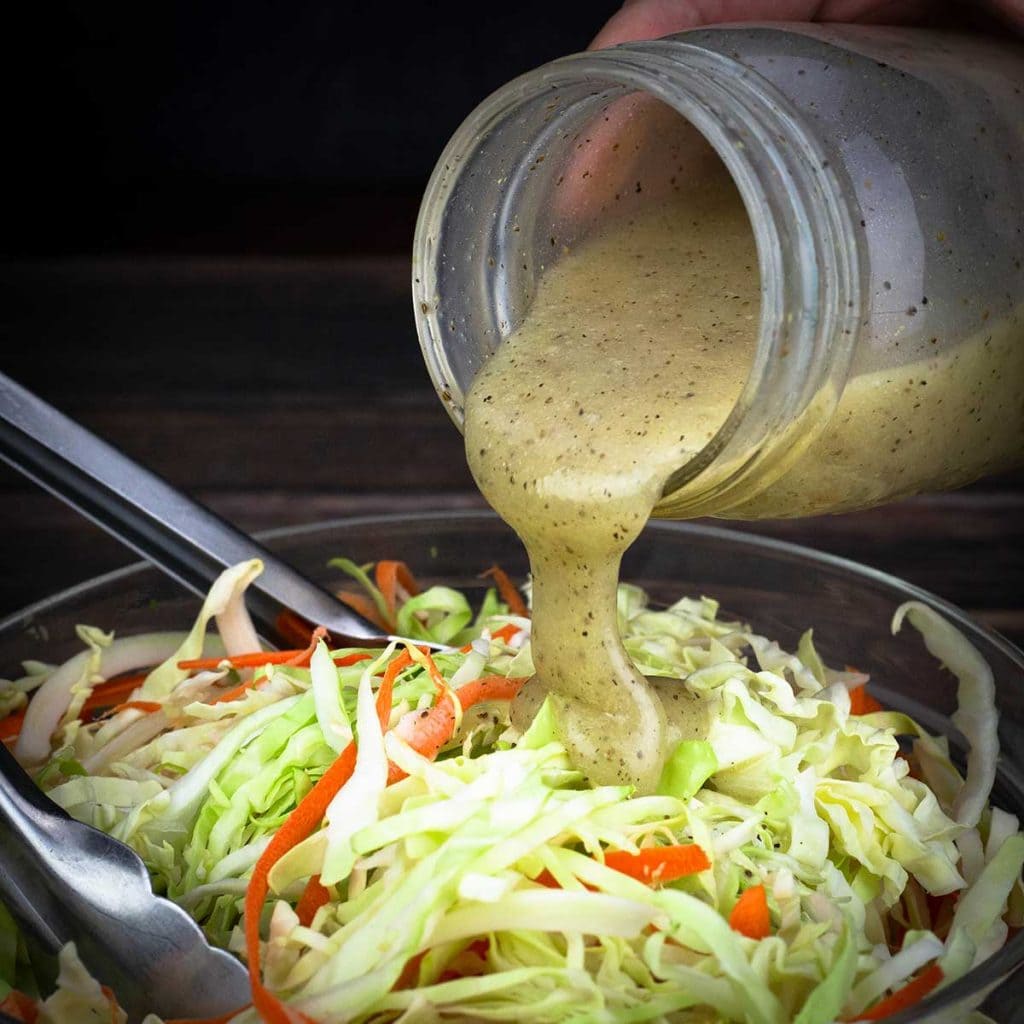
Coleslaw is a must, in my opinion. I eat it on the side, but Jeff (my husband) puts it right on his sandwich. There are different styles of coleslaw, but this is my favorite and it's the same recipe (scaled down of course) that we used in my BBQ restaurant.
This recipe is specifically for the dressing, but in the post I also share how I make my coleslaw mix. I hope you give the pineapple a try, it's so good with a pulled pork sandwich!
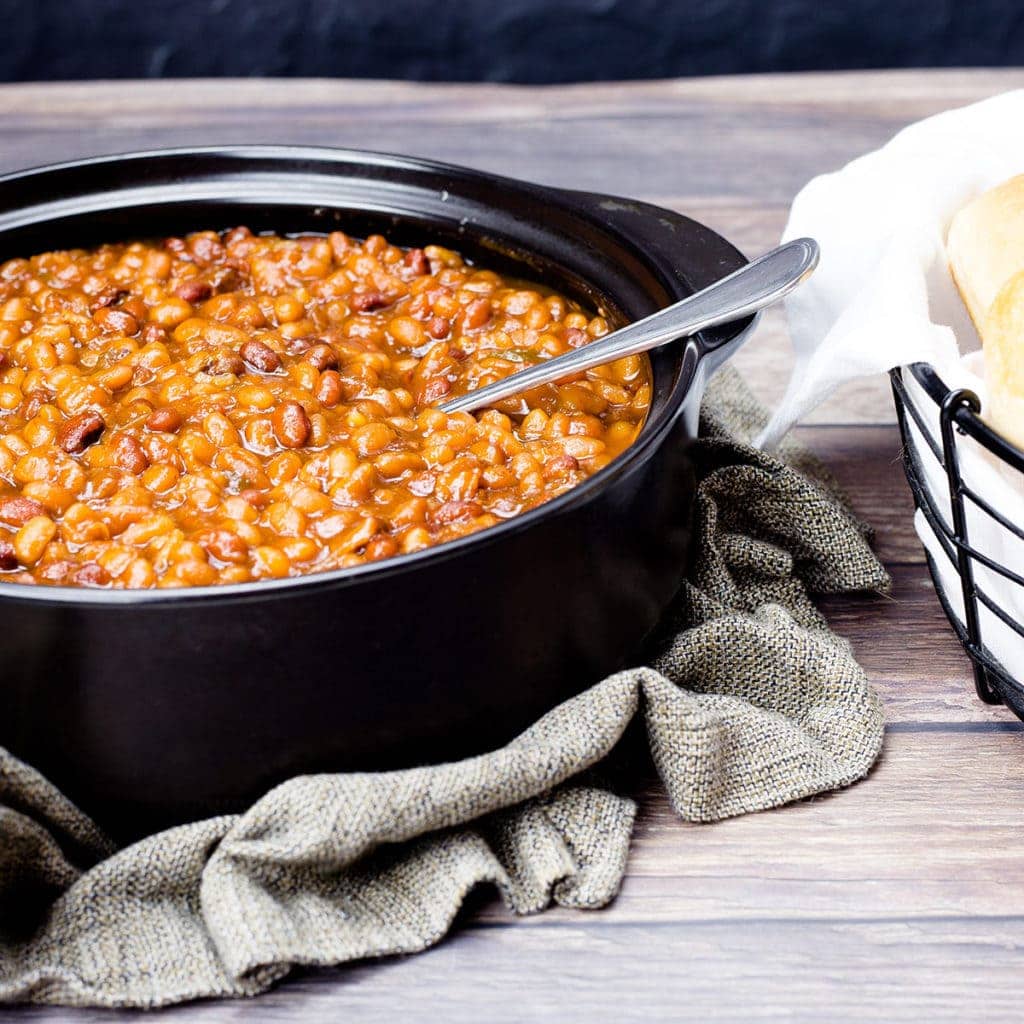
A BBQ dinner isn't complete without baked beans! They are the one side dish that I always order and am usually disappointed in when I go out for BBQ. Here is my homemade version and it is fantastic!
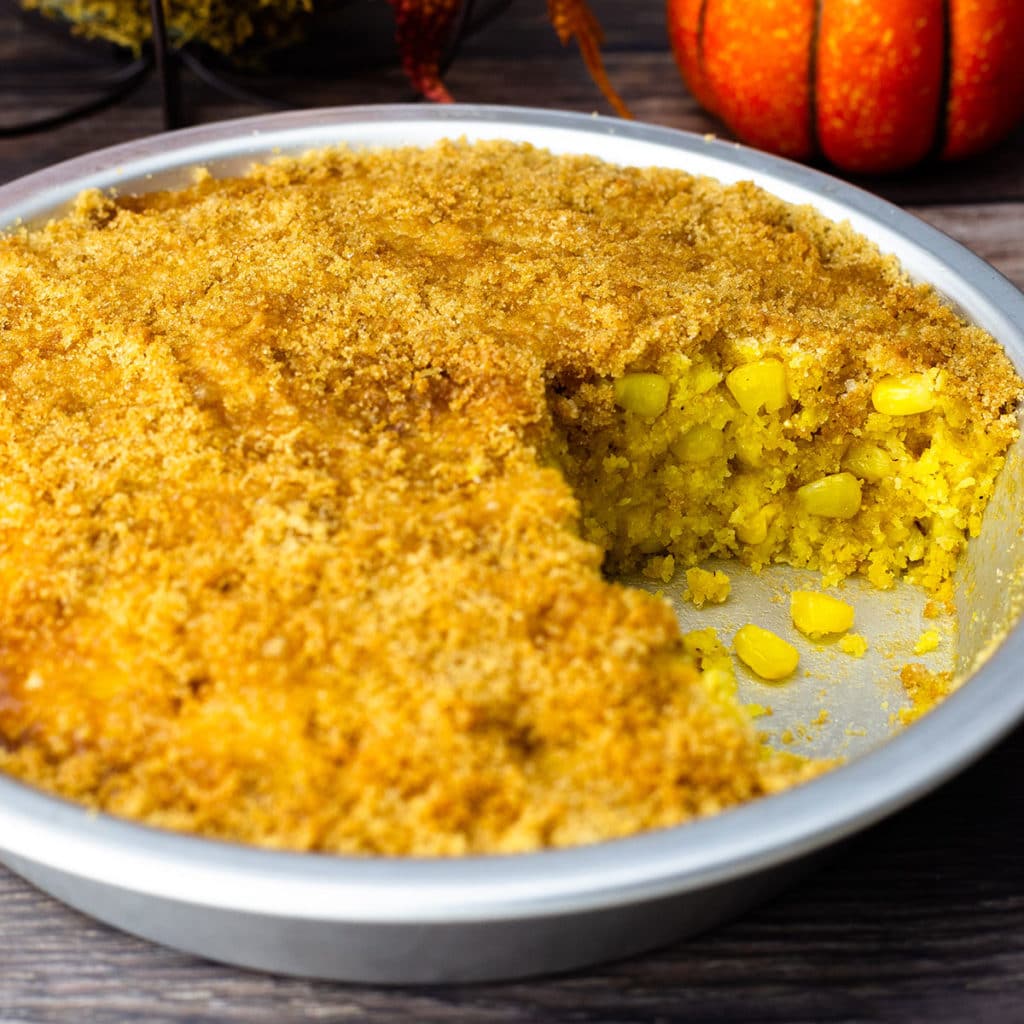
Let's not forget the cornbread! I've been working on perfecting my cornbread recipe, so I'll be sharing that soon. In the meantime, if you want to try a corn pudding, it's really delicious.
Creamy Coleslaw Baked Beans Sweet & Sassy Corn Pudding
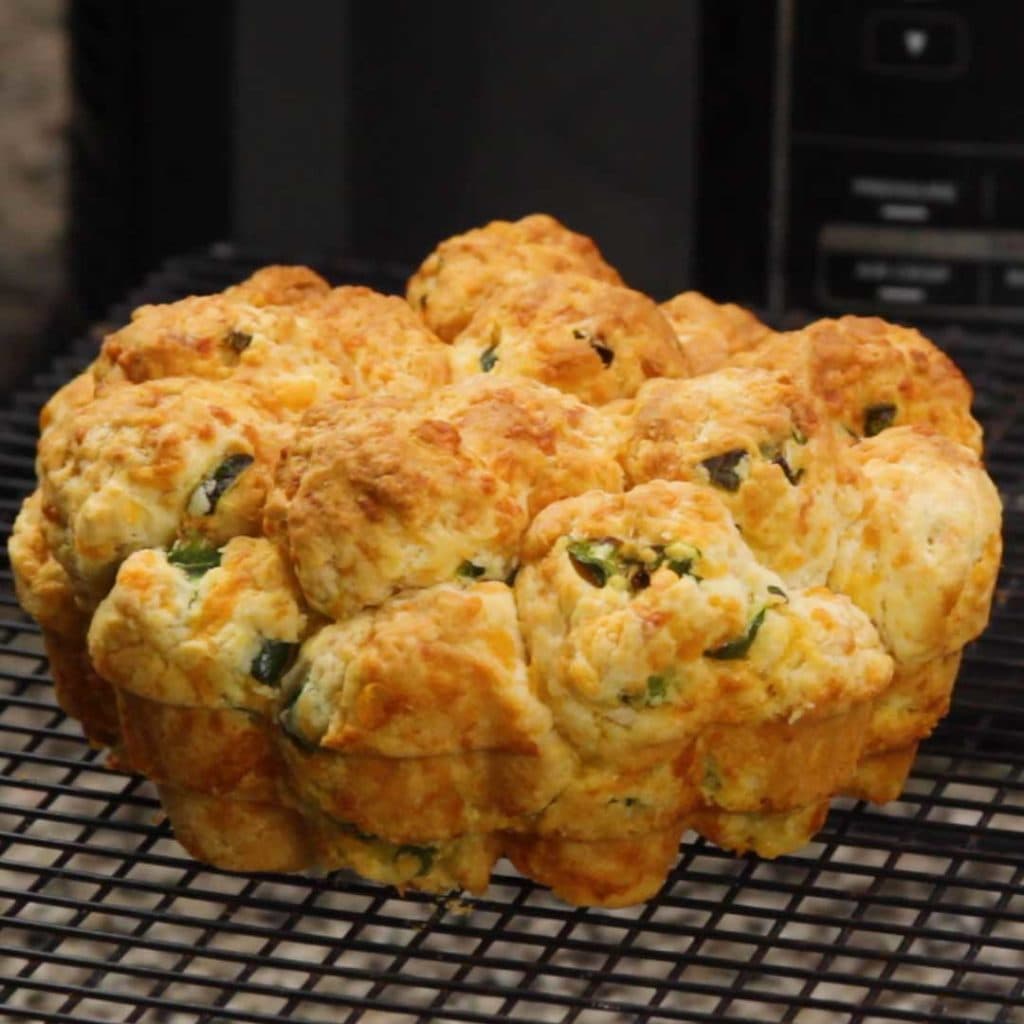
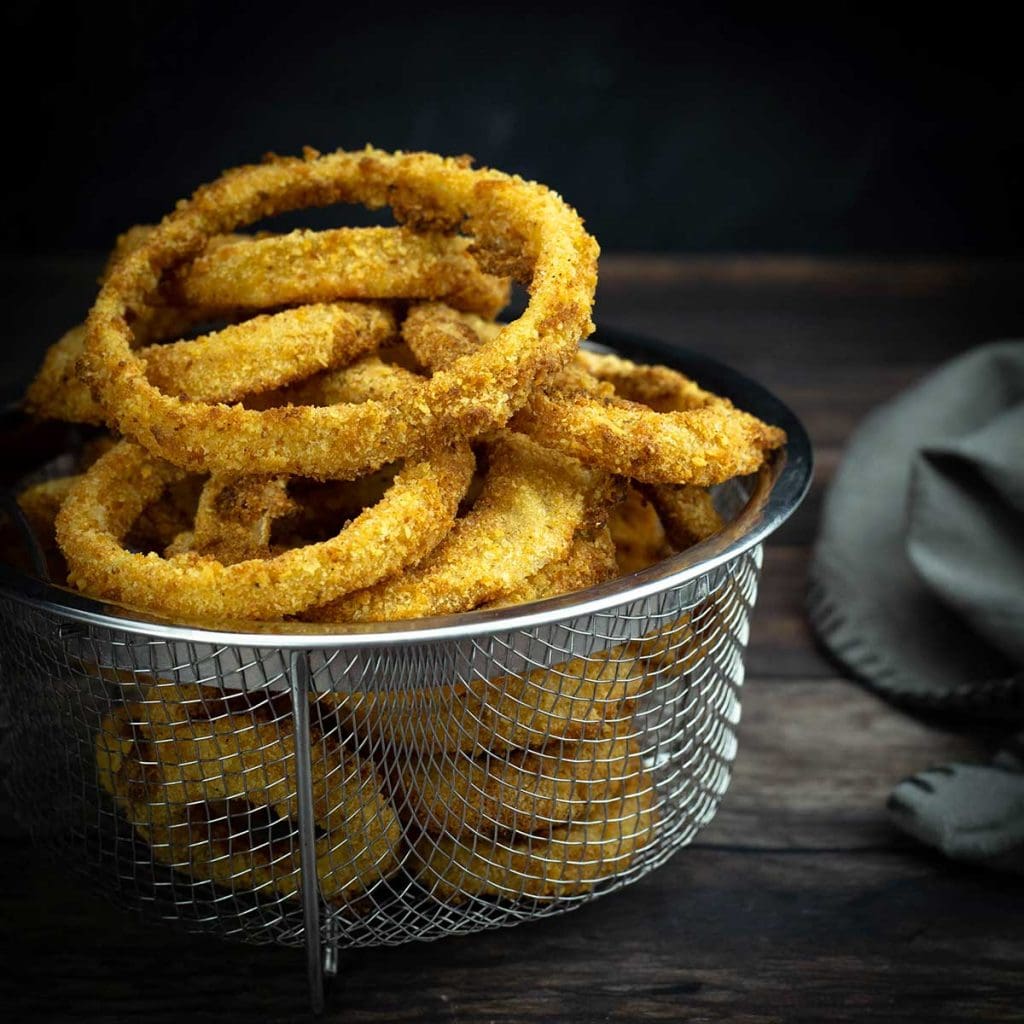
A few other side dishes that pair perfectly with pulled pork are; jalapeno cheddar pull-apart bread, air fryer onion rings, and hushpuppies!
Jalapeno Cheddar Bread Onion Rings Hushpuppies

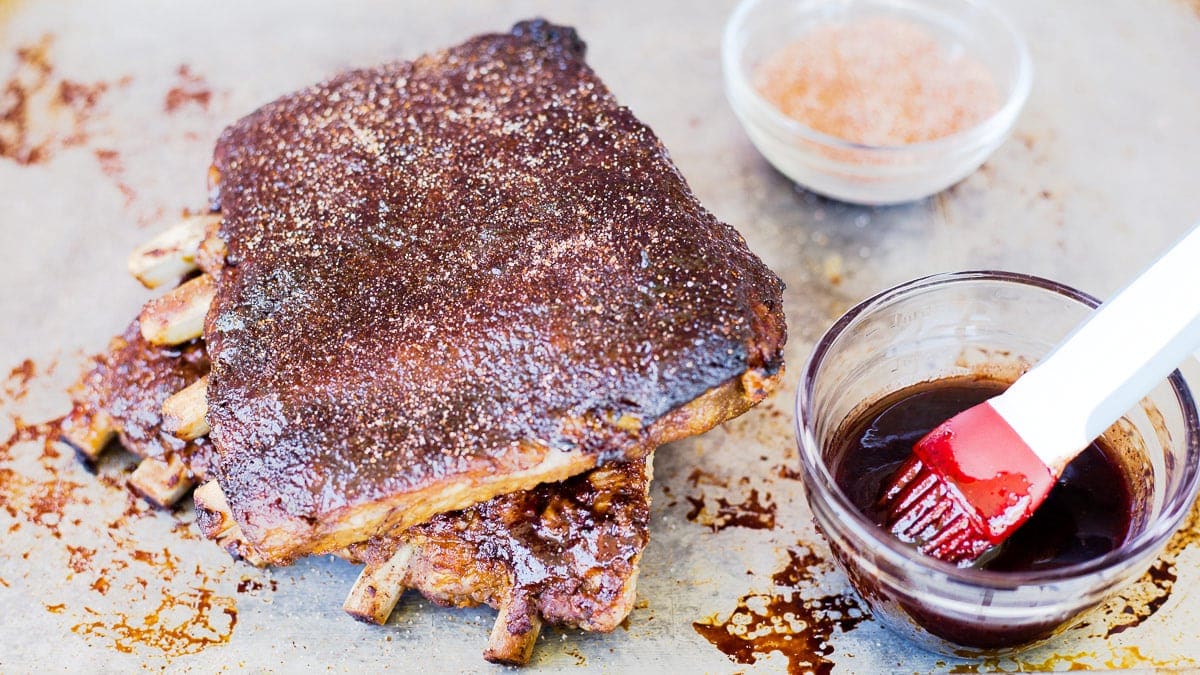
Often times, BBQ restaurants will serve a BBQ platter with different meats. These ribs with raspberry glaze are amazing! Definitely worth making, and they go perfectly with pulled pork.
Ninja Foodi Ribs with Raspberry Glaze Recipe
Let's not forget dessert! Here are my favorites!
Triple Chocolate Cheesecake Recipe
Key Lime Pie Triple Chocolate Cheesecake Pecan Bars

What to Make with Leftover Pulled Pork
When I make a pork butt for pulled pork sandwiches, I always have a ton left over. This is why I don't sauce all of my pork when cooking it. I like to use it up in various ways.
I usually freeze portions of pulled pork and then turn them into different meals. Here are some of my favorites.
Pulled Pork Nachos: Line a sheet pan with tortilla chips, spread the warmed pulled pork over the chips and sprinkle cheese on top or you can use a queso style cheese. Bake at 400℉/200℃ for about 10-15 minutes or until the cheese is melted. Top with sliced jalapeno peppers and the 10-minute bbq sauce.
Air Fryer Egg Rolls: I use the pulled pork to make different kinds of egg rolls, from Asian-inspired to Cuban-inspired with pickles, Swiss, and mustard. Get creative and have fun. Here is the basic recipe with air frying instructions: Egg Rolls in the Ninja Foodi
Pork Stew: Even though my recipe for pork stew uses raw pork, it's very easy to adapt it and use leftover pulled pork. Simply dump the ingredients in and PC as instructed. It's delicious. Pork Stew Recipe
You can also use your leftover pulled pork to make a delicious chili. Get creative and have fun!
How to Make Pulled Pork in the Ninja Foodi
I use the Ninja Foodi Pressure Cooker & Air Crisper, but you can use the Instant Pot Duo Crisp or the newer Instant Pot Pro Crisp or any electric pressure cooker that has a crisping lid.
You can even use an Instant Pot and then crisp the top in the oven.
Although it is going to take between 2--3 hours to make the pork butt, it is mostly hands-off and that is why I love pressure cooking!
If you have the time, I recommend rubbing the pork butt with the rub, putting it on a sheet tray and refrigerating overnight. This allows the juices to combine with the rub and helps to create a delicious crust. If you don't have time, no worries, it will still be fantastic.
Let your pork butt sit out about 30-60 minutes before you are going to cook it.
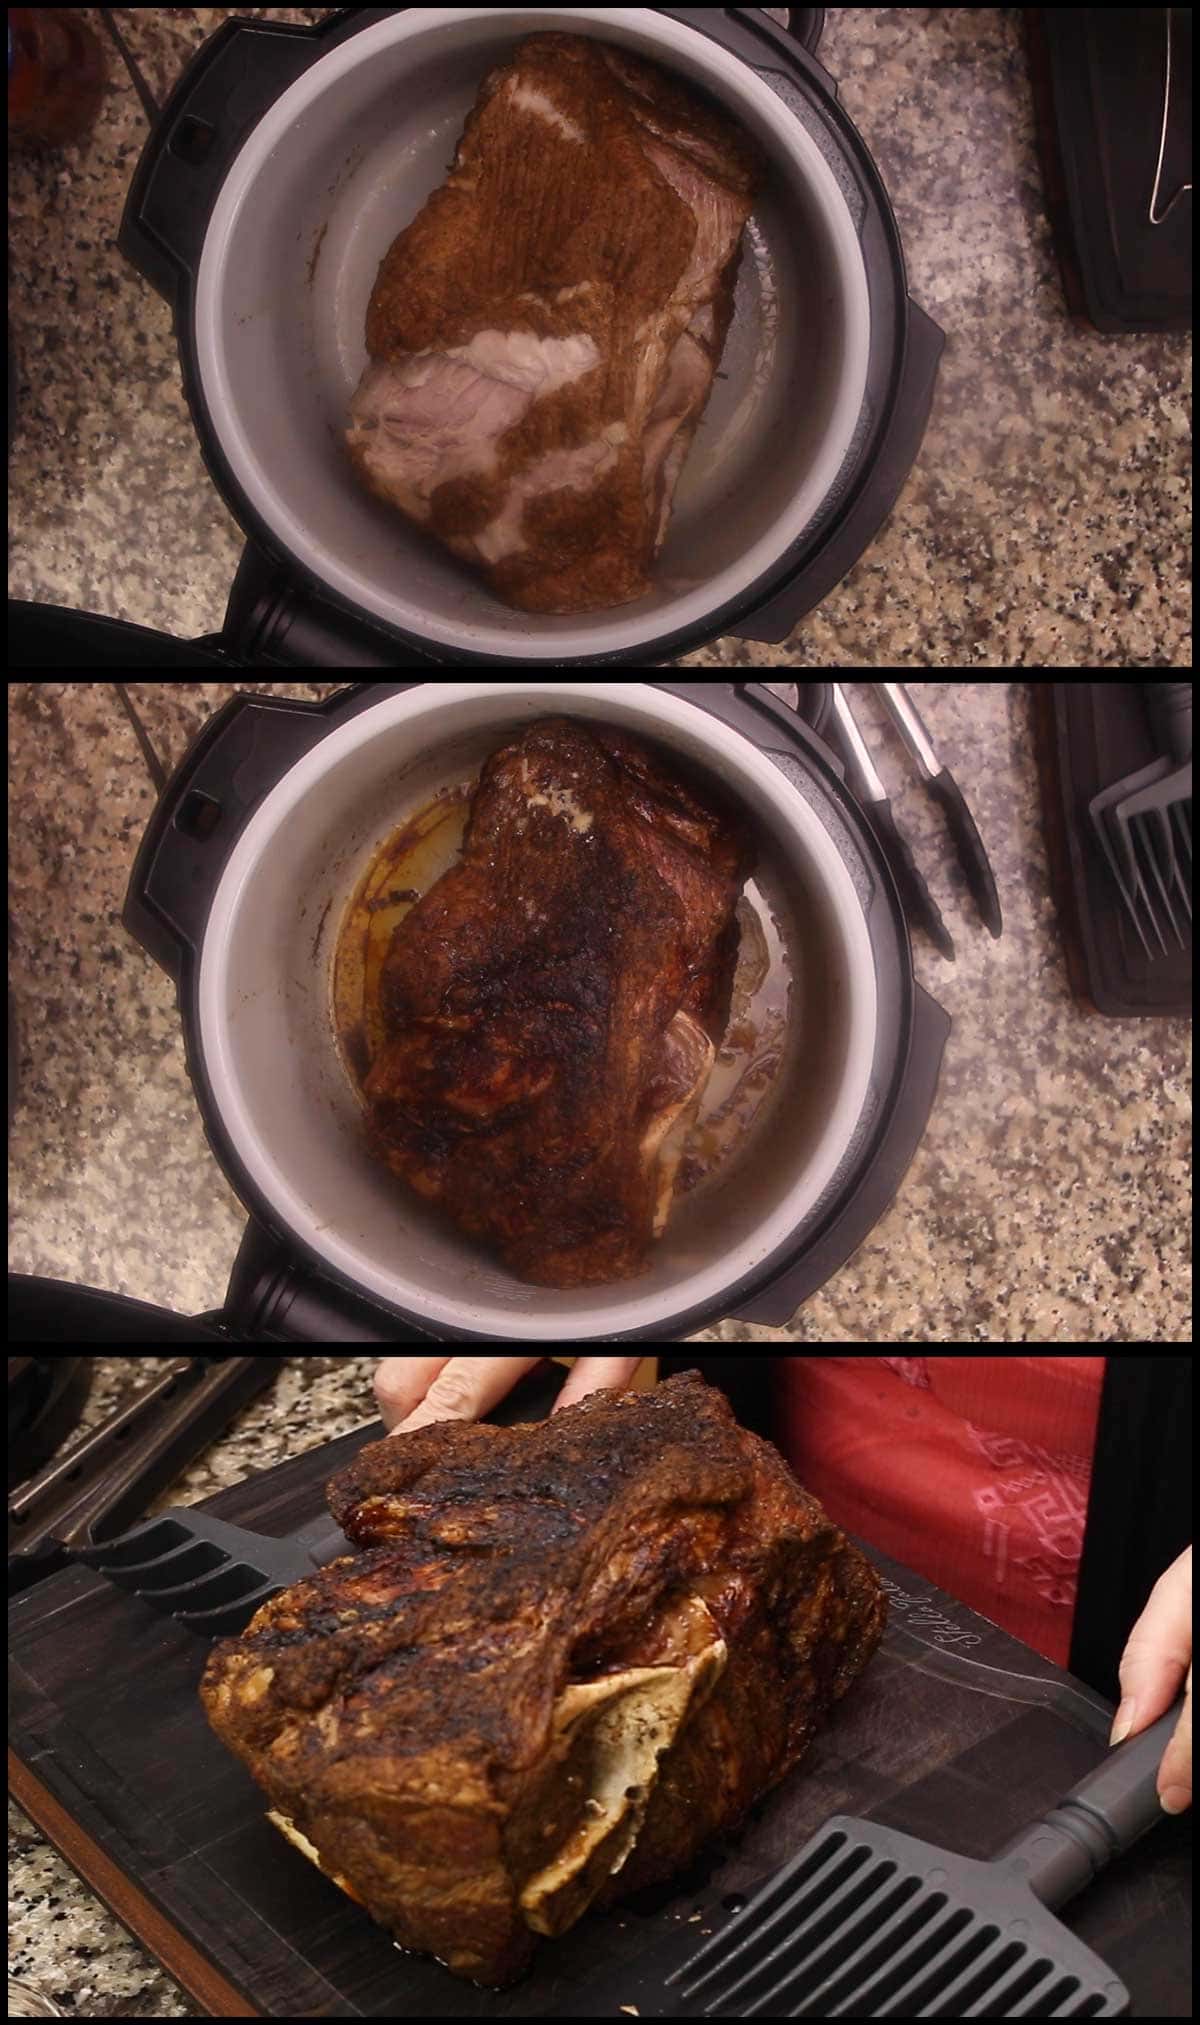
Prepare the Pork Butt
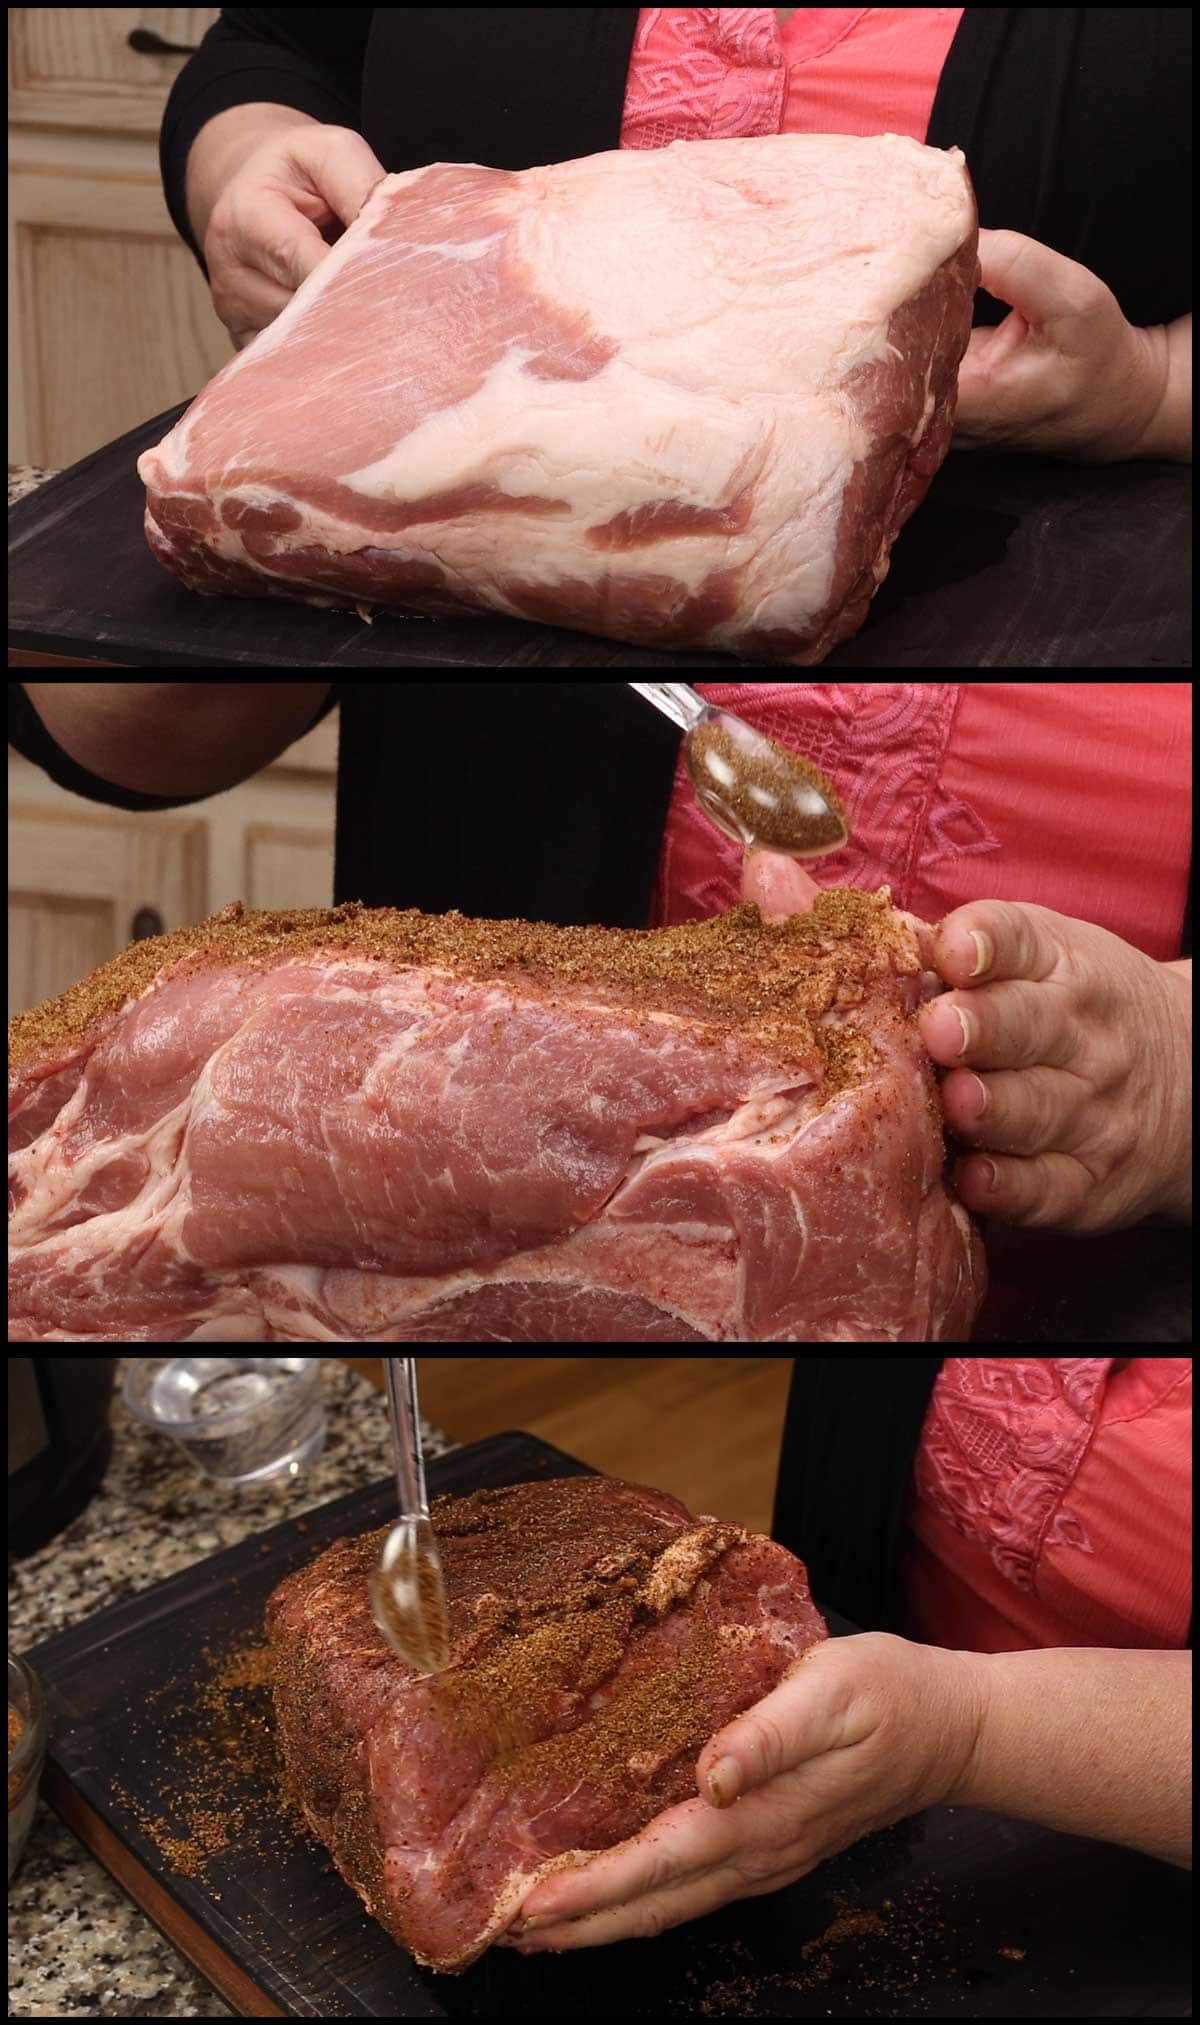
Most pork butts will have a fatty side, that is the fat cap and you don't want to trim all of that off. That is what helps to flavor the pork as it's cooking AND create the bark on the outside. You can trim off some of the fat cap if it is really thick, but keep at least ½" on the one side.
You can see that my pork butt only had the fat cap over part of the pork, this is not ideal, but it happens. If you can, choose a pork butt that has an even fat cap covering the entire side (only one side will have it) of pork.
Rub the pork butt generously with the rub you want to use. I really suggest using the rub in the recipe because it's fantastic, but any rub is fine. Rubbing the meat before pressure cooking might seem odd, but it works just fine. Trust me, you don't want to be rubbing it after it's pressure cooked, it's just too hot.
Pressure Cook the Pork
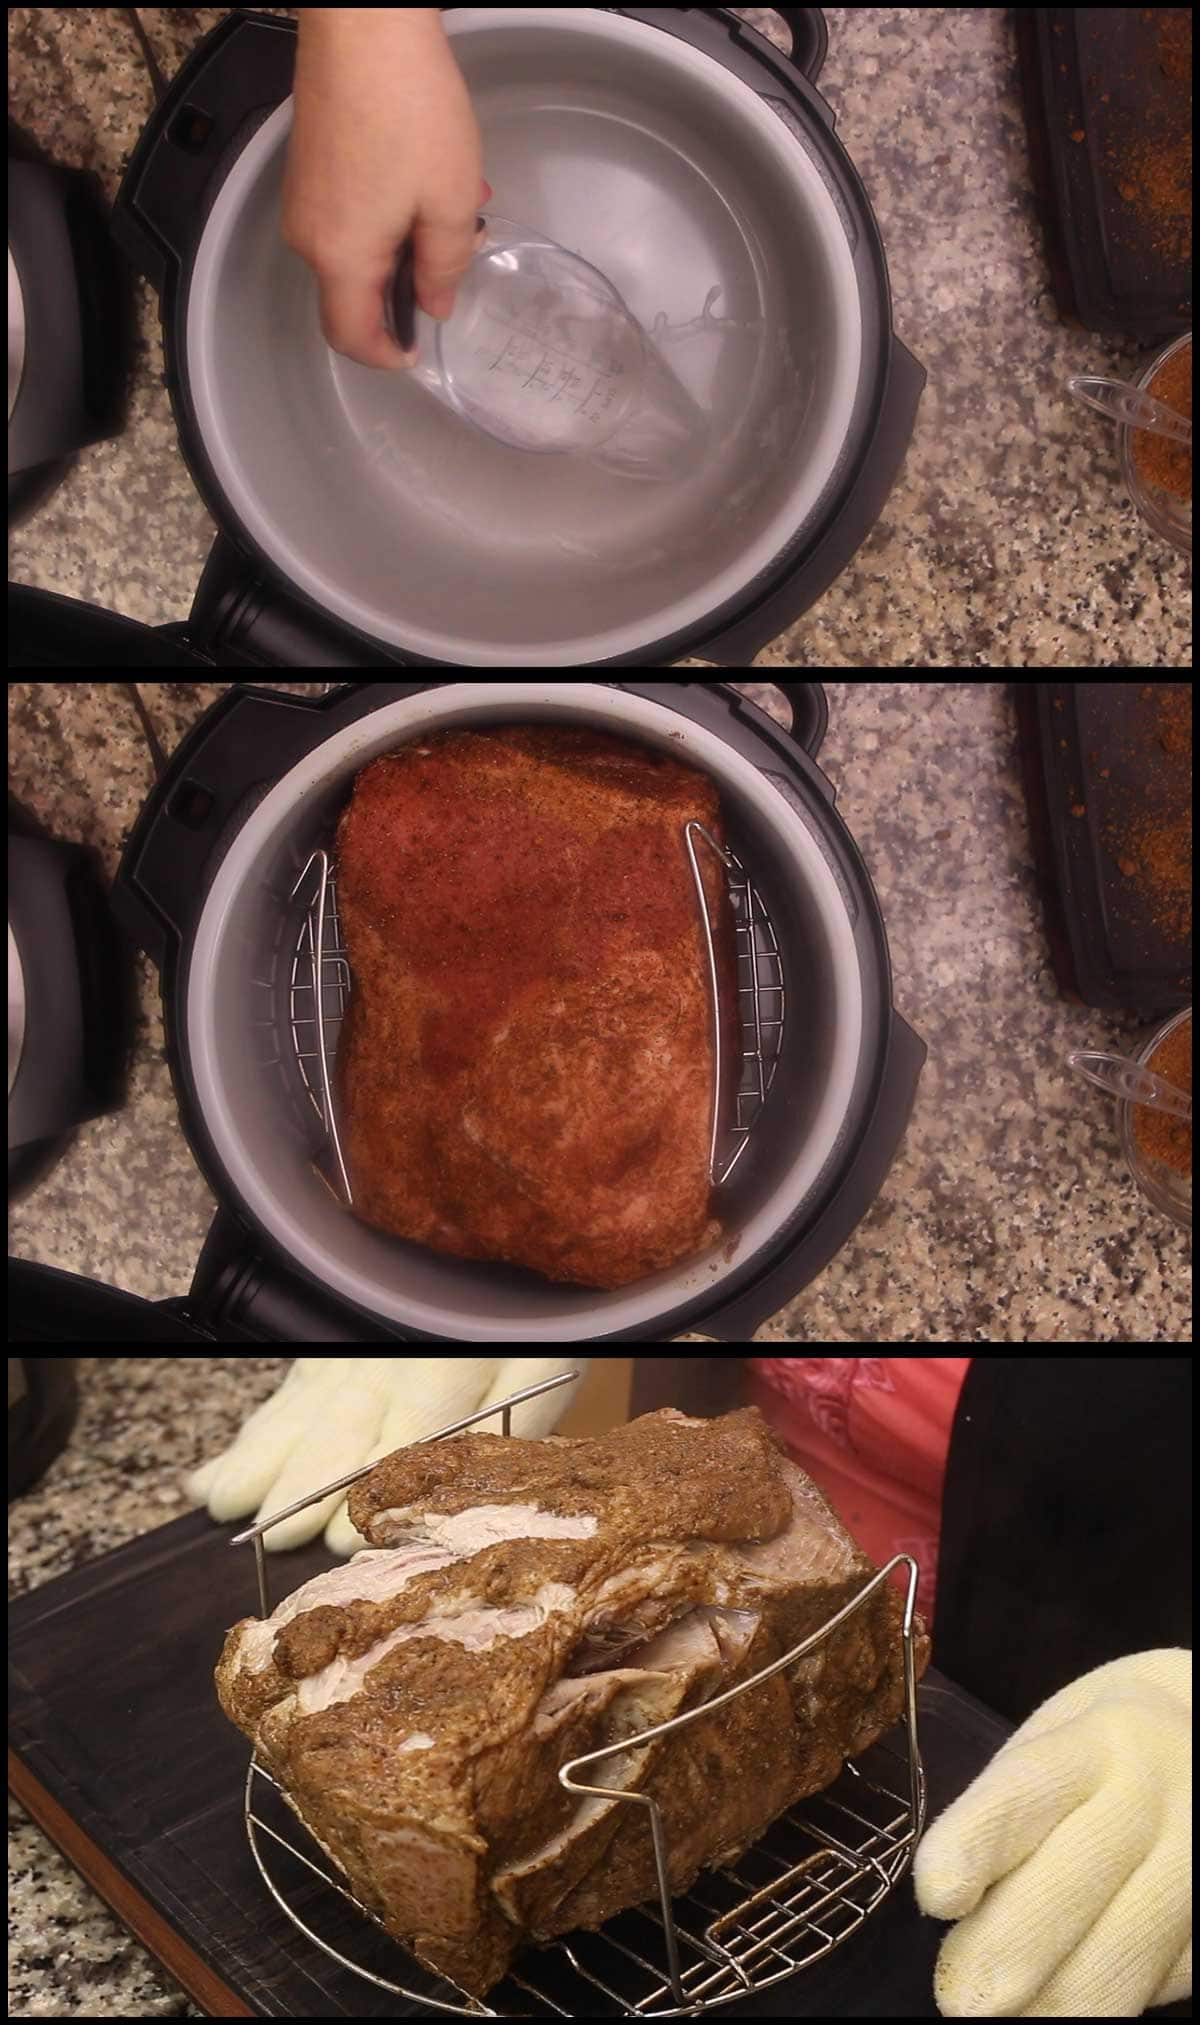
Add 1 cup of water to the inner pot. Place the rubbed pork FAT SIDE UP on the rack or use a sling, but try to elevate the pork above the liquid if you can so the meat doesn't boil in the liquid.
You can use whatever liquid you want to use, but I have found that water is just as good as anything else.
Put the pressure lid and make sure to turn the valve to seal. Set the pressure time for the size pork butt you have. For 7-8 pounds, set the time for 90 minutes.
See section above for different sized pork butts.
I suggest adding 15 minutes to the PC time if using a boneless pork butt. I have found that PC'ing boneless large cuts of roasts takes a little longer than bone-in, which is the opposite of how it works in an oven. I don't have any scientific proof of this, just my experience.
When the time is up, allow the pressure to naturally release completely. This will take around 15-20 minutes on average.
Remove the pressure lid when the pin has dropped (it's fine if it stays in the pot on keep warm longer, it won't overcook) and remove the rack with the pork. I will warn you now, it's going to look terrible. Don't worry, that all gets fixed when we air crisp it.
Remove the Liquid
The pork will have given off a lot of juices and fat. I strain them through collander and then refrigerate until chilled. There will be a good amount of pork fat on the top and you can use that for cooking or simply discard. You can also add some of the juices and fat back into the pulled pork after it is done.

Air Crisp the Pork
Now, for the air crisping! This is the step that takes ordinary pressure cooked pulled pork to a new level. By rendering and crisping up the fat on top, we develop a nice bark that adds texture and, most importantly, flavor to our pulled pork.
Depending on the size of your pork butt, you might be able to use the rack for this step, but make sure you have several inches of clearance from the top of the pork to the crisping lid.
My 7-pound pork butt sat too high on the rack, so I put it directly in the inner pot.
Close the crisping lid and air crisp on 300℉/150℃ for 1 hour. I do check on it after 30 minutes, but it has taken the full hour to really render and crisp the fat cap.
Remove the pork from the inner pot and set it on a cutting board to cool slightly. I used these (affiliate link)shredding forks from Pampered Chef to remove the meat and it worked well.
Pulling the Meat
Once the pork is cool enough to handle, use two forks, shredding forks, or your hands to pull the meat apart. This should be very easy if you pork is cooked enough, it should just fall apart.
If your pork isn't done all the way, you can go back under pressure, but I would remove the crispy fat from the top before you do that so it doesn't soften up. Simply keep it to the side and add it back into the pulled pork when it's finished cooking.
Once I have the pork pulled, I like to season with extra rub. If you plan on using some of the pork for BBQ and some for other dishes, only season the pork you are using for BBQ.
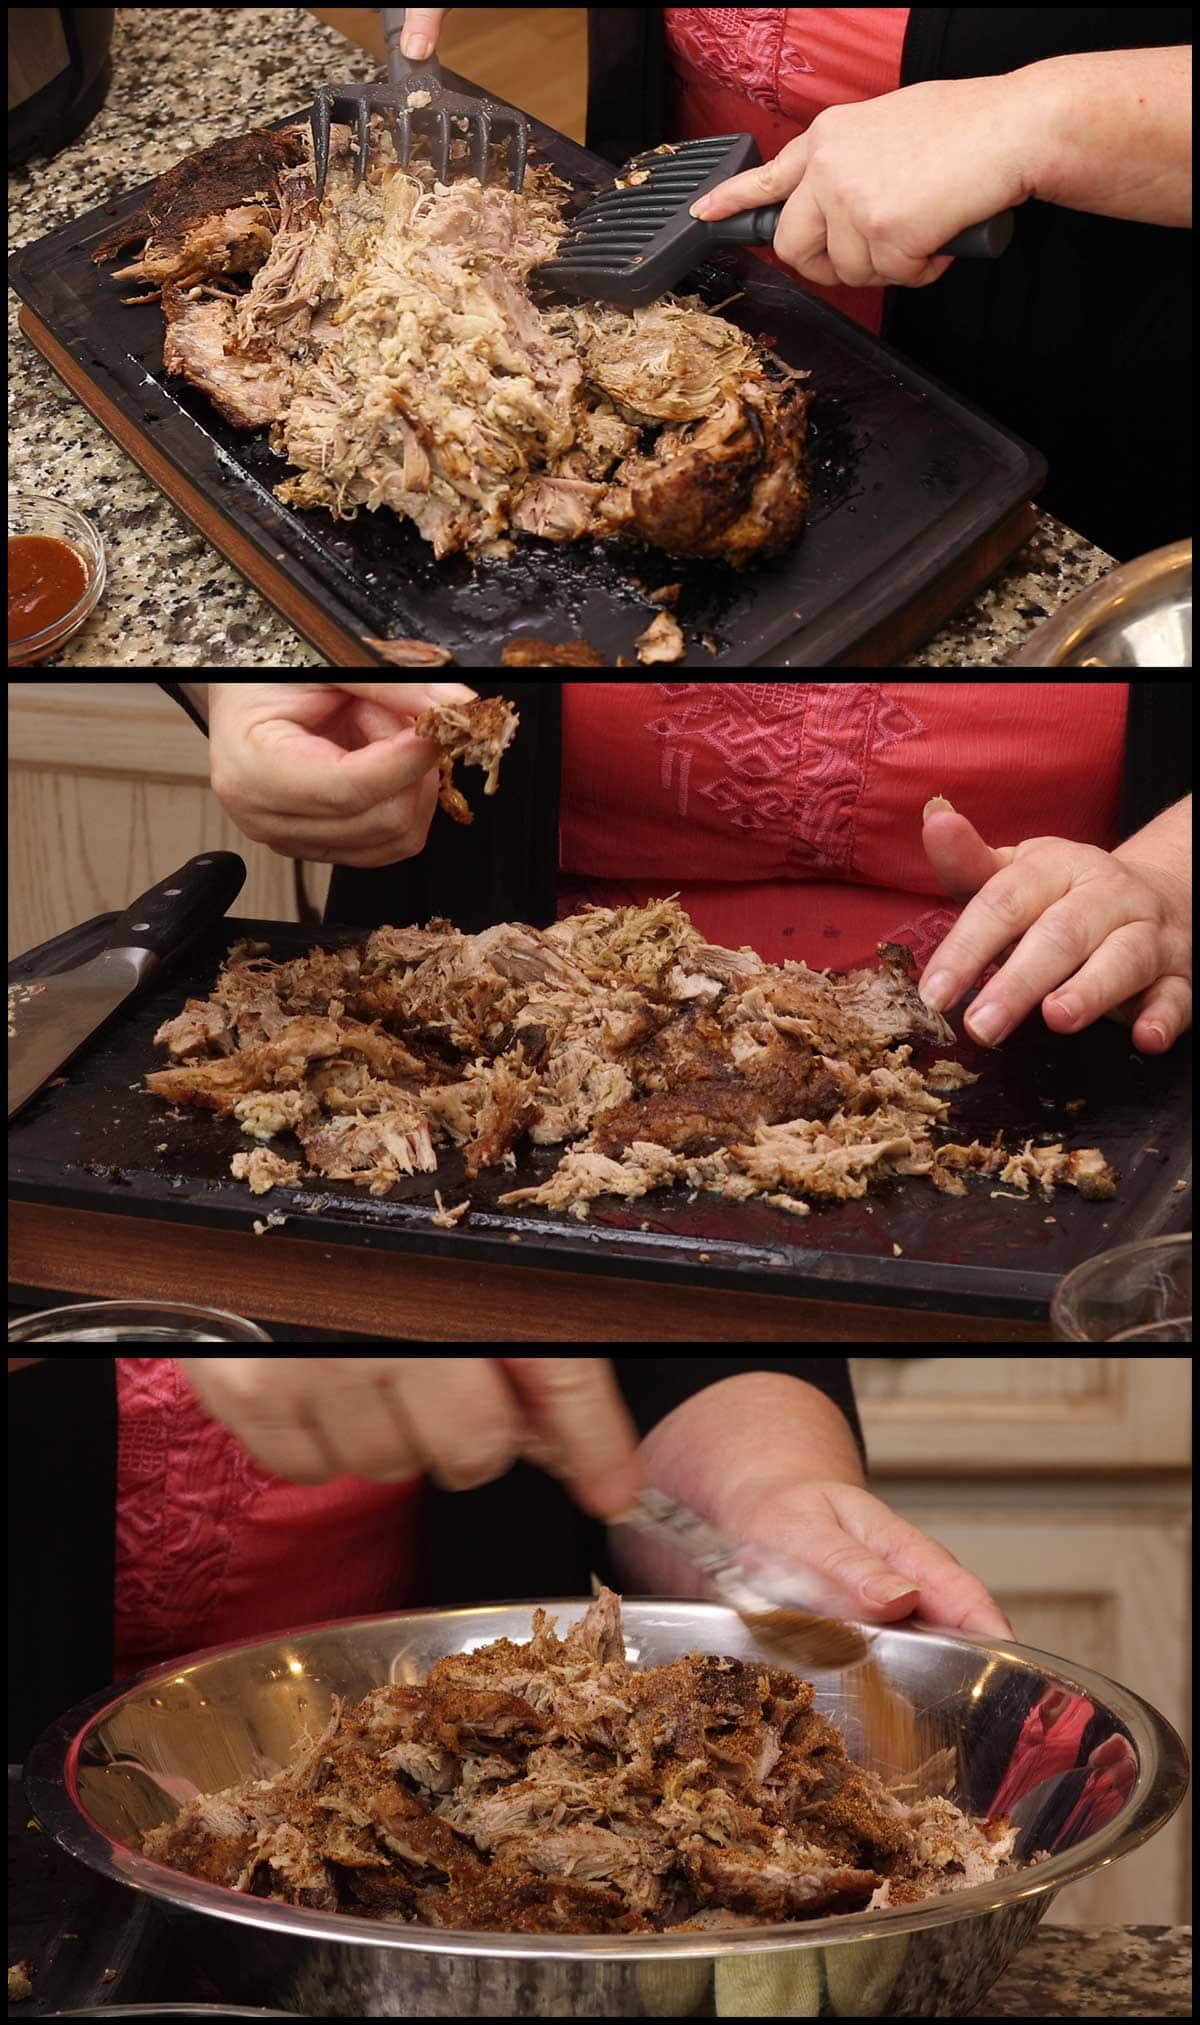
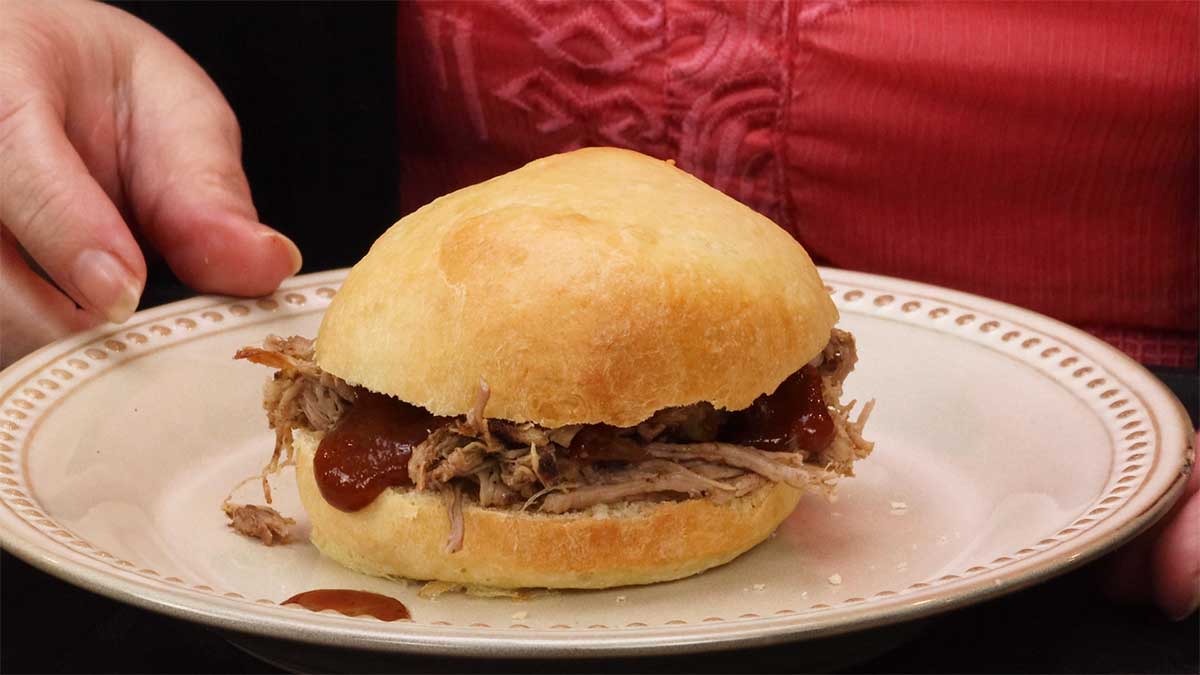
Once you are done pulling the meat, you can certainly sauce it up or simply add the sauce to the sandwich like I do.
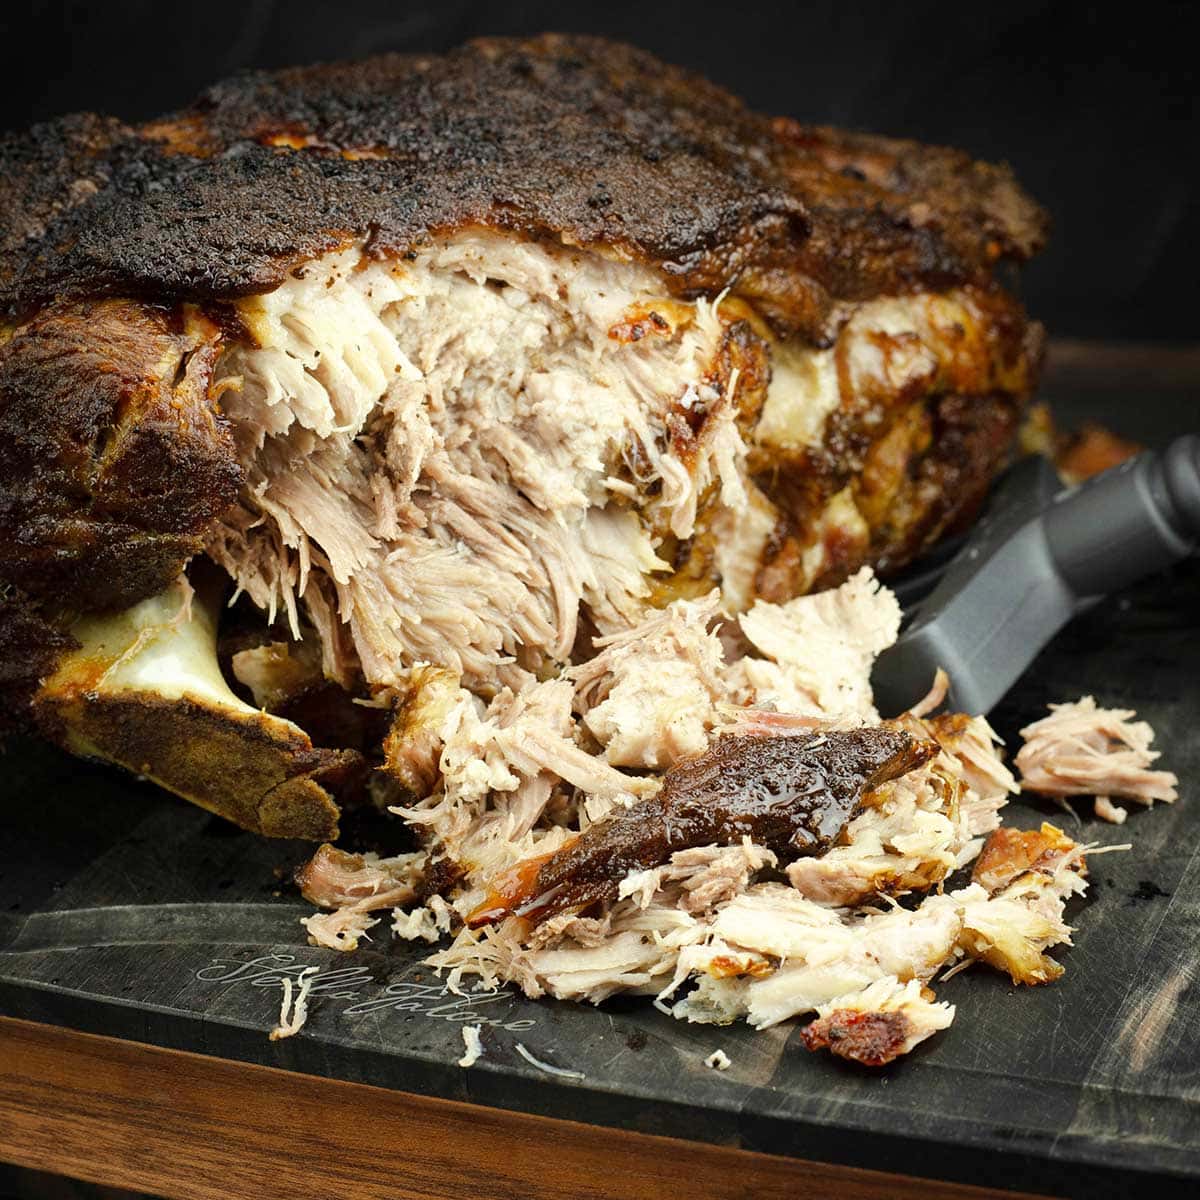
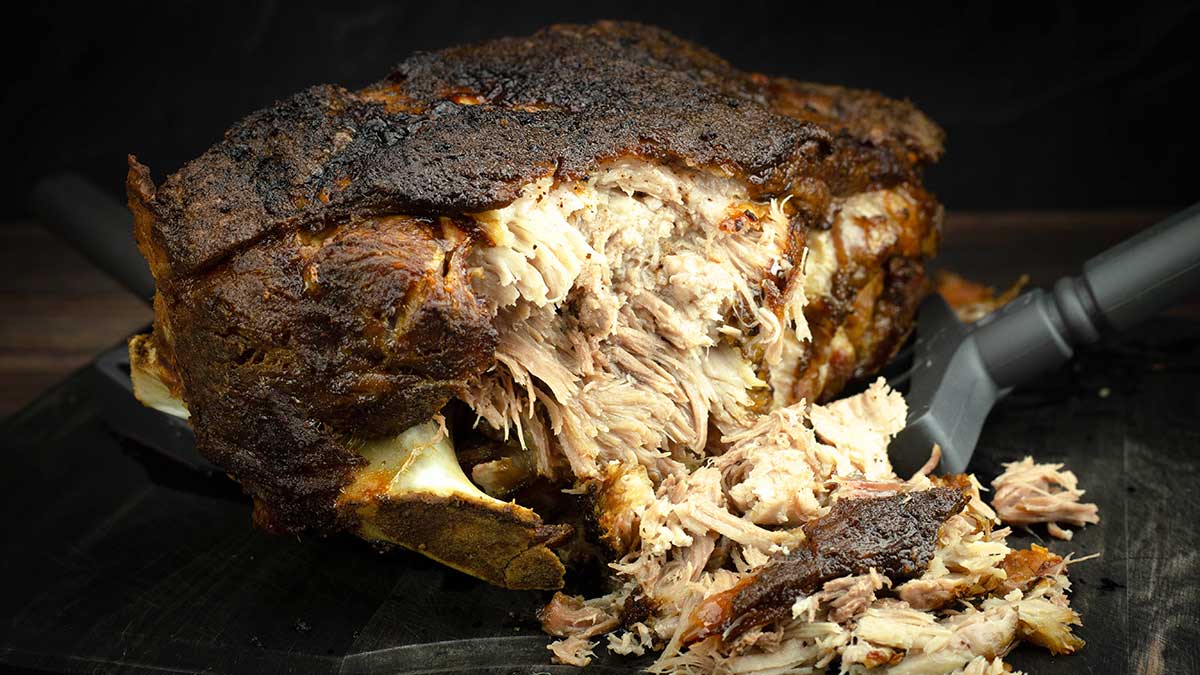
Serve & Enjoy!

Pulled Pork in the Ninja Foodi
Ingredients
- 7 lb pork butt
- 1 cup water
Rub
- ¼ cup sugar
- 2½ Tablespoons onion powder
- 2 Tablespoons seasoned salt
- 2 Tablespoons smoked paprika
- 1½ Tablespoons chili powder
- 1 Tablespoon fine grind sea salt
- ½ Tablespoon celery salt
Would you like to save this recipe?
Instructions
- Remove your pork butt at least 30 minutes before cooking. Prepare the seasoning rub and generously rub the pork with it. You will have leftover rub that can be used to season the meat after cooking or stored for future use.
- Add 1 cup of water to the inner pot and place the pork, fat side up, onto the rack or on a sling and place into the pot. You want the pork raised above the liquid. Put the pressure lid on and turn the valve to seal. Pressure cook on high for 90 minutes for a 7-8 pound pork butt. See notes for cooking suggestions for smaller cuts of pork.
- When the time is up, allow the pressure to release naturally until the pin drops. Open the lid and remove the rack with the pork. Remove the liquid in the pot. I strain it and put in the fridge for other uses or to add some of the fat and juices back into the meat after pulling.
- Return the pork to the inner pot. I put it directly in the inner pot so there is enough clearance between the crisping lid and the top of the pork. Close the crisping lid and air crisp on 300°F/150°C for 1 hour. Check on it after 30 minutes to make sure the top isn't getting too dark. It has taken 1 hour every time to render and crisp the fat cap, but I still like to check on it.
- Remove the pork with meat forks or (affiliate link)shredding forks and place on a cutting board to cool. When it is cool enough to handle, pull the meat off and shred into the size pieces that you want. The meat should pull off very easily. If it doesn't, take the crispy top off and PC for another 20-30 minutes. If you are using a bone-in pork butt, remove the bone and discard.
- Season the pulled pork with extra rub if desired or add your favorite bbq sauce.
- Serve & Enjoy!
Notes
- 2 ½ pound pork butt takes about 45 minutes on high pressure with a full natural release
- 4-5 pound pork butt takes about 60 minutes on high pressure with a full natural release
- 6-7 pound pork butt takes about 70 minutes on high pressure with a full natural release
- 7-8 pound pork butt takes about 90 minute on high pressure with a full natural release.
Nutrition
About the Recipe Author, Louise Long
Louise is a full-time recipe creator and food blogger @ The Salted Pepper. She has over 30 years of experience with cooking and recipe development. She owned a restaurant for several years and was a full-time RN until retiring to blog full-time.

She published her first cookbook in the Fall of 2018 and is very interested in writing several more.
Louise is also the creator of an online Ninja Foodi Pressure Cooking Course with over 100 instructional step-by-step videos. People absolutely rave about the course and all the value they have received from it.
Louise has several very active Facebook groups that help people with the basics of cooking and learning more about the appliances they love.
Ninja Foodi Pressure Cooker & Air Crisper 101
Ninja Woodfire Outdoor Grill & Smoker
Louise is also a YouTube creator and you can find most of her recipes in video format on The Salted Pepper YouTube channel.
She is very responsive to messages and eager to help in any way she can. Get more Information about Louise & contact information
I WOULD LOVE TO SEE WHAT YOU ARE COOKING UP IN YOUR KITCHEN! TAG ME @THESALTEDPEPPER ON YOUR FAVORITE SOCIAL MEDIA PLATFORM WHEN YOU MAKE A DISH!
BE SURE TO FOLLOW THE SALTED PEPPER RIGHT HERE ⇓⇓⇓⇓⇓
Kristine Wesley says
I am making this for our Christmas dinner. What I usually do is add some liquid smoke into the cup of water before pressure cooking. Adds some smoke flavor.
Louise says
I tried that and I didn't notice any difference, but I hope it works for you! Merry Christmas!
Alli says
I love all of your Ninja Foodi recipes but this one is always a hit! Thanks for your work!
Louise says
Thank you so much!
Debra Curl says
This pulled pork was heavenly. My husband loved it too. I did end up having to put it back in to cook it longer because it wasn't falling off the bone so next time I'll cook it longer. Thank you so much for the recipe. For some reason it tasted like it was smoked. I guess it's magic.
Louise says
I'm so glad you enjoyed it!
Gary Keith Burns says
I thought this turned out perfect!
Louise says
I'm so glad to hear that!