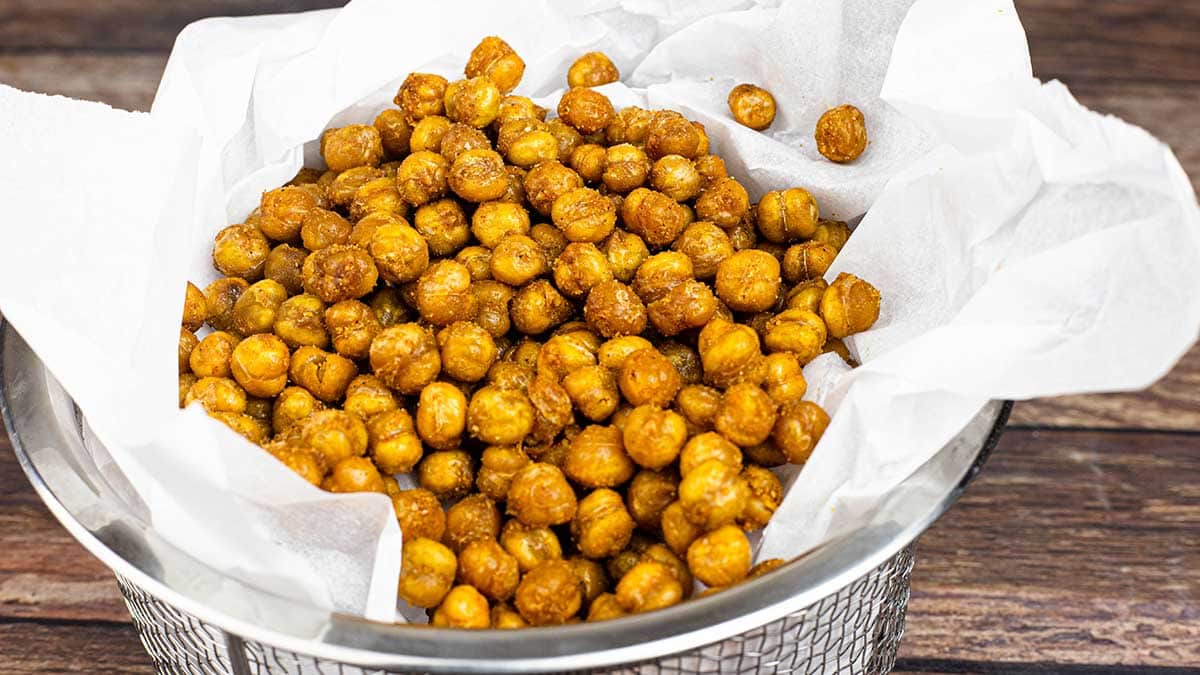
When you want a filling and healthy snack, air fryer chickpeas are the answer! They are full of fiber and protein and can be flavored in so many different ways. Many recipes call for a can of chickpeas that are drained, but I found that they just didn't stay crunchy long enough. Yes, it's quick and easy to crab a can and you can certainly do that, but if you want to spend a little extra time cooking dried beans, your results will be so much better!
In fact, I'm still crunching on my air fryer chickpeas that I made weeks ago! While they certainly aren't as crunchy as when they were first air fried, they are still crunchy enough to be delicious and a great snack. The process to make them is very simple; cook the chickpeas so they maintain a firm texture (this is the key to them staying crunchy), dry them on paper towels and then season them up and air fry them.
The air fryer I used in this recipe is the Ninja Foodi Pressure Cooker & Air Crisper, but any air fryer will work just fine. I love the NInja Foodi because it literally does everything! I can pressure cook the chickpeas, dry them, and then use the same appliance to air fry them. If you don't have the Ninja Foodi and are using a different air fryer, you may need to make some adjustments in the timing and/or air fryer temperatures depending on the style and wattage of your air fryer.
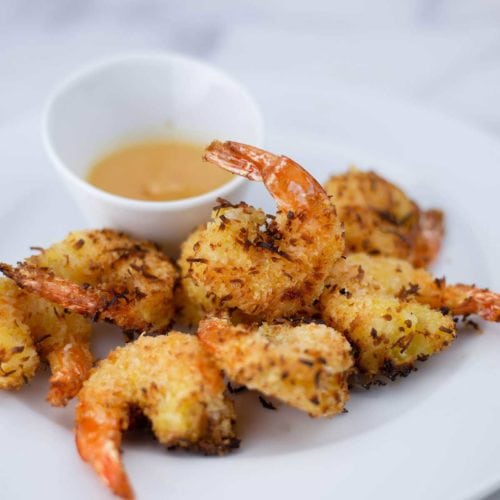
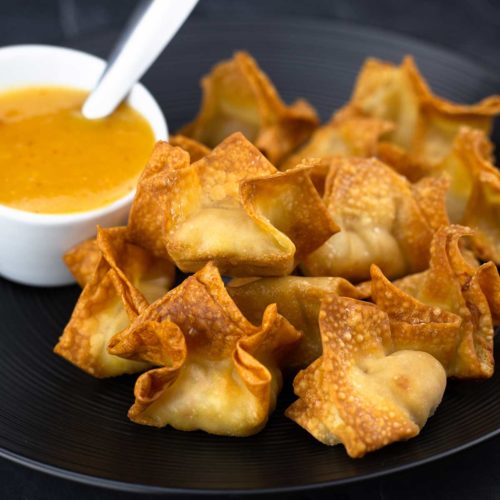
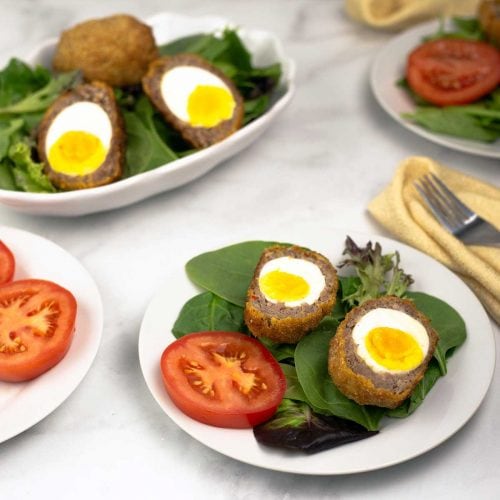
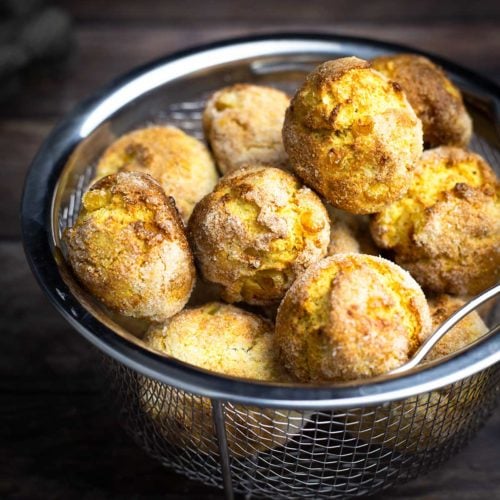
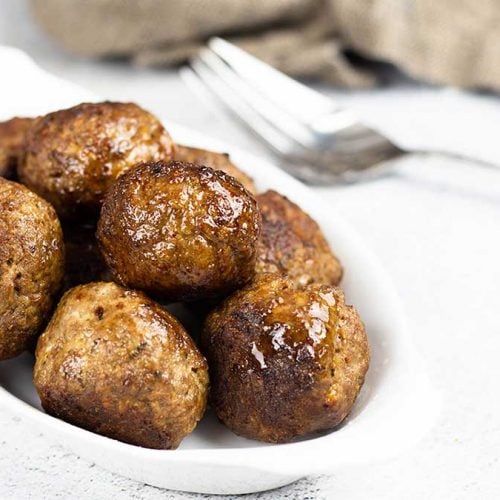
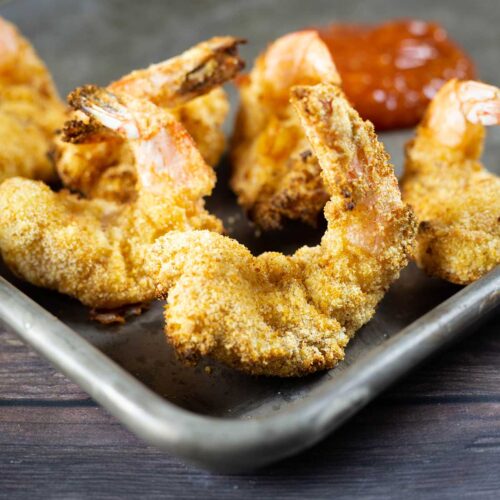
I absolutely love using my air fryer and have made so many wonderful dishes and many of my favorite snacks in it. Here are some of the delicious air fryer recipes that people rave about!
Frequently Asked Questions
Are Air Fryer Chickpeas good on a low carb diet?
If you are following the Keto diet, you want to be careful about consuming too many chickpeas because they are high in carbs. However, they are also high in protein and fiber, which really helps balance out the carbs. So, on a low carb diet, they can be enjoyed in moderation. The great thing about chickpeas is they are a complex carbohydrate, so they don't cause the spikes in blood sugar that are problematic for diabetics and weight loss. Complex carbohydrates tend to satiate and fill us up quicker, so we eat less and therefore reduce calories. Crispy air fryer chickpeas are a great alternative to a bag of potato chips, just a handful will satisfy your need for crunch and they fill you up!
This recipe starts with dried chickpeas (garbanzo beans) and they do need to be cooked prior to air frying, but if you have a pressure cooker there isn't any need to soak them. If you don't have a pressure cooker and want to speed up the stovetop cooking time, you can soak the dried beans in water overnight. Make sure to use a big enough bowl and enough water for the dried chickpeas to absorb, they will double or triple in size during the soaking time. If you want to use a can of chickpeas, you can simply drain them, rinse them, and then dry them before air frying.
Can I double the recipe?
The amount of chickpeas that you can air fry at once depends on the type of air fryer you have. You want to make sure the chickpeas are in a single layer in the air fryer basket or air fryer tray so they evenly crisp up. You can certainly make as much as you want, just air fry in batches for the best results.
Important Tips for Making Crunchy Chickpeas
Cook to a Firm Texture
The first thing that I learned when testing this recipe is that the way you cook your chickpeas does matter when you go to air fry them. I tried several different timings and the one that worked the best was a 30-minute pressure cook time followed by a full natural release. I have the full instructions for pressure cooking to firm in this recipe: Pressure Cooking Chickpeas
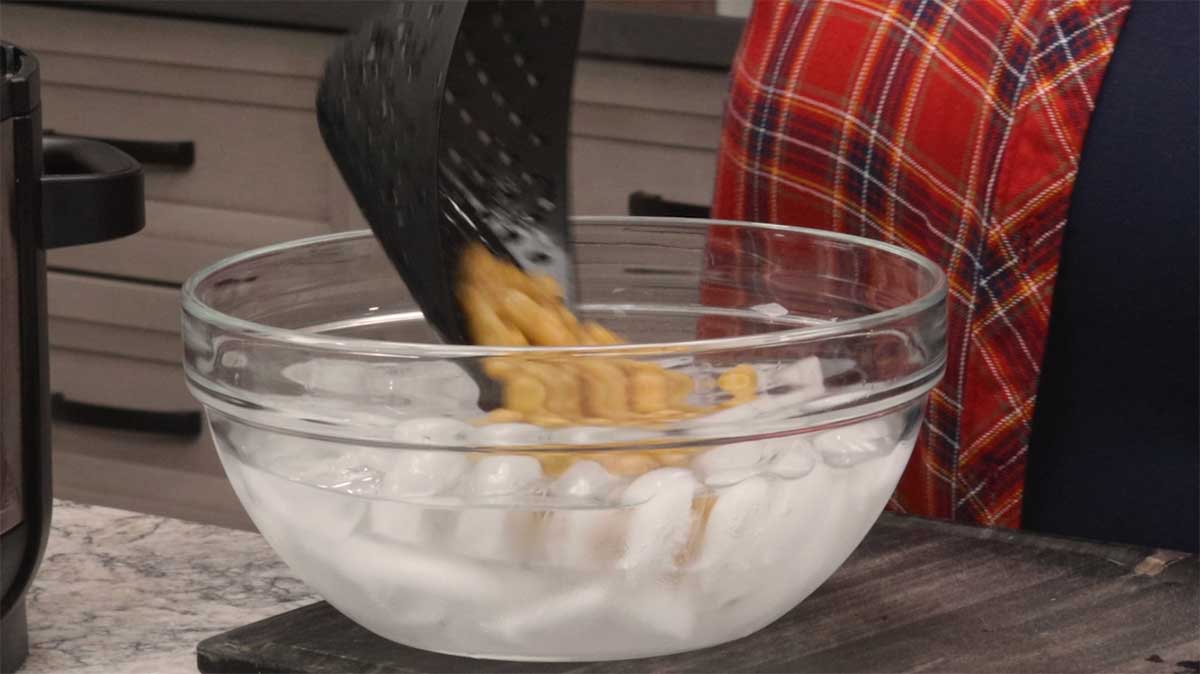
This is what I recommend for the best results. If you don't have a pressure cooker, you can soak your dry chickpeas overnight, discard the water and then cook in a flavored stock or plain water on the stove until they are firm, but cooked all the way through. Just like with pressure cooking, you will want to plunge the chickpeas in an ice water bath to stop the cooking process.
Using canned garbanzo beans is another option, but what I found is they didn't get as crunchy and they had an aftertaste that I wasn't fond of.
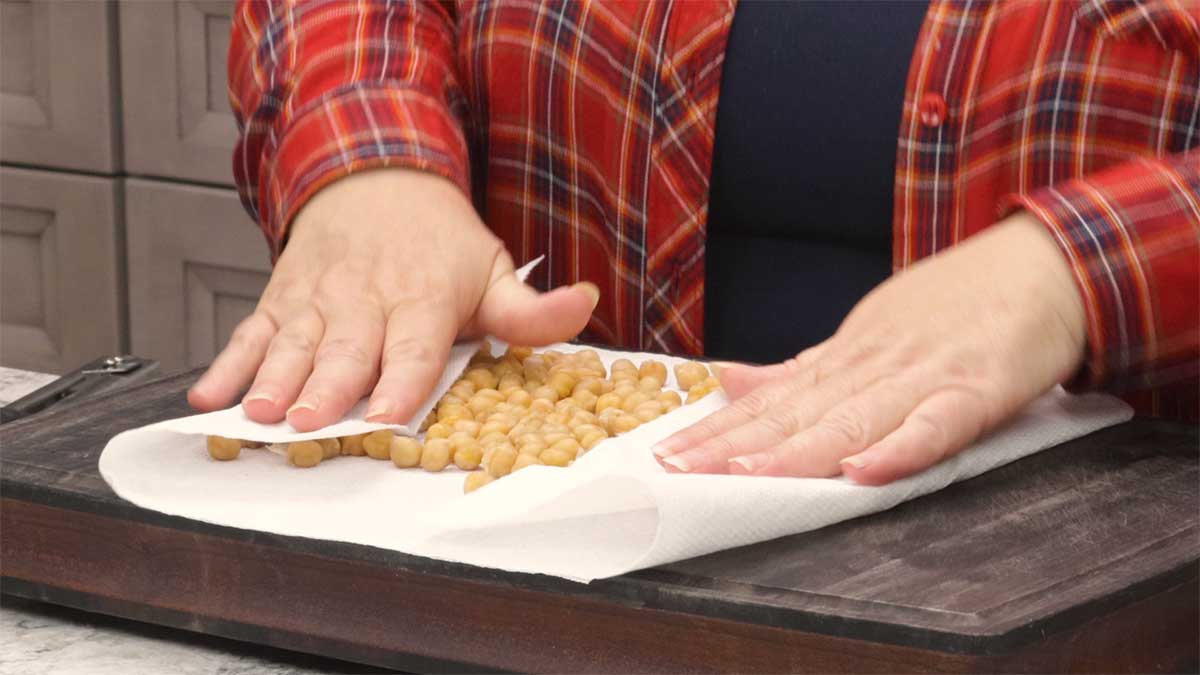
Dry on Paper Towels
I didn't do this on my first few test batches and while they were really good, they weren't as crunchy and they didn't stay as crunchy as when I let them dry on paper towels.
Even if you use canned chickpeas, drain the liquid and lay them out on paper towels to remove the excess moisture. This only takes a few minutes and it results in the crunchiest chickpeas!
Put Them in a Single Layer
This is probably the most important thing for even cooking and crunchy results. Although it's tempting to throw them all in the air fryer at once, what happens when you start to have multiple layers is they steam and don't get as crispy.
Drying them first does help with this, but for the best results only put in enough to have a single layer. If you decide to have multiple layers, you will want to stir them around more often and they will take longer to cook.
Use Some Oil
The oil is important to hold the seasonings on the chickpeas and it helps them crunch up. You can use any oil you like, but I recommend avocado oil because it is neutral in flavor and won't compete with the seasonings you add.
You can also use olive oil, vegetable oil, or peanut oil. I don't recommend using butter. Although it would be a great flavor, butter tends to burn at higher heat. If you want the flavor of butter, try using Ghee.
Cool Before Storing
If you want to keep your chickpeas crunchy for the longest amount of time, it is essential that they be completely cool before placing in a storage container.
Another thing to note is if your house is humid or not. The chickpeas will begin to absorb moisture and soften up when left in humid environments and not properly stored. For this reason, I don't recommend leaving them out on the cooling rack longer than necessary for them to cool down.
It takes just about 15 minutes for them to be completely cool and then I immediately put them in my storage container.
Storing Air Fryer Chickpeas
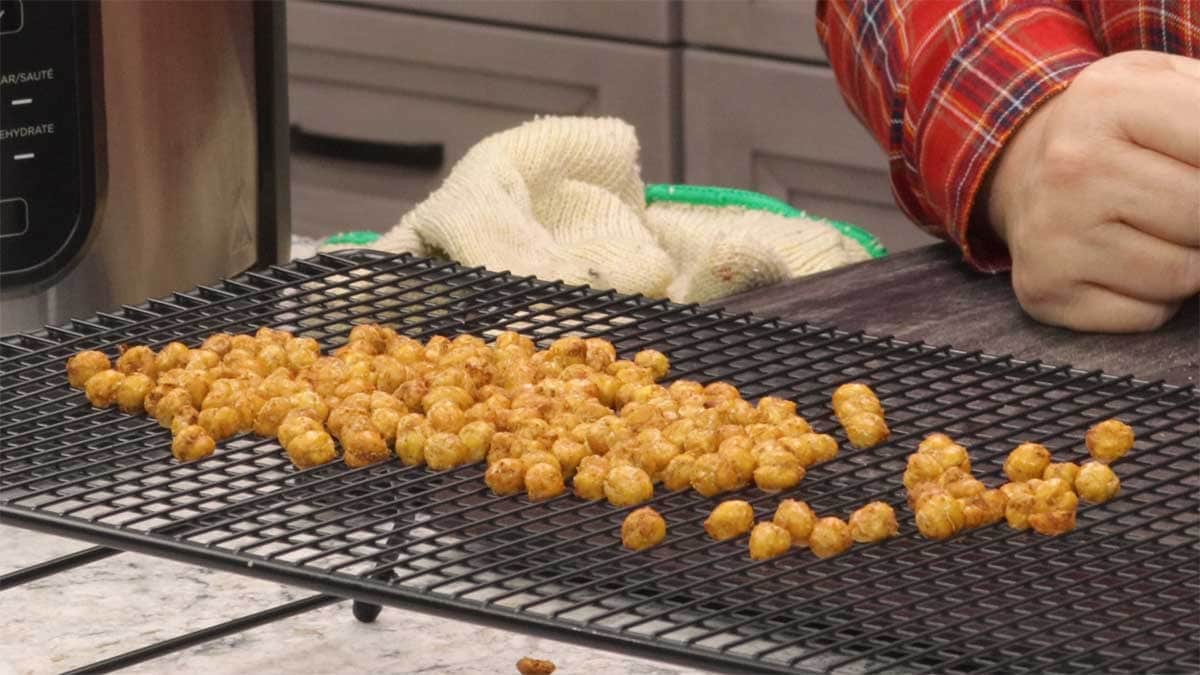
Once you have finished air frying and you have crispy chickpeas, we want to keep it them crispy. To do this you want to cool them on a (affiliate link)cooling rack or a pizza tray with holes that is elevated a few inches off the counter. This allows air flow around the chickpeas so they don't steam and soften up. This is especially important if you want to store them for later.
Make sure they are completely cool before putting them in an airtight storage container. I simply use a ziplock bag and squeeze as much air out as I can. Another option is to place a single serving into a bag and vacuum seal it. You can store the dried chickpeas at room temperature for a week or more. The air fryer will dry them enough that the moisture content is too low for bacteria growth, but you have to make sure they are completely cool or the steam will produce moisture inside the bag and they will not only soften up, but they can grow bacteria at room temp.
You can also put them in an airtight container in the freezer, but as they thaw they will soften up. Simply pop them back into the air fryer for a few minutes to crisp them up again.
Seasoning Air Fryer Chickpeas
This is where it gets fun! You can literally use any of your favorite seasonings or seasoning blends. You can even season the cooking water to infuse more flavor into the dry chickpeas.
This recipe came about because I was less than thrilled with store-bought seasoned chickpeas. They had a funny aftertaste and I wasn't a fan. So, I started experimenting on my own and was thrilled with the outcome using different cooking liquids and seasoning blends. I even tried cinnamon sugar on one batch and, although a bit strange because of the earthy taste of the chickpea, it did have enough sweetness to curb my sweet tooth!
You can season the chickpeas two ways, once when you pressure cook them and then again when you air fry them. I like to season the water I cook them in because the chickpeas absorb that water and seasons the chickpea all the way through.
The amount of seasoning you use is completely up to you and I suggest that you start off with less and add more after the air frying time just to make sure you don't over season them.
Here are some suggestions for seasonings both in the cooking liquid and when air frying. Be careful when using rubs or seasoning blends that have a high amount of sugar because they can burn in the air fryer. If you want to use sugar in the seasoning, consider decreasing the temperature a bit and increase the cook time.
Taco Seasoning: You can use the store-bought seasoning mix or make your own by combining salt, cumin, onion powder, chili powder, and garlic powder. If you want some spice, add in a little chipotle powder or cayenne pepper. I use a version of this in my written recipe, but forgot the chili powder!
Garlic: Use garlic powder with some salt or garlic salt.
BBQ: Use your favorite BBQ rub, but try to pick one that doesn't have too much sugar in it or it may burn.
Bagel Seasoning: Use the everything bagel seasoning.
Curry: Use curry powder and some salt.
Salt and Pepper: Keep it simple with a basic salt and pepper blend. I use 2 parts salt to 1 part black pepper.
Get creative and have fun! Use your favorite flavor combinations to make your signature crunchy snack!
How to cook the recipe
Prep
The only prep involved is cooking your chickpeas to firm texture if you aren't using the canned chickpeas (which I strongly recommend cooking your own from dry) and drying them on paper towels. Oh, and you need to choose your seasoning!
Air Frying Chickpeas
Preheat the air fryer! I really think this makes a difference. I recommend using the hottest setting on your air fryer and preheat with the air fryer basket or tray in the appliance for a full 10 minutes. On the Ninja Foodi Pressure Cooker & Air Crisper, I preheat on the broil/grill setting (450℉/230℃
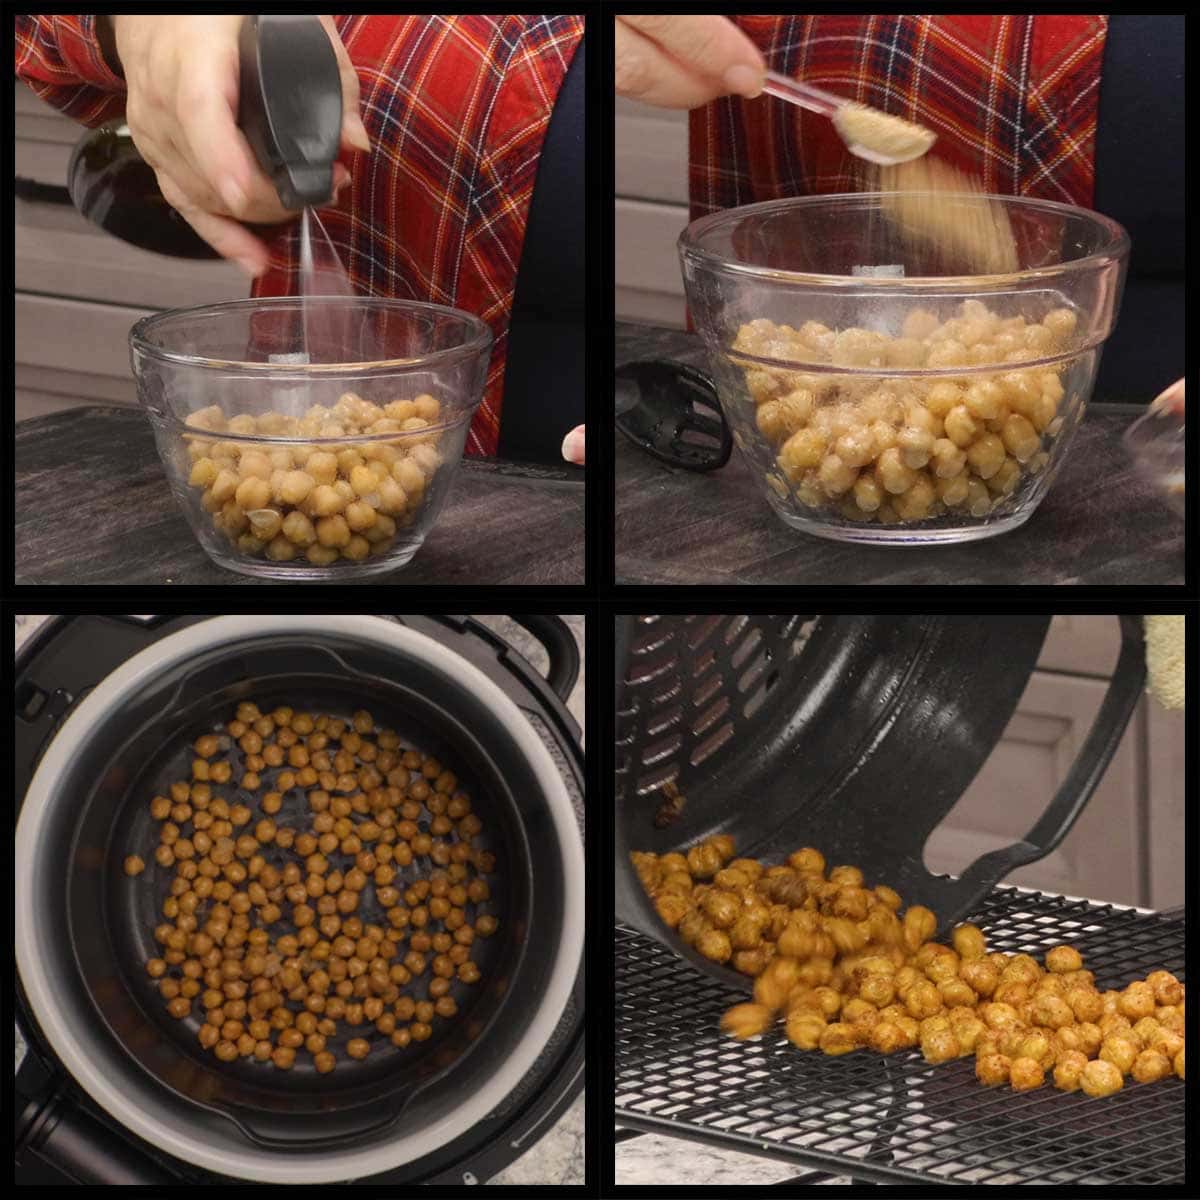
Place your chickpeas (dried on paper towels) in a medium bowl and spritz or toss with oil of choice. You only need a teaspoon or two, just a light coating of oil. Sprinkle on your seasoning and toss around. I suggest about 1 teaspoon of seasoning per cup of chickpeas. You can also season after air frying if you want more seasoning.
Once the air fryer has preheated, place the seasoned chickpeas into the basket or on the tray in a single layer. I usually do 1-2 cups at a time, but the amount you can do will depend on the surface area of your air fryer.
Air Fry on 375℉/190℃ for 10-12 minutes and I like to toss them around 1-2 times during the cooking process.
Cooling the Chickpeas
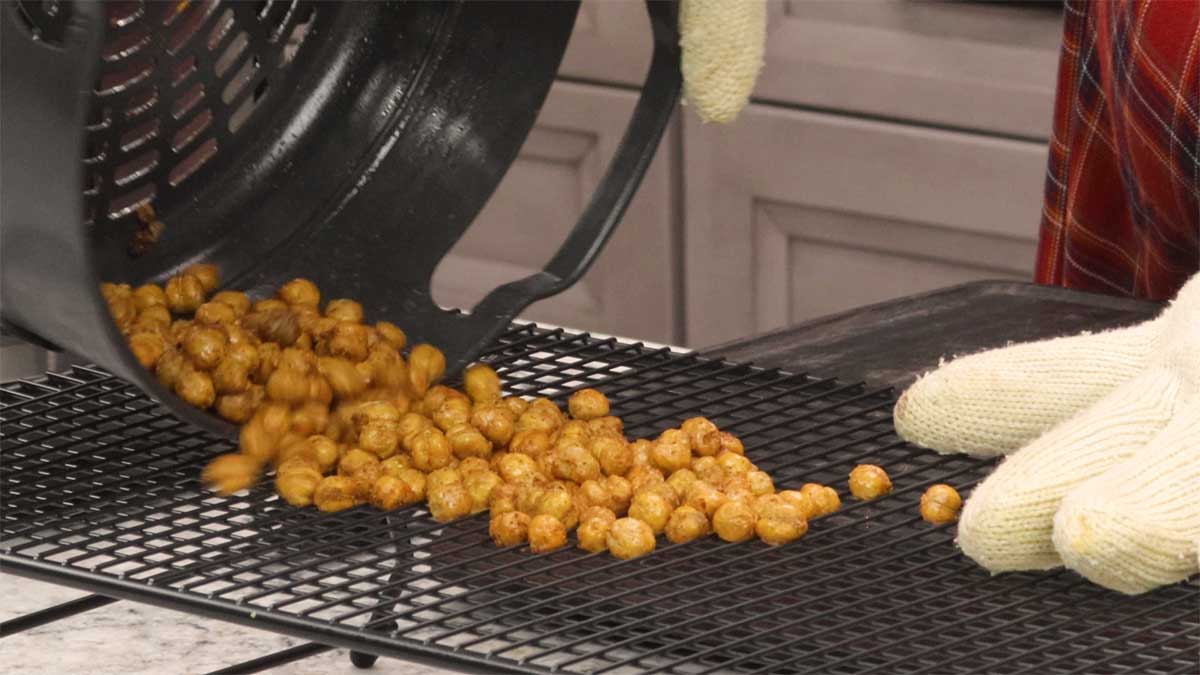
Once they are done and nice and crispy, you want to make sure they stay that way. To avoid having them steam in a bowl, spread the chickpeas out on a cooling rack or on a pizza pan with holes and elevate the pan on a cooling rack.
Once they have cooled, place them in a bowl and enjoy the crispy snack! If they need more seasoning, sprinkle on top and toss them around in the bowl.
You can also use them as a salad topper in place of croutons!
The BEST Air Fryer Chickpea Recipe
Equipment
- Air Fryer
Ingredients
- 3 cups cooked chickpeas
- 1 Tablespoon avocado oil or oil of choice
Spice Blend
- 1 teaspoon fine grind sea salt
- 1 tespoon cumin
- ½ teaspoon garlic powder
- ½ teaspoon onion powder
Instructions
- Cook your dried chickpeas to a firm texture and plunge them in a bowl of ice water. If using canned chickpeas, drain the liquid. Place the chickpeas on a paper towel to remove the excess moisture.
- Preheat your air fryer on the hottest setting for a full 10 minutes. On the Ninja Foodi Pressure Cooker & Air Crisper this is the broil or grill setting. On other air fryers, use the setting that has the highest temperature.
- Place the chickpeas in a bowl and spritz or drizzle with oil until lightly coated. Sprinkle the seasoning on top, I usually use ½-1 teaspoon at a time and then toss. Repeat until the desired amount of seasoning is used. You can always season more after air frying, so less is more at this stage.
- Once the air fryer is preheated, place the chickpeas in the air fryer basket or tray so they are in a single layer. How many you can fit will depend on your air fryer. I can do about 1½-2 cups in the Ninja Foodi Pressure Cooker & Air Crisper. You may have to do 2 or 3 batches.
- Air Fry on 375℉/190℃ for 10-12 minutes. Tossing them around a few times during the cooking process. When they are nice and crunchy, remove them from the air fryer and lay them out in a single layer on a cooling rack or on a pizza pan with holes and elevate it so air can flow all around. This will prevent them from steaming and softening.
- Eat and Enjoy!
Notes
Nutrition
ABOUT THE RECIPE AUTHOR, LOUISE LONG
Louise is a full-time recipe creator and food blogger @ The Salted Pepper. She has over 30 years of experience with cooking and recipe development. She owned a restaurant for several years and was a full-time RN until retiring to blog full-time.

She published her first cookbook in the Fall of 2018 and is very interested in writing several more.
Louise is also the creator of an online Ninja Foodi Pressure Cooking Course with over 100 instructional step-by-step videos. People absolutely rave about the course and all the value they have received from it.
Louise has several very active Facebook groups that help people with the basics of cooking and getting the most out of the Ninja Foodi.
Louise is also a YouTube creator and you can find most of her recipes in video format on The Salted Pepper YouTube channel.
She is very responsive to messages and eager to help in any way she can. Get more Information about Louise & contact information
I WOULD LOVE TO SEE WHAT YOU ARE COOKING UP IN YOUR KITCHEN! TAG ME @THESALTEDPEPPER ON YOUR FAVORITE SOCIAL MEDIA PLATFORM WHEN YOU MAKE A DISH!
BE SURE TO FOLLOW THE SALTED PEPPER RIGHT HERE ⇓⇓⇓⇓⇓


Annie Huminski
Yum! I made a Cajun batch and a cinnamon batch….yum yum!
Louise
I'm so glad you like them!