Banana Jam is probably the best kept secret in the jelly, jam, preserve world! It's easy to make, uses up those overripe bananas, and is fantastic on and in so many things!
So, how come we never hear about it? I don't have a clue, but I wasn't aware Banana Jam was a thing until a few years ago when I was on a jam making kick and had some bananas to use and thought... why not!
Needless to say, it turned out amazing and definitely recipe worthy! So, if you have a few overripe bananas, give it a try!
You may also be interested in trying out some of these other jams/jellies/preserves that I've made. They are all so easy to make and taste amazing!
More Jams, Jellies, & Preserve Recipes
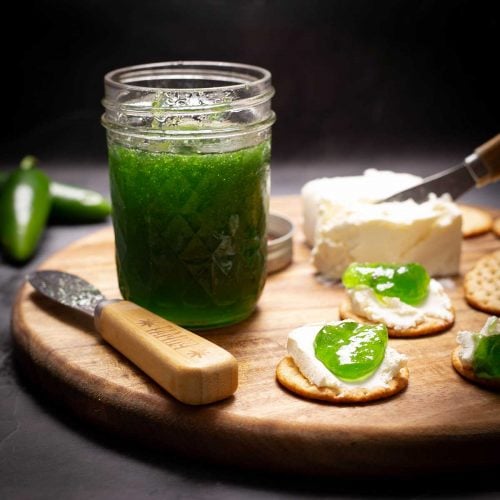
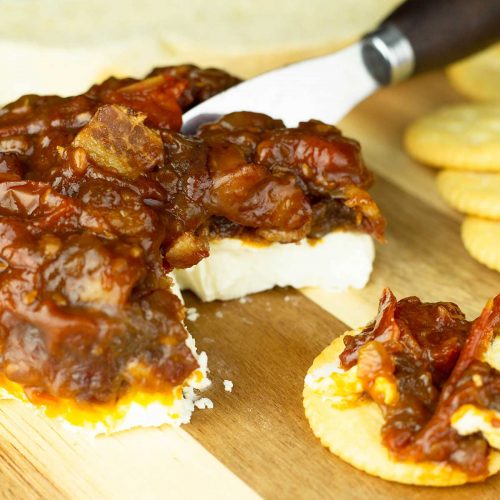
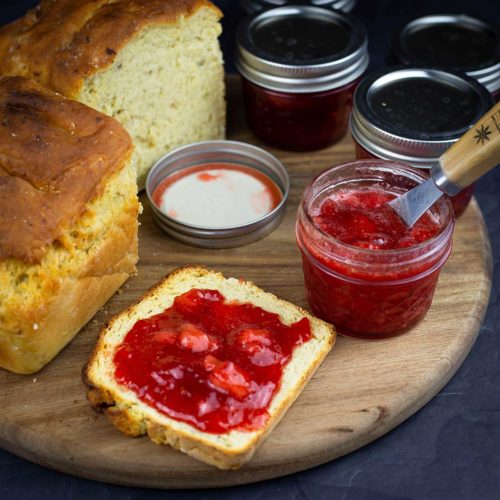
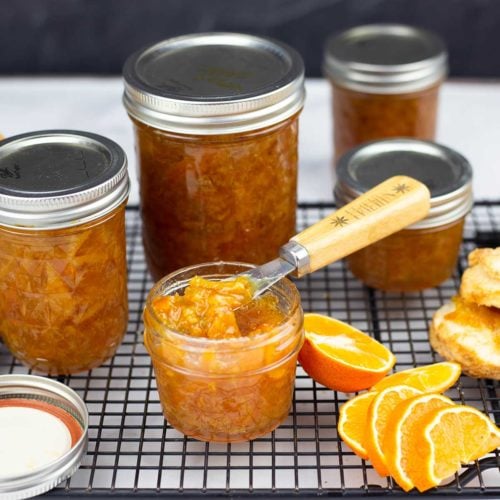
I love making different kinds of jams, jellies, and preserves and here are a few of my favorite recipes!
Frequently Asked Questions
The riper the better! This is a perfect recipe for using up bananas that have gotten too dark or too soft to eat. The darker the skin of the banana, the riper it is and the more banana flavor it has. This recipe will work with yellow bananas, but the flavor won't be as intense as if the skin is spotted or completely brown.
Yes, absolutely! I always freeze really dark bananas for making banana bread and banana jam! Frozen bananas are more liquidy than unfrozen, so I would decrease the water to ¼ cup.
This is always a tough question to answer when making jams because although it seems easy to double the ingredients to make a double batch, it doesn't always work out that well.
The more volume you have in the pot, the longer it's going to take to hit the correct temperature for setting up and the longer it takes to hit this temperature, the more likely you are to burn the jam.
So, I suggest following the banana jam recipe amounts at least the first few times you make it. Also keep in mind, the larger the circumference of the pot, the less the depth of the ingredients and the less time it will take to hit your target temperature.
Ingredients & Substitutions
Bananas
This is obviously a key ingredient in Banana Jam and the riper the banana, the better the flavor!
If you make banana bread, you know that waiting until your bananas are very dark or black will result in the best flavor, the same is true with banana jam.
If you freeze your overripe bananas and want to use them, decrease the water to ¼ cup because the frozen bananas will give off more liquid.
Pectin
Although bananas have natural pectins in them, from what I've read, the riper the banana the less pectin it has. Since we want to use overripe bananas, I recommend using pectin to help it set up.
However, if you don't have any and want to give the banana jam a try, I certainly would. The worst case scenario is you have a banana sauce and I can think of tons of things to do with banana sauce!
Pectin comes in three basic varieties; dry, liquid, and low sugar pectin. I use dry powdered pectin in this recipe, but if you want to use the liquid kind you would change the order of how you add the ingredients.
The formula for using liquid pectin instead of dry is for every 2 Tbsps of powdered pectin, use one pouch of liquid pectin. So, in this recipe I call for 1 tablespoon of powdered pectin, so you would use ½ a pouch.
The other difference is when you add it in. With dry pectin, you add it in in the beginning and with liquid pectin, you add it in at the end.
So, you would combine the bananas, sugar, lemon juice, and water. Bring that to a boil that can't be stirred down and get the mixture close to 220℉/104℃. Then add in the liquid pectin and bring the mixture back up to a boil that can't be stirred down.
Then let the mixture cool a little bit and put into your jars or whatever container you want to store the jam in.
If you want to use less sugar or a sugar substitute, you would use dry low sugar pectin in place the dry regular pectin and the rest of the instructions are the same.
Sugar
I used white granulated sugar in this recipe, but you can certainly use brown sugar or a combination of brown sugar and white sugar if you want.
You may also note that there is quite a bit of sugar in this recipe and you may wonder if you can reduce it. The ratio of sugar to jam in a recipe is what helps it set up when cooked, so while you can certainly play around with the ratios and see how far you can reduce it, you may end up with a sauce instead of jam.
What I recommend instead is using the low sugar pectin, which requires much less or no sugar to set correctly. You can replace some or all of the sugar with your favorite sugar substitute.
Lemon Juice & Spices
I used lemon juice in this recipe to brighten up the flavors and provide some acidity, however I do want to say that this is NOT an approved canning recipe and I have not tested the acidity to determine if it would be safe for water bath canning. Unfortunately, there is not enough research that I could find on the topic of canning banana jam to give any advice except that this is NOT a canning recipe and the jars should be refrigerated or you can place the banana jam in a bag and freeze it.
If you don't have lemon juice, you can also use orange juice.
You certainly don't have to add any additional spices, but I found the vanilla extract and the cardamom were wonderful additions. If you don't have cardamom on hand, try using the same amount of cinnamon instead.
How to Serve Banana Jam
If banana jam isn't something you are familiar with, you may wonder what in the world you would use it for. Well, let me just say that it's one of the most versatile of all the fruit jams in my opinion because bananas go with so many different flavors from sweet to savory!
Here are my favorite ways to use it!
- Banana Jam Sandwich
- Banana Jam and Peanut Butter sandwich
- Topping for vanilla ice cream
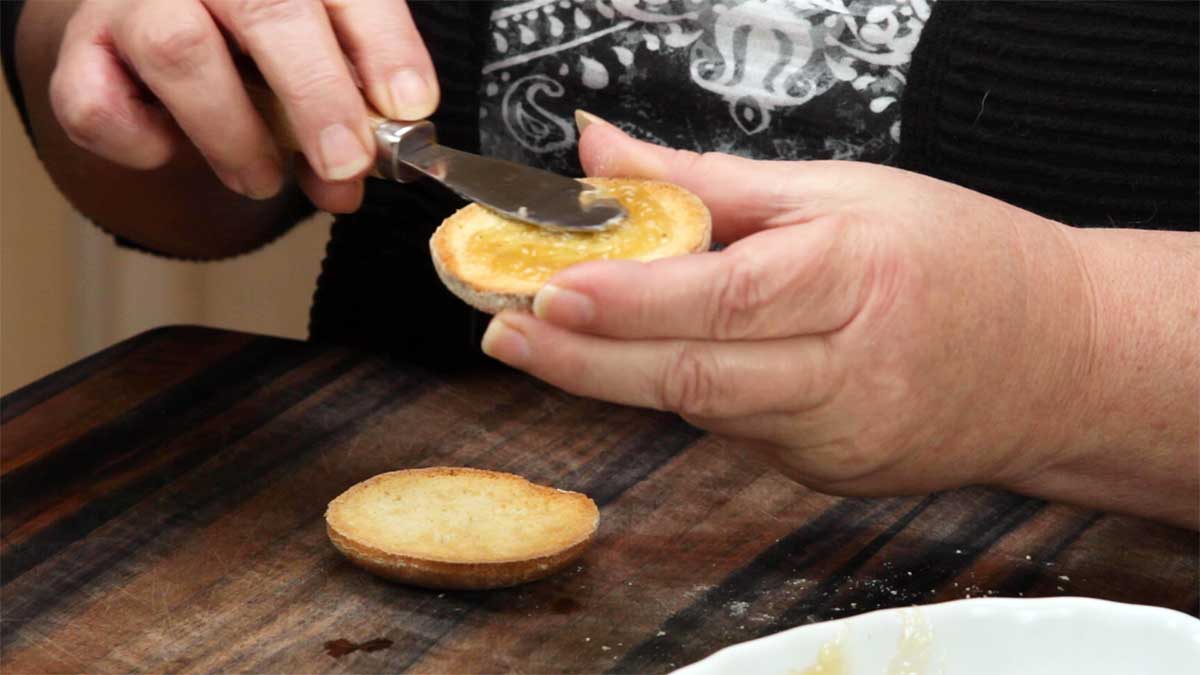
- Toast some English Muffins and slather the banana jam on top
- Mix it in with Homemade Plain Yogurt
- Combine Banana Jam and Strawberry Jam with vanilla ice cream and chocolate syrup for a quick banana split
- Spread it on toast and add slices of fresh bananas
- Mix Strawberry Preserves with Banana Jam for a Strawberry Banana Jam
- Make an Elvis Burger! Top your burger with peanut butter and banana jam. It's delicious!
How to Make Banana Jam
I use the Ninja Foodi Pressure Cooker & Air Crisper to make my jams, jellies, and preserves because I love how regulated the temperature is and the pot is nice and deep. You can use the Ninja Foodi, Instant Pot with sear/sauté, or a large pot or a large saucepan on the stove.
The one thing to keep in mind is the diameter of the pot you are using as well as the material will affect how fast your jam reaches the desired temperature. I suggest using a heavy bottomed pot that is at least 6" in diameter for this recipe.
Prep
There is very little prep involved in this recipe, but I do recommend having all of your ingredients measured out and ready to go. You will also want to have a potato masher or something else to break up the bananas.
Jams are quick to make, but require frequent stirring and temperature control, so having your ingredients ready to go will go a long way in having a successful outcome.
Making the Jam
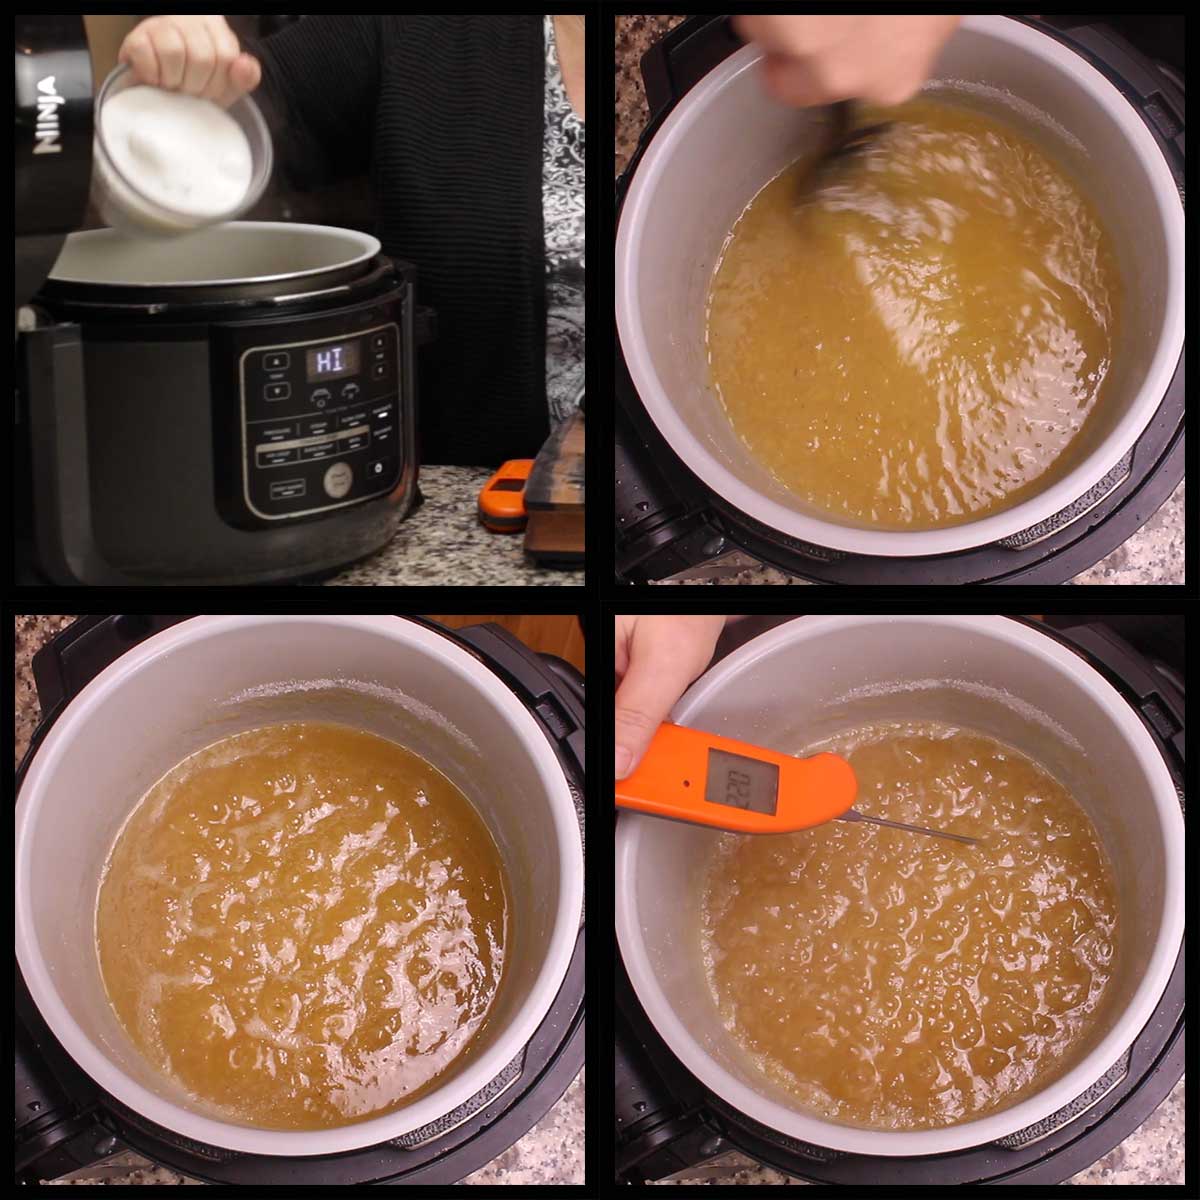
Add the bananas (peel them first), lemon juice (bottled or freshly squeezed is fine), water, and pectin to the pot.
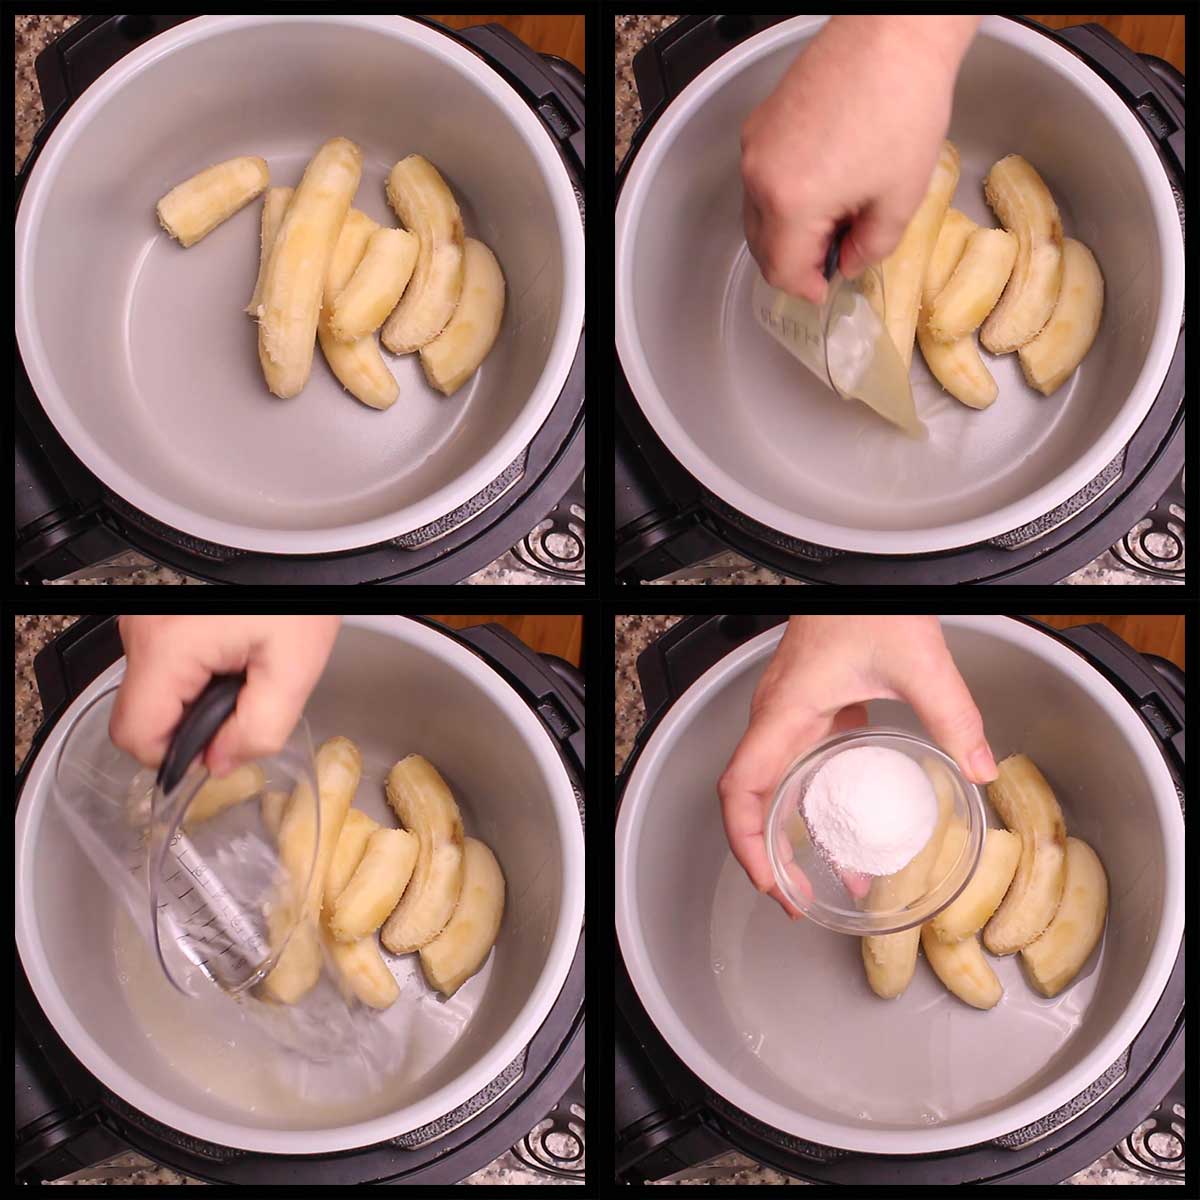
Turn the Ninja Foodi on high sear/sauté or the stove on high heat and begin to mash the bananas.
You can also use a blender to blend everything up before you add it to the pot, but I found this handy tool worked great! I used a Mix 'N Masher from Pampered Chef. It works great for applesauce, mashed potatoes, and of course banana jam!
Bring the mixture to a boil, stirring frequently. Use a wooden spoon or a high temperature silicone. Metal will absorb the heat and cool the mixture. If you think your heat is too high or you are seeing the mixture start to scorch, turn the stove or NInja Foodi down to medium heat.
You will see the bubbles start out large and far apart and as it continues to get hotter, the bubbles will be smaller and close together.
After the bubbles get close together and smaller, give a stir and if the mixture remains boiling during the stirring process you are good to go. This is called a boil that can't be stirred down and is common with making jams, jellies, and preserves.
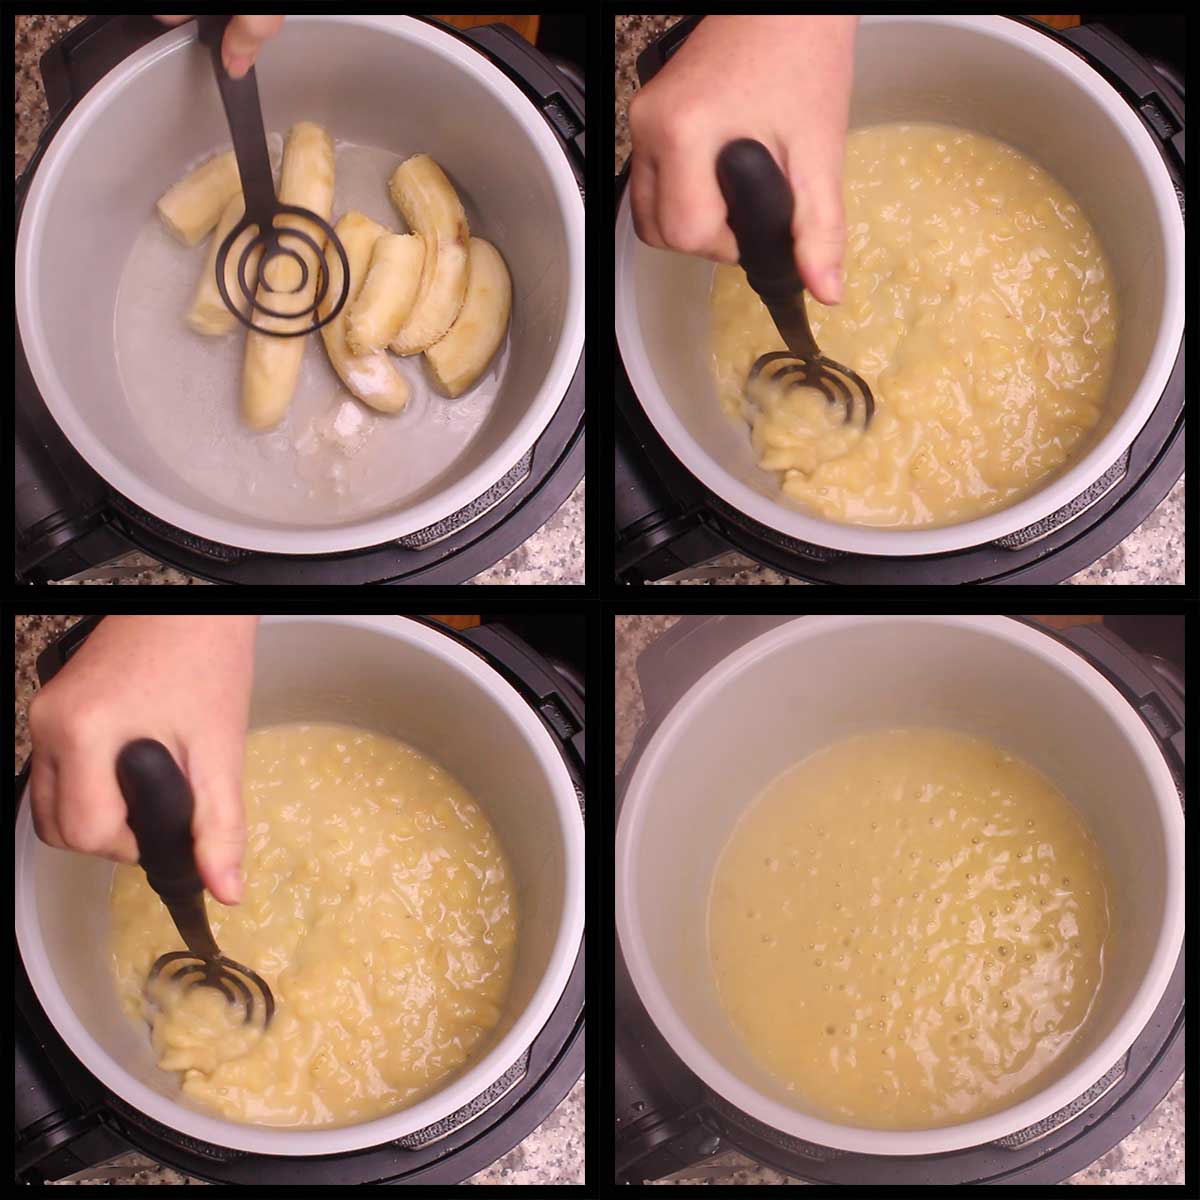
Next add in the sugar and stir. This will cool everything down and the boiling will slow down. Stir occasionally and bring the mixture back up to a boil that can't be stirred down.
I usually use my Instant Read thermometer to make sure I get the mixture up to 220℉/104℃, but you don't have to have a thermometer. Once the mixture continues to boil despite stirring and the bubbles are small and close together, you should be just fine.
If you want to double check that your banana jam will set up, you can do the plate test described below.
How to do the Plate Test to check if Jam will set
There is nothing worse than, after spending the time making jam, jelly, or preserves, waiting for it to set up and it never does. Keep in mind that sometimes this can take days, and I've even read weeks, for a jam to set completely, but usually a good 8 hours in the fridge does the trick for 4 ounce or 8 ounce jars.
If you just want to be sure you cooked to high enough temperature, you can do the plate taste and it's simple.
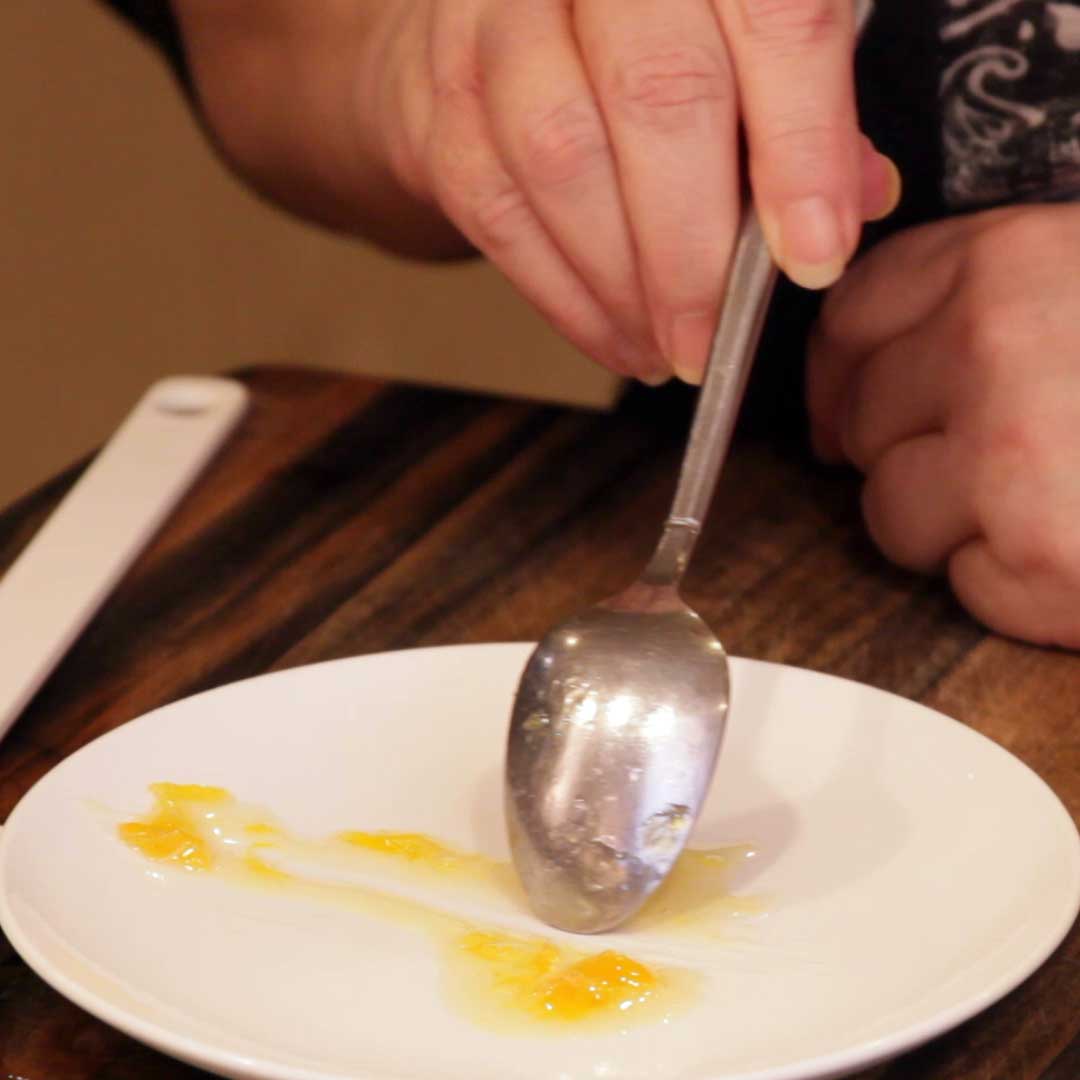
Freeze a small plate before you start making the jam. You want the plate to be really cold. Usually 30-60 minutes in the freezer does the trick.
When you think the jam has cooked long enough, put a teaspoon or two on the plate and let it sit there for several minutes. Then take your finger or the back of a spoon and swipe right through the center. If the jam, jelly, or preserves stays apart, you are good to go. If it runs back together quickly, it's a little too thin and won't set up well.
Finishing Touches
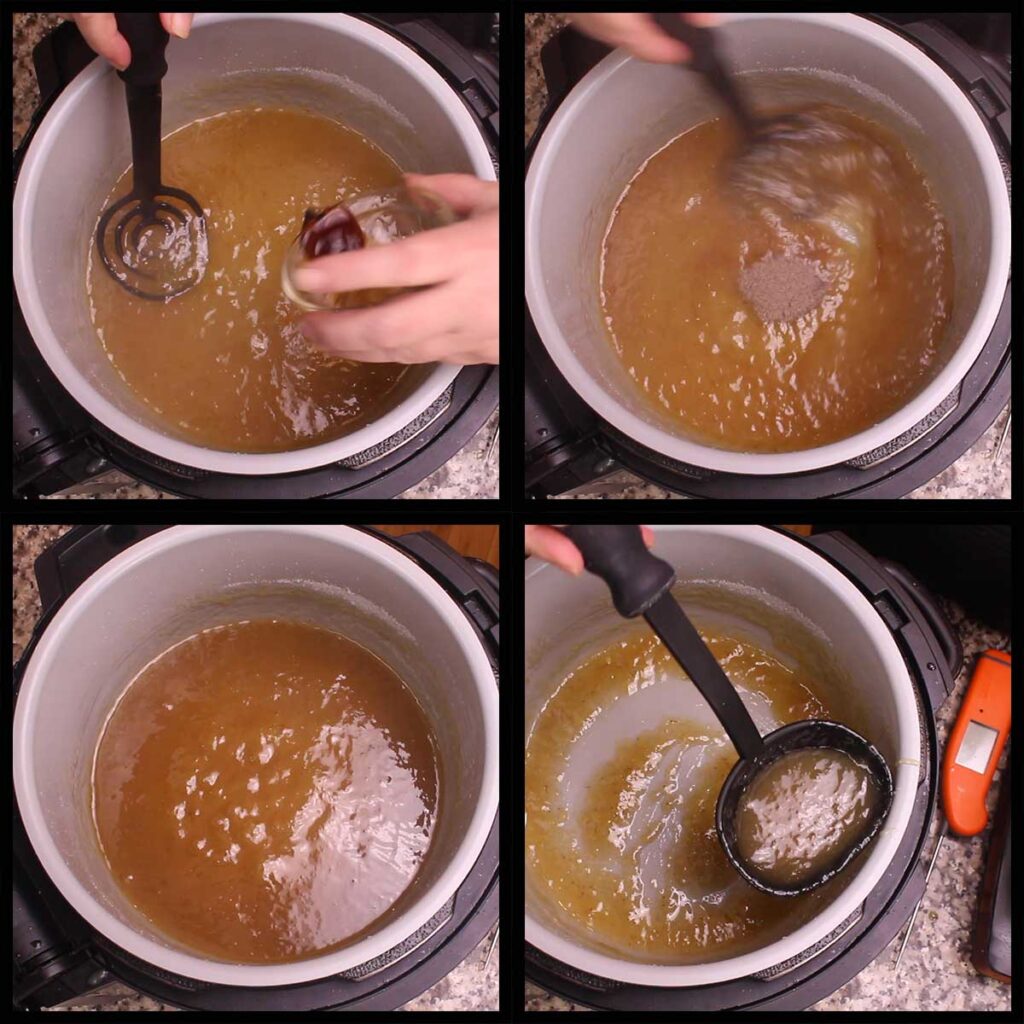
Once the banana jam reaches 220℉/105℃ or the plate test tells you it will set, turn the heat off and stir while the mixture cools slightly. When it is no longer boiling, add in the vanilla extract and the cardamom spice and stir to combine. The cardamom gives an incredible flavor to this banana jam, but you can also use cinnamon or don't add any spice and the jam is still going to be delicious.
Once the banana jam cools down a bit, ladle it into jars or whatever containers you want to store it in. Keep in mind, the deeper the container, the longer it is going to take to cool completely.
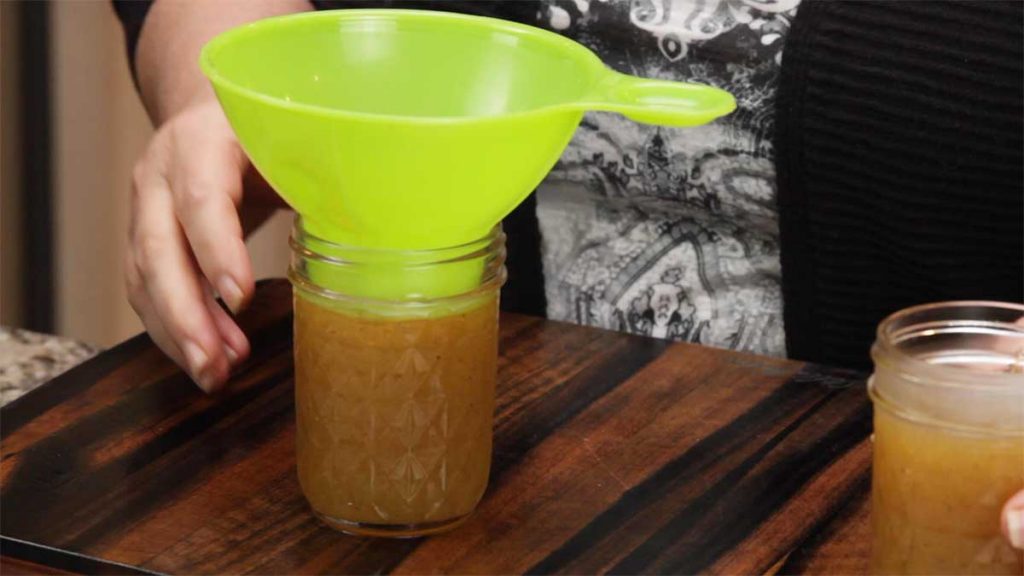
Put the jam in the refrigerator for at least 4 hours to chill. I usually leave it in overnight and enjoy it the next morning.
You should yield about 2½ cups of jam that can be kept in the refrigerator for several months or stored in the freezer for longer periods of time.
Serve & Enjoy!
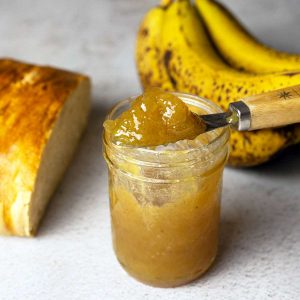
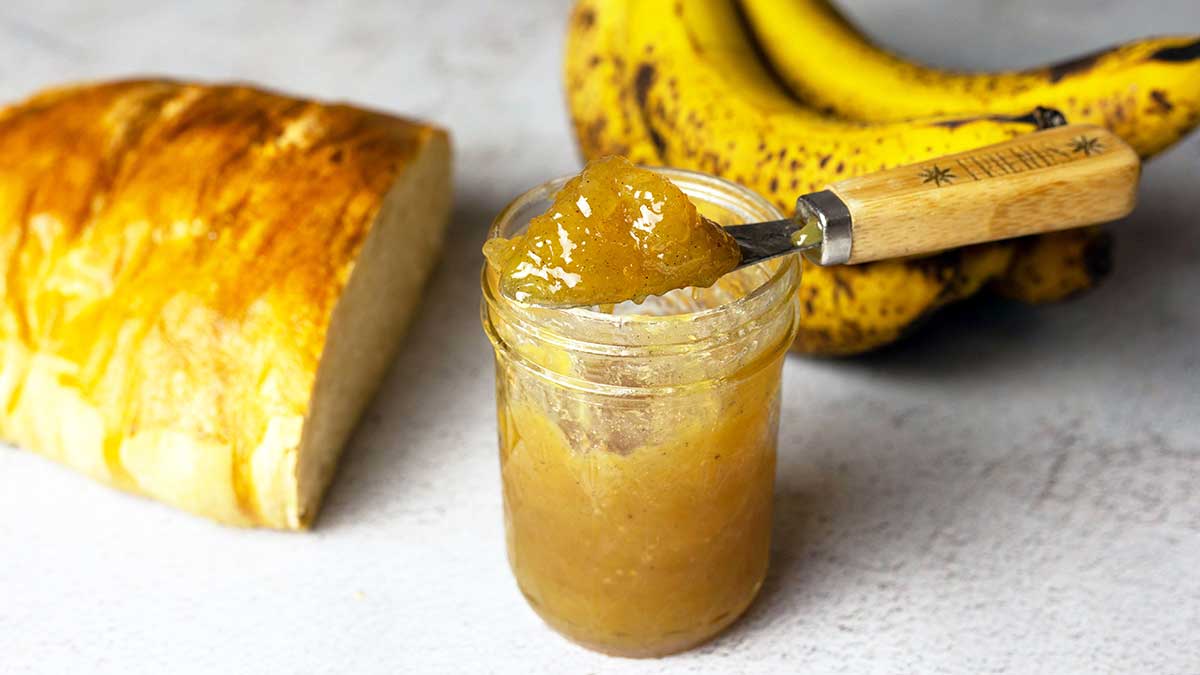
Easy Banana Jam Recipe
Ingredients
- 4 bananas the riper the better
- 2 tablespoon lemon juice
- ½ cup water
- 1 tablespoon powdered pectin
- 2 cups sugar
- 1 teaspoon vanilla extract
- ½ teaspoon cardamom optional
Instructions
- In a large pot or the Ninja Foodi inner pot, add the peeled bananas, lemon juice, water, and powdered pectin. Turn the heat on high and cook while mashing the bananas. You could also blend the ingredients in a blender and then pour into the pot.
- Bring the mixture to a boil that cannot be stirred down. This takes anywhere from 5-10 minutes. You can adjust your heat down if you are afraid of scorching the mixture. Stir occasionally while boiling.
- Once the mixture is boiling and continues to boil as you stir, add in the sugar and stir to combine.
- Bring the mixture back to a boil that cannot be stirred down, this can take anywhere from 5-10 minutes. I use a thermometer and when the mixture reaches 220℉/104℃, it's done. See notes if you don't have a thermometer.
- Turn the heat off and stir until the banana jam is no longer boiling. Add in vanilla and cardamom. Stir to combine. Let the jam cool slightly in the pot.
- Transfer to jars or another container that want to store the jam in. Refrigerate for at least 4 hours.
- Serve & Enjoy!
Notes
Nutrition
ABOUT THE RECIPE AUTHOR, LOUISE LONG
Louise is a full-time recipe creator and food blogger @ The Salted Pepper. She has over 30 years of experience with cooking and recipe development. She owned a restaurant for several years and was a full-time RN until retiring to blog full-time.

She published her first cookbook in the Fall of 2018 and is very interested in writing several more.
Louise is also the creator of an online Ninja Foodi Pressure Cooking Course with over 100 instructional step-by-step videos. People absolutely rave about the course and all the value they have received from it.
Louise has several very active Facebook groups that help people with the basics of cooking and getting the most out of the Ninja Foodi.
Louise is also a YouTube creator and you can find most of her recipes in video format on The Salted Pepper YouTube channel.
She is very responsive to messages and eager to help in any way she can. Get more Information about Louise & contact information
I WOULD LOVE TO SEE WHAT YOU ARE COOKING UP IN YOUR KITCHEN! TAG ME @THESALTEDPEPPER ON YOUR FAVORITE SOCIAL MEDIA PLATFORM WHEN YOU MAKE A DISH!
BE SURE TO FOLLOW THE SALTED PEPPER RIGHT HERE ⇓⇓⇓⇓⇓

Linda
I saw a post on Facebook using the hot and cold blender making strawberry jam using the jam function, my blender does not have this. Do you have a recipe using blender and what function to use. Thank you