These Cheddar Cheese Thumbprint Cookies are PERFECT for serving as a savory appetizer or giving as gifts to that person in your life who doesn't like traditional sweet cookies!
They are so pretty, easy to make, taste amazing, and perhaps the BEST thing of all, EASY to make!
You can customize them in so many different ways and turn one base recipe into totally different types of appetizers.
Whether you consider this a cookie or a cracker is completely subjective, but I call them cookies because they are not as crunchy as a cracker is. The Cheddar Cheese Thumbprint Cookies have a crisp exterior with a softer middle, just like a freshly baked cookie!
This recipe has been adapted from Trisha Yearwood's Cheese Straw Recipe, which you can find here: Cheese Straw Recipe
I have made her cheese straws several times and they are delicious, but I wanted to put my own spin on them. So, one year, I made these cheddar thumbprint cookies for a friend who doesn't particularly like sweets and they were a huge hit. I've been making them around the holidays ever since.
Frequently Asked Questions
Yes, this recipe can easily be cut in half or doubled by simply changing the ingredients. You can even triple it, but make sure you have a heavy duty stand mixer that is up to the task. If you have a smaller mixer or want to use a hand held mixer, I would stick with the ingredient amounts in the recipe.
Absolutely! Just make sure they are completely cool before placing them in your freezer bag or container so they don't produce steam.
I let them cool completely and place in airtight bags or containers and leave them at room temperature for up to 3 days. Keep in mind that the toppings you use must be safe at room temp in order to do this. If you use any perishable toppings, then you will want to refrigerate them.
They will last at room temperature for several weeks, but I have noticed that they do get softer the longer they are stored.
Ingredients & Substitutions
Cheddar Cheese
You will want to use a high quality block of cheddar cheese for this recipe and not the kind that is pre-shredded. You can use white or yellow cheddar, mild or sharp, or even some smoked cheddar in the mix would be delicious.
You can also combine different types of cheeses, but I would use cheddar as the primary cheese. For example, if I wanted to use a cheddar and parmesan cheeses, I would use 75% cheddar and 25% parmesan.
Butter
You can use salted or unsalted butter in the recipe. I haven't tried the recipe using margarine, so I'm not sure how it would work.
Flour
I used all purpose flour in the recipe, but I think you could use a gluten free flour. If you wanted to try to make a keto variety, I would use ¾ cup of almond flour and add in an egg.
Seasonings
The type of seasonings you add is completely up to you. I kept it simple with salt, pepper, and chipotle pepper. Cayenne pepper, garlic powder, onion powder, even cumin would make great additions.
Make them as spicy or as mild as you like.
Use different herbs, like dried thyme leaves or rosemary to change the flavor. This is one of those recipes where you can get really creative and I urge you to try different spices.
Topping Ideas for Cheddar Cheese Thumbprint Cookies
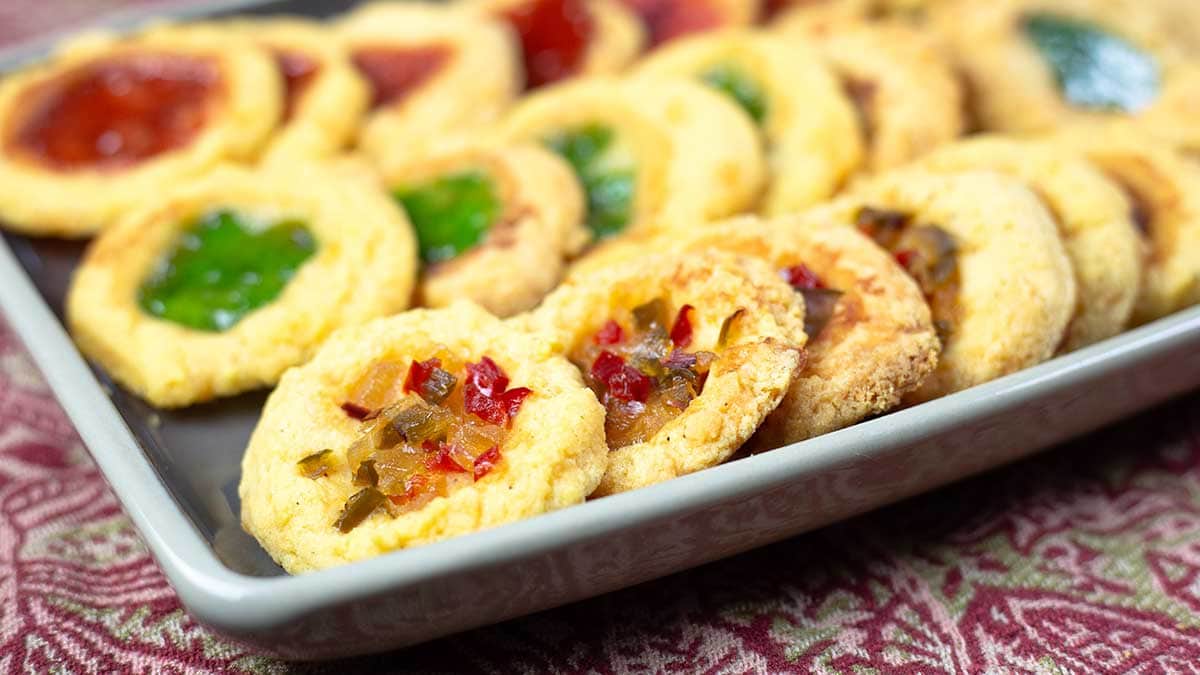
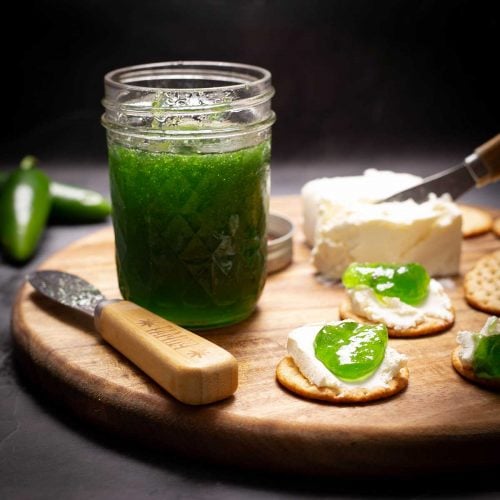
The toppings you use are completely up to you or you can skip them and just make the cheddar cheese cookies. They won't be thumbprint cookies without toppings, but they are certainly delicious.
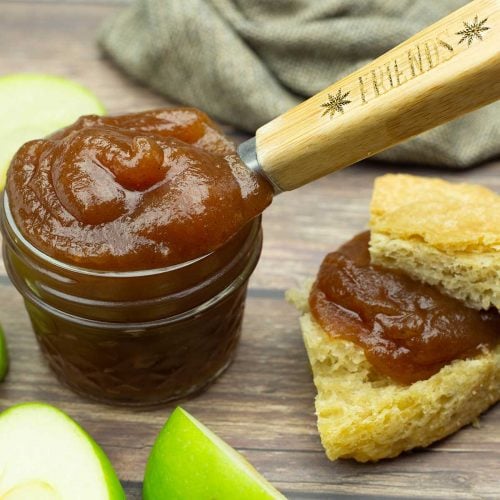
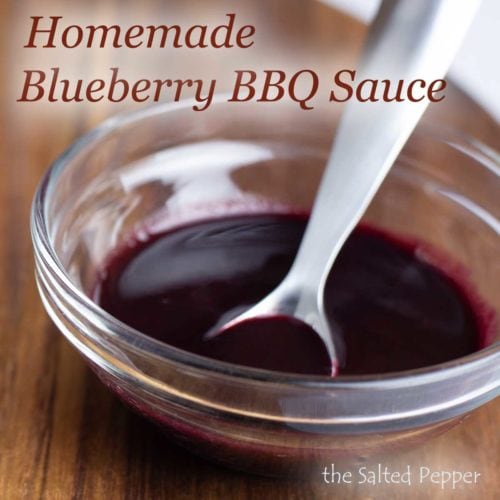
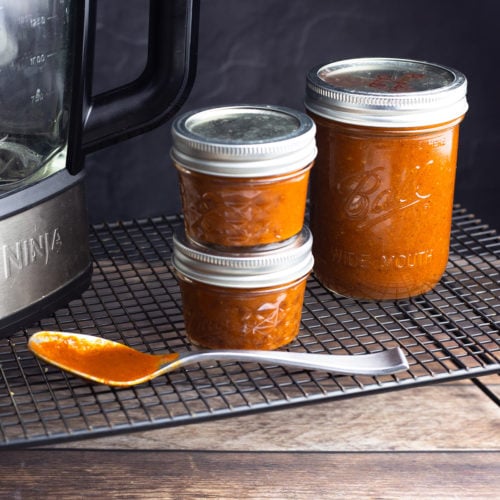
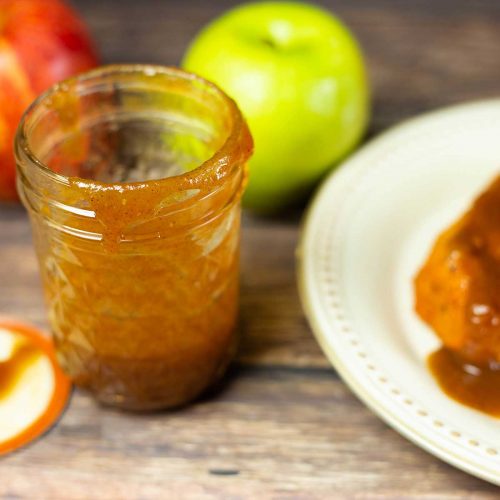
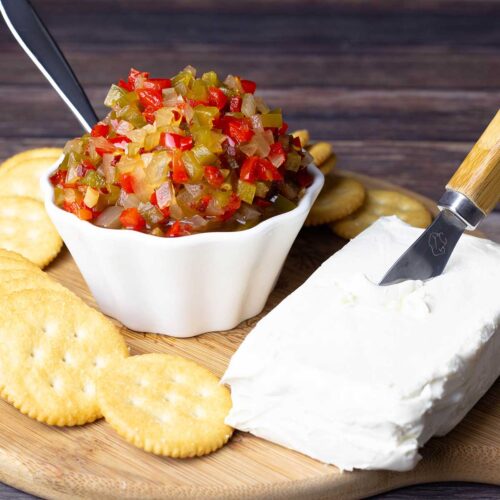
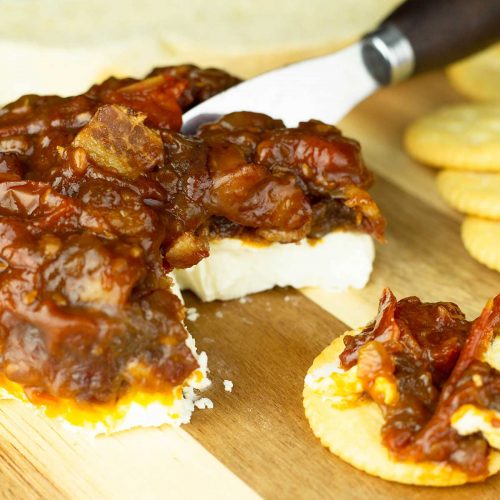
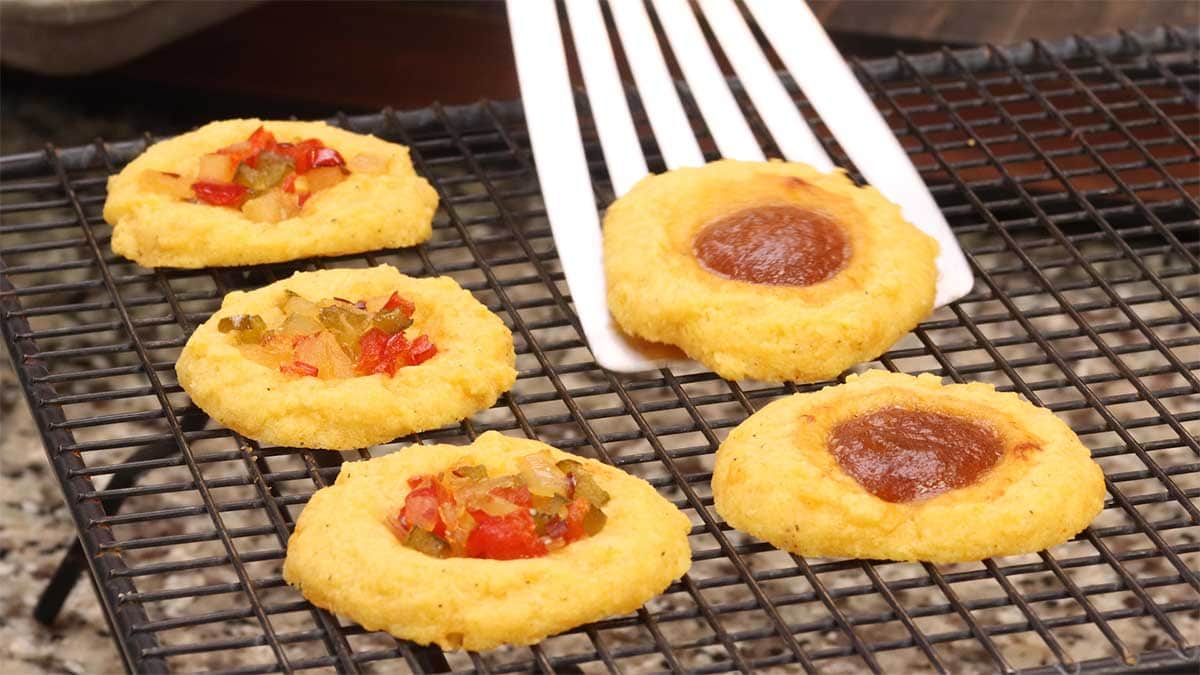
I used a variety of toppings from BBQ sauce to a pepper & onion relish and I'm always changing things up each time I make them.
The pepper & onion relish was a new one this year, as was the apple butter topping.
All of them are delicious and taste different, so you can create so many different variations of this delicious cookie.
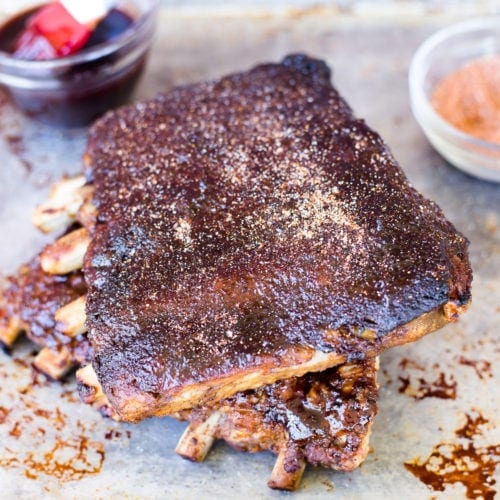
Here are some recipes for inspiration! The ribs have a delicious raspberry bbq sauce recipe included and that is terrific on the cookies!
How to Make Cheddar Cheese Thumbprint Cookies
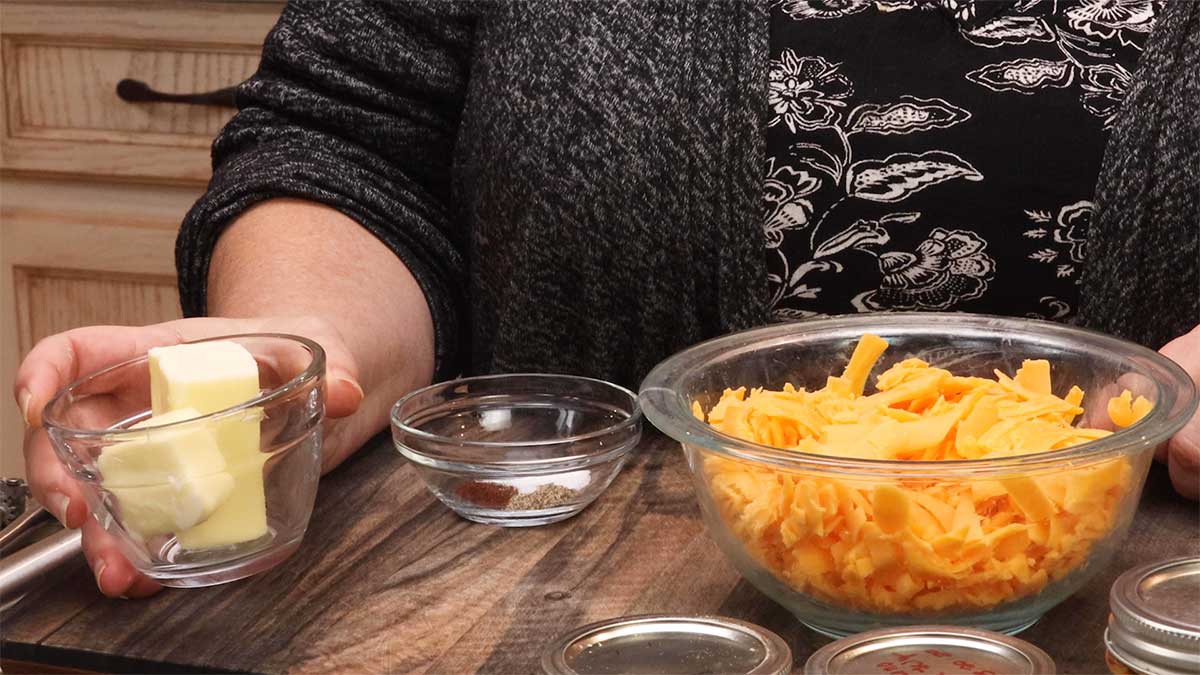
The first thing you want to do is grate your cheese. It is much easier to grate when it's cold. You'll see my grater made very large strips, but you can use any size grater you like, in fact, the smaller the grate, the easier it is to blend together.
You will want a total of 10 ounces of cheese grated and then let it sit out at room temp with the butter for at least 30 minutes, but, the warmer it is, the easier it blends together.
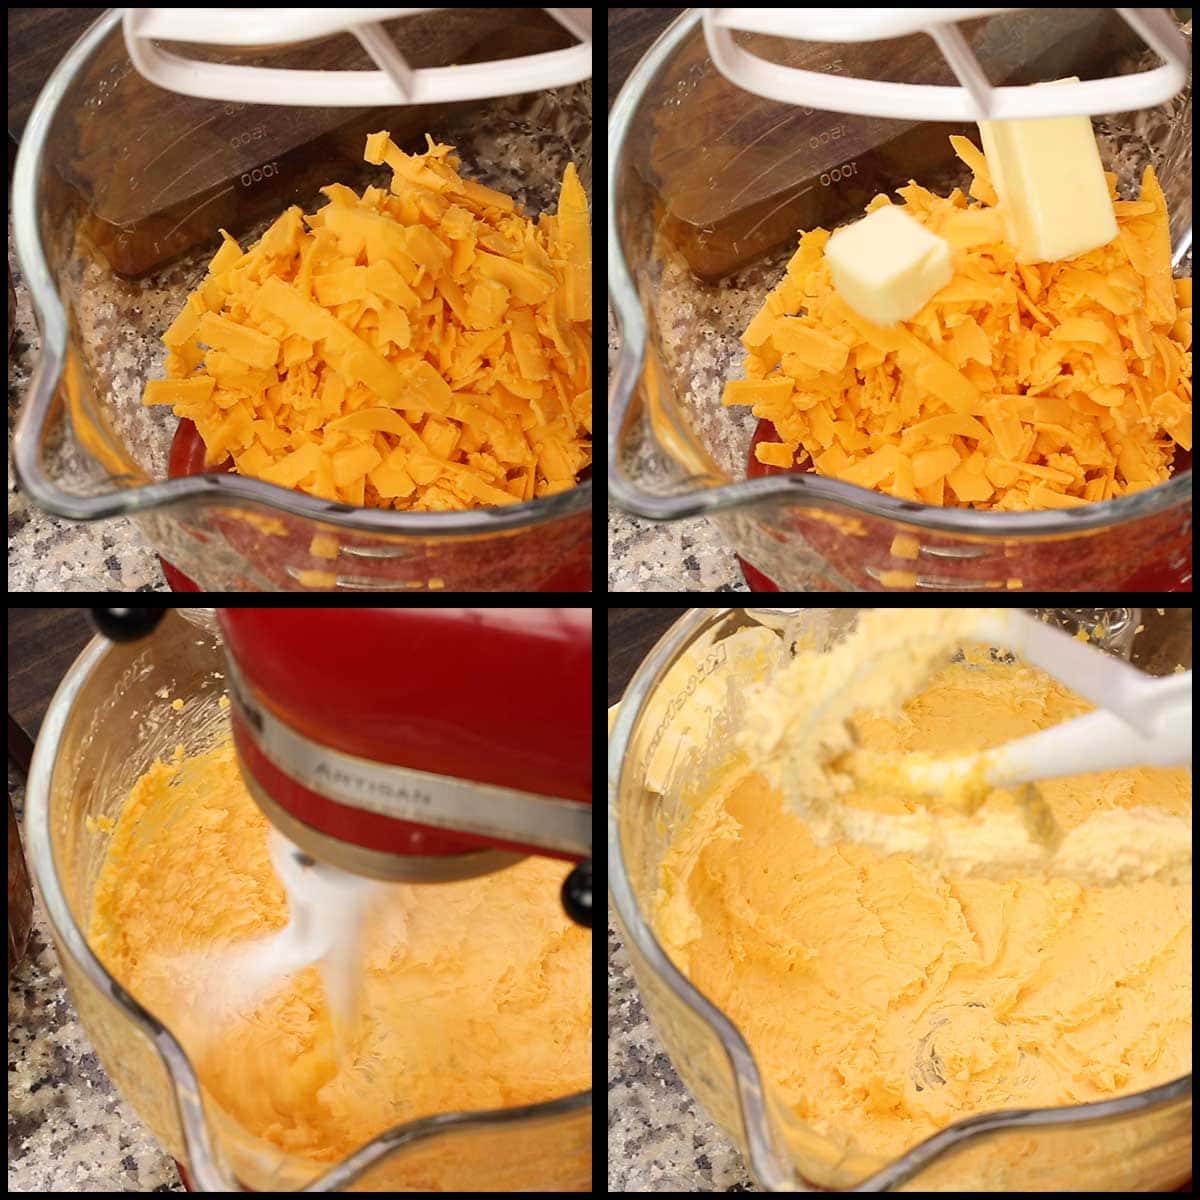
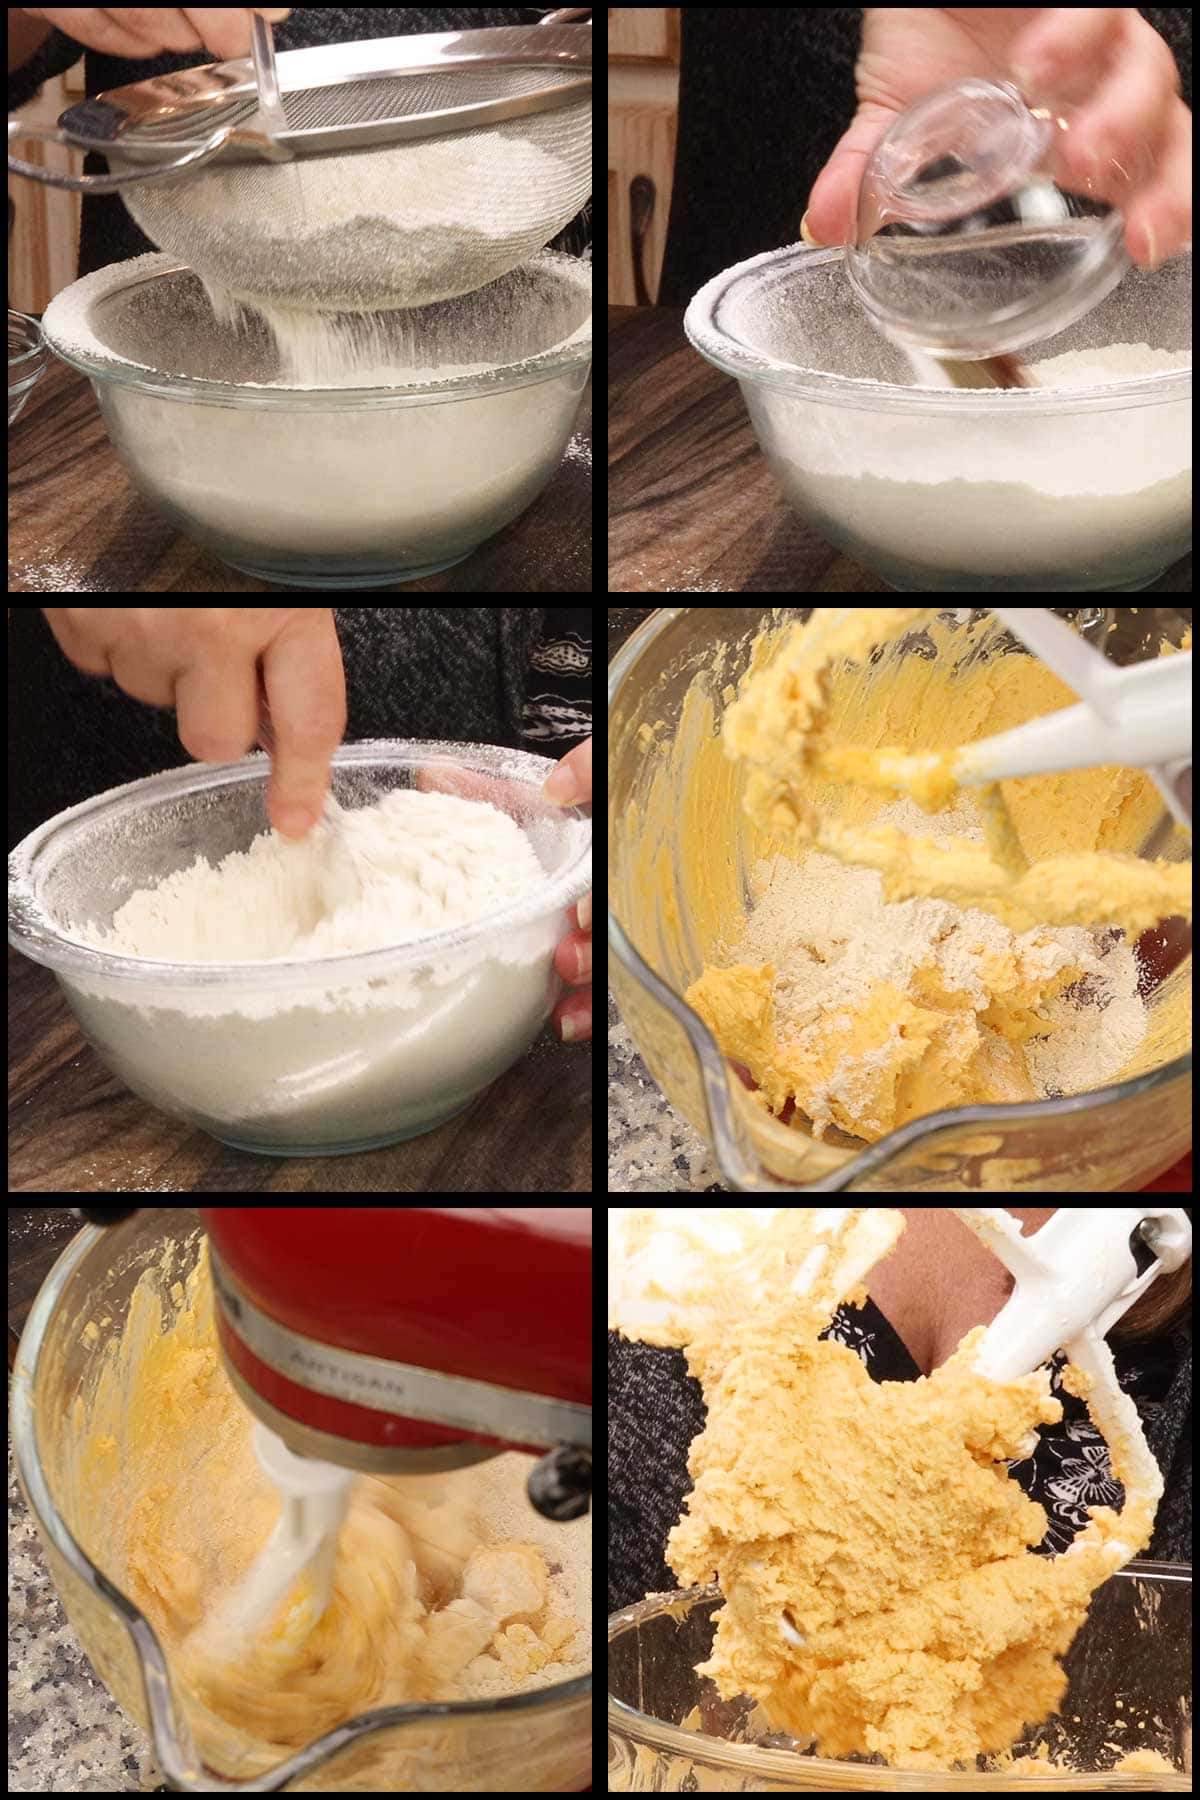
Next, you want to blend the cheese and the butter until it is the consistency of a thick whipped cream. Using a stand mixer is the easiest way to do this and, even then, it can take 15-20 minutes.
You can use a hand held mixer, but make sure to use a nice deep bowl so you don't get cheese and butter everywhere.
I start out on a low speed and, once the cheese and butter starts combining together, I whip it with the paddle on a high speed until it is smooth and thick. It's kind of like a mousse texture.
Expect this to take about 15-25 minutes depending on how cold your cheese and butter are. Halfway through, scrape down the sides of the bowl and preheat your oven on 350°F/175℃.
Although I used a convection oven (the Ninja Foodi XL Pro Air Fry Oven), it runs about 20°F lower than the temperature I set, so I kept it at 350℉. If you are using a convection oven that is accurate, set the temp to 325°F. Non-convection oven, preheat at 350℉/175℃.
It's also delicious at this point! So, if you want to forgo the thumbprint cookies, use the cheese mixture to spread on crackers. It's so good.
Even if you want to continue and make the cookies, grab a cracker or a piece of celery and dig in. You have to taste it right now because I bet you'll whip this up anytime you want a cheese spread.
Sift 1 cup of flour into a bowl and combine with the dry spices. I think it's important to sift your flour in this recipe because it will combine with the cheese mixture much easier and without forming lumps.
Add about ¼ of the flour and seasonings to the cheese mixture and mix on low speed just long enough for the flour to incorporate. Repeat until all the flour is used.
Once the mixture is ready, line your cookie sheets with parchment or lightly coat with butter or cooking spray.
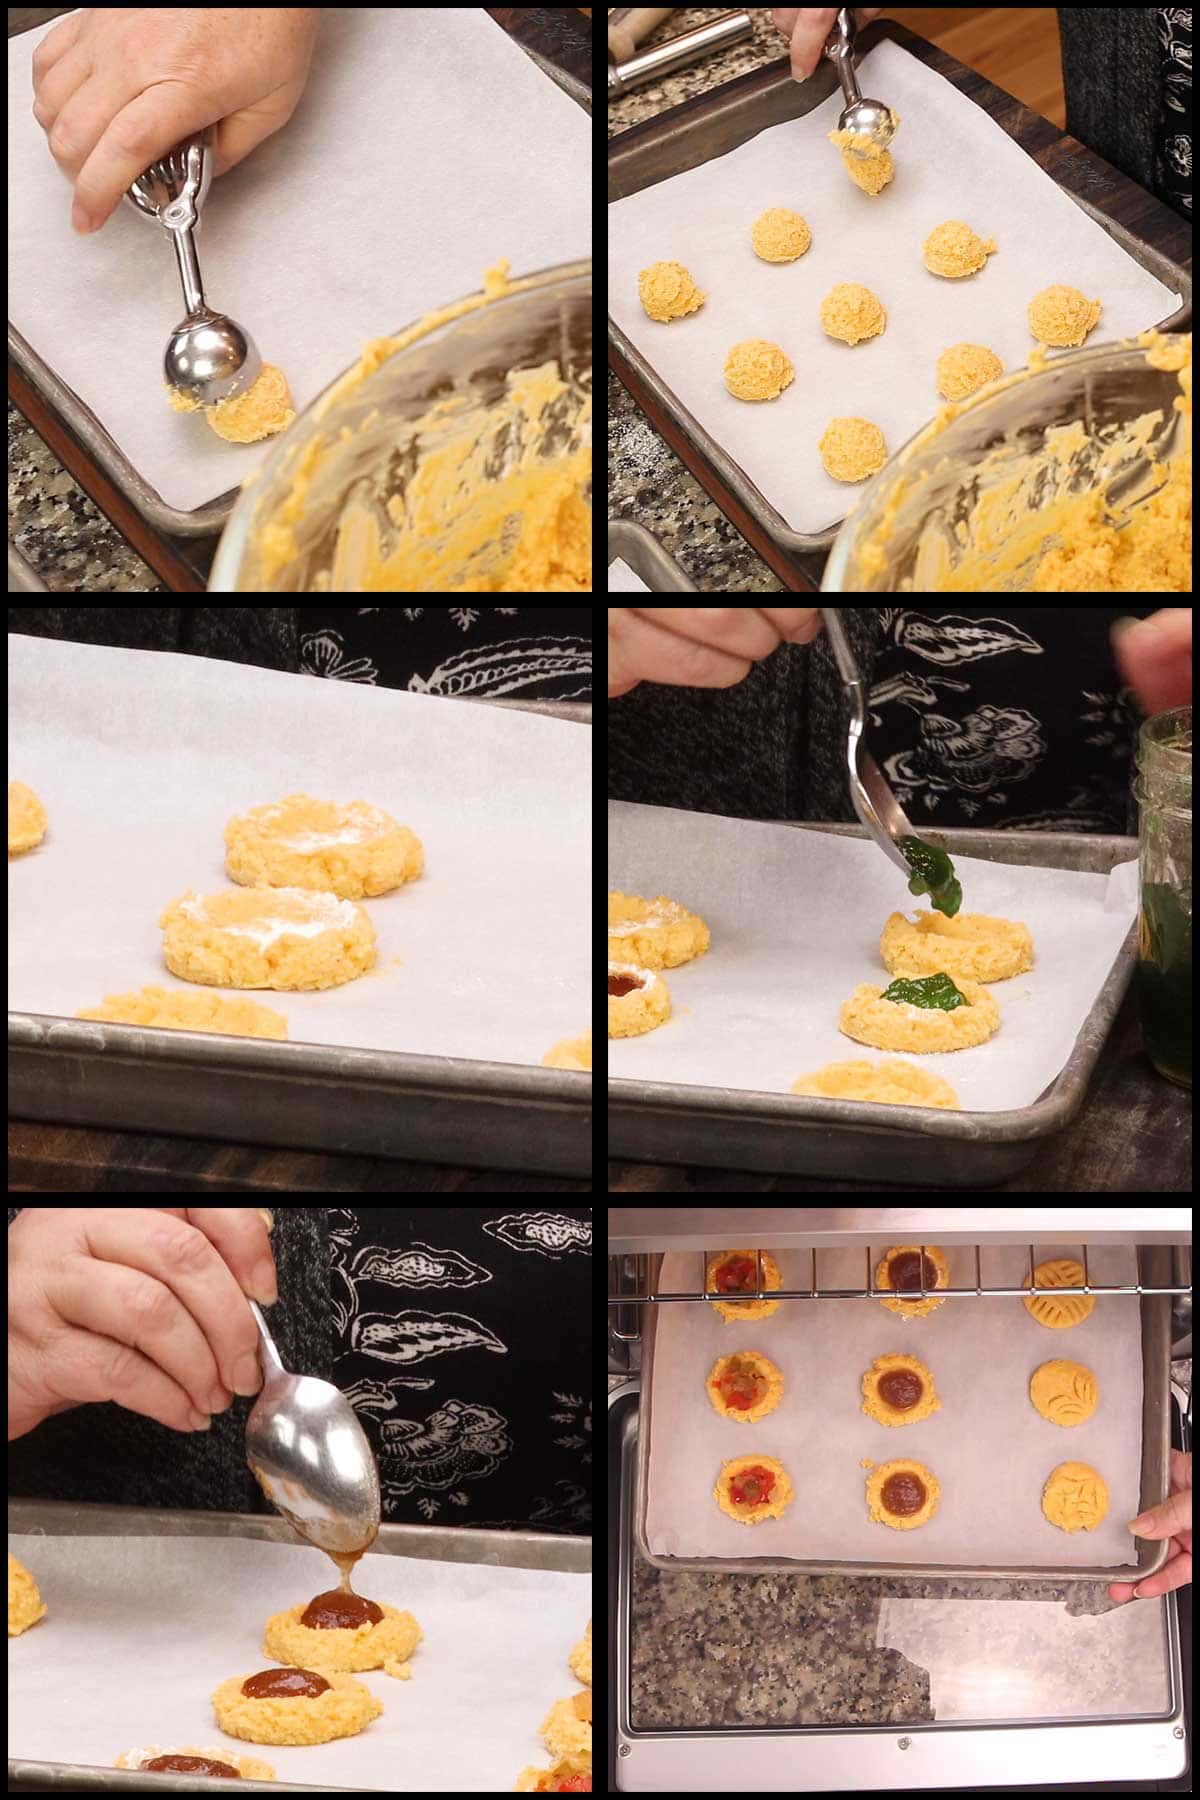
Place about 1 Tablespoon of the cheese mixture onto the tray. I use a (affiliate link)small scoop from Pampered Chef that works great. Place the balls of dough about 3" apart to allow room for spreading.
Using your thumb, a (affiliate link)tart shaper, or the back of a spoon, press down the ball and make a well in the center. You may find that you want to dip the tart shaper in flour before pressing down the cookies so it doesn't stick.
Place about ½ teaspoon of whatever topping you want into the center. The thicker the topping, the less it will spread.
You can also skip the topping and put designs in the top with a fork like you would for peanut butter cookies.
Place the trays into a preheated oven and bake for 13-15 minutes. The cookies should just be starting to brown on the edges when they are done.
Immediately transfer to a cooling rack and cool completely.
Serve & Enjoy!
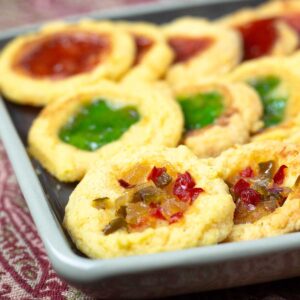
Savory Cheddar Cheese Thumbprint Cookies
Equipment
- stand mixer or electric hand mixer
Ingredients
- 10 ounces sharp cheddar cheese grated
- 5 Tablespoons butter salted or unsalted
- 1 cup flour
- ½ teaspoon fine grind sea salt
- ¼ teaspoon black pepper
- ⅛ teaspoon chipotle powder
Instructions
- Grate the cheese and let it sit out along with the butter for at least 30 minutes.
- Place the grated cheese and the butter in the bowl of a stand mixer or in a deep bowl if you want to use a hand held electric mixer. Use the paddle attachment and begin to blend together on low speed. Once the cheese and butter starts to combine, increase the speed to high and beat until the mixture is smooth and thick like a whipped cream or mousse. Scrape down the sides of the bowl as needed.
- Preheat the oven on 350℉/175℃. Sift the flour into a bowl and mix in the seasoning blend. Add ¼ of the flour at a time to the cheese mixture and blend on low speed until incorporated. Repeat until all the flour is used.
- Line cookie sheets with parchment or lightly coat with butter or cooking spray. Place 1 Tablespoon of the cheese mixture onto the cookie tray for each cookie. Spread them out by about 3" to allow enough room for them to expand as they bake. Repeat until the cookie trays are filled. I use this scoop and love it: (affiliate link)Pampered Chef Small Scoop
- Gather the toppings you want to use. Using a (affiliate link)tart shaper or the back of a spoon (or your thumb), press the ball of dough down and make a well in the center. You want the edges to be higher than the well so the filling doesn't leak around the edges.
- Add about ½ teaspoon to the center of each cookie. Place the trays in the preheated oven and bake for 13-15 minutes or until the edges just start to brown.
- Remove from the oven and place the cheddar cheese thumbprint cookies onto a cooling rack. Cool & Serve.
Notes
Nutrition
ABOUT THE RECIPE AUTHOR, LOUISE LONG
Louise is a full-time recipe creator and food blogger @ The Salted Pepper. She has over 30 years of experience with cooking and recipe development. She owned a restaurant for several years and was a full-time RN until retiring to blog full-time.

She published her first cookbook in the Fall of 2018 and is very interested in writing several more.
Louise is also the creator of an online Ninja Foodi Pressure Cooking Course with over 100 instructional step-by-step videos. People absolutely rave about the course and all the value they have received from it.
Louise has several very active Facebook groups that help people with the basics of cooking and getting the most out of the Ninja Foodi.
Louise is also a YouTube creator and you can find most of her recipes in video format on The Salted Pepper YouTube channel.
She is very responsive to messages and eager to help in any way she can. Get more Information about Louise & contact information
I WOULD LOVE TO SEE WHAT YOU ARE COOKING UP IN YOUR KITCHEN! TAG ME @THESALTEDPEPPER ON YOUR FAVORITE SOCIAL MEDIA PLATFORM WHEN YOU MAKE A DISH!
BE SURE TO FOLLOW THE SALTED PEPPER RIGHT HERE ⇓⇓⇓⇓⇓


Tracey M
I made these for an appetizer party yesterday. WOW! The main reaction of course was, "a cheese cookie?!" But man, were they popular. I made the pepper onion relish (used some of the rest for pinwheels) and used store-bought toppings for the others: apple butter, pepper bacon jam and chili fig spread, the latter two from Mariano's/Kroger). I used a hand mixer (Yomelo 9-speed digital) but it went surprisingly fast. The recipe didn't make 36 cookies for me but I just made a double batch. I've already been told I have to make again 🙂 Thanks for another great recipe!
Lisa
Can the dough be made ahead of time and then let it set to room temp before baking?
Louise
I don't see why not as long as you wrap it well so it doesn't dry out.
Dawn
My first time making anything like these and they turned out great! I only used pepper jelly and it is a family hit. Thank you for sharing Louise.
Louise
I'm so glad everyone liked them!
Carolyn Mills
Can't wait to try! We have so many sweets at Christmas, this will be a welcome addition. Carolyn
Louise
I hope you love them!