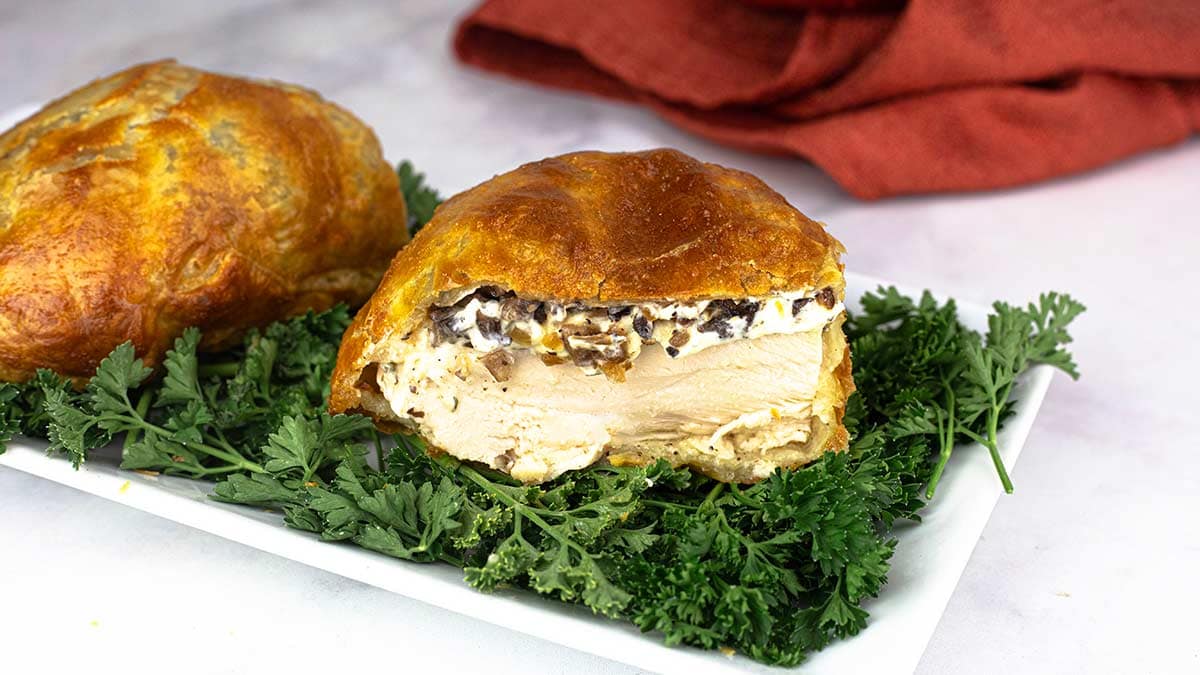
This Chicken Wellington recipe is simply perfect for when you want to fancy up dinner without a whole lot of extra effort! It takes everyday ingredients and combines flavors and textures to make a perfect dish the whole family will love.
Tender and perfectly cooked chicken topped with a herb and garlic cheese spread and a mushroom mixture are wrapped in flaky puff pastry and baked golden brown. It doesn't get more delicious than this!
Would you like to save this recipe?
Chicken Wellington is one of those recipes that looks more complicated than it really is. Each step is very easy and they can be done ahead of time so that the day you want to bake up your Chicken Wellington, everything is ready to go and just waiting to be wrapped in a puff pastry sheet.
This recipe is perfect for a dinner party, but easy enough for a weeknight meal.
Ingredients & Substitutions
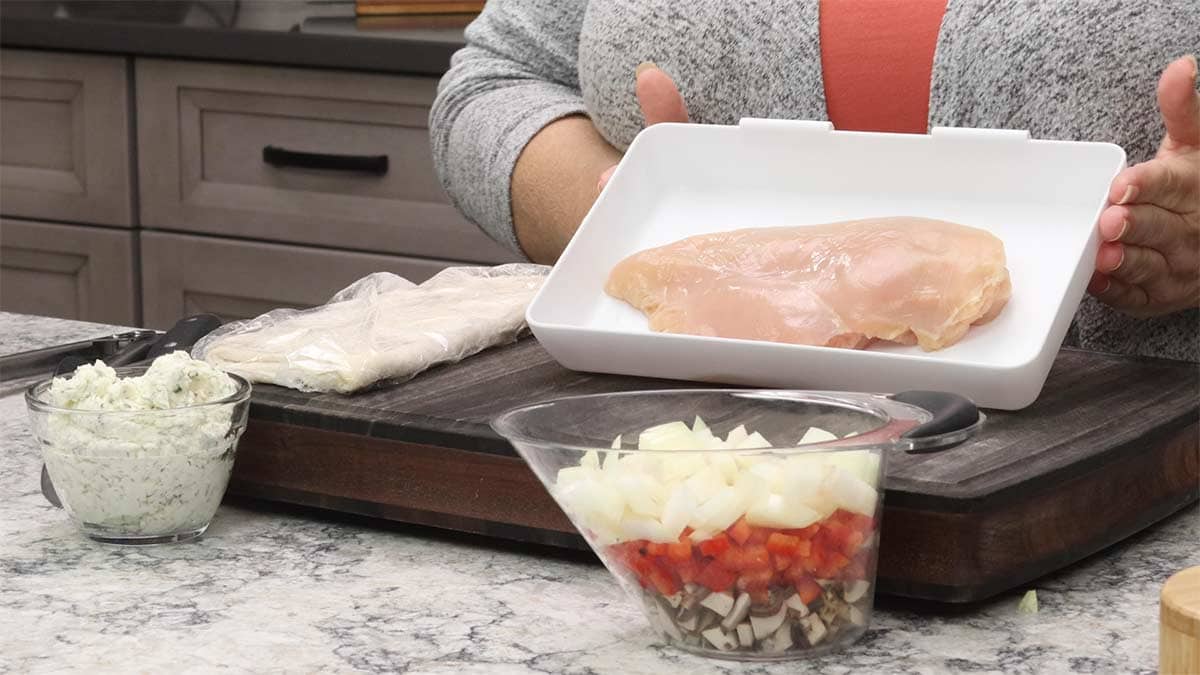
Chicken Breasts
You won't hear me say this too often, but chicken breasts are really the best cut of chicken to use in this recipe. I'm usually a huge fan of chicken thighs because they are so forgiving during the cooking process and they are tender and juicy. While you could certainly use them in this recipe, chicken thighs aren't going to have the same presentation of a chicken breasts. If you are concerned about the chicken breast being too dry, don't be! As long as you cook it correctly before you wrap it in puff pastry, it doesn't dry out when you bake the pastry.
I've also used turkey breasts to make a Turkey Wellington and you can certainly use the ingredients in this recipe and substitute a whole turkey breast.
Traditionally, Wellington is made with a tender cut of beef like a filet and uses liver pate and mushroom duxelle for the flavor pairing. You can certainly use this technique and substitute a filet mignon instead of the chicken breast, but I would not use the herb and garlic cheese spread with beef, I think the flavors would fight with the beef instead of enhancing it. Instead, either skip it and just use the mushroom and onion mixture or use a very mild cheese that pairs nicely with beef. Blue Cheese crumbles would work with beef; in fact, that sounds delicious! Or you could use shredded Gruyere in with the mushrooms and onions.
Vegetable Mixture
The vegetable mixture is a combination of baby portobello mushrooms, onions, and red peppers. This combination pairs beautifully with the chicken breast and the garlic and herb cheese; however, you can use any combination of these vegetables that you like. If you don't like mushrooms, but love onions, then skip the mushrooms and double up on the onions. If you don't like onions, double up on the mushrooms. The red peppers were used in my video recipe, but not in the testing of the recipe. I did like the addition of color, and the flavors all went beautifully together, but the peppers are certainly optional. In fact, all the vegetables are optional. You could simply use the chicken breast and the cream cheese spread if you like.
Garlic & Herb Cheese Spread
I used my own recipe for garlic and herb cheese spread that is made by combining cream cheese with garlic and herbs for a spectacular flavor combination. I really loved the way the spread melted during the baking process and enveloped the chicken in a flavorful sauce of sorts. The cheese I used is very similar to Boursin cheese, so you can certainly use that instead. Any kind of garlic and herb cheese spread will work great. You could also change this up and use a different kind of cheese. Blue cheese or feta crumbles would work. So would a shredded Swiss -- kind of like the flavors in Chicken Cordon Bleu.
Puff Pastry
You can either make your own puff pastry or use the store-bought kind that is found in the freezer section.
You could also use pie crust or even phyllo dough if you prefer.
If you used something like crescent rolls, the texture would be different, but still very delicious.
How to Cook the Chicken for Chicken Wellington
Pre Cooking the chicken breast before you wrap it in the puff pastry to make Chicken Wellington is a very important step. If you were to take raw chicken breast with the other ingredients and simply wrap it in puff pastry and bake it, the juices from the chicken breast would cause the puff pastry to be soggy, possibly even fall apart, and that is not going to be a great eating experience.
So, to avoid this, we cook the chicken breast fully and then chill it before adding the other ingredients and wrapping it in the sheet of puff pastry. There are many ways you can cook the chicken breast, but my favorite two ways are to either sauté it in a skillet to sear the outside and then turn the heat down to medium low, cover the pan and let it finish cooking just until it reaches an internal temperature of 160°F. Then I turn the heat off and let it sit in the skillet until the carryover heat cooks the chicken breast to a perfect internal temp of 165°F. Once it reaches 165°F, I refrigerate the chicken breast to start the cool down process.
The other way that works perfectly for this recipe is to sous vide the chicken breast and then chill it. If you want to sous vide the chicken breast, here is my technique for doing that: Sous Vide Chicken Breast
You can also bake the chicken breasts in the oven on a baking sheet, which is handy if you are making several individual Chicken Wellingtons. I do think the oven is more drying than other methods, so you could try elevating the chicken on a rack over some water for extra moisture. Or, if you have the Ninja Foodi OL with Smart lid or the Ninja Speedi, this would be a great time to use the steam/bake function. I haven't done this yet, but I would set the steam/bake function to 325°F and use 1 cup of water. The timing depends on the thickness of the chicken breast, but it shouldn't take longer than 5-7 minutes once it switches over to the bake function.
Because the chicken needs to be fully cooked prior to baking the puff pastry, this is a great step of the recipe to do 1-2 days before you want to make the Wellington. I do recommend that you bring the chicken breast out of the fridge about 1 hour prior to wrapping it so it starts to warm up to room temperature. This will decrease the amount of time that it needs to be baked. If you start off with cold chicken, I would start baking it (once wrapped in the puff pastry) at an oven temp of 425°F or air fryer temp of 400°F for the first 5-10 minutes, and then lower the temp about 50 degrees so you don't overcook the puff pastry and the chicken has enough time to warm completely through. From cold, I would say the chicken will take about 15 minutes in the air fryer and 22-25 minutes in the oven to warm through.
If you are going to make this recipe from start to finish, then what I like to do is sauté the vegetables at the same time as I cook the chicken, and I use the same pan to do both. That is how the recipe is written, but you can always cook the vegetables separately, and this step can be done 1-3 days before you make the Chicken Wellington.
How to Make Chicken Wellington
There are three main steps to this recipe: cooking/chilling the ingredients that go into the Wellington; assembling and wrapping the Chicken Wellington in puff pastry; and baking or air frying the Chicken Wellington to perfection. These instructions are based on how I made it in the recipe video.
Mise En Place
Make sure the puff pastry is out of the freezer and coming to room temperature. You can thaw puff pastry by taking it out of the freezer about 8 hours before making the recipe and letting it thaw in the refrigerator or bringing it out of the freezer and leaving it at room temp for about 90 minutes to 2 hours.
Make the herb and garlic cheese if you are making your own.
Whisk one egg with 1 Tablespoon of water in a small bowl to make the egg wash.
Dice the mushrooms, onions, and red peppers into about ¼-½" dice.
Preheat the oven on 425℉/220℃
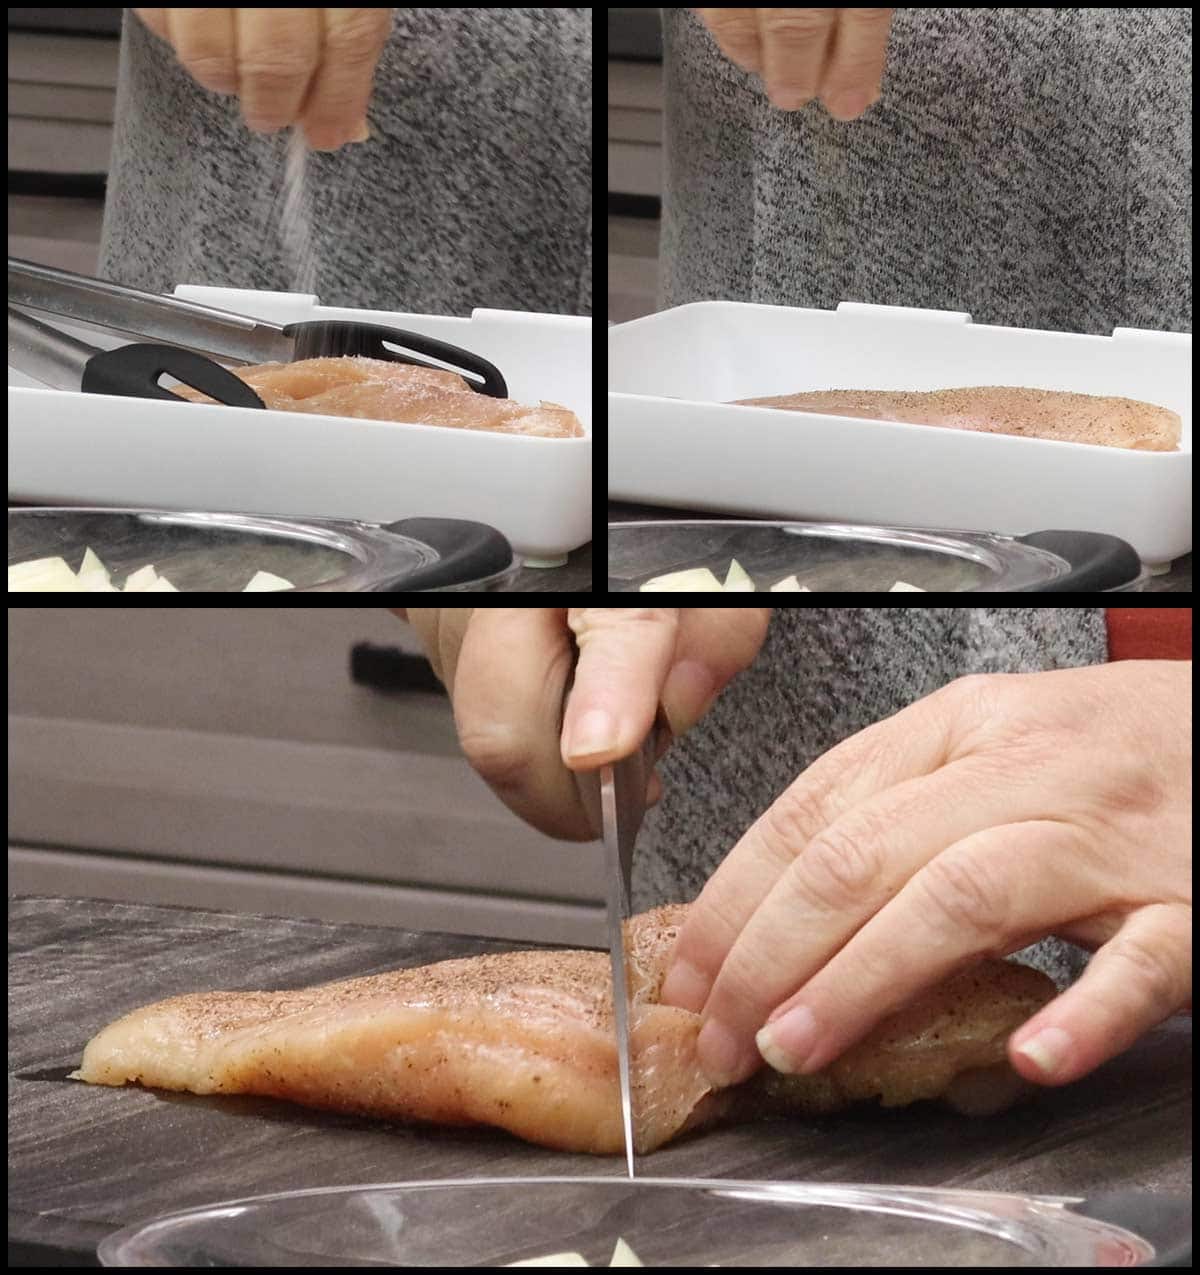
Trim and season the chicken breast with about ½ teaspoon of sea salt and ¼ teaspoon of black pepper. Cut the chicken breast in half so you have 2 equal portions.
Sautéing the Chicken and Vegetable Mixture
In a medium to large skillet on the stove, melt 1 Tablespoon of butter over medium-high heat. When the pan is hot, sear the chicken on each side for about 2-3 minutes.
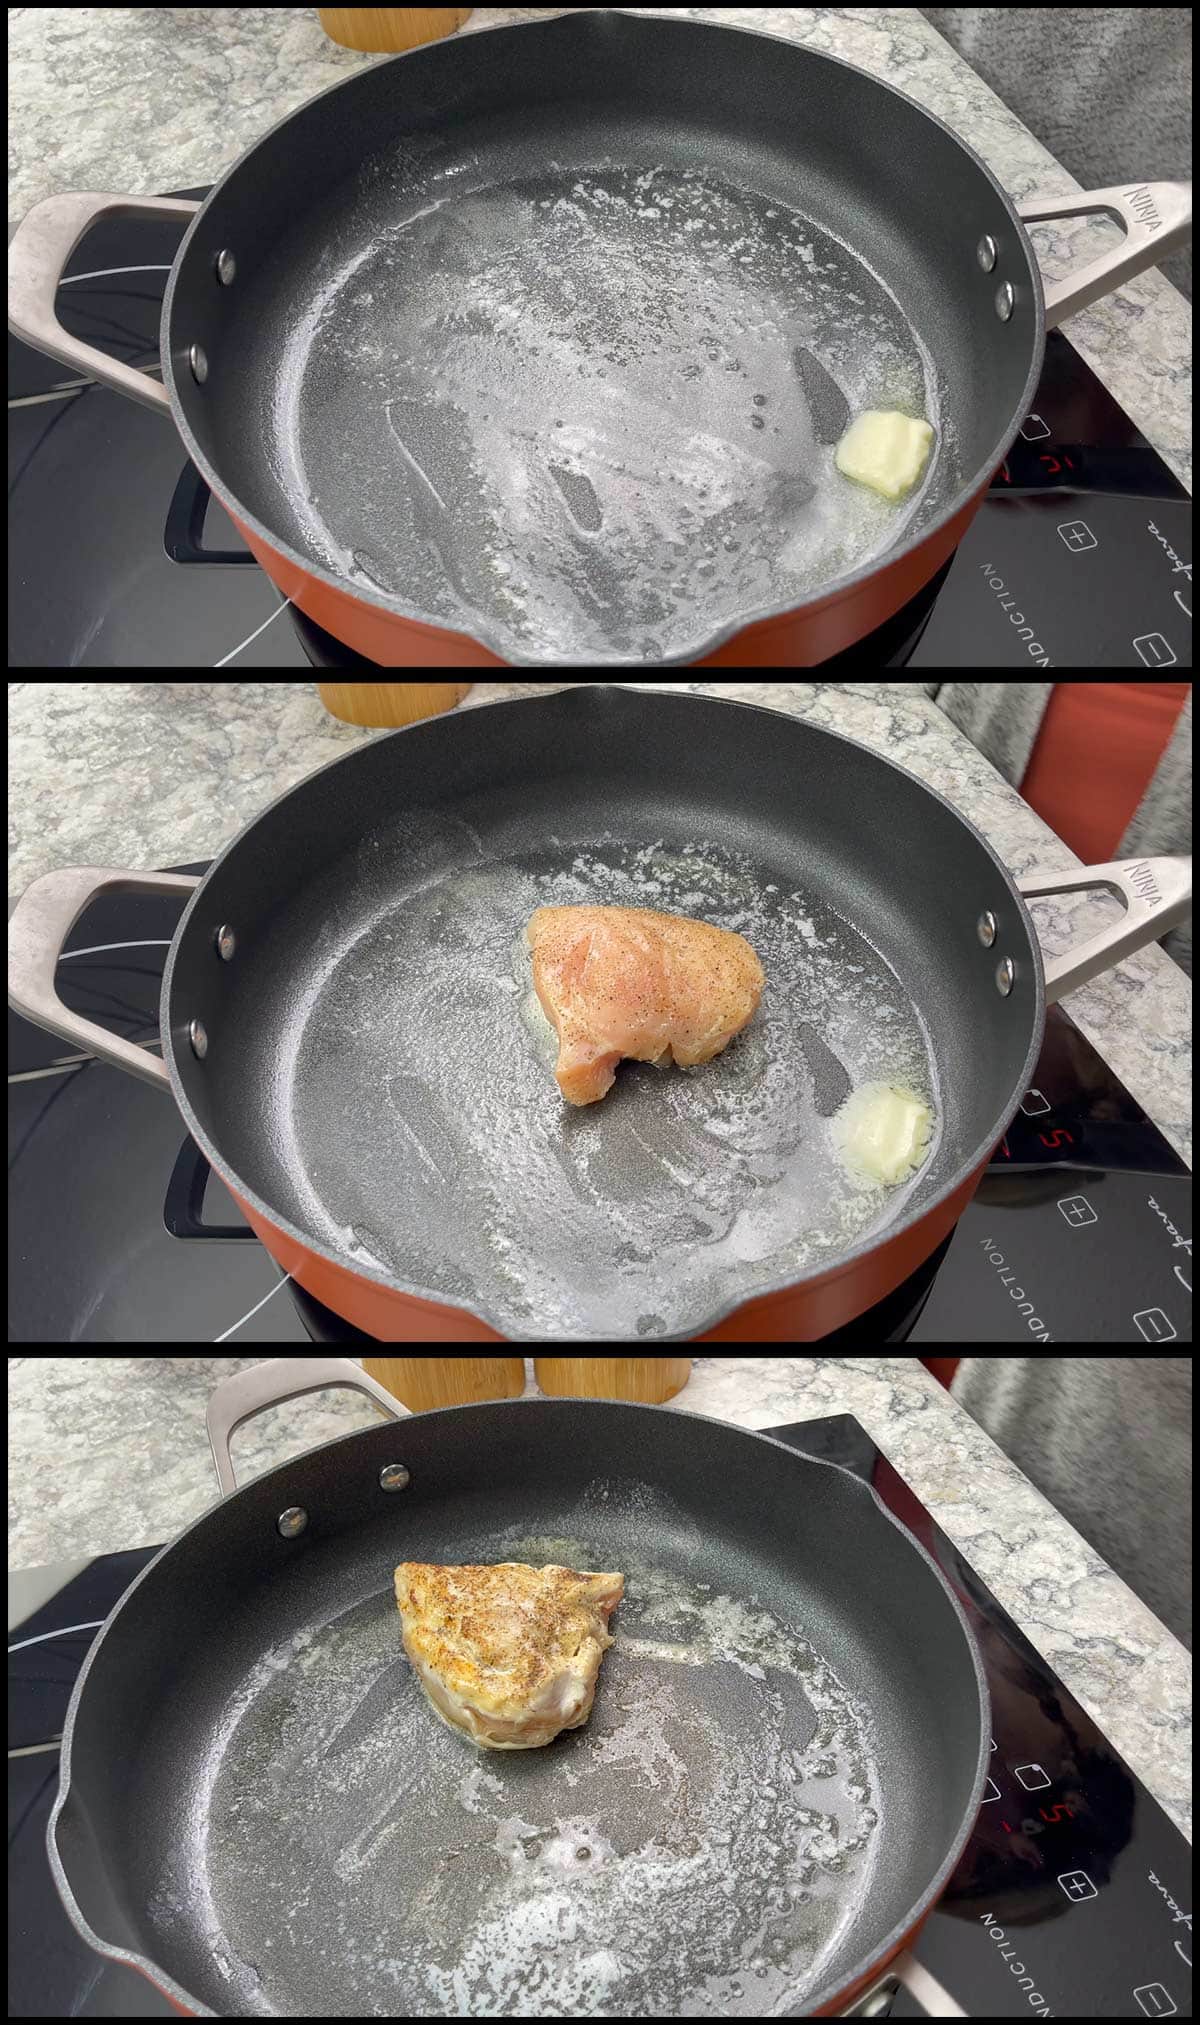
Add in the diced vegetables and sauté for about 2 minutes. Cover the skillet with a lid to trap in the steam and speed up the cooking process and reduce the temperature to medium heat.
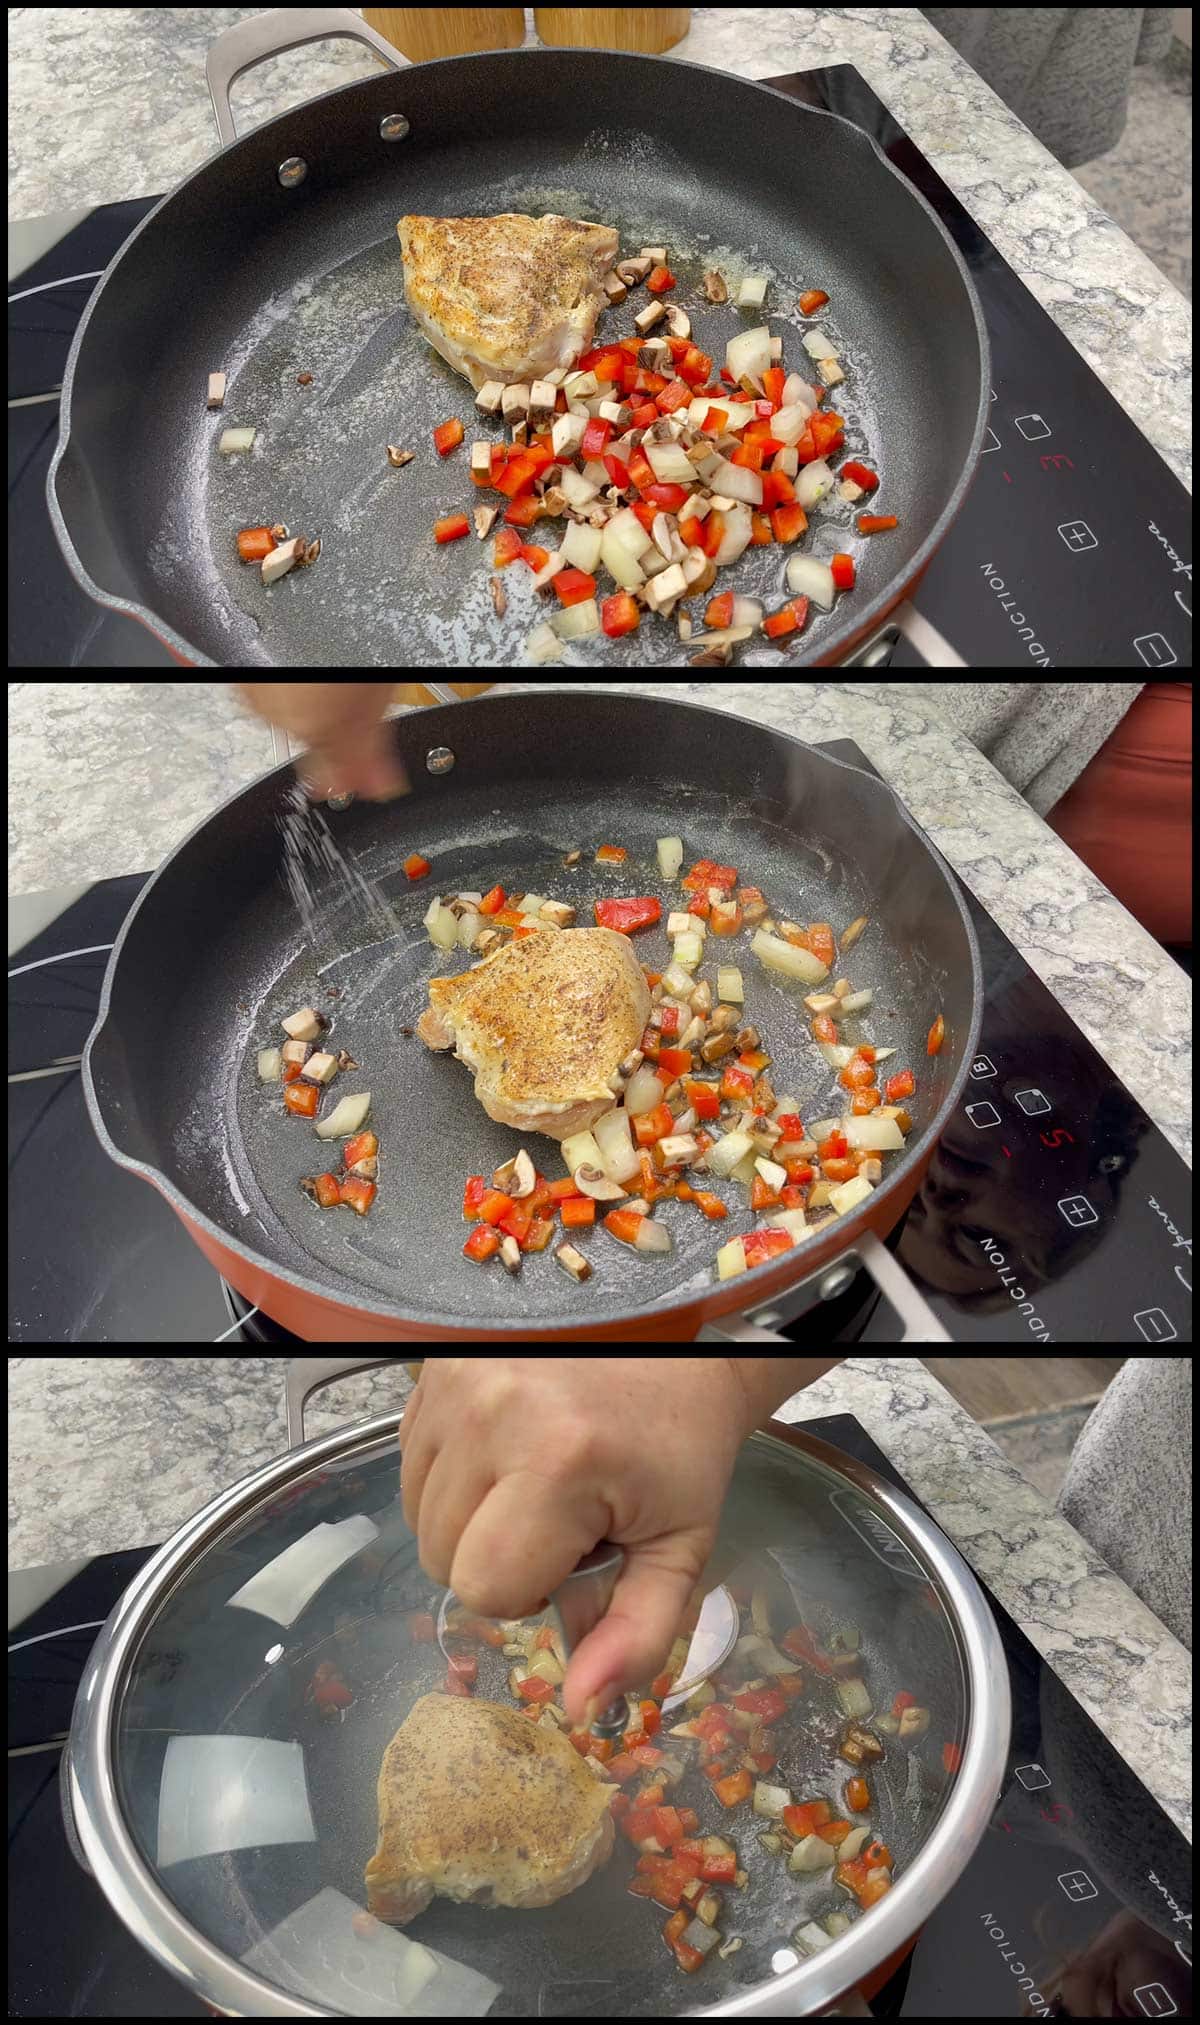
When the vegetables are done to your liking (about 5 minutes for slightly firm, but cooked through) remove them from the pan and place onto a tray or plate.
Finish cooking the chicken in the covered skillet over medium heat until the internal temperature reaches 160℉/71℃. The time it takes will vary based on thickness, but usually only takes a total of 10-12 minutes.
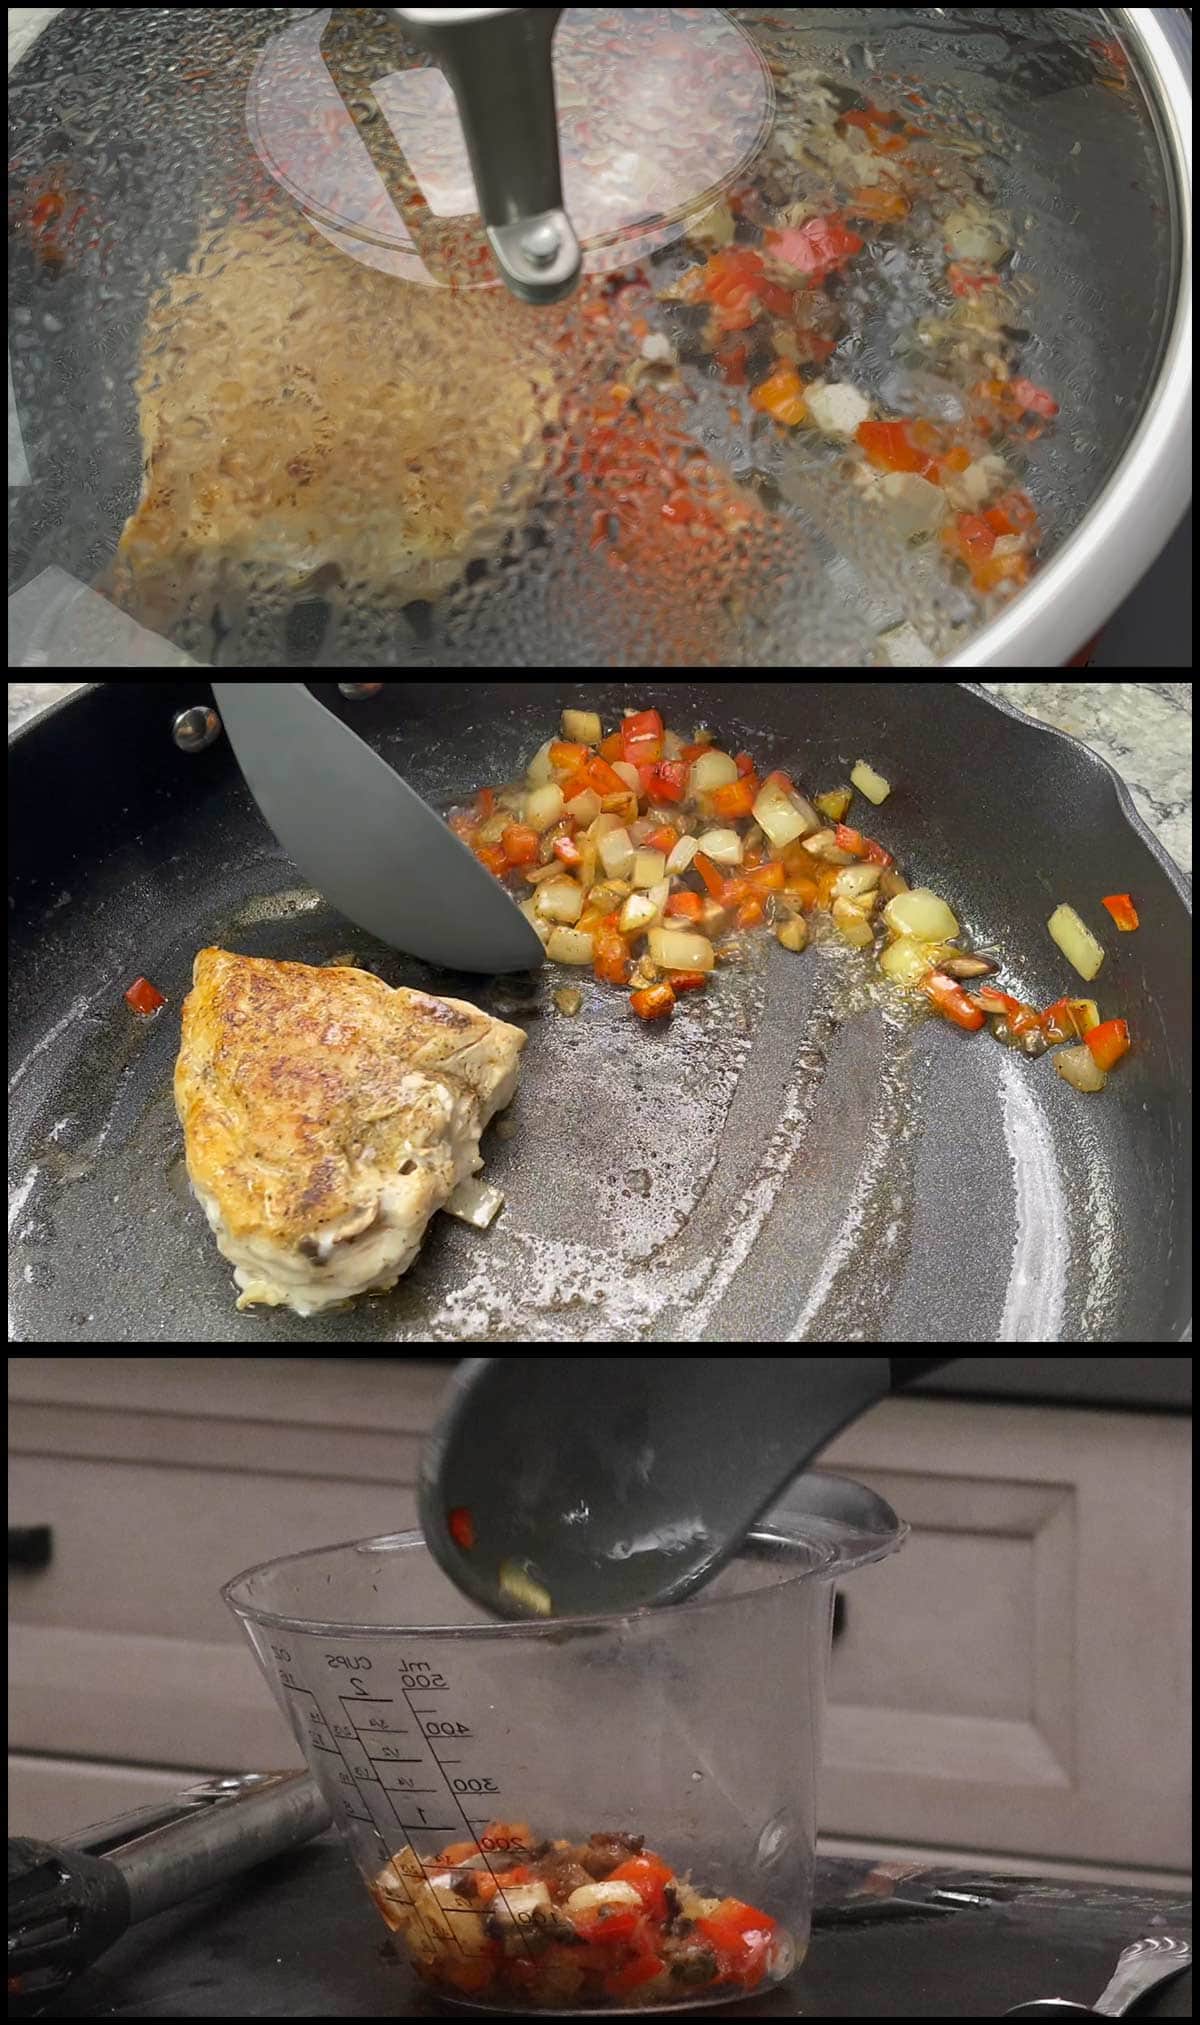
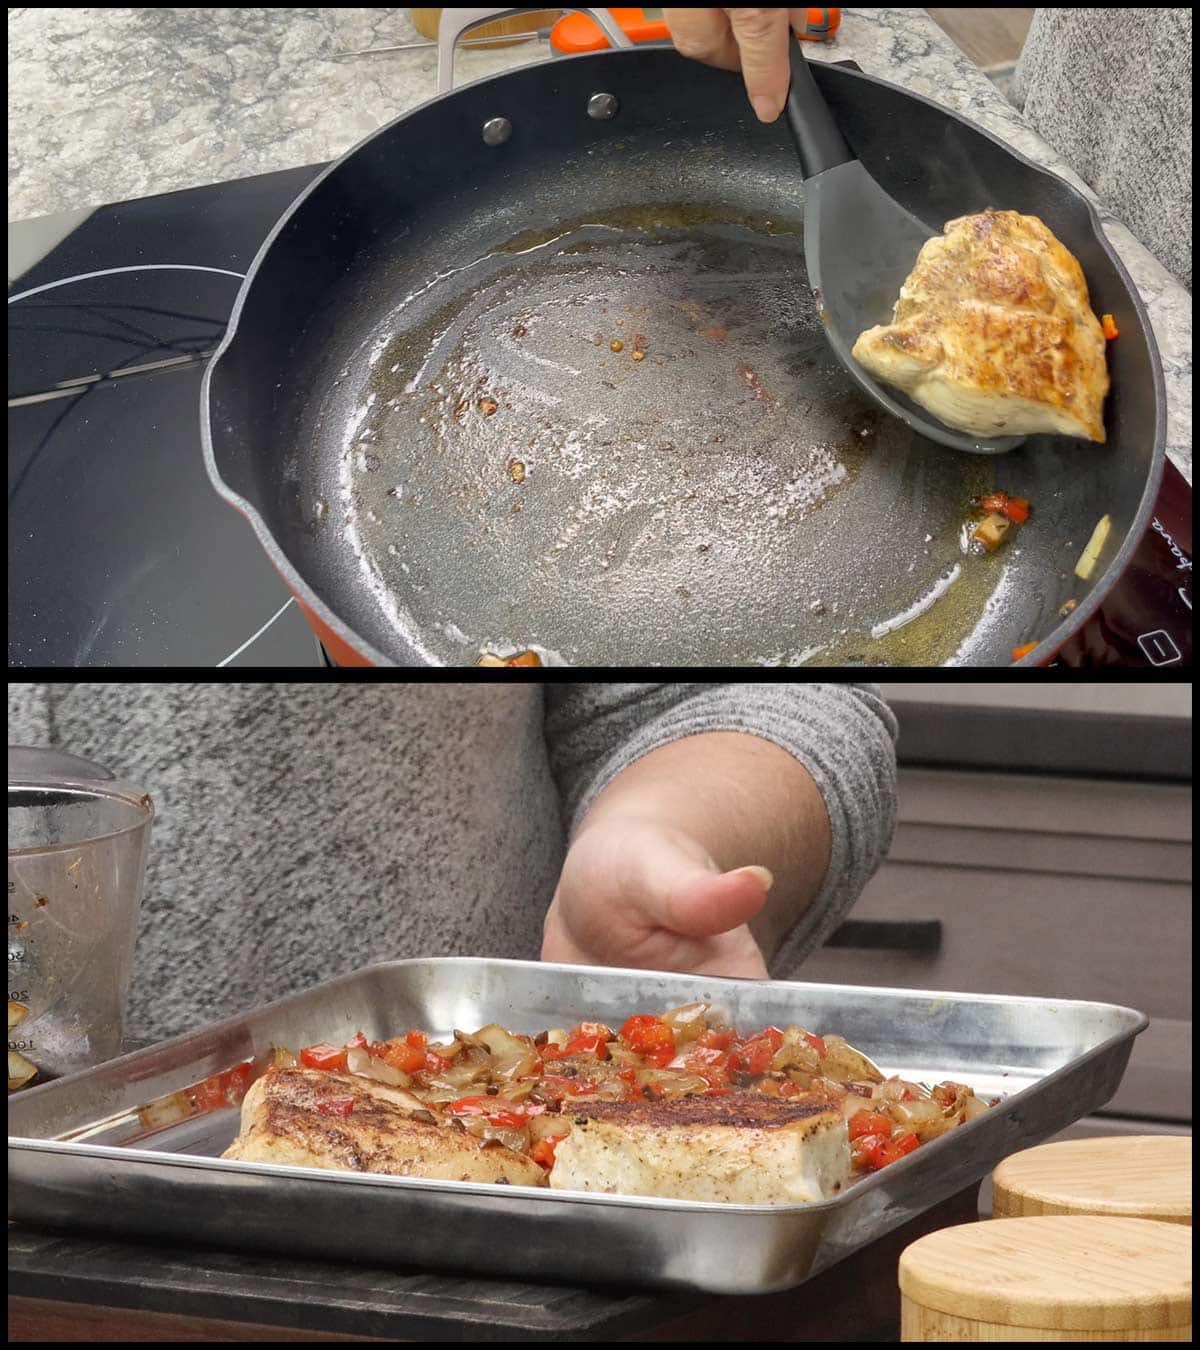
Remove the chicken from the pan and place on tray with vegetables. Chill for about 15 minutes or until the outside of the chicken is no longer hot to the touch.
Assembling & Wrapping the Chicken Wellington
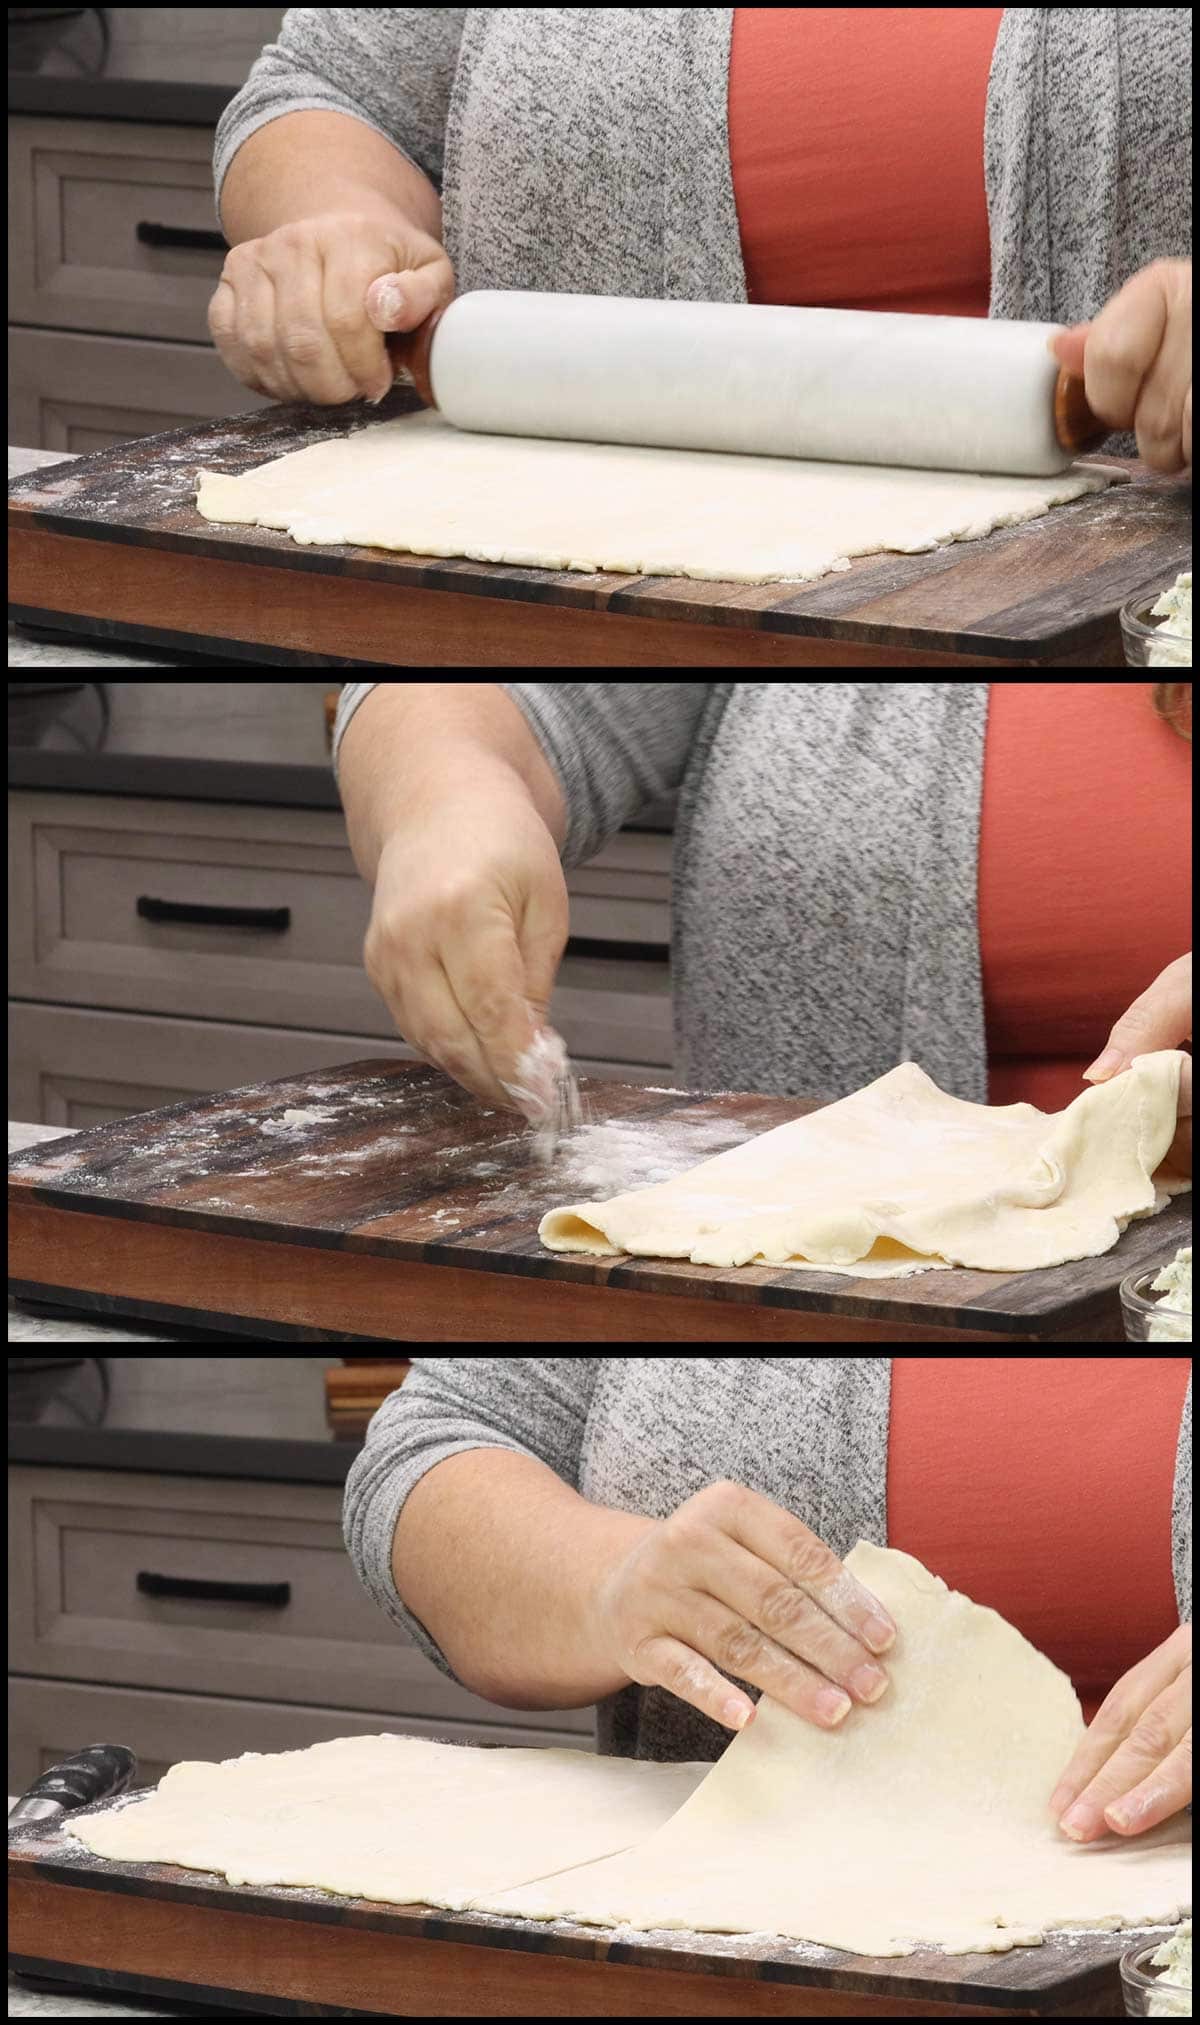
Prepare a clean and dry work surface for rolling out the puff pastry. Sprinkle with flour and unroll the pastry sheet. Sprinkle the top of the puff pastry with flour if needed. I made mine homemade, so it needed it, but sometimes the store-bought sheets don't require the extra flour on top.
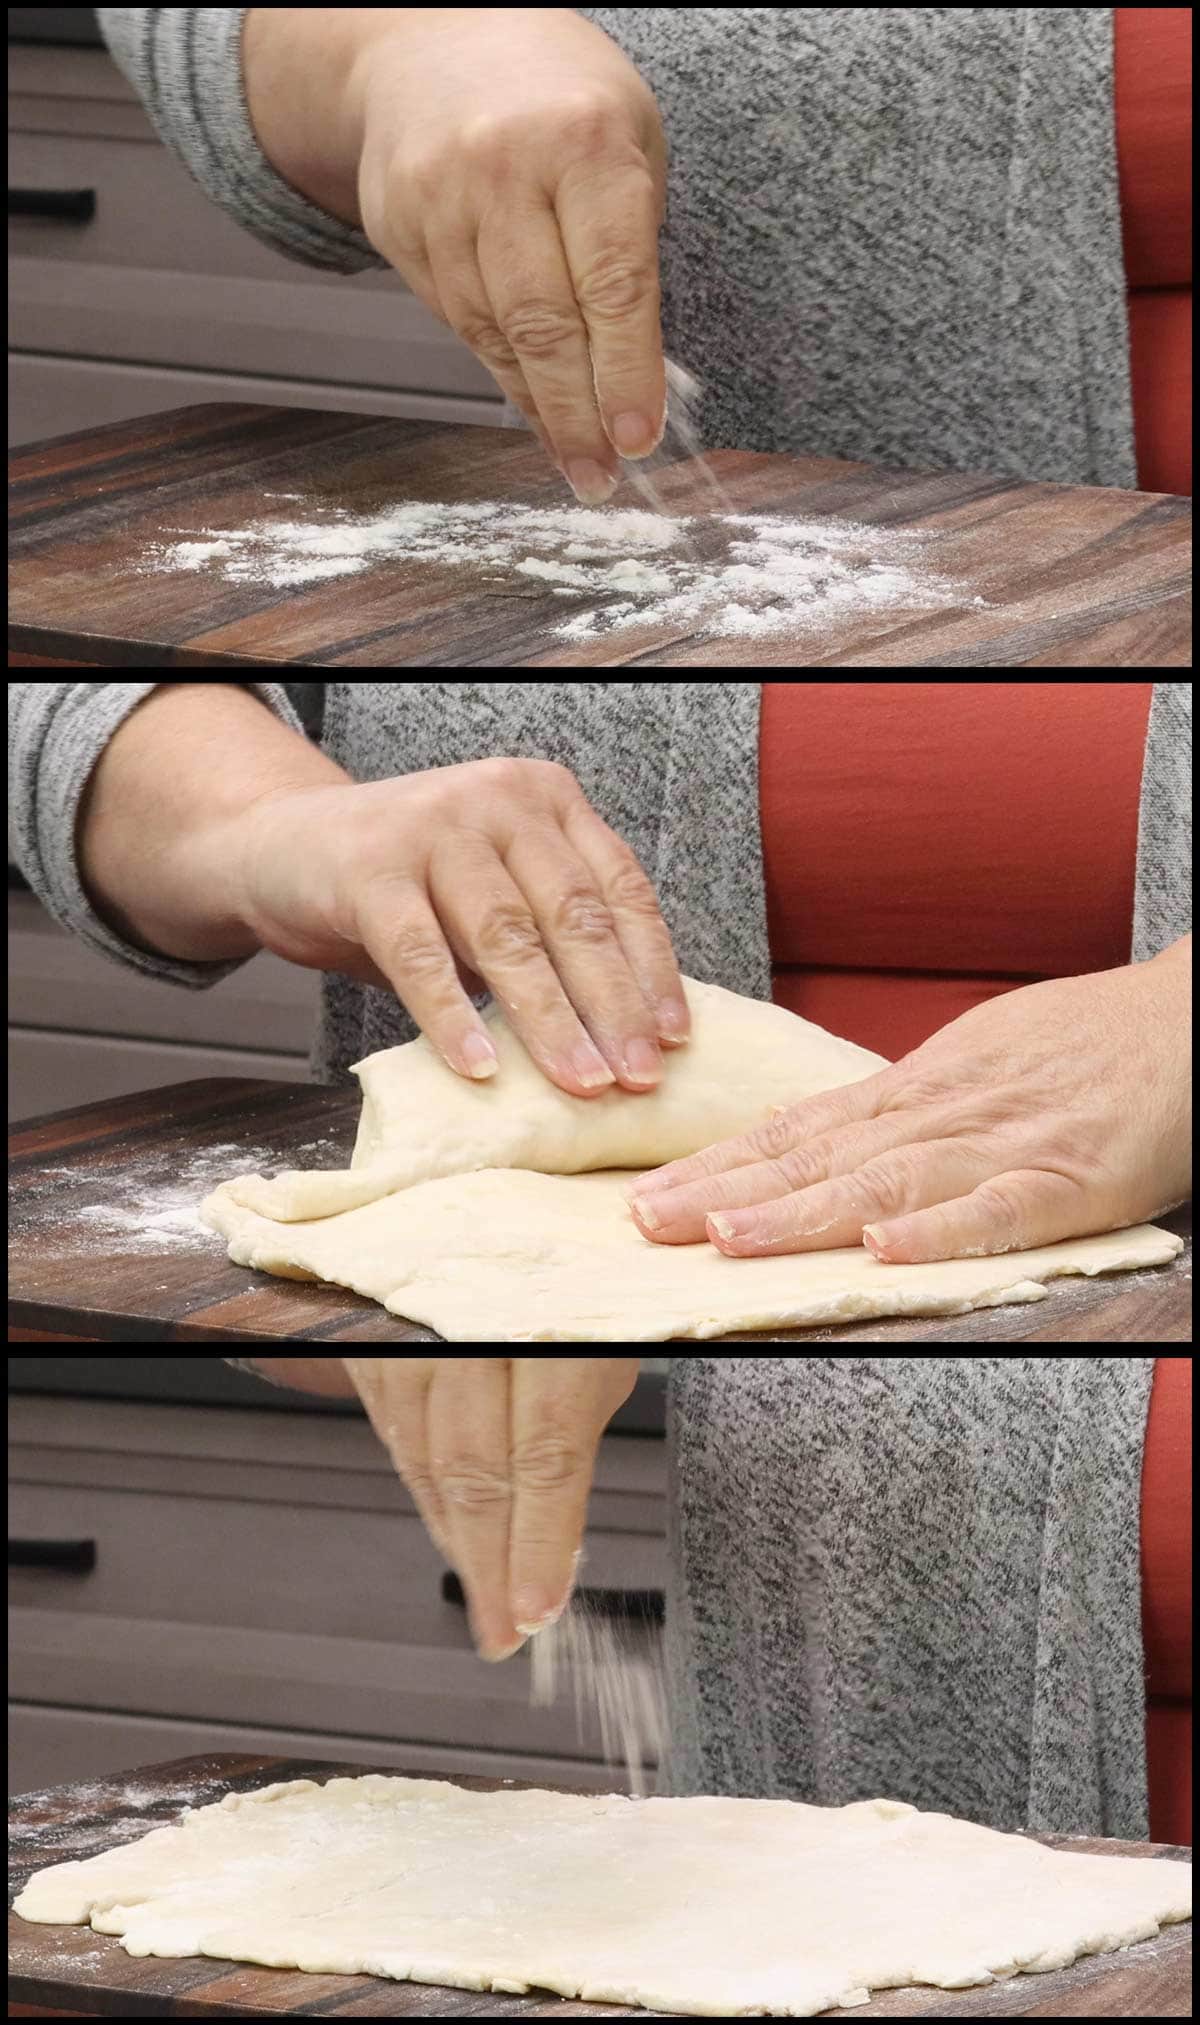
Using a rolling pin, roll out the puff pastry until it is about ⅛" thick. You want the rectangle to be about 16 inches X 10 inches. Make sure the pastry doesn't stick to your work surface by adding some extra flour underneath, as needed. Make sure to have a lightly floured surface during the whole process so the dough doesn't stick.
Cut the large sheet of puff pastry in half with a sharp knife and set one half aside.
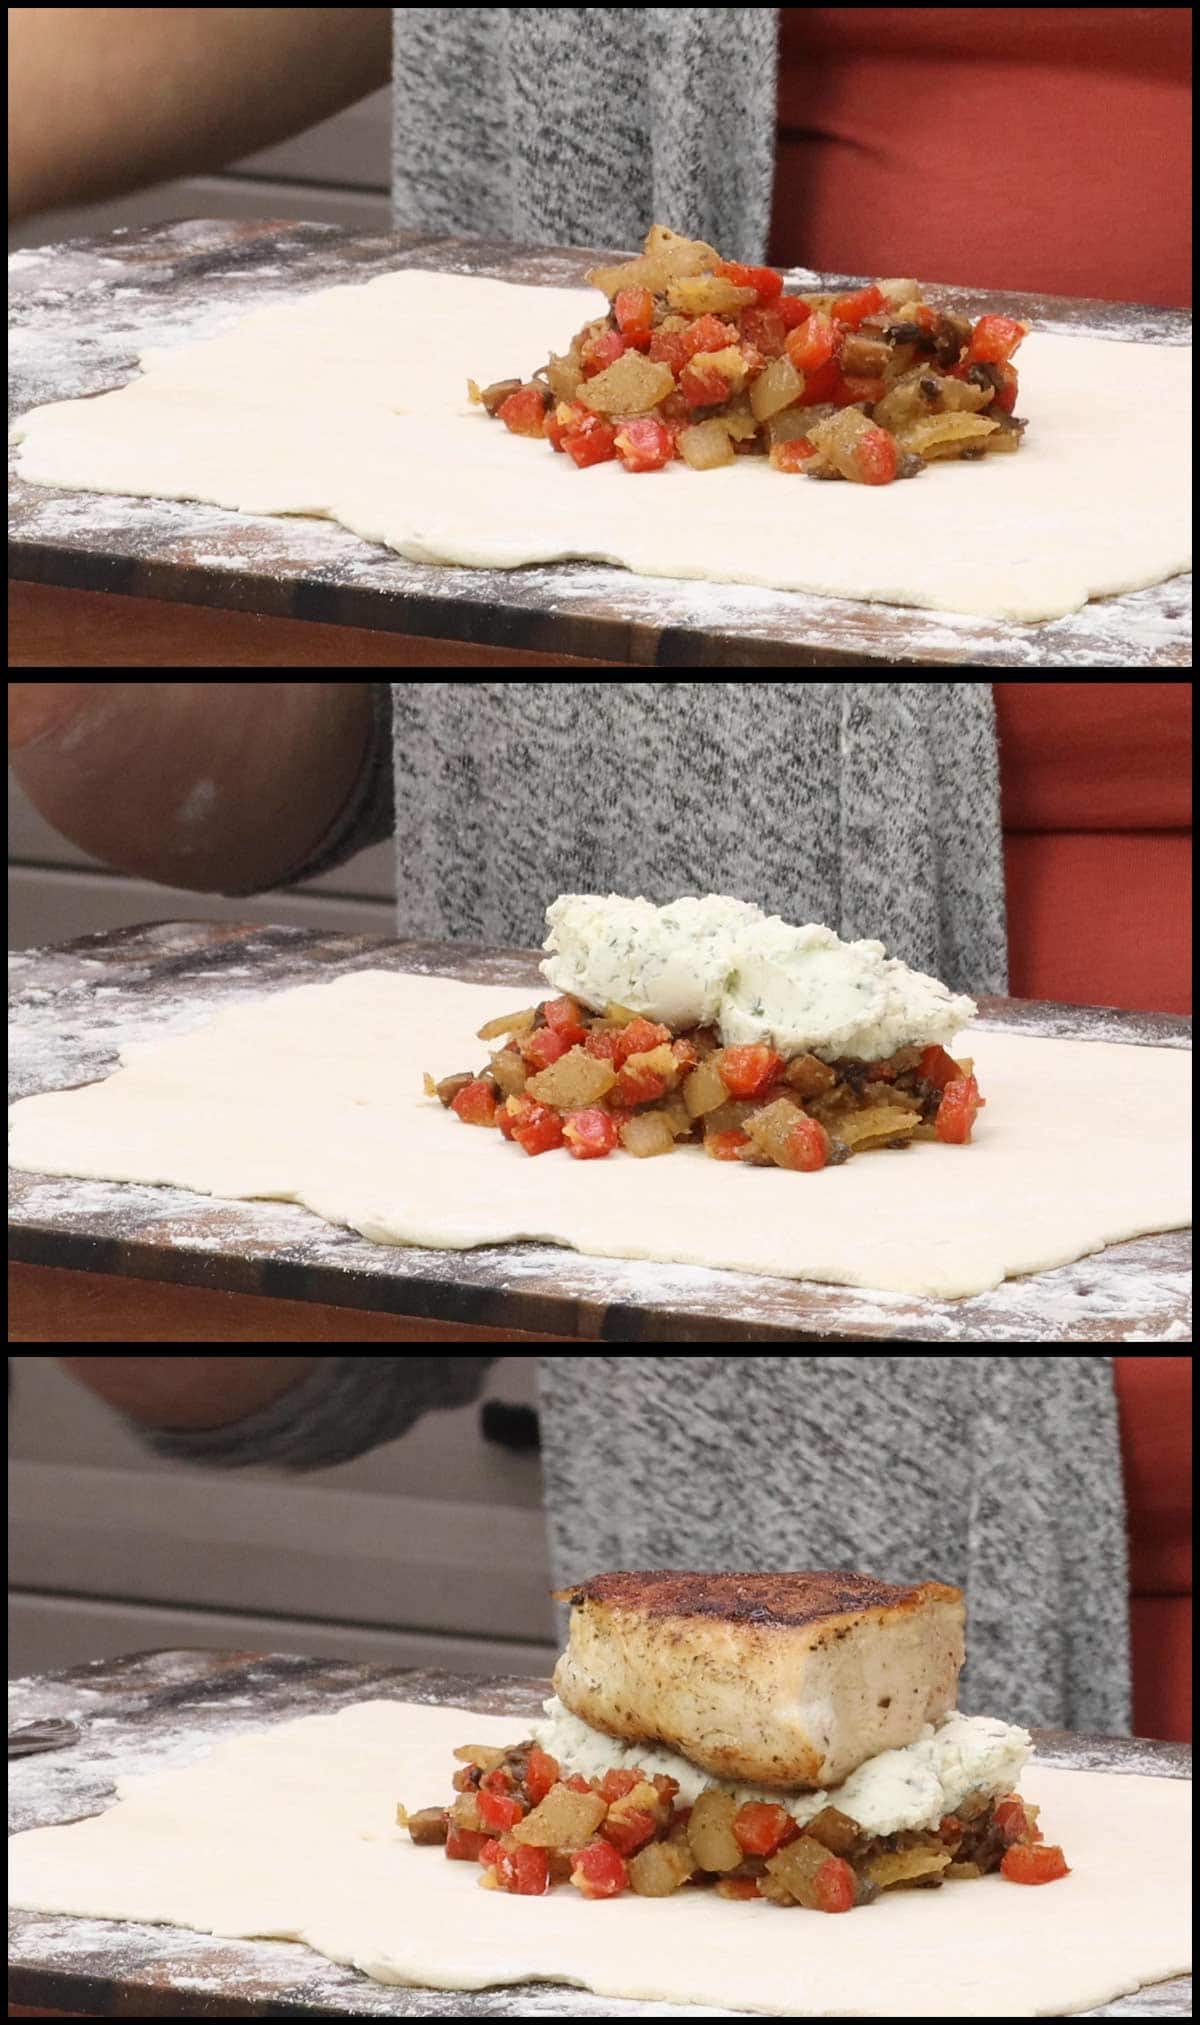
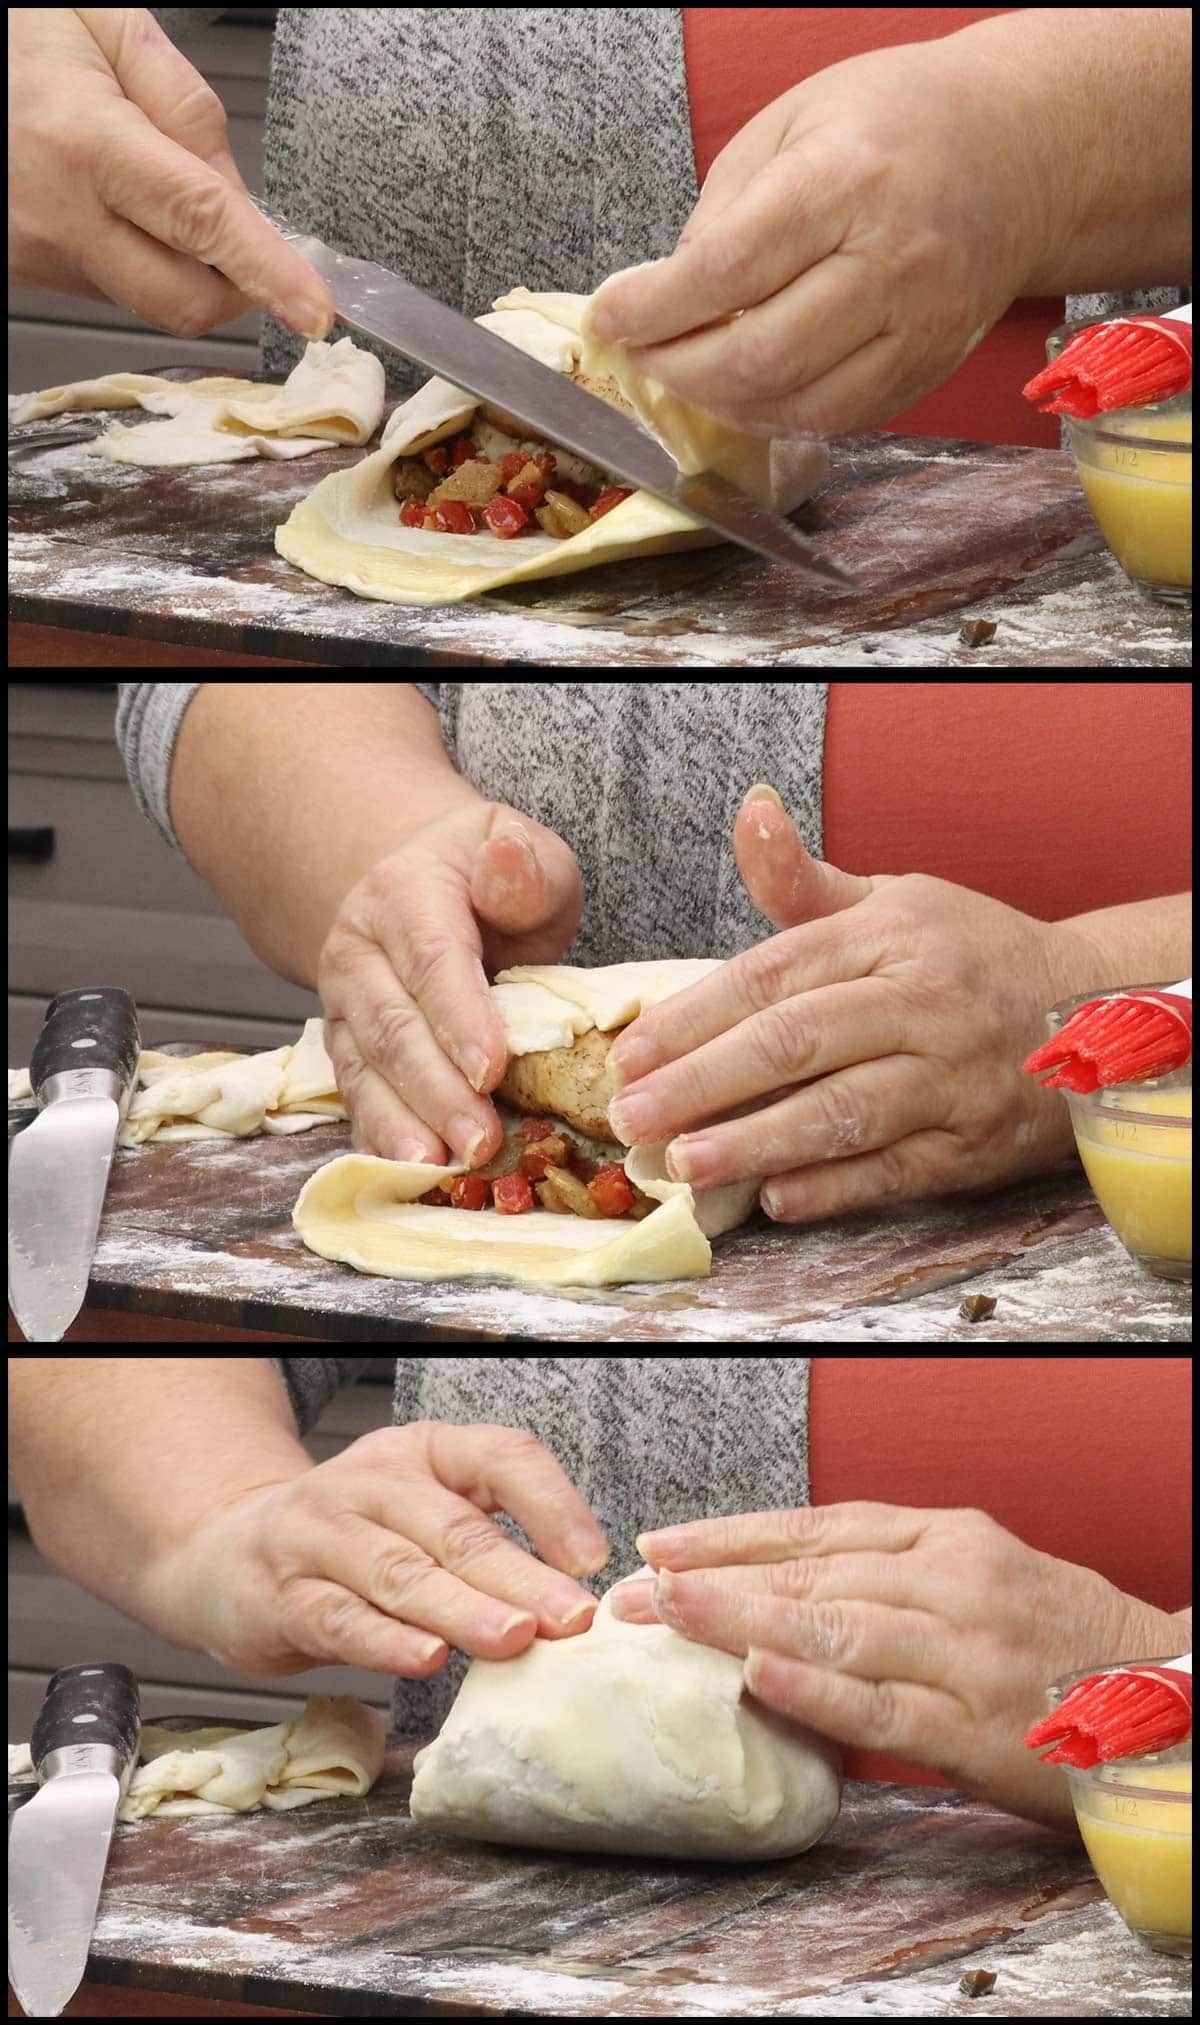
Add about ½ cup of the cool vegetable mixture to the center of the puff pastry. Put about 2 Tablespoons of the garlic and herb cheese spread on top of the vegetables and then place 1 piece of chicken on top and gently press down.
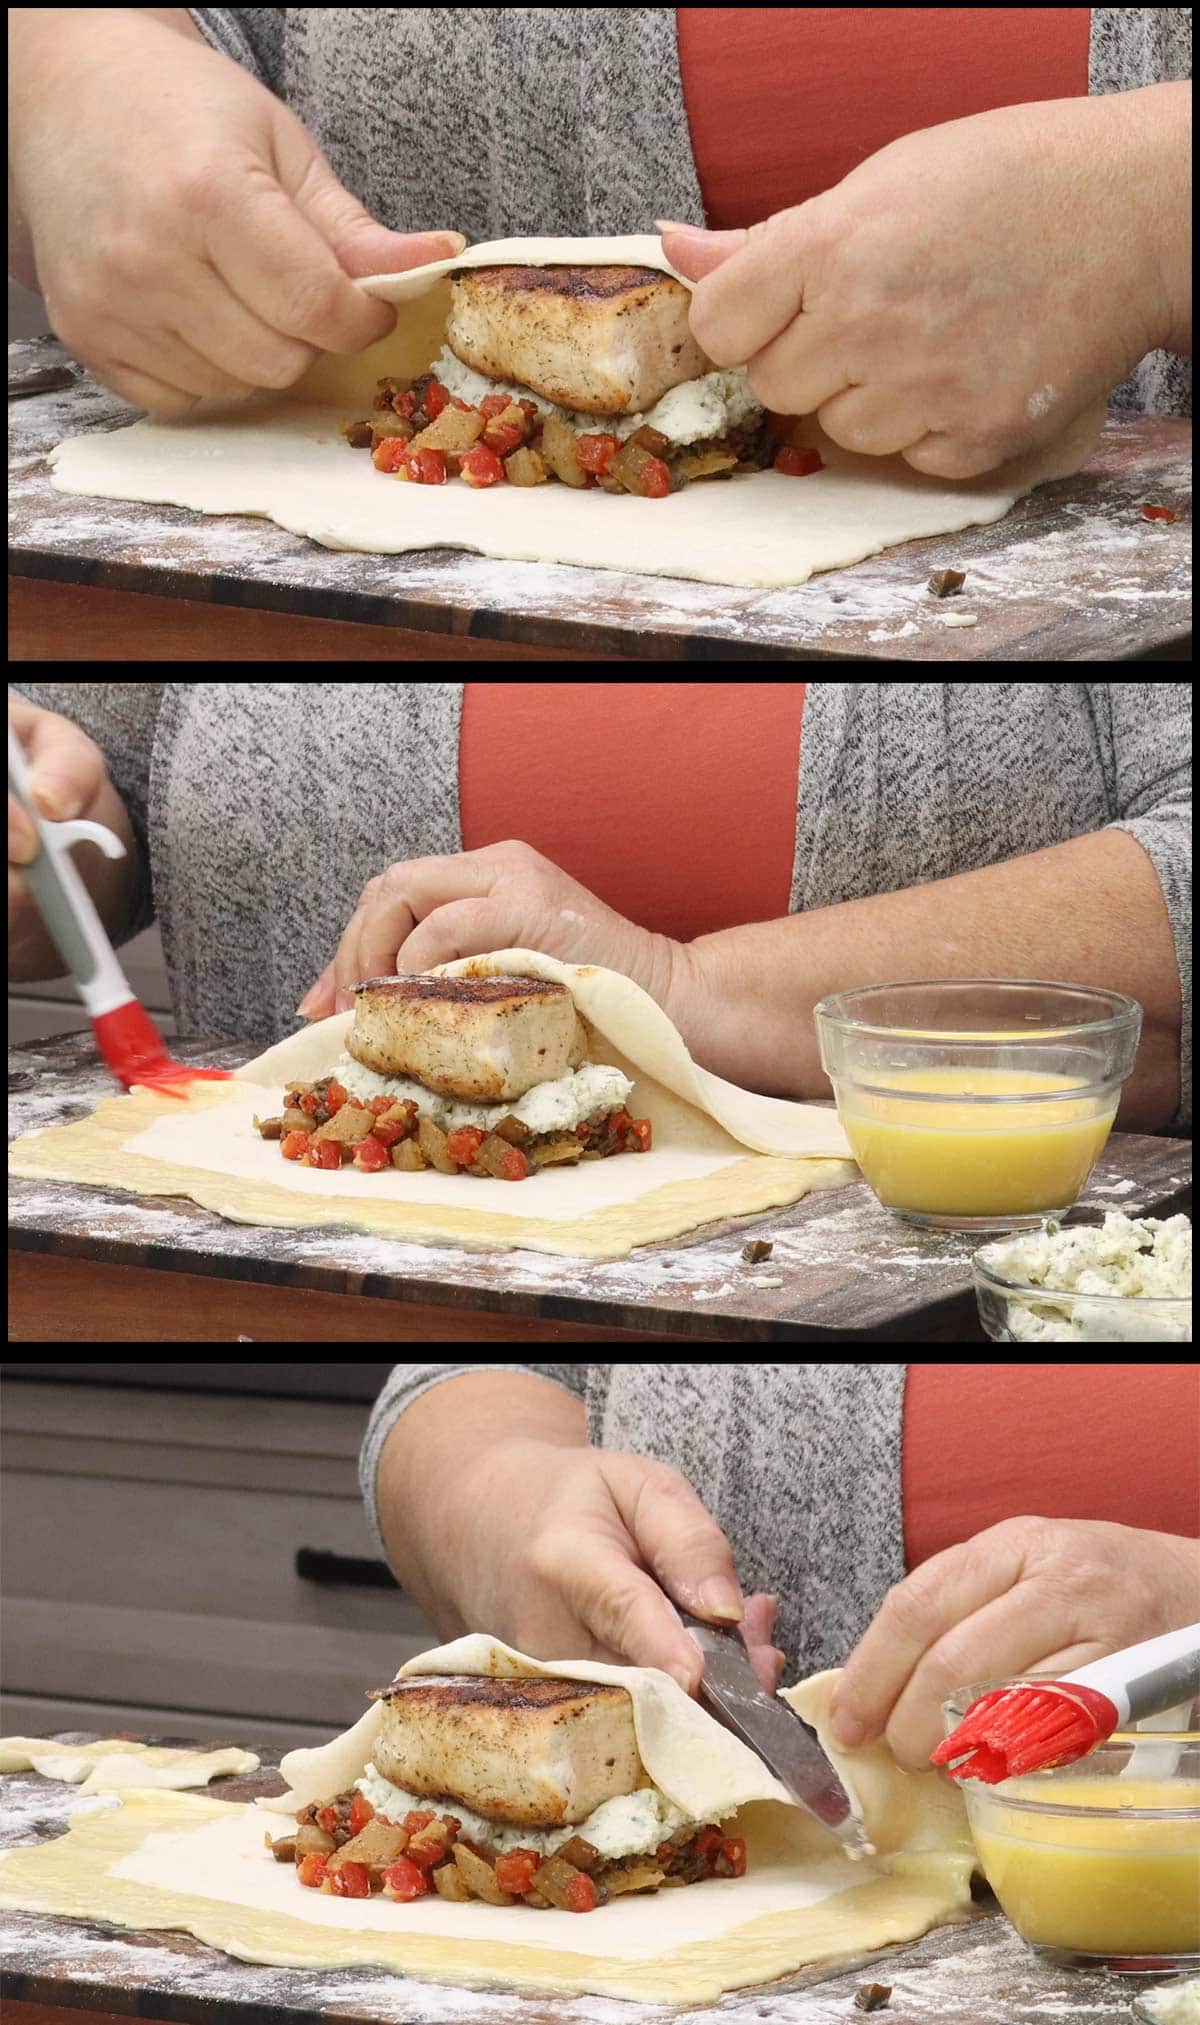
Bring the bottom (long side) of the puff pastry up and over the boneless chicken breast half. It should reach at least ¾ of the way over the chicken.
Brush the edges of the puff pastry with the egg wash. I usually make sure to cover about 1-inch border with the beaten egg mixture. My favorite tool for this is my (affiliate link)pastry brush from Pampered Chef.
Trim the corners of the dough on the right and left sides with a knife so you don't have too much puff pastry. This step is optional, but I have found leaving the extra on the corners creates areas of doughy puff pastry after baking.
Fold up the right and left sides of the puff pastry and cover the chicken breast.
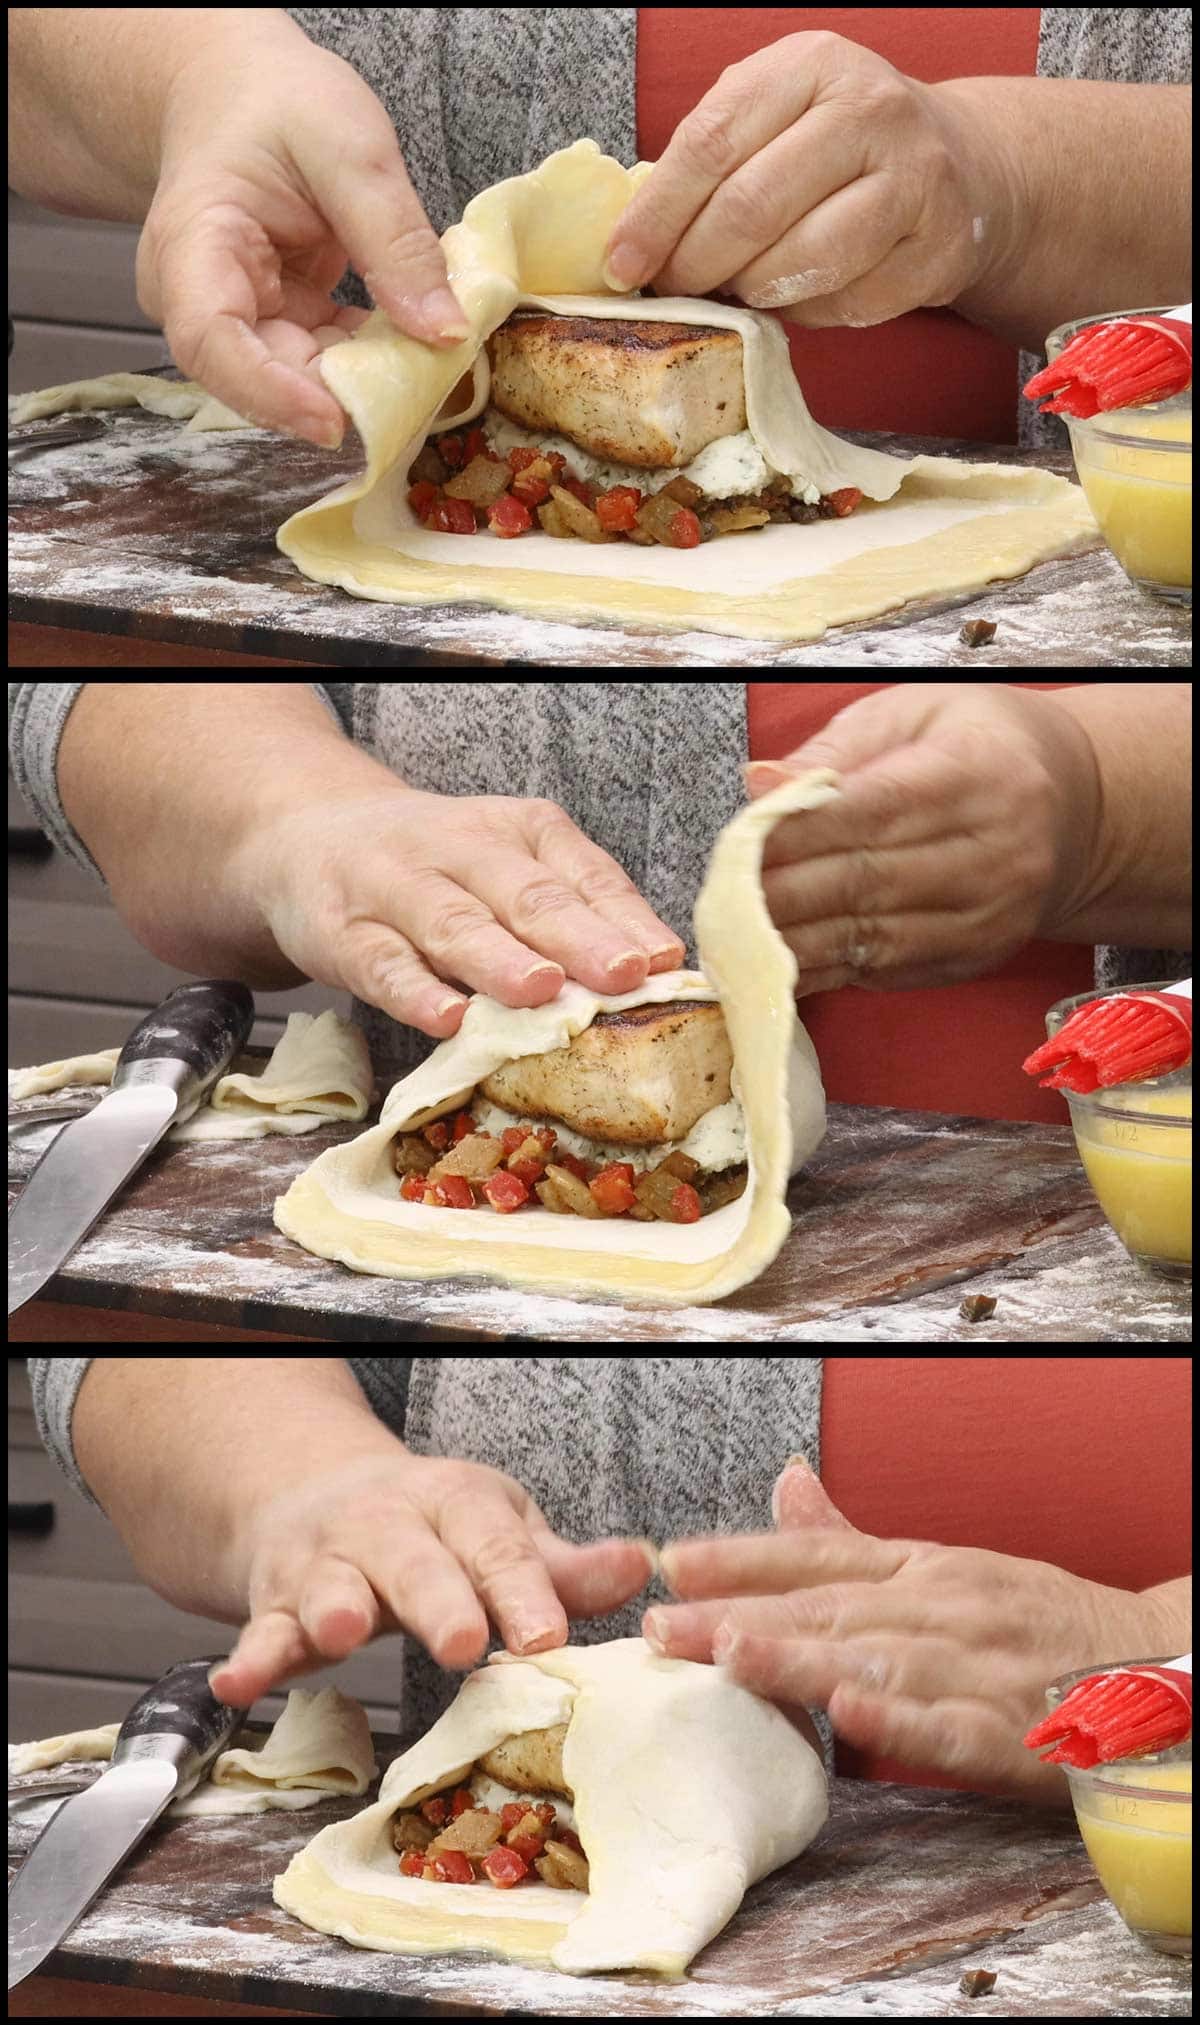
Trim off the excess dough from the corners and pull the last side of the puff pastry over the top to finish wrapping the Chicken Wellington. Gently press the seams of the pastry dough so they stick together.
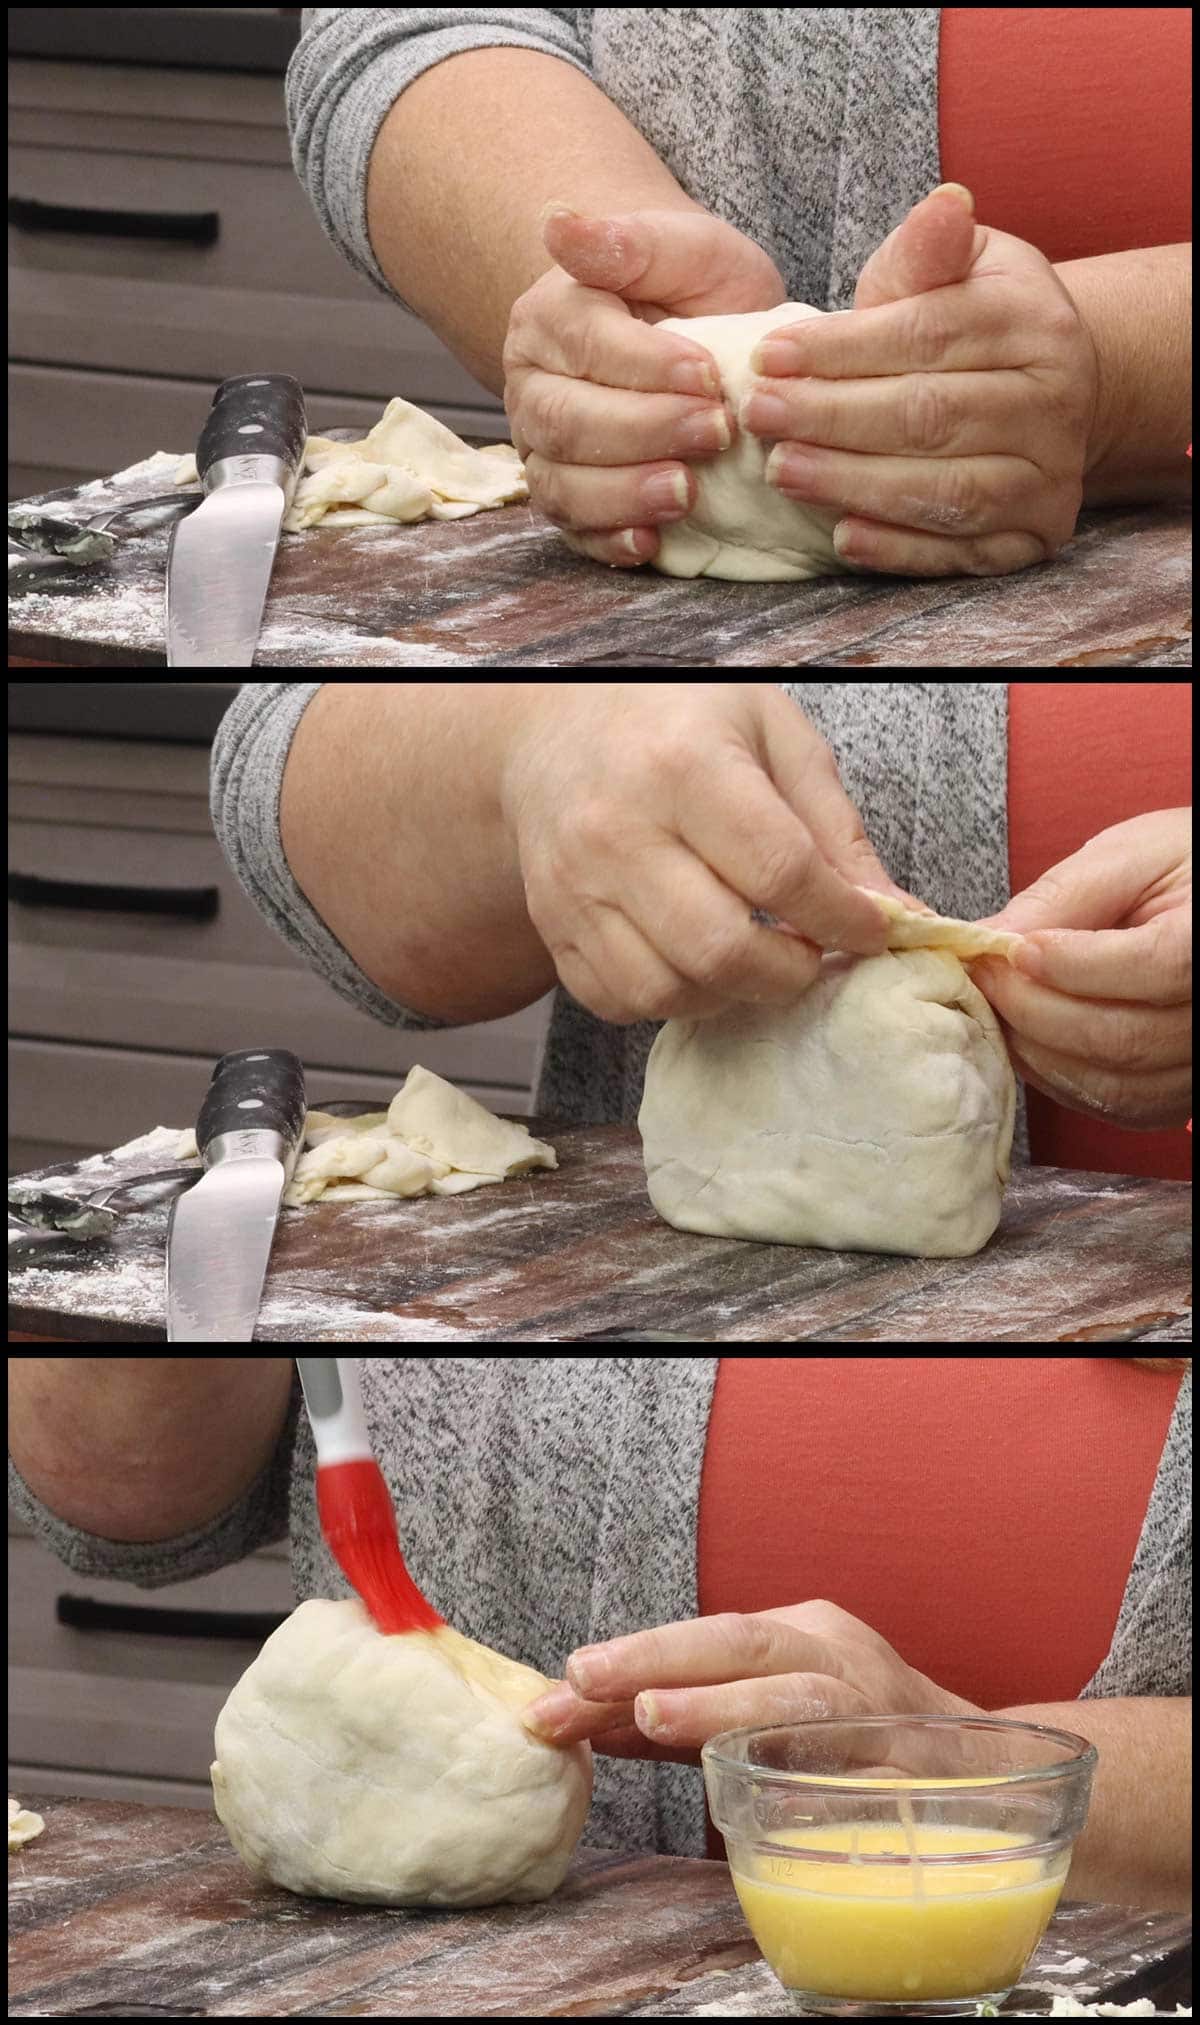
Gently shape the Chicken Wellington by pressing between the palms of your hands. This just moves some of the ingredients around inside the package of pastry so it has a nice shape.
If there are any areas where the puff pastry has torn, use the excess that you cut from the edges to patch it up. If any of the edges aren't sticking well enough, use some of the egg mixture to create a seal.
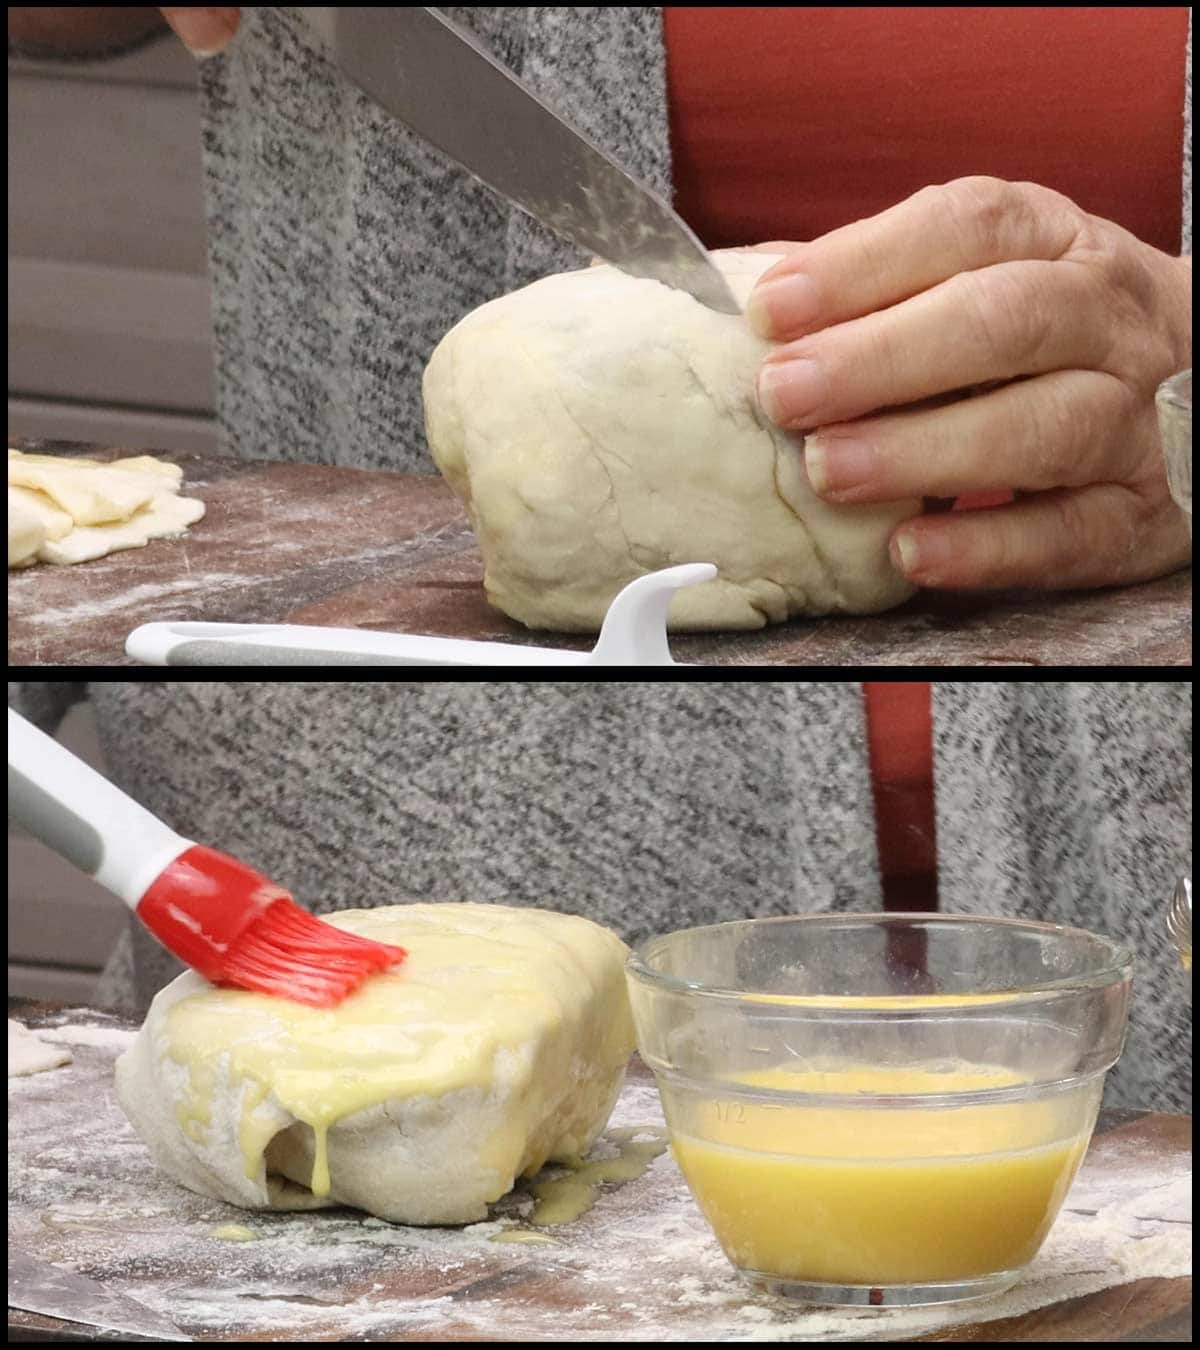
Cut 2 slits in the top to allow steam to escape while baking. Brush the top and sides of the chicken wellington with the egg wash.
Wrapping the puff pastry around the filling and chicken is probably the trickiest of all the steps, but it doesn't have to be if you follow these instructions. If you want to see me wrap the Chicken Wellington on video, watch below.
Baking Chicken Wellington
It's important that the oven is preheated before putting the Chicken Wellington in to cook, so, if you haven't done that yet, make sure to preheat to 425℉/220℃ a good 15-20 minutes before putting the chicken into the oven.
Prepare a baking sheet by lining it with parchment paper. Place the Chicken Wellington seam-side down on the tray.
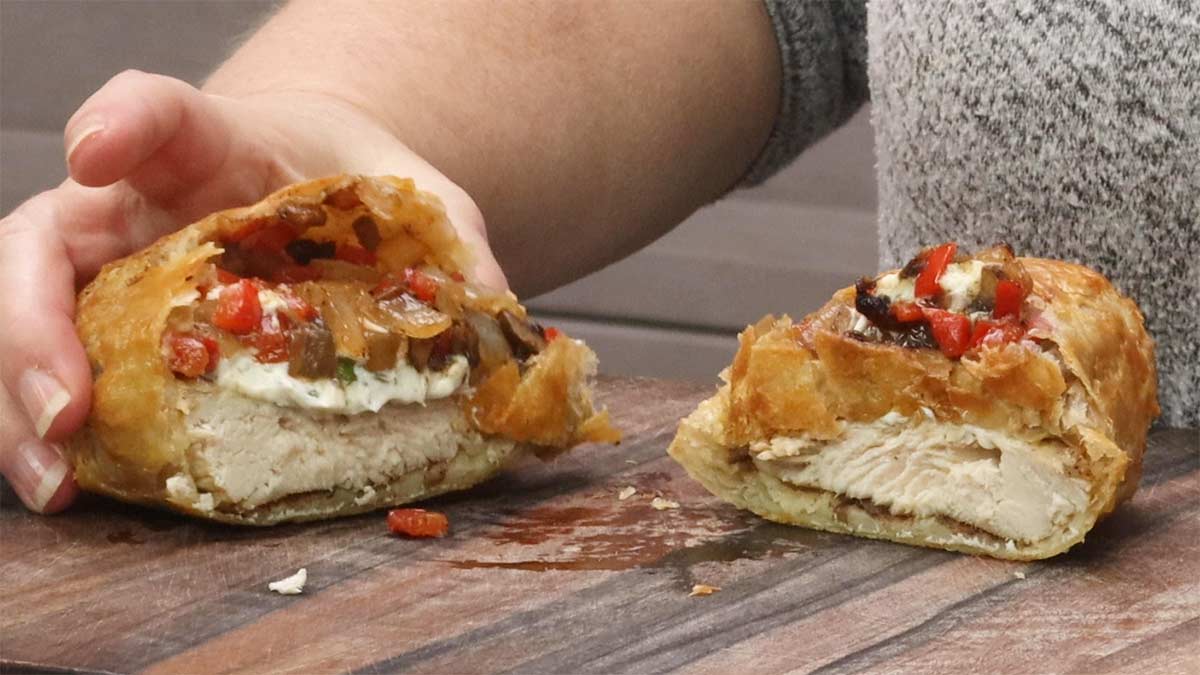
Bake in the oven for 15-20 minutes or until the puff pastry is golden brown. Remove from the tray and allow to cool on a cooling rack for a few minutes before serving.
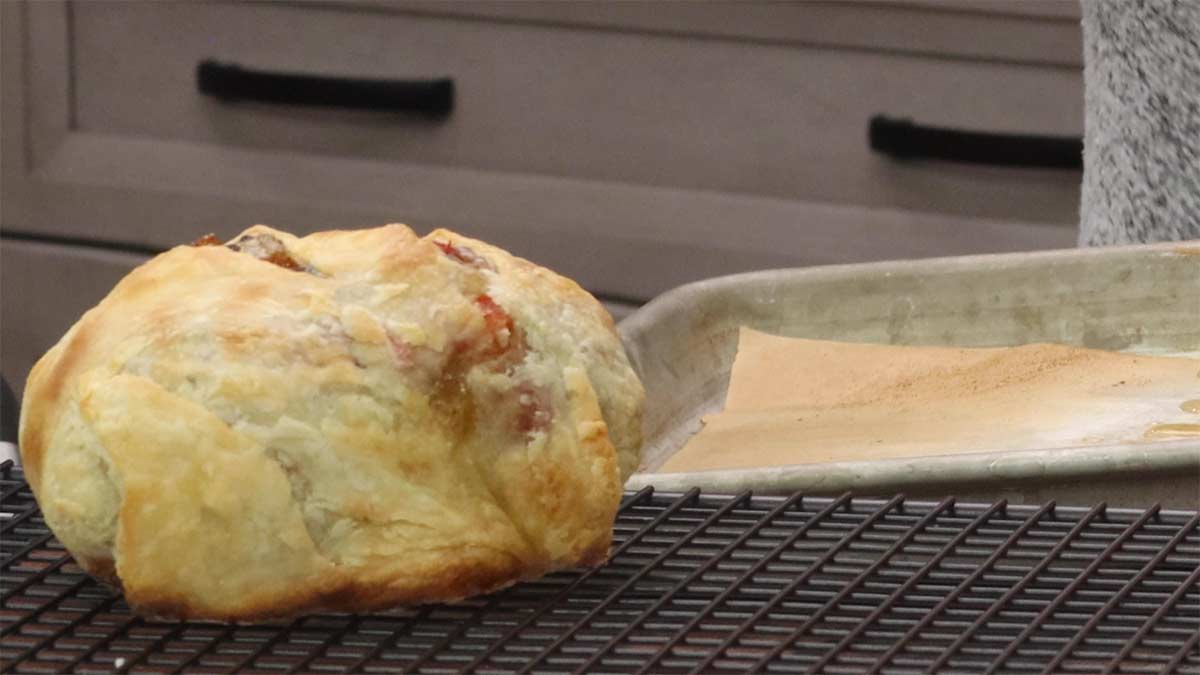
Serve & Enjoy!
Directions for using the Ninja Foodi
The basic directions are the same as the stove/oven version, but the functions and temperatures on the Ninja Foodi Pressure Cooker & Air Crisper or Instant Pot Duo Crisp are slightly different.
Follow the directions for the prep or Mise En Place, they are the same.
Cooking the Chicken & the Vegetables in the Ninja Foodi
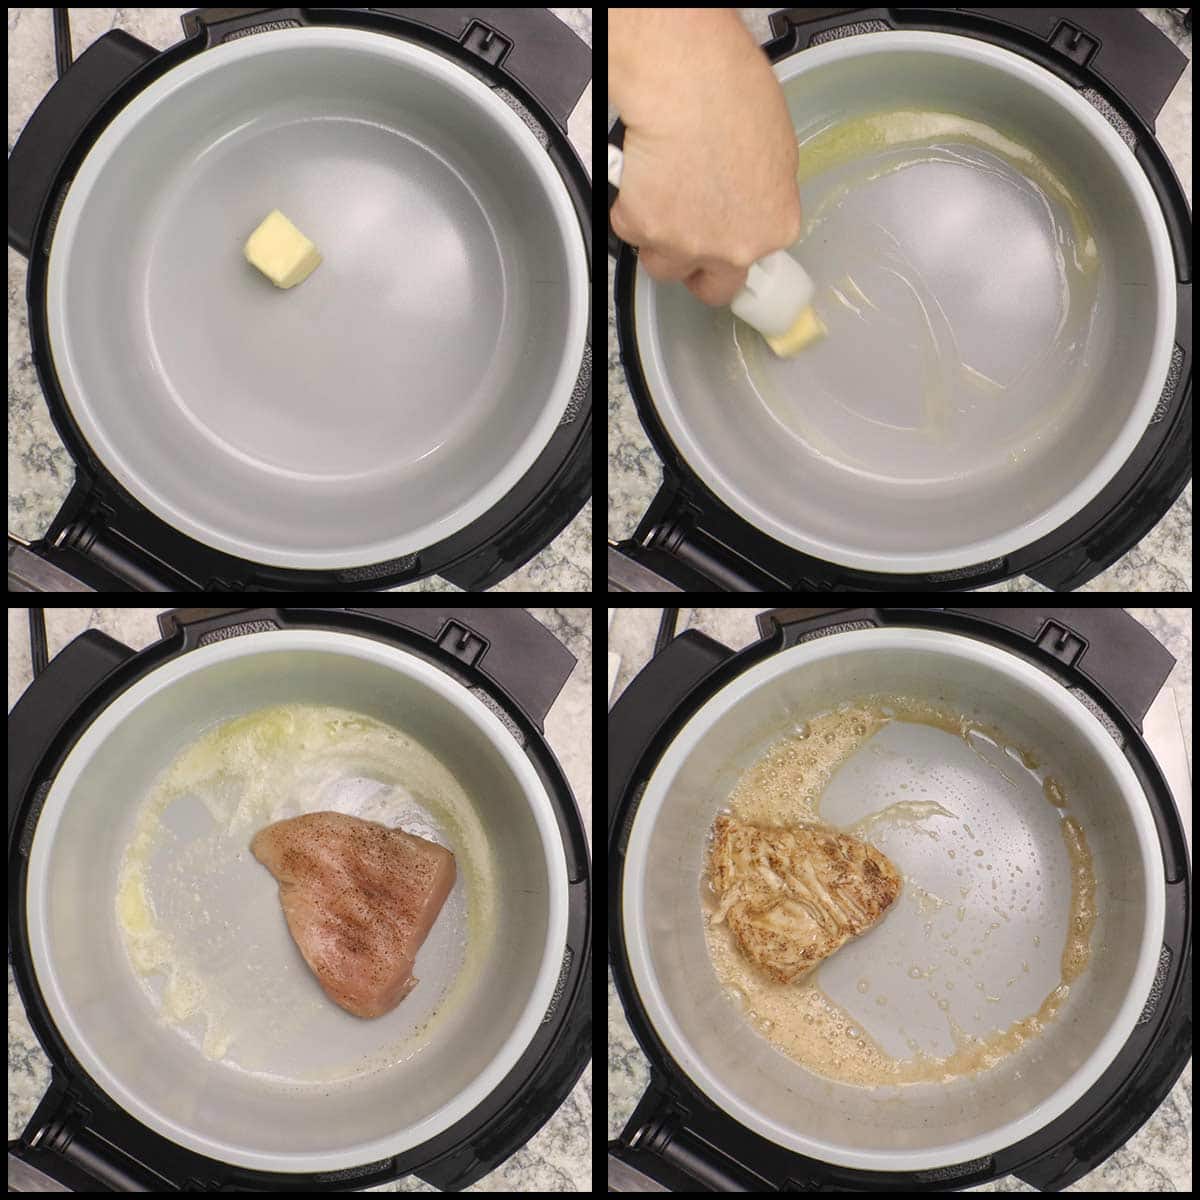
Turn the Ninja Foodi or Instant Pot Duo Crisp on high sear/sauté and add 1 Tablespoon of butter. When it starts to melt move it around in the inner pot to cover the center.
Put the seasoned chicken breasts halves into the inner pot and allow to sear for 2-3 minutes. Flip and sear the other side. If your butter is getting too dark, reduce the temperature to medium.
Add in the diced vegetables and season with ½ teaspoon of fine grind sea salt and ¼ teaspoon of black pepper. Sauté for 2 minutes or so and then reduce the the heat to medium, if you haven't already, and put a glass lid on the Foodi. If you don't have one, no worries, it will just take a little longer to cook the veggies and the chicken breast.
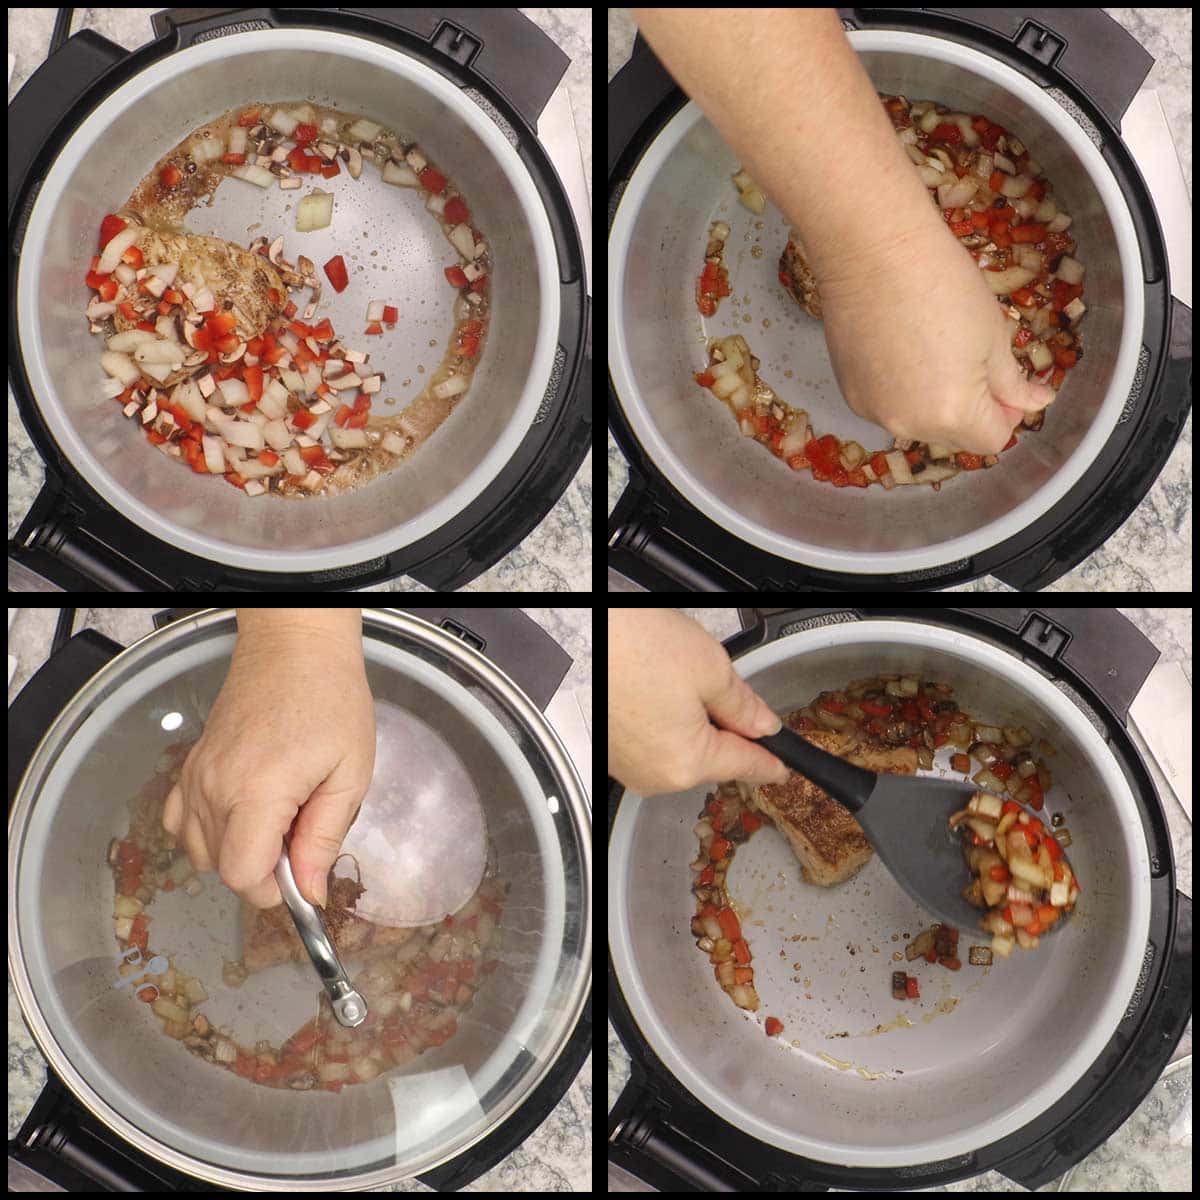
After the vegetables are cooked to your liking and removed from the inner pot, continue to cook the chicken breast until it reaches an internal temperature of 160℉/71℃ and then let the carryover heat bring it to 165℉/74℃.
Place the veggies and chicken on a tray or plate and put it in the fridge for about 15 minutes or until the chicken is no longer warm to the touch.
Follow the same instructions for assembling and wrapping the Chicken Wellington as in the recipe or instructions in the above section.
Air Frying Chicken Wellington
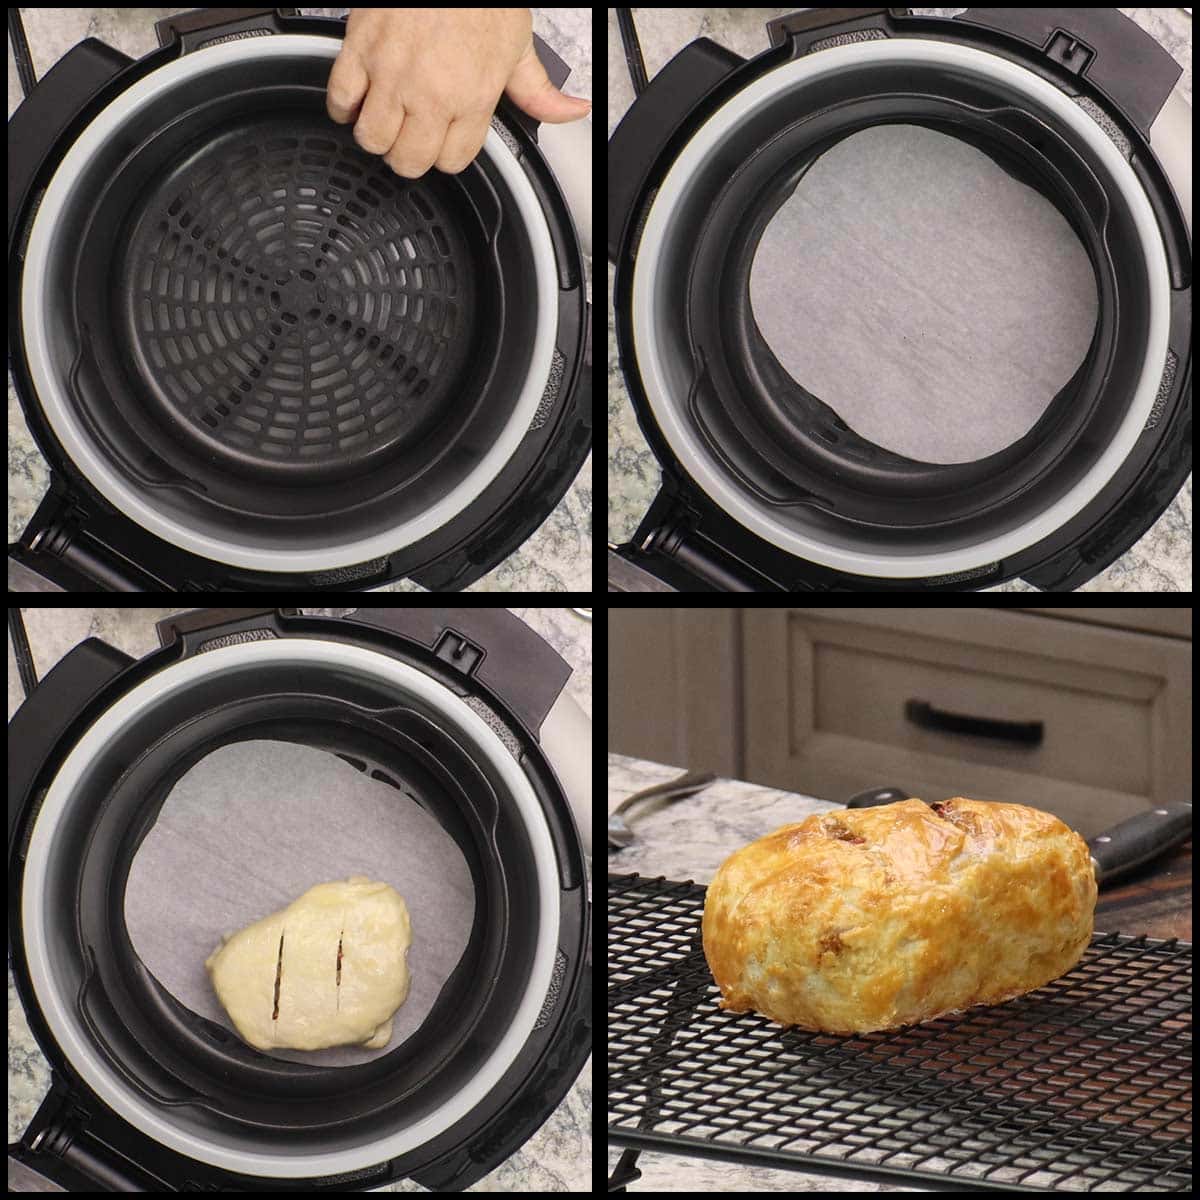
Preheat the Ninja Foodi or Instant Pot Duo Crisp (any air fryer will work) on Air Fry (Air Crisp) on 400℉/200℃ for a full 10 minutes. I do this when I'm assembling the Wellingtons. Make sure the basket or cooking surface is inside the appliance when preheating.
Place a cut piece of parchment paper in the bottom of the basket and place the Chicken Wellington, seam-side down, into the basket. How many you can fit will depend on how large your air fryer is and how big the chicken breasts are. Make sure they aren't touching, it's important that the air is able to flow around them for even cooking.
Air Fry on 400℉/200℃ for 10-12 minutes or until the puff pastry is golden brown. Remove from the air fryer and allow to cool on a cooling rack for a few minutes.
Serve & Enjoy!
Frequently Asked Questions
Yes, you can assemble the individual Chicken Wellingtons and place them on a parchment-lined tray to freeze. Then, wrap in plastic wrap and store in an airtight container.
I recommend baking from frozen and starting off with an oven temperature of 425℉/220℃ for the first 15 minutes and then lowering the temperature to 325℉/160℃ and baking another 20 minutes. If the puff pastry is getting too brown, cover with foil.
You can make as many or as few individual Chicken Wellingtons as you like, just adjust the ingredients accordingly. The cook times will stay the same.
Easy Chicken Dinner Ideas
From making stews to pastas, chicken is such a versatile ingredient to use when making easy dinners. Here are a few recipes you may enjoy!
- Chicken à la King in Puff Pastry Shells
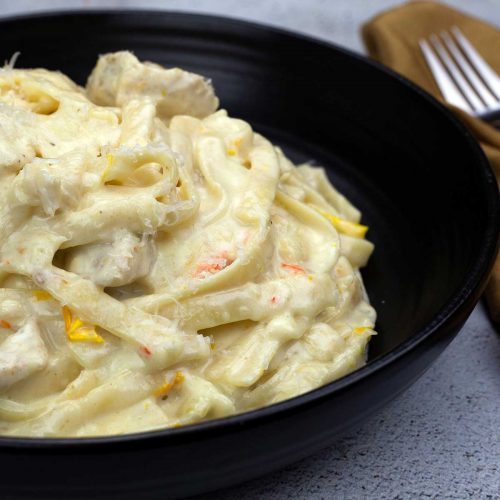
- Chicken Alfredo in the Ninja Foodi/Instant Pot
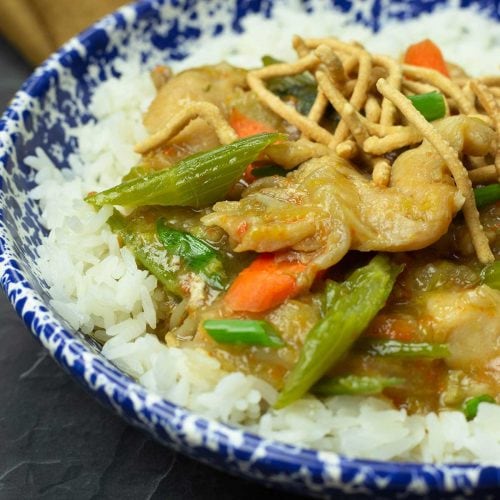
- Chicken Chop Suey ~ Pressure Cooker or Stovetop Recipe
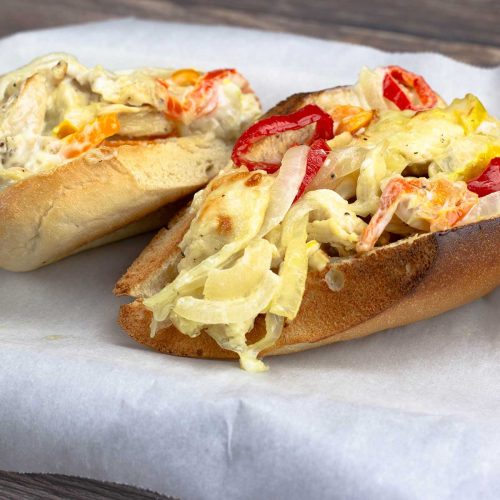
- The BEST Chicken Cheesesteak with a Twist!
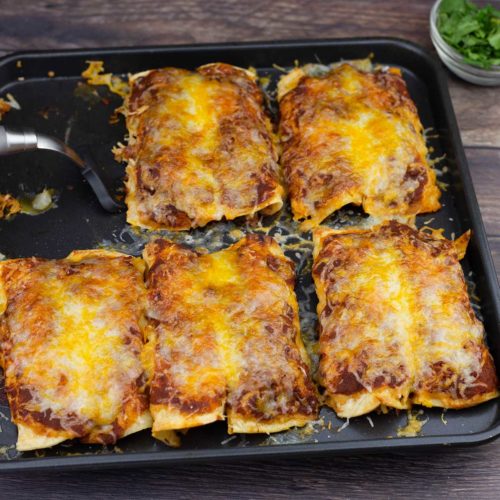
- Homemade Chicken Enchiladas
- Chicken Marsala in the Ninja Foodi ~ 360 Meal
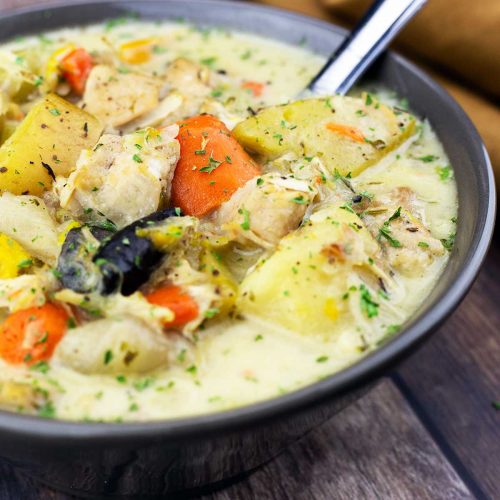
- Slow Cooker Chicken Stew
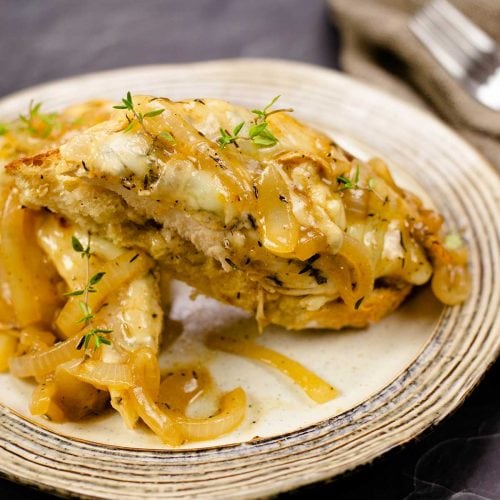
- French Onion Chicken in the Ninja Foodi
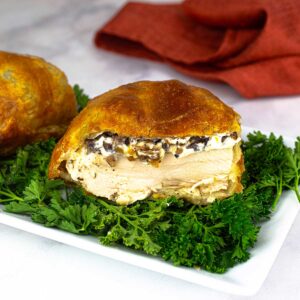
Chicken Wellington Recipe
Equipment
- Stove/Oven or Ninja Foodi Pressure Cooker & Air Crisper
Ingredients
- 1 Tablespoon salted butter
- 10-12 ounce chicken breast
- 1 teaspoon fine grind sea salt divided in recipe
- ½ teaspoons black pepper divided in recipe
- ½ cup diced baby portobello mushrooms about 4-6 mushrooms
- ½ cup diced red bell pepper about ½ of a pepper
- ½ cup diced onion about ½ medium onion
- ¼ cup Herb & Garlic Cheese Spread or Boursin Cheese Spread
- ½ pound puff pastry 1 sheet of pastry
- flour for work surface
- 1 large egg
- 1 Tablespoon water
Would you like to save this recipe?
Instructions
Mise En Place
- Take puff pastry out of the freezer and refrigerate about 8 hours before making the recipe OR bring out of the freezer and leave at room temperature about 90 minutes prior to making the recipe.
- Make the Garlic & Herb Cheese Spread if making your own.
- Measure out the ingredients and dice the vegetables into about ¼-½" dice.
- Whisk the egg with 1 Tablespoon of water in a small bowl.
- Preheat the oven to 425°F/220°C
Pre Cook the Chicken & Veggies
- Trim the chicken breast and cut it in half so one breast makes 2 equal size portions. Lightly salt and pepper both sides using about ½ teaspoon of sea salt and ¼ teaspoons of black pepper.
- Put a large skillet on the stove over medium high heat and melt the butter. When the pan is hot and the butter has melted, swirl the butter over the surface of the pan and place the seasoned chicken breast into the pan.
- Sear each side of the chicken breast for 2-3 minutes. Add in the diced vegetables, season with remaining salt and pepper.
- Put a lid on the skillet and turn the heat down to medium. Sauté the vegetables until they are cooked to your liking. For slightly firm, but cooked vegetables, this takes about 5-7 minutes. Remove the vegetables when they are done.
- Cook the chicken until it reaches at least 160°F/71°C and let the carryover heat finish cooking it to 165°74°C. Remove the chicken from the pan.
- Place the chicken and vegetables on a plate or small tray and refrigerate for about 15 minutes or until just cool to the touch.
Assembling the Chicken Wellington
- Prepare a clean, large work surface by sprinkling some flour on it and unfold the puff pastry sheet. Sprinkle just a little flour on top if needed.
- Roll the puff pastry out until it is about ⅛" in thickness. The rectangle should be about 16" X 10". Add more flour as needed to make sure the puff pastry doesn't stick to the work surface. Cut the pastry into two equal pieces and set one aside.
- Place one piece of puff pastry on lightly floured surface. Spoon ½ of the vegetable mixture (about ½ cup) onto the center of the puff pastry. Spoon 2 good Tablespoons of the garlic and herb cheese on top of the vegetables. Place 1 of the chicken pieces on top.
Wrapping the Chicken Wellington
- Bring the bottom of the puff pastry up and over the top of the chicken. Trim the excess dough from the corners.
- Brush the 3 exposed sides with the egg wash. Fold over each side of the puff pastry to the center of the wellington. Trim off excess puff pastry from the corners. Bring the top flap of the puff pastry over the top of the wellington.
- Gently shape with your hands and repair any holes with the excess puff pastry if needed. Repeat for the second piece of puff pastry and chicken.
Baking the Chicken Wellington
- Turn the chicken wellington over and place it on a parchment lined tray. You want the smooth side up. Brush all over the top and sides with the egg wash and cut 2 slits in the top of both chicken wellingtons.
- Bake in a preheated 425°F/220°C oven for 15-18 minutes or until the puff pastry is golden brown. Remove from oven and let sit on a cooling rack for about 5 minutes before serving.
- Serve & Enjoy!
Notes
Ninja Foodi or Air Fryer Instructions
If you are using the Ninja Foodi, use the sear/sauté function on high to sear the chicken, then reduce to medium to sauté the diced vegetables and finish cooking the chicken. If you are using a regular air fryer, then follow the instructions in the recipe for cooking the chicken and vegetables. Assemble and wrap the wellingtons per the recipe instructions. Preheat the Ninja Foodi or Air Fryer on 400°F/200℃ for 10 minutes with the basket or cooking surface inside the appliance. Place a piece of parchment paper into the basket of the air fryer or Ninja Foodi and set the wellingtons into the air fryer. Air Fry on 400°F/200℃ for 10-12 minutes or until the puff pastry is golden brown. Cool on cooling rack for a few minutes, serve and enjoy!Nutrition
About the Recipe Author, Louise Long
Louise is a full-time recipe creator and food blogger @ The Salted Pepper. She has over 30 years of experience with cooking and recipe development. She owned a restaurant for several years and was a full-time RN until retiring to blog full-time.

She published her first cookbook in the Fall of 2018 and is very interested in writing several more.
Louise is also the creator of an online Ninja Foodi Pressure Cooking Course with over 100 instructional step-by-step videos. People absolutely rave about the course and all the value they have received from it.
Louise has several very active Facebook groups that help people with the basics of cooking and learning more about the appliances they love.
Ninja Foodi Pressure Cooker & Air Crisper 101
Ninja Woodfire Outdoor Grill & Smoker
Louise is also a YouTube creator and you can find most of her recipes in video format on The Salted Pepper YouTube channel.
She is very responsive to messages and eager to help in any way she can. Get more Information about Louise & contact information
I WOULD LOVE TO SEE WHAT YOU ARE COOKING UP IN YOUR KITCHEN! TAG ME @THESALTEDPEPPER ON YOUR FAVORITE SOCIAL MEDIA PLATFORM WHEN YOU MAKE A DISH!
BE SURE TO FOLLOW THE SALTED PEPPER RIGHT HERE ⇓⇓⇓⇓⇓





Kathryn
One of the best chicken breast recipes!! Elegant enough for dinner parties and simple enough for family dinner night. I’m not a fan of chicken breast meat, but this was absolutely delicious. I cut my chicken breast in half so I didn’t have a thick piece of meat like the above recipe. My chicken breast was long but thin and I liked the presentation better. I really recommend trying this recipe, it’s a real winner!
Louise
I'm so glad you enjoyed it!