When it comes to homemade candy, it's hard to beat the perfect chocolate covered caramel! I've been making caramels for years, but this year I decided to change up my recipe to make it even easier. This buttery caramel recipe uses a dry method of cooking the sugar, so you don't have to worry about your caramel becoming grainy and you don't need a candy thermometer either. This recipe is easy enough for beginner candy makers and delicious enough for seasoned candy makers.
One of the best things about this recipe is you can use it to make all kinds of caramel. Hard caramel sugar candy, chewy caramels, soft and creamy caramels, and even caramel sauce! This is the only caramel recipe you will ever need!
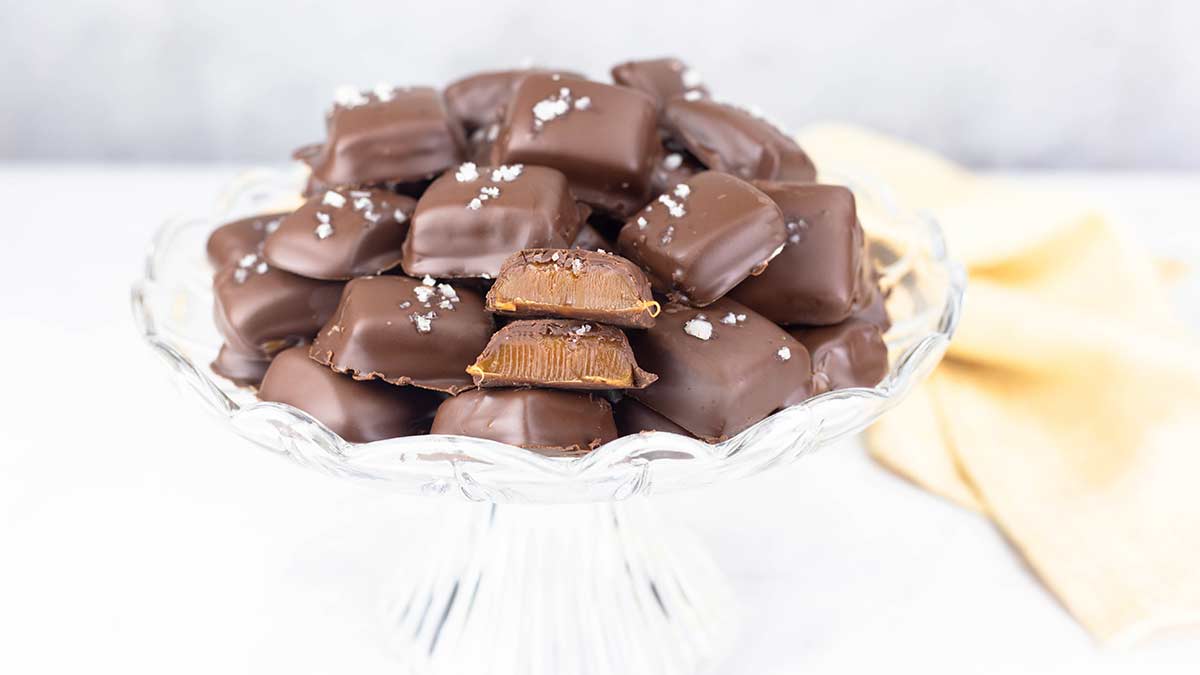
You may think it's too hard or too time consuming to make your own homemade caramels, but this recipe cooks in about 15 minutes and sets up in about 1-2 hours. AND, it uses ingredients that you probably have on hand! So, what are you waiting for, let's get to making some delicious caramel!
Supplies Needed for Recipe
- 8x8 metal or glass pan
- parchment paper
- 10" sauté pan
- High heat silicone or wooden spoon
- small bowl for cold water
Ingredients & Substitutions
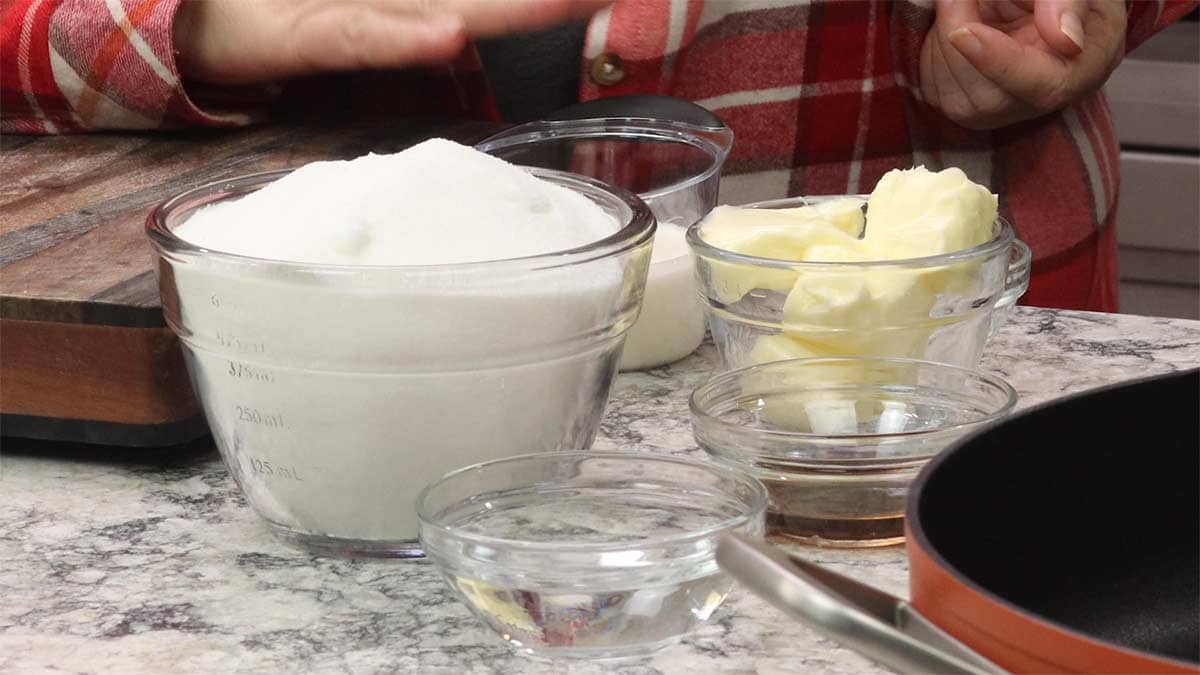
Sugar
This recipe uses white granulated sugar and I have not tested it with brown sugar. Since brown sugar has molasses added to it, which contains water, it most likely isn't going to work in this recipe using the dry method for making caramel. Making caramel from sugar is chemistry and, while very easy, it really has to be made the way the recipe states for it to work. So, sorry guys, no artificial sweeteners for this recipe!
Butter
I used salted butter in this recipe, but you can use unsalted, if you prefer. You can also omit the butter and use more heavy cream.
I don't recommend using clarified butter or Ghee in this recipe because it doesn't contain the milk solids like butter and would most likely change the texture.
If you want to use all heavy cream and skip the butter, I would increase the heavy cream to ¾ cup and check the texture of the caramel by doing the cold water test described below. Then, add more cream until the caramel reaches your desired consistency as determined by the cold water test.
Cream
Heavy whipping cream is necessary in this recipe for the caramel to achieve the correct texture. It cannot be substituted with milk or half and half.
I have not tested the recipe using alternatives like coconut cream or the vegan heavy cream so I cannot say if they would work or not.
Salt & Vanilla
These ingredients are optional, but salt is a flavor enhancer and it really boosts the buttery caramel flavor of the candies.
Vanilla extract adds another dimension of flavor to the recipe, but can be omitted or substituted with a different flavored extract, like coffee extract or even almond extract. This change will affect the flavor of the caramel, but not the texture, as long as you use a 1:1 ratio when substituting.
Chocolate
The chocolate coating on these perfect little caramel treats is the icing on top of the cake. Not necessary, but oh-so-good!
I used my Dipping Chocolate Recipe to make the caramels and if you use 1 cup of chocolate chips to 1 cup of melting wafers, you should have plenty of chocolate to cover all the caramels.
They flavor of chocolate that you want to use is completely up to you. I prefer a dark chocolate, but semi-sweet or milk chocolate works great, as well.
Although a little unusual, you can even use white chocolate to cover your caramels. I think this would be good if you stirred in some finely chopped nuts into the caramel and then covered with the white chocolate and garnished with finely chopped nuts.
Wet Caramel Versus Dry Caramel Method
Before we dive into making the homemade caramel, it's important to understand the differences between the dry method (which is how this recipe is made) and the wet method when making caramel.
What is Caramel?
The word "caramel" refers to two different things, both involving sugar.
In its simplest form, caramel is simply sugar heated until it turns a liquid amber color and through this chemical process of caramelization, the sugar takes on a different flavor that we refer to as caramel flavor.
Often times we will add other ingredients, such as; butter or heavy cream to the caramelized sugar to produce different textures of candy and sauces that are caramel flavored. The end result of these additions results in what we call caramel candy.
All true caramel and caramel candy starts off with just 1 or 2 ingredients, depending on which method you use to turn the sugar into caramel.
When we apply heat to sugar, it goes through stages as it passes different temperature zones. Caramel is sugar heated to above 320℉/160℃. There are two methods for achieving this last stage of heated sugar: the wet method and the dry method. Both produce relatively the same results and both have pros and cons. In this recipe, I use the dry method because it's a whole lot less finicky without having to add in corn syrup or other inverted sugars to avoid crystallization.
Wet Method
The wet method is more common, or at least I see it more frequently used in recipes.
This method for making caramel is when you heat sugar and water together over a medium heat until the water evaporates and you are left with amber colored melted sugar which reaches temperatures between 320℉/160℃ and 360℉/182℃.
The higher you take the temperature, the more the caramel flavor deepens, but sugar can also easily burn at these higher temperatures, so it can be a fine line between perfect caramel and burnt sugar.
Some say that the wet method produces more of a caramel flavor because it takes longer to pass through the temperature zones due to the addition of the water. I have made both wet and dry caramel and have not found any differences in the flavor.
The biggest challenge with making caramel using the wet method is sugar crystallization. Sugar crystallization occurs when little granules of sugar adhere to the side of the pot and make their way into the melted sugar/water mixture and "seed" it. This "seeding" results in a change in the sugar molecules and turns your entire batch of candy into a grainy mess. Many recipes will use corn syrup to help avoid this and it definitely helps! Other people advise to put a lid on the pot to allow the steam to wash the grains of sugar off the sides and into the liquid before the temperatures reach the stage where crystallization will occur.
Making wet caramel also takes a whole lot longer to make! So, between the time it takes and it's finicky nature, I love using the dry method for making caramel.
Dry Method
The dry method involves putting sugar into a sauté pan or a pot and cooking it over medium heat until it liquifies, turns amber in color and magically becomes caramel.
When dropped into cold water or allowed to set up, this caramel is rock hard and brittle (that also goes for the wet method if nothing is added) with the flavor of caramel.
Getting to this stage only takes 10-15 minutes at most and then, depending on what kind of caramel (chewy, soft, or sauce) you want to make, you add some butter and cream and voila... caramel candy!
Surprisingly enough, as easy as this method is, no one really talks much about it. I've read that people prefer the wet method over the dry method because the sugar burns so easily using the dry method, but that has never once happened to me.
You control the rate at which the sugar goes through its stages by the type and size of the pot/pan you use, the amount of sugar used, and the temperature setting of the stove.
I have made caramel candy so many different ways and I absolutely LOVE using the dry method. I think once you try this recipe, this method will be your go-to, as well!
How to Make Different Textures of Caramel
What I love so much about this recipe is the ability to change the amount of the cream to achieve different textures of the caramel. Add less cream and you will have a stiffer, chewy caramel. Add more caramel and you will have a delicious caramel sauce.
Here are my suggestions based on the texture you want to achieve.
- For chewy caramel that is slightly hard at first and then softens as you chew it use 6 Tablespoons of heavy cream.
- For slightly chewy caramel that has a soft texture use 8 Tablespoons of cream, which is what this recipe calls for.
- For a caramel sauce that will pour, but set up as a soft caramel with very little chew, use 9 Tablespoons of cream.
- For a caramel sauce that will pour and not set up, use 10-12 Tablespoons of cream.
Let's get to making some caramel the old-fashioned way!
How to Make Easy Homemade Caramel
Mise En Place (Everything in Place)
Whenever you are making candy, it is extremely important that you gather all of the ingredients and supplies that you will need for the recipe before you begin cooking. Things move very fast when making candy and you have to be ready to go to the next step quickly.
Please refer to the tips section below if you are making Caramel Candies for the first time.
- Measure out each ingredient into separate bowls
- Make sure the pan you are using is at least 9" in diameter so the sugar heats evenly
- Wipe the pan with a dry cloth or paper towel to remove any bit of moisture
- Have a wooden spoon or high heat rated spatula ready for stirring the sugar
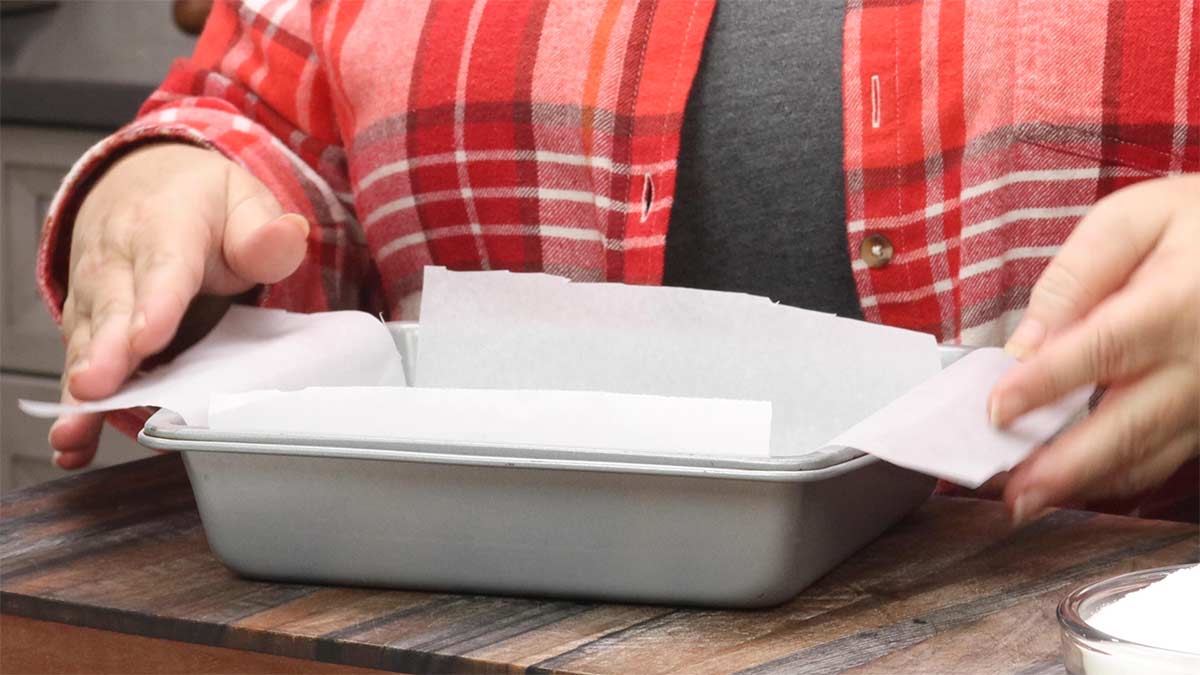
- Prepare the 8x8 pan by lining it with parchment paper or wax paper
Making the Caramel with the Dry Method
Put the white sugar into your 10-12" sauté pan and turn the heat on medium high. Every stove is different, so you will be adjusting the heat based on how the sugar is looking both in texture and in color.
At first the sugar will begin to clump, don't panic, this is completely normal and exactly what you want. Stir frequently during this clumping process and bring the granulated sugar towards the center of the pan.
More and more "sugar rocks" will form, but the sugar will still be white to a very light beige in color. If the color is darkening too quickly, reduce the heat on your stove.
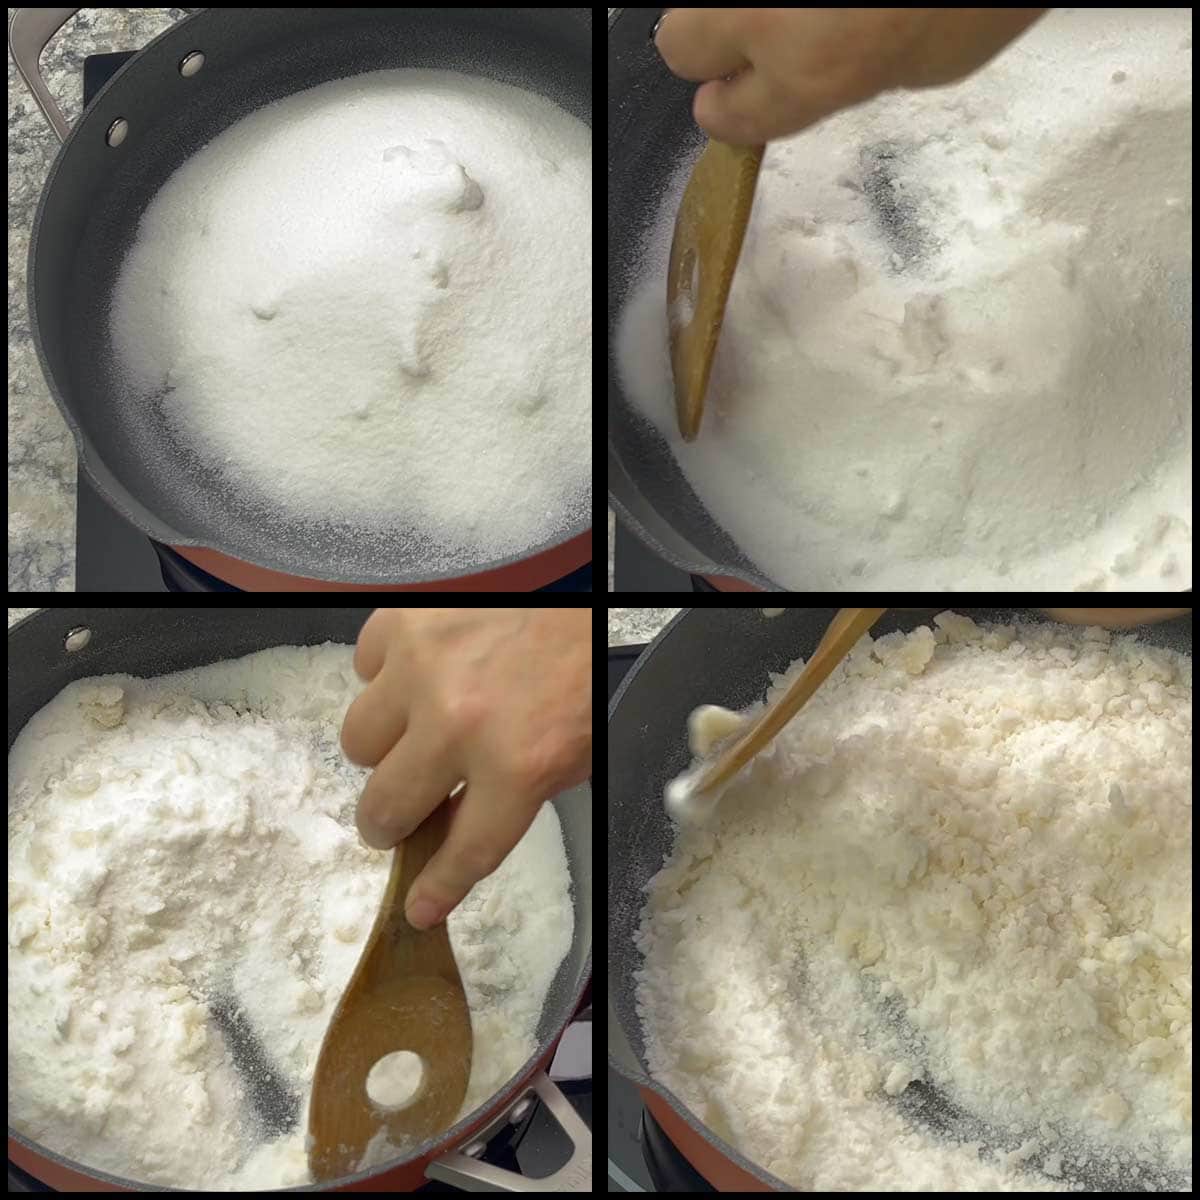
Continue to stir as more and more rocks form and start to darken in color. Make sure to scrape down to the bottom of the pan and move the sugar rocks around for even caramelization.
As the sugar rocks turn a darker beige color, you will see them start to melt and liquify. This is the second step of making caramel using the dry method and it's very important to constantly move the sugar around in the pan as it melts so it doesn't burn.
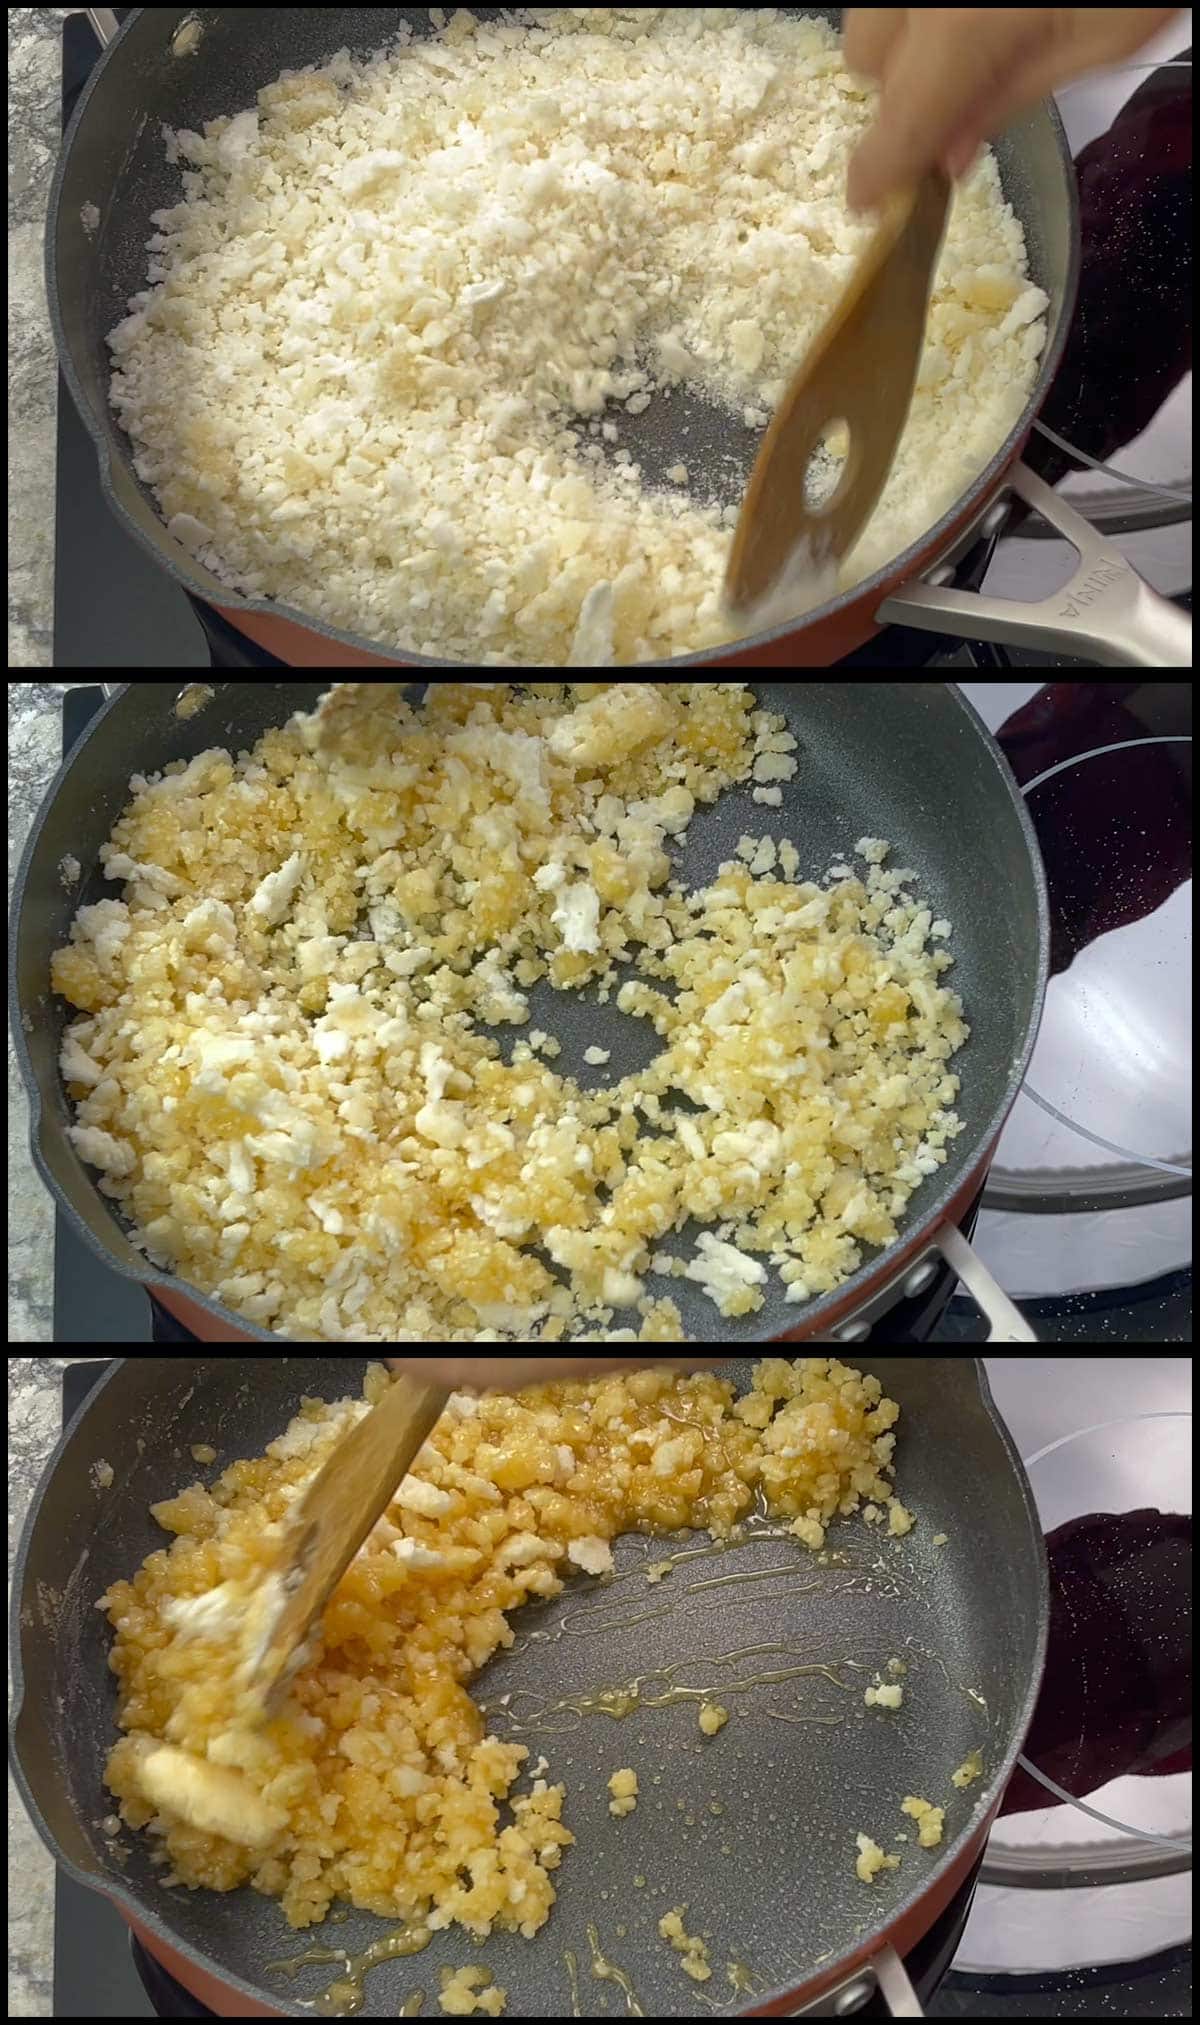
Once about 50% of the sugar rocks have melted, you should see the color deepening into a amber color. At this point, turn the heat down to medium and continue to stir constantly.
The sugar mixture will continue to darken to a beautiful caramel color as the sugar rocks completely melt.
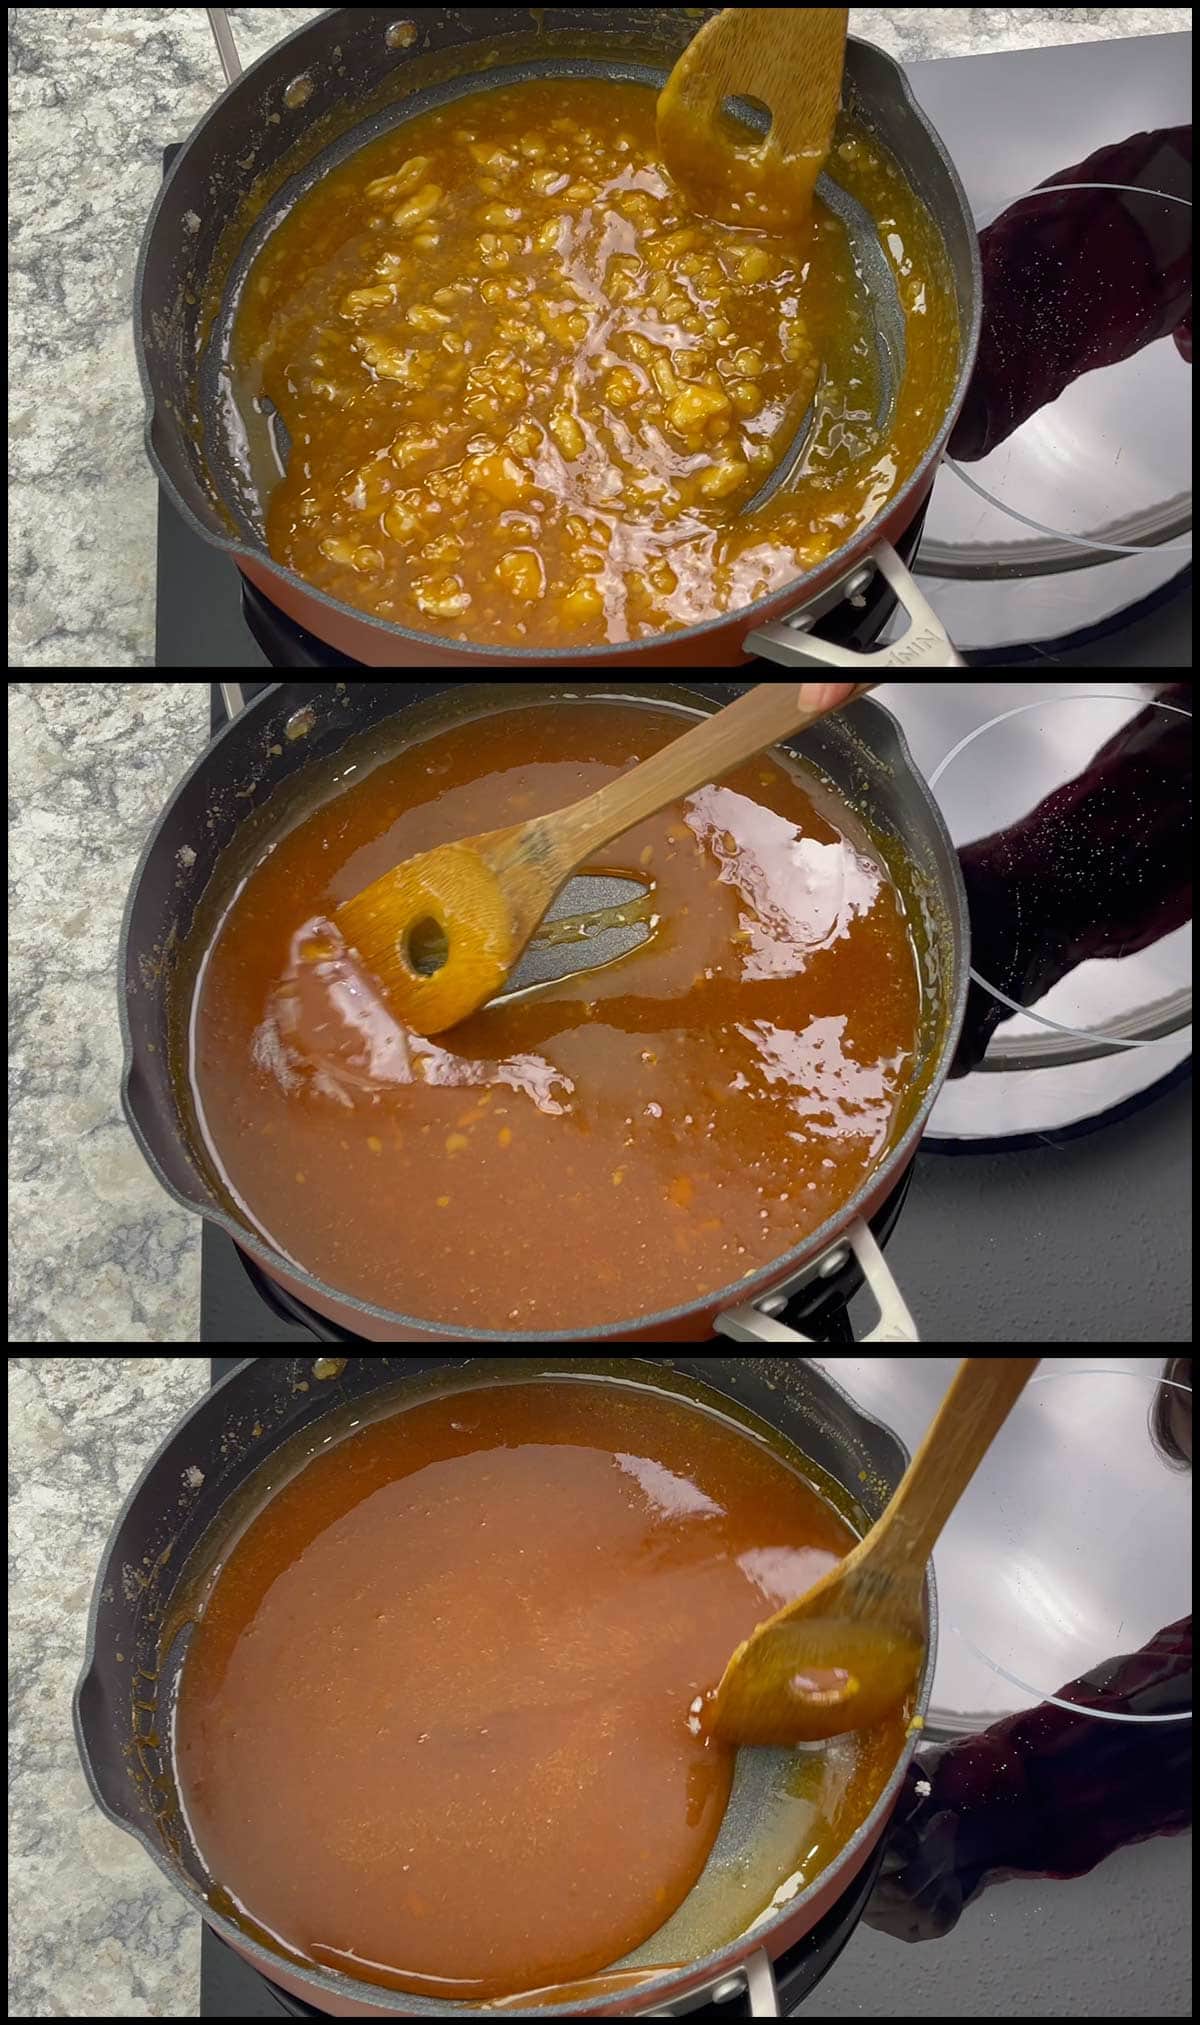
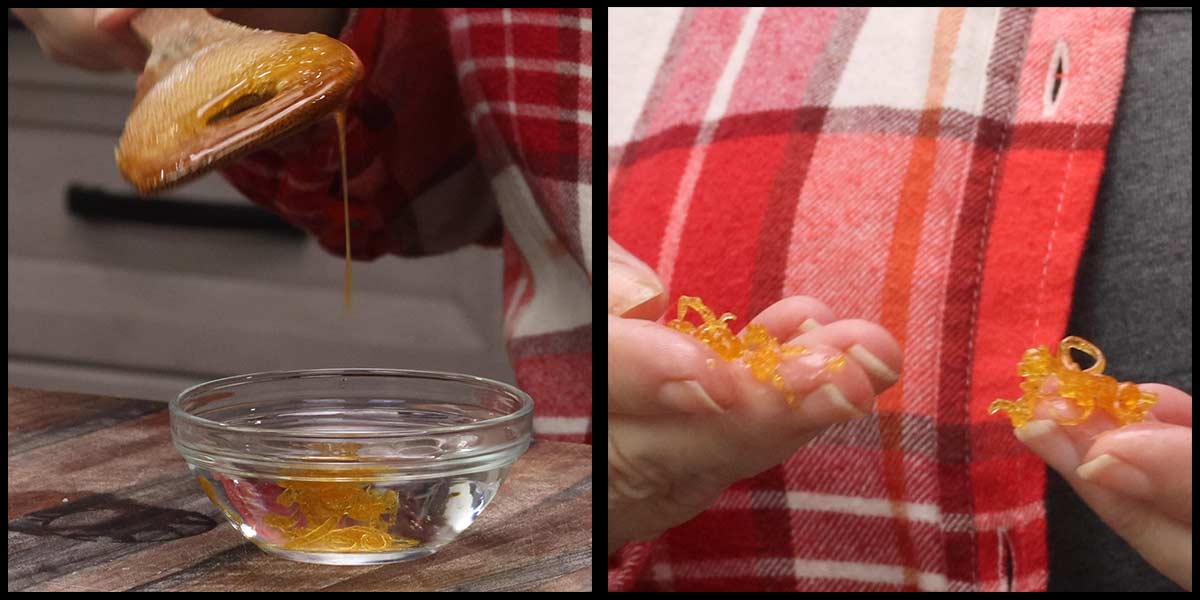
With the caramel still over medium or medium low heat, drop some of the sugar mixture into a bowl of cold water and, if it immediately sets up into a hard brittle candy, it's ready for the next step. If it doesn't, continue to cook another few minutes and do the water test again.
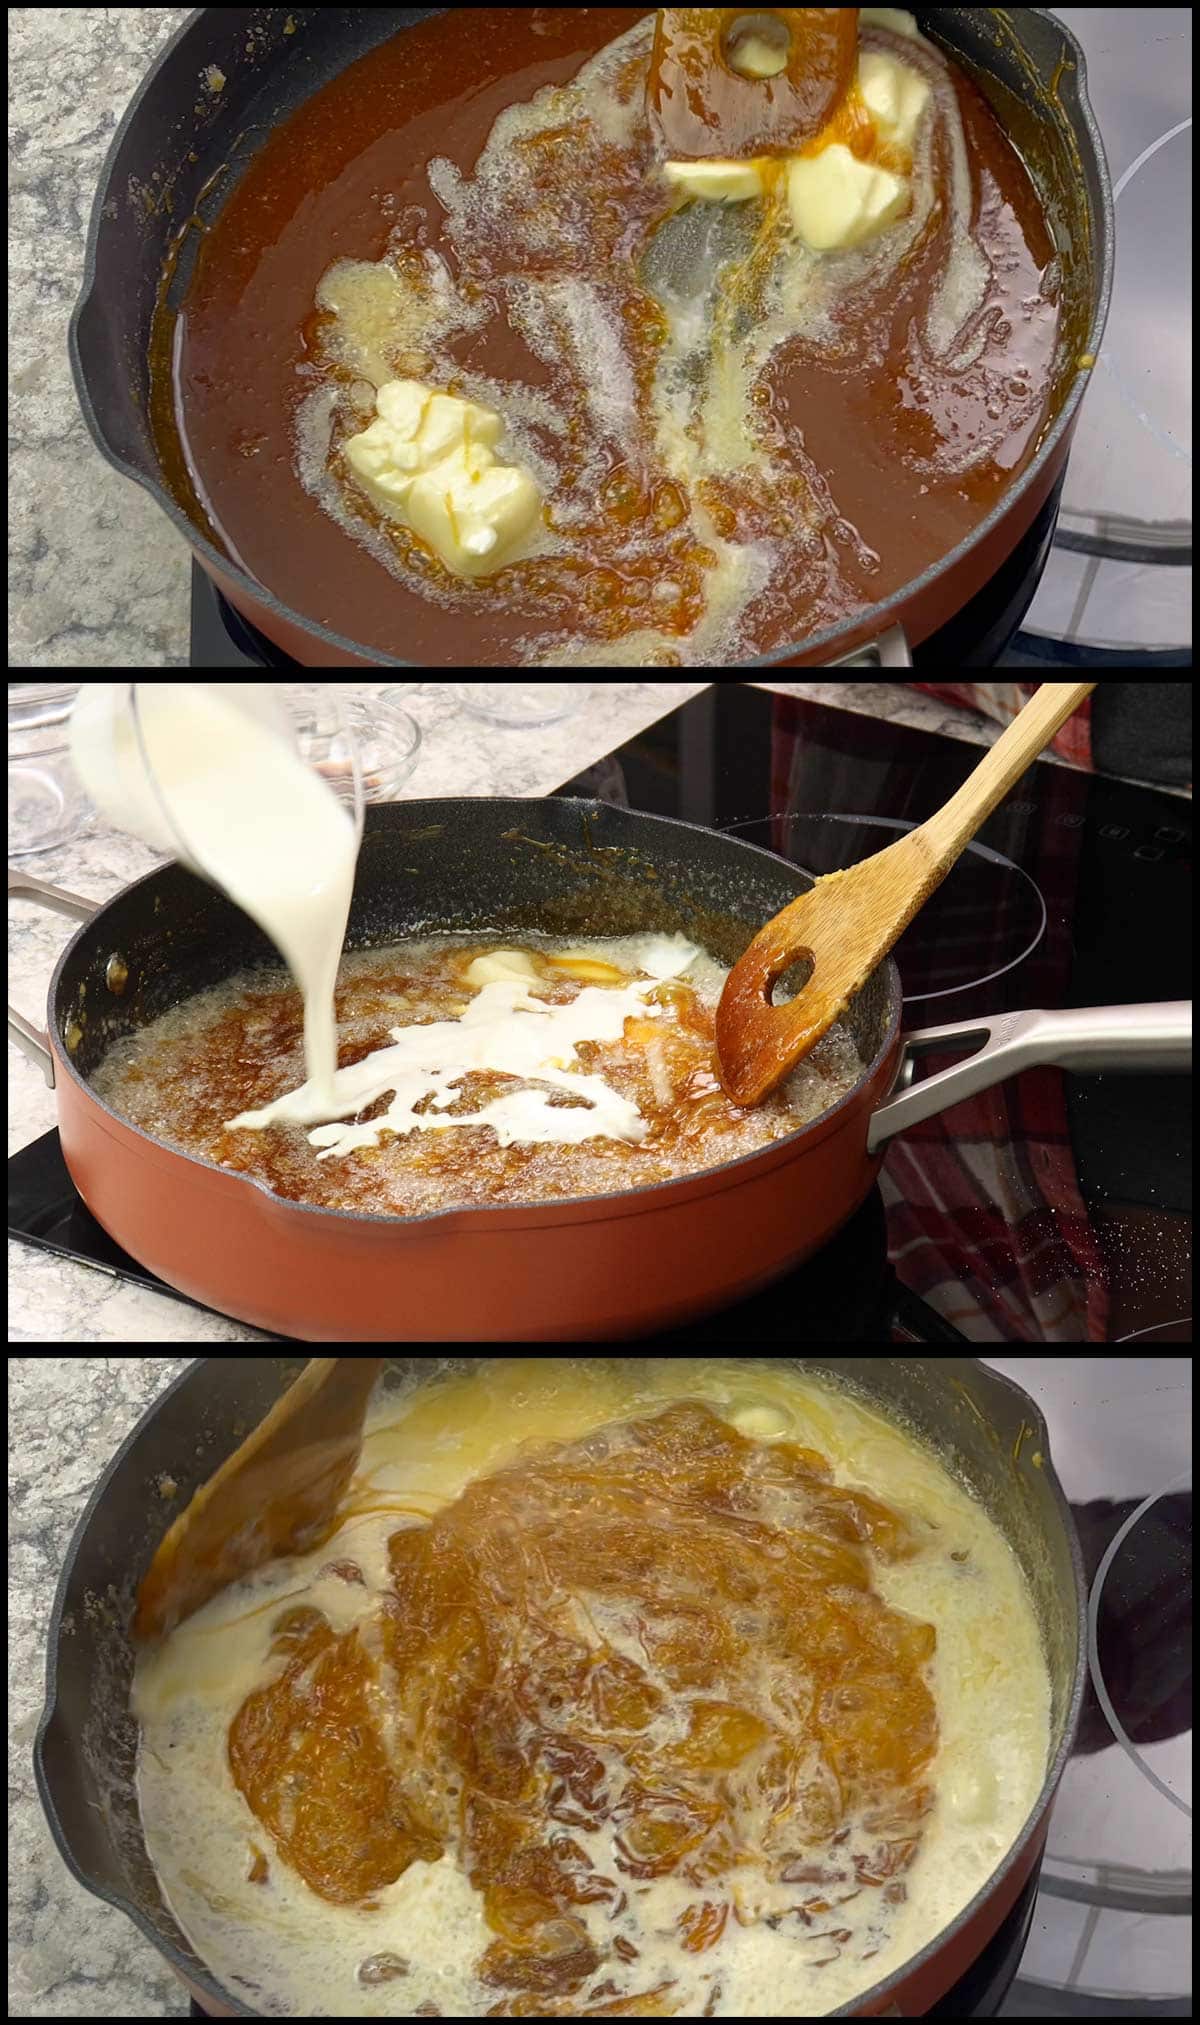
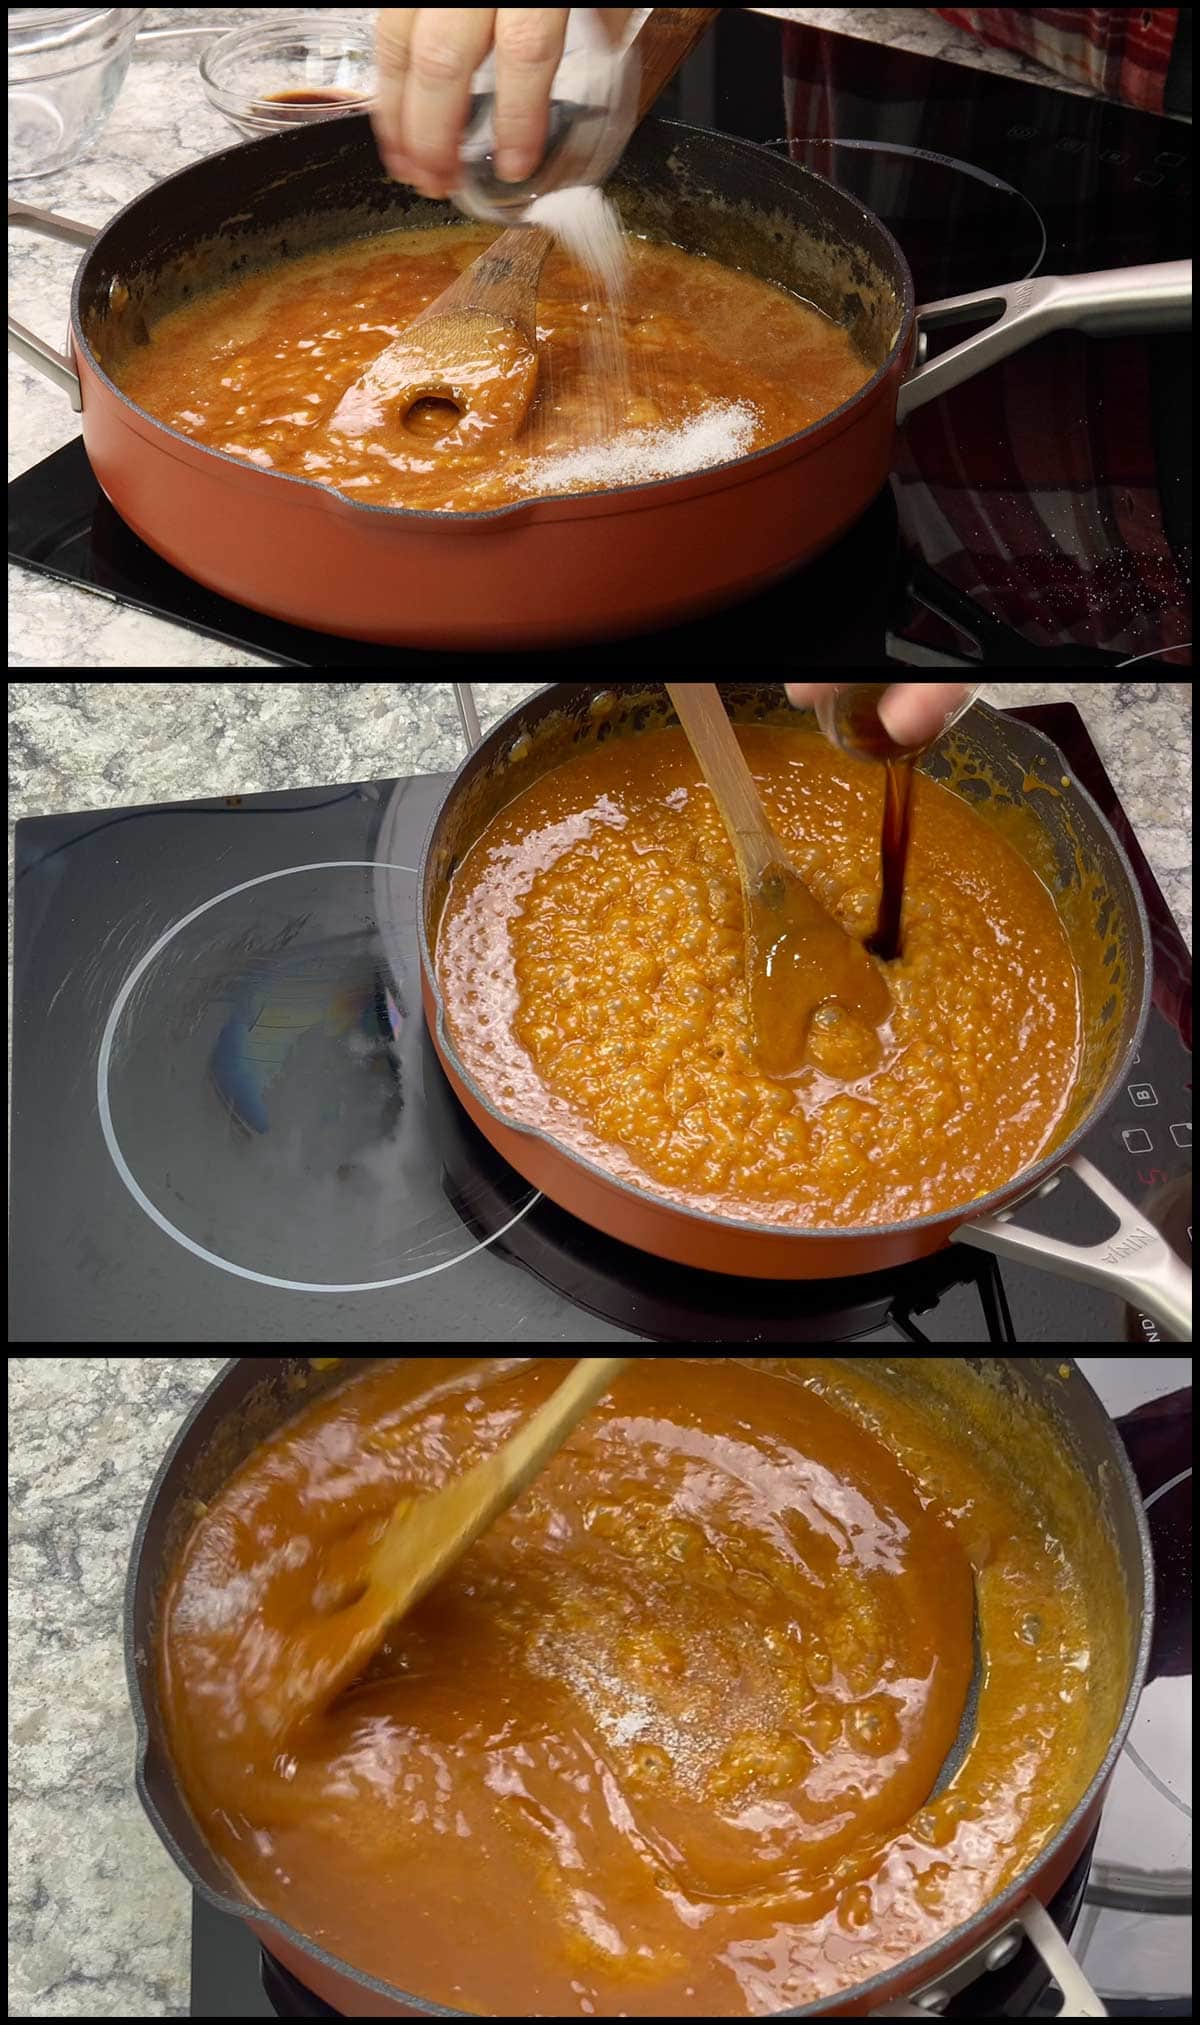
Add in all of the room temperature butter at once and stir to combine. The butter should incorporate with the caramel fairly easily and you want your pan over the heat during this process.
The mixture will bubble up during the addition of the butter, but will quickly settle down after it's stirred in.
Once the butter is incorporated, add the heavy cream and stir. It may take a little longer to incorporate the cream and it will bubble up at first, as well. Stir constantly until all the cream is incorporated and then remove the pan from the heat.
Add in the salt and vanilla and stir to incorporate. This is the final part of making the caramel and to see what your end texture will be, repeat the water test.
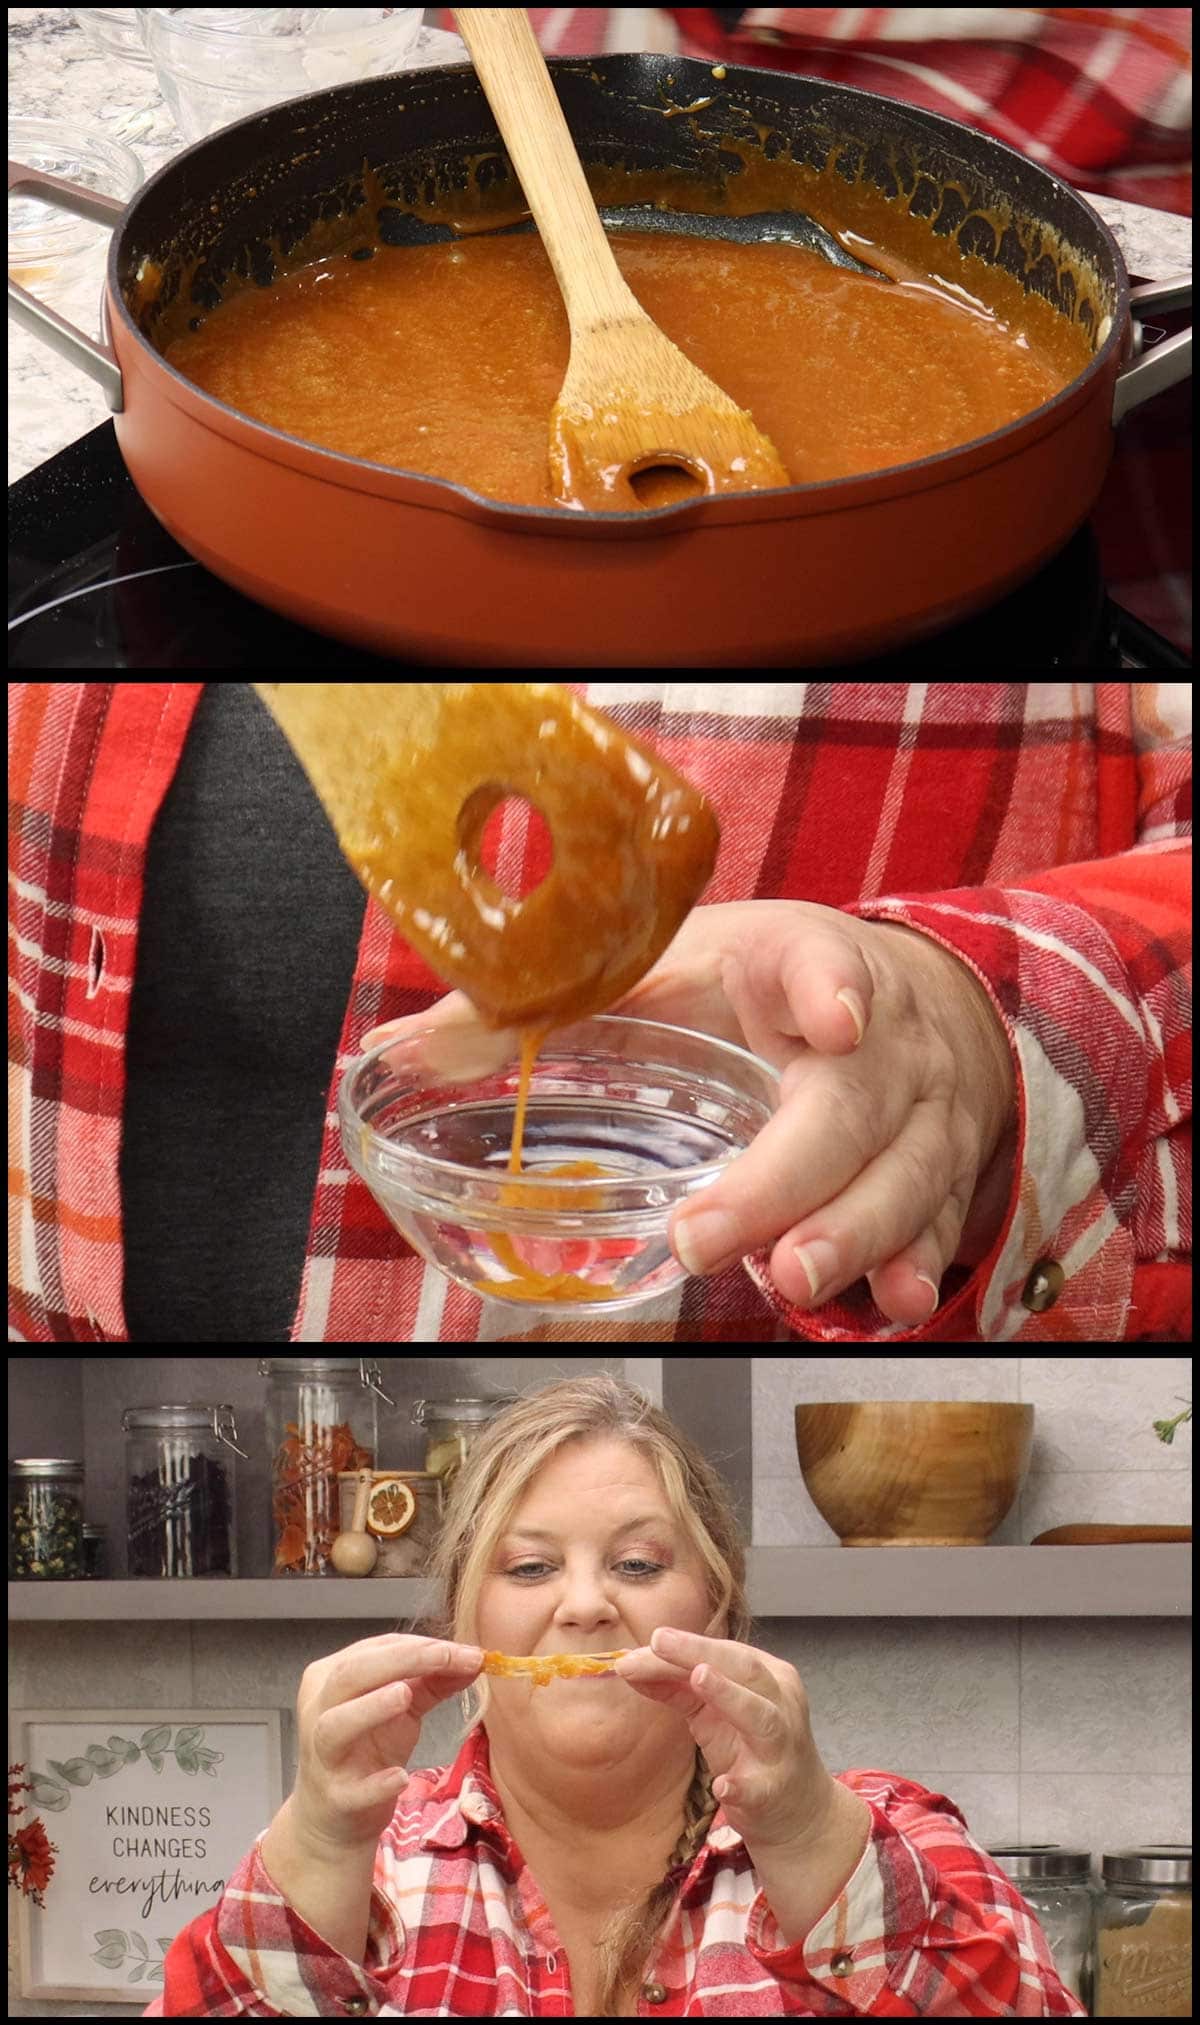
Drop a few drops of the finished caramel into a bowl of cold water and it should form a soft ball shape when it hits the bottom of the bowl. Remove the ball and see if it's the right texture for your caramel. It should stretch and be pliable, but not dissolve in your fingers.
If it isn't the texture you want, continue to cook the caramel for another few minutes over medium heat and repeat the water test.
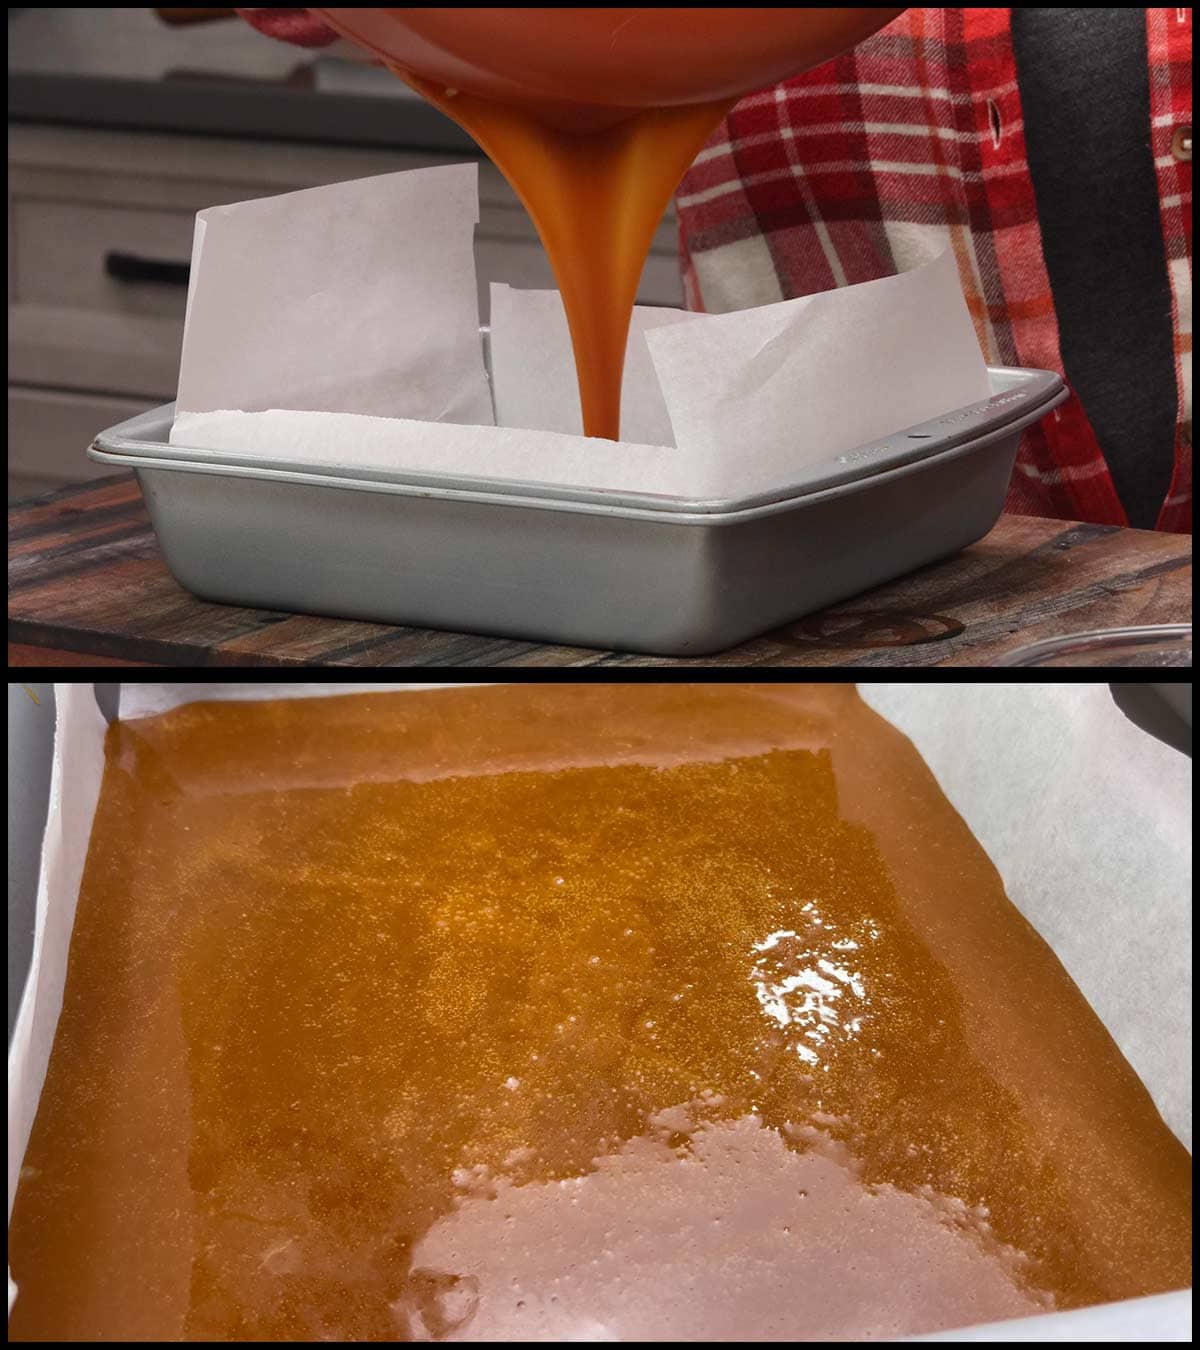
Pour the caramel mixture into your prepared pan and leave at room temperature uncovered for at least 90 minutes or until it sets up completely.
Cutting the Caramel Candy
When the caramel has set up, it should retain its shape, but still be slightly flexible.
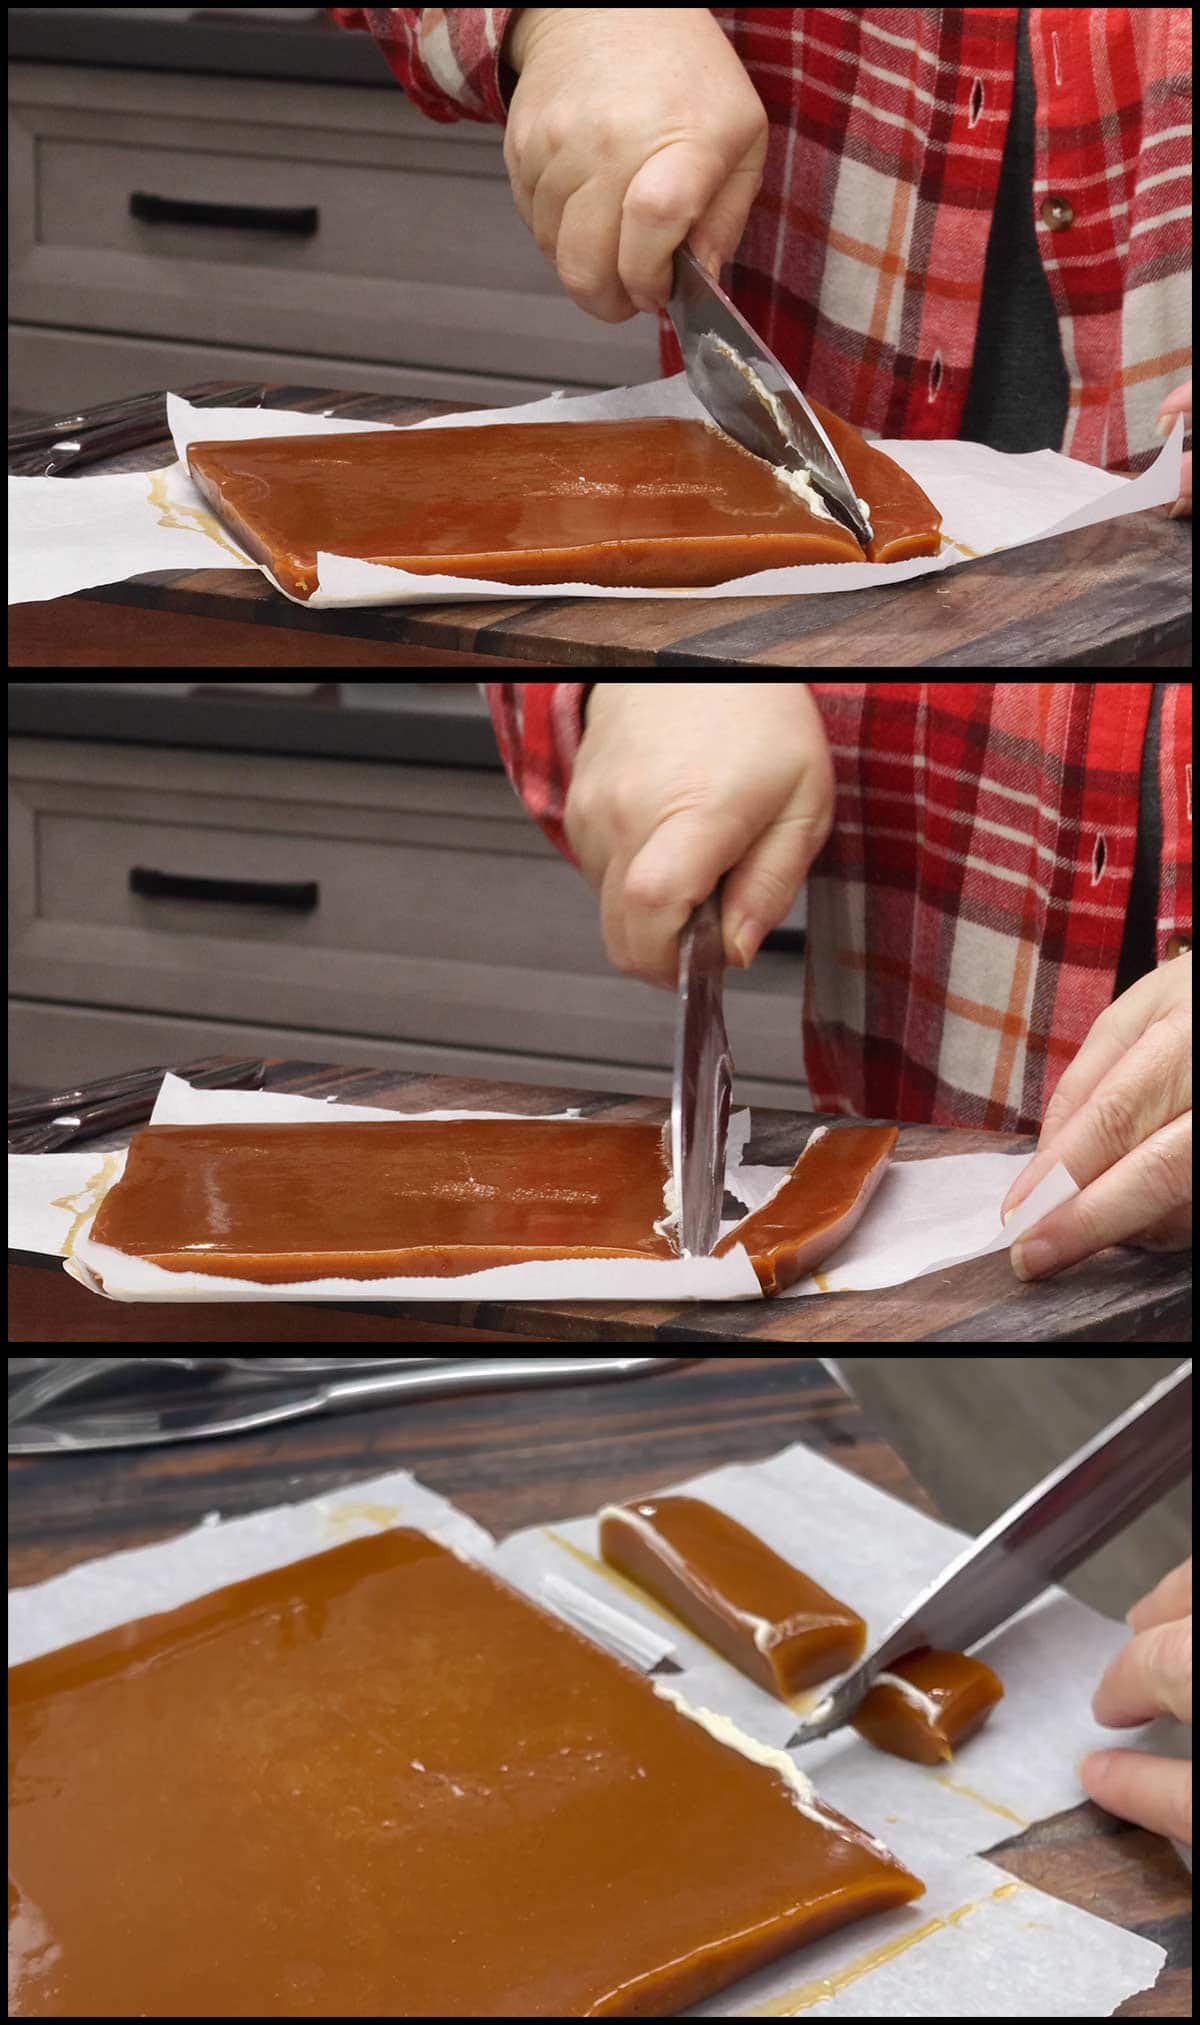
Remove the caramel with the parchment paper and set it on a flat cutting surface or cutting board.
Lightly butter a (affiliate link)long, sharp knife which helps with sticking.
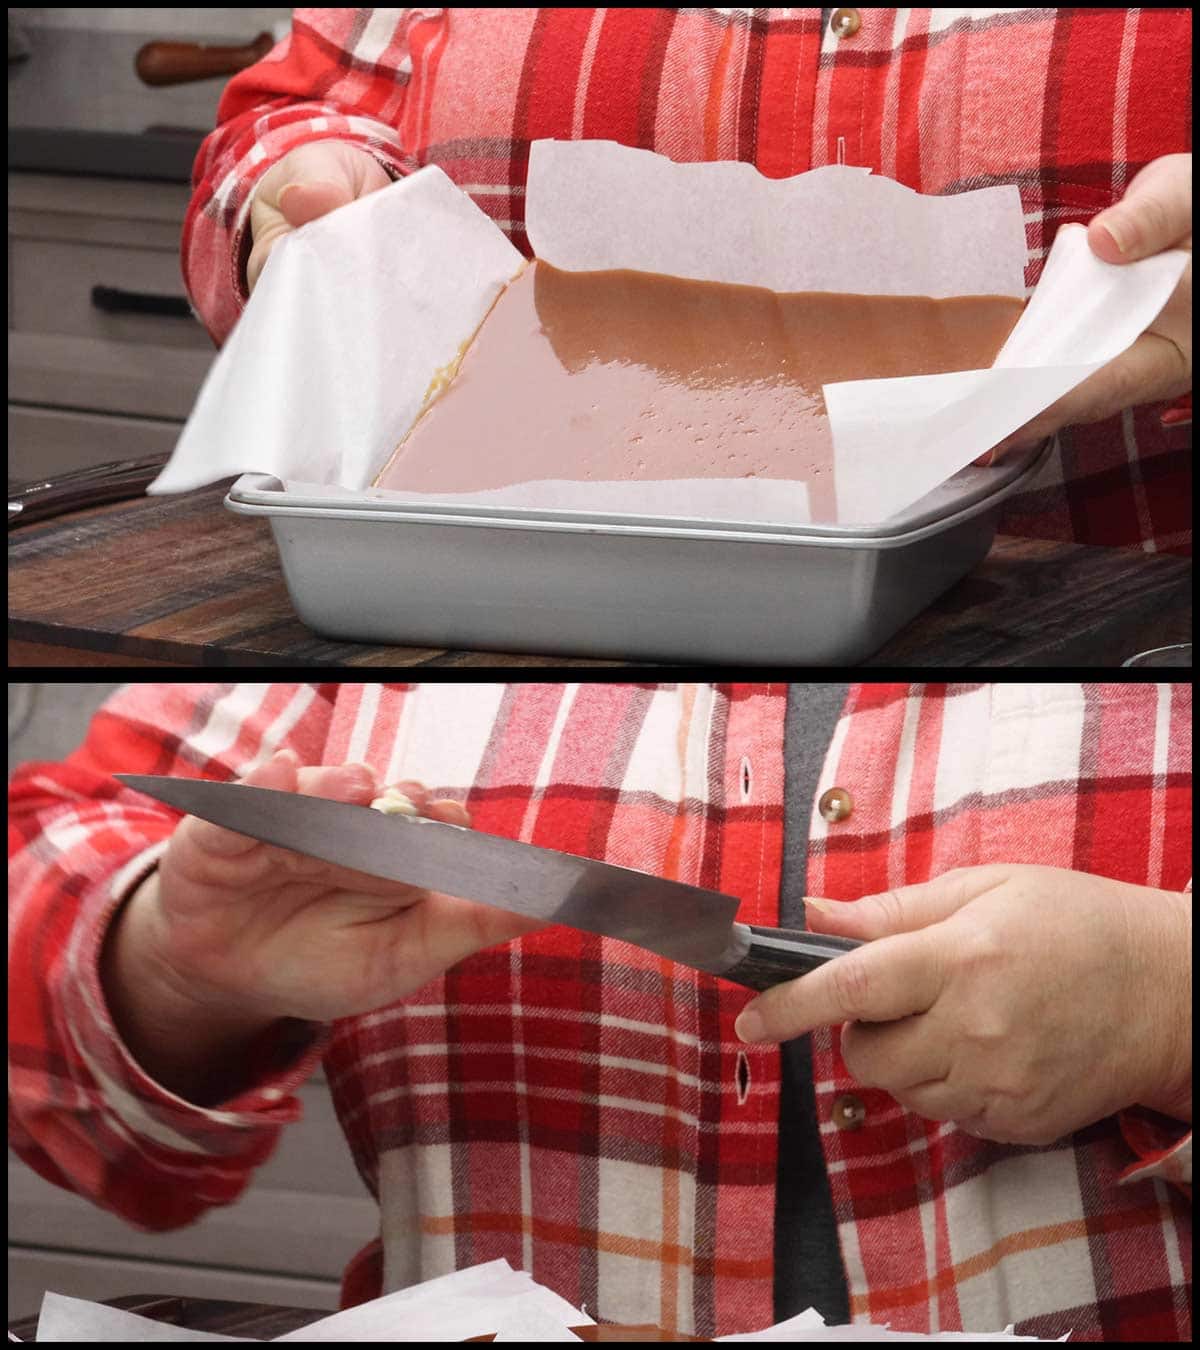
Cut long strips of caramel. The size of the strips will determine the size of your caramels. I try to get 8 strips and then cut each strip into 8 individual pieces for a total of 64 caramel candies that are about 1-inch squares.
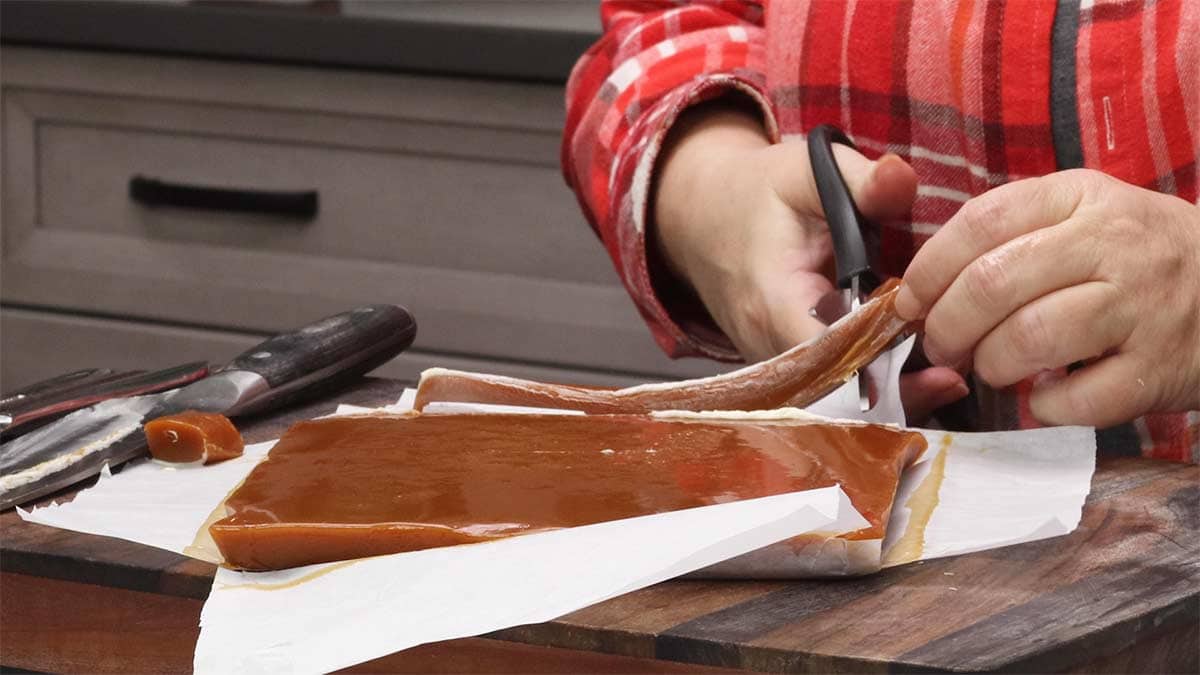
You can also use a clean pair of kitchen scissors if you prefer.
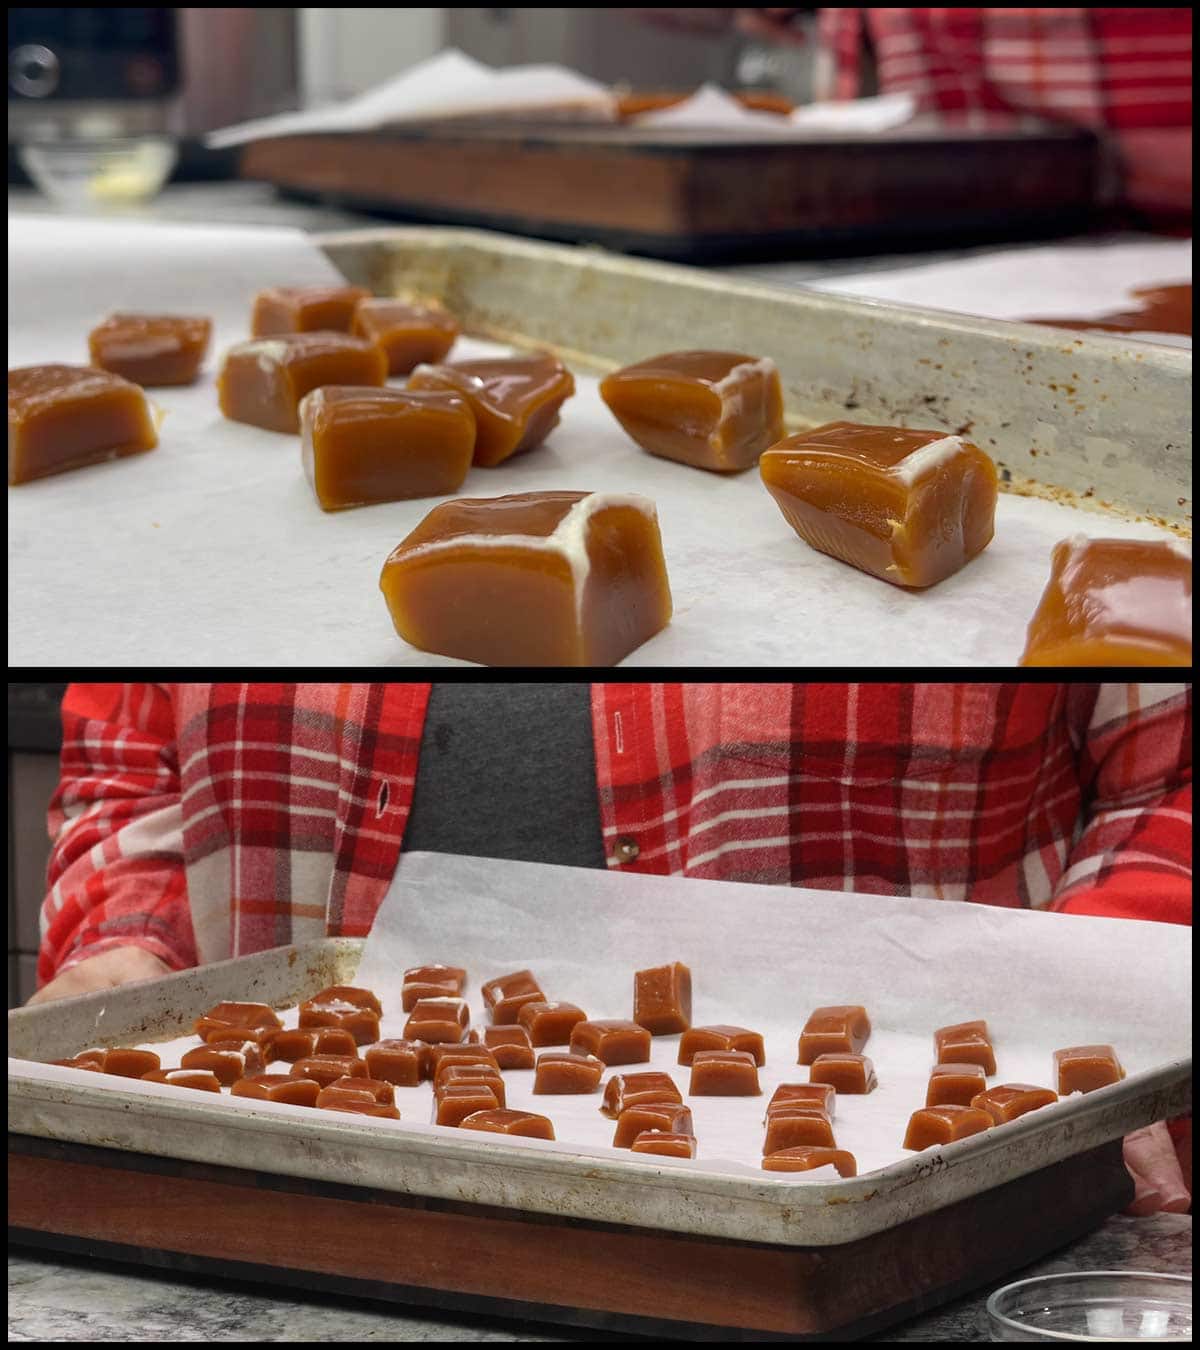
Place the caramels on a parchment lined baking sheet. You can either wrap them in small candy wrappers or squares of parchment paper or continue on to dipping them in chocolate.
Dipping the Caramel Candy in Chocolate
You can dip your caramel candy in any kind of chocolate you want and, while there are several ways to melt chocolate, I find using an indirect heat of a double boiler works best.
I use my Ninja Foodi Pressure Cooker and Air Crisper as my double boiler because I can select the Keep Warm function and hold my chocolate at the perfect temperature for dipping pretty much indefinitely.
If you want to see how I set this up, here is the article and recipe: Easy Dipping Chocolate
I also use a combination of dark chocolate chips and dark chocolate melting wafers for my dipping chocolate. I find this combination works beautifully and creates a shiny candy that sets up with a hard chocolate shell.
Once the chocolate is melted, pick one of the caramel pieces up with a fork or chocolate dipping tool and dip it into the melted chocolate. Don't leave it in the chocolate too long or the caramel will soften.
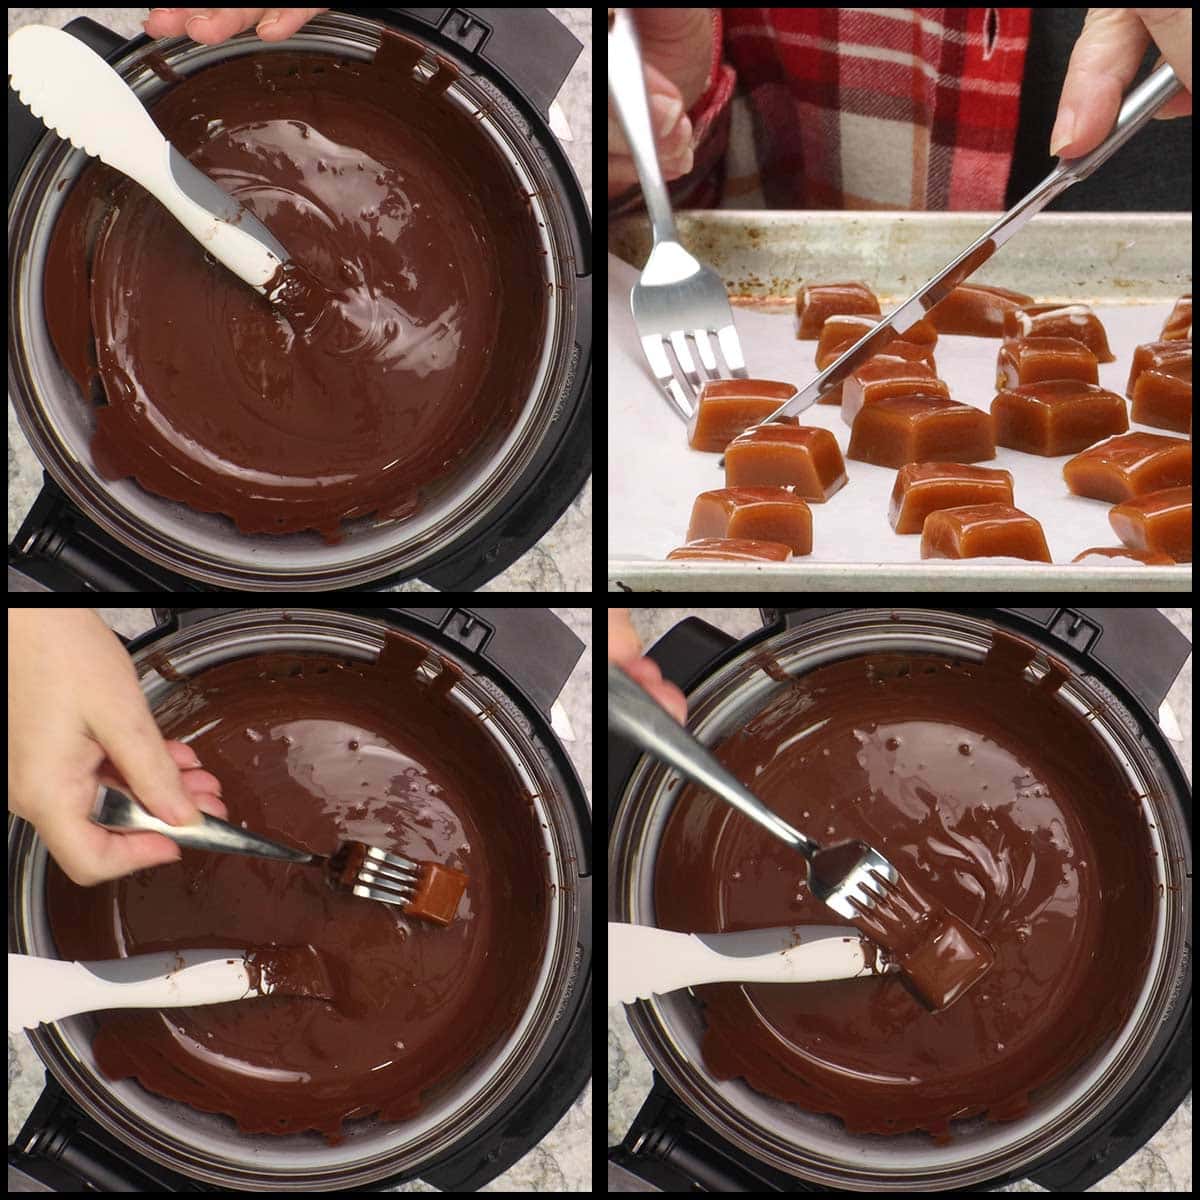
Remove the caramel from the chocolate and let the excess chocolate drip off. Place the coated caramel on a parchment lined tray. Top with some coarse or flaky sea salt, if desired.
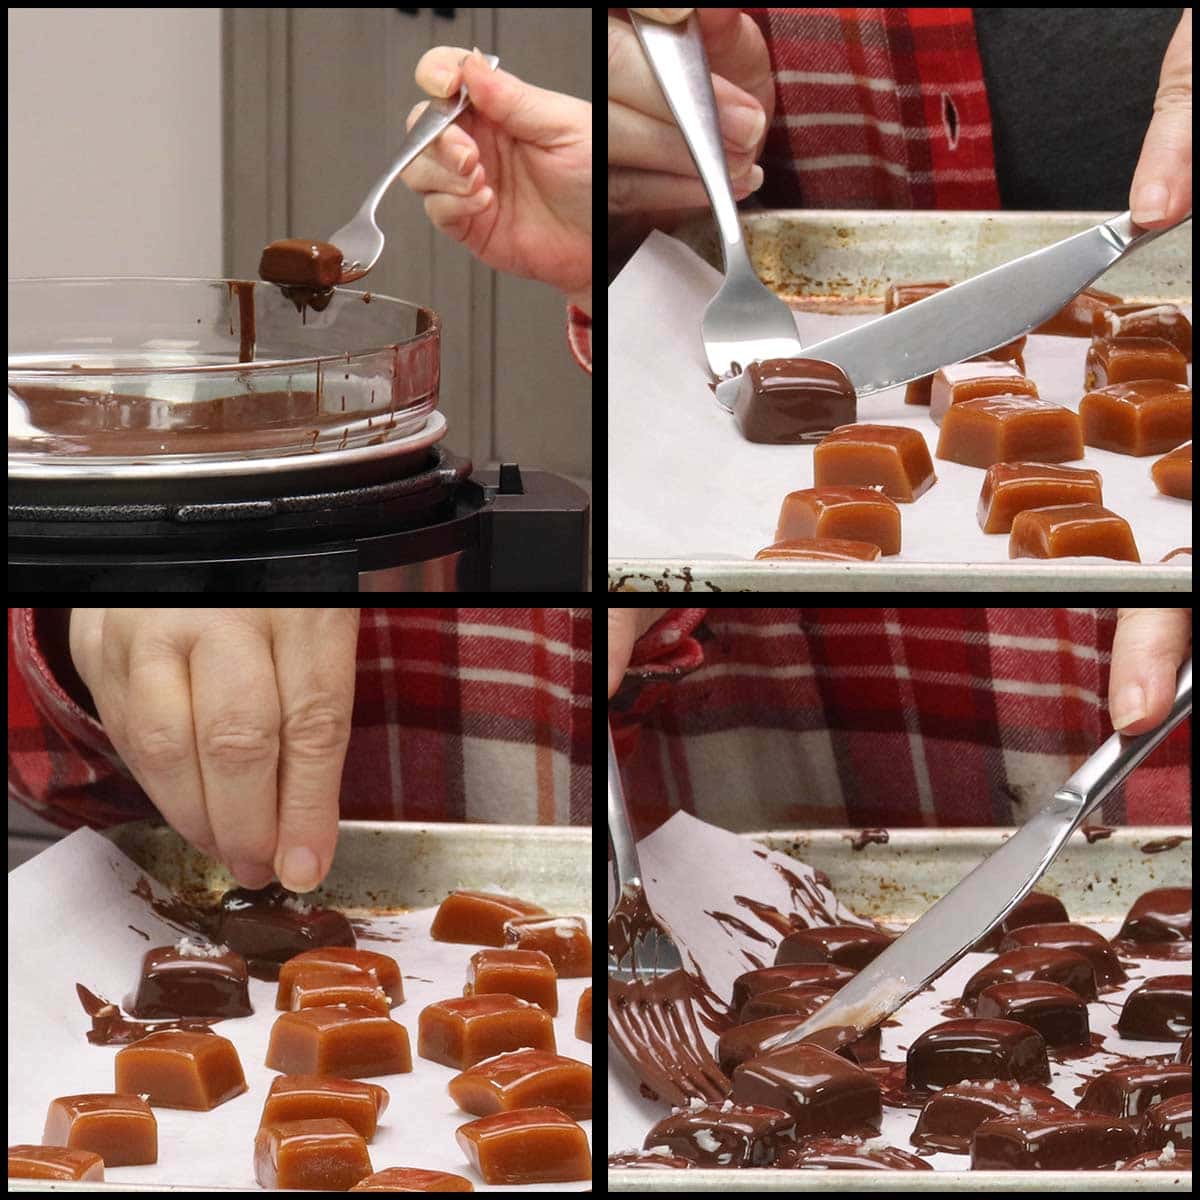
Repeat for the remaining caramel candies. Allow the chocolate covered caramels to sit on the parchment lined tray at room temperature in a cool dry place for 30-60 minutes or until the chocolate hardens.
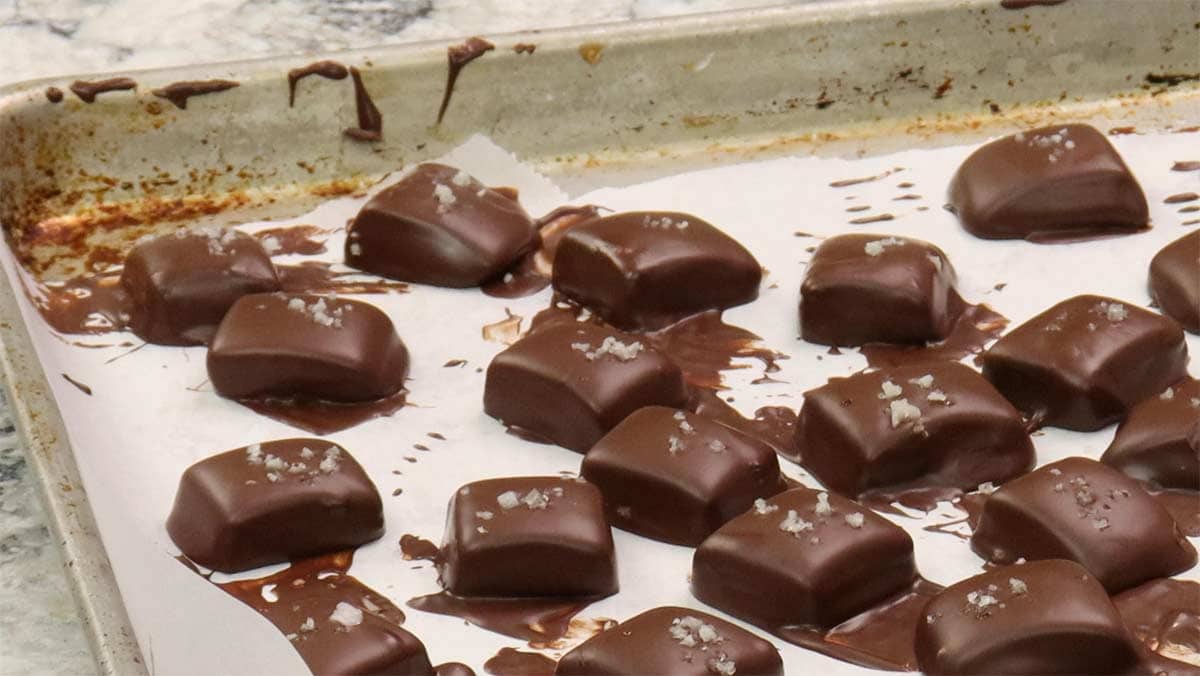
Make sure that the caramels are completely covered in chocolate, if you can see any caramel peeking through, try to cover it with some more chocolate so the caramel can't absorb moisture and cause it to leak out of the chocolate.
You can break off the excess chocolate from the edges of the caramel with your fingers or a butter knife.
Serve & Enjoy your homemade chewy caramels.
Tips For Making Caramel
- Make the Caramel on a dry day.
- Use a wooden or high heat resistant silicone spoon to stir the caramel.
- Have all of your ingredients ready to go before you start cooking.
- Stay right with the caramel, things move fast once they get going.
- Have some sort of hand/arm protection when pouring caramel, it's hot and it can burn you if it gets on your skin.
- Do not let children handle hot caramel.
- Adjust the heat on your stove based on how the sugar is looking and melting because every stove is different.
- Don't cut your caramels until you are ready to dip them or wrap them in candy wrappers
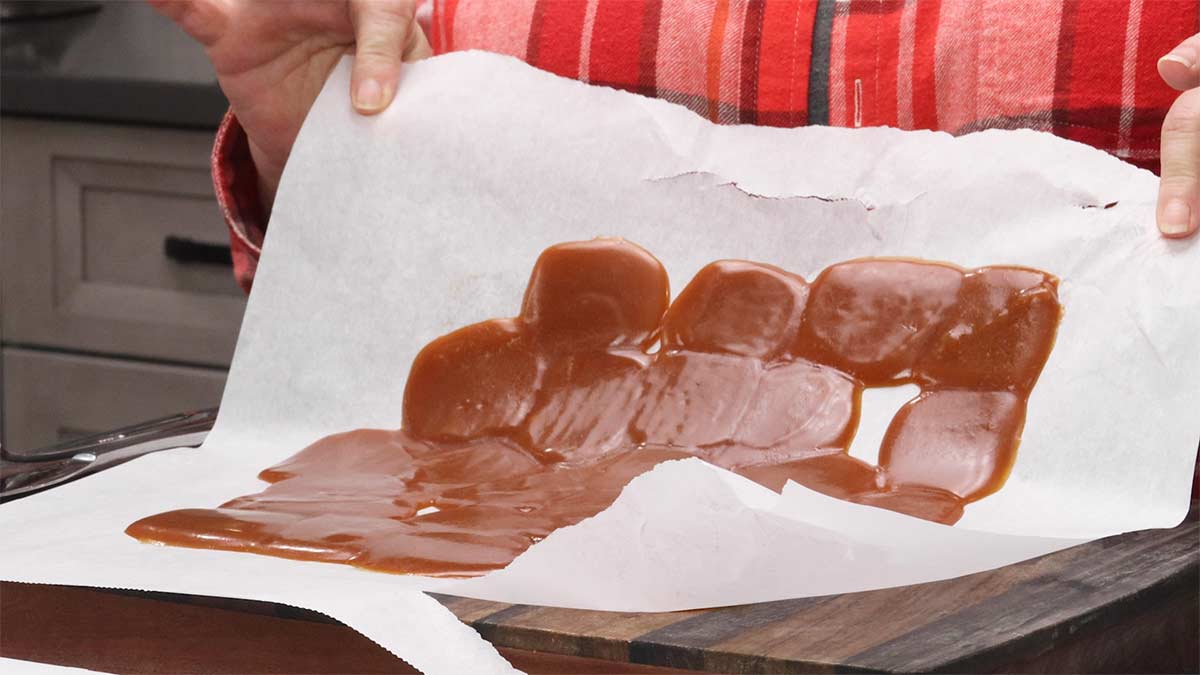
I cut my caramels on a humid day and placed on the a parchment covered tray and the next day this is what I found. The caramel is still perfectly good, but not in the shape I wanted for dipping.
If something like this happens to you, warm the caramel back up in a pan on the stove until it is liquid enough to pour and pour it back into your 8x8 parchment lined pan and let it set up again. It should work out just fine, but the caramel may be a little chewier.
Frequently Asked Questions
As long as they are stored correctly, the chocolate covered caramel candies will last at least 6 months at room temperature.
I don't recommend doubling caramel recipes because the amount of the ingredients, especially the sugar, is relative to how fast it cooks to achieve the caramel color and flavor. Increasing the amount of the sugar can alter this and change the outcome.
If you wanted to make ½ batch of homemade caramel, you would want to use a smaller pan, 4x4 is an ideal size, and you will also want to use a sauté pan or small pot that is about 6" in diameter so the depth of the sugar remains about the same as a full batch. This will keep the sugar melting at the correct rate to achieve the desired caramel.
Caramel-Inspired Recipes
If you love caramel like I do, you will also want to check out these amazing recipes! Each one is a little different, but all have that caramel flavor.
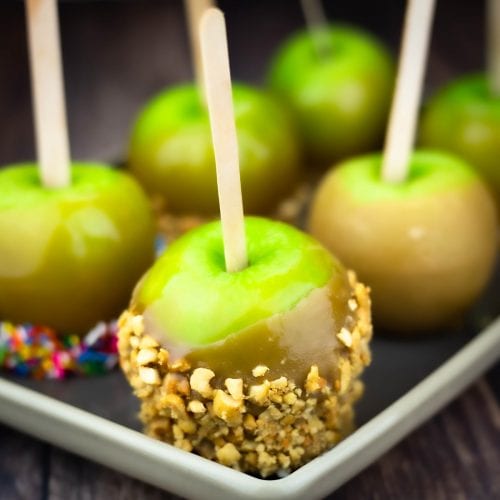
- Homemade Caramel Apples
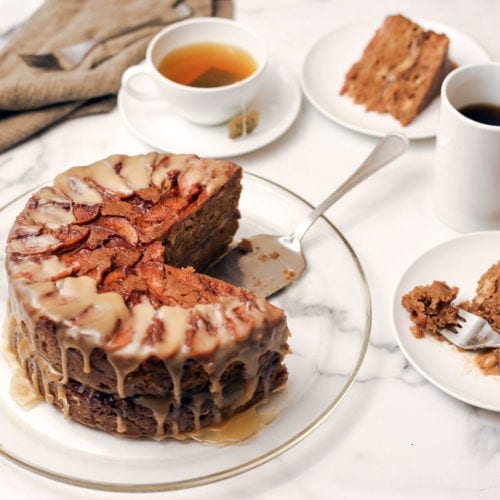
- Ninja Foodi Apple Cake with Caramel Glaze
- Caramel Popcorn in the Ninja Foodi
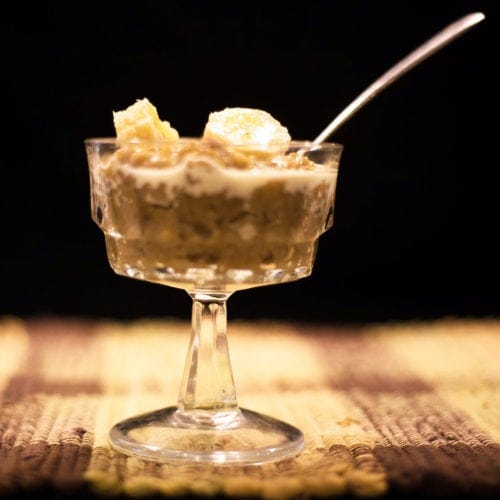
- Banana & Caramel Steel-Cut Oats in the Ninja Foodi
- Turtle Cheesecake Recipe in the Ninja Foodi
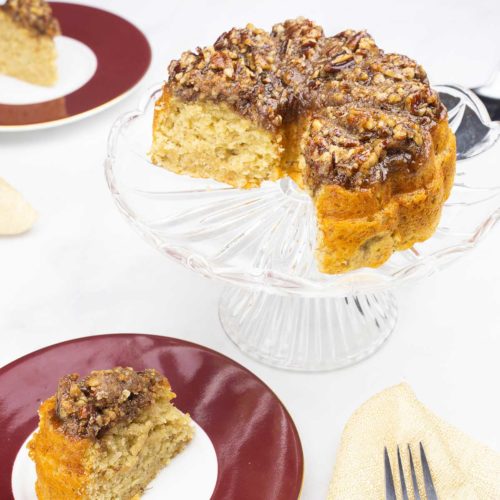
- Homemade Banana Bread with Praline Topping in the Ninja Foodi
- Peanut Brittle in the Ninja Foodi
- Homemade Toffee ~ Ninja Foodi/Instant Pot/Stovetop
Chocolate Covered Caramel Candy
Ingredients
For the Caramel Candy
- 3 cups white sugar
- ½ cup salted butter room temperature
- 1 Tablespoon vanilla Extract
- ½ teaspoon fine grind sea salt
- ½ cup heavy whipping cream
Chocolate Dipping Sauce
- ½ recipe Chocolate Dipping Sauce (see notes below) optional
- course salt for topping caramels optional
Instructions
Making Caramel using the Dry Method
- Fill a small bowl with ice cold water. Measure out all of your ingredients and make sure your sauté pan is completely dry. Cube up the room temperature butter into Tablespoon size pieces. Leave the cream out of the refrigerator for about 30 minutes.
- Add the sugar to a very dry sauté pan that is ideally about 10" in diameter. A smaller pan will work, but you will have to stir longer and it will take longer for the sugar to turn into caramel.
- Turn the heat on medium high. Stir (with a wooden spoon or high heat spatula) the sugar frequently and as it heats up, you will start to see "sugar rocks" forming. This is the first step in making the caramel. Every stove is different, so adjust your heat down if the sugar starts to turn golden before it has a chance to form the "rocks."
- Continue to stir and pull the granulated sugar to the center of the pan until almost all of the sugar has formed into "rocks" and starts to turn a light golden color.
- Stir constantly once the "sugar rocks" start to melt and darken in color and reduce your heat to medium. Once all the sugar has liquified and turned an amber color, the first part of making caramel candy is done. To check this, drop some of the hot liquid sugar into a bowl of cold water and if it sets up hard and brittle, you have reached the correct temperature.
- Add in the cubed butter and stir to combine. Add in the heavy whipping cream and stir. The mixture will bubble with each of these additions. It may take a little bit of stirring to combine the cream, but it will come together. Remove the pan from the heat and add in the salt and vanilla, stir until the bubbling up subsides.
- To test the consistency of the caramel, drop a little bit into cold water. It should form a soft ball on the bottom of the bowl and when you lift it out, it should be stretchy and soft. If it doesn't hold it's shape when dropped into cold water, put it back on the stove and cook over medium heat, repeating the cold water test every few minutes until you reach the desired consistency for your caramel.
- Pour the caramel into your prepared 8x8 pan and allow it to sit at room temperature until it has completely set. This usually takes about 90 minutes. You can leave the caramel in the pan for several days before cutting it. Do not refrigerate the caramel or it can absorb too much moisture and disolve.
Cutting the Caramel
- Once the caramel is completely set, it should be slightly flexible, but not too soft, it's time to cut it into squares.
- I like to apply some butter to the knife to prevent it from sticking to the caramel. Remove the caramel from the pan, leaving it on the parchment paper and place it on a cutting board or other flat surface that can be cut on.
- Cut one-inch strips of the caramel and then cut each strip into 1" squares. Depending on how you cut the caramel, you will end up with about 64 pieces.
Dipping in Chocolate
- Melt the chocolate over a double boiler or in the microwave or use my technique for melting chocolate: Easy Dipping Chocolate
- Dip each piece of caramel into the chocolate using a fork and then push the dipped caramel off onto a parchment lined tray using a butter knife. Top with coarse sea salt if desired. Repeat for all the caramel candies and let them sit at room temperature to set up.
- Once the chocolate has set and formed a hard outer coating, make sure each one is completely covered in chocolate and if you see any caramel peeking through, dip it again in the chocolate. This will prevent the caramel from absorbing any moisture and leaking out of the candy.
Storage
- The best place to store your chocolate covered caramel is in a single layer in an airtight container and left at room temperature in a cool dry place. You can also freeze it, but when thawing it, leave it in the airtight container until completely thawed to avoid moisture condensation from forming.
Notes
- For chewy caramel that is slightly hard at first and then softens as you chew it use 6 Tablespoons of heavy cream.
- For slightly chewy caramel that has a soft texture use 8 Tablespoons of cream, which is what this recipe calls for.
- For a caramel sauce that will pour, but set up as a soft caramel with very little chew, use 9 Tablespoons of cream.
- For a caramel sauce that will pour and not set up, use 10-12 Tablespoons of cream.
Nutrition
ABOUT THE RECIPE AUTHOR, LOUISE LONG
Louise is a full-time recipe creator and food blogger @ The Salted Pepper. She has over 30 years of experience with cooking and recipe development. She owned a restaurant for several years and was a full-time RN until retiring to blog full-time.

She published her first cookbook in the Fall of 2018 and is very interested in writing several more.
Louise is also the creator of an online Ninja Foodi Pressure Cooking Course with over 100 instructional step-by-step videos. People absolutely rave about the course and all the value they have received from it.
Louise has several very active Facebook groups that help people with the basics of cooking and getting the most out of the Ninja Foodi.
Louise is also a YouTube creator and you can find most of her recipes in video format on The Salted Pepper YouTube channel.
She is very responsive to messages and eager to help in any way she can. Get more Information about Louise & contact information
I WOULD LOVE TO SEE WHAT YOU ARE COOKING UP IN YOUR KITCHEN! TAG ME @THESALTEDPEPPER ON YOUR FAVORITE SOCIAL MEDIA PLATFORM WHEN YOU MAKE A DISH!
BE SURE TO FOLLOW THE SALTED PEPPER RIGHT HERE ⇓⇓⇓⇓⇓




Andrea
This recipe is GREAT! I have been looking for a long time for a recipe for caramel candies that uses the dry heat method (because it never crystalizes!) and my quest has ended. The caramels came out beautifully. I used 7 tablespoons of cream, I think next time I will use the full 1/2 C. Thank you, thank you, thank you!
Louise
I'm so glad you enjoyed it!
ANDREA
Hi Louise!
I made this recipe, dipped them in tempered chocolate with some vanilla salt on top and they we out-of-this-world!! I wanted to make Pretzels rods dipped in caramel then chocolate and sprinkled with nuts! Is this recipe with the 8Tlbs of cream the right amount to get the consistency I need? Thanks so much! You are so much fun to watch!!!
Louise
That is the consistency I would go for, maybe even 8½ Tablespoons just so it is a tad sofer but still sets up nicely. I would make sure the caramel is fully set before dipping in chocolate, maybe even pop them in the fridge or freezer for a short time. They sound amazing and please let me know how they worked out for you!