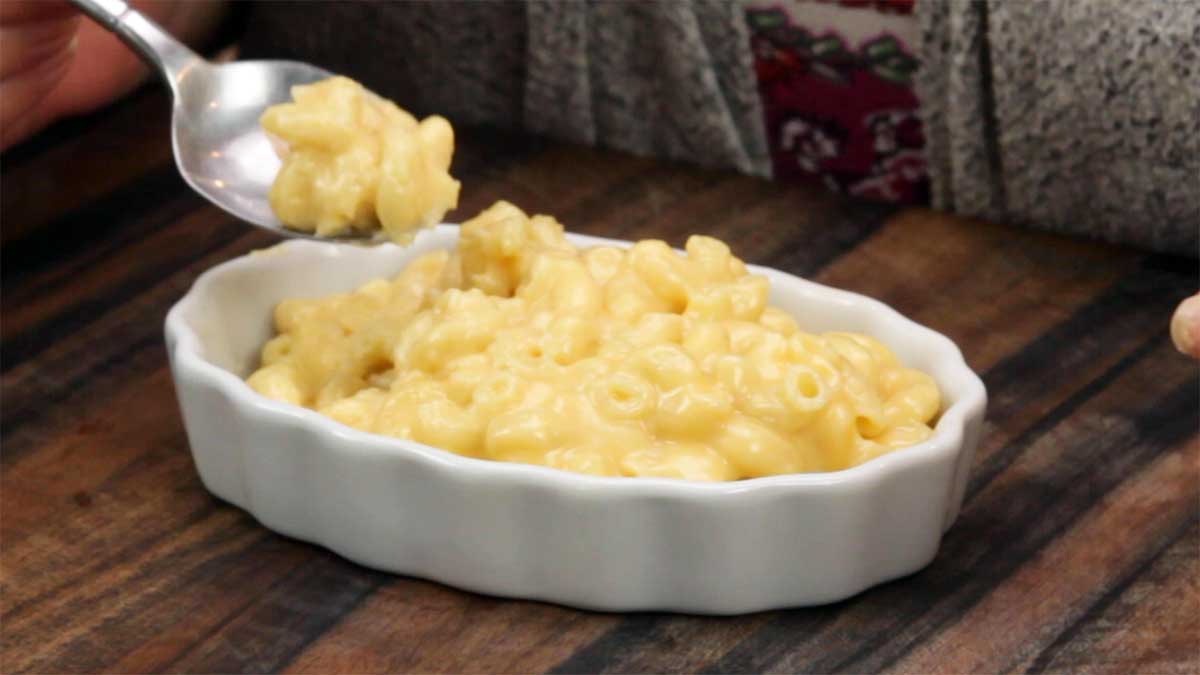
When you want a quick, easy, delicious Mac & Cheese without using Velveeta, this is it! Ninja Foodi Mac & Cheese is ready in just under 20 minutes and all done in one pot!
Would you like to save this recipe?
I'm not knocking Velveeta, I happen to love it... but, it is processed food and I try very hard to stay away from heavily processed food. Velveeta can't even be called cheese; legally, it's a Pasteurized Prepared Cheese Product.
This post may contain affiliate links. If you make a purchase after clicking a link, I may earn a small commission. As an Amazon Associate, I earn from qualifying purchases.
I'll never forget a conversation with my Mom years ago. She said, "Louise, please stop using Velveeta. It isn't good for you." That kind of stuck with me, but I didn't stop using it right away. It took me a few more years to finally break the habit.
Why?
Because nothing melts like Velveeta! It's creamy and makes the best mac and cheese or queso dip. It's simply hard to find an easy substitute. Finally, I just stopped buying it and, therefore, stopped using it.
I played around with several recipes for mac and cheese without using Velveeta and they were never creamy enough, or they were too dry. Forget about reheating them, they were clumpy and not appetizing.
Of course, I knew I could create a cheese sauce using a roux, but what a pain. I wanted a recipe that could be cooked in one pot in a matter of minutes.
So, I played around with a few ideas and this Ninja Foodi Mac & Cheese recipe was born! It's so good and the kids are going to love it!
What is the Best Pasta Choice for Mac & Cheese?
Traditional pasta choice is elbow macaroni, but you can get creative or simply use what you have on hand.
The most important thing to keep in mind is cook time. You will need to adjust your time according the pasta you are using.
Penne, for example, takes a little longer to cook, so I'd increase the time to 4 minutes of pressure cook.
You can use whatever shape of pasta you like, just adjust the time accordingly. If you are not sure how long a certain pasta takes, you can use these suggestions as a guide.
- Penne Pasta: 6 minutes high pressure with a 2 minute NR.
- Bowtie Pasta: 4 minutes high pressure with a 3 minute NR.
- Cavatappi Pasta: 8 minutes high pressure with a 2 minute NR.
- Small Shells: 3 minutes high pressure with a 2 minute NR.
* These are only suggested times. For softer pasta, either increase the PC time by 1 minute or increase the NR by 2 minutes. (NR= Natural Release)
What Cheeses are Best for Mac & Cheese?
There really isn't a right or wrong answer here. Use the type of cheese that you like the best.
Certain cheeses are creamier and melt better than others, but because we use a roux to make a cheese sauce, you will have good results with almost any cheese.
I like the combination of white and yellow cheddar and usually use a mild and a sharp, but that is simply my preference. If you are making this for kids, I would probably stick with all mild or a combination of mild cheddar and monterey jack.
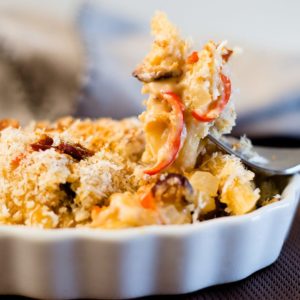
You can also get creative and experiment with different cheeses. I happen to love smoked gouda in mac and cheese! If you want to try a fancier mac and cheese recipe that uses smoked gouda, this recipe for creamy mac & cheese is so delicious. The flavors in this mac and cheese are unbelievably good. Don't let the figs fool you... try it, you will be pleasantly surprised.
Another version of Ninja Foodi Mac & Cheese is this recipe for Bacon Mac & Cheese. Oh, my goodness, this recipe is good!
The inspiration was from a restaurant that Jeff and I went to. They served the most delicious bacon mac & cheese with a smoky cheese sauce and I had to replicate it.
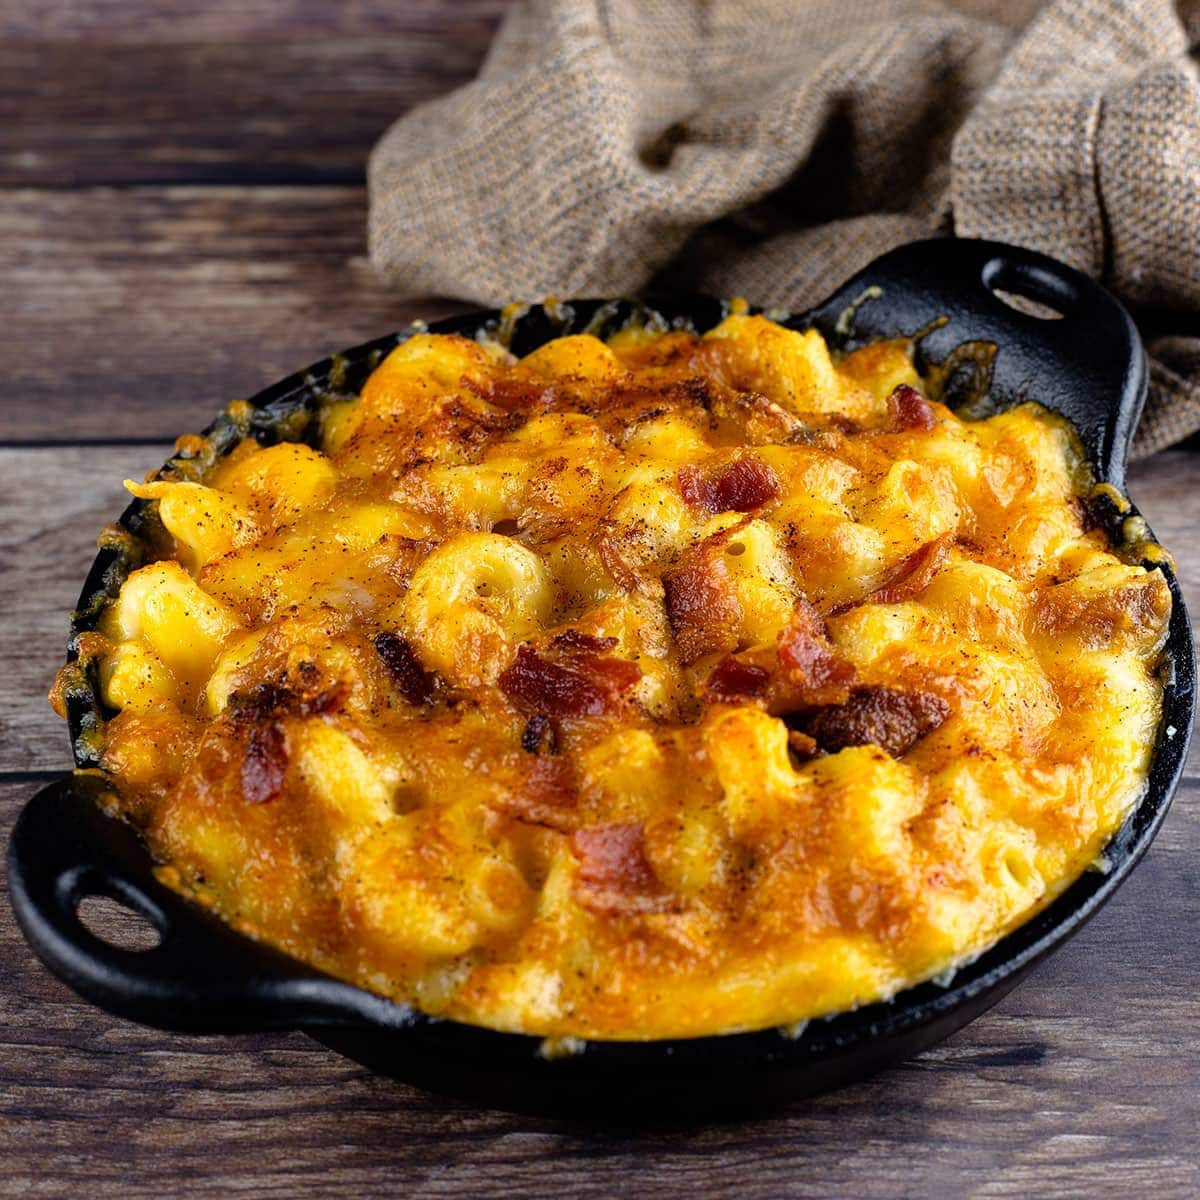
I love onions and decided to add a little special touch with some caramelized onions. The combination of flavors in the mac and cheese will knock your socks off!
Can I use Pre-Shredded Cheese from a Bag?
Yes, you can. However, I always recommend shredding your own. Not only is it more economical, it tastes better.
Pre-shredded cheese is coated with a substance to prevent clumping in the bag and that can sometimes cause it not to melt as well as cheese that you shred yourself.
This is especially true when making macaroni and cheese without a roux. So, if you are going to skip the roux, make sure to use good melting cheeses like monterey jack, and definitely grate your own.
If you wanted to use a bag of shredded cheese, pick one that has a few different cheeses in it. A Mexican blend works surprisingly well in mac and cheese.
Do I have to use Evaporated Milk?
I haven't tested this recipe with anything but evaporated milk, but I think you will be fine if you want to use regular milk, half and half, or heavy cream instead.
The evaporated milk adds to the creaminess without adding too much liquid, that is why I like to use it in this recipe.
Sometimes milk products split under pressure, but because this is such a short PC time and the milk would be in a pan, I think you will be fine to add it directly to the roux like I did with the evaporated milk. I would still only use ½ cup.
You can also add the milk to the roux AFTER it has been pressure cooked and stir well before adding to the pasta. I would probably warm the milk a little so it doesn't cool down the pasta when added.
How to Make Ninja Foodi Mac & Cheese
This couldn't be any easier!
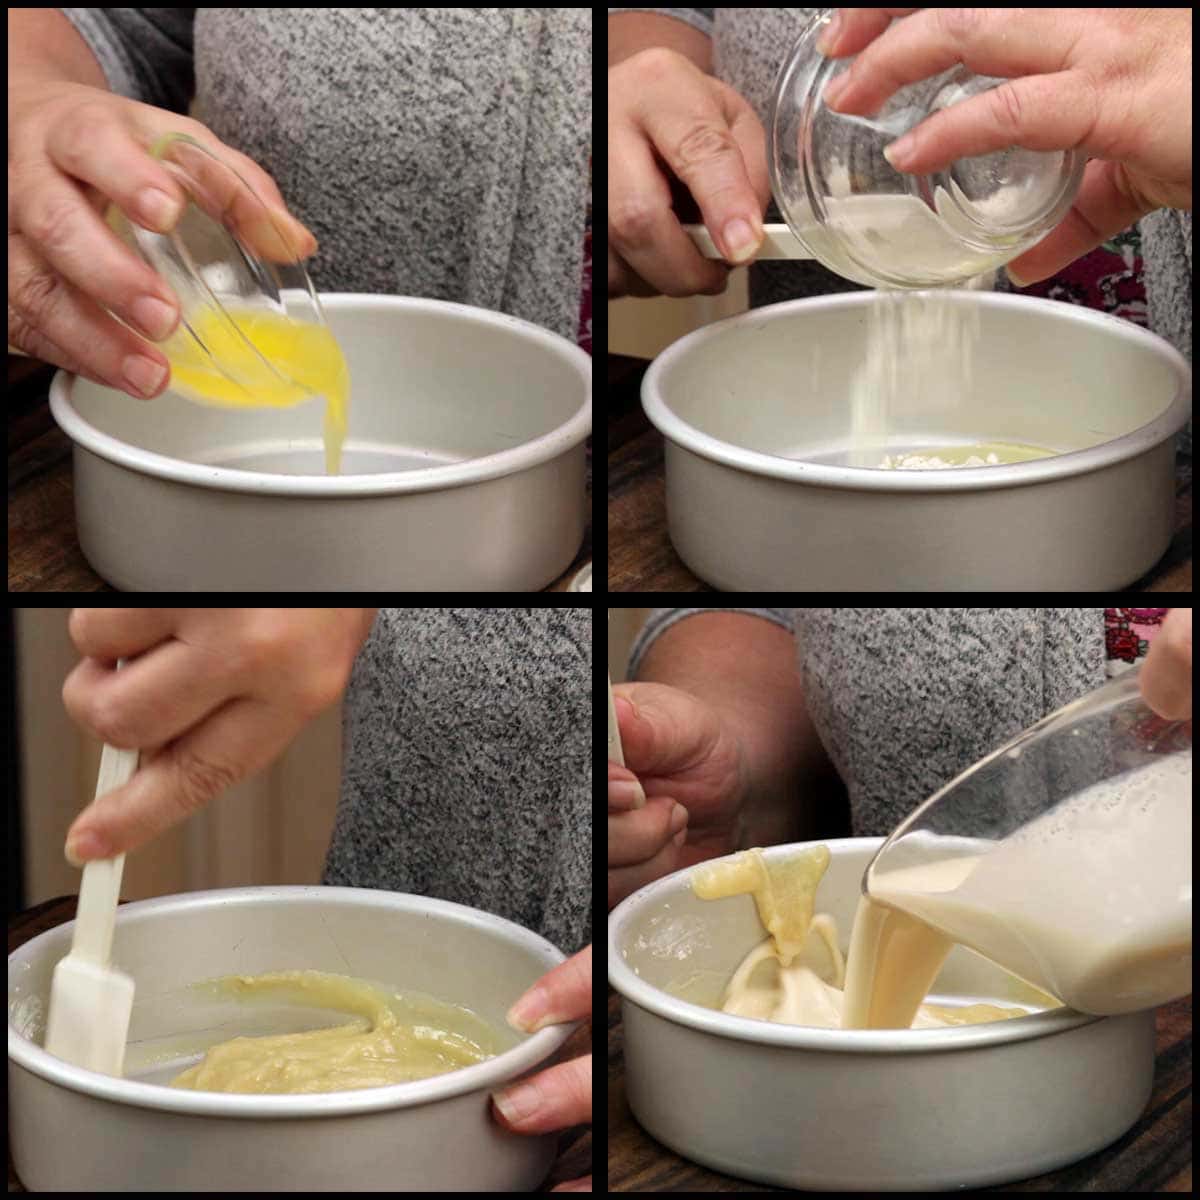
Combine 2 tablespoon of melted butter with 2 tablespoon flour in a pressure safe pan that is 6-7" in diameter and 2" high. Stir to make a paste and then add in the 6 ounces of evaporated milk and stir.
Don't worry if it is a little lumpy, we will take care of that after it cooks.
My favorite pans for pressure cooking in (or baking) Are the Fat Daddio pans. If you want good quality pans at a reasonable price, definitely check them out.
In this recipe, I am using the (affiliate link)Fat Daddio 6" x 2" pan. It is the perfect size to fit on top of the rack in the high postition when pressure cooking. Any pan that fits and is pressure safe is perfectly fine to use.
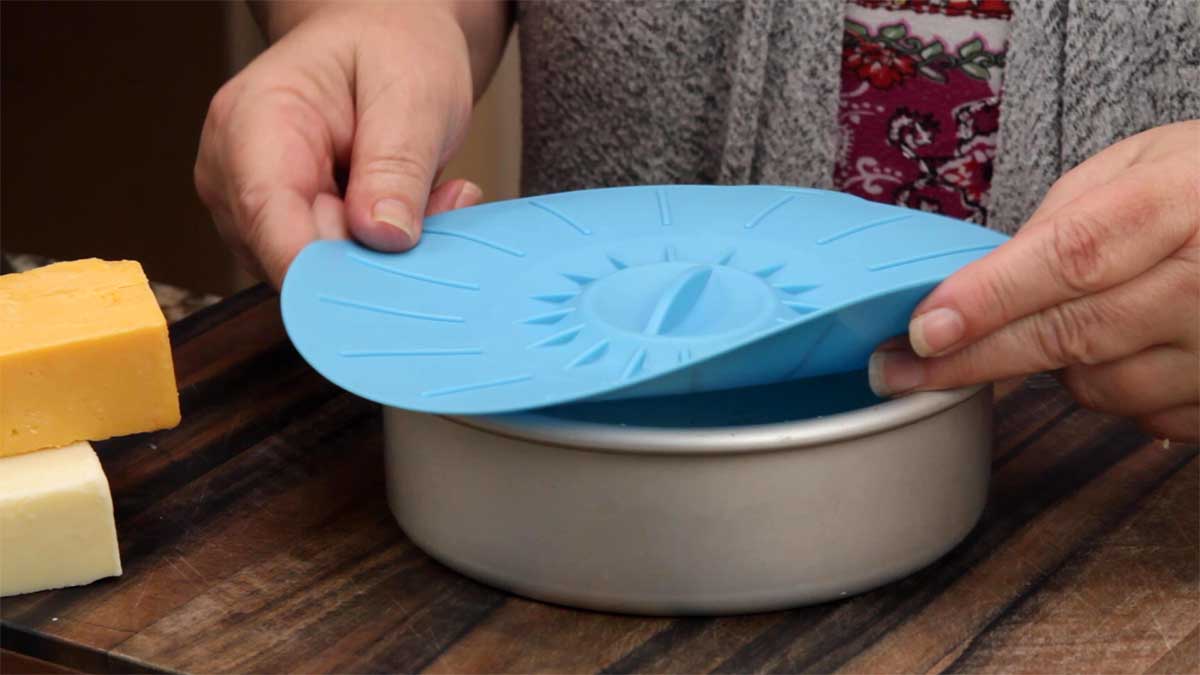
Cover the pan with foil or a (affiliate link)silicone cover, like I use.
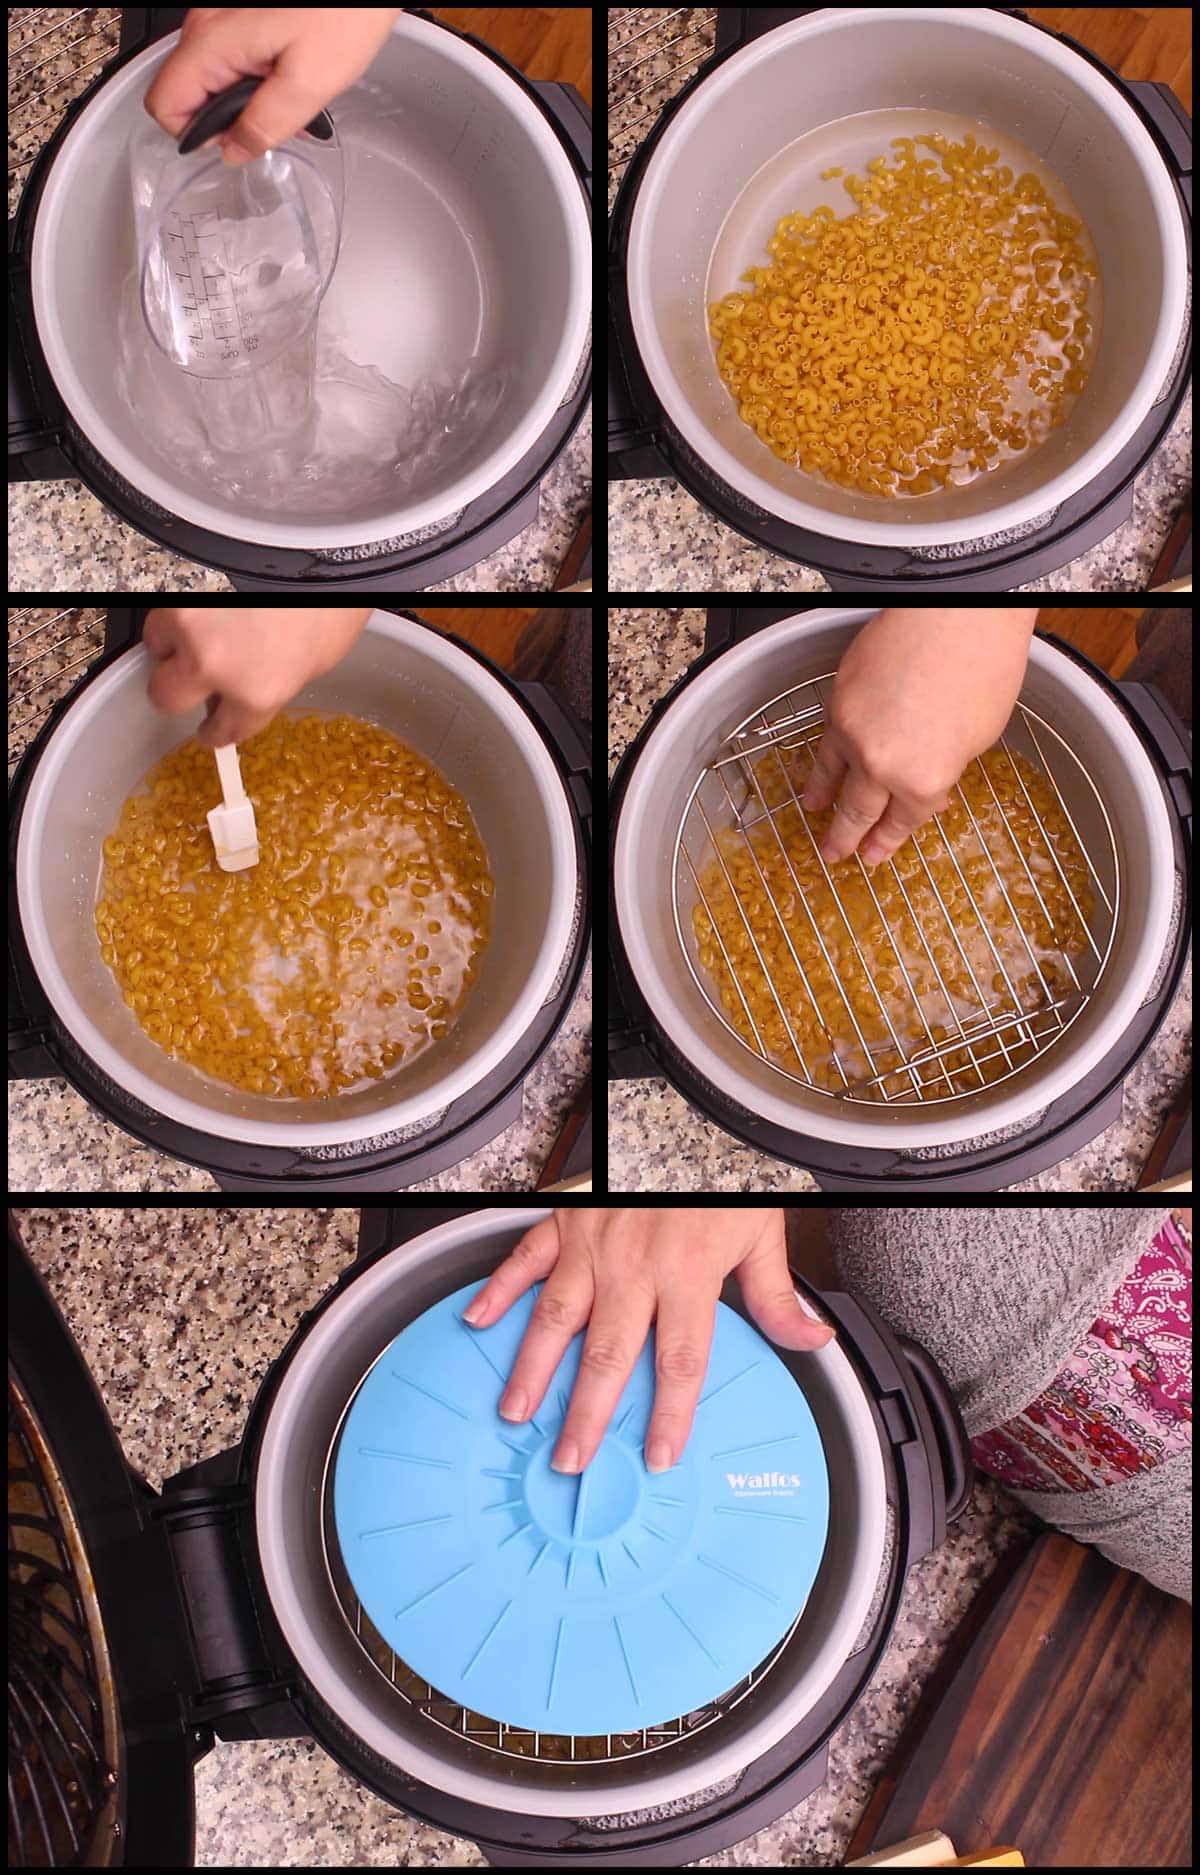
Add 2 cups of water to the inner pot of the Ninja Foodi. Add in 8 ounces of elbow macaroni and stir. Try to get the pasta under the water as much as possible.
Place the rack in the high position over the pasta and place the covered pan with the roux and evaporated milk on top. Don't worry that it extends a little above the pot, the pressure lid will still go on if you are using a pan with a 2" height or less.
Place the pressure lid on and turn the valve to seal. Set the pressure on high for 3 minutes. When the time is up, allow the Ninja Foodi to naturally release its pressure for 2 minutes, then manually release the remaining pressure.
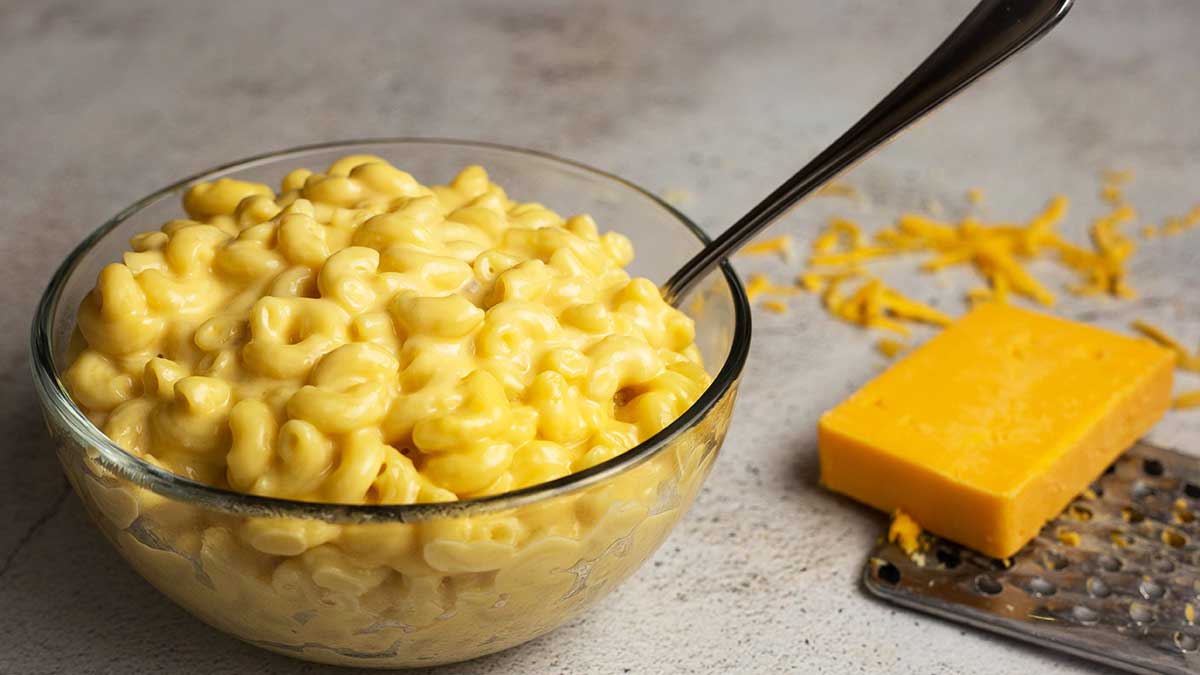
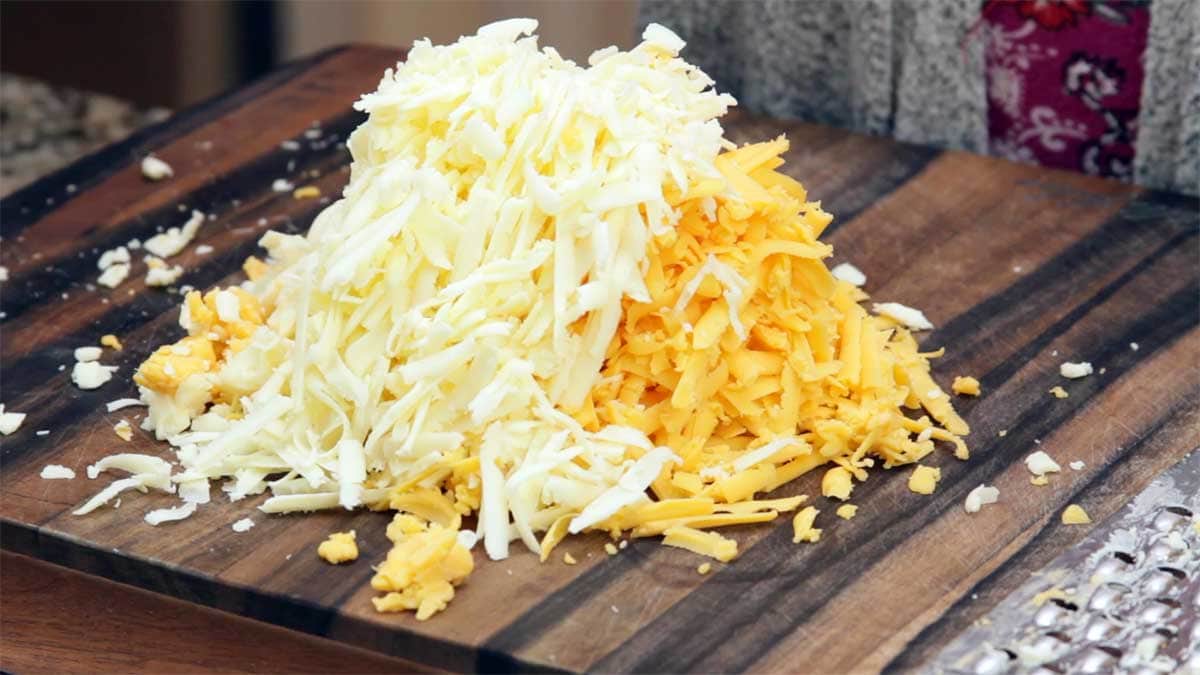
While the Ninja Foodi is cooking the pasta and the roux, grate your cheese.
Make sure you measure your cheese by ounces if using a block cheese or grate enough to make two full cups. *Parmesan and hard cheeses are a little different measurement, so if measuring by cups after grating with a fine grater, every 2-3 ounces of parmesan/asiago/romano grated is about 1 cup. You want to make sure you are using a total of 8 ounces of cheese total for the best flavor.
If you are using pre-shredded cheese, use an 8 ounce bag.
When the pasta has finished cooking, remove. the pan with the roux and evaporated milk and the rack. Stir to roux to smooth out any lumps and add to the pasta.
You should not have to drain the pasta before adding in the roux and evaporated milk mixture. Stir to combine.
Add in the shredded cheese and stir. The cheese will melt with the residual heat and the keep warm function. If you need to add any heat, use a low heat on sear/sauté just until the cheese is melted.
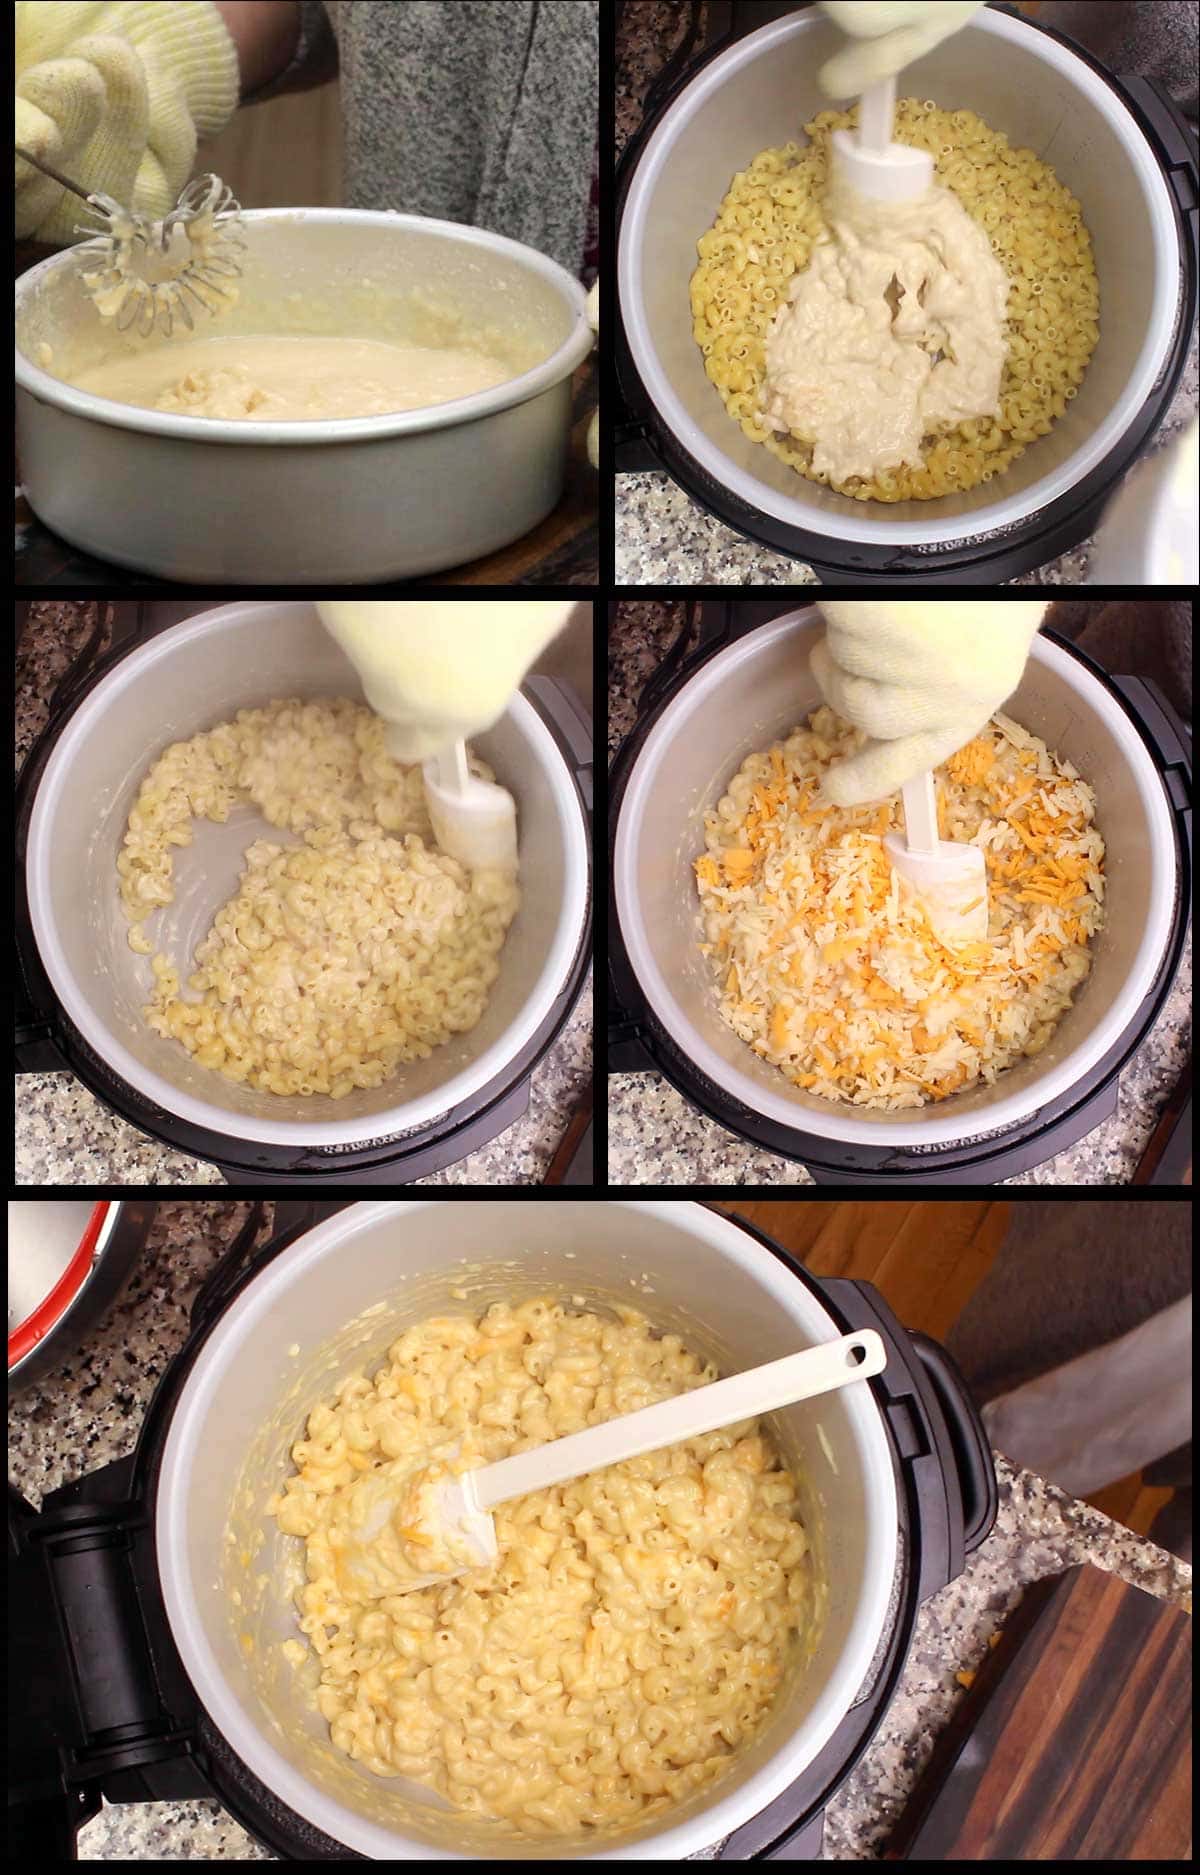
When the cheese is melted, serve & enjoy!

Ninja Foodi Mac & Cheese
Ingredients
- 2 tablespoon butter salted & melted
- 2 tablespoon flour
- 6 ounces evaporated milk
- 2 cups water
- 8 ounces elbow macaroni
- 4 ounces mild yellow cheddar or 1 cup grated
- 4 ounces sharp white cheddar or 1 cup grated
Would you like to save this recipe?
Instructions
- In a 6" pan, combine melted butter and flour. Stir to combine until a smooth paste is formed. Add in the 6 ounces of evaporated milk and stir. Cover the pan with foil or a silicone cover.
- Add 2 cups of water to the inner pot of the Ninja Foodi. Add in 8 ounces of elbow macaroni and stir so most of the pasta is under the water.
- Place the rack on top of the macaroni in the high position. Place the pan with the roux on top (covered). Put on the pressure lid and turn the valve to seal. Set the pressure to high for 3 minutes. When the time is up, allow the Ninja Foodi to naturally release the pressure for 2 minutes, then manually release the remaining pressure.
- Grate the 8 ounces of cheese, you should have about 2 cups of grated cheese. *You can use any types of cheeses that you like.
- Remove the pan and the rack. Stir the roux mixture and pour into macaroni and stir. Add grated cheese and stir to melt.
- Serve & Enjoy!
Nutrition
About the Recipe Author, Louise Long
Louise is a full-time recipe creator and food blogger @ The Salted Pepper. She has over 30 years of experience with cooking and recipe development. She owned a restaurant for several years and was a full-time RN until retiring to blog full-time.

She published her first cookbook in the Fall of 2018 and is very interested in writing several more.
Louise is also the creator of an online Ninja Foodi Pressure Cooking Course with over 100 instructional step-by-step videos. People absolutely rave about the course and all the value they have received from it.
Louise has several very active Facebook groups that help people with the basics of cooking and learning more about the appliances they love.
Ninja Foodi Pressure Cooker & Air Crisper 101
Ninja Woodfire Outdoor Grill & Smoker
Louise is also a YouTube creator and you can find most of her recipes in video format on The Salted Pepper YouTube channel.
She is very responsive to messages and eager to help in any way she can. Get more Information about Louise & contact information
I WOULD LOVE TO SEE WHAT YOU ARE COOKING UP IN YOUR KITCHEN! TAG ME @THESALTEDPEPPER ON YOUR FAVORITE SOCIAL MEDIA PLATFORM WHEN YOU MAKE A DISH!
BE SURE TO FOLLOW THE SALTED PEPPER RIGHT HERE ⇓⇓⇓⇓⇓
Hillary says
Can this recipe do doubled?
Louise says
It should be fine to double it and the only change I would make is to decrease the pressure cook time to 2 minutes because the time to pressure will be a little a little longer. If you like really soft pasta, keep it at 3 minutes.
Jeannie says
This recipe was super easy to make and it was absolutely delicious. Very rich and creamy. Will be making it again.
Louise says
I'm so glad you enjoyed it!