Baking in the Ninja Foodi is a little different than baking in a traditional oven, but once you understand the basics and learn these tips, tricks, and techniques, you'll be baking away with success!
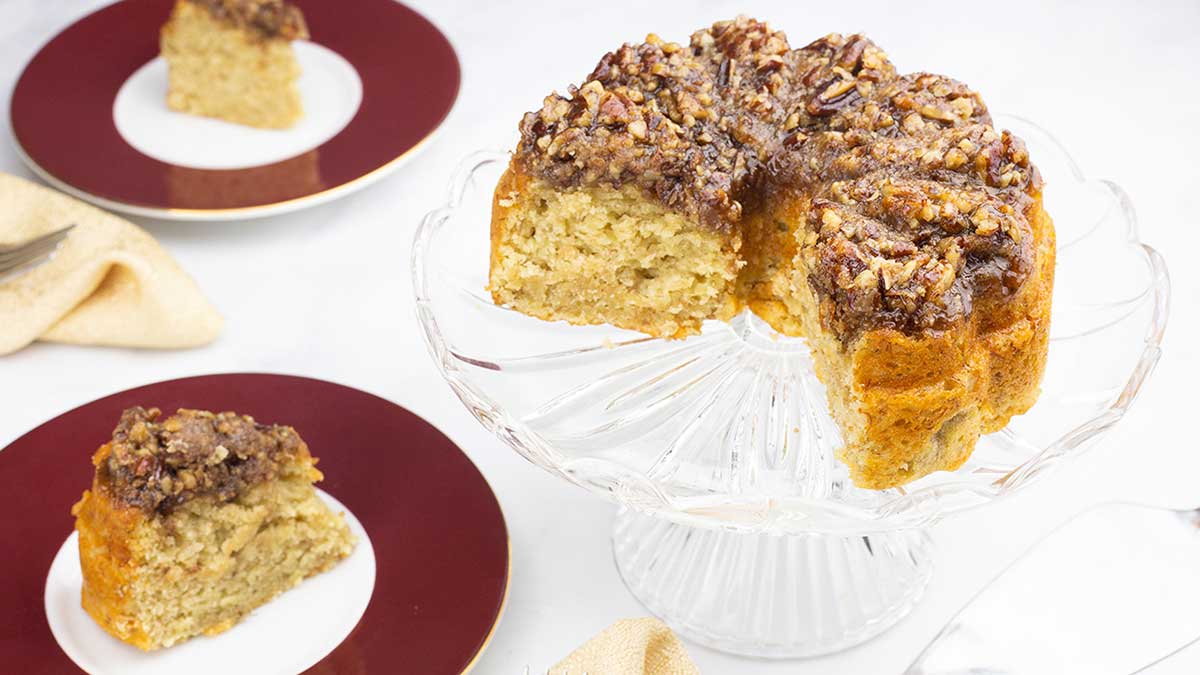
One of my most favorite baked recipes of all time is this Banana Bread with Praline Topping. It's easy and tastes delicious! It's not hard to make spectacular desserts or other baked dishes in the Ninja Foodi, but there are a few things you should know!
Would you like to save this recipe?
There are a lot of questions that are asked about baking in the Ninja Foodi and there are a lot of frustrations when things don't go as planned. There is nothing worse than making the best cornbread mix, putting it in the Ninja Foodi, smelling the great aroma of it cooking. You take it out and it looks PERFECT. Then, you cut into it expecting to slather butter on it and enjoy the fruits of your labor.
Except, that isn't what happened. You cut into it and gooey mix poured out from the center. It wasn't done! Why, you ask? It looks and smells so good and I baked it just like I do in the oven. What happened?
That's exactly what this article is about. Let's talk about what happened, but, even more importantly, let's talk about how to fix it so your next loaf of cornbread is PERFECT, inside and out!
This post may contain affiliate links. If you make a purchase after clicking a link, I may earn a small commission. As an Amazon Associate, I earn from qualifying purchases.
I have had great success with baking in the Ninja Foodi, but trust me, I have had my share of flops, too! Some of my recipes have had to be tested over 10 times to get them right. Throughout all of this testing and redoing recipes, I've learned quite a lot about baking in the Ninja Foodi and I'm going to share everything I know right here, right now.
First, let's go over the basics and a simple rule of thumb that is a great starting point when you want to bake something in the Ninja Foodi.
How do I Choose the Best Temperature When Baking in the Ninja Foodi?
The bake/roast function on the Ninja Foodi is one of the buttons that we can select when choosing which function to use when cooking. Throughout this article, I will be referring to this function as simply the bake function, but there is no difference between bake or roast in the Ninja Foodi.
When we use any of the functions using the TenderCrisp lid, we are using a dry heat with a fan that circulates the heat around our food. This is same as a convection oven. So, think of the Ninja Foodi as a convection oven when using the TenderCrisp lid.
This convection style of cooking is very efficient and helps to cook foods faster, but that is also one of the main reasons people have trouble baking in the Ninja Foodi.
Food gets done too fast on the outside and isn't done enough on the inside. When you either turn up the heat or leave it in longer, you end up overcooking the outside. Frustrating, for sure, but easily fixed.
The rule of thumb is always decrease your temperature by AT LEAST 25° from the temperature you would use in your regular oven.
That is only the starting point, though, and 25° isn't enough for some foods.
I've gone down as much as 100° lower for certain things, but that is definitely the exception. Usually 25-50° is the norm.
Here are some examples of dishes that, as a rule (there are always exceptions), I would decrease by 25° only.
- casseroles that are less than 3" deep
- baked chicken, pork, fish
- breaded foods that you want to bake instead of air crisp
- anything that is less than 1" deep
Here are some examples of dishes that, as a rule (there are always exceptions), I would decrease by 50°.
- breads, muffins, quick breads that are more than 1" deep
- casseroles that are deeper than 3"
- baked items that contain a lot of liquid, like a baked French toast casserole, bread pudding, or an egg casserole
- cakes that are more than 1" deep
Now, that, by no means, is an extensive list, but should give you a basic idea of where to start. Reducing the temperature is only one component that goes into successful baking in the Ninja Foodi.
Baking is the same as all cooking methods and it all boils down to managing temperature and time. We can do that in several different ways, but choosing the best pan is the first one on the list.
How do I Know Which Pan Will Work the Best for Baking in the Ninja Foodi?
Choosing the right pan is a very important step in successful baking in the Ninja Foodi. Temperature, time, and pan choice are all important factors and should be considered in tandem.
Even if you don't have the exact pan that a recipe calls for, you can make it work, most of the time, if you take the type of pan into account when determining the best temperature setting.
For this article, I'm going to break down the pan styles by color, style, and material.
Believe it or not, the color of your pan does make a difference when baking.
The darker the pan, the faster it is going to cook. Unless it's silicone and we will get into that when we discuss materials of pans.
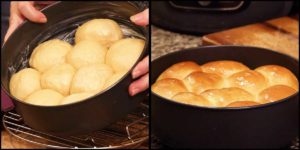
This can be a good thing in certain recipes, like this one for Homemade Sweet Potato Rolls. It can also be a not-so-good thing if you have a denser batter or bread, like in this recipe for Focaccia bread.
In the sweet potato roll recipe, I wanted darker edges and the rolls are light and fluffy, so I could achieve the result I wanted in a darker pan.
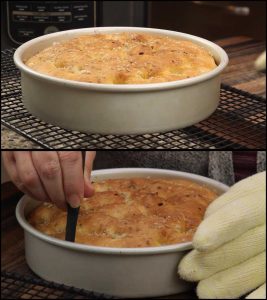
In the Focaccia bread recipe, a lighter pan worked better because the dough is denser and the edges got overdone in a darker pan.
Does that mean you need 150 different kinds of pans? No. You can make adjustments for the pan you have, most of the time, by managing your temperature and time.
You can usually adjust for a darker color pan by decreasing your temperature. So, if you only have a dark colored pan and want to make a recipe that calls for a light colored pan, drop the heat by an additional 10-25 degrees and you might need to increase your time just a bit.
If the recipe calls for a dark pan and you only have a light colored pan, you may want to increase your heat towards the end of the baking process and/or increase the time a little.
How do I Choose the Right Style of Pan When Baking in the Ninja Foodi?
When I talk about the style of a pan, I'm referring to the shape and design as well as the size. They all factor into how well your baked items do in the Ninja Foodi.
This is true for savory things like a baked meatloaf or a sweet quick bread, like zucchini or banana bread.
Let's go over a few of the common style of pans used when baking.
Loaf Pan: A loaf pan can be used for so many different things, like yeast breads, no-yeast breads, quick breads (cornbread, banana bread, zucchini bread), meatloafs, casseroles, and many more dishes.
The loaf pan comes in various sizes (and colors) and that is also a factor in baking. The density and depth of what you are cooking will be a major factor in determining cook time and temperature. Let's look at an example.
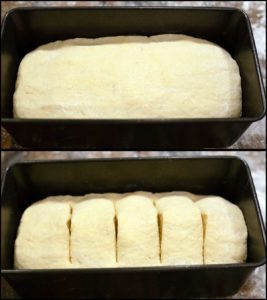
If a recipe calls for a large loaf pan and you use a smaller one, the batter might fit, but your depth will be increased. Usually, the rule of thumb for batter types of recipes is to go ⅔rds of the way to the top.
So, you can use a smaller pan and have good results, if you don't over-fill it.
OR, if you increase the depth, you can increase the cook time, but this can lead to overcooking the outside. You can also decrease the temp in addition to adding cook time as a better way to manage how the cake/bread bake.
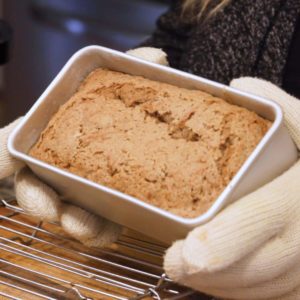
The opposite is true, as well. If you follow a recipe that calls for a smaller loaf pan and you use a bigger one, your depth will be decreased. In this scenario, you could make 1½ times the batter and fill the pan (more on this in the next paragraph) OR you can decrease the time to account for the decreased depth. Both are viable options.
If you increase the ingredients (by 1½ or doubling ingredients), there is one more thing to think about and that is that, when a loaf pan increases in size, it's usually not just height, it's also bigger in width.
Things cook in an oven or in the Ninja Foodi from the outside in. This means that the heat starts to cook the outside and has to make its way to the middle. So, when you increase height or width of a pan, you need to make adjustments in temp and time.
Bundt™ Style Pan: The "Bundt" style pan is one of the easiest ways to bake in the Ninja Foodi. These are sometimes called fluted or tube pans and, in this section, I'm referring to any pan that has a center area to it that is made out of the same material as the pan and goes from the bottom to the top of the pan. *Bundt is a trademarked name and that is why other companies cannot call their pans Bundt pans.

Color and size, still play a factor, but not nearly to the degree of other style pans.
We already know that when baking in the Ninja Foodi, the heat cooks from the outside in, making it difficult sometimes to get the center of our foods cooked through. The "Bundt" style pan has a core through the middle that also conducts heat.
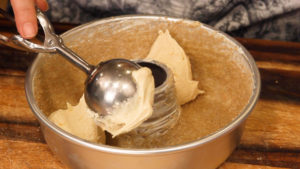
So, now, the heat is cooking the outside towards the center, but the center is also cooking outward due to the heat transfer from the core of the "bundt" style pan towards the outside. They meet in the middle, so-to-speak, and your cake or bread is cooking more evenly and faster.
One of my favorite pans, is this little (affiliate link)flower pan. It's small, so don't expect a full size cake, but it cooks like a dream. The material is perfect and nothing sticks! It also has a small center, so your baked items don't have a huge hole in the center.
One of my favorite savory baked items in the Ninja Foodi is this easy Jalapeno Cheddar Pull-Apart Bread and I made it in the cute flower pan!
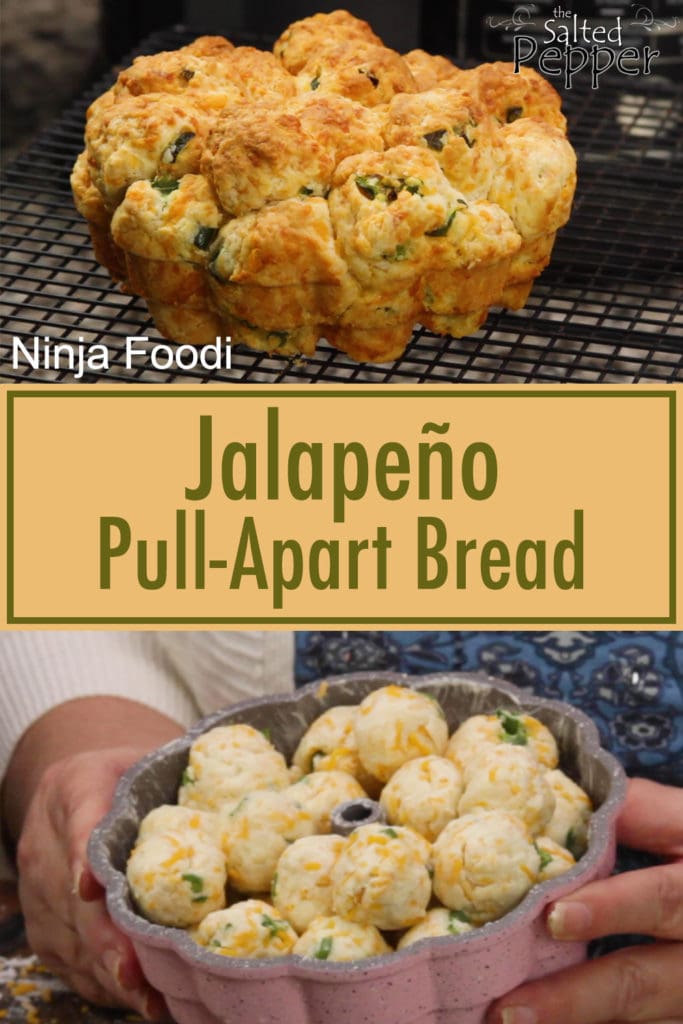
Using this style of pan certainly makes it easier to bake in the Ninja Foodi, but there are ways create the same effect in other style pans and I'll get into that next.
Traditional Round Pans: These are your cake pans or cheesecake pans and probably the most common type of pan used for baking in the Ninja Foodi.
Most of the time, I use Fat Daddio round pans, but there is a baking kit that is made by Ninja Kitchen that also has a great round pan.
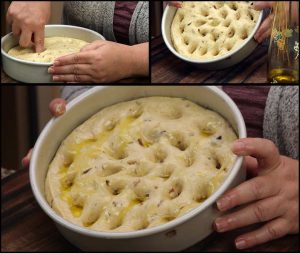
You can use any round pan that fits and is rated for use in an oven in the Ninja Foodi. So, you don't necessarily need to buy new pans.
I always recommend shopping in your cabinets first. There are a few things to keep in mind about baking pans. The thinner the walls of the pan, the faster food will cook.
For example, if a recipe calls for an (affiliate link)8" Fat Daddio pan and you use a disposable aluminum pan, your food will get done faster and cook less evenly.
No worries, though. You can manage that by managing your temperature and time. So, lower the temp another 25° and see if you need to extend or shorten the time based on how your food is looking.
You could also wrap that aluminum pan with aluminum foil to provide a thicker wall that will take heat just a little longer to get through and will slow the cooking process.
Now, let's say you want to make an 8" round cake and you do not want to use a bundt pan. There is a little trick that bakers use all the time when they bake larger cakes in the oven.
They use (affiliate link)heating cores. Heating cores have a flat bottom and a small rod attached that goes into your cake or baked good. They do the exact same thing as the core in a fluted pan.
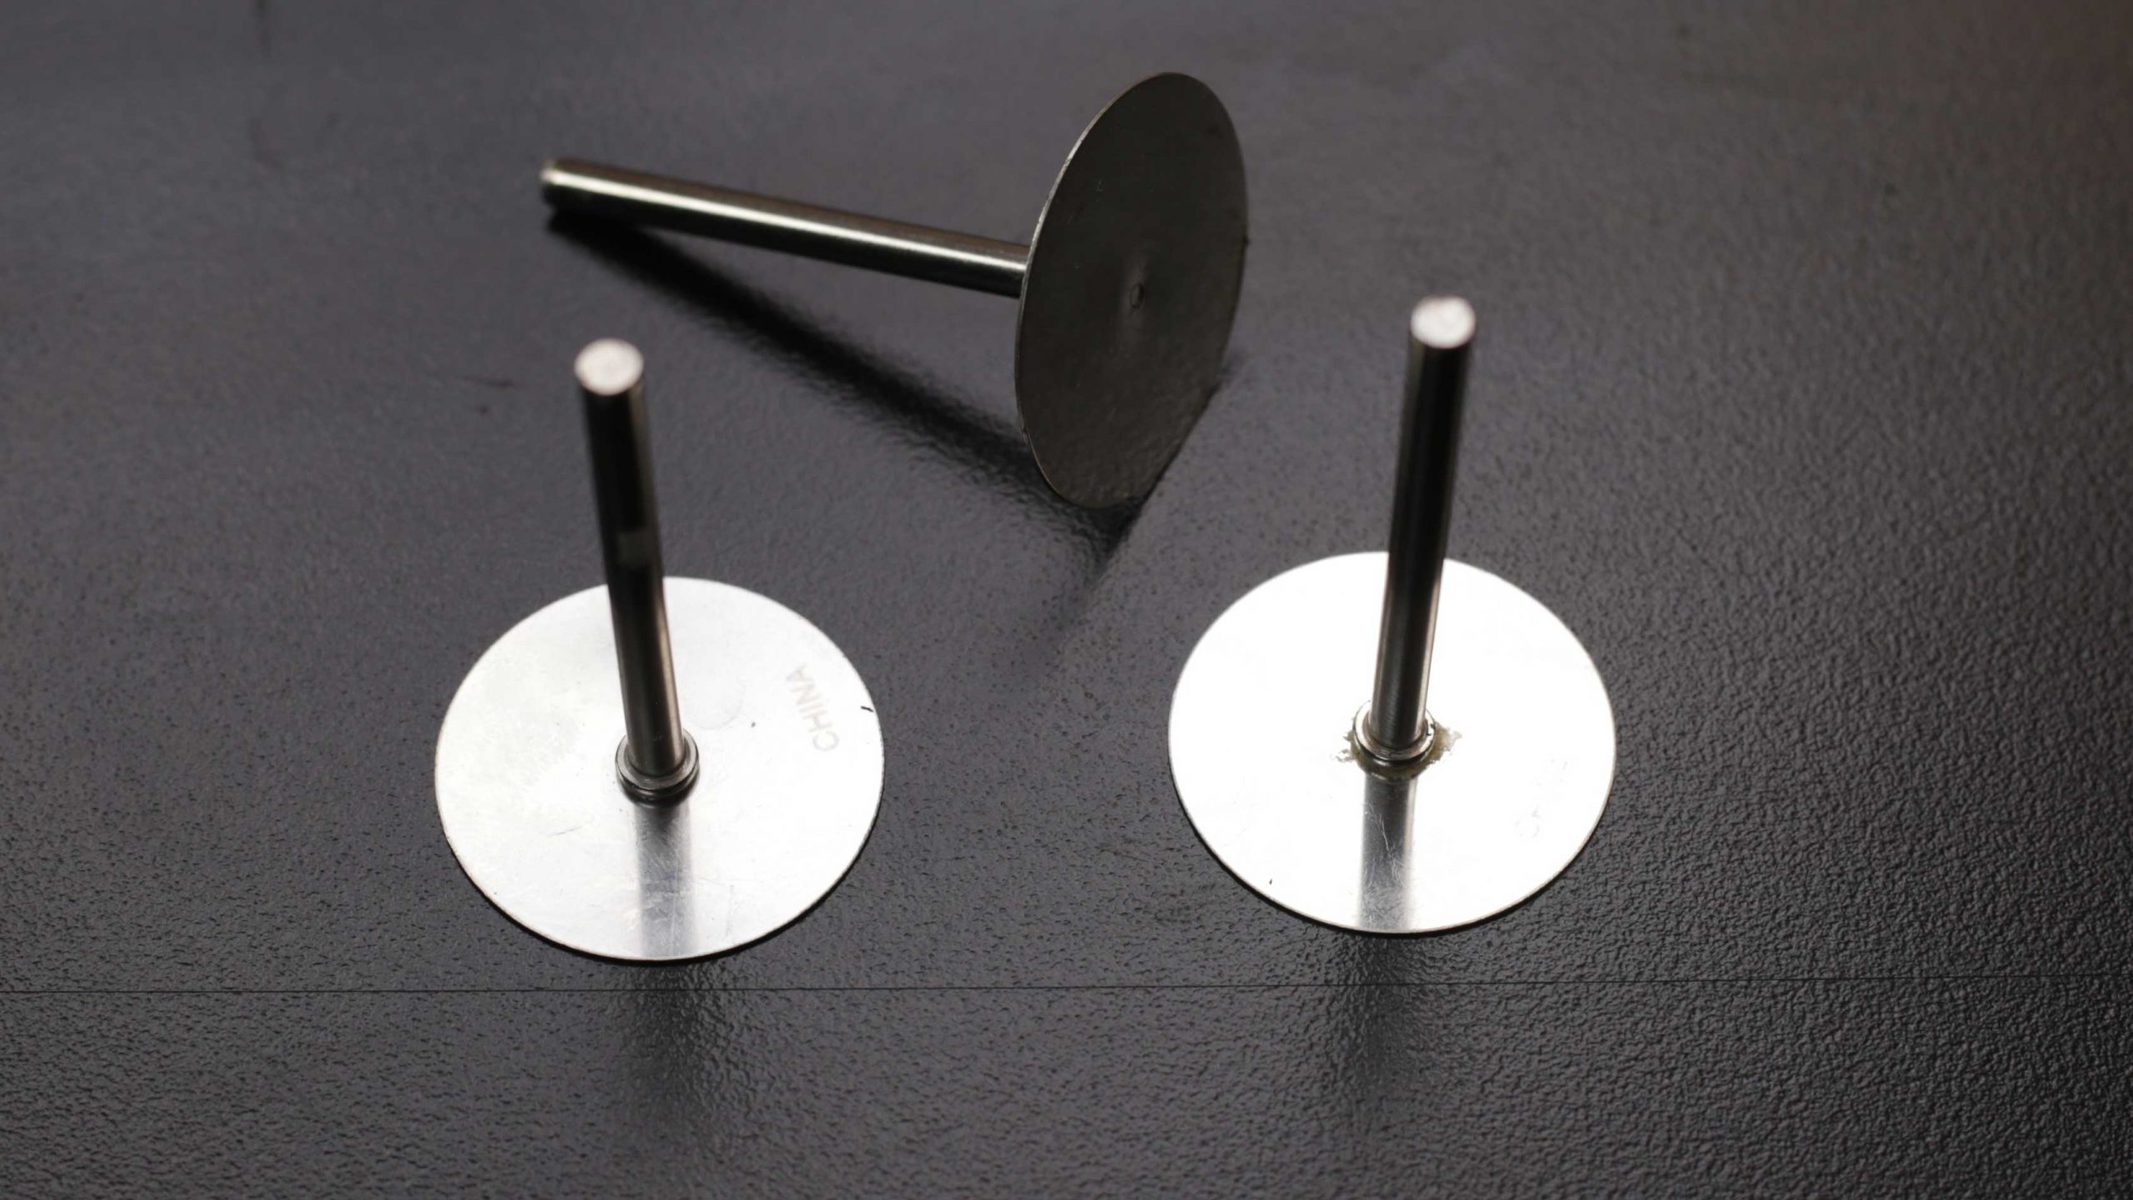
Heating cores conduct heat from the bottom of your pan, up through the rod and transfer that heat to your baked good. They are amazing and so helpful in getting the middle of cakes/breads fully cooked.
How Many Heating Cores Do I Need to Use?
That depends on the size of your pan and what you are making, but here are my suggestions.
Pan size of less than 6", I would use 1 heating core
Pan size of 6"-8", I would use 2 heating cores
Pan size of 8", I would use 2-3 heating cores.
The heating cores work with baking and pressure cooking, so if you are having trouble getting the center of your cheesecakes done, use a heating core!
Don't worry, the hole is so small, that no one will ever notice.
How Do I Use a Heating Core?
You place the flat side down on the bottom of your pan and pour the batter into the pan.
When your baked good is done, you simply remove them from the bottom.
Now, with a springform pan, and specifically cheesecakes, you don't usually flip them over or even remove them from the base of the pan. In this case, I would stick to one heating core right in the middle so it doesn't affect your slices.
Another consideration that comes into play when baking in the Ninja Foodi is the material of the pan, so let's get's into that a bit.
What Pan Materials Work the Best for Baking in the Ninja Foodi?
This isn't really a fair question because it isn't about which ones are best, it's just about understanding how the different materials work.
There are all kinds of materials that are made into baking pans and the material does make a difference.
All cooking occurs through transfer of heat. Some pans transfer heat better and more evenly than others, some hold heat more efficiently than others, and some resist the transfer of heat.
Pans made from different materials all have a place in the kitchen, but knowing when to choose which material is the key to successful outcomes.
Let's start with Silicone because it is very popular when pressure cooking and baking in the Ninja Foodi.
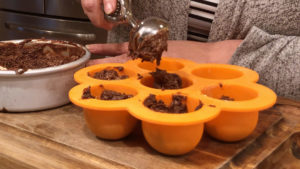
Silicone has become very popular in baking, but it does not conduct heat very well. In fact, it's heat resistant. That's why we can use silicone spatulas to stir really hot foods.
It will most likely take food longer to cook in silicone than other pan materials. Your food also won't brown as much, which isn't always a bad thing. In fact, it can really be to your advantage to choose silicone for certain things.
One advantage to using silicone when making something under pressure instead of baking is its resistance to heat. Had I tried to make these cake bites in a metal pan, the high heat of pressure cooking may have been too much for them.
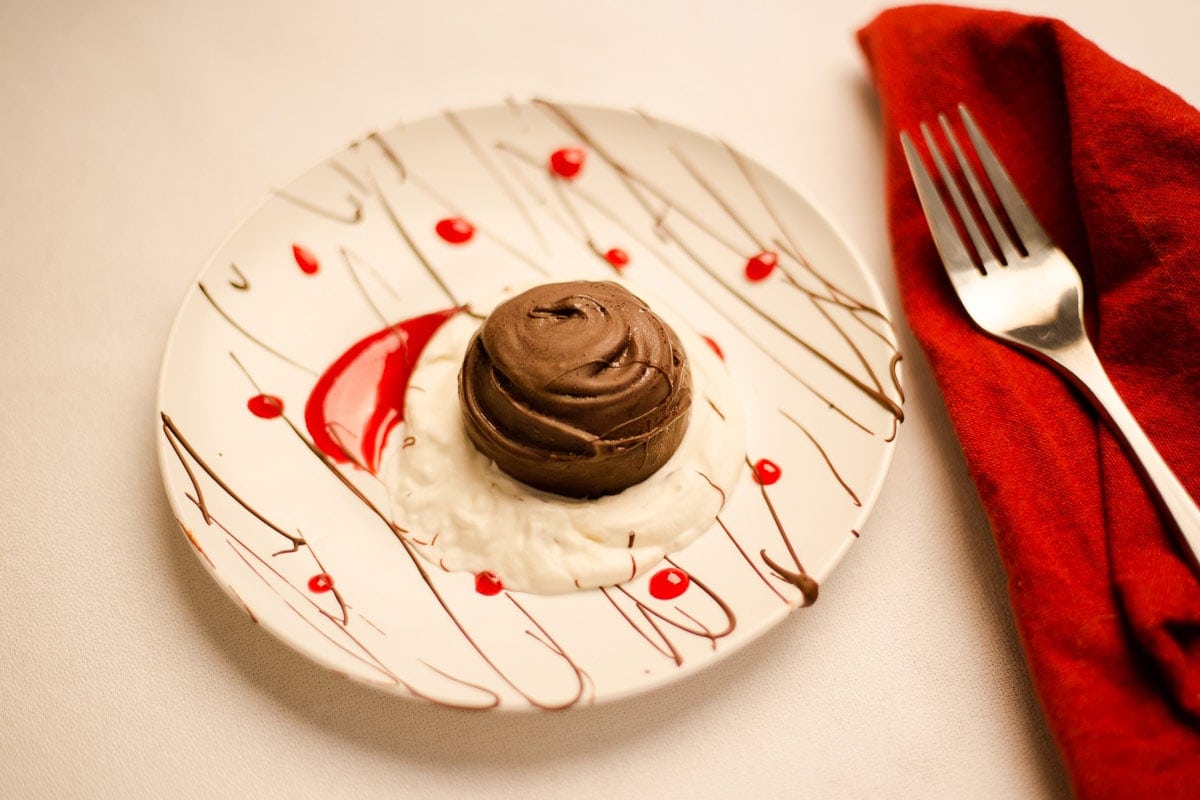
I don't use Silicone very much, but it is a viable option. If you are following a recipe that calls for a metal pan, you will probably want to increase your heat by 25° and you might even need to extend your cooking time.
Next up: glass. Glass isn't a great conductor of heat, but it does retain heat. That means that your food will continue to cook even once it is removed from the Ninja Foodi UNLESS you remove the food from the glass container.
You also have to be careful that you don't set hot glass on a wet surface because they can sometimes shatter.
I usually don’t make changes in temps at first, when baking in glass. I do watch the time and sometimes will drop the temperature to allow for carryover cooking.
Now onto the last, and I think the best, choice when baking in the Ninja Foodi. Metal pans. Aluminum has gotten a bad rap in the media and people are scared to use it. I get it. I really do.
However, it is the best conductor of heat and, when properly anodized, it poses no serious health risks according to several studies. Now, I'm not here to convince you one way or the other if you should use aluminum even when it's anodized. That is up to you.
I have read many studies on the effects of aluminum and theories that it is linked to Alzheimer's Disease. There is not any conclusive evidence to support this theory, but, again, please do your own research and make the decisions that are best for you and your family.
Here is one article that also links to other articles if you are interested in reading more about this topic.
Health Risks of Cooking in Aluminum by Livestrong
My go-to pans are hard anodized aluminum by Fat Daddio. They are the best conductor of heat and allow for even cooking and browning.
If you’ve watched any of my YouTube videos, you have heard me talking about thick-walled pans, like the Fat Daddio products. I absolutely love them!
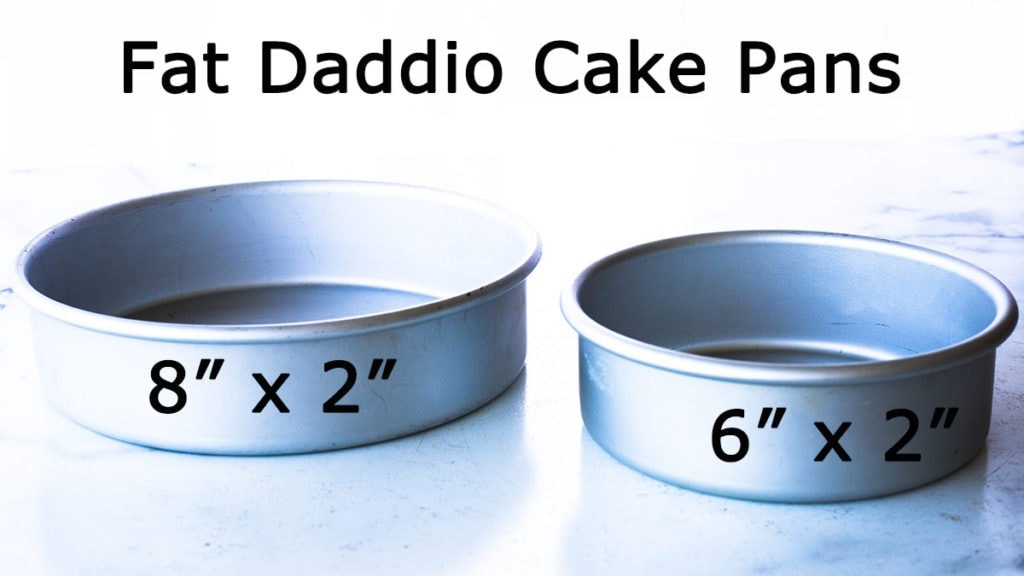
Aluminum pans heat up quickly, so your baked goods start cooking right away AND they also cool down quickly, which is a big plus in baking.
You can use aluminum pans with any of the functions of the Ninja Foodi. I made this beautiful double layer cake (under pressure) in Fat Daddio Pans.
Here is the recipe for: Apple Cake in the Ninja Foodi
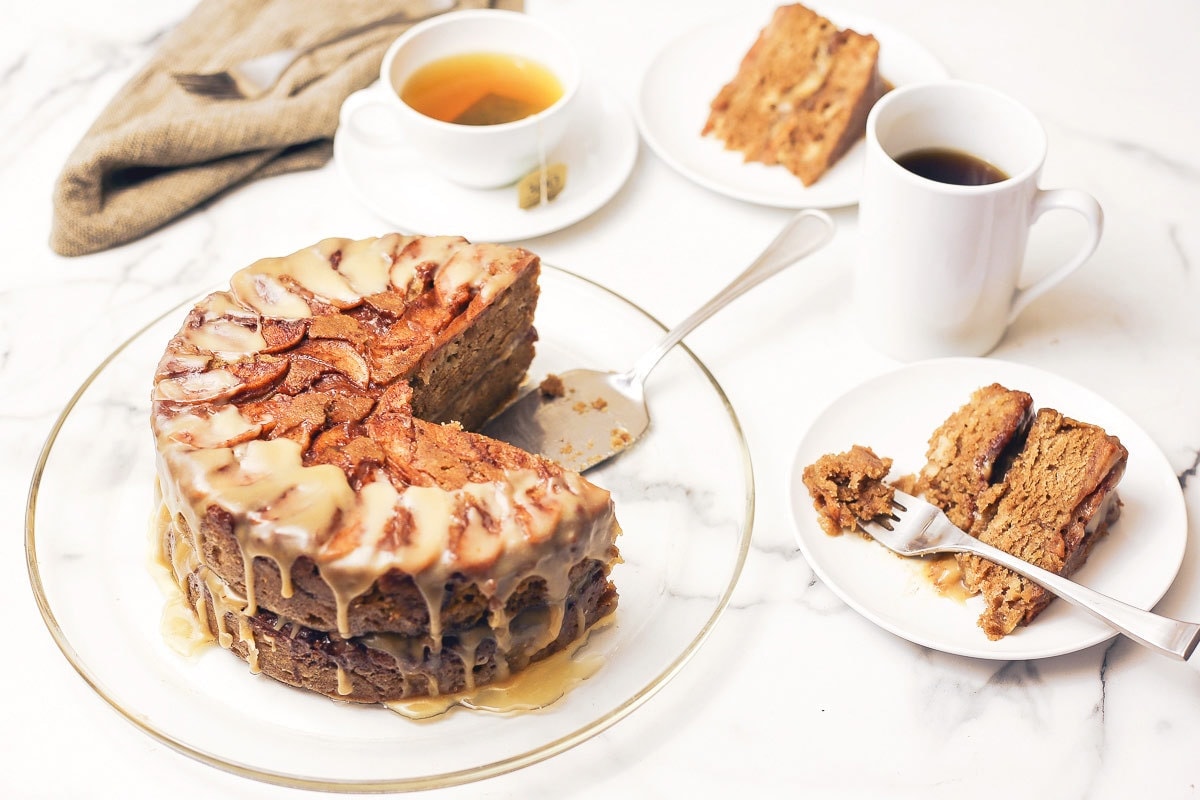
Hands down, I would choose aluminum pans over any other when I want to bake in the Ninja Foodi or the oven for that matter.
We are just about finished, bear with me. I just have a few more bits of information that are important to keep in mind when baking in the Ninja Foodi.
How to Convert Oven Recipes to the Ninja Foodi
While this subject is best addressed on a recipe by recipe basis, there are some basic guidelines to use when converting baking recipes from an oven to the Ninja Foodi.
Here are My Top Tips
Lower the Temperature:
The first thing is to drop the temperature based on the guidelines in the beginning of this article.
Adjust the Recipe Amount:
Look at the recipe and the pan size it calls for and adjust the ingredients to fit the pan you are using.
This can often be accomplished by cutting a recipe in half or in thirds.
Don't Overfill the Pan:
When making baked goods that rise, make sure you only fill the pan ½ to ⅔ of the way full. Recipes will usually state how full the pan should be filled.
Check on your food:
This is probably the most important tip. There is a fine balance between opening the lid too much and not checking enough.
With baked goods, like breads, muffins, cakes, and quick breads, you don't want to check on them for the first several minutes, just leave the lid closed so you don't let the heat out.
When making something for the first time, I always check halfway through the baking time and make decisions to cover or uncover, reduce or increase the temperature based on how it is cooking.
There is usually a decrease in the time it takes for food to cook in the Ninja Foodi, so keep that in mind. However, sometimes you will lower your temperature and your dish might take longer than in the oven. There are no set rules on this, it is simply managing your temperature and time to get the desired outcome.
Use a thermometer to check temps:
This one might sound odd and until I started cooking in the Ninja Foodi, I rarely ever took a temperature of baked items.
I do find it helpful though when baking in the Ninja Foodi because other methods, like the toothpick or cake tester inserted in the center have not been reliable for me.
Various foods are done at various temperatures, but a good rule of thumb for cakes, breads, and quick breads is for the very middle to be between 190-200℉/88-93℃.
There are several different types of thermometers and some are quite expensive. I have a (affiliate link)Thermapen MK4 and it is probably the best thermometer I've ever owned, but it's pricey.
(affiliate link)Pampered Chef has a dual purpose thermometer that can be used as an instant read and a probe thermometer. This means you can actually leave the probe in your food while cooking and you can monitor the temp without opening the lid.
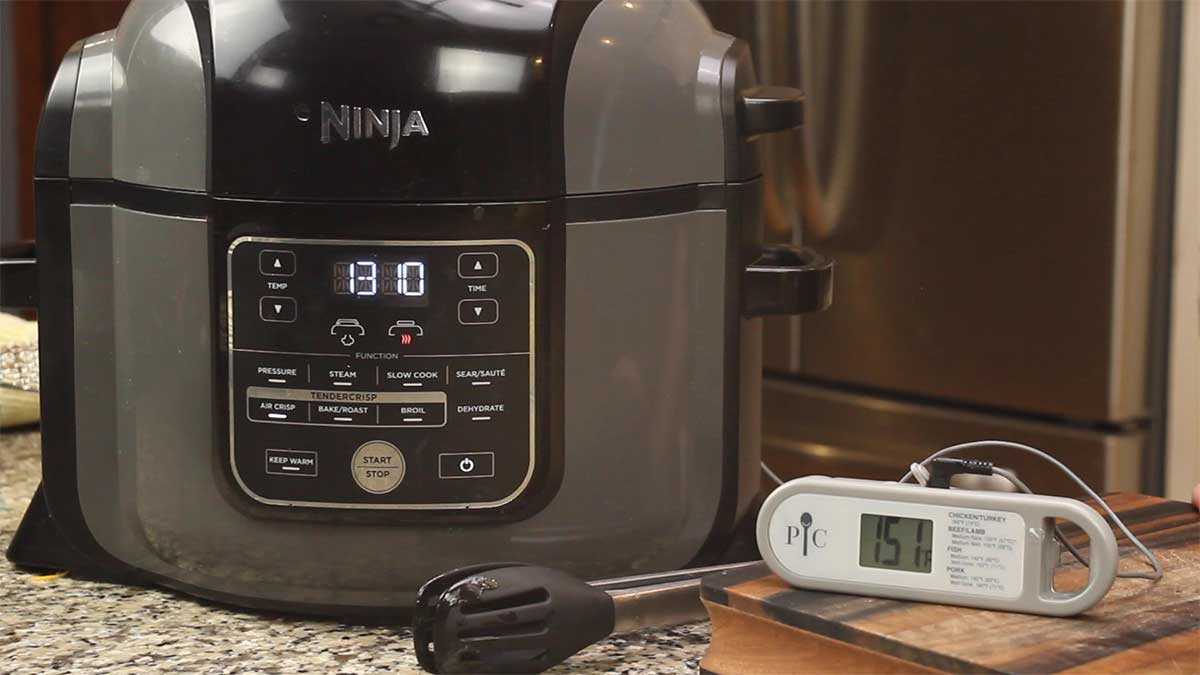
It works great from meats, but could also be used for certain types of baked goods. I don't suggest using a probe thermometer at the beginning of baking breads or other types of foods that rise, but you can insert it towards the end when you are trying to finish up cooking the middle.
Can I Bake Directly in the Inner Pot of the Ninja Foodi?
Yes, you can. However, not everything will turn out as you might have hoped.
The first thing to remember is the only source of heat when using the TenderCrisp lid is from the top. The heating element that engages when we sear/sauté, steam, and pressure cook, does not heat up when the crisping lid is on.
Now, it's possible to do a combination of sear/sauté and then baking with the TenderCrisp lid to get your food cooked properly, but it takes a little finesse to make sure you don't scorch the bottom.
I've seen pictures of beautiful savory and sweet foods baked right in the inner pot of the Ninja Foodi, so I am not saying that it can't be done. People have baked cakes in the bottom of the inner pot, so it can be done and I really need to try it, but haven't yet.
I feel like circulation is important for even baking and there isn't any when baking in the inner pot. This will make more of a difference for some baked goods than others.
Since I don't have any real experience baking directly in the inner pot, my suggestion is to give it a try! Nothing ventured, nothing gained.
Can I Stack Pans When Baking in the Ninja Foodi?
Yes, in theory you can. How well the layers will cook is a different story.
Since all baking is done via heat transfer, heat has to be able to reach each layer to bake it. For example, if I stack two pans of the exact same size on top of each other, the top pan will not get the benefit of heat circulation to the bottom of the pan.
This can result in the top cake not cooking correctly. So, it is best if you are trying to bake two pans at once to keep them separated so heated air can flow and circulate around the two pans.
How do I Know When to Cover or Uncover a Dish I'm Baking?
This comes down to managing temperature and time. By covering a dish, you are slowing down the heat transfer to the top of your baked good.
Sometimes I will cover in the beginning and uncover for browning at the end, so I can control how brown the top gets.
Sometimes I do the opposite and bake uncovered at first and then cover.
There is not a right or wrong answer here, either is fine as long as you are getting your desired outcome.
I used to cover with aluminium foil and that is still perfectly fine to do, but I found these (affiliate link)silicone covers from Walfos work great when baking in the Ninja Foodi!
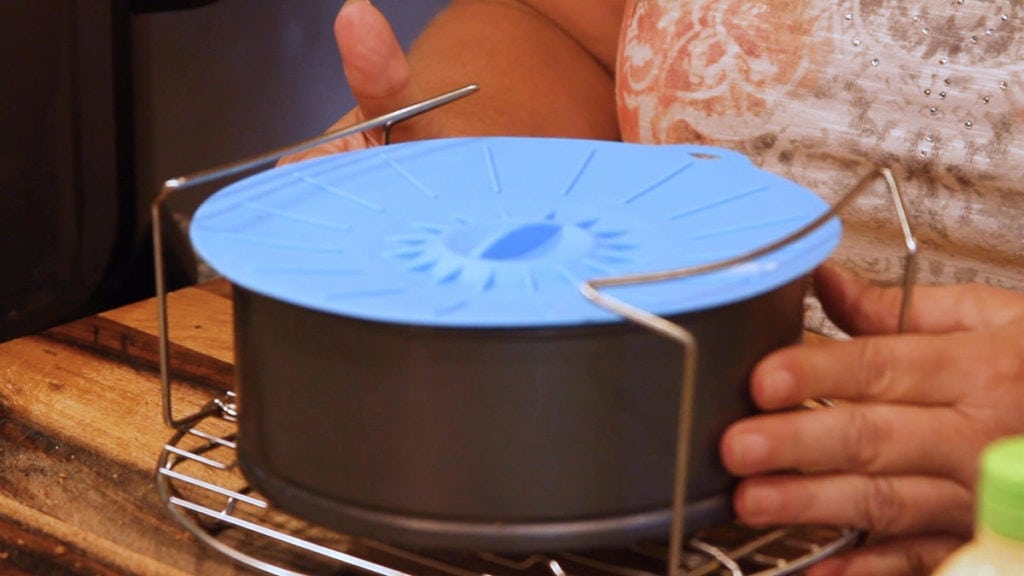
There is also nothing wrong with covering, uncovering, and then covering again. Let your food talk to you, be observant to how it looks and make adjustments, as needed. That is the key to any type of cooking or baking you are doing.
One quick tip on the subject of covering while baking
- If your baked good is going to rise while baking, do not cover in the beginning of baking
Do You have a Question I Didn't Answer?
If so, I'd love to hear from you! Leave me a comment below and I'll be happy to help!
In the meantime...
The most valuable tip I can give you, is to check on your food periodically when baking something for the first time and make these adjustments based on what you are seeing.
😊  Happy Baking 😊
All My Best,
Louise
About the Recipe Author, Louise Long
Louise is a full-time recipe creator and food blogger @ The Salted Pepper. She has over 30 years of experience with cooking and recipe development. She owned a restaurant for several years and was a full-time RN until retiring to blog full-time.

She published her first cookbook in the Fall of 2018 and is very interested in writing several more.
Louise is also the creator of an online Ninja Foodi Pressure Cooking Course with over 100 instructional step-by-step videos. People absolutely rave about the course and all the value they have received from it.
Louise has several very active Facebook groups that help people with the basics of cooking and learning more about the appliances they love.
Ninja Foodi Pressure Cooker & Air Crisper 101
Ninja Woodfire Outdoor Grill & Smoker
Louise is also a YouTube creator and you can find most of her recipes in video format on The Salted Pepper YouTube channel.
She is very responsive to messages and eager to help in any way she can. Get more Information about Louise & contact information
I WOULD LOVE TO SEE WHAT YOU ARE COOKING UP IN YOUR KITCHEN! TAG ME @THESALTEDPEPPER ON YOUR FAVORITE SOCIAL MEDIA PLATFORM WHEN YOU MAKE A DISH!
BE SURE TO FOLLOW THE SALTED PEPPER RIGHT HERE ⇓⇓⇓⇓⇓

Sarah Rosa
Your content here and on YouTube is a godsend. Thank you so much for all of your time and help!
Louise
Thank you so much!