
- Ninja Foodi Possible Cooker Pro (or any rice cooker/stovetop/pressure cooker)
Looking for a flavorful side dish that's sure to brighten up your dinner table?
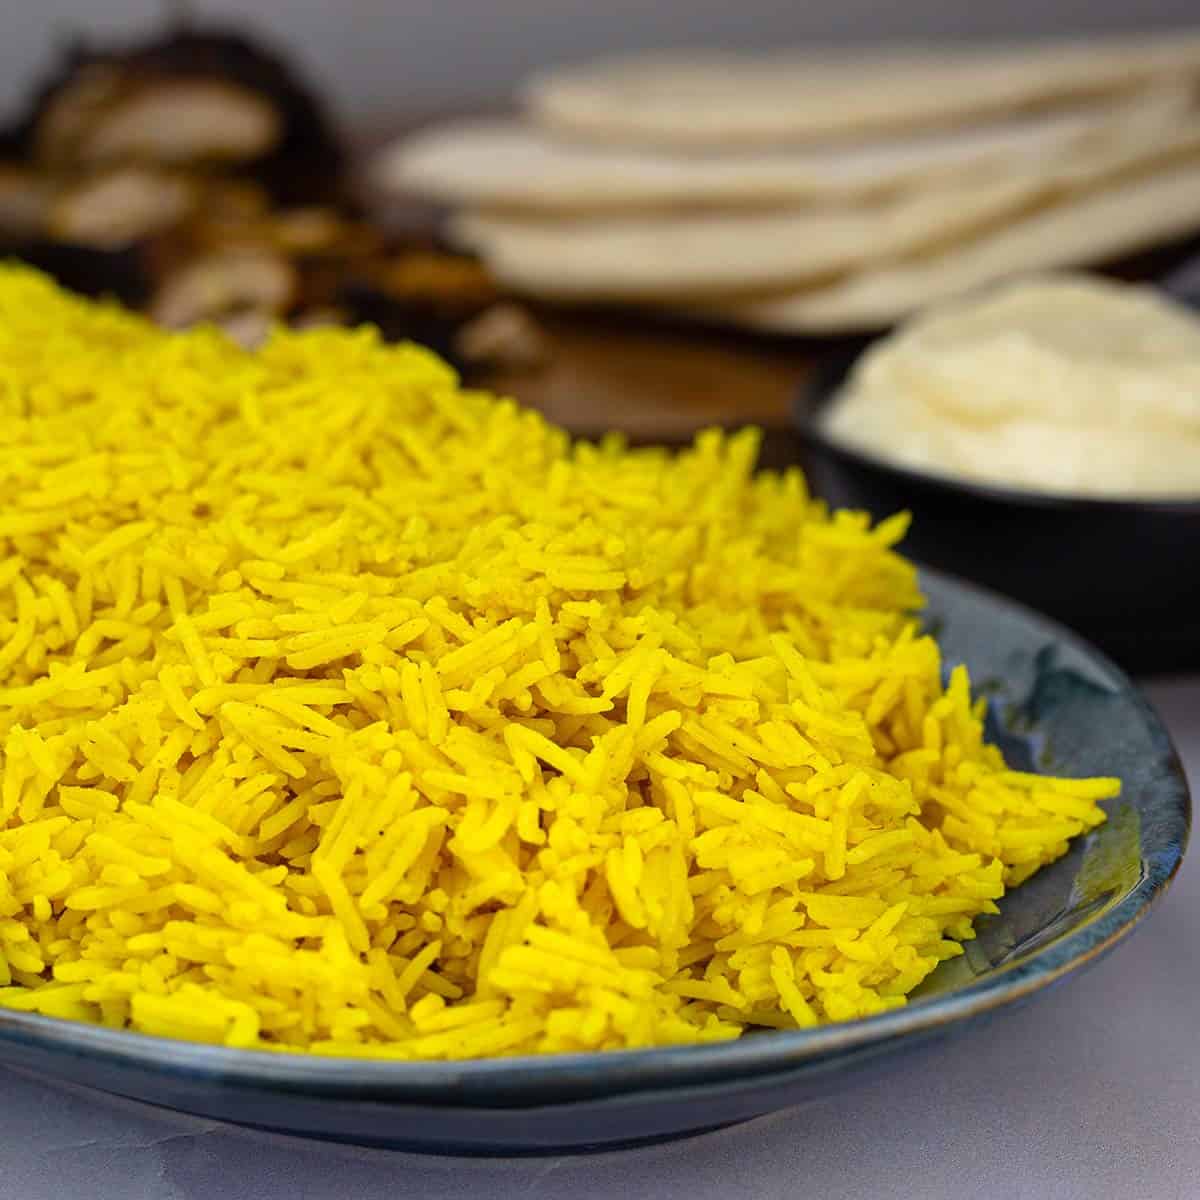
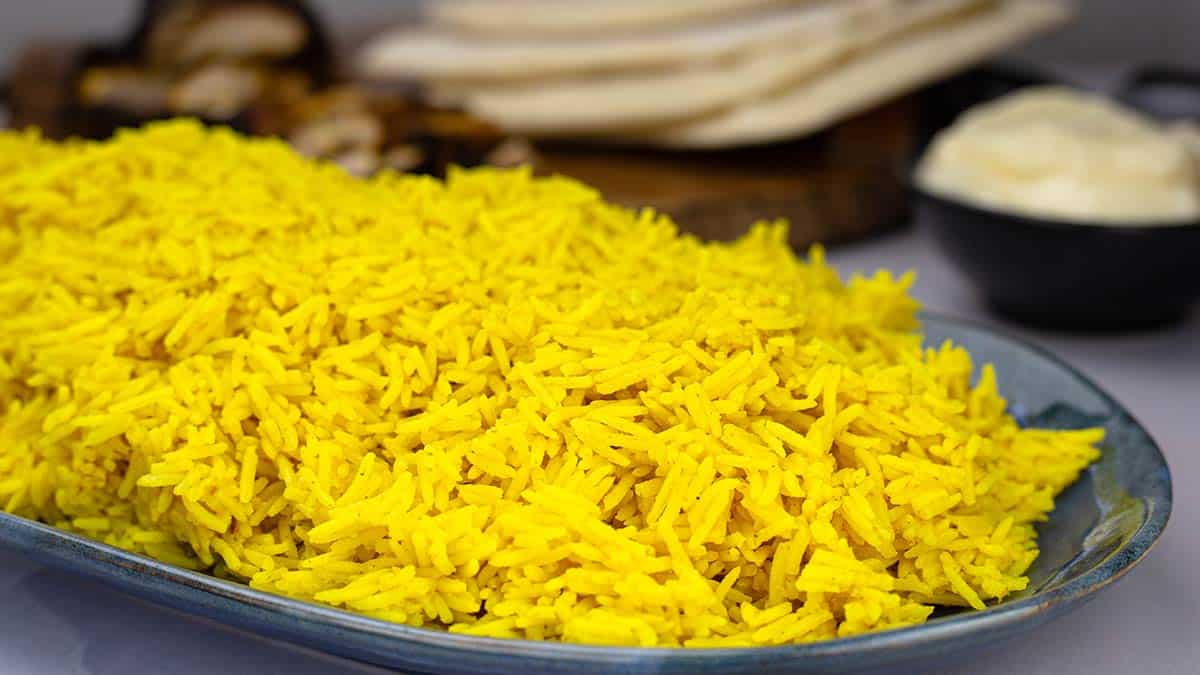
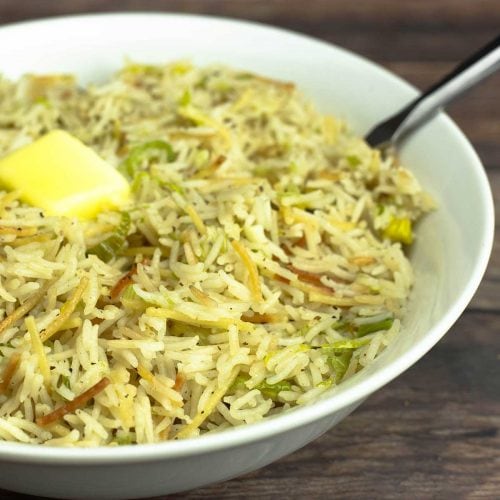
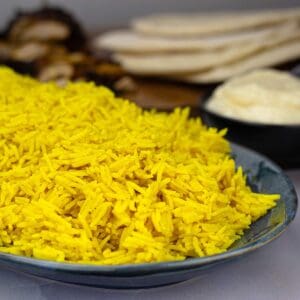
This easy yellow rice recipe is the perfect side for any meal! While plain white rice is great, this aromatic yellow basmati rice takes things to the next level.
Would you like to save this recipe?
It's an incredibly versatile rice side dish that pairs beautifully with chicken shawarma, and don't skip the shawarma bread and toum for the perfect meal!
What I love most about this recipe is how the fluffy basmati rice grains stay separate and light - it's truly the perfect rice every time!
Suggested Kitchen Tools for Yellow Basmati Rice
This easy recipe is adaptable to whatever cooking method you prefer for making rice.
While I love using my Ninja Foodi Possible Cooker Pro because it makes cooking rice super simple, you can use any method of cooking rice from pressure cooking to a pot on the stove.
I will go over several different cooking methods later in this article and the only other kitchen tools you need are as follows:
- Measuring cups and spoons
- Spoon for stirring (remember turmeric does stain)
- Airtight container for leftovers
Ingredients & Substitutions
There aren't many ingredients in Yellow Basmati Rice, and the only absolutes are rice, liquid, and turmeric for that signature yellow color.

Rice
Used in Recipe: 2 cups white basmati rice
What it Does in the Recipe: This long grain rice is the foundation for our aromatic rice dish
Substitutions: You could use jasmine rice or regular long-grain rice. Brown rice will work but needs longer cooking time and more liquid.
Jasmine rice will be a little stickier, but works just fine. It really just depends on the type of texture you like your rice to be.
Butter
Used in Recipe: 2 tablespoons salted butter
What it Does: Provides a buttery flavor for toasting the rice
Substitutions: You can use olive oil, coconut oil, or vegetable oil for different flavor profiles. You can also use unsalted butter and salt to taste after the rice is cooked.
Seasonings
Used in Recipe:
- 1½ teaspoons fine grain sea salt
- ½ teaspoon turmeric (the key to that vibrant yellow color)
- ½ teaspoon ground cumin (optional)
- ½ teaspoon coriander (optional)
What They Do: These aromatic spices create a subtle flavor that compliments chicken shawarma perfectly without overpowering the rice.
Substitutions:
- Salt: Adjust to taste or omit
- Turmeric: A tiny pinch of saffron can be used instead
- Cumin and Coriander: You can omit or swap with your favorite spices that will compliment your meal
Optional Add-ins:
- Black pepper
- Garlic powder
- Onion powder
- Any dry herbs you enjoy
- Fresh herbs - add them after cooking the rice
- You can also add in any kind of diced vegetables or cooked meat to create an all-in-one meal.
Liquid
Used in Recipe: 4 cups chicken stock or chicken broth
What it Does: The liquid amount is important for perfect fluffy yellow rice, but as long as you use 4 cups, you can change the liquid type. *When pressure cooking you will use equal parts rice and water for the best texture.
Substitutions:
- Vegetable broth for a vegetarian option
- Cold water (though you'll lose some flavor)
- A mixture of broth and water (I have made the recipe with 2 cups chicken broth and 2 cups water and it tastes great!
How to Make Yellow Basmati Rice in the Ninja Foodi Possible Cooker Pro
If you have the Ninja Foodi Possible Cooker Pro, I definitely recommend using it to make rice!
Usually when making rice in the Possible Cooker, I use the steam option, but because this recipes toasts the rice first it is important that you use sear/sauté on high the entire time. This will give you the best results.
Toasting the Rice
Turn the Ninja Foodi Possible Cooker Pro on and select sear/sauté on high. It will go through a period of preheat that lasts about 5 minutes.
I add the butter right away and let it melt during the preheat time and then add the rice once the butter is mostly melted.

Stir well to lightly coat the rice with the butter and then add the spices and stir to combine. This all happens during the preheat time.

Stir periodically until the preheat time is up and it says to "add food."
Steaming the Rice
Once the Possible Cooker Pro says to "add food," pour in your 4 cups of liquid and give it a good stir. All of the rice should be covered with liquid.
Put the lid on and the display will start to count up. You do not need to press any buttons, this happens automatically.

Quick Tip
The "Add Food" will stay on the display for 30 seconds or so, don't hit start or any other buttons or you may have to repeat the "preheat" time.
The liquid will begin to boil and the rice will start to absorb the liquid. I have found that 10 minutes on Sear/Sauté works great for how I like my rice to be cooked.
However, I would start to check on it after about 8 minutes by lifting the lid and giving it a stir to see how much liquid is left. You can also taste the rice at this time to see what the texture is.

Once the rice has absorbed almost all of the liquid (usually at the 10 minute mark), turn the Possible Cooker Pro off and let it sit for another 5 minutes. This time allows the rice to finish absorbing any leftover liquid and creates the beautiful and fluffy rice texture.
Fluff and Serve

Fluff the rice with your spoon and taste the rice for texture. If you want the rice done a little more, you can add another ¼ cup of liquid, stir and put the lid on for another few minutes with the pot turned off.
Transfer the rice to your serving platter and enjoy!

How to Make Yellow Basmati Rice using Different Cooking Methods
If you don't have the Ninja Foodi Possible Cooker Pro, no worries at all! This rice is easy to make several different ways and here are my suggestions.
Stovetop Directions
- Heat a pot or skillet on medium-high heat ( you will want a pot with a lid)
- Add your butter and let it melt.
- Add the white basmati rice and give it a good stir
- Add your spices and stir. Toast the rice for 2-3 minutes.
- Pour in your chicken stock or other liquid (4 cups for every 2 cups of rice), stir and put the lid on, but have it slightly vented.
- Reduce to low heat or medium heat (depending on your stove) and cook for 8-10 minutes.
- Stir and turn the stove off and let sit covered for 5 minutes.
- Fluff and Serve.
Rice Cooker Instructions
Follow the instructions on your rice cooker and, if it doesn't have the option to sauté the rice first, you can skip that part.
The liquid to rice ratio should be the same when using most rice cookers. I would also still add the butter!
Pressure Cooker Instructions
The major difference when cooking basmati yellow rice in the pressure cooker is the amount of liquid used. There is little to no evaporation when pressure cooking so the liquid is cut in half.
Here are the instructions for cooking the rice directly in the inner pot of your pressure cooker.
- Turn the Ninja Foodi Pressure Cooker or instant Pot on high sear/sauté and add the butter.
- Once the butter has mostly melted, add the rice and seasoning blend. Stir well to coat and sauté on high 2-3 minutes while stirring constantly.
- Add 2 cups of liquid for every 2 cups of rice (for 8 quart or larger pressure cookers and stainless steel inner pots add an extra 2-4 Tablespoons of liquid).
- Stir and put the pressure lid on. Select pressure cook on high for 2 minutes and press start.
- When the time is up, allow the pot to natural release for 10 minutes then release any remaining pressure.
- Fluff the rice and serve!
Yellow Rice Storage & Reheating Instructions
How to Store Leftover Basmati Rice
Refrigeration
Allow the rice to cool and then place it in an airtight container and store it in the refrigerator for up to 4 days.
Freezer
While I prefer to make rice fresh, you can store it in the freezer for a longer period of time. Just know that the texture isn't going to be exactly the same when reheated.
Make sure the rice has cooled completely before freezing and use airtight freezer bags so you can remove as much air as possible for the best quality when reheated.
Rice is best used within 6 months of freezing.
How to Reheat Yellow Rice
This is one of the very few times that I recommend using a microwave!
- Stovetop: Low heat with a splash of water
- Microwave: Short bursts with a damp paper towel on top and stir frequently
Frequently Asked Questions
Turmeric's vibrant yellow color is gorgeous in rice dishes but it does stain almost everything so use these tips to minimize it.
~ Use a dedicated spoon (it will become your "golden rice spoon")
~ Keep paper towels handy for quick cleanup
~ Wear an apron to protect clothing
~ Clean surfaces immediately
~ Measure the turmeric over the sink
You can absolutely cut the recipe in half by reducing all of the ingredients. The cook time will remain the same.
You can also double the recipe, but you will want to keep a close eye on how the rice is cooking and stir it a little more frequently. The issue with larger quantities of rice is the time it takes for the liquid to boil and that will be longer with 8 cups of liquid. This can cause the rice to cook unevenly and cause texture issues.
Absolutely! This basic basmati rice recipe can be easily customized to be the perfect side dish for all kinds of meals. Any of the spices can be omitted or substituted based on your preferences.
~Add aromatic spices like garlic powder or onion powder
~Include whole spices such as bay leaf or cinnamon stick (remove before serving)
~Toss in fresh herbs at the end
~ Mix in toasted pine nuts or toasted sesame seeds for crunch
~ Add a sweet flavor with caramelized onions
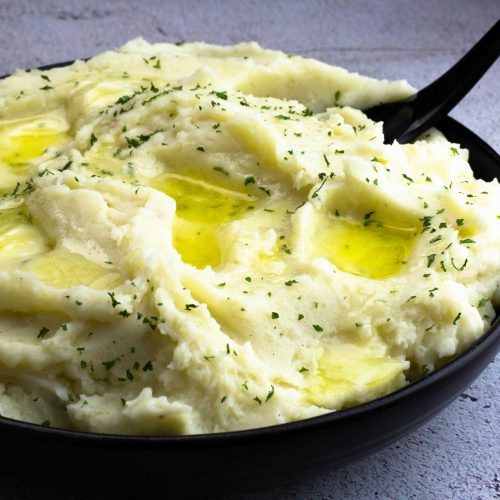
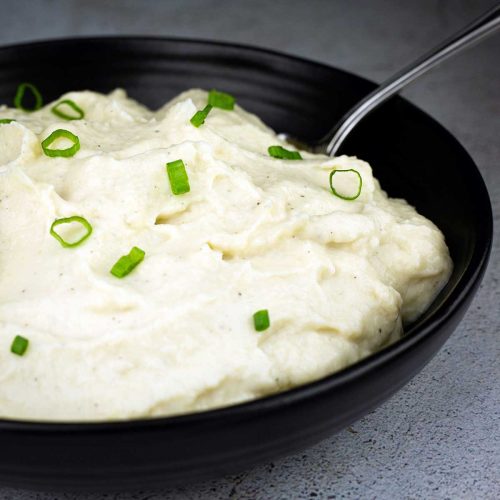
More Side Dish Recipes
Side dishes should compliment the flavors and textures of your meal and here are some I think you will love!

Yellow Basmati Rice Recipe
Equipment
- Ninja Foodi Possible Cooker Pro or any rice cooker/stovetop/pressure cooker
Ingredients
Basmati Yellow Rice
- 2 Tablespoon salted butter
- 2 cups basmati rice
- 4 cups chicken broth
Spice Blend
- 1½ teaspoons fine grind sea salt or kosher salt
- ½ teaspoon turmeric gives the yellow color
- ½ teaspoon cumin
- ½ teaspoon coriander
Would you like to save this recipe?
Instructions
Ninja Foodi Possible Cooker Pro Instructions
- Turn the Possible Cooker on high sear/sauté and press start. The preheat dashes will show on the display. Add the butter and once it starts to melt (still on preheat), add the rice and stir to coat with the butter.Add the seasonings and stir well. Stir frequently during the remaining preheat time to toast the rice.1½ teaspoons fine grind sea salt or kosher salt, ½ teaspoon turmeric, ½ teaspoon cumin, ½ teaspoon coriander, 2 Tablespoon salted butter, 2 cups basmati rice
- When the display says, "ADD FOOD," add the liquid and don't press any buttons. Stir well and put the lid on. The display will automatically start counting up in time.4 cups chicken broth
- Allow the rice to cook for 10 minutes, remove the lid and stir. Put the lid back on and turn the Possible Cooker off. Let the rice sit for 5 minutes. Fluff the rice with a spoon and serve.
Stovetop Instructions
- Add the butter to a medium size pot and turn the stove on medium high heat. Once the butter melts, add the rice and seasonings and stir frequently for 2-3 minutes to toast the rice.2 Tablespoon salted butter, 2 cups basmati rice, 1½ teaspoons fine grind sea salt or kosher salt, ½ teaspoon turmeric, ½ teaspoon cumin, ½ teaspoon coriander
- Add the liquid and stir, bring to a boil. Put the lid on and turn the heat to medium or medium low. You want the liquid to be at a constant simmer. Cook for 8-10 minutes. Stir and cover the pot again. Turn the stove off and let the rice sit in the covered pot for 3-5 minutes.4 cups chicken broth
Notes
- Turn the Ninja Foodi Pressure Cooker or instant Pot on high sear/sauté and add the butter.
- Once the butter has mostly melted, add the rice and seasoning blend. Stir well to coat and sauté on high 2-3 minutes while stirring constantly.
- Add 2 cups of liquid for every 2 cups of rice (for 8 quart or larger pressure cookers and stainless steel inner pots add an extra 2-4 Tablespoons of liquid).
- Stir and put the pressure lid on. Select pressure cook on high for 2 minutes and press start.
- When the time is up, allow the pot to natural release for 10 minutes then release any remaining pressure.
- Fluff the rice and serve!
Nutrition
About the Recipe Author, Louise Long
Louise is a full-time recipe creator and food blogger @ The Salted Pepper. She has over 30 years of experience with cooking and recipe development. She owned a restaurant for several years and was a full-time RN until retiring to blog full-time.

She published her first cookbook in the Fall of 2018 and is very interested in writing several more.
Louise is also the creator of an online Ninja Foodi Pressure Cooking Course with over 100 instructional step-by-step videos. People absolutely rave about the course and all the value they have received from it.
Louise has several very active Facebook groups that help people with the basics of cooking and learning more about the appliances they love.
Ninja Foodi Pressure Cooker & Air Crisper 101
Ninja Woodfire Outdoor Grill & Smoker
Louise is also a YouTube creator and you can find most of her recipes in video format on The Salted Pepper YouTube channel.
She is very responsive to messages and eager to help in any way she can. Get more Information about Louise & contact information
I WOULD LOVE TO SEE WHAT YOU ARE COOKING UP IN YOUR KITCHEN! TAG ME @THESALTEDPEPPER ON YOUR FAVORITE SOCIAL MEDIA PLATFORM WHEN YOU MAKE A DISH!
BE SURE TO FOLLOW THE SALTED PEPPER RIGHT HERE ⇓⇓⇓⇓⇓
Leave a Reply