Using the Ninja Foodi Pressure Cooker & Air Crisper to make the PERFECT asparagus is an easy way to get the results you want without having to stand over a skillet. You simply add water, select the function you want, and set the time. When the time is up, you have perfectly cooked asparagus to serve up as an easy side dish.
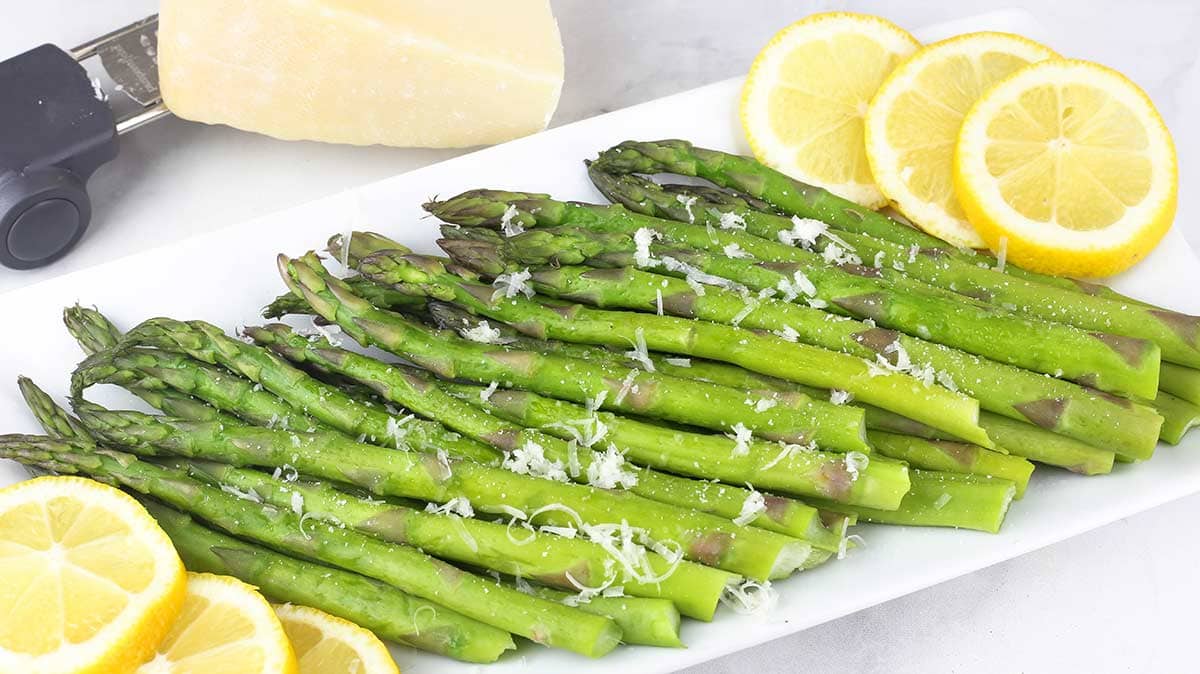
I love making fresh asparagus and always used to roast them in the oven or pan roast them in a skillet and I would say I had 50-50 results. Half the time they were perfect and the other half, they were under- or overcooked. Overcooking usually happened when I walked away from the pan on the stove to make another component of dinner. Undercooking happened because I was so worried about over cooking!
Jeff and I are eating more low carb these days and asparagus is a healthy side dish that goes with some many different foods, but I didn't like the varied results when I used a skillet or oven.
So, when I started using the Ninja Foodi to make my asparagus, I was so excited that I didn't have to second guess myself anymore. Of course, I did have to test out several timings and functions to get the desired results, but, now that that work is done, my asparagus is perfect every time.
You probably want to know the exact function, time, and temp to use and I totally get that. I'm going to help you even more than that though! In this article, we are going to go over several different cooking methods, times, and temperatures and the results they produce so you can pick the cooking method that is perfect for how you want your asparagus to be served.
Tips for Picking, Storing, Preparing and Cooking Asparagus
How to Pick the Best Asparagus Spears
The first step in making delicious asparagus is to pick out the best spears that you can. This can vary depending on what you are doing with the asparagus. For example, if I am going to blanch or steam asparagus for a salad, I want it to be super tender and very crisp even after cooking. The best asparagus for this is the pencil thin asparagus. Just a quick steam or blanch and it's ready to go!
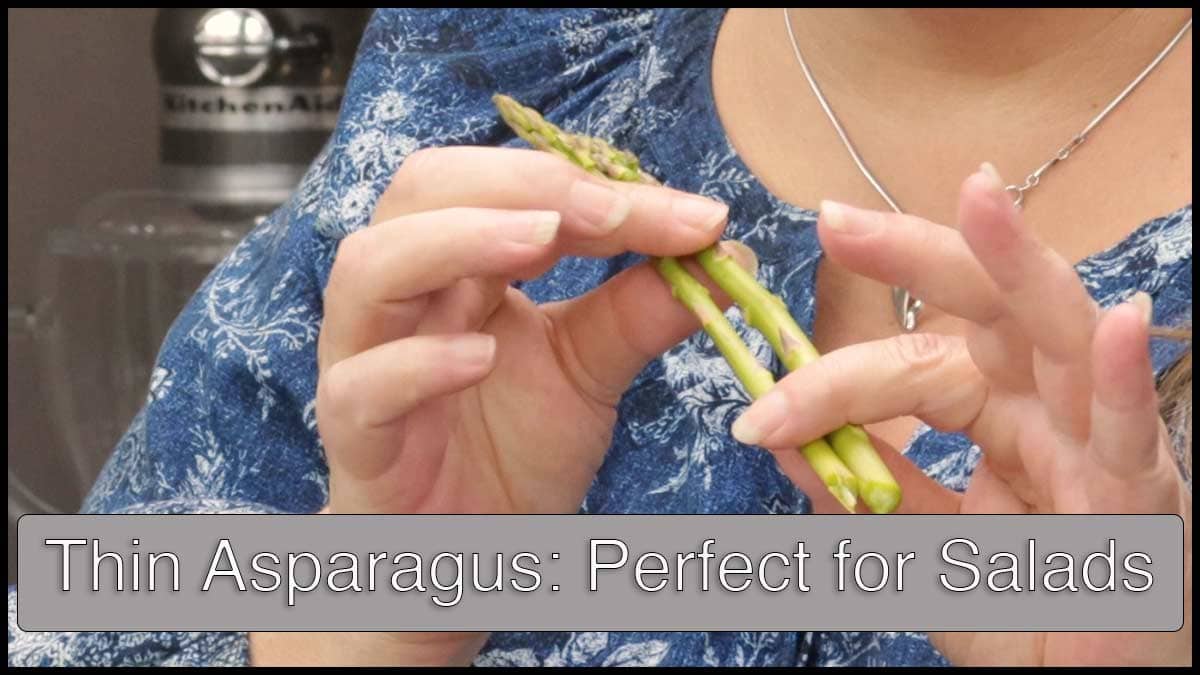
Medium size asparagus spears are always a safe choice for all preparations, but you want to stay away from really thick spears because they tend to be tough and fibrous. Some people like the thicker asparagus, but personally I don't. The spears are too woody for me and cooking does not fix that. If that is all you can find and need your asparagus fix, consider making this delicious soup. Creamy Asparagus soup recipe.
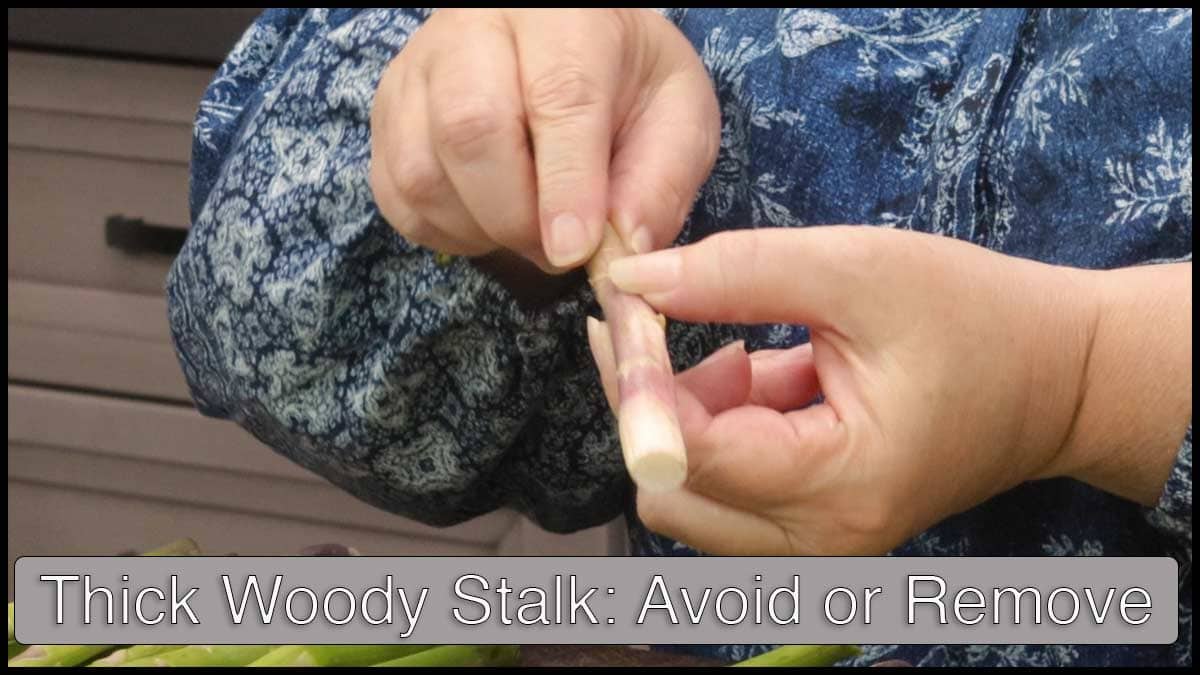
- Pick thin to medium diameter asparagus
- Make sure the asparagus tips are compact and not slimy looking
- Smell the asparagus. If it smells funny, skip it
The diameter of the asparagus spears is only step one, though. You also want to make sure that the tips of the asparagus are compact and not loose. Asparagus where the tips (florets) are spread apart are older and should be cooked right away or they will go bad pretty quickly. The tips of the asparagus should have some purple in them, but if the asparagus looks dull then it is old and should be avoided. Check the tips carefully before buying and avoid any that have a slimy look to them, they are already bad. When in doubt, your nose will tell you pretty quickly when asparagus goes bad, it stinks! You may find asparagus at your local grocery store that is in a sealed plastic bag. I have found that asparagus stored this way goes bad fairly quickly, so make sure to check those asparagus tips! If they look mushy or wet, don't bother getting them.
How to Store Asparagus Before Cooking
I recommend buying raw asparagus within 1-2 days of you wanting to make it for the freshest and most delicious asparagus. However, I don't always follow my own advice and I've has asparagus in my fridge much longer than that and it was fine! One thing you can do to keep it fresh longer is trim the stems off when you first get it home and stand the asparagus stalks upright in a glass of water with the tips up. Cover the top loosely with a plastic bag and store it in the fridge. This will keep it fresh the longest.
If you don't have room to store it upright, then wrap the stems in a damp paper towel and place the spears in a plastic bag unsealed.
How to Pick the Best Cooking Method for Asparagus
As with so many things, there isn't a right or wrong cooking method, they simply yield different results. So, before you start cooking your asparagus, ask yourself a couple questions.
- How am I going to use this cooked asparagus? Are you using it in a salad or serving it beside your favorite chicken recipe? Is it going into casserole that will be cooked longer?
- How do I like my asparagus cooked? If you like crunchy asparagus, softer, or even very soft asparagus is fine, just know how you like it so you can cook it using the best methods and times.
Once you have these answers, you can choose from the methods and timings that best meet your desired outcome.
Asparagus, like so many other green vegetables, does best in a moist cooking environment. That doesn't mean you can't use a dry cooking environment, like grilled asparagus or sautéed asparagus in a frying pan. You just have to manage the temperature and time to get the correct texture without burning the asparagus. This is why I like to use a combination of moist and dry heat and the Ninja Foodi Steam & Crisp function works perfectly for this!
How to Prepare Asparagus for cooking
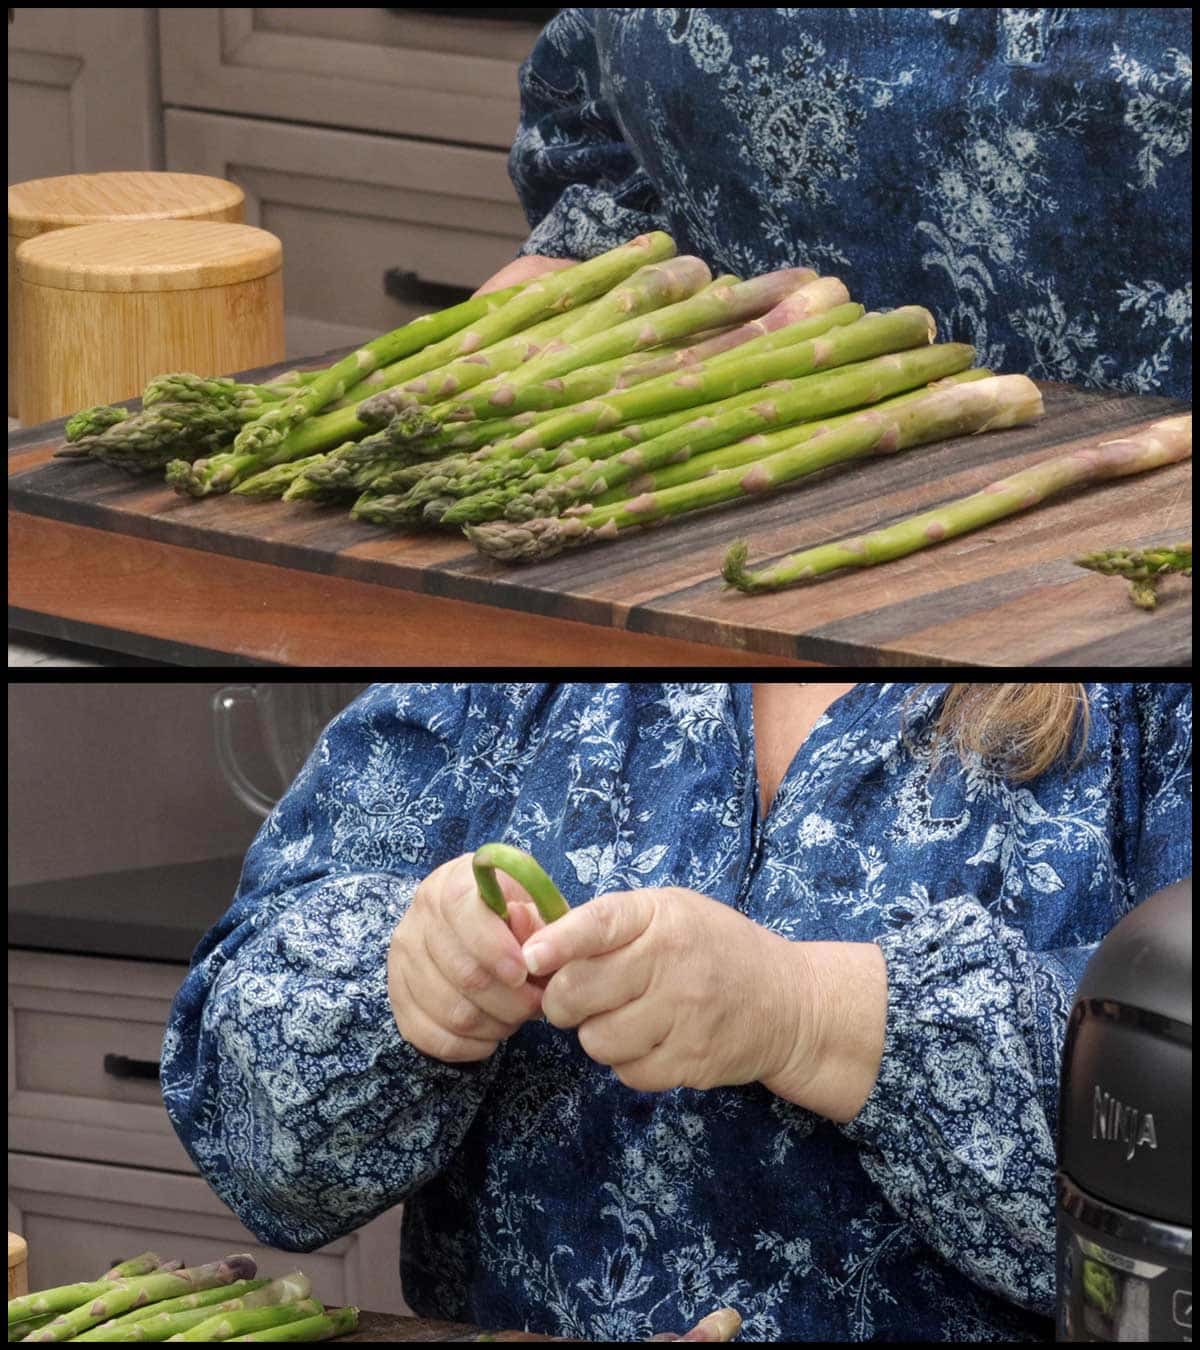
First, you want to rinse the asparagus, then snap the asparagus ends off where they naturally want to snap. The bottom part can be woody and tough and not pleasing as steamed asparagus or steam & crisped asparagus.
Discard any asparagus that feels slimy or has an unpleasant odor.
Save the ends though, they are perfect for making cream of asparagus soup (recipe link). Simply put them in a bag and store them in the freezer until you have enough to make the soup.
How to Steam Asparagus in the Ninja Foodi (all models)
The cooking time will depend on the size of your asparagus stalks and how you like your asparagus cooked.
Once you have your asparagus prepped and ready to go. Add 2 cups of water to the inner pot and place the asparagus in the air fryer basket or air fryer tray. You can also use the rack, but I've had my asparagus fall through the holes before.
You can also lay some lemon slices over the asparagus to get a hint of lemon flavor.
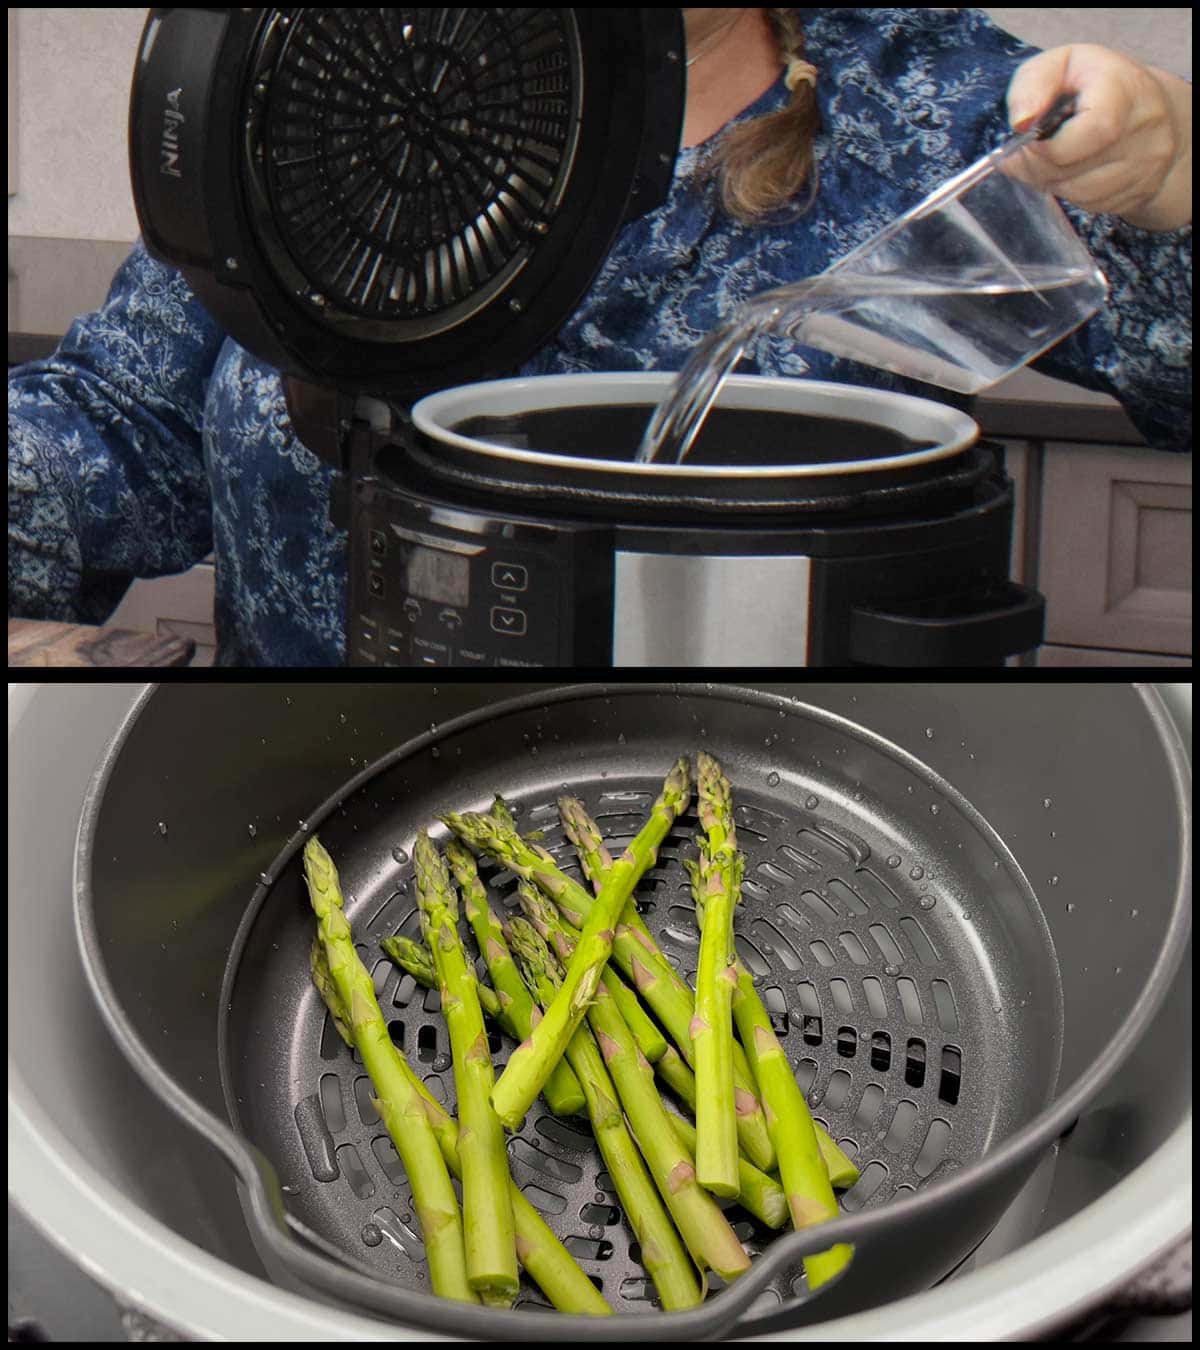
Place the pressure lid on the Ninja Foodi 2 lid models and turn the valve to VENT. This is extremely important. When steaming, you want the steam to escape and it won't if the valve is closed resulting in overcooked asparagus.
If you have the Smart Lid model with only 1 lid, close the lid and slide the slider all the way to the right. It doesn't matter when steaming where the valve is because there are vents in the lid. These vents allow more steam to escape which results in slower cooking when steaming, so you may find that you need to add 1-2 minutes to the steam times below to get the results you want. It's easy to check on the asparagus by opening the lid and unlike the 2 models, it will never be locked during steaming.
Pencil Thin Asparagus
For pencil thin asparagus, set the steam time for 1 minute for snappy asparagus and 2 minutes if you want it softer. When the time is up, remove the lid and check one asparagus spear to make sure it is cooked the way you like. If you need to cook longer, don't go back on steam, just turn on the sear sauté on high to keep the water boiling and steam until it is done to your liking.
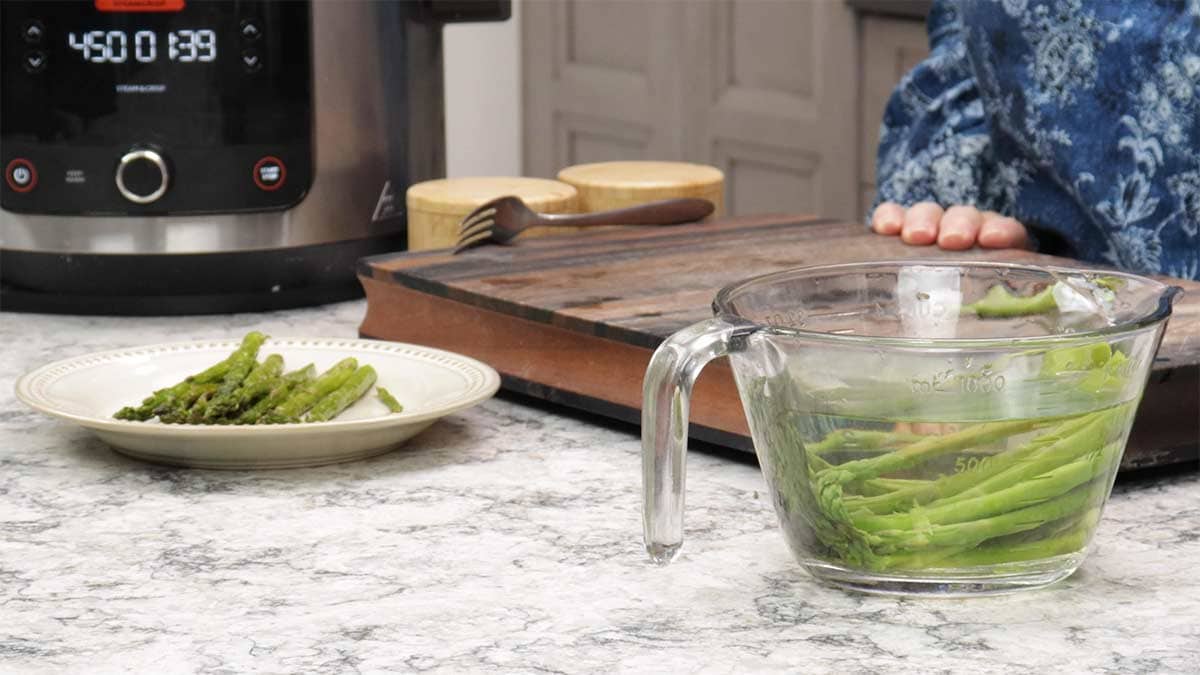
If you are using the asparagus in a cold salad, par cooking for a stir fry steam 1 minute and put it into an ice water bath to stop the cooking process.
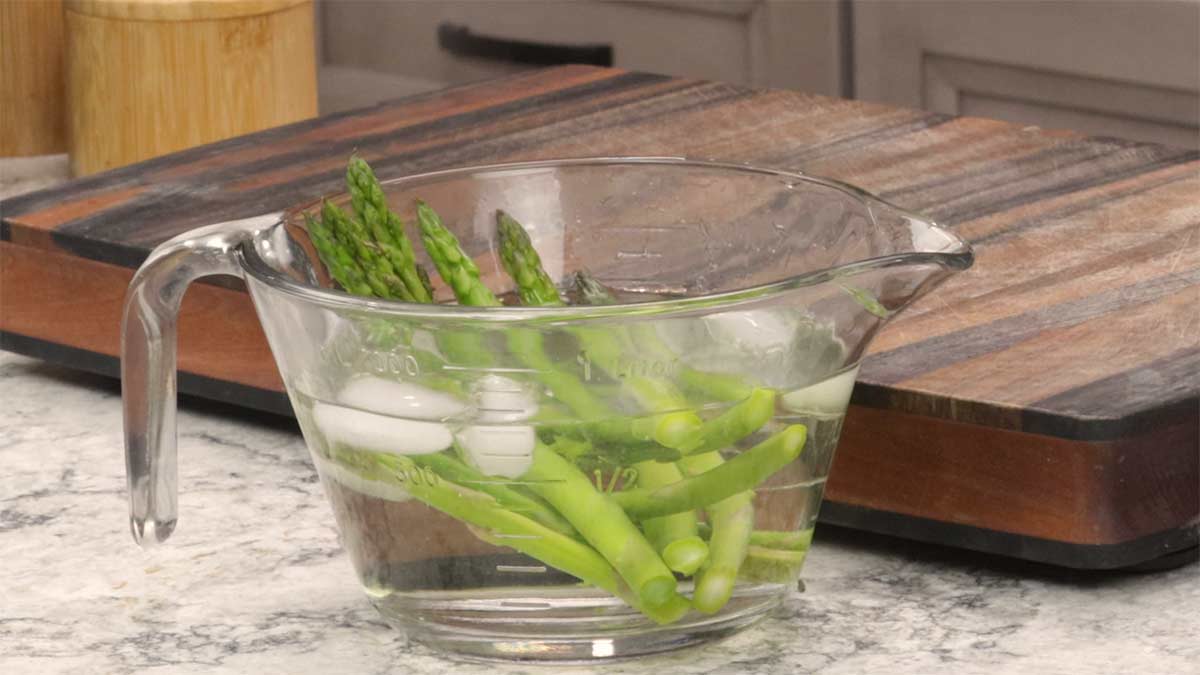
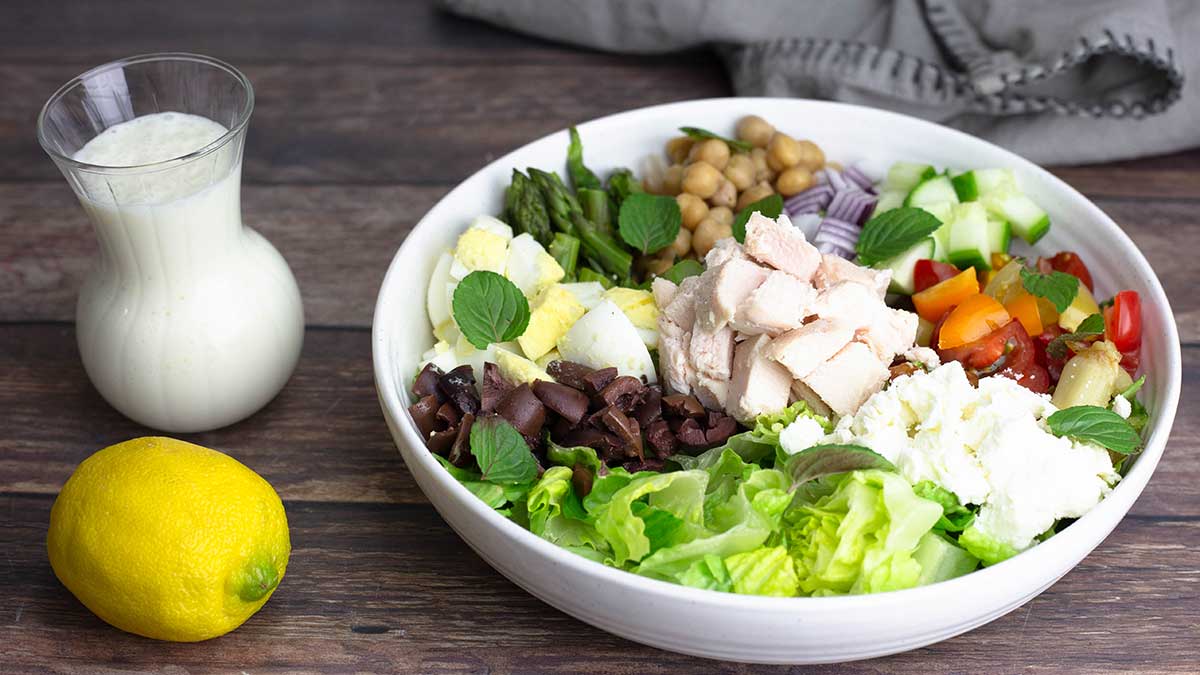
Once it's chilled it's ready to go. You can use it in stir fry or cut it into bite size pieces and use it in a salad. I recently did this with my (recipe link) Mediterranean Salad and it was wonderful.
If you are serving steamed asparagus, season with salt and pepper or whatever seasoning you like and add some butter and freshly grated parmesan for that extra something special!
My favorite way to serve steamed asparagus is under a poached or sunny side egg that is perfectly salted and topped with parmesan cheese and a squeeze of lemon. The runny yolk mixed with the cheese makes the perfect sauce for the asparagus.
Medium Size Asparagus
For medium size asparagus, set the steam time for 2 minutes. I don't recommend going any longer than this or your asparagus may be too soft. One thing that can happen with the 2 lid Ninja Foodi when steaming is the pin can pop up, even though the vent is open. This can lock the lid in place and you have to wait until the pin drops to open the lid. You can steam with a glass lid and avoid this issue.
When the time is up, open the lid and check one of the spears to make sure it is the texture you want. You can always turn on sear/sauté to keep the water steaming and cook longer.
Thick Asparagus
I never cook thick asparagus, but I would start with a 4-minute steam time. The thicker the asparagus, the woodier the stem and that will take longer to steam enough to be soft and hopefully not too stringy.
How to Steam & Crisp Asparagus in the Ninja Foodi Pressure Cooker & Air Crisper with 2 Lids
It's not quite as easy to steam/crisp in the 2 lid model because you have to change out the lids and take a few other things into consideration that you don't need to when using the Smart Lid Ninja Foodi. However, it can be done with almost everything that you would want to steam/crisp. For example, my recipe for Ninja Foodi Whole Chicken is done in the two lid model using both steam and crisp and let me tell you, it's the BEST chicken I've ever made! Here's the recipe if you want to try it: Ninja Foodi Whole Chicken
Steam and crisp is going to work best with medium size asparagus, so that is what I am referencing with these times and temps.
The first part of the process starts off the same as steaming asparagus, except you want to lightly toss the asparagus spears in a little oil and salt and pepper. Place ½ cup of water into the inner pot and place the asparagus in the air fryer basket or on the crisping plate, whichever came with your model.
Put the pressure lid on and turn the valve to VENT. Select the steam function and set the time for 1 minute. When the time is up, remove the pressure lid. Try to keep the time between switching lids as minimal as possible so you maintain some heat in the pot.
Close the air frying lid and select the air crisp (or air fry) function and set the temperature to 400℃/200℃ and set the time for 5 minutes. Air Crisp for about 3 minutes and check on the asparagus to see if it done to your liking. You can continue to air crisp longer, if needed.
Serve and Enjoy!
How to Steam & Crisp Asparagus in the Ninja Foodi Pressure Cooker & Air Crisper with Smart Lid
My favorite way to make asparagus to serve with dinner is to use the Ninja Foodi Steam & Crisp function on the new model of Ninja Foodi's with the Smart Lid.
While the process is the same as in the 2 lid models, you don't have to switch lids and the appliance does the switch over from steam to air crisp for you.
When using the steam & crisp function on the Ninja Foodi OL Series with Smart Lid, you set your temperature and time for the crisping part of the cycle only. This temperature setting doesn't affect the steam temperature directly.
Steaming occurs when water or thin liquid is heated to a boil and the liquid molecules are heated to a point where they become heated vapor and that heated vapor circulates around the food and transfers heat to cook it. It's a very effective method of cooking on it's own, but when you follow the steam with a dry heat, you get that magical combination of tender asparagus with just enough dry heat to produce a roasted flavor.
Prep (Mise En Place)
Rinse and break off the ends of the asparagus spears and spritz or toss in olive oil (or your oil of choice). Lightly season with salt and black pepper or your seasonings of choice.
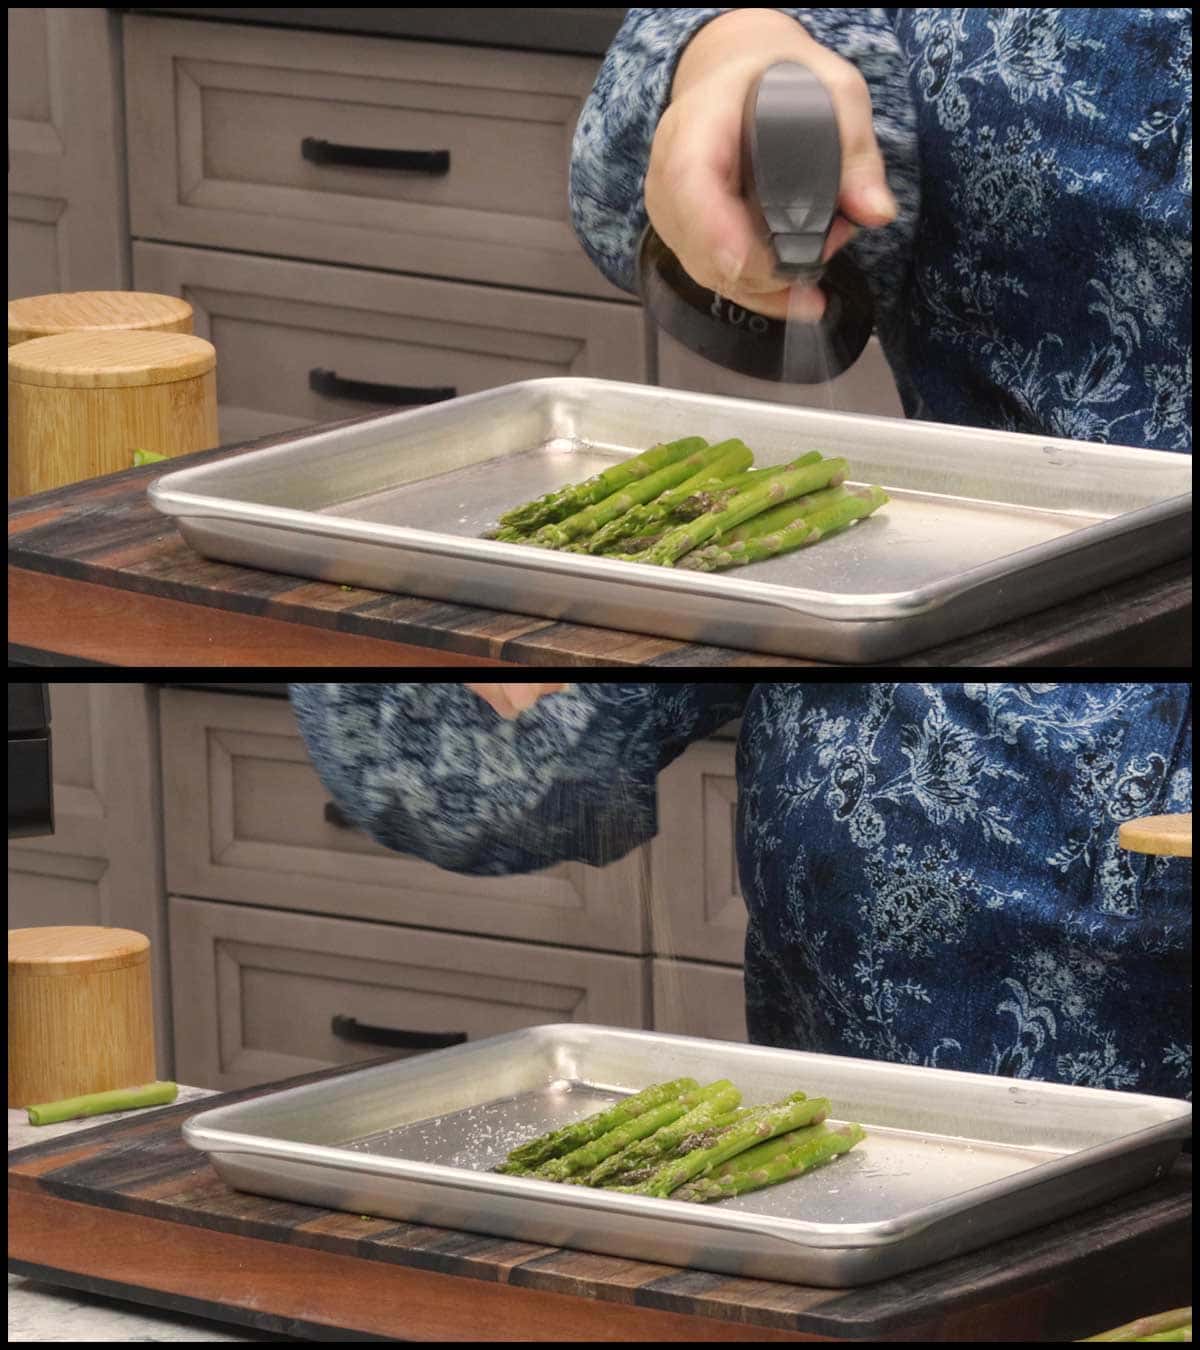
Measure out ½ cup of water. There is really no advantage to steaming with a flavored liquid when the food is going to be sitting above the liquid, so stick with water.
While you can toss the asparagus around during the air crisping cycle, each time you open the lid you lose heat and this will prolong the cook time.
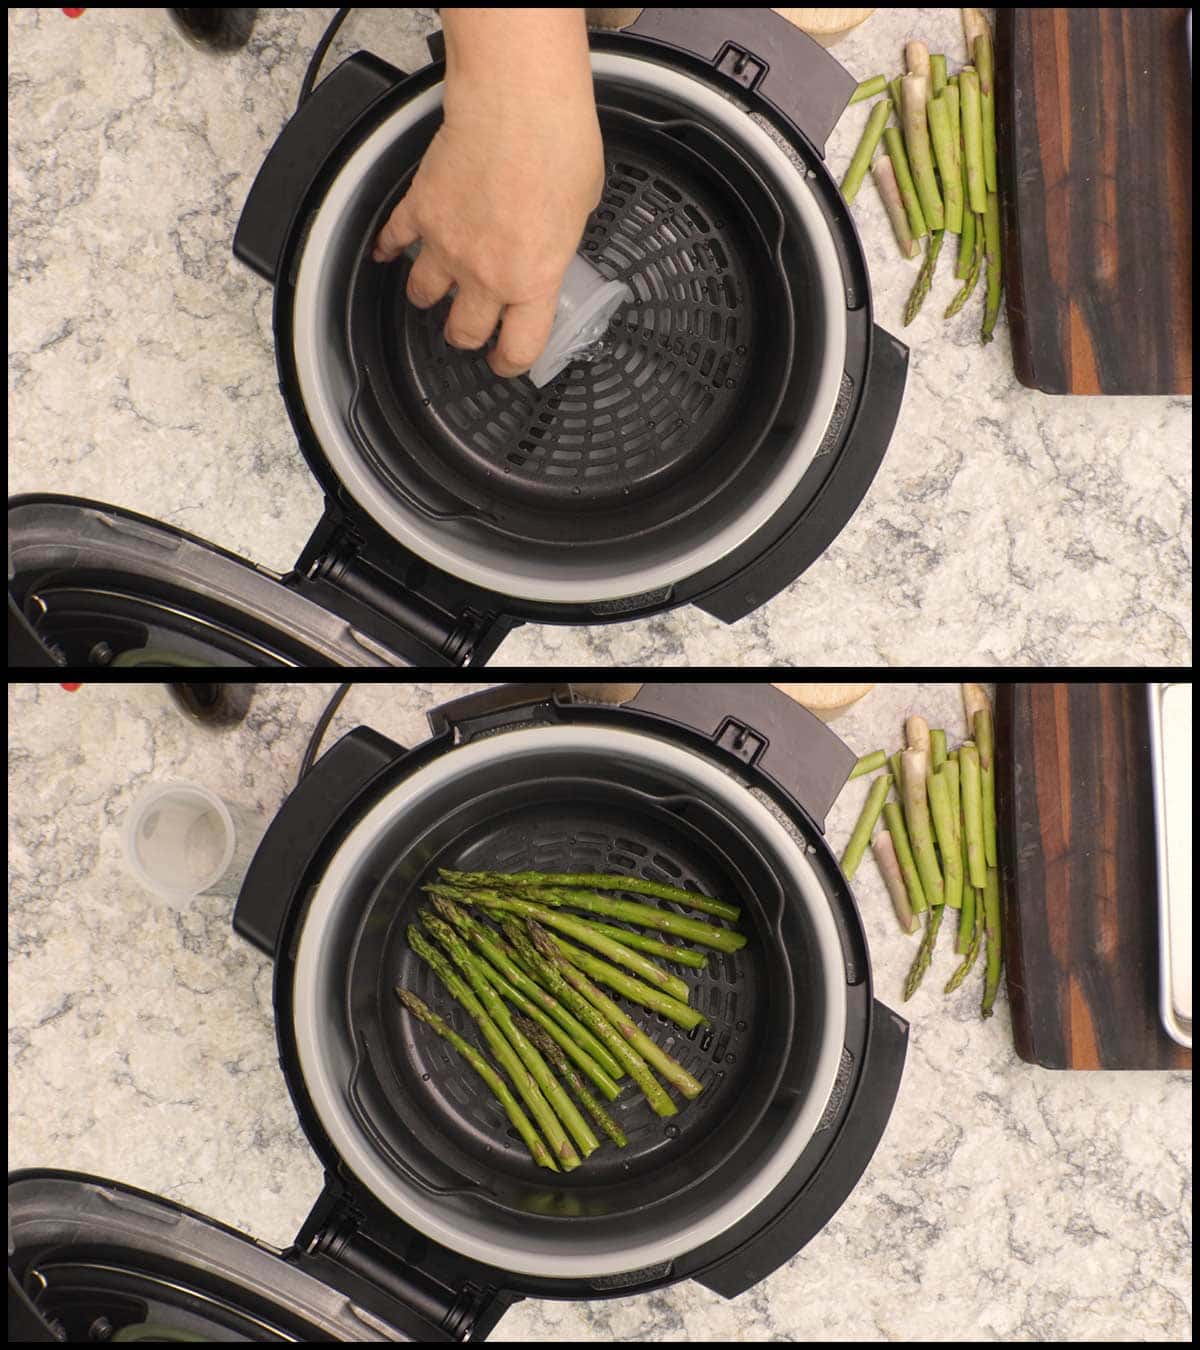
Add the ½ cup water to the inner pot and place the basket or crisping plate into the Foodi.
Place the asparagus into the air fryer basket or on the crisping plate, whichever came with your Foodi. You don't have to keep the asparagus in a single layer, but you also don't want to have the basket full or it will be difficult for the steam to circulate properly and you may have unevenly cooked asparagus. The crisping function is only going to provide that roasted flavor to the asparagus spears that get the direct heat, so this is another reason not to fill the basket with too much asparagus.
Steam & Crisp
Close the lid and move the slider to the center. Select the Steam & Crisp function. Set the temperature to 450℉/230℃ and the time for 7 minutes. When using Steam & Crisp, I recommend setting your time higher than you need to so you have some wiggle room if the food isn't quite cooked to your liking in the time a recipe states.
It usually takes 5 minutes on Steam & Crisp for medium asparagus to be perfectly cooked to my liking, but I always set it for 7 minutes and check it at 5 minutes. This way, if you want to cook it longer, you can without worrying about the time running out. You can always increase the time during the cooking cycle as long as it hasn't run out and the cycle stopped.
On Steam & Crisp, if the time is up and the cycle finishes you would have to start back at the steam phase of the cooking process or switch functions. To avoid that, just set the time higher from the start.
While the steam is building, you will see a "PRE" with dashes across the display. This is the Foodi telling you it's heating up the water and starting the steaming process. It will automatically switch over to the crisping function when it's fully preheated.
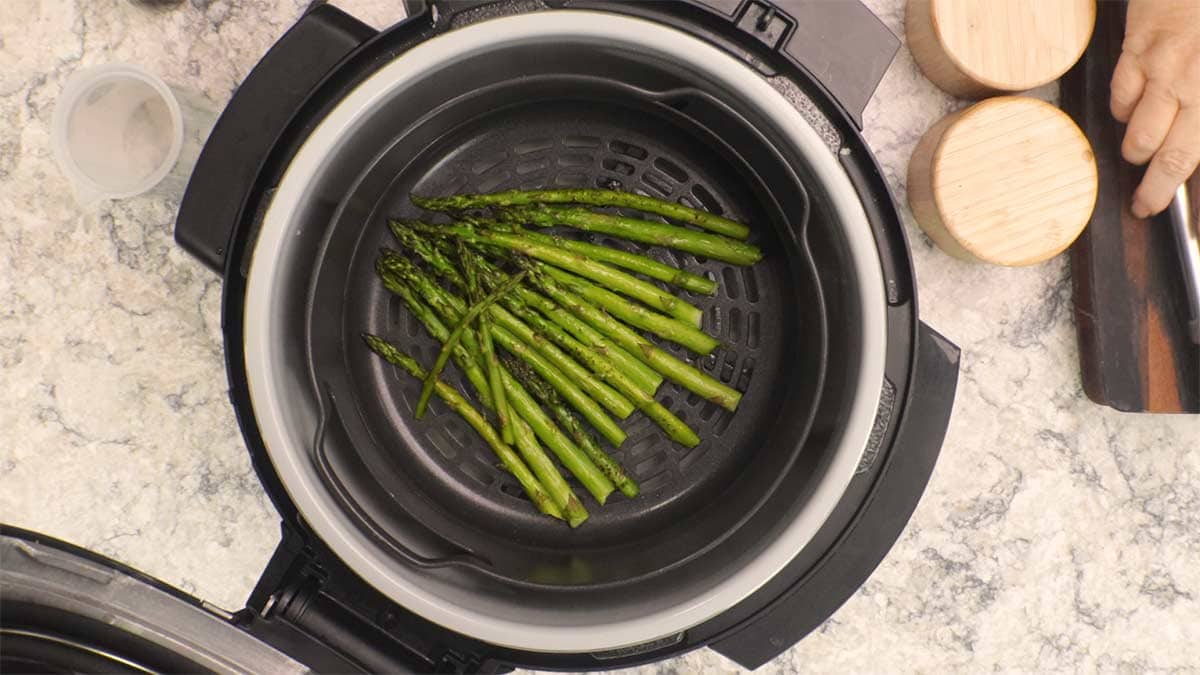
It's important that you don't open the lid during the first 3 minutes or so after the time starts counting down or you will lose a lot of the steam and impede the cooking process. After 3 minutes, you can check on the asparagus, if you want to. However, I let it go 5 minutes and then check and it's always been perfectly cooked in 5 minutes.
Finishing Touches
You can certainly stop here and serve your delicious asparagus, but if you want to dress it up a bit, here are some suggestions.
- Keep it simple with a squeeze of fresh lemon juice
- Grate some fresh Parmesan cheese on top for an added layer of flavor
- Put a poached or sunny side egg on top of a few asparagus spears and top with grated parmesan for a fantastic appetizer
No matter how you cook your asparagus, using the Ninja Foodi is a great way to do it!
More Ninja Foodi Side Dishes!
I love using my Ninja Foodi to make delicious side dishes and here are some of my favorites!
- Air Fryer Hasselback Potatoes
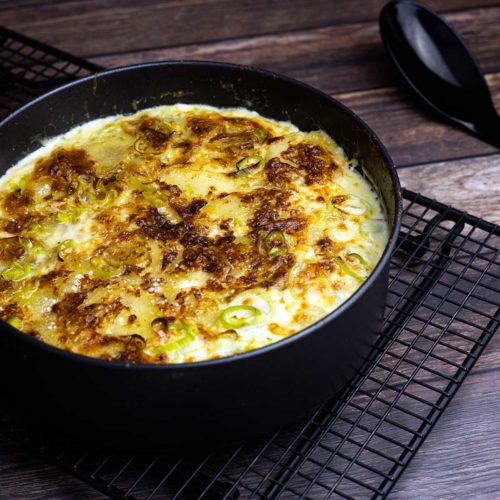
- Scalloped Potatoes in the Ninja Foodi
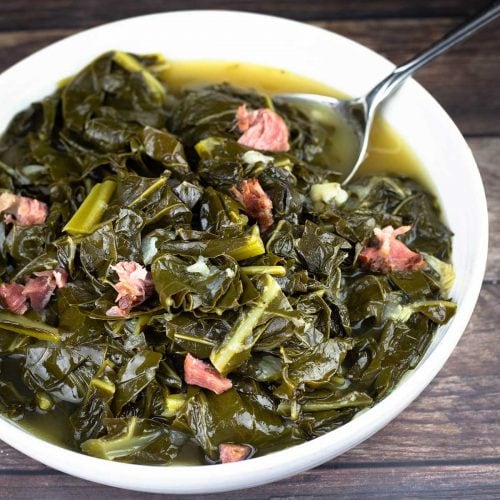
- Ninja Foodi or Instant Pot Collard Greens
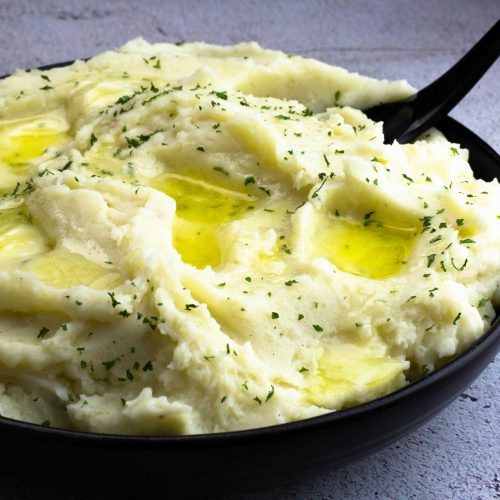
- Ninja Foodi Mashed Potatoes
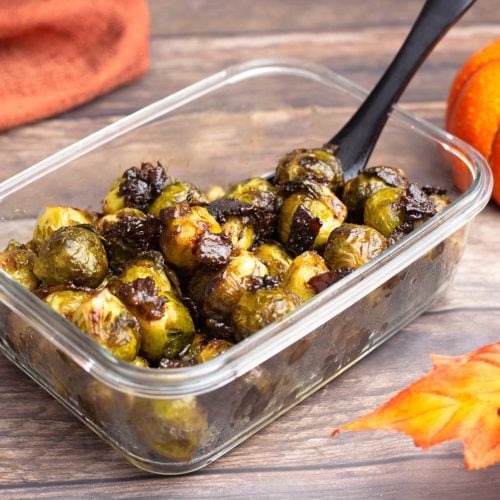
- Candied Brussels Sprouts
- Sweet Potato Casserole with a Toasted Pecan Topping (Ninja Foodi or Pressure Cooker recipe)
- Ninja Foodi Sweet Potato Fries
- Air Fryer Garlic Knots
Ninja Foodi Asparagus Recipe
Equipment
Ingredients
- 1 pound medium size asparagus about 16 spears
- 1 Tablespoon olive oil
- ½ teaspoon fine grind sea salt
- ¼ teaspoon black pepper
- ½ ounce parmesan cheese
- 1 lemon
Instructions
Prepare the Asparagus for Cooking
- Rinse the asparagus and break off the ends. Bend the asparagus and where it breaks is where the tough end stops and the tender asparagus starts.
- Lightly oil the asparagus spears and season with salt and pepper
Steam & Crisped Asparagus in the 2 Lid Ninja Foodi Models
- Place ½ cup of water in the inner pot and put the basket or crisping plate into the Foodi. Add the asparagus to the basket or plate.
- Put the pressure lid on and turn the valve to VENT. Select the steam function and set the time for 1 minute. The pot will take a few minutes to preheat and then the countdown will begin.
- When the time is up, remove the pressure lid. If the pin is up, turn the Foodi off and wait for it to drop, then open the lid.
- Close the Crisping lid and select air crisp on 400°F/200°C and set the time for 5 minutes. Check on the asparagus after about 3 minutes and continue to air crisp/ air fry until it is done to your liking.
- When the asparagus is done, remove and place on a platter. Serve with lemon wedges and top with grated parmesan cheese if desired.
Steam & Crisped Asparagus in the OL Series with Smart Lid
- Once the asparagus is prepared and seasoned, add ½ cup water to the inner pot and place the basket or crisping plate into the inner pot. Put the asparagus on the plate or in the basket.
- Close the lid and slide the slider to the middle. Select Steam & Crisp function and set the temperature to 450°F/230°C and the time for 7 minutes.
- Hit start and you will see "PRE" with dashes across the display. This is letting you know that the water is heating up for the steam portion of the cooking cycle. Once it preheats and steam is built, the countdown will start. It's important not to open the lid during the first 3 minutes or you will lose a lot of steam and impede the cooking process.
- After 5 minutes (when the countdown is at 2 minutes) open the lid and check on the asparagus. Try a spear and see if it done to your liking. 5 minutes has always been a good time for me and results in a crisp asparagus. If you like it softer, then close the lid and keep going. You can also increase the time during the cooking cycle as long as you don't let it run out.
- If you do let the cycle end and the asparagus are still not cooked to your liking, then switch over to air fry on 400°F/200°C and continue cooking until it is done the way you like it.
- When the asparagus is done, remove and place on a platter. Serve with lemon wedges and top with grated parmesan cheese if desired.
Steamed Asparagus in any model Ninja Foodi
- Depending on how you are serving the steamed asparagus, you can oil and season it with salt and pepper (any seasonings you like) or leave it plain. I leave it plain when using in salads or par cooking for stir fry and season it when serving as a side dish.
- Add 2 cups of water to the inner pot. Place the basket or crisping plate into the Foodi. Add the asparagus to the basket or plate.
- For the 2 lid models, use the pressure lid with the valve VENTED. For the 1 lid models, close the lid and slide the slider to the far right. It doesn't matter where the valve is on the 1 lid models.
- Select the steam function and in the 2 lid models set the time for 1 minute if you want crisp asparagus spears to add to a salad or stir fry and 2 minutes if you want it a little softer. In the 1 lid models, set the time to 3 minutes for crisp asparagus and 4 minutes for softer asparagus. The one lid model has more heat loss due to the vents in the lid and it takes longer to steam, but definitely check on the asparagus the first you make it and you can stop the cooking cycle at any time.
- When the asparagus is done, remove and either put it in an ice bath to stop the cooking process if using in salad or reheating later or place it on a platter and serve with lemon wedges and top with grated parmesan cheese.
Nutrition
ABOUT THE RECIPE AUTHOR, LOUISE LONG
Louise is a full-time recipe creator and food blogger @ The Salted Pepper. She has over 30 years of experience with cooking and recipe development. She owned a restaurant for several years and was a full-time RN until retiring to blog full-time.

She published her first cookbook in the Fall of 2018 and is very interested in writing several more.
Louise is also the creator of an online Ninja Foodi Pressure Cooking Course with over 100 instructional step-by-step videos. People absolutely rave about the course and all the value they have received from it.
Louise has several very active Facebook groups that help people with the basics of cooking and getting the most out of the Ninja Foodi.
Louise is also a YouTube creator and you can find most of her recipes in video format on The Salted Pepper YouTube channel.
She is very responsive to messages and eager to help in any way she can. Get more Information about Louise & contact information
I WOULD LOVE TO SEE WHAT YOU ARE COOKING UP IN YOUR KITCHEN! TAG ME @THESALTEDPEPPER ON YOUR FAVORITE SOCIAL MEDIA PLATFORM WHEN YOU MAKE A DISH!
BE SURE TO FOLLOW THE SALTED PEPPER RIGHT HERE ⇓⇓⇓⇓⇓





Leave a Reply