
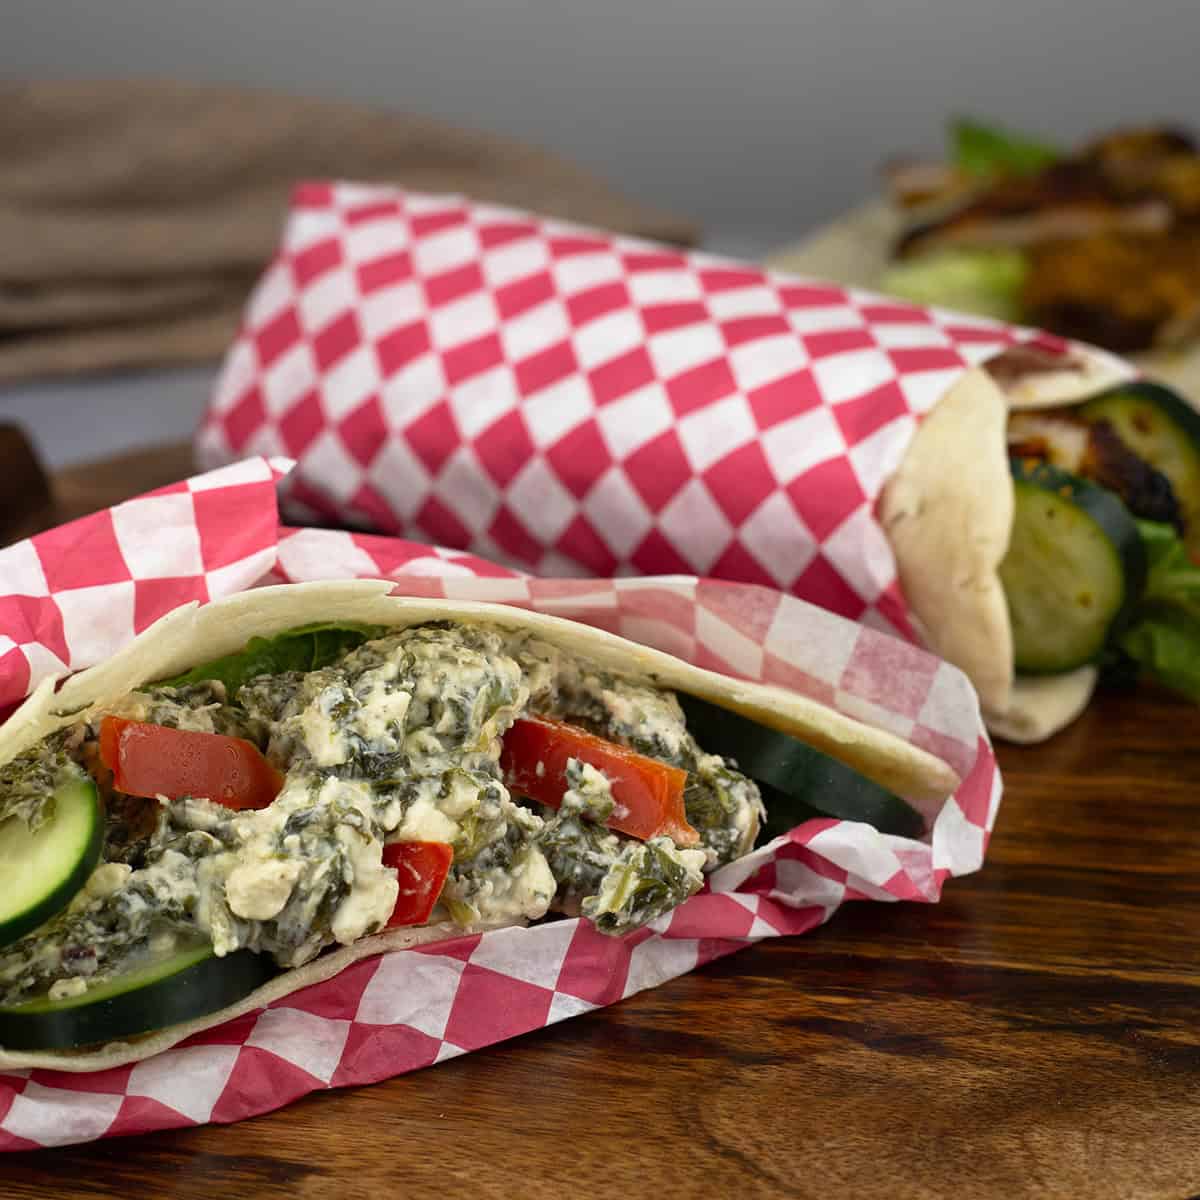
Homemade Shawarma Bread is a pita-style bread that is not opened up to create the familiar pita pocket for stuffing. Instead it is used as a flatbread wrap.
The texture is soft and pliable and they are very easy to make at home using your air fryer or oven.

Would you like to save this recipe?
When I was working on my Air Fryer Shawarma recipe I did quite a bit of research into the type of bread used for Shawarma wraps and, while there were varying answers, most people use a flatbread style of pita dough.
I can't find anything like that where I live, so I developed my own recipe using just a few basic ingredients and a straightforward and easy process so that you can make this delicious Shawarma bread at home too!
This recipe can also be used for a traditional pita style bread that you open up and stuff with all your favorite sandwich ingredients. Pita bread is usually made with a combination of whole wheat flour and all purpose flour and you can definitely modify the recipe to include whole wheat flour, if you like. I will go over that in the Ingredients & Substitutions section.
Suggested Kitchen Tools for Homemade Shawarma Bread
You do not need any special equipment to make this recipe, however I did use my Ninja Combi as an air fryer because I found it to be super easy and the results were very predictable.
You can use another style of air fryer, but make sure you have enough clearance for the bread to puff up without hitting the heating element. Also, you may have to adjust the size of your pita or wraps to accomodate smaller air fryers.
Using your oven is another great option for making this recipe and I provide those instructions later in the recipe article.
Here are a few basic kitchen tools that will help in making the shawarma bread or pita bread.
- Stand Mixer (optional, I didn't use mine in this recipe)
- Tongs
- Baking Trays
- Rolling Pin
- Large Surface for rolling out the dough or Pastry Mat
Ingredients & Substitutions
This Shawarma bread recipe only uses a few ingredient; flour, yeast, salt, water, and olive oil(not pictured).

It is always best to make the recipe as written, but sometimes that just isn't possible. I am a huge proponent of using what you have on hand and you may have some ingredient preferences or dietary restrictions. Here are some substitutions that can be made if needed.
Please note that these are only suggestions and I have not tested the recipe using them.
Flour
- Used in the Recipe: 3 cups all-purpose flour
- What it Does: Forms the base structure of your bread
- Substitutions:
- Bread flour (note: you'll need extra liquid)
- Up to 1 cup whole wheat flour mixed with 2 cups all-purpose for a heartier version (note: you may need a little extra liquid)
- White whole wheat flour for a lighter whole grain option
- Gluten Free Options: I have not tested this recipe using gluten free flour, but you can try using a gluten-free flour that is specifically for making bread.
- Tips
- Measure by spooning flour into measuring cups and leveling off, don't scoop directly
- Always have extra flour available when making a bread recipe. You will need it for the work surface and sometimes to add into the dough if it is too sticky.
Yeast
- Used in the Recipe: 1½ teaspoons instant yeast
- What it Does: Creates the rise in the dough. Yeast is necessary to make pita bread, but if you do not have yeast on hand, you can make delicious homemade tortillas using baking powder. Here is my recipe: Homemade Tortilla Recipe
- Substitutions:
- Active dry yeast (same amount, but needs proofing first)
- Fresh yeast (use 1 tablespoon)
- Tips: Store yeast in an airtight container in the fridge (or freezer) to extend its life
Salt
- Used in Recipe: 1 teaspoon fine grind sea salt
- What it Does: Enhances flavor and controls yeast growth
- Substitutions:
- Table salt (reduce to ¾ teaspoon)
- Kosher salt (use same amount as in the recipe)
- Tips: Salt is important in bread for flavor and also helps strengthen gluten strands, however, in this recipe you can skip it if necessary.
Water
- Used in the Recipe: 1¼ cups warm water (around 105°F/40℃)
- What it Does: Activates yeast and creates proper dough consistency
- Temperature Guide:
- Should feel like warm bath water
- Too hot will kill yeast (avoid over 110°F)
- Too cool will slow yeast activity
- Substitutions:
- You can substitute whey in place of water if you want to add protein to the dough. Please note this may change the texture of the bread.
- Tips:
- The exact amount needed may vary based on humidity and flour type.
- Go by the feel and texture of the dough and only use the water amounts as a guide.
- If your dough is too sticky, you can always add more flour.
Oil
Used in Recipe: 1½ tablespoons olive oil
What it Does: Creates tenderness and helps with storage life Substitutions:
- Any neutral oil (canola, vegetable, grapeseed)
- Light olive oil for a milder flavor
- Avocado oil for a heart-healthy option
Tips: Adding oil after initial mixing helps develop proper gluten structure
How to Make Homemade Shawarma Bread/Pita Bread
What I love about this dough is that you can use it two ways - either as a wrap for shawarma or as a pita pocket. It only requires one rise, so it is quicker to make than other types of bread and can be made without any special equipment.
What You'll Need
Just a handful of basic ingredients:
- 3 cups of all-purpose flour
- 1½ teaspoons of instant yeast (don't worry if you have active dry - I'll show you what to do!)
- 1 teaspoon of fine sea salt or kosher salt (quick tip: if you're using regular table salt, reduce the amount to ¾ teaspoon)
- 1¼ cups of warm water (aim for about 105°F/40℃ - it should feel like warm bath water)
- 1½ tablespoons of olive oil (any neutral oil works fine if you don't have olive oil on hand)
Making the Bread Dough
Determine what kind of yeast you have.
- For instant yeast: Just mix it straight into your flour - easy peasy!
- For active dry yeast: Give it a little spa treatment first - mix it with some of your warm water and let it get bubbly (about 5-10 minutes). You can also add up to 1 Tablespoon of sugar to the water/yeast mixture if desired. This helps activate the yeast quicker.
Mixing the Dough by Hand
- Start by combining your flour and yeast in a large mixing bowl
- Add about half of your warm water and mix it up with a wooden spoon or spatula. Don't worry that it looks like a shaggy mess right now, that is to be expected
- Sprinkle in your salt and keep mixing
- Add the remaining water gradually - your flour will tell you how much it needs! Once the dough comes together and is just slightly tacky to the touch, you have added enough water.

- Finally, drizzle in the olive oil and mix until the dough forms a dough ball

Kneading the Dough by Hand
- First, turn your dough onto a floured surface and knead it until it feels tacky but not super sticky (add tiny bits of flour if needed)

- knead the dough by pressing your palm with one palm over the other into the dough and pushing forward. Fold the dough back onto itself and repeat the process. Add as much flour as you need to achieve a dough that is tacky, but not super sticky.

- You don't need to knead the dough for any longer than 5 minutes and you can watch the short video below to better understand the kneading process.
- Shape the dough into a nice ball and give it a light coat of oil on both sides

Using a Stand Mixer to Mix & Knead the Dough
- Install the dough hook.
- Combine your flour and yeast in the bowl of your stand mixer and use a low speed to mix it together.
- Add about half of your warm water and mix on low speed until the flour starts to absorb the water. It will look quite crumbly at this point.
- Sprinkle in your salt and keep mixing on low
- Add the olive oil now and mix on low for about 1 minute.
- Add the remaining water gradually - your flour will tell you how much it needs!
- Once the dough comes together and adheres to the dough hook, touch it and if it is slightly tacky, you have added enough water.
- Knead the dough using the dough hook for about 3 minutes on Speed 2.
If your dough feels too wet, add a little flour. If it feels too dry, add a little more water. The dough should be smooth and shiny and just slightly tacky to the touch.
Proofing the Dough
You can either proof the dough on the counter at room temperature or use any appliance that has the proof function. You can also use your oven with the light on which provides a little warmth.
- Ninja Combi: Place the lightly oiled dough ball directly in the bottom of the Combi Pan. The lever on the top of the appliance should be in the "up" position. Set the temperature to 95°F/35℃ and the time to 45 minutes.

- Ninja Foodi: Place the lightly oiled dough ball directly in the bottom of the inner pot. Select the "Proof Function" and set the temperature to 100°F/40℃ and the time to 30 minutes.
- Room Temperature: Place the dough ball in a covered bowl or container that is large enough for the dough to double in size and let sit on the counter until it doubles in size. This can take anywhere from 1-2 hours or maybe longer if your house is really cold. Placing the bowl in your oven with the light on will speed up the proofing.
Rolling out the Dough
Once your dough has doubled in size, it's time to make the rounds that will be baked into beautiful shawarma wraps or pita bread.
You will need extra flour to roll the dough out on both your work surface and on top of each dough ball.
It's also important to determine what size you want your pitas or flatbread to be. I made mine about 8" in diameter, but when cut in half and opened up to put sandwich fillings into the pita, they were pretty big. Probably a little too big.
My recommendations are to roll the dough into about 7" rounds (they will end up being around 6" because the dough will retract some) for pita bread and smaller wraps. Stick with 9" (will become 8") for larger Shawarma wraps.
- Place the dough onto a clean work surface and divide into 6 equal pieces.
- If you want to be exact, weigh the dough and then divide that weight by 6 and weigh each dough ball.

- Roll each piece out to about 9 inches wide on a floured surface (don't worry if it shrinks back to 8 inches - that's totally normal!)
- Use flour on top of the dough and on the work surface as needed to prevent sticking.
- Keep your rolled pieces on parchment paper (or a floured surface) while you work on the others so they don't stick.

Air Frying the Dough in the Ninja Combi
I have tried making pita bread (shawarma bread) using the stovetop and oven and while it worked, it didn't work all the time. Some of the pitas didn't puff evenly so I gave the Combi a try and I have had such great success that it will be the appliance that I use for this recipe all the time.
One thing to keep in mind when using the Combi is to not walk away while the pita is cooking. They only take about 2 minutes and you want to be nearby to open the door if one of them starts to puff too much because it can touch the heating element and leave you with a branded wrap!

Here are the steps to air frying your bread in the Combi.
- Start by preheating your Combi with the tray inside at 450°F for about 10 minutes (I usually do this while I'm rolling out the dough)
- Place your dough on the preheated tray and insert the tray into the level 1 spot. Don't use any oil.
- Air fry for 45-60 seconds until it puffs up like a balloon
- Give it a flip and cook another 30-60 seconds

Wrap each piece in a clean kitchen towel as it comes out - this helps keep them soft and perfect. Repeat the process until all of the bread dough is cooked. Keep them stacked inside the towel until you are ready to serve them.

How to Bake Shawarma Bread/ Pita Pockets in the Oven
Don't have a Combi? No problem! Here is how to make them in the oven.
- Preheat your oven with your baking tray inside
- The perfect cooking temperature will vary by oven, but I have had good success setting my oven to 475℉
- Make sure that tray is nice and hot before you put your dough on it.
- The secret to getting that perfect puff is steam from a hot tray along with the heat from oven.
- Watch the pita bread closely while it cooks. As soon as you see it puff, open the oven and flip it. Let it cook another 60 seconds and remove it from the oven.
- Repeat for each dough round.
No matter which cooking method you use, always wrap your bread in a kitchen towel after cooking - it's the secret to getting that perfect texture!
Quick Tip
When using the oven, you can make multiple pitas at once as long as your tray is big enough
Assembling and Serving
There are so many ways you can use your shawarma bread/pita bread.
It can be used as the base for your favorite pizza toppings or to make any kind of sandwich wraps.
The main reason I created this recipe was to have a flatbread that I could use to make homemade chicken shawarma wraps and they fit the bill perfectly!
To make a wrap, spread your favorite condiments on the bread and then add whatever meat, cheeses and vegetables you like. Fold the bread in half and enjoy!

To make a pita stuffed sandwich, cut the pita bread in half and then gently open the pita so you have a pocket.
Add your favorite sandwich fillings like tuna salad, chicken salad, ham spread or anything else you love!

And there you have it! Use your bread as a wrap for shawarma, or slice it in half for a perfect pita pocket. Happy baking! 🥖✨
Storage & Reheating Instructions
How to Store Leftover Shawarma Bread
Room Temperature Storage
Store your cooled pita bread in an airtight container or sealed plastic bag at room temperature for up to 2 days. Line the container with a clean kitchen towel to absorb any excess moisture and keep the bread soft. Make sure the pita has cooled completely before storing to prevent condensation.
Refrigerator Storage
While you can store pita in the fridge for up to a week in an airtight container, refrigeration can make the bread tough and dry.
If you do refrigerate, wrap each pita individually in plastic wrap or place parchment paper between layers to prevent sticking.
Freezer Storage
For longer storage, freeze pitas for up to 3 months. Let them cool completely, then wrap each pita individually in plastic wrap and place in a freezer bag. Remove as much air as possible from the bag before sealing to prevent freezer burn.
Quick Tip
To refresh slightly stale pita or shawarma bread, sprinkle with a little water, wrap in foil, and heat in a 350°F oven for about 5 minutes. This will help restore its soft, pliable texture.
Frequently Asked Questions
This is probably the most common issue people face, me included! The secret to getting that perfect puff lies in three key factors:
Your cooking surface must be HOT - preheat your pan, baking sheet, or Combi tray thoroughly.
The dough needs to have the right consistency - too wet or too dry and it won't puff properly.
The dough must be rolled to an even thickness - any thin spots will prevent proper puffing.
You can easily double the ingredients or cut them in half to make more or less of the shawarma dough.
The temperature and time settings remain the same.
This is an easy fix! The key to soft shawarma bread lies in proper cooling:
As soon as the bread comes off the heat, wrap it in a clean kitchen towel.
Stack the wrapped breads on top of each other as you cook them.
Let them steam together in the towel for at least 10 minutes.
This process allows the residual steam to soften the crust and keep the bread flexible.
If they're still too firm, you might be cooking them too long or at too high a temperature.
More Homemade Bread Recipes
If you want to try making different kinds of bread, here are some ideas to get started!
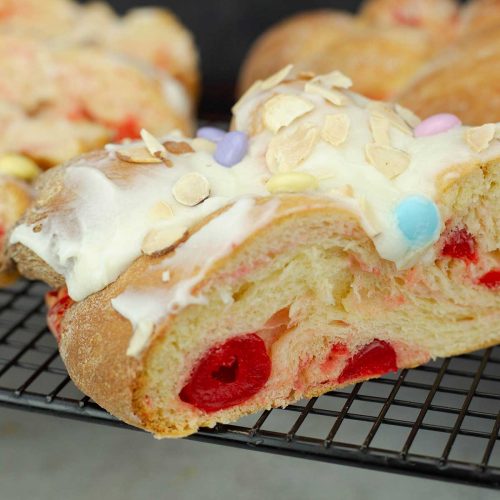
- Braided Cherry Brioche Bread (Easter Bread)
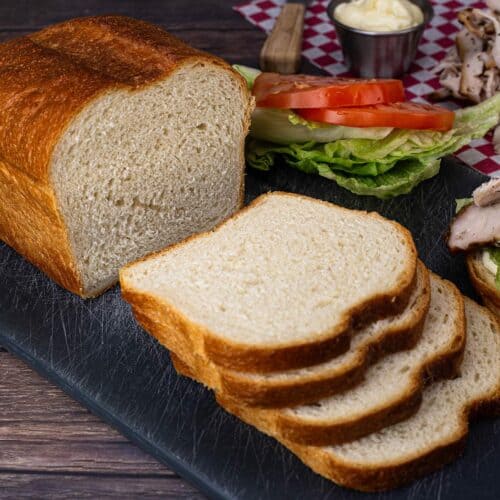
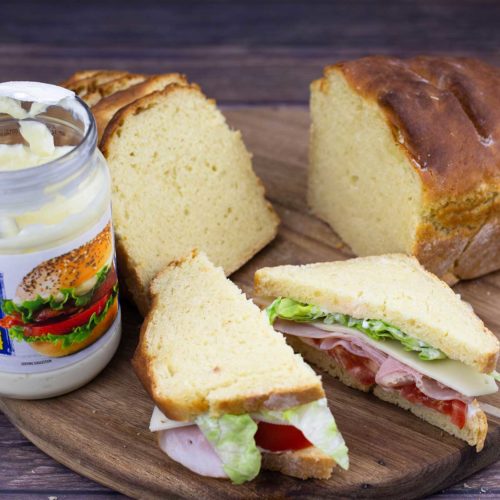
- Homemade Sandwich Bread (Ninja Combi & Oven Directions)
- No Yeast Bread ~ Ninja Foodi Recipe
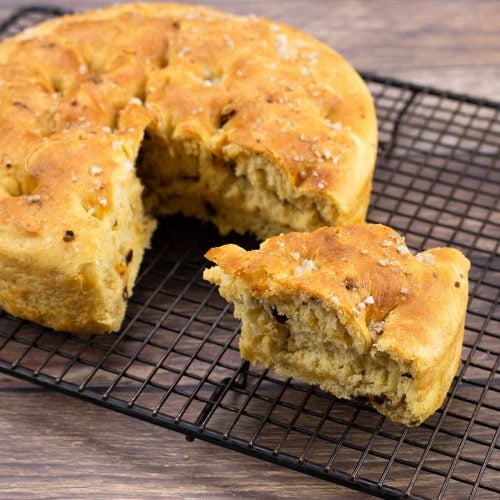
- Focaccia Bread in the Ninja Foodi
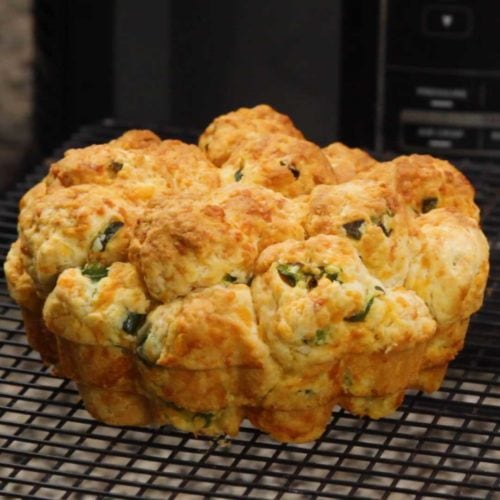
- Jalapeno Cheddar Pull-Apart Bread
- French Bread Dinner Rolls
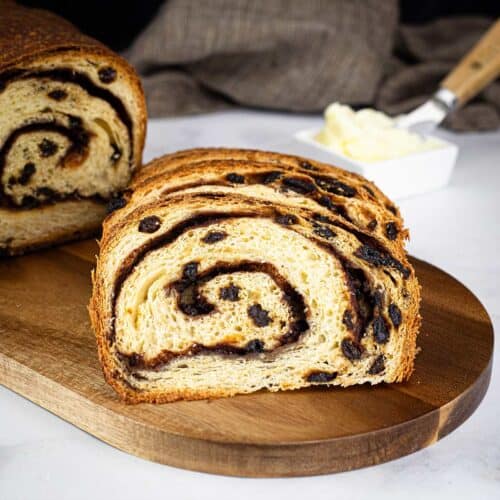
- Cinnamon Raisin Bread
- Homemade Italian Bread (Ninja Combi or Oven Instructions)


Homemade Shawarma or Pita Bread Recipe
Ingredients
- 3 Cups all-purpose flour Have extra available for work surface and dough if needed.
- 1½ teaspoons instant yeast or active dry yeast (see recipe notes)
- 1¼ cups warm water (about 105℉) Divided in recipe and you may not use it all
- 1 teaspoon fine sea salt or kosher salt ¾ teaspoon if using table salt
- 1½ Tablespoons olive oil or any neutral oil
Would you like to save this recipe?
Instructions
Mixing the Dough
- If Using Active Dry Yeast: Take a small portion of the warm water and combine it with the yeast. Let sit for 5-10 minutes until bubbly. Add to the flour when the recipe says to add the yeast.If Using Instant Yeast: Add directly to the flour as indicated in the recipe.
- In a large mixing bowl, combine the flour and yeast.3 Cups all-purpose flour, 1½ teaspoons instant yeast
- Add half of the warm water and mix with a wooden spoon or spatula. The dough will look shaggy and very dry at this point.1¼ cups warm water (about 105℉)
- Add the salt and continue mixing while gradually adding the water. Once the dough starts to come together and does not look so crumbly and dry, stop adding water and mix for a few minutes to allow the flour to absorb the liquid.1 teaspoon fine sea salt or kosher salt
- Add as much water as needed until the dough is tacky, but not sticking to your hands. Add the olive oil and mix until well incorporated.1½ Tablespoons olive oil
- Turn dough onto a floured surface and begin to knead the dough. If the dough his sticking to your hands, add small amounts of flour. Knead for about 5 minutes or until the dough is smooth and slightly tacky.
Proofing the Dough
- Form dough into a ball and lightly oil the dough.
- Room Temperature Proofing: Place in a bowl large enough to allow the dough to double in size. Cover with plastic wrap or a tea towel and let sit at room temperature until the dough doubles in size. The time it takes will vary, but plan on about 1 hour.
- Ninja Combi proofing: Place the dough directly in the bottom of the Combi pan. Proof at 95°F for 45 minutes.
Rolling out the Dough
- Divide proofed dough into 6 equal pieces. Roll each dough ball out into 9" rounds for large shawarma bread wraps or 7" for smaller pita pockets. Flour the work surface and the top of the dough as needed to prevent the dough from sticking.
- Place rolled pieces on parchment paper while working on others.
Cooking the Shawarma Bread
- Oven Directions: Preheat the oven to 475℉/250℃ with the baking tray in the oven so it also preheats. Once the oven and tray are hot, place one of the dough rounds onto the tray (you can make multiple ones at once if your tray is large enough) and place the tray on the middle rack of the oven. Do not walk away, this is a fast process. After 60-90 seconds you should start to see the dough puff. When it is fully puffed, flip it and let the bread cook another 60 seconds and remove from the oven.Remove the cooked dough and place it (or them) into a clean kitchen towel and close the towel up so the bread steams. This will keep it soft. Repeat this process and stack the cooked shawarma bread on top of each other inside the towel.
Air Frying in the Ninja Combi
- Preheat the Ninja Combi on 450℉/230℃ with the black tray on level one for a full 10 minutes. This is important because the tray needs to be hot. Place one piece of dough on preheated tray (level 1 position only) and close the door. After about 30-60 seconds, the dough will puff evenly. Open the door and flip it over. Stay close and watch it. If it gets close to touching the heating element, open the door to stop the expansion. Each dough round only takes about 90 seconds to 2 minutes to cook.Remove the cooked shawarma/pita bread and place it inside a clean kitchen towel. Wrap the towel around the bread to create steam. This keeps them soft and pliable. Repeat for each dough round and stack them on top of each other in the tea towel until you are ready to serve them.
Using as a Pita Pocket
- If you want to use the bread as a pita to stuff with your favorite sandwich fillings, cut the bread in half and gently separate it so it forms a pocket.
Notes
- Use as a wrap for shawarma or anything else you want to wrap in bread!
- Cut in half to create a pita pocket for sandwiches
- Use as a base for making pizzas
- Let the flour guide the amount of liquid needed - you may need slightly more or less water
- Keep dough slightly tacky but not overly sticky
- The hot tray is essential for proper puffing
- Wrapping in a kitchen towel after cooking helps soften the exterior through steam
Nutrition
About the Recipe Author, Louise Long
Louise is a full-time recipe creator and food blogger @ The Salted Pepper. She has over 30 years of experience with cooking and recipe development. She owned a restaurant for several years and was a full-time RN until retiring to blog full-time.

She published her first cookbook in the Fall of 2018 and is very interested in writing several more.
Louise is also the creator of an online Ninja Foodi Pressure Cooking Course with over 100 instructional step-by-step videos. People absolutely rave about the course and all the value they have received from it.
Louise has several very active Facebook groups that help people with the basics of cooking and learning more about the appliances they love.
Ninja Foodi Pressure Cooker & Air Crisper 101
Ninja Woodfire Outdoor Grill & Smoker
Louise is also a YouTube creator and you can find most of her recipes in video format on The Salted Pepper YouTube channel.
She is very responsive to messages and eager to help in any way she can. Get more Information about Louise & contact information
I WOULD LOVE TO SEE WHAT YOU ARE COOKING UP IN YOUR KITCHEN! TAG ME @THESALTEDPEPPER ON YOUR FAVORITE SOCIAL MEDIA PLATFORM WHEN YOU MAKE A DISH!
BE SURE TO FOLLOW THE SALTED PEPPER RIGHT HERE ⇓⇓⇓⇓⇓
Tom Michalisko says
Simple to make and very successful. I have a cookbook for our recipes and an iron skillet which had a similar recipe, although would’ve made a much bigger batch and included whole wheat flour. So, I use this dough and cooked it in an iron skillet, instead of either of the two methods mentioned in the recipe. It worked very successfully. Same note of caution, you really have to keep an eye on it, and not walk away. Iron skillet method. Definitely saves energy over using the oven. Although, next time, I might try it in the air fryer to see how that turns out. I was not disappointed at all.
Louise says
I'm glad the frying pan method worked!