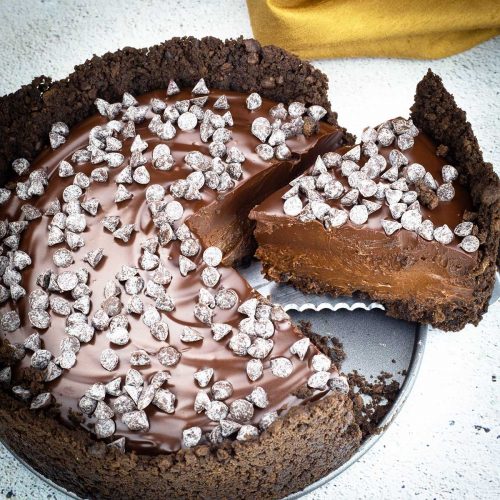
Chocolate Mousse Pie is not only perfect for the chocolate lover, it's a no-bake pie that takes less than 30 minutes to make!
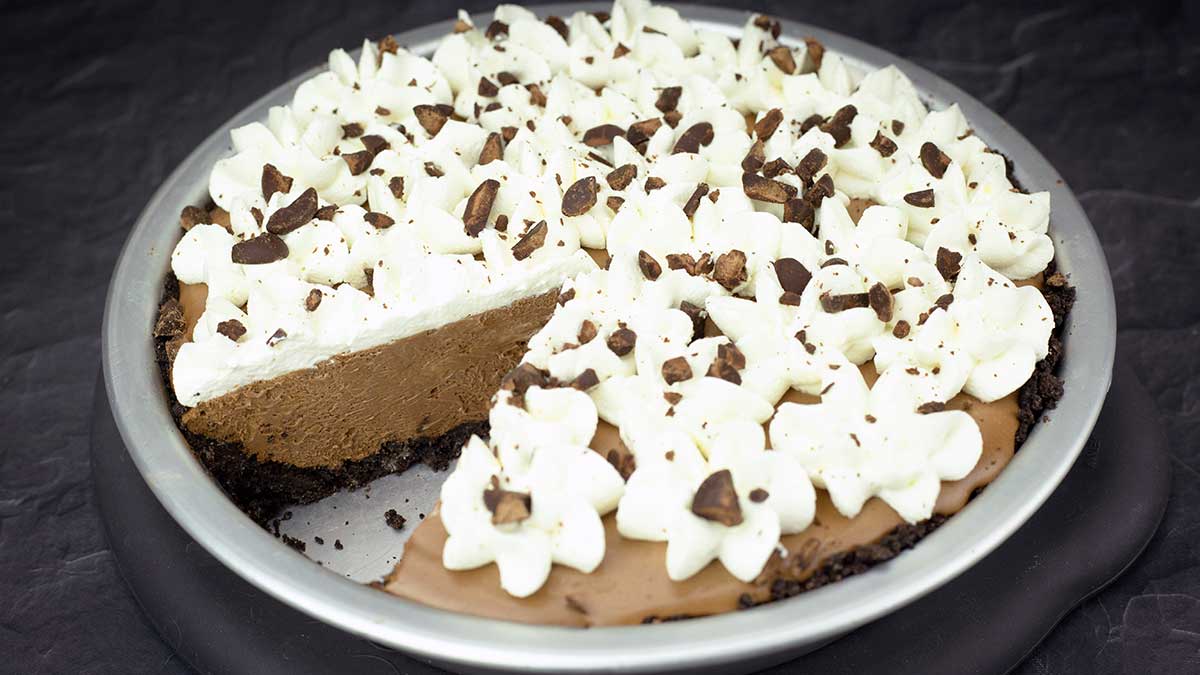
The hardest part of making this pie is waiting for it to set up in the refrigerator, which takes about 4-6 hours. There are several different methods for making this pie and I will be sure to cover them all so no matter what appliances or kitchen tools you have, you can make it!
Frequently Asked Questions
Yes, absolutely! I suggest waiting for it to set up in the refrigerator, and then placing the entire pie on a sheet of parchment and freeze for 1-2 hours. Cut the slices, if desired, and then wrap in cling wrap so it's as airtight as possible. I usually also put a second layer of foil around the pie and then freeze. I would only keep the pie in the freezer 2-3 months for the best flavor. To thaw, simply remove the pie from the freezer, unwrap and place it on a plate. Let it thaw in the refrigerator.
I used a (affiliate link)Fat Daddio 9 inch pie pan which is about 8 ½" in the inside diameter. You can use any 7, 8, or 9" pie pan and this recipe work just fine. If you are using a deep dish pan or something larger than 9", you will want to increase the ingredients in the crust so you can cover the entire pie pan. As far as the filling goes, the size of your pan will determine the depth of the pie. The smaller the pan, the higher the filling will sit. If you have too much of the chocolate mousse filling, simply put into another container for a delicious crustless mousse. Or, you can use all the filling and make a piled high chocolate mousse pie.
You can also use a 7 or 8" springform pan or any casserole dish will work, but it might be a little harder to get the slices out of a casserole dish.
The eggs in this recipe are gently cooked to a safe temperature of 150-160℉/66-71℃ and held for 5 minutes to kill any salmonella that may be present. There are several ways you can do this and I will go over the options in detail in the written post below; or you can purchase pasteurized eggs at the grocery store and they are perfectly safe to use raw.
Pasteurize Your Eggs at Home
There are many recipes that call for raw eggs that aren't going to be cooked. Although the incidence of salmonella contaminated eggs is very low in the US, there is always that chance of getting sick from raw eggs.
The good news is you can still make these recipes and feel completely safe in doing so. You can purchase pasteurized eggs at most grocery stores, but they are going to be more expensive. You can also pasteurize them at home using one of these techniques.
Sous Vide Method for Pasteurizing Eggs
The process is extremely simple. Heat the water with your sous vide appliance to 135℉/58℃. Place the eggs in the container of water and let them sit for 90 minutes. This time and temperature will pasteurize the eggs without cooking them. When the time is up, put them in an ice bath to cool for 30 minutes. Then you can either dry them off, label them and store them in the fridge or use them in your recipe right away.
The important thing is accuracy of temperatures. I have several appliances that sous vide. The (affiliate link)Anova Immersion Style sous vide, the Instant Pot Duo Crisp, and the Ninja Foodi Pressure Cooker & Air Crisper. The only one that is consistently accurate with temperatures is the Anova Immersion Circulator.
I'm not saying that you can't use the sous vide function on the Ninja Foodi or the IPDC, but you will want to check your temperatures because, if they are too low, you won't kill the bacteria if it's present; and if they are too high, you will have partially- to fully-cooked eggs.
Low Heat Method for Pasteurizing Eggs
Although I love the idea of using the sous vide method, I never seem to plan ahead enough and I don't think to pasteurize the eggs ahead of time and keep them in the fridge (labeled) until I need them.
So, I use the low heat method. My eggs are always combined with another ingredient like sugar for Swiss buttercream and sugar with cream for eggnog and, of course, this recipe.
This can be done using the Ninja Foodi Cold & Hot Blender or a double boiler set up on the stove. The instructions for both methods are included in the How to Make a Chocolate Mousse Pie section of this post.
You might notice that this method calls for heating the eggs to a higher temperature than the sous vide method and this is because of the timing. When using the low heat method, you are only holding the temperature for about 5 minutes, so you need a higher heat to be effective in killing the salmonella.
Purchase Pasteurized Eggs
Most eggs sold at the grocery store are not pasteurized, but many grocery stores do sell pasteurized eggs. They will be clearly labeled as pasteurized and usually are more expensive.
This is a great option if you don't want to use raw eggs and don't want to have to heat up the eggs yourself. I will go over the instructions for making this pie using pasteurized eggs later in this post.
*Egg products, like Egg Beaters, are pasteurized, however from what I've read, they are not the best for making desserts like this chocolate mousse pie.
More Great Desserts!
If you are a dessert lover like me, I bet you will love these recipes as well. When I owned my restaurant, I was the one in charge of desserts and people would call daily to find out if I had my key lime pie and would quickly drive over to buy a slice or the whole pie. It's delicious, so I hope you give it a try!
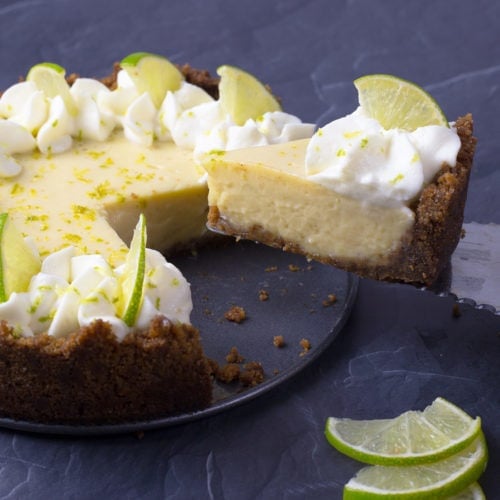
- Easy Key Lime Pie in the Ninja Foodi
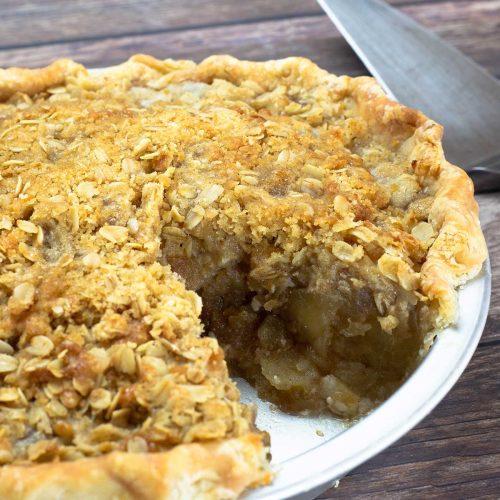
- 10-Minute Apple Pie ~ Ninja Foodi Recipe
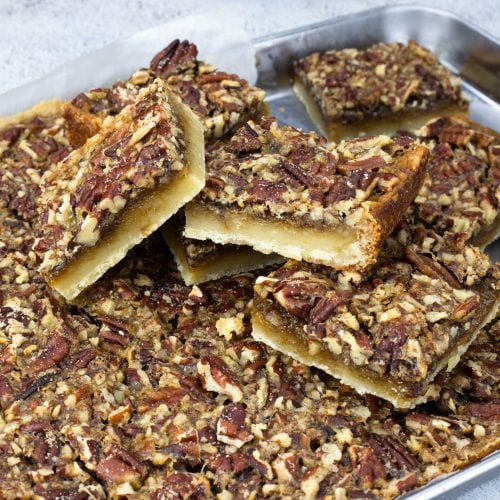
- Pecan Pie Bars
- Triple Chocolate Cheesecake ~ Pressure Cooker Recipe & Oven Directions Included
- Chocolate Pot De Crème in the Ninja Foodi
- Turtle Cheesecake Recipe in the Ninja Foodi
- Strawberry Roll Cake ~ Ninja Foodi Digital Oven or Regular Oven
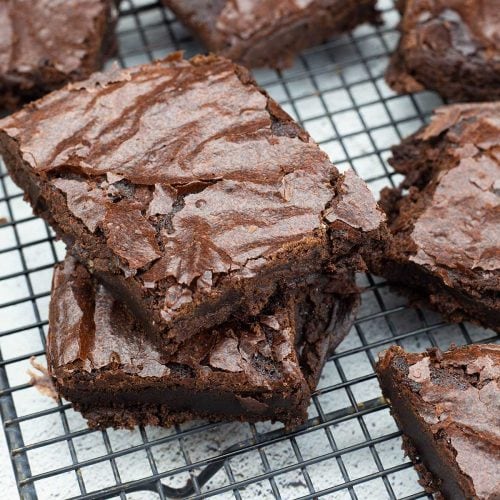
- Slow Cooker Brownies in the Ninja Foodi
Ingredients & Substitutions
The Crust
The recipe calls for an oreo cookie crust, but you can change that to a regular baked pie crust and it will be more like a French Silk Pie. You can also use a graham cracker crust and top with with a marshmallow cream for a s'mores pie!
The type of crust you use is completely up to you, so get creative. I like to look at all the different sandwich cookies when at the grocery store and try different ones to make a cookie crust. I bet peanut butter sandwich cookies would be great in this recipe!
To keep the recipe a no bake chocolate mousse pie, I suggest adding a little bit of powdered sugar to any cookie crust made with cookies without a filling. The sugar mixes with the butter and the cookie crumbs and helps hold it together so you don't have to prebake the crust for it to set.
You can also make a keto crust with crushed almonds, some almond flour, sugar substitute and butter. Consider roasting the almonds before crushing for added flavor.
Let me know in the comments if you try a different crust!
Chocolate Mousse Filling
Chocolate
I used dark chocolate chips to make this pie and the level of sweetness was perfect. I do recommend using a good quality chocolate and that can be in bar form or in chip form. I always use Ghiradelli bittersweet chocolate chips and they taste fantastic.
I don't recommend using milk chocolate or even semi-sweet because the pie will be too sweet. Unsweetened bakers chocolate would work just fine. In fact, you can make a decadent keto chocolate mousse pie by using an almond crust, unsweetened bakers chocolate, and a sugar substitute.
Sugar
I have not tried this recipe with sugar substitutes, but I have heard that making a mousse with a 1:1 sugar substitute like Swerve works just fine. Please let me know if you try it!
Whipping Cream
You can take a shortcut here and use prepared cool whip for the mousse filling, but keep in mind that cool whip is sweetened so I would use unsweetened chocolate instead of bittersweet so the pie isn't overly sweet. When you combine the sugar and the eggs, you can use half & half or milk instead of the heavy cream.
If you haven't made your own whipped cream at home, I hope you give it a try. There is nothing like homemade whipped cream and you can flavor it and sweeten it however you like. I haven't bought store-bought whipped cream in years and don't plan to.
Espresso Powder
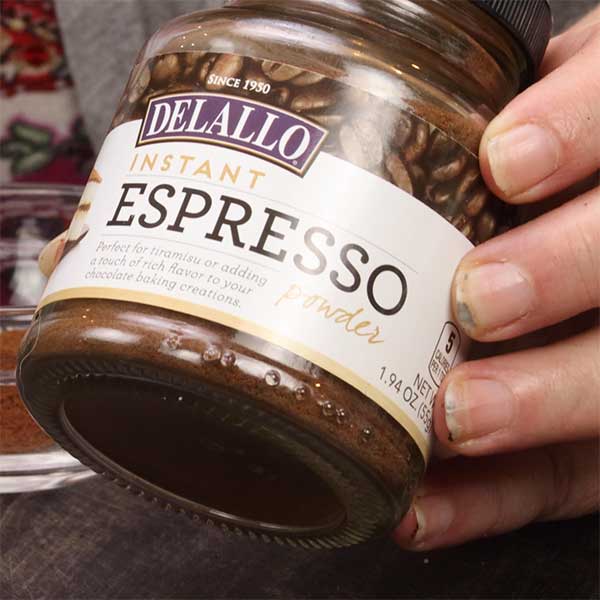
This ingredient is optional, however it really gives the chocolate a nice rich flavor and I use it often in my chocolate desserts to boost the chocolate flavor. I have used Instant espresso granules and espresso powder, both work fine. Here is the brand of espresso powder I used in this recipe:(affiliate link) Delallo Espresso Powder
How to Make this EASY Chocolate Mousse Pie
This is perhaps the easiest pie I've ever made and I hope you think so, too! Because it can be made so many ways with different tools and I want to be as detailed as possible, I've focused on the three most common appliances and tools and given directions for each of them.
Oreo Crust Instructions
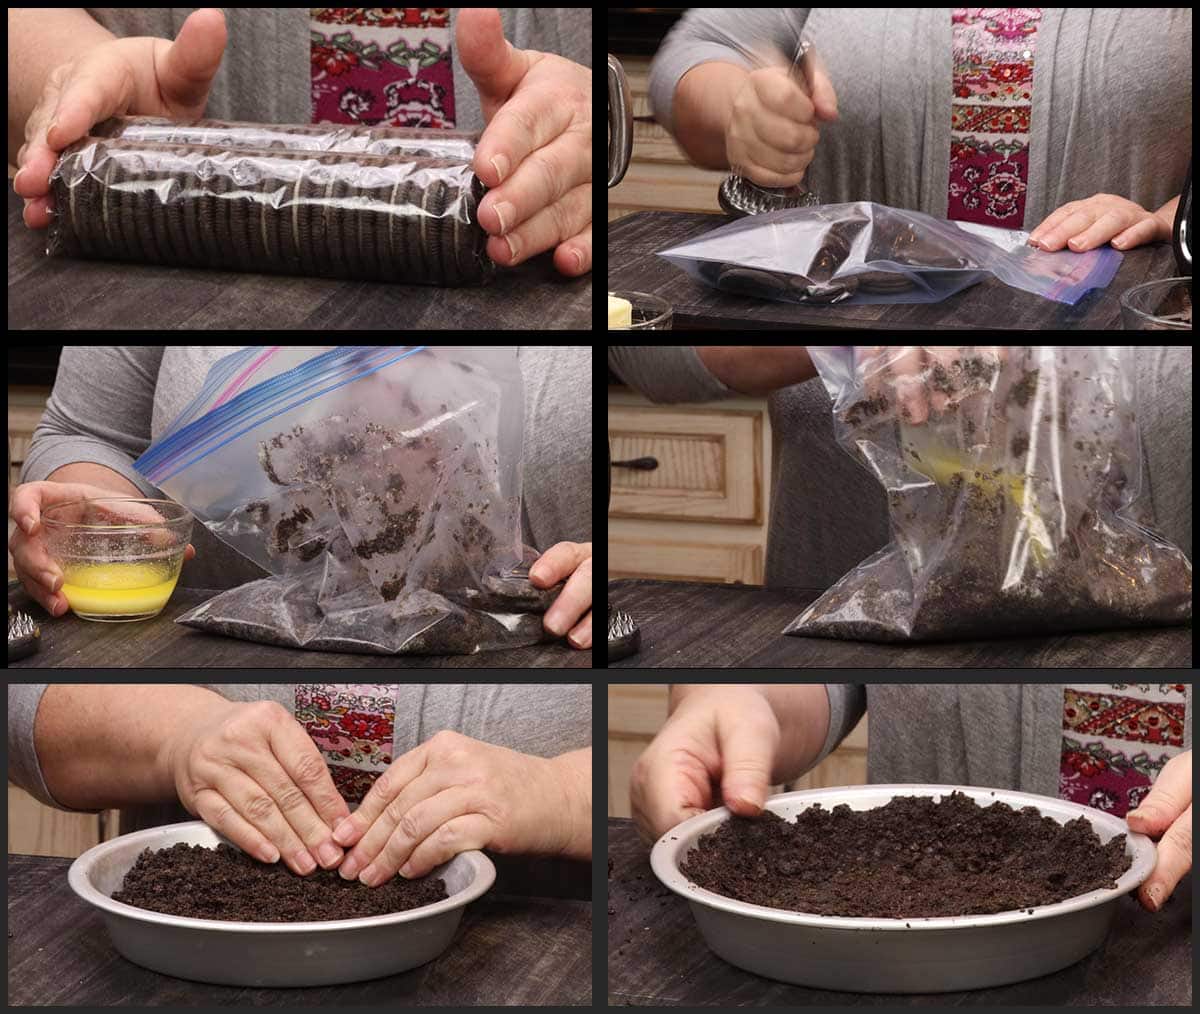
Melt 3 Tablespoons of butter and set it aside. Get a large zip lock bag or you can use your food processor for this step. Place about 20 oreo cookies in the bag and use something heavy, like a rolling pin or meat tenderizer (with a smooth side) to crush the chocolate cookies into fine crumbs. Add the butter to the bag and mix so the cookie crumbs are well-coated.
Press the cookie mixture into the pie pan or springform pan. I like to start around the sides of the pan and if you see your cookie crumbs are not sticking well, add a little more melted butter. Set the pan aside while you make the filling, you can refrigerate the crust, but the filling doesn't take that long, so I usually just leave it out on the counter.
Chocolate Pie Filling
Chocolate Mixture
I used the Ninja Foodi Cold & Hot Blender to make this recipe because it heats the eggs up to the perfect temperature for safety without cooking them and it's hands off, however you can cook the eggs using a double boiler on the stove OR simply purchase pasteurized eggs from the grocery store and then you can use them raw. *Most eggs sold at US grocery stores are NOT pasteurized.
Ninja Foodi Cold & Hot Blender Instructions
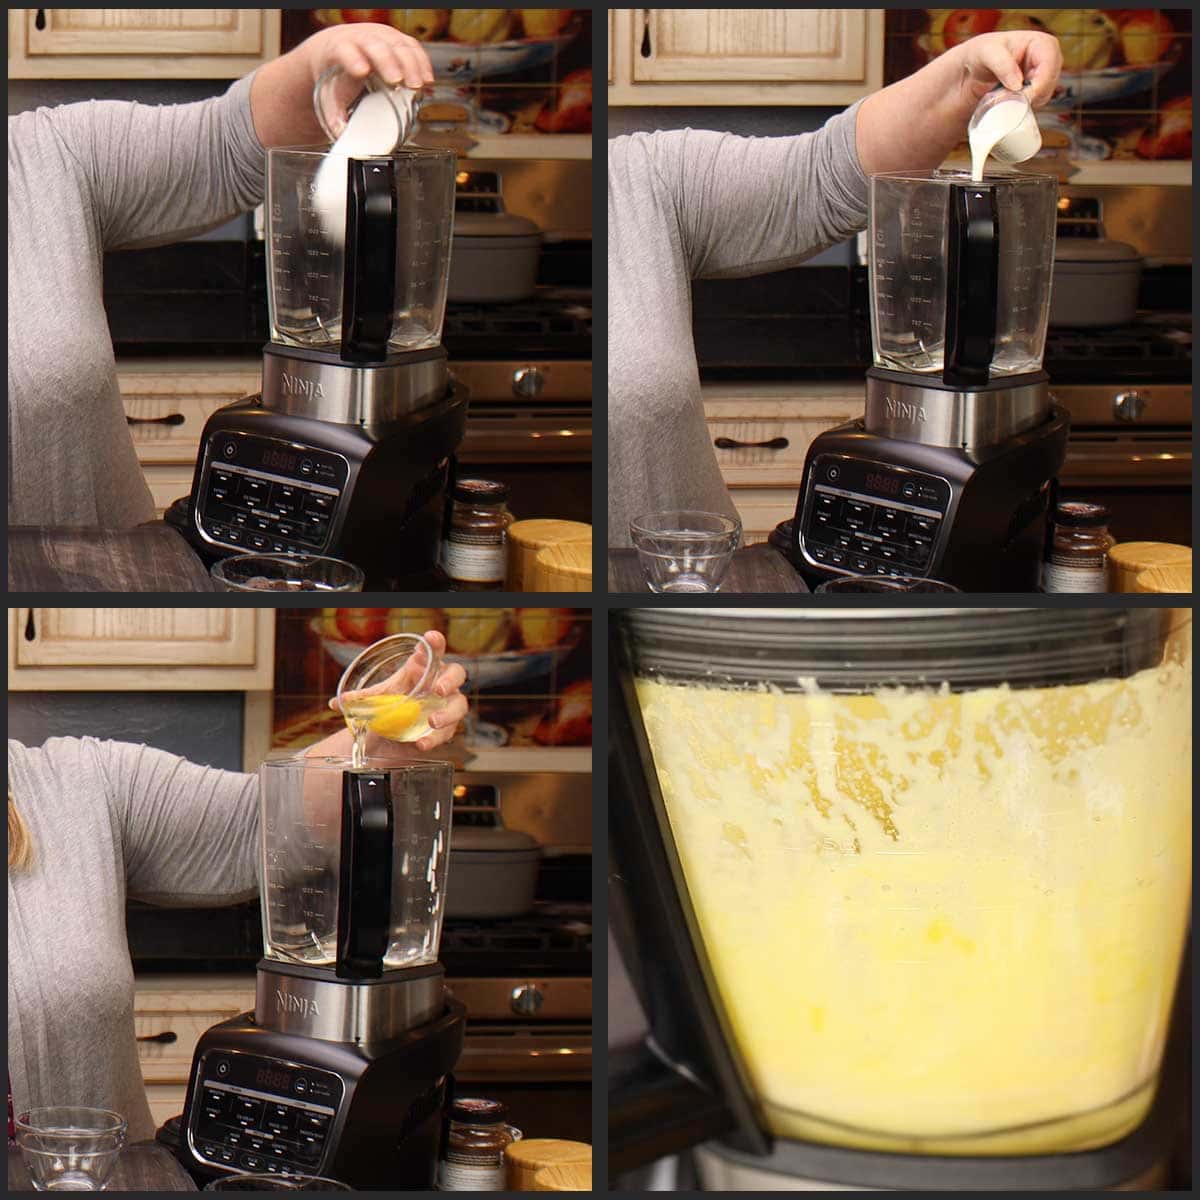
Add the ⅔ cup sugar, ¼ heavy whipping cream, and 2 large eggs to the blender. Select the Cocktail function and let it run. I check a temp about halfway through the cycle to make sure it's coming up to the desired 150℉.
Using room temperature eggs is best for this method. If for some reason your mixture does not get up to 150℉/66℃ (which you want it to hold at that temp for 5 minutes to kill any salmonella that may be present), then use the manual temp button on low and pulse every couple of minutes.
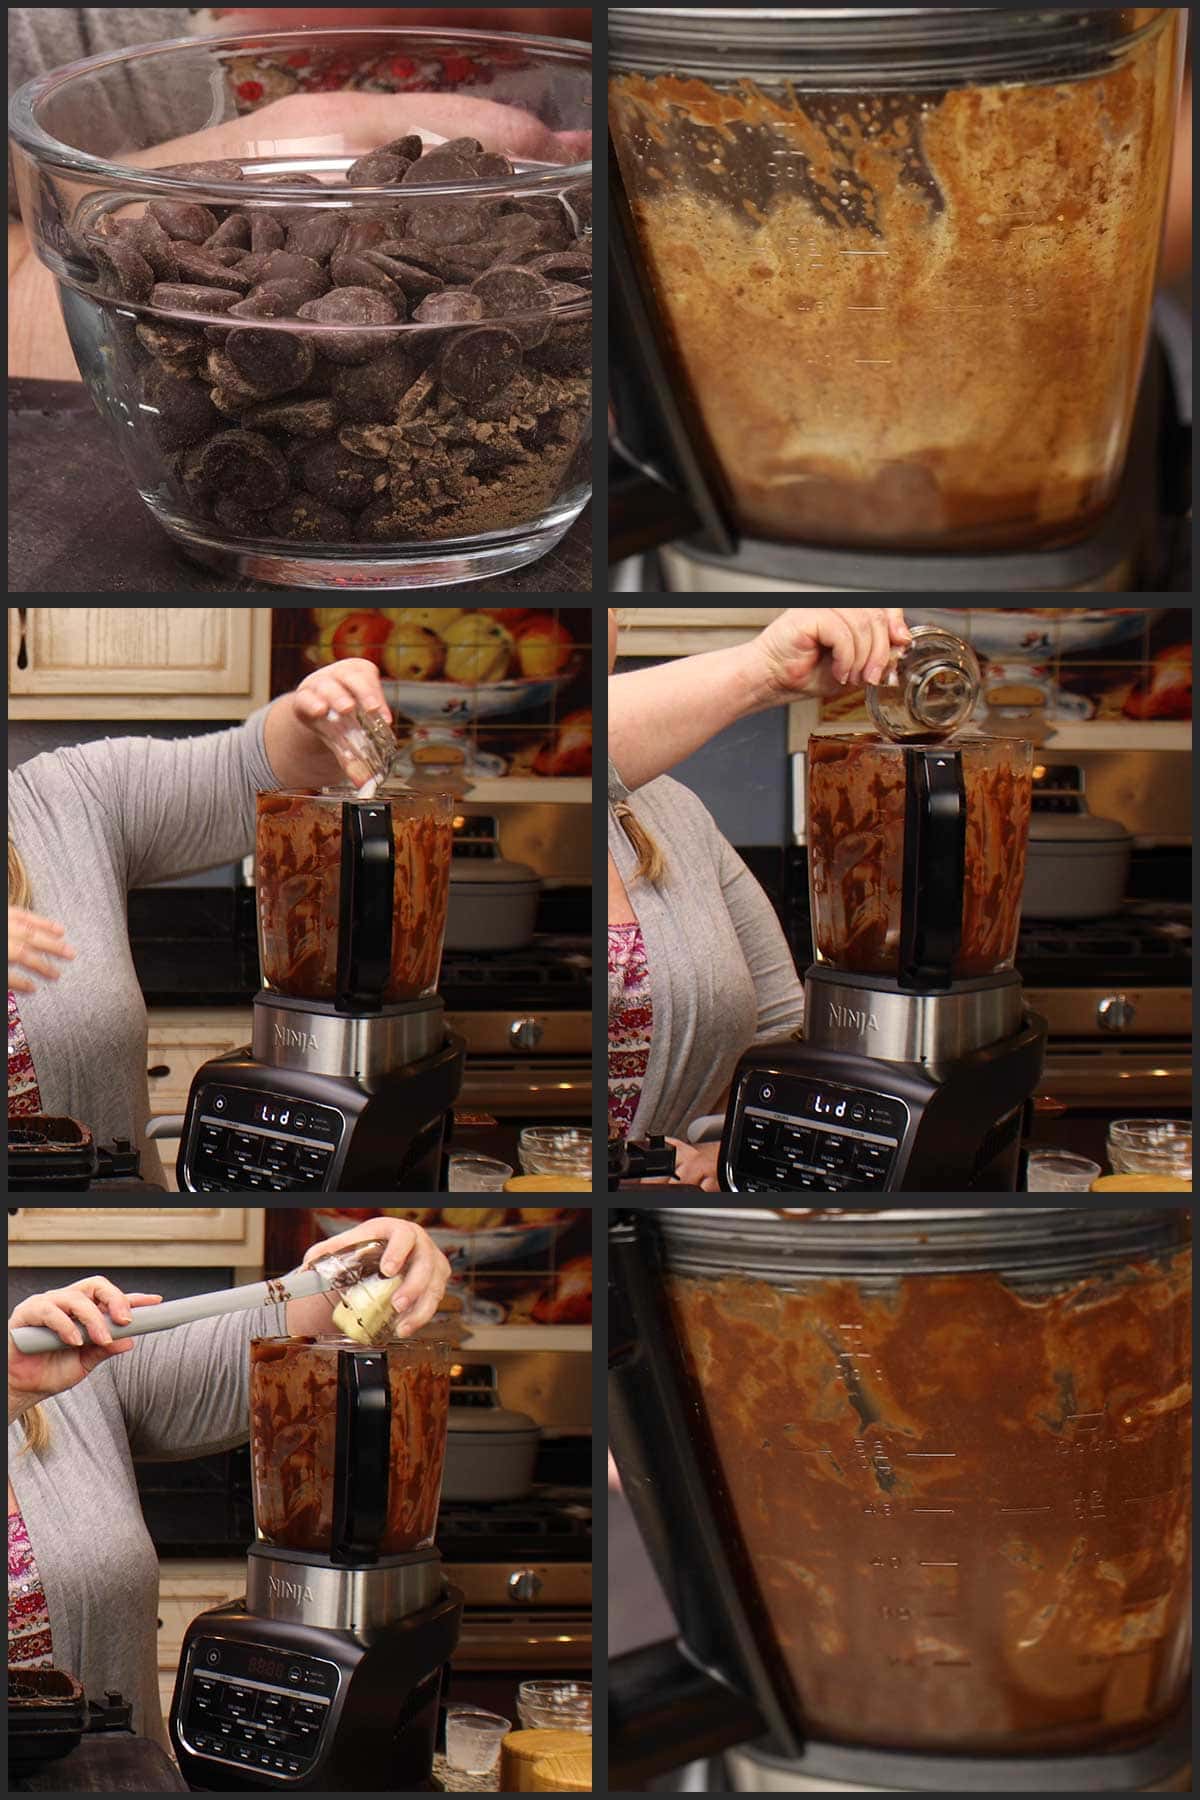
Once the cycle is done and your egg mixture has reached the desired 150℉/66℃ and held there for 5 minutes, then add the espresso powder and chocolate to the blender. The residual heat will start to melt the chocolate. You can either pulse a few times or press the cocktail function again. You do not need to let the cycle finish, but it doesn't hurt anything if you do.
I usually stop it a few minutes in and make sure the chocolate is fully melted and the mixture is smooth and then stop the cycle by turning the blender off.
Add the salt, vanilla extract, and room temperature butter and select the smoothie function. This will make your filling very smooth.
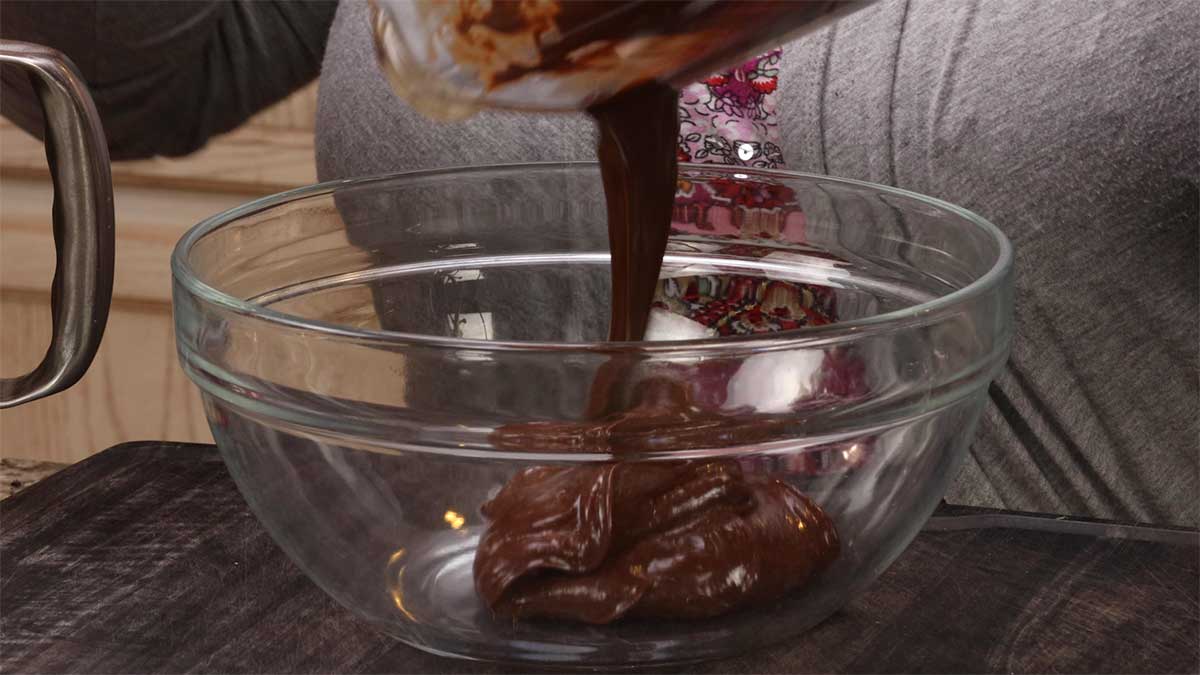
Transfer the mixture to a medium size bowl and allow to cool at room temperature while you make the whipped cream. You don't want your chocolate filling too hot or the whipped cream will melt. Stirring it a few times will help cool it down.
Stovetop Directions
Place a medium saucepan on the stove and add a few inches of water. Place the double boiler (or any heatproof bowl) on top of the saucepan. You want the water level to be below the bottom of the bowl so the boiling water transfers heat via steam to the double boiler for a gentle heat. If your bowl is in the boiling water, the egg mixture on the bottom can overheat and you'll end up with scrambled eggs.
Bring the water to a boil and then turn it down to a low heat so the water is simmering. Add the sugar, ¼ cup heavy whipping cream and the eggs to the double boiler (or bowl) and whisk over the heat until the sugar is completely melted and your mixture does not feel grainy at all. In my experience using this technique, by the time your sugar has completely melted, the eggs are up to the correct temperature to kill any salmonella that might have been present. The best way to make sure is to take a temperature with an instant read thermometer. You want the temperature to reach at least 150℉/66℃ and hold there for about 5 minutes.
I've made batch after batch after batch of Swiss buttercream using this technique and my mixture is almost always closer to 160F and the eggs never cook. So, if this is your first time using the double boiler to "cook" your eggs, don't worry. As long as you constantly whisk the mixture and maintain a low heat, it will work just fine and it sounds much harder than it really is.
Once the sugar is melted and the mixture has reached the desired temperature, add the chocolate and the espresso powder and whisk periodically as the chocolate melts. I do this with the double boiler, but turn the heat off. When the chocolate is fully melted and the chocolate mixture is nice and smooth, remove the double boiler and add in the salt, vanilla extract, and room temperature butter. Whisk until well incorporated. The mixture should be a rich brown color and completely smooth. Set aside to cool.
Whipped Cream
The easiest way to make your own whipped cream is by using a stand mixer, but if you don't have one, you can use a hand held electric mixer or you can whip the cream by hand. Here are instructions for all three.
Stand Mixer
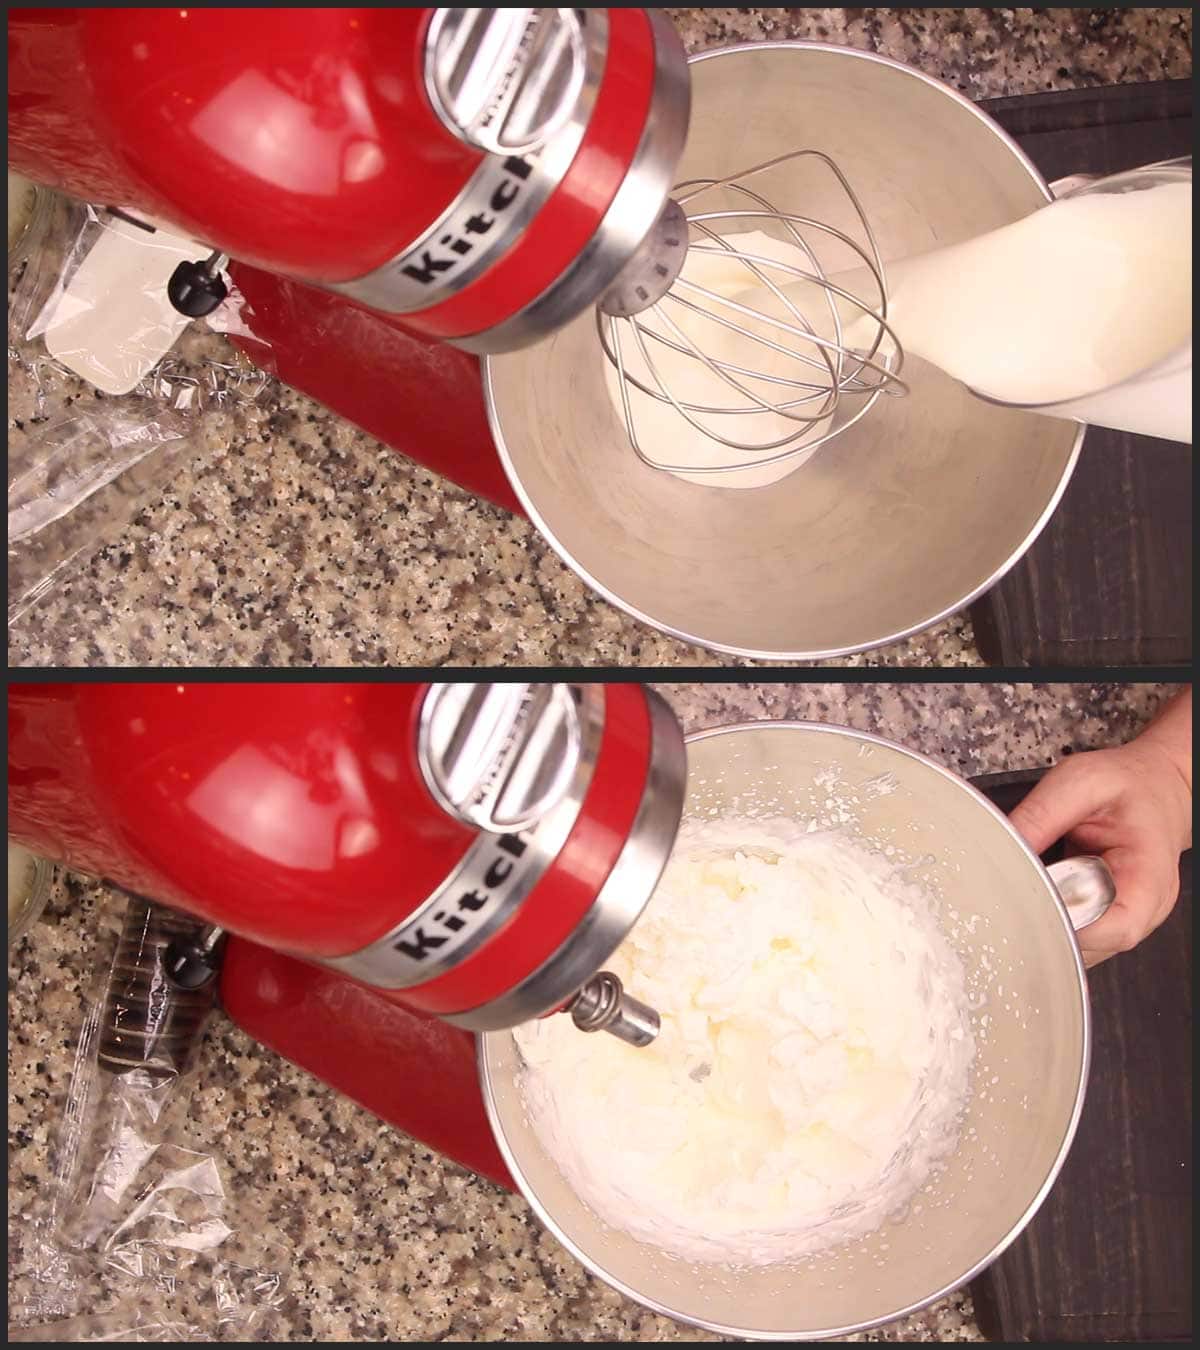
Make sure the bowl of your stand mixer is clean and dry. Pour 1 cup of cream into the bowl of the stand mixer and using the whisk attachment, whip the cream on high speed until soft peaks form. This takes 3-5 minutes and you want to keep an eye on the cream because it is really easy to over beat and if you end up with really stiff peaks, the whipped cream is harder to mix into the chocolate.
Electric Hand Mixer
Pour the 1 cup cream into a medium size mixing bowl. Place the electric beaters into the bowl and begin beating the cream on a medium low speed and increase the speed as the cream starts to thicken. This will prevent the cream from flying everywhere when you start whipping it. Continue to beat until soft peaks form. This means that the cream is thick enough form a peak, but the very top of the peak won't stand straight up.
By Hand
Pour 1 cup of cream into a medium size mixing bowl and using a whisk, whisk the cream until it forms soft peaks. This can take anywhere from 5-10 minutes or even longer depending on how vigorously you can whisk.
Assemble the Chocolate Pie
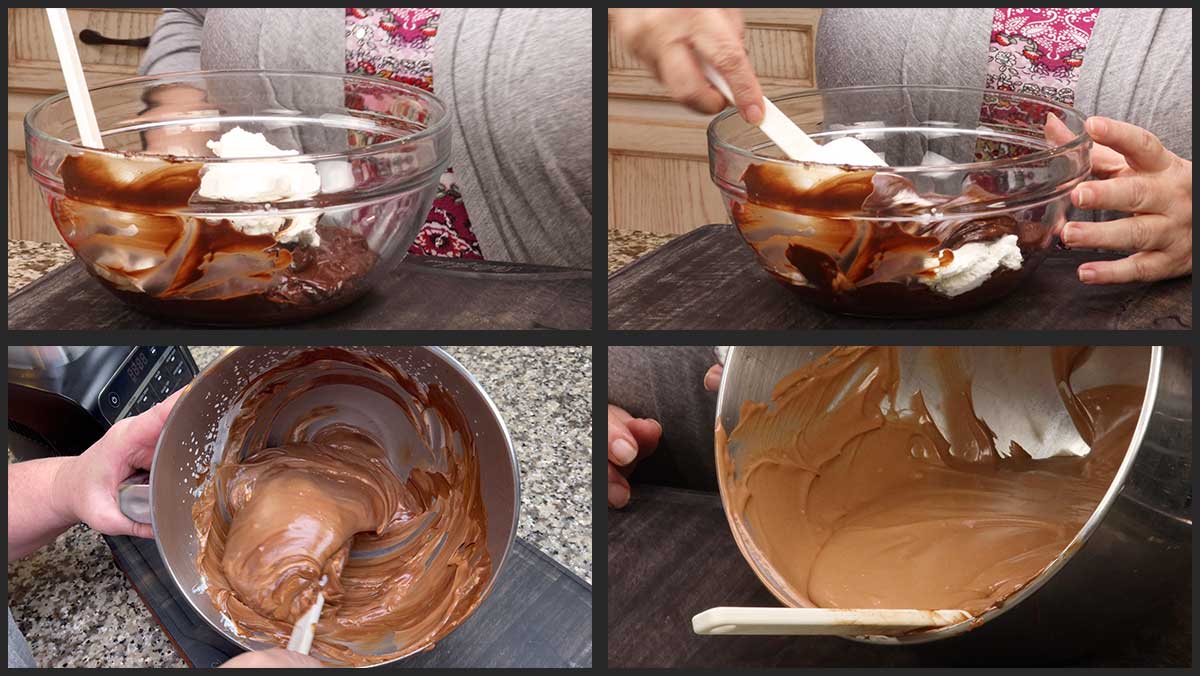
Add about 1 cup of the whipped cream to the chocolate mixture to loosen it up which makes it easier to incorporate all of the whipped cream. Do this using the folding technique in the video below.
You don't want to whisk it in or the whipped cream will deflate and your pie will be dense. The idea is to keep the all of the air in the whipped cream so you have a nice light filling in your pie.
When all of the whipped cream is folded in and you no longer see streaks of white, your mixture should be nice and smooth. If there are any stubborn lumps of whipped cream, press them against the sides of the bowl.
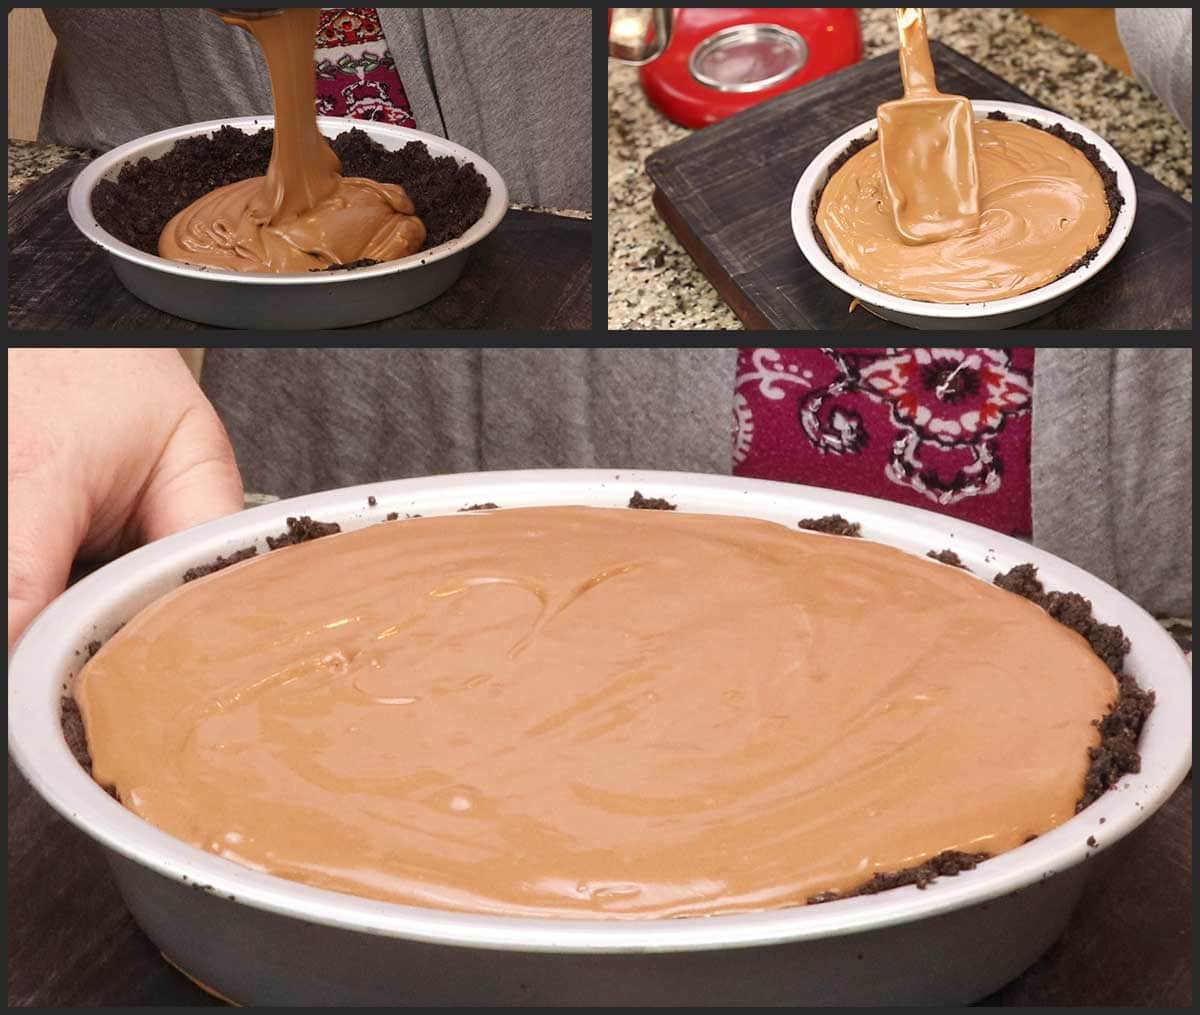
Pour the chocolate mousse into the pie pan with the oreo cookie crust and smooth out the top. You can also make designs on the top, like swirls, if you are not planning on covering the pie with whipped cream before serving.
Now, the hardest part! Put the pie (uncovered) into the refrigerator to chill for at least 4 hours, but 6-12 hours is even better.
Decorate the Chocolate Mousse Pie
When your pie has completely chilled or before you want to serve it, it's time to decorate! This can be as simple as spreading whipped cream over the top and sprinkling on chocolate shavings or you can put a design on top using a pastry bag with a large tip. The pastry bag set that I love using is from Pampered Chef. It comes with 2 large pastry bags that are super easy to clean and a variety of large decorating tips. Here is my affiliate link if you are interested in checking them out.
(affiliate link)Pampered Chef Decorating Bags
You can even skip this part and just eat the pie! it's delicious without anything on top.
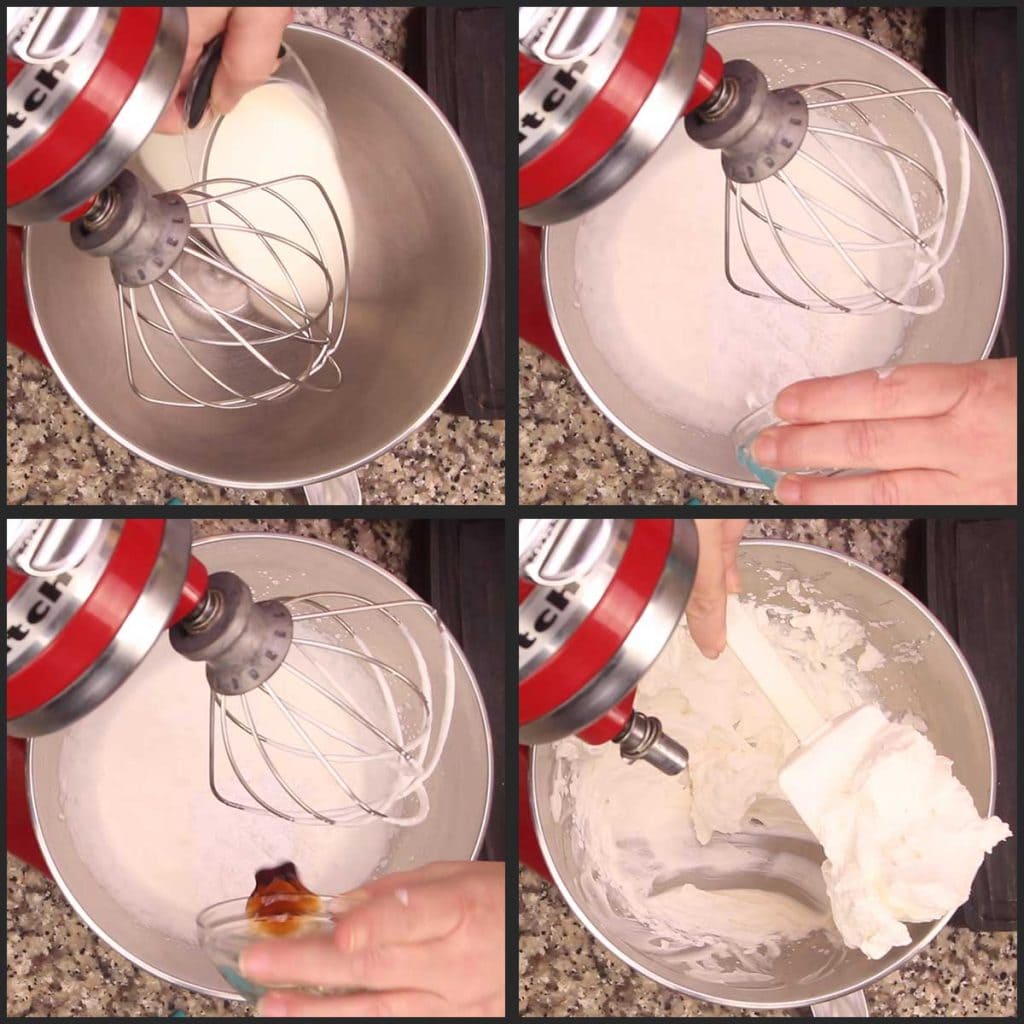
Using a stand mixer or one of the other methods above, make another batch of whipped cream. This time adding a small amount of powdered sugar and vanilla.
Pour 1 cup of chilled whipping cream into the bowl of a stand mixer and using the whisk attachment, begin to whisk the cream on medium speed.
When it starts to thicken, add in the powdered sugar and vanilla extract and whisk on medium speed for about 30 seconds. Turn the mixer to high speed and whisk until the cream thickens and forms stiff enough peaks to hold it's shape, but not stiff enough that it will be hard to work with.
If you are going to spread it over the top, keep the whipped cream a little softer than if you are using a decorating bag.
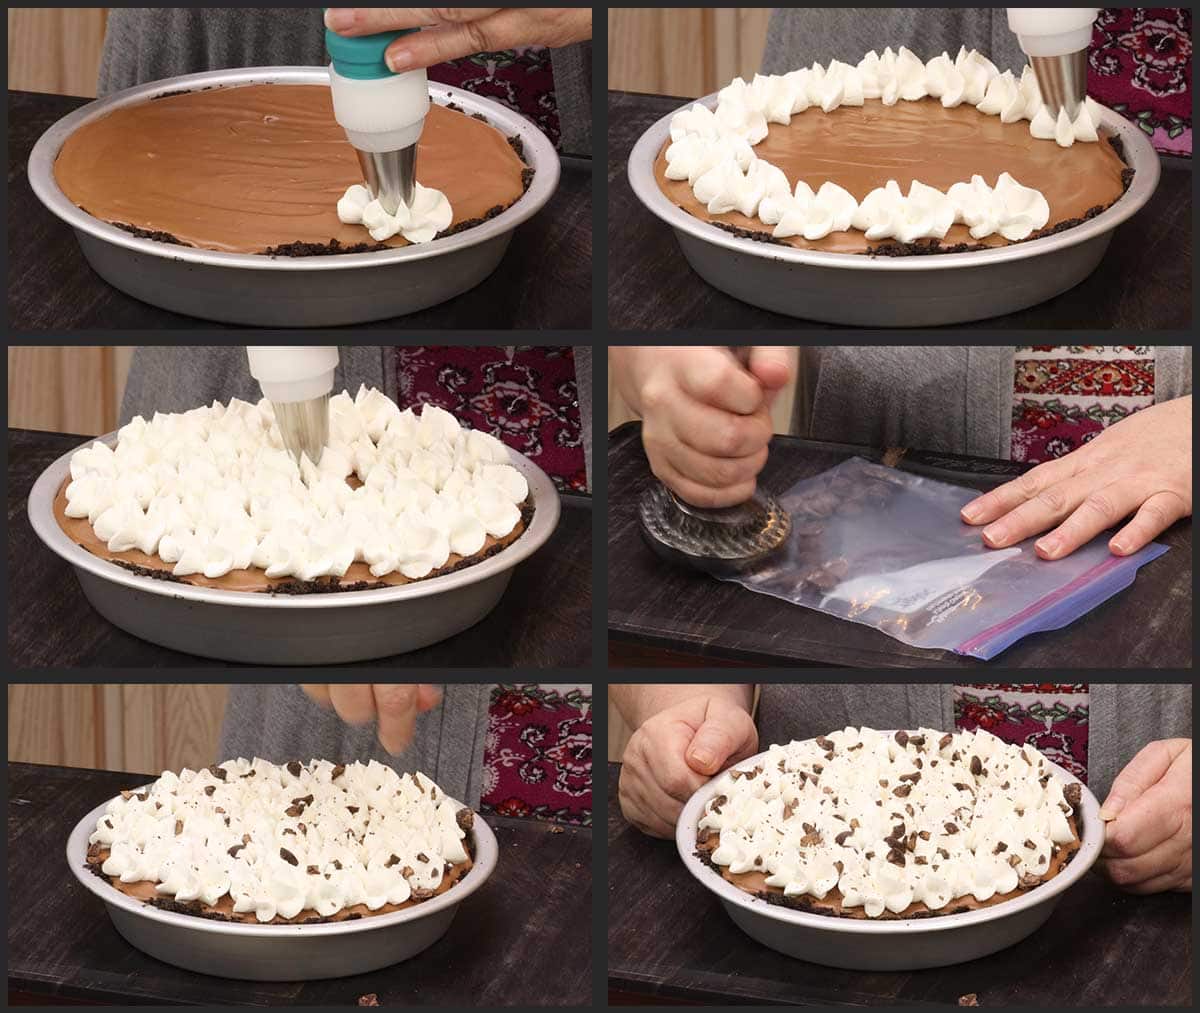
Remove your pie from the refrigerator and decorate with the whipped cream. I like to use a large star tip and make a simple star design, but you can simply spread a layer of whipped cream over the top and it looks beautiful.
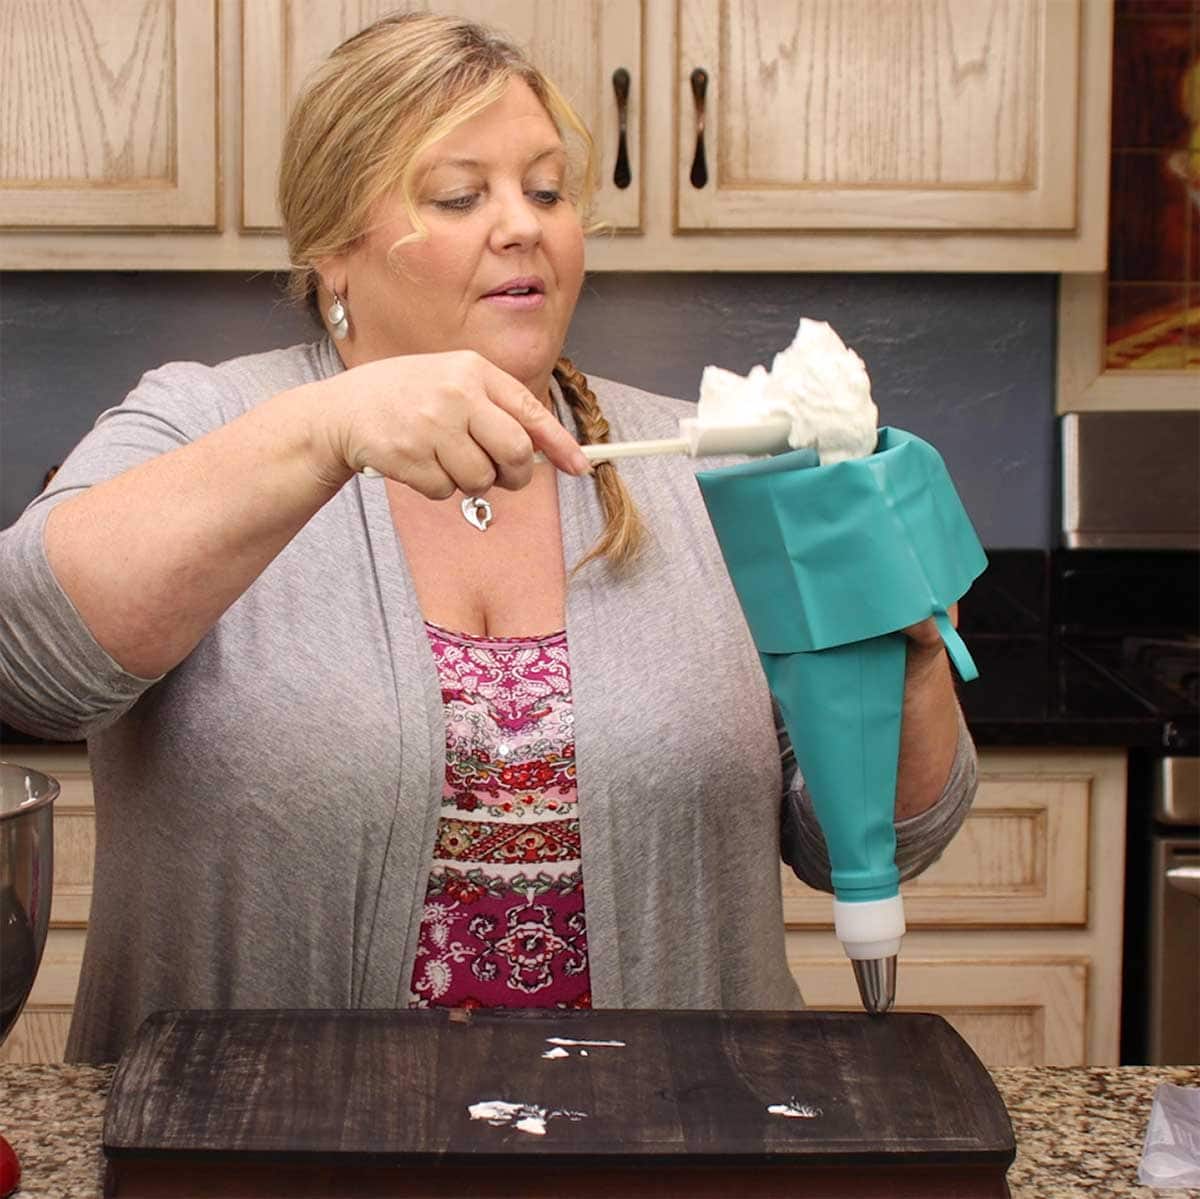
To make the star decorations, attach a large star tip to your pastry bag. Fill the bag ¾ of the way with whipped cream and squeeze some of the whipped cream out into the bowl to remove any air bubbles.
Place the tip about ½" above the pie and squeeze some of the whipped cream onto the pie and pull up gently to create the design. Repeat along the edges only or over the entire pie.
You can get really fancy here and shave chocolate to make chocolate curls, but I simply use the remaining chocolate chips and crush them up, then sprinkle them over the top. It's super quick and easy!
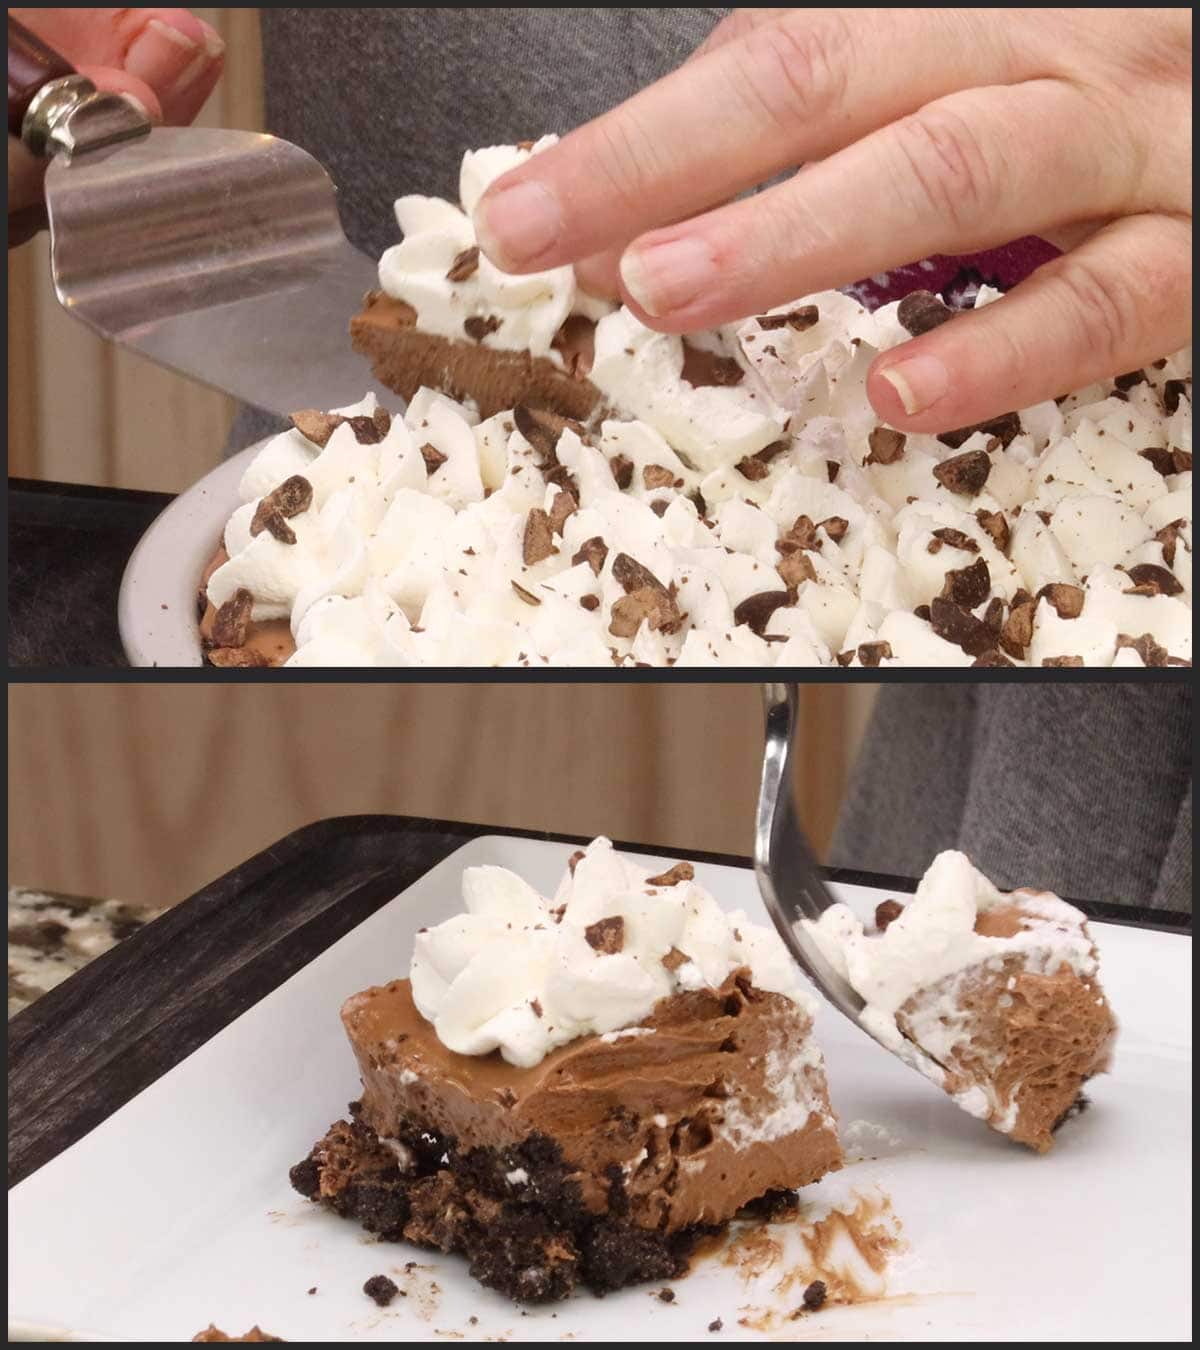
Cutting the first slice is usually the hardest and it does help if you put your pie back in the refrigerator after decorating for about an hour. However, if you are like me, you are ready to dig in! Go ahead, cut a slice and enjoy!
Chocolate Mousse Pie - No Bake Recipe
Ingredients
Oreo Cookie Crust
- 20 oreo cookies with filling
- 3 Tablespoons melted butter salted or unsalted is fine
Chocolate Mousse Filling
- ⅔ cup white granulated sugar
- ¼ cup heavy whipping cream
- 2 large eggs
- 7 ounces dark chocolate chips
- 1 teaspoon espresso powder optional
- ½ teaspoon sea salt
- 1 teaspoon vanilla extract
- ¼ cup butter room temp (salted or unsalted is fine)
- 1 cup heavy whipping cream
Chocolate Pie Topping
- 1 cup heavy whipping cream
- 2 Tablespoons powdered sugar
- 1 teaspoon vanilla extract
- ¼ ounce chocolate for sprinkling on top
Instructions
Oreo Cookie Crust
- Melt 3 Tablespoons of butter and set aside to cool slightly. Place 20 oreo cookies (with the filling) in a large plastic bag or in the bowl of your food processor and crush into fine crumbles.
- Add the melted butter to the bag and mix it up to coat the cookie crumbs. If using a food processor, you can pour the cookie crumbs into the pie plate and mix the butter in to coat all of the crumbs.
- Press the cookie crumbs along the edge of the pie pan to form the crust. If your cookie mixture isn't sticking to the sides, then you need to add a little more melted butter. Only add a Tablespoon at a time because you don't want it to be to wet of a mixture. Once the sides are formed, press the cookie crumbles onto the bottom until you have a crust that covers the entire bottom. Set aside or place in the freezer or refrigerator until ready to fill with the mousse.
Chocolate Mousse Filling
Ninja Foodi Cold & Hot Blender Instructions
- In this order, add the ⅔ cup of sugar, ¼ cup of heavy whipping cream, and 2 large eggs to the blender pitcher and select the cocktail function. Check a temperature about 5 minutes into the cycle to make sure it has reached 150℉/66℃. If it hasn't, you can use the manual heating mode on low and pulse every minute or so until the mixture reaches the desired temperature and holds there for 5 minutes. This step is not necessary if using pasteurized eggs, simply make sure the mixture is blended.
- Add 7 ounces of dark chocolate and the espresso powder to the blender. The chocolate will start to melt from the residual heat of the egg mixture. You can simply let the chocolate melt by pulsing a few times or select the cocktail function again and let it run for a few minutes until the chocolate is completely melted.
- Add the salt, vanilla extract, and room temperature butter and select the smoothie function. When that is done, transfer to a medium size mixing bowl to cool.
Stovetop Instructions
- Using a double boiler set up or a heat resistant bowl on top of a saucepan, add a few inches of water in the pan and bring to a boil. Reduce the temperature down to low or medium so the water continues to simmer. Place the double boiler or bowl on top of the pot, making sure the bottom of the bowl does not touch the water.
- Add the sugar, heavy cream, and eggs. Whisk constantly until the sugar melts and the temperature of the mixture reaches 150°F/66°C and hold it there for 5 minutes. Don't stop whisking or the eggs could start to cook.
- If using pasteurized eggs, you don't have to worry about the temperature, but you do want the sugar to melt so your filling isn't grainy.
- Turn the heat off and add in the chocolate and espresso powder. Whisk as the chocolate is melting. When completely melted, remove the bowl from the pot and add in the salt, vanilla extract, and room temperature butter. Whisk to combine. The mixture should be nice and smooth. Set aside to cool while you make the whipped cream.
Whipped Cream for Mousse Filling
- You can use a stand mixer, hand electric mixer or do this by hand using a bowl and a whisk.
- Add 1 cup of heavy whipping cream to a medium size mixing bowl. Make sure the bowl is clean and dry. Use the whisk attachment on a stand mixer to whisk the whipped cream until soft peaks form. This only takes 3-5 minutes, so watch it carefully. You don't want to over whip it or the cream will be too stiff to incorporate into the chocolate.
- The instructions are the same for a hand mixer. To whisk by hand takes a little longer, but certainly can be done.
Mixing the Mousse
- Add about 1 cup of the whipping cream to the cooled chocolate mixture and gently fold to incorporate. This will loosen the chocolate and make it easier to combine with the remaining whipped cream. Continue to add the whipped cream and fold into the chocolate mixture or add the chocolate mixture to the whipped cream. Either way works, so do what is easiest for you. I usually add the chocolate to the bowl of whipped cream because I have a handle on the bowl of my stand mixer and it makes it easier to tilt the bowl and fold it all together.
- Pour the mousse into the prepared pie crust and smooth the top or make a design on the top if you don't plan on decorating it. Put the pie (uncovered) in the refrigerator for at least 4 hours to set up. You can leave the pie in the refrigerator for several days, so it's a great make ahead pie.
Decorating
- When the pie is chilled and set, you can decorate it or eat it now.
- Whip up 1 cup of heavy whipping cream using a stand mixer or electric hand mixer on low (or whisk by hand) until the mixture starts to thicken. Add in the powdered sugar and vanilla extract and mix for 30 seconds on low or medium speed.
- Turn the mixer to high speed (or whisk by hand) until the cream thickens and holds its shape. If you are spreading the whipped cream over the top, take the cream to the point where it forms soft peaks. If using a pastry bag with a tip for decorating, whip it a little longer so the decorations hold their shape.
- Spread or pipe the decorations you want on your pie and top with chocolate shavings or crushed chocolate tips. For detailed instructions on how I decorated my pie, see the written post.
- If you put the pie back in the refrigerator for at least 1 hour, it does make it easier to slice. I can never wait, so I slice and serve right away!
- Enjoy!
Notes
Nutrition
ABOUT THE RECIPE AUTHOR, LOUISE LONG
Louise is a full-time recipe creator and food blogger @ The Salted Pepper. She has over 30 years of experience with cooking and recipe development. She owned a restaurant for several years and was a full-time RN until retiring to blog full-time.

She published her first cookbook in the Fall of 2018 and is very interested in writing several more.
Louise is also the creator of an online Ninja Foodi Pressure Cooking Course with over 100 instructional step-by-step videos. People absolutely rave about the course and all the value they have received from it.
Louise has several very active Facebook groups that help people with the basics of cooking and getting the most out of the Ninja Foodi.
Louise is also a YouTube creator and you can find most of her recipes in video format on The Salted Pepper YouTube channel.
She is very responsive to messages and eager to help in any way she can. Get more Information about Louise & contact information
I WOULD LOVE TO SEE WHAT YOU ARE COOKING UP IN YOUR KITCHEN! TAG ME @THESALTEDPEPPER ON YOUR FAVORITE SOCIAL MEDIA PLATFORM WHEN YOU MAKE A DISH!
BE SURE TO FOLLOW THE SALTED PEPPER RIGHT HERE ⇓⇓⇓⇓⇓



Donna
If I opt to use cool whip in the filling how much do I use?
Louise
2 cups of whipped cream is about what 1 cup of heavy whipping cream makes when whipped, so use 2 cups of the cool whip in the filling. Thanks for letting me know that I don't cover this in the recipe. I will update it because I should have stated this. Enjoy the pie!
Susan
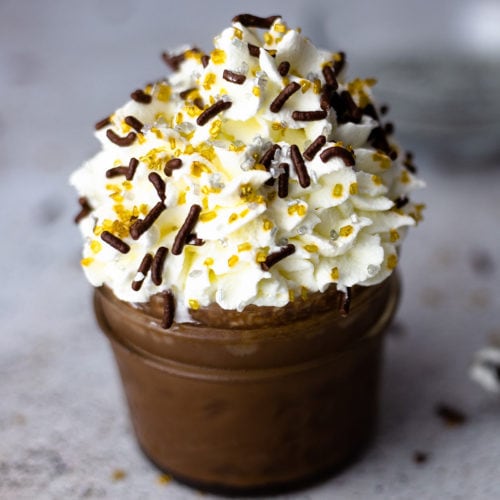
Can this be used to make chocolate mousse cups.
Louise
Yes, absolutely. Just make the filling and put them into cups and refrigerate.
Amy Smith
It was delicious but it did not set very good. Any suggestions?
Louise
I'm not sure why that would happen unless your whipped cream wasn't whipped enough or it deflated. How long did you refrigerate it. Maybe your chocolate was too hot and melted the whipped cream?
Amy Smith
I probably deflated my whipping cream. It was very hard to fold into chocolate.i still little lumps of whip topping in pie. I'll just have to try again. What a shame!😀 Thanks
Louise
The whipped cream might have been too stiff, try whipping it a little less next time. Also, I always add a little whipped cream to the chocolate mixture to loosen it up before add the remaining whipped cream.