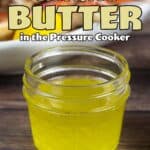

- Pressure Cooker
- 8 ounce cannin jar with lid
Most recipes for clarified butter use the sear/sauté mode on the Instant Pot, Ninja Foodi, or another brand of electric pressure cooker, but I found out that using the pressure cook function is even easier! It does take longer, but it is all hands-off time and you don't ever have to worry about burning the butter!
WARNING!!! Read this entire article BEFORE you attempt to pressure-cook butter. Failure to read the specifics can lead to injury and we certainly don't want that!
Would you like to save this recipe?
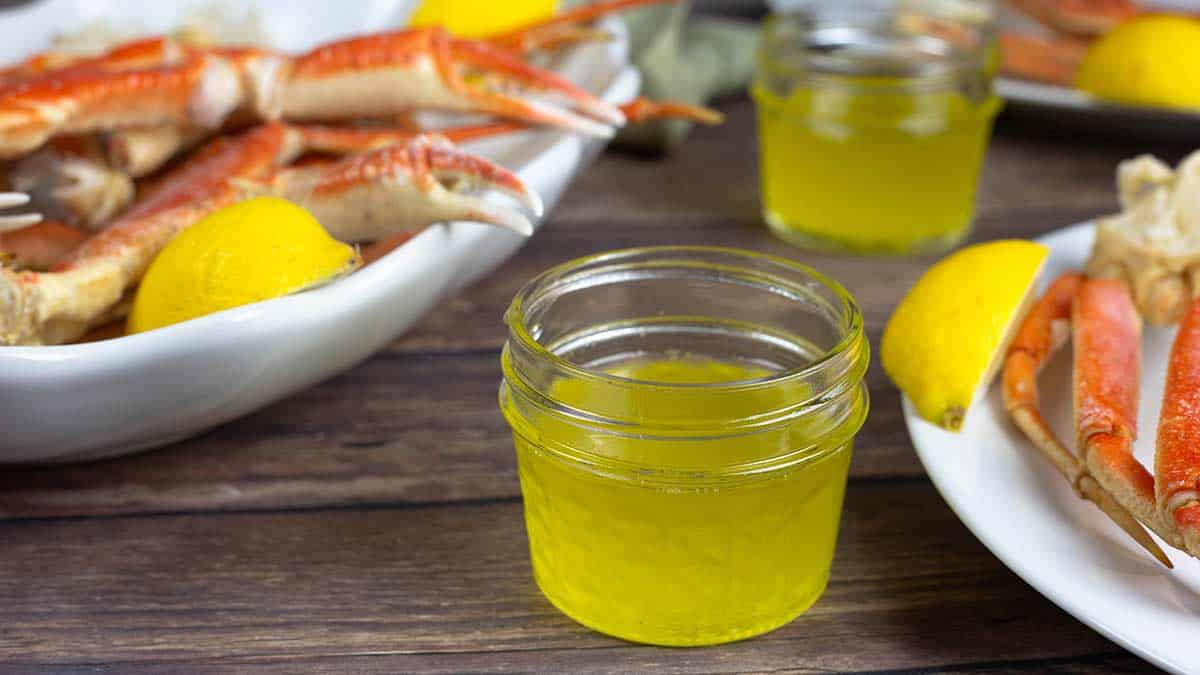
One of the best parts of this technique is there is no need to skim the white foam off the top like you have to do when you make it on the stove. The milk proteins solidify and simply fall to the bottom of the jar and you are left with pure butterfat, also referred to as liquid gold.
I stumbled across this technique when trying different methods for making homemade ghee which is slightly different from clarified butter. Ghee has a nutty flavor and is used a lot in Indian cooking, while clarified butter has a super buttery flavor and is great on popcorn or for dipping seafood in. I am happy to share that I did find the easiest way to make Ghee using a slow cooker and you can find those instructions here: Slow Cooker Ghee
Clarified butter can take the place of butter in most recipes that call for melted butter and has the advantage of a higher smoke point, making it perfect for sautéing.
This recipe for making clarified butter in your electric pressure cooker is very easy, BUT it does come with a serious warning.
Warning!
Follow the instructions and do not attempt to open the glass jars until the butter has cooled for 90 minutes. I cannot stress this enough! Pressure-cooking fat inside of a canning jar is safe as long as you follow the instructions, but if you try to take a shortcut and open the lid too soon, the butter could boil up and spray, causing burns.
Supplies & Ingredient
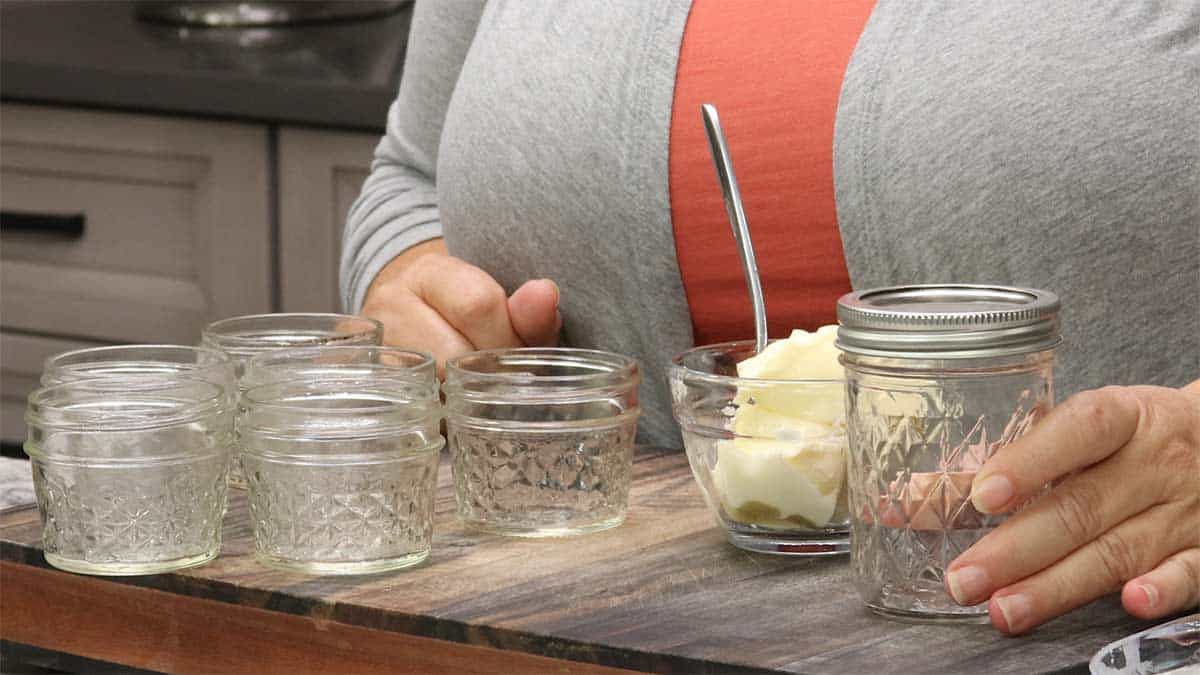
Canning Jars
Depending on the size of your pressure cooker, you can either use 4-ounce jars or 8-ounce jars. You want to make sure they are canning jars and not just mason jars because canning jars are designed to be used when pressure cooking and don't break as easily. This recipe has only been tested with 4-ounce and 8-ounce sizes and I do not recommend using larger jars.
Visually inspect the jars and look for any cracks. Do not use any jars that show signs of cracks or any kind of damage.
It's also important to use metal lids and bands and not plastic.
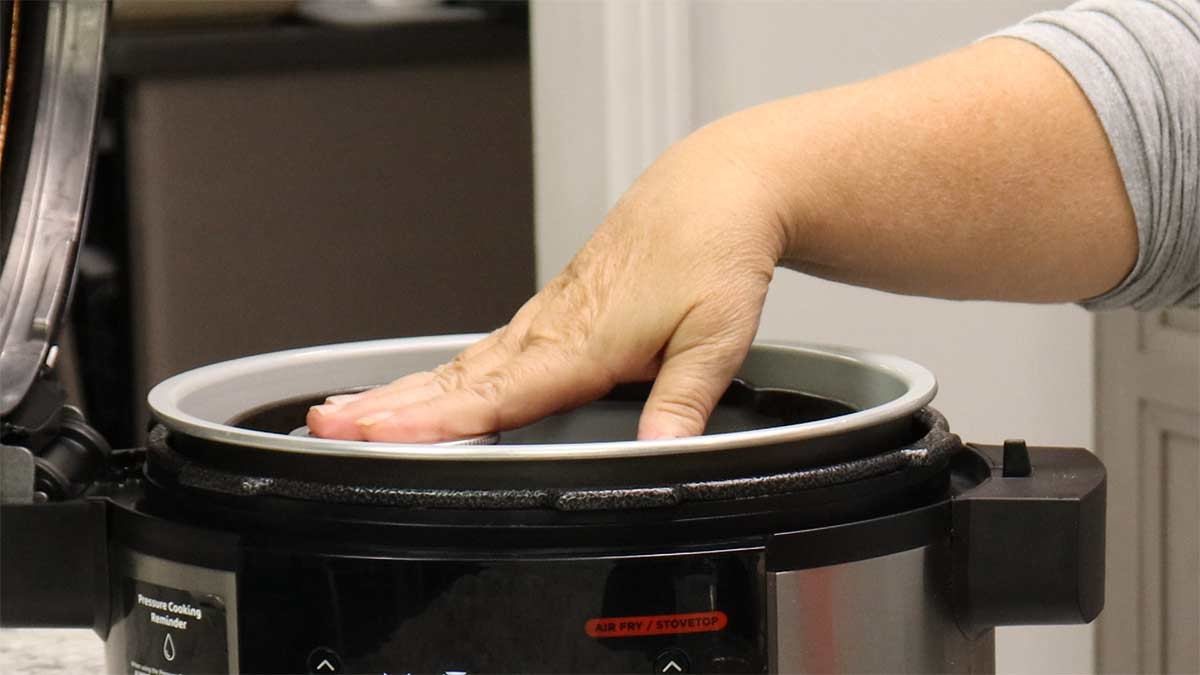
Before you get started, make sure your canning jars fit inside your pressure cooker and can be placed on a level surface of an air fryer basket or rack.
Tea Towel or Flour Sack
I only did one jar of clarified butter in this recipe, but if you wanted to do several at one time, I recommend having a damp tea towel or flour sack to weave in between the jars so they don't knock against each other.
This is another safety precaution to prevent the jars from breaking inside the pressure cooker. The butter boils inside the jars and can cause the jars to jump around a bit.
If for some reason one of the jars does break inside the pressure cooker (which I have never had happen), it will be contained and I don't want you to worry that it will explode or anything like that. It won't as long as you follow the instructions and don't open the lid for 90 minutes.
Electric Pressure Cooker
Any brand is fine to use, but make sure you have some sort of a basket or rack where the canning jars can sit flat. If you want to make several jars at once, I recommend putting a wet tea towel in between the jars to keep them from bumping up against each other. The butter boils quite aggressively inside the jars and you don't want them to bounce around and break.
I use the Ninja Foodi Pressure Cooker & Air Crisper and use the air fryer basket. If you don't have the basket, you can use the rack in the low position.
Again, if you are pressure cooking multiple jars at once use a thin damp tea towel or (affiliate link)flour sack to weave in between the jars so they don't bounce around when the butter starts boiling.
Butter
The butter is the star of the show and while using a high-quality butter like Kerry Gold is certainly okay, I found that the cheaper grocery store brands of regular butter worked just as well and had great flavor.
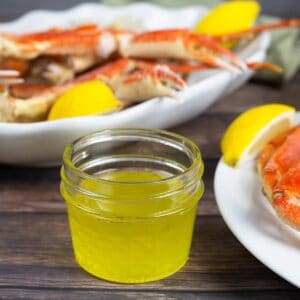
You can use salted or unsalted butter. I used salted butter because that is what I had on hand and I absolutely love it on steamed vegetables or to dip steamed shrimp or crab legs in!
The type of butter you use is completely up to you, but you do want to use real butter and not margarine in this recipe.
How to Make Clarified Butter in an Electric Pressure Cooker
Mise En Place (Prep)
- Make sure the canning jars are clean and they don't have any visible cracks.
- Make sure the jars fit in your pressure cooker sitting on a level surface. Do not put them on the bottom of the pot, they need to be on a rack or in a basket.
- The butter can be room temperature or cold for this recipe.
Fill the Jars with Butter
If you are using 4-ounce jars, the maximum amount of butter is 4 Tablespoons or ¼ cup (57 grams).
You can put up to ½ cup of butter or 8 Tablespoons (113 grams) in an 8-ounce jar.
This is important, and do not try to fill the butter to the top because it needs room as it heats up to boil and release steam. This happens during the pressure cooking process and the steam produced inside the jars is released through the lid, which brings me to the second important step.
Don't put the lids on too tight. Once you set the sealing lid on top, put the band or ring on and screw it down just finger tight. What I mean by that is don't put strength into screwing on the lid, just tighten it down with your fingers. This allows the steam to escape.

Pressure Cook the Butter for Clarified Butter
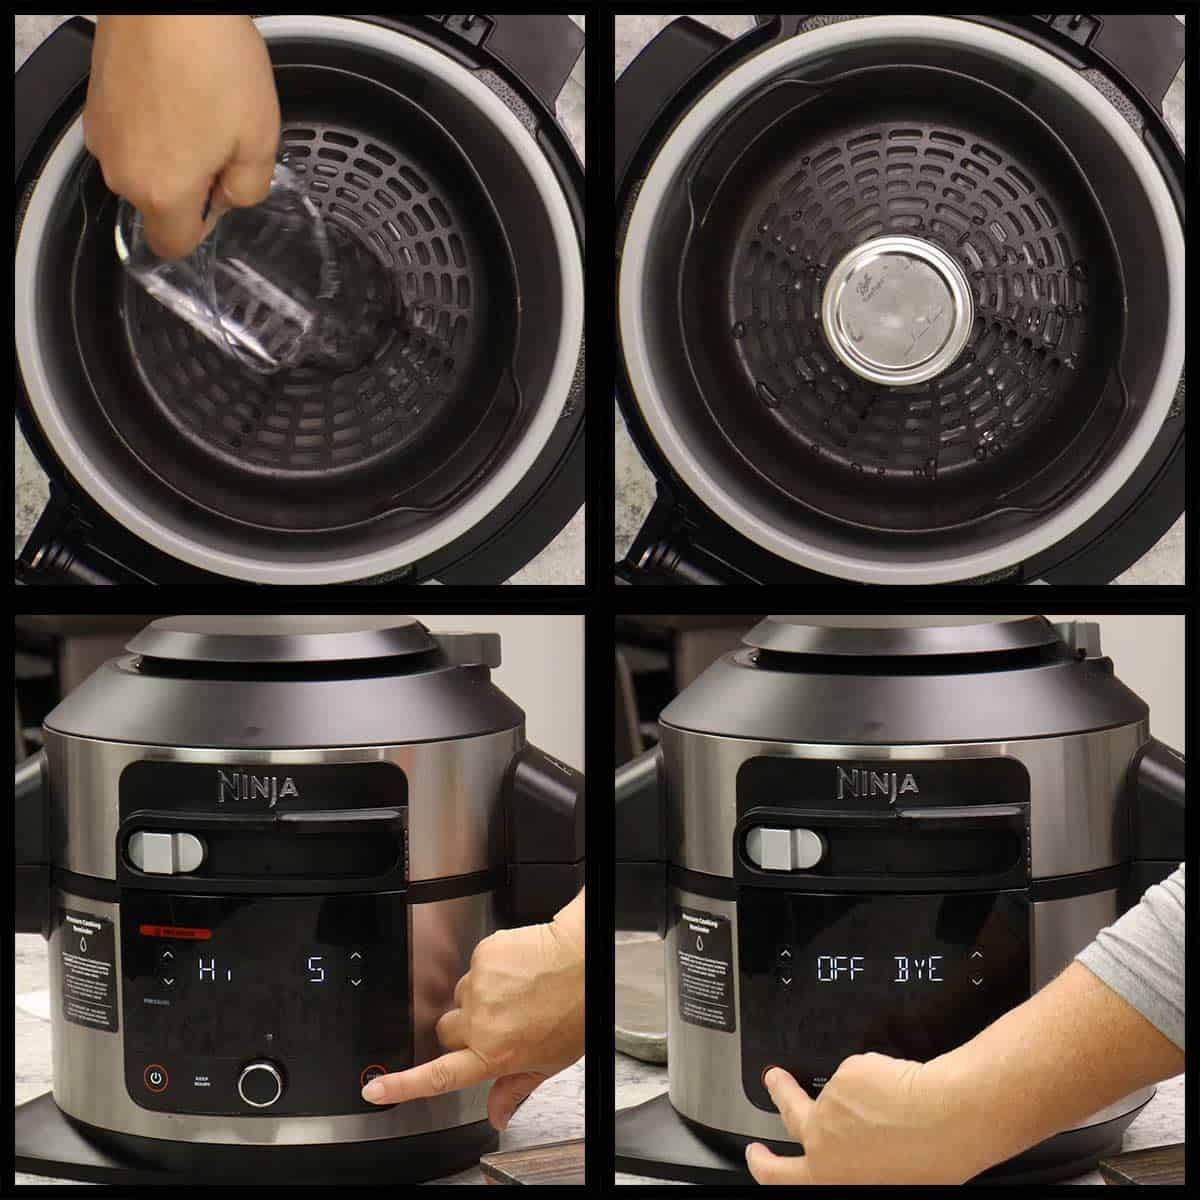
Place 1 cup of water into the bottom of the pressure cooker inner pot. Put the basket or rack into the pressure cooker. Place the jar or jars so they sit level.
If you are making multiple jars at once, dampen a thin tea towel or (affiliate link)flour sack and weave it in between the jars so they don't knock up against each other.
Put the pressure cooker lid on and turn the valve to seal. Pressure cook on high for 5 minutes and do a full natural release. DO NOT OPEN THE LID. The full natural release will take about 10 minutes and when the pin drops, turn the pressure cooker off and walk away! DO NOT OPEN THE LID for 90 minutes. This is so important because it gives the butter enough time to cool down.
If you do open the lid to the pressure cooker, ABSOLUTELY DO NOT open the lids to the glass jars for at least 90 minutes or the butter can boil out and cause serious burns. This is why I say just leave it in the pressure cooker for the entire 90 minutes. It's the safest way.
If you do decide you want to take the jars out prior to the 90 minutes, place them carefully on a WOODEN or PLASTIC surface. DO NOT set them on a granite or quartz countertop because it can cause sudden thermal changes that breaks the glass and the super hot clarified butter could burn you.
WARNING!!!
Follow the instructions and do not attempt to open the glass jars until the butter has cooled for 90 minutes. I cannot stress this enough! Pressure-cooking fat inside of a canning jar is safe as long as you follow the instructions, but if you try to take a shortcut and open the lid too soon, the butter could boil up and spray, causing burns.
Here is what is going on inside the jars right after pressure cooking. This is why it is so important to let the jars sit inside the pressure cooker to cool down and stop boiling. If you open the jars while they are still boiling, the butterfat can boil and spray all over which can lead to serious burns. So, please follow the instructions!
Strain the Butter
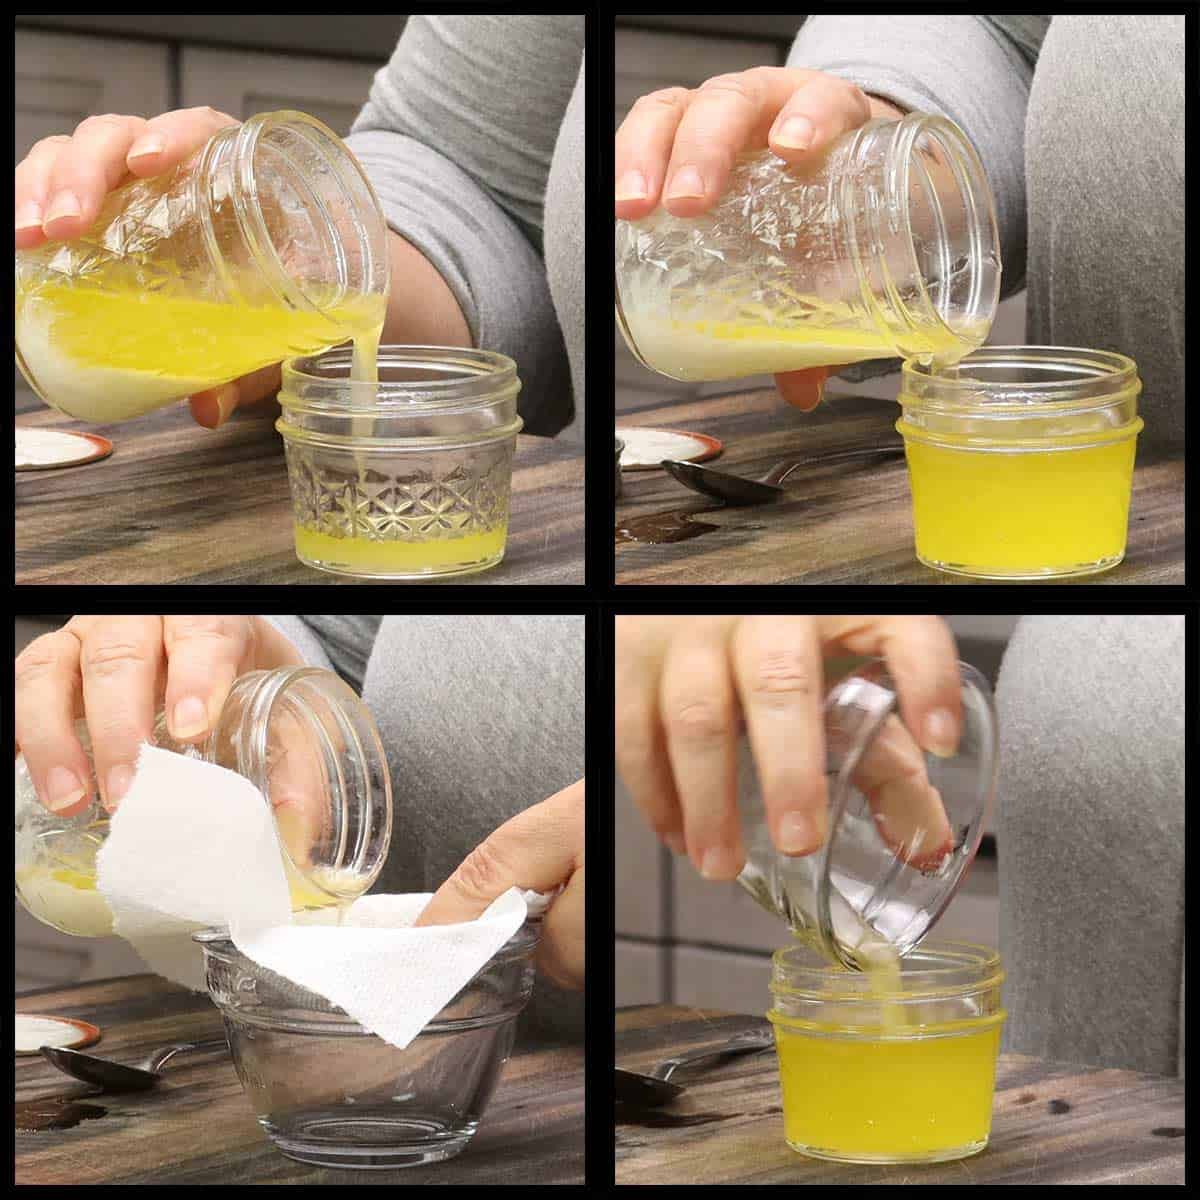
When the clarified butter has cooled and the jars are removed from the pressure cooker, you will see the milk solids have settled to the bottom and the butter fat is on top.
I usually like to pour off the butterfat into another jar so I have pure clarified butter. I can usually get about 80﹪of the butterfat transferred without straining.
If you want to get every drop, then you will want to strain the rest through a flour sack, cheesecloth, paper towel, or coffee filter.
I find that it isn't really worth it for such a small amount because a lot of the butter fat gets absorbed by the towel or filter. If you do want to strain every last bit, I recommend straining into a separate container just in case the milk solids start to go through the towel.
This way you won't end up with milk solids in your first container and you can simply discard the second one.
Clarified butter can be stored at room temperature as long as you don't have any of the milk solids in the butter fat.
Here is a quick way to see if you should refrigerate or not.
Clarified Butter Test
Once you have the clarified butter separated from the milk solids, put the lid on the jar and shake it up. If the clarified butter is cloudy at all, there are milk solids present and the butter can still be used, but should be refrigerated.
Storage Instructions
Storing Clarified Butter
Clarified butter is safe to store at room temperature and will last at least 6 months as long as you have removed all of the milk solids.
Refrigeration
I store my clarified butter in the refrigerator just in case I didn't remove all of the milk solids and it is good for at least 6 months.
Freezer
You can also freeze clarified butter for longer storage. As long as it is stored in an airtight container, it will stay good indefinitely in the freezer.
Quick Tip
Put one Tablespoon of clarified butter into each well of an ice tray and freeze. When the butter is frozen, place the cubes into an airtight container and pop one out every time you want clarified butter for sautéing.
Frequently Asked Questions
There are many uses for clarified butter in everyday cooking, here are some examples of how I use it.
Spread on bread for grilled sandwiches.
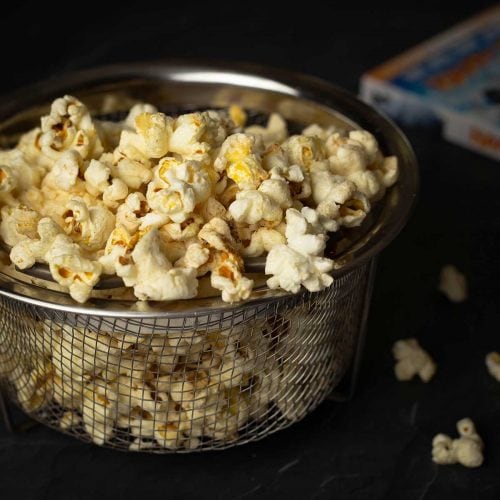
Make buttered popcorn, the flavor is outstanding when poured on popped popcorn.
Use in place of regular butter for toast or rolls.
Add it to steamed veggies.
Dip seafood into it.
Use it to sauté vegetables or sear meat.
When you make ghee, you brown the milk solids which adds a nutty flavor and darkens the butterfat.
Ghee and clarified butter can be used interchangeably in recipes, but the flavor is slightly different. Both have a higher smoke point than regular butter making both great alternatives for sautéing or searing at higher temperatures.
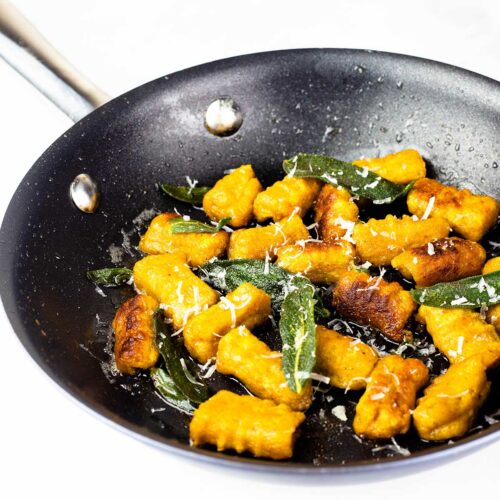
Use your clarified butter in these recipes!
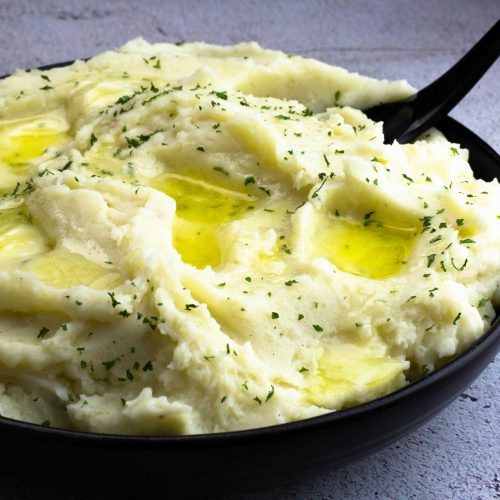
With the exception of baking, clarified butter can be used instead of regular butter in so many different recipes. Here are a few of my favorites!

Pressure Cooker Clarified Butter Recipe
Equipment
- Pressure Cooker
- 8 ounce cannin jar with lid
Ingredients
- ½ cup butter salted or unsalted
Would you like to save this recipe?
Instructions
- WARNING: After pressure cooking, do not remove the jars or open the jars for at least 90 minutes! Open the lids to the jars before they cool can result in burns.
- Place the ½ cup of butter into an 8 ounce canning jar. Wipe the rim clean with a paper towel. Put the canning lid on and screw the metal ring onto the jar just finger tight. You want the lid to be secure, but also allow for steam to escape so don't put any strenth into screwing on the metal ring.½ cup butter
- Pour 1 cup of water into the inner pot of the pressure cooker. Place the jar of butter on a rack or in the basket. Make sure it is sitting level so it doesn't tip over.
- Put the pressure lid on and turn the valve to seal. Pressure cook on high for 5 minutes. Allow the pressure to natural release. Once the pin has dropped or the display says it is okay to open the lid, turn the pressure cooker off and walk away. Let the jar sit in the pressure cooker for 90 minutes before opening the lid and removing the jar. This is important for safety so no short cuts here.
- After the 90 minutes are up, open the pressure lid and remove the jar of clarified butter. You will see that the milk solids are on the bottom and the butterfat is on top.
- Pour the butterfat into another jar or container, making sure that the milk solids don't go into the jar. I find that pouring the butterfat works just fine for about 80% of it and then if you want to get the rest, you will want to strain it through a flour sack, cheesecloth, paper towel or coffee filter to catch the milk solids. When straining, pour slowly to prevent the milk solids from going through the towel. I also like to strain into a separate container just in case those milk solids sneak into the butter fat.
- Discard the milk solids and what you are left with is a beautiful jar of clarifed butter which can be stored at room temperature, refrigerated, or frozen.
Terry says
Thanks, Louise,
I have been wanting to make clarified butter for like forever. I think now, I will be able to do this, I am very excited. Tomorrow might be the day it happens.
Thanks again,1Terry