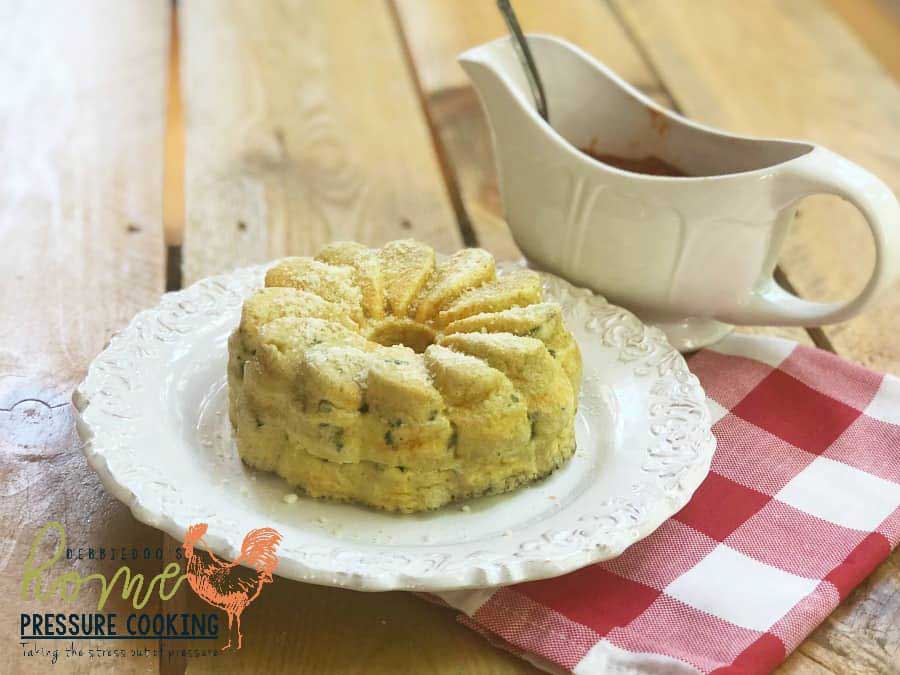
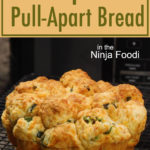
You know the cheddar biscuits you get at Red Lobster? That is what this bread tastes like... only with the added kick of jalapeno! You make it in one pan, and then pull off bite size pieces for the perfect size bite!
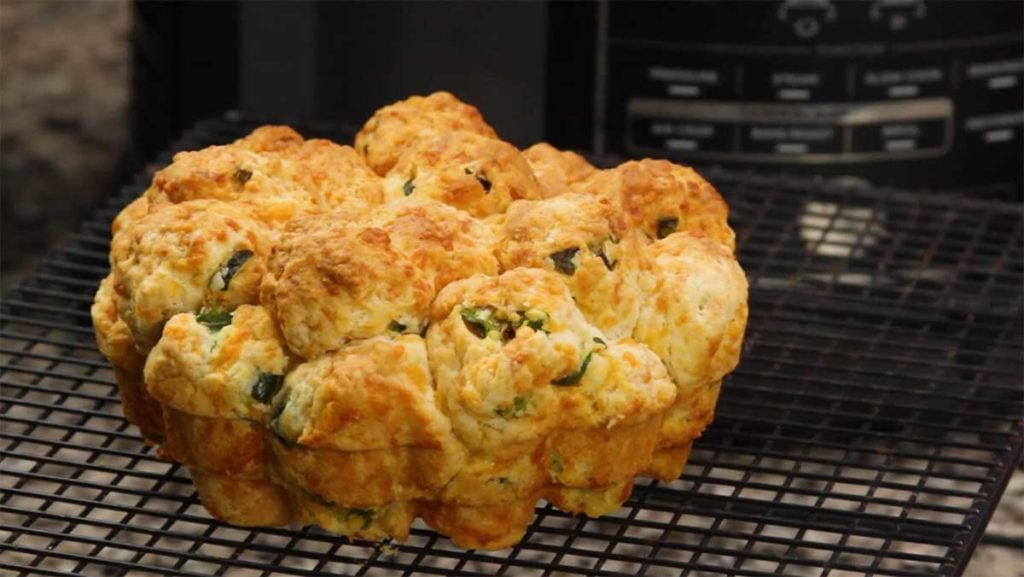
I made this recipe in the Ninja Foodi PC & AC, because... well, I LOVE it! It's one kitchen appliance that pretty much does everything I could ask for, and this Jalapeno Cheddar Pull-Apart Bread is a perfect example.
This post may contain affiliate links. If you make a purchase after clicking a link, I may earn a small commission. As an Amazon Associate, I earn from qualifying purchases.
When Jeff took the first bite of my test batch, he said, "these taste like the Red Lobster Cheddar Biscuits."
Okay. Is that a good thing? I had no idea because I've never had a Red Lobster Cheddar Biscuit, but apparently it's a good thing, according to Jeff.
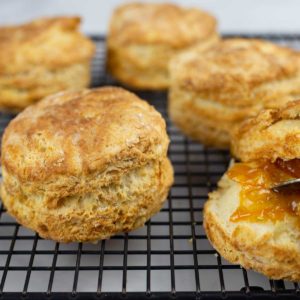
So, if you want to make something a little closer to an actual cheddar biscuit, you can use this recipe and leave out the jalapeno and form them into a biscuit shape instead. They will be delicious.
If you want to bake the biscuits in the Ninja Foodi, follow this recipe for Homemade Biscuits in the Ninja Foodi for timing and they should be wonderful!
I decided to turn the dough into a pull-apart bread, because... well, I've never made something like this before and it sounded fun.
Is it a Bread or Biscuit-like?
I would definitely say this jalapeno cheddar pull-apart bread is more like a biscuit than a bread. The inside is nice and fluffy with an outside crunch like a biscuit.
There isn't any yeast used and no rising time, so, while it could be considered a quick bread... I'm going with biscuit.
It's super easy to make, so even if you don't think you can make biscuits, you can make this bread.
What Pan Can I use to Make this bread in the Ninja Foodi?
This is where things always get so interesting when baking in the Ninja Foodi. The pan really does matter, and I tested a lot of different ways of making this bread. One pan stood out over the rest every time.
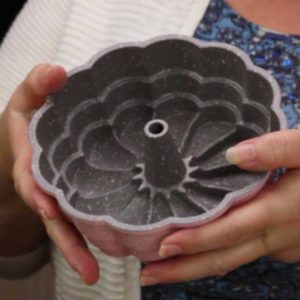
That is this beautiful (affiliate link)flower pan from Home Pressure Cooking. Seriously, it's so cute and makes the most stunning breads, desserts, and other types of food. I'm not one to care so much about cute, though. I want to choose the best pan for the job, and this one is it for a few reasons.
- It's exactly the right size.
- It has a center which helps everything cook evenly
- It's non-stick and thick-walled
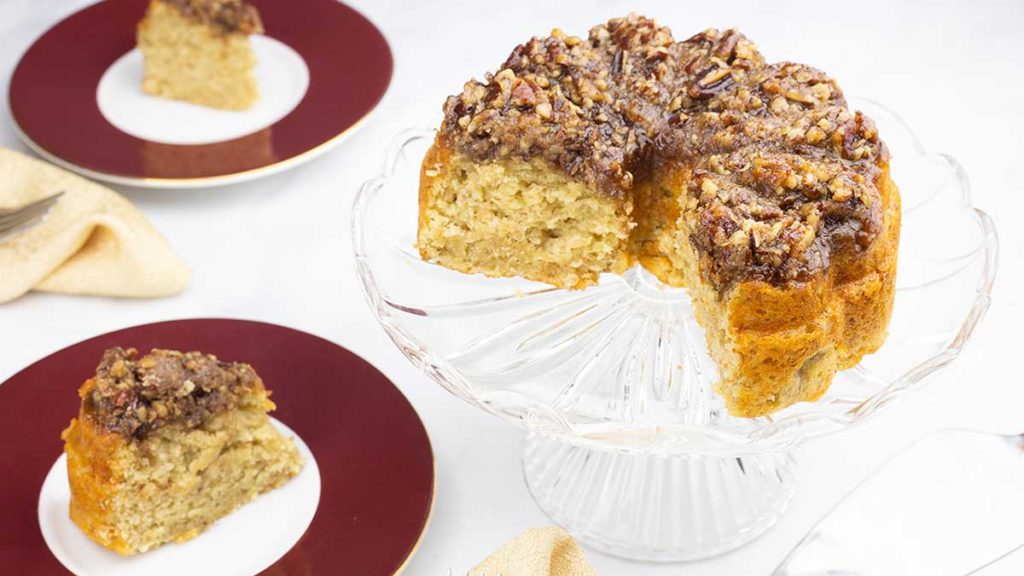
I've made several things in the flower pan and have been happy with them all. This recipe for Banana Bread with Praline Topping is a perfect example! When I tell you nothing sticks, I mean it. Even the sugary topping didn't stick one bit.
If you haven't grabbed one yet, you can buy one RIGHT HERE: (affiliate link)Flower Pan on Amazon
Not only does the flower pan work incredibly well for cakes and breads, it also is perfect for beautiful egg casseroles. Here is one Debbie from Home Pressure Cooking made. It's a Pizza Omelette! How interesting is that one? It sure sounds delicious!
You can also try your hand at making some beer bread! Here is a new recipe from Home Pressure Cooking: How to Make Beer Bread in the Ninja Foodi
I also tried the Fat Daddio Ring Pan and that would have worked fine, but the bread stuck and was a mess.
I tried the pizza pan (the round pan with holes) with a biscuit cutter in the center and that didn't work at all.
Can you use a different pan? Of course! Just make sure it is greased well and has a center. A bundt pan would probably work the best. In fact, I tried the (affiliate link)bundt pan I have from Pampered Chef and it was just a little too big, so the bread kind of looked funny when it came out.
If you are using a bundt pan that is dark coated, follow the same instructions as for the flower pan. If you are using a light colored pan, I would increase the temp by 25° and keep an eye on the tops. If they are getting too done before the bread is finished cooking, drop down the heat some.
I don't recommend doubling the recipe to fit a bigger pan because the center will have trouble getting done all the way. If you use a different pan, just know that your bread will be shorter. It will taste the same, though; and that is what matters!
Variations to Jalapeno Chedder Pull-Apart Bread
Add Bacon! I seriously wish I would have thought of that before I was on test 25 of this recipe. That would be so good!
Omit the Jalapeno peppers. If you don't want a kick, just leave them out.
Add some onions and peppers, but make sure to dice them small and don't add too many!
You can turn this into a taco pull apart bread very easily by adding in a little taco meat that is fully cooked and well-drained, some taco seasonings and Mexican cheese.
What sounds good to you? Whatever it is, I'll bet you can make it!
How Long will The Jalapeno Cheddar Bread Last and How do I Store it?
I have to be honest here, it hasn't lasted long enough for me to answer these questions by experience, so, I'm just going to have to give suggestions.
It will last on the counter about 30 minutes because you and your family will walk by and grab a piece over and over. Ask me how I know.
I would wrap it in foil or plastic wrap and keep it in the fridge, since it is made with cheese. The bread should last at least 5 days in the fridge.
You can also wrap it well and freeze it for longer storage. Just make sure the bread is completely cool before placing in the freezer or you will end up with ice crystals from the steam.
Can I make this bread without using the Ninja Foodi?
Of course. Just follow the instructions and preheat your oven to 425℉/220℃, and then bake uncovered for about 20 minutes.
Keep an eye on the bread and, if the top is getting too done, drop the heat some.
How to make Jalapeno Cheddar Pull-Apart Bread in the Ninja Foodi
Preheat the Ninja Foodi on Broil for 10 minutes. You do this first because the bread comes together in a short time and you'll most likely be ready to bake it in just about 10 minutes.
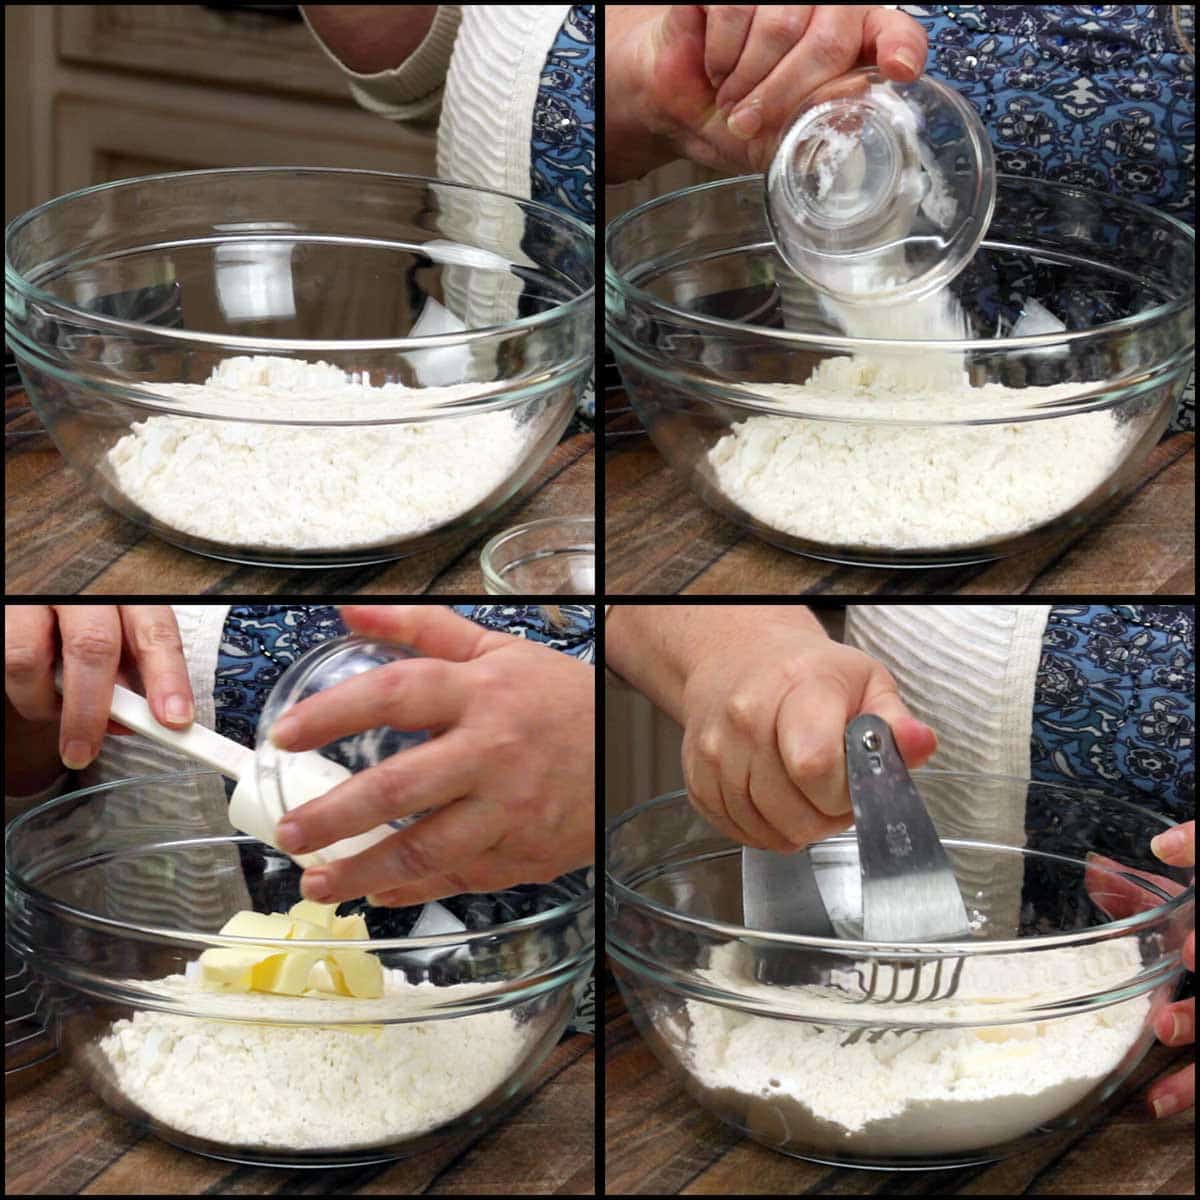
Combine the flour, baking powder, and salt in a medium-size mixing bowl. Stir to combine and then add in cold, sliced butter.
I like to use a (affiliate link)pastry blender to cut the butter into the flour, but you can also use a fork. You want to cut the butter into the flour until you see pebbles forming where the flour and butter are coming together.
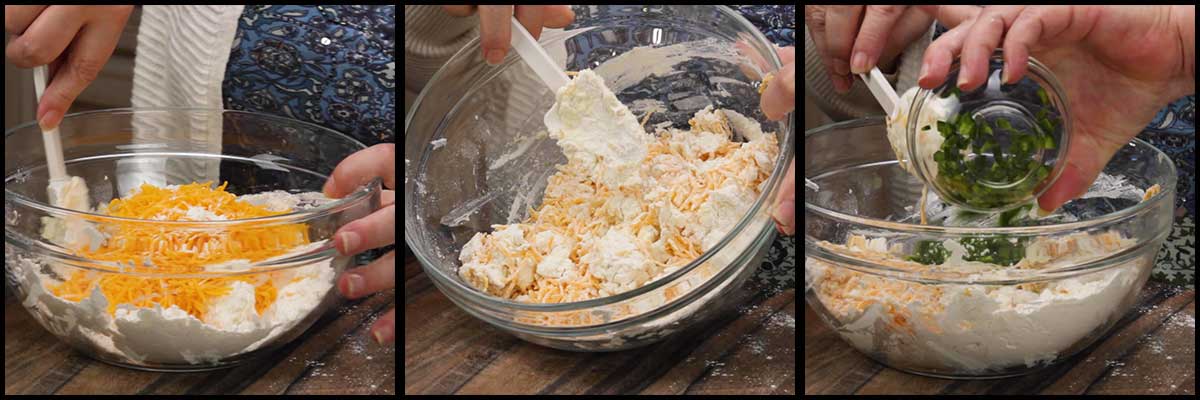
Next, make a well in the center of the flour mixture and add in the sour cream and water. Mix until combined.

Next add in the cheddar cheese and stir to combine. I used shredded cheese right from the bag, but you can also grate your own. Add in the diced jalapeno peppers and stir to combine.
Your dough will still be very loose and crumbly, do not worry. It will come together in the next step.
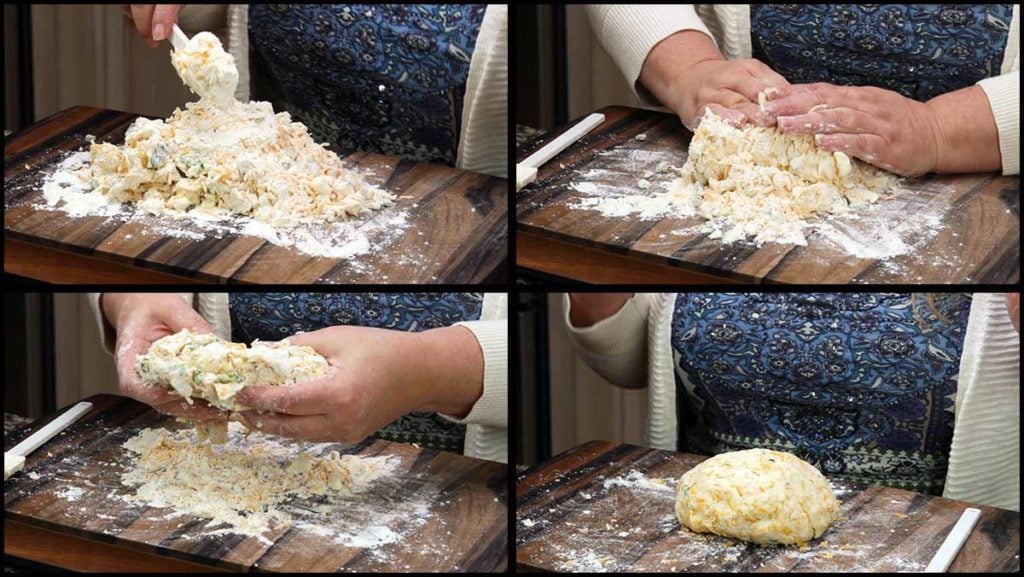
Now it's time to form the dough ball. Lightly flour your work surface. I used about 2 tablespoon of flour. Dump out the loose dough onto the work surface and press it gently. Then, fold it back towards you and press. Gather up the loose flour each time and repeat this until you have incorporated all of the ingredients. Try not to overwork the dough, because you don't want to melt all the butter with the heat from your hands. If it is really hot in your kitchen, you can refrigerate the dough for a few minutes, if needed.
It might be easier to see this step in action, so here is a short video:
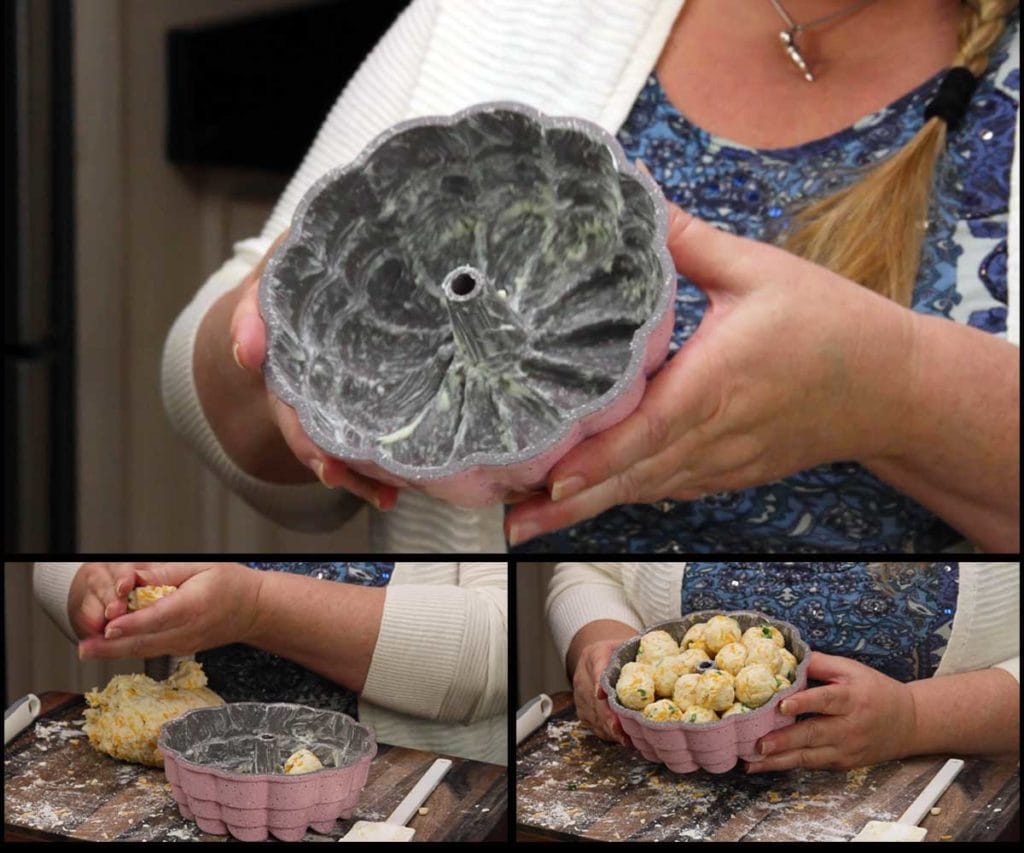
Butter your pan really well. I find using this (affiliate link)silicone pastry brush works great for getting into the groves.
Next, form the balls. Break off about a Tablespoon of the dough and form a ball. Place the balls in the pan, layering them. I usually stagger the balls a little and leave space in between them to allow for rising.
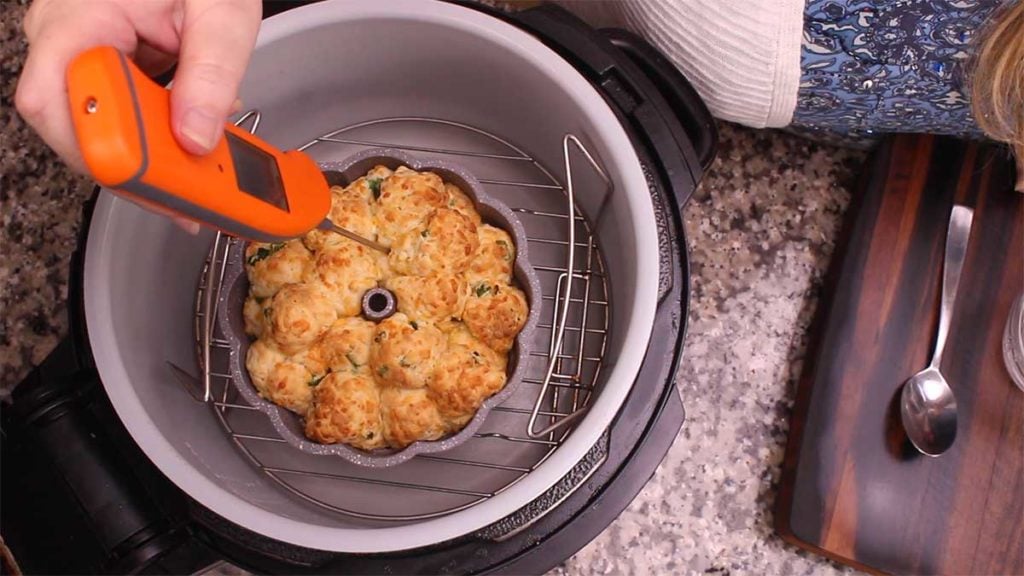
Place the pan on the rack in the low position, uncovered, and lower into the preheated Ninja Foodi. If it took you longer than 10 minutes to make the dough, you may want to heat it up for a few minutes to make sure it is really hot when the pan goes in. This helps with rising and baking evenly.
Select the bake/roast function on 375℉/190℃ for 15 minutes. Do not open the lid for the first 9 minutes. After 9 minutes, check the bread for even browning and move the pan around if one side is getting more done than the other.
I have found that 15 minutes is the perfect timing for the pan I used. If you are using a different pan, you may need to cook longer or even less time, so please keep an eye on your bread. You can also take a temp of the bread and when it hits 200℉/93℃ it is done.
Remove the Jalapeno Cheddar Pull-Apart Bread from the Ninja Foodi and take it off of the rack. Turn the pan over onto a cooling rack and lift the pan up. If you meet resistance and the bread doesn't come out easily, run a (affiliate link)cake tester around the edges to loosen it.
Allow to cool a few minutes, and then serve!
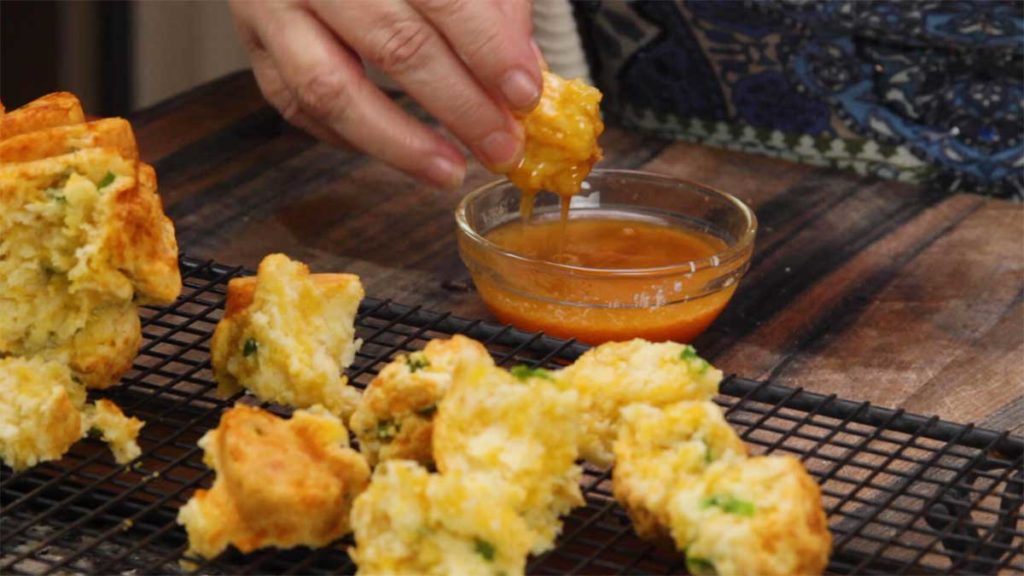
I dipped mine in a really simple dipping sauce of 2 tablespoon melted butter, 2 tablespoon of honey, and 2 teaspoon of Cholula hot sauce. Delish!
Jalapeno Cheddar Pull-Apart Bread
Equipment
- Ninja Foodi Pressure Cooker and Air Crisper
Ingredients
- 1½ cups all purpose flour plus a little for the work surface
- ½ tablespoon baking powder
- ¼ teaspoon sea salt fine grind
- ¼ cup butter salted and cold (½ stick)
- ⅓ cup sour cream
- 3 tablespoon water cold water is best
- 1 cup cheddar cheese shredded
- 1-2 jalapeno peppers
Instructions
- Preheat the Ninja Foodi on Broil for 10 minutes
- Chop up jalapeno pepper into a small dice. I removed the seeds, but if you like it extra spicy, throw them in. You will want about 2-3 tablespoon of chopped jalapenos.
- Prep the flower pan (see post for pan details) by brushing butter all over in a thin layer.
- Mix the flour, baking powder, and salt together in a medium size mixing bowl.
- Cut the cold butter into slices and cut into the flour until you create pebbles with the butter and flour. I use a pastry blender for this, but a fork will work.
- Make a well in the center and add in the sour cream and water. Mix to combine. Add cheese and mix. The mixture will be crumbly. Add in the diced jalapeno pepper and stir to combine.
- Lightly flour your work surface and dump the dough onto the cutting board. Gently press and fold it back towards you. Turn and press, incorporating any loose flour as you go. Press and fold until it comes together as a dough. Try not to overwork it because you don't want your butter to melt too much with the heat of your hands.
- Break off little pieces, about a Tablespoon, of dough and form a ball. Place the balls in the pan and layer them until all the dough is used. Place in on the rack in the low position and select bake/roast on 375℉/190°C for 15 minutes.
- Remove from pan and place on a cooling rack for a few minutes. Combine all the dip ingredients if you want a dipping sauce. Serve and Enjoy!
Notes
Nutrition
ABOUT THE RECIPE AUTHOR, LOUISE LONG
Louise is a full-time recipe creator and food blogger @ The Salted Pepper. She has over 30 years of experience with cooking and recipe development. She owned a restaurant for several years and was a full-time RN until retiring to blog full-time.

She published her first cookbook in the Fall of 2018 and is very interested in writing several more.
Louise is also the creator of an online Ninja Foodi Pressure Cooking Course with over 100 instructional step-by-step videos. People absolutely rave about the course and all the value they have received from it.
Louise has several very active Facebook groups that help people with the basics of cooking and getting the most out of the Ninja Foodi.
Louise is also a YouTube creator and you can find most of her recipes in video format on The Salted Pepper YouTube channel.
She is very responsive to messages and eager to help in any way she can. Get more Information about Louise & contact information
I WOULD LOVE TO SEE WHAT YOU ARE COOKING UP IN YOUR KITCHEN! TAG ME @THESALTEDPEPPER ON YOUR FAVORITE SOCIAL MEDIA PLATFORM WHEN YOU MAKE A DISH!
BE SURE TO FOLLOW THE SALTED PEPPER RIGHT HERE ⇓⇓⇓⇓⇓

Elizabeth
We made this tonight and I am not much of a baker. It turned out great and the sauce was especially delicious. The sauce really brought this together!! Are the nutrition facts based on 1 serving, the entire bread? I wasn't clear what amount is considered 1 serving. Thanks! Love your recipes!
Louise
I'm so glad you enjoyed it! The serving size is at the top of the recipe card. This bread has 8 servings.
Theresa Twitty
I have issues with my biscuits being consistently great. Sometimes I overwork the dough and they are tough and not fluffy. Do you have any guidance on average to max time you knead in this recipe? Im looking forward to trying it!
Louise
You only knead it until it comes together as a dough ball, maybe 2 minutes or so. I have a video in the post that shows me kneading the dough.
Tamar
Do you think this would work with almond flour?
Louise
No, not as a straight substitution. Making breads out of almond and/or coconut flours require completely reworking the recipe.
Amber Meyer
This pull apart bread is great! It's not only fun to eat but tastes amazing too. Oh, and that dipping sauce, are you kidding me? Outstanding! Thank you for another amazing recipe!
Louise
I'm so glad you like it!
Tom Hayes
ABSOLUTELY FANTASTIC LOUISE - Gator Tom from Fort Lauderdale
Louise
Thank you, Tom!