
- Ninja Foodi Pressure Cooker & Air Crisper
No Yeast Bread is perfect for those times when you want to whip up a quick loaf of bread and don't have yeast! Or, maybe you do have yeast and don't have the time to wait for it to rise.
Would you like to save this recipe?
Either way, this No Yeast Bread recipe is there when you need it! With only a few ingredients and about 60 minutes, you can make a homemade loaf of bread.
This post may contain affiliate links. If you make a purchase after clicking a link, I may earn a small commission. As an Amazon Associate, I earn from qualifying purchases.
While I have to say that I prefer the texture of a yeast bread, this bread is definitely one of the best no yeast breads that I have ever had. I hope you love it!
Differences Between Yeast Bread & No Yeast Bread
There are several differences between a yeast bread & and a bread without yeast, the most obvious one being a yeast bread uses yeast and a no yeast bread doesn't. You knew that though, so let's get to more interesting differences.
Most breads and rolls call for yeast because the natural fermentation by the yeast not only produces the carbon dioxide needed to leaven the bread, it also strengthens the gluten in the flour which results in a fluffier and chewier texture.
I would venture to say that the biggest difference and most important one, for me at least, is the flavor. Yeast develops a flavor in bread that can't be replicated (that I know of anyway). The enzymes in the yeast break down the starch and the end result is a deeper and more complex flavor then you can get using a different leavening agent.
If you want to try your hand at a very easy homemade bread that uses yeast, here is the recipe ⬇︎⬇︎⬇︎
Homemade Bread in the Ninja Foodi
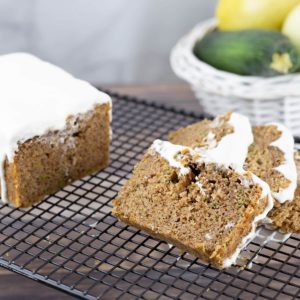
All in all, I prefer to make yeast breads when I can... but, there are many reasons why you might want to try a No Yeast Bread and, honestly, I bet most people have made a no yeast bread and just referred to it as a Quick Bread. You know, like a delicious zucchini bread!
There are many different styles of breads/rolls/muffins that are referred to as Quick Breads because you do not have to wait for it to rise before you bake it. These Quick Breads either use baking soda, baking powder, or both to create the chemical reaction that produces the rise in your baked goods.
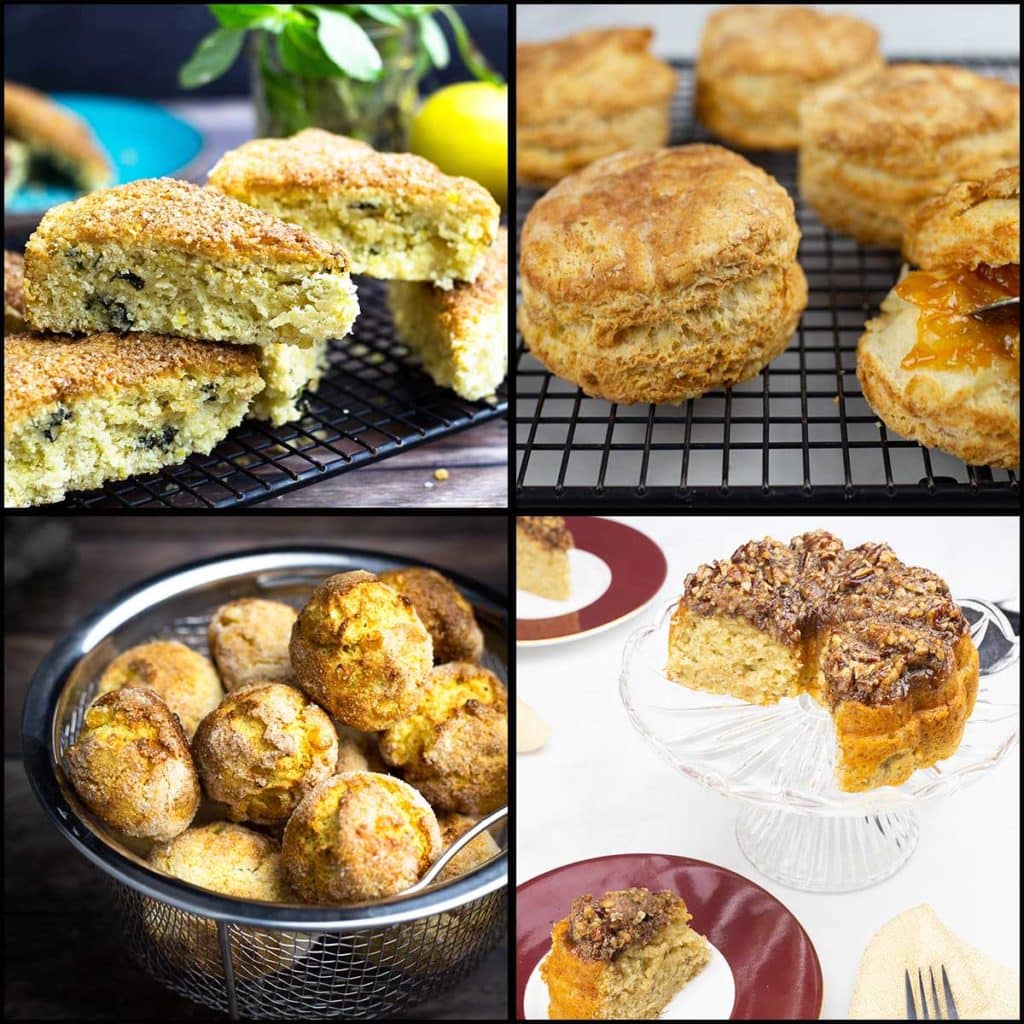
Some examples of Quick Breads you may have already made or would want to try are:
Do I need a Special Pan to Make this Bread?
No, you don't. However, you might need to adjust your temperatures and times. I wish I could give you exact instructions for every different pan out there, but that is impossible. Instead I will give my recommendations for pans that are commonly used in the Ninja Foodi, as well as recommendations for baking right in the Ninja Foodi inner pot.
As always, I love hearing your feedback! Please let me know if you make modifications to this recipe and how they turn out!
I chose to use my (affiliate link)loaf pan that came in the Ninja Foodi Baking Kit and it worked perfectly. If you have one, I strongly suggest using it for this recipe and your bread will be the perfect size for slicing for toast or sandwiches.
Some people have said they use a Pullman Loaf pan and I think that is a similar size to the Ninja Foodi loaf pan, so I don't think you will need to make any changes to the recipes.
If you have a smaller loaf pan, like (affiliate link)the ones from Fat Daddio, this recipe should work just fine. Because the Fat Daddio loaf pan is a little smaller, your bread will be forced to rise higher, so the middle may take a little longer to get done.
The best way to determine if you need to cook your bread longer is to take a temperature and if it is below 190℉/88℃, then you will want to cook it until it reaches about 195℉/90℃.
If you don't have a thermometer, I would go ahead and increase the time with the bread covered from 30 minutes to 35 minutes. I think that will do it!
If you choose to use a light colored pan or a glass pan, you may need to increase your time slightly since darker pans heat and brown quicker than glass or light colored pans. 5-10 more minutes should do the trick.
How can I make this bread in the Inner Pot of the Ninja Foodi?
I tested a different version of this bread in the inner pot when I started developing the recipe and it worked just fine. Even though I have changed the ingredients slightly since then, I have no reason to believe that these instructions won't work.
As soon as I have the time, I will test this exact recipe in the inner pot and update the post. In the meantime, this is what I would do:
Make the recipe according to the directions. Form the dough into a log and make the slits. Set it in the preheated Ninja Foodi right in the inner pot.
Bake on 330℉/165℃ for 40 minutes, then flip and close the lid with the Foodi turned off for 20 minutes.
Some differences will be:
- The crust will be a little crunchier because it isn't covered part of the time.
- The bread will not rise up as much because there aren't any sides to force it to hold its shape. It will be more like a round loaf of bread, but still delicious.
Variations & Tips for Making No Yeast Bread
Can I skip the potato?
Yes, you can, but your results are going to be different. I started off testing this recipe with only 4 ingredients; flour, milk, baking powder, and salt. While that worked and I made bread, it was a little crumbly like a biscuit and I was not thrilled with the texture. For toast, it was fine. For a sandwich, not great.
The combination of the egg, oil, and potato really sets this recipe apart and makes this bread outstanding. Removing one of these three ingredients is going to change the structure of the bread.
If you don't have a russett, I would try it with any other type of potato before I skipped the potato all together. I'd even try it with cooked frozen french fries mashed up before I skipped the potato!
Do I have to make the Slits on Top?
Yes. The slits are super important so don't skip that part. Making the slits in your bread not only helps to cook the inside (super important with bread), it also helps to direct the rise and keep your bread from getting mishapen.
You can make the slits diagonal or straight, just make at least 5 across the top, evenly spaced out. This will allow the bread to rise evenly while baking.
Make the slits about 2" deep. It seems deep and kind of strange, but it's important. I used my (affiliate link)kitchen shears from Pampered Chef and then worked better than any knife I have.
How do I store the bread & How long does it last?
If you are going to eat it within a day or two, you can store it on the counter in a paper bag. If you want to put it in a plastic bag, just make sure it is completely cool first.
Homemade bread doesn't have the preservatives in it like store-bought bread, so it won't last more than 2 days at room temp. It will last longer in the fridge, but, honestly, it doesn't last long enough in our house to go bad, so I can't really tell you how long.
You can also freeze it and it will last quite a while.
Can I make this in a regular oven?
Of course! I haven't tested the recipe in the oven, but depending on your pan size, you would want to increase your oven temp to 350-375℉ and decrease the time by 10-15 minutes.
I will do my best to test this in the oven and update the post with better instructions.
How do I make Bread without Yeast in the Ninja Foodi?
Before I get into this easy process, first let me apologize for the pictures. They are horrible. I always rely on my videos for the process shots in my posts and, because I'm getting this recipe out ASAP, due to the yeast shortage right now, I just snapped the pictures as I made it.
The first thing you want to do is peel and dice the Russet potato and put it in the inner pot of the Ninja Foodi with 2 cups of water. Put the Pressure lid on and turn the valve to seal. Pressure cook on high for 2 minutes and do an immediate release of pressure.
Strain the potatoes and mash them with a (affiliate link)Mix 'N Masher or a fork and make sure to get any lumps out. Then set them aside to cool. Preheat the Ninja Foodi on 375℉ for 10 minutes. Believe it or not, making the dough will take less time than that, so it's fine to preheat now.
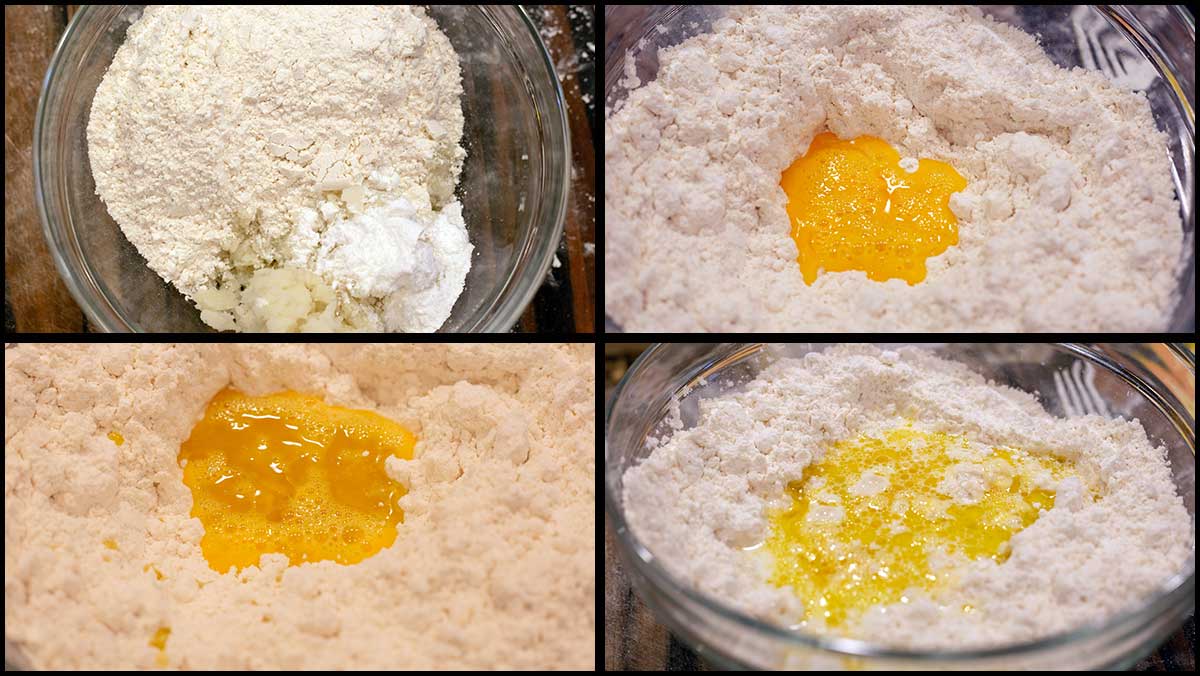
Combine THREE cups of flour, salt, and cooled potatoes in a medium size mixing bowl. Stir to combine. The mixture will be a little lumpy, but try to get it mixed so the lumps are about the size of a pea or less.
Make a well in the middle of the flour mixture. Lightly beat 1 large egg and add to the well. Add the oil and the milk. Either with a fork or a scraper/spatula mix the ingredients together until they are well combined.
The dough will most likely be wet, like a cornbread batter and you will need to add extra flour. Do this ¼ cup at a time and mix with a scraper between additions. The weather and other factors will play a role in how much flour you need to get a shaggy ball of dough.
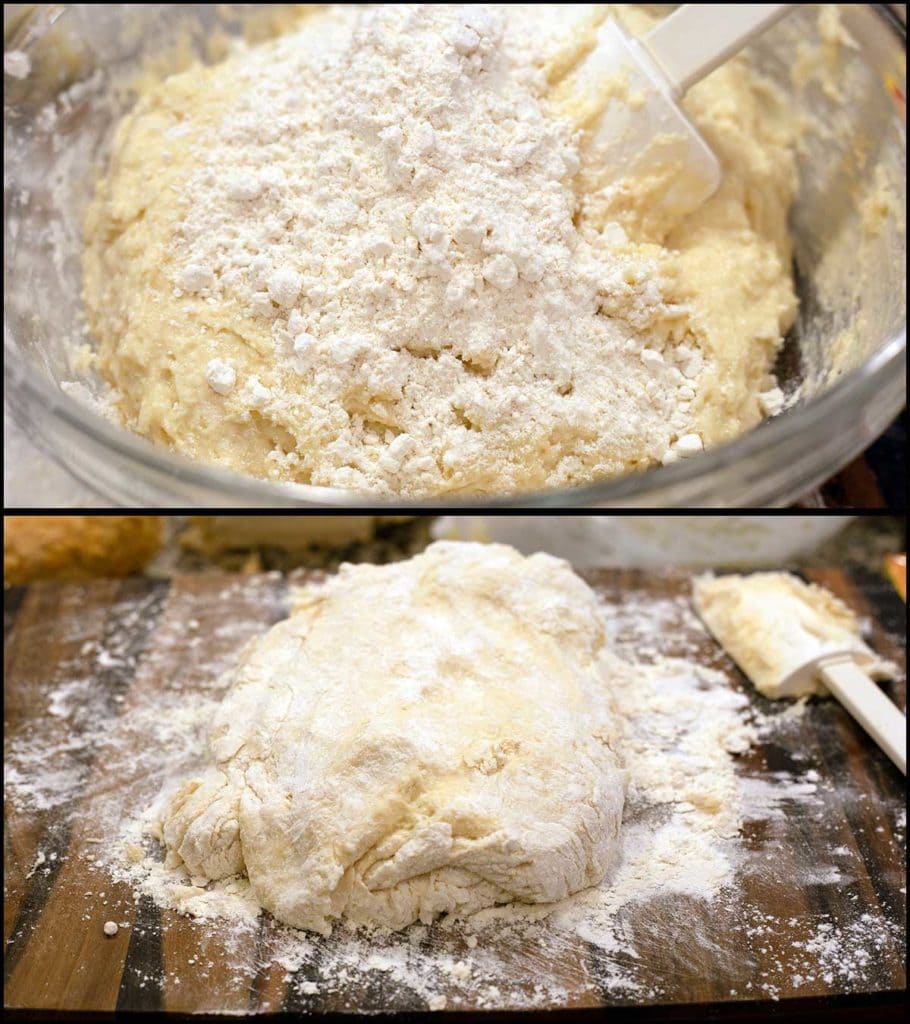
Once the dough is no longer wet and comes together as a loose ball of dough, turn it out onto a floured work surface.
You don't have to knead this dough like you do with a yeast dough, but I do knead it for a few minutes and, sometimes, I even have to add a little more flour if it gets too tacky.
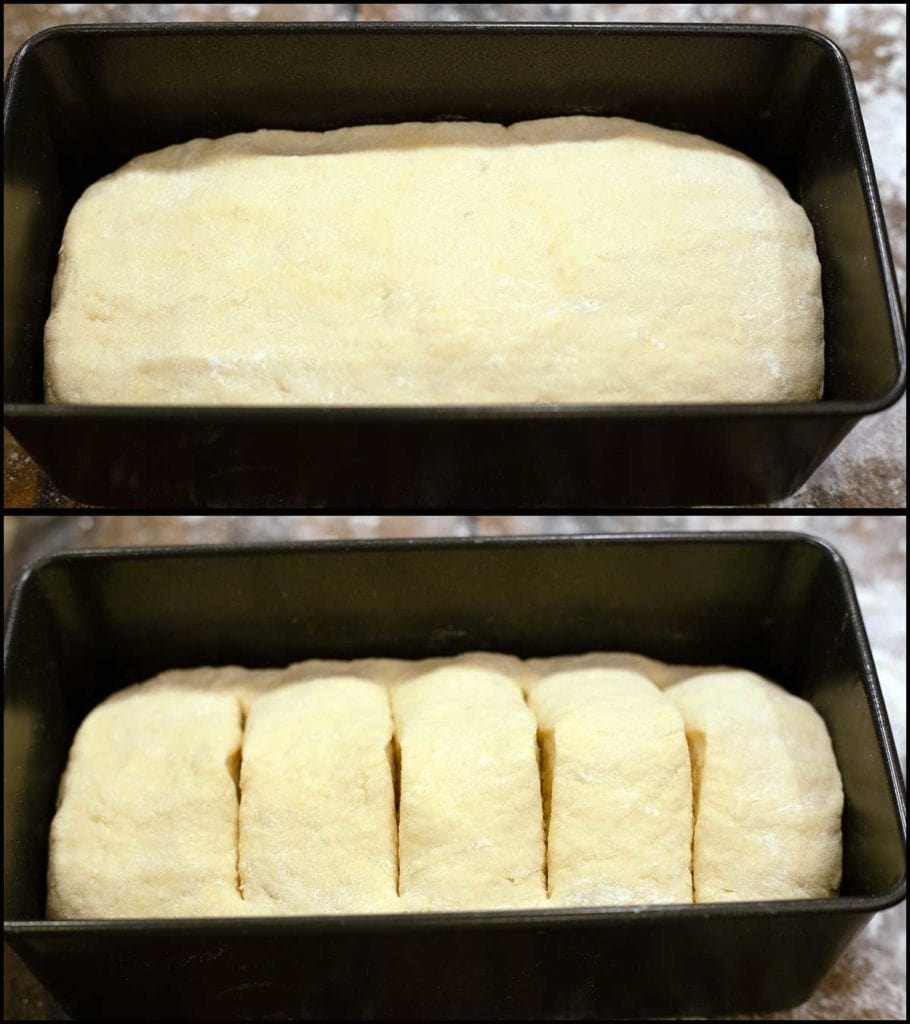
Once the dough feels nice and soft, but not tacky, it is ready to be baked. Form a log and place the dough into the Ninja Foodi Loaf Pan. You do not need to grease the pan.
Gently press down so the bread is even and fills the entire pan. Take very sharp scissors or a knife and make Five slits, evenly spaced and about 2" in depth.
Place the pan on the rack in the low position and cover with foil or a (affiliate link)silicone cover. Put the TenderCrisp lid down and select the bake/roast function on 325℉/160℃ and set the time for 30 minutes.

When the 30 minutes is up, uncover the bread and bake at 325℉/160℃ for another 20 minutes. Brush about 1 teaspoon of butter on top and close the lid. The butter will soften the crust which makes it a lot easier to slice without crumbling. You can skip this step if you want.
Keep the Ninja Foodi off and let the bread sit in in the Ninja Foodi for an additional 20 minutes. Remove and cool for 15-30 minutes. You can leave the bread in the pan or remove it to cool.

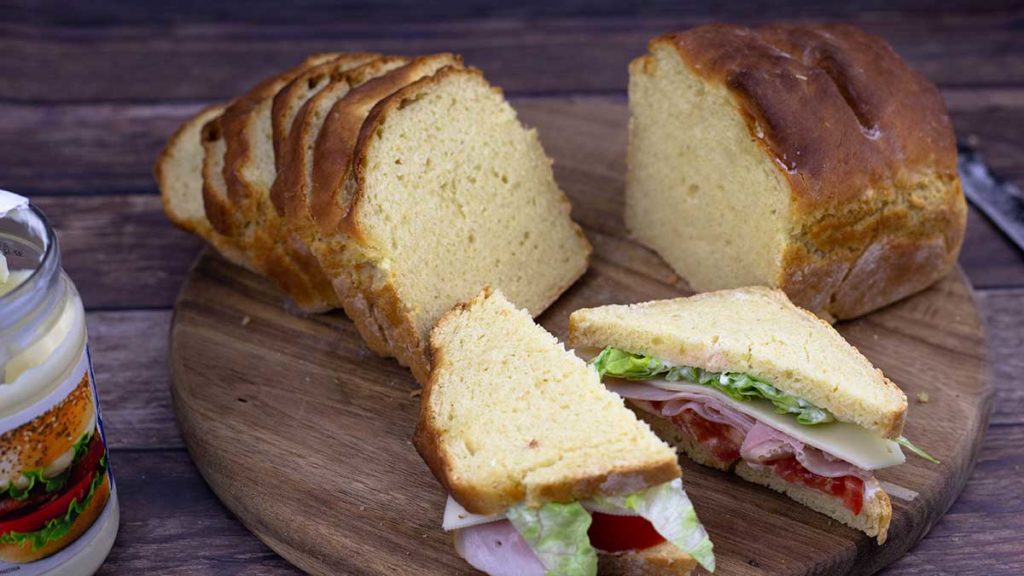
Slice, Serve, & Enjoy!
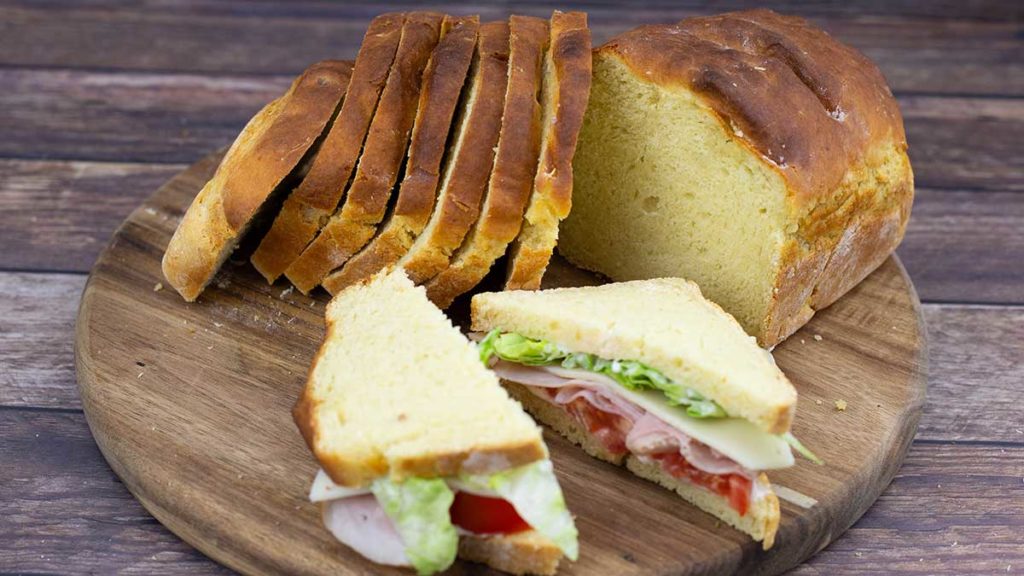
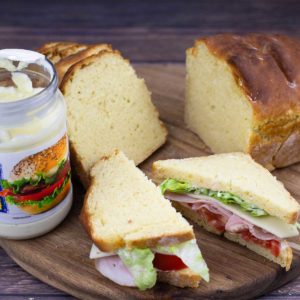
No Yeast Bread in the Ninja Foodi
Equipment
- Ninja Foodi Pressure Cooker & Air Crisper
Ingredients
Would you like to save this recipe?
Instructions
- Peel and dice the Russet Potato into ½"-1" dice. Add 2 cups of water and the diced potatoes to the inner pot of the Ninja Foodi. Put the pressure lid on and turn the valve to seal. PC on high for 2 minutes. Immediately release the pressure. Drain the potatoes and mash with a fork, make sure to get all lumps mashed up. Set aside to cool.
- In a medium size mixing bowl, combine 3 cups of flour, salt, baking powder, and the mashed potatoes. Mix. The mixture will be a little lumpy, but try to get the lumps about pea size.
- Make a well and add in a lightly beaten egg. Add the oil and the milk. Stir to combine. The dough will start out wet and tacky and you will usually need to add an additional ¼-¾ cup of flour. Add ¼ cup at a time. When a shaggy dough ball forms, put it on a floured surface. Preheat the Ninja Foodi on bake/roast @375°F for 5-10 minutes.
- Knead the dough just until it comes together. Add more flour if it is too tacky. Form a log and place it in the loaf pan. Gently press it down so it covers the bottom of the pan and is even on top. Make deep slits in the bread about 2" deep with a sharp knife or scissors.
- Place the pan on the rack in the low position and place into the inner pot of the Foodi. Select Bake/Roast at 325°F and bake covered (foil or silicone cover) for 30 minutes. Remove the cover and continue to bake on 325°F for another 20 minutes.
- Brush some butter on top and close the TenderCrisp lid. Let the bread sit in the Ninja Foodi for another 20 minutes. This will finish cooking the middle. Remove and cool. You can either flip the bread out onto a cooling rack or cool in the pan.
- Slice & Serve
Nutrition
About the Recipe Author, Louise Long
Louise is a full-time recipe creator and food blogger @ The Salted Pepper. She has over 30 years of experience with cooking and recipe development. She owned a restaurant for several years and was a full-time RN until retiring to blog full-time.

She published her first cookbook in the Fall of 2018 and is very interested in writing several more.
Louise is also the creator of an online Ninja Foodi Pressure Cooking Course with over 100 instructional step-by-step videos. People absolutely rave about the course and all the value they have received from it.
Louise has several very active Facebook groups that help people with the basics of cooking and learning more about the appliances they love.
Ninja Foodi Pressure Cooker & Air Crisper 101
Ninja Woodfire Outdoor Grill & Smoker
Louise is also a YouTube creator and you can find most of her recipes in video format on The Salted Pepper YouTube channel.
She is very responsive to messages and eager to help in any way she can. Get more Information about Louise & contact information
I WOULD LOVE TO SEE WHAT YOU ARE COOKING UP IN YOUR KITCHEN! TAG ME @THESALTEDPEPPER ON YOUR FAVORITE SOCIAL MEDIA PLATFORM WHEN YOU MAKE A DISH!
BE SURE TO FOLLOW THE SALTED PEPPER RIGHT HERE ⇓⇓⇓⇓⇓
Sharon says
Hi Louise,
I purchased the ninja Bake deluxe kit do you know if l can use these tins in a conventional oven as well as the ninja foodi and also do you have a ninja foodi recipe for a chocolate cake. Thank you for all the recipes you post ,always eager to get new ones, I'm in the United kingdom and subscribe to your website ,I'd be lost without your ninja foodi know how and tips.
Louise says
Absolutely, you can use them in the regular oven. I have a red velvet cake recipe: https://thesaltedpepper.com/red-velvet-bundt-cake/
LINDA J GENEREUX says
I made this bread and found it tasted like Bisquick biscuits. I wish you could make and publish a beer bread recipe for the foodi.
Louise says
I'm really surprised by that because my bread didn't taste anything like biscuits, nor did it have that texture. That was one of the things that impressed me the most when I made it. Did you make any changes? I'm very interested in how you cooked it. Several other people have made it and it didn't turn out that way for them.
Mary says
Could you use other potatoes.
Russets and nearly always in a 5 lb bag
Very difficult to get a single, and I would never use a whole bag
Could you use baking potatoe, yukon gold or ????
Louise says
Yes, absolutely! Someone already made it with a Yukon gold and it worked great.
Amber Meyer says
I was amazed at how this bread turned out. It was absolutely delicious and perfect for sandwich bread or toast. If you don't have time or yeast to make traditional bread, this is a great substitute! I totally recommend this recipe. Thanks again for another awesome recipe!
Phyllis K. Daniels says
This recipe is #1 on my current list.
2 questions however:
1. All I have is a box of instant mashed potatoes. Can I use those?
2. I only have 2% milk. Will that work?
Thank you in advance.
Phyllis
Louise says
Hi Phyllis! While I have not had time to test the recipe with instant mashed potatoes, it should work fine as long as you reconstitute them with water and measure out 1 cup after they are reconstituted and 2% milk should be just fine. You can always skimp the milk by a tablespoon or two and replace it with melted butter to give the added fat. I don't think that is necessary though for the recipe to work. I would be so very grateful if you update me after you make it with your results and what changes you made. Then, I can update the post for everyone. I would try it myself, but I don't have instant mashed potatoes.
craig says
we've used instant potatoes for pancakes and breads forever, it seems
if added dry the breads will taste ok but crumble apart
so reconstitute before using
we use 1 part water, 3 parts milk/cream normally
I use yogurt and yogurt whey
the breads will rise a bit more and tend to be denser
depending on the kind of yogurt you may be rewarded with a slight sourdough vibe
Louise says
I figured that the instant potatoes should be reconstituted first. Using yogurt or whey are great suggestions, thanks!