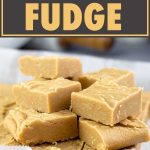

Creamy, peanut buttery, and delicious! Old Fashioned Peanut Butter Fudge is surprisingly quick and easy to make, too!
Would you like to save this recipe?
I used my new fashioned appliance, the Ninja Foodi, to make this wonderful fudge, but it can be done in any heavy bottom sauce pan on the stove or in the Instant Pot.
This post may contain affiliate links. If you make a purchase after clicking a link, I may earn a small commission. As an Amazon Associate, I earn from qualifying purchases.
The great thing about making Old Fashioned Peanut Butter Fudge is you don't need a whole lot of ingredients or a whole lot of time! You can whip up a batch in about 10-15 minutes!
Frequently Asked Questions
I don't recommend trying to double candy recipes because they rely on the temperature rising to the correct temperature before the bottom has a chance to burn or scorch.
You can make ½ batch, though! I tested the recipe that way and it works just fine.
I usually leave the fudge on the counter in a covered container and it will stay good for quite a while. There is so much sugar in fudge that it isn't an hospitable environment for bacteria.
You can also place it in layers with parchment in between and store in the fridge in a sealed container. You don't want to leave fudge open in the fridge because the humidity can affect it.
I also freeze my fudge. I place the pieces on a parchment-lined tray and freeze overnight and then place them into freezer bags.
3 pounds of fudge
Can I Make other Types of Fudge using this Recipe?
Yes and No.
Yes, the same technique that I use in this recipe can be used to make other types of fudge.
And, No, because each fudge base is made a little differently, so the ingredients would need to be modified to make different types of fudge.
For example, you couldn't just replace the peanut butter with melted chocolate and have a chocolate fudge. You would need to modify the ingredients slightly to get the correct texture.
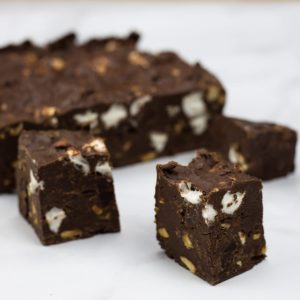
There are also different techniques for making fudge, some easier than others. While I personally find this old fashioned peanut butter fudge to be super easy, I also have a recipe for a rocky road fudge that is done using the steam function of the Ninja Foodi.
It uses sweetened condensed milk instead of the milk and sugar, and it is a very easy fudge to make. If you want to try this method out, here is the recipe.
Rocky Road Fudge
I'm also working on a Chocolate Walnut Fudge recipe, and hopefully I get that out soon!
Tips for Making Fudge
Making any kind of candy can be intimidating if you aren't used to making it and even the most experienced candy makers have off batches of candy. There are tons of factors that can change the outcome of candy, from humidity to the type of utensil you use to stir with.
Luckily, fudge is pretty straightforward and you should have a great fudge making experience if you follow these tips.
- Use an accurate thermometer like the (affiliate link)Thermapen Mk4 or a reliable candy thermometer
- Use a wooden spoon or a high temperature rated silicone utensil to stir with
- Don't stir after the mixture starts boiling.
- Gather your ingredients ahead of time and prep your pan.
Candy making is all about temperature, so while there are ways to tell the stage of your candy without a thermometer, it's much easier to use one. To test your thermometer for accuracy, fill a glass with ice and pour water until it is just below the top layer of ice. Place the thermometer tip into the center of the glass (don't touch the sides of the glass) and it should read 32℉/0℃.
You can also use this as a guide to adjust the temperature to which you cook the fudge even if your thermometer isn't accurate and you don't have time to buy a new one. For example, if your thermometer reads 37℉ instead of 32℉, cook the fudge to 245℉.
You always want to use a utensil for stirring candy that does not conduct or absorb heat and a wooden spoon is the best. I also use a (affiliate link)high temperature scraper from Pampered Chef on occasion.
In this recipe, you only want to stir until the sugars have melted and combined with the milk. Sugar crystals adhere to the sides of the pot and can grow into larger crystals when stirred and that can lead to a grainy texture in your fudge.
With most food making, it is always a good idea to have all of your ingredients out and measured, but in candy making it's essential! Things move quickly and it's not the time to be looking for the vanilla extract when you are supposed to be adding it.
This goes back to the most important thing in candy making and that is managing temperature. If your fudge cools too much before you mix in the vanilla, because it wasn't in the cabinet that thought it was in, you might not get the right texture.
What Pan Size is Best to Use?
I used a pan that was about the size of a quarter pan, which is 9x13. I think mine might be just a tad smaller than that, but it doesn't matter.
The only thing you need to keep in mind when choosing the pan to use is the depth of your fudge. Your fudge will be about 1" thick if you use a 9x13 pan.
If the pan is bigger, your fudge will be thinner and if the pan is smaller, your fudge will be thicker.
I usually use a rectangle or square pan when making fudge so the edges are square, but you can use a round or oval pan if that is all you have. You will just have some rounded edges to the outside pieces of fudge.
Can I make this Recipe without the Ninja Foodi Pressure Cooker or Air Crisper?
Absolutely! All you need is a stove and a heavy bottomed pot. I say a heavy bottomed pot because thinner pots can scorch and burn the sugar before it gets to temperature, so it's best to use a good quality pot to make candy in.
The only adjustment you need to make will be the stove setting. If you are using electric, I would start out on high and drop back to medium high or even medium once the mixture starts to boil.
Once the mixture reaches 239-240℉/115-116℃, remove the pot from the burner because electric burners will continue to heat the pan for a while even when they are off.
If you are using a gas stove, start out on medium or medium high and adjust the heat as needed.
All the other directions are the same.
How to Make Old Fashioned Peanut Butter Fudge in the Ninja Foodi
Like I mentioned before, measure out all of your ingredients before you start making your peanut butter fudge, because once the cooking gets started, it goes very fast.
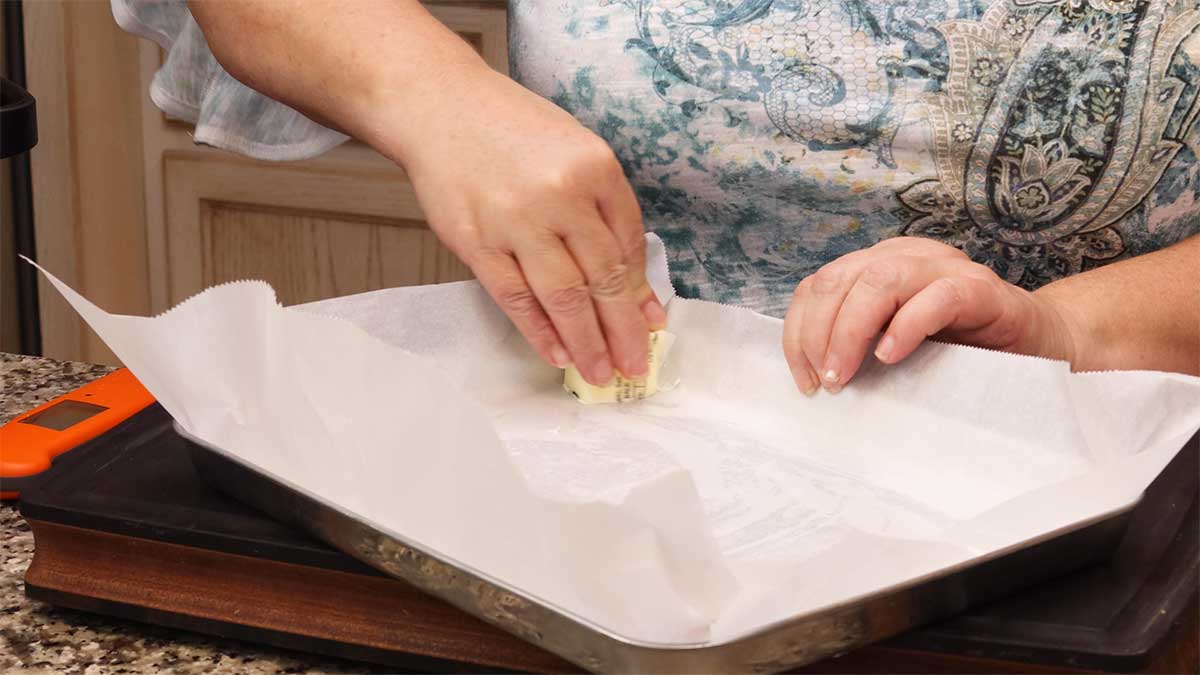
Prepare your pan by spreading a small amount of butter in the corners and then lining with parchment paper. Lighty butter the parchment paper. The fudge won't stick to the parchment paper even if you skip this step, but I'm in the habit of doing it anyway.
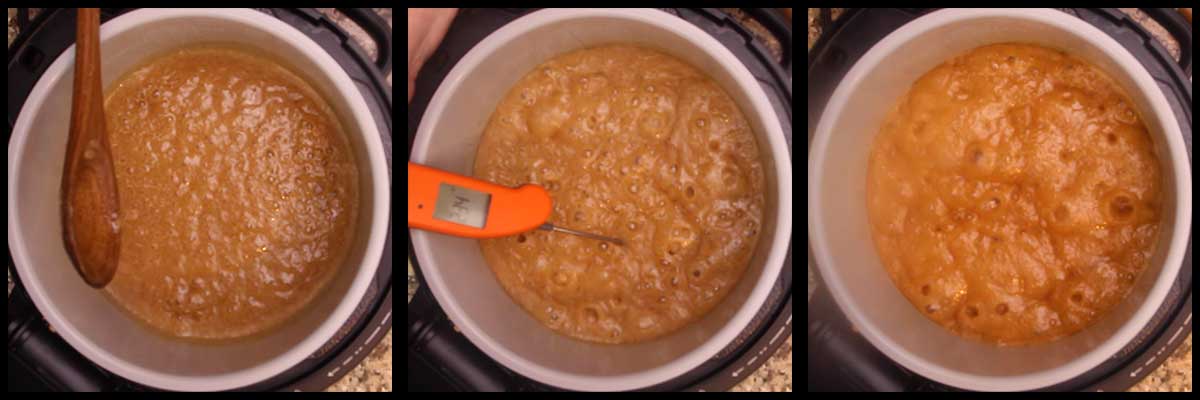
Add the milk, the white sugar, the brown sugar, and the salt to the inner pot of the Ninja Foodi. Turn the sear/sauté on high and stir to combine the ingredients.
Continue to heat until the sugars have melted, stirring occasionally to make sure everything is well incorporated. When the mixture just starts to boil, stop stirring and let it cook for several minutes.
You will see the bubbles start out small and get bigger. When they start to increase in size, I start checking the temperature. When the mixture reaches 239-240℉/115-116℃, turn the heat off.
Remove the inner pot and set on a heat resistant surface. Add in the peanut butter and gently stir until the peanut butter has melted and is fully incorporated. Add in the vanilla extract and stir until incorporated.
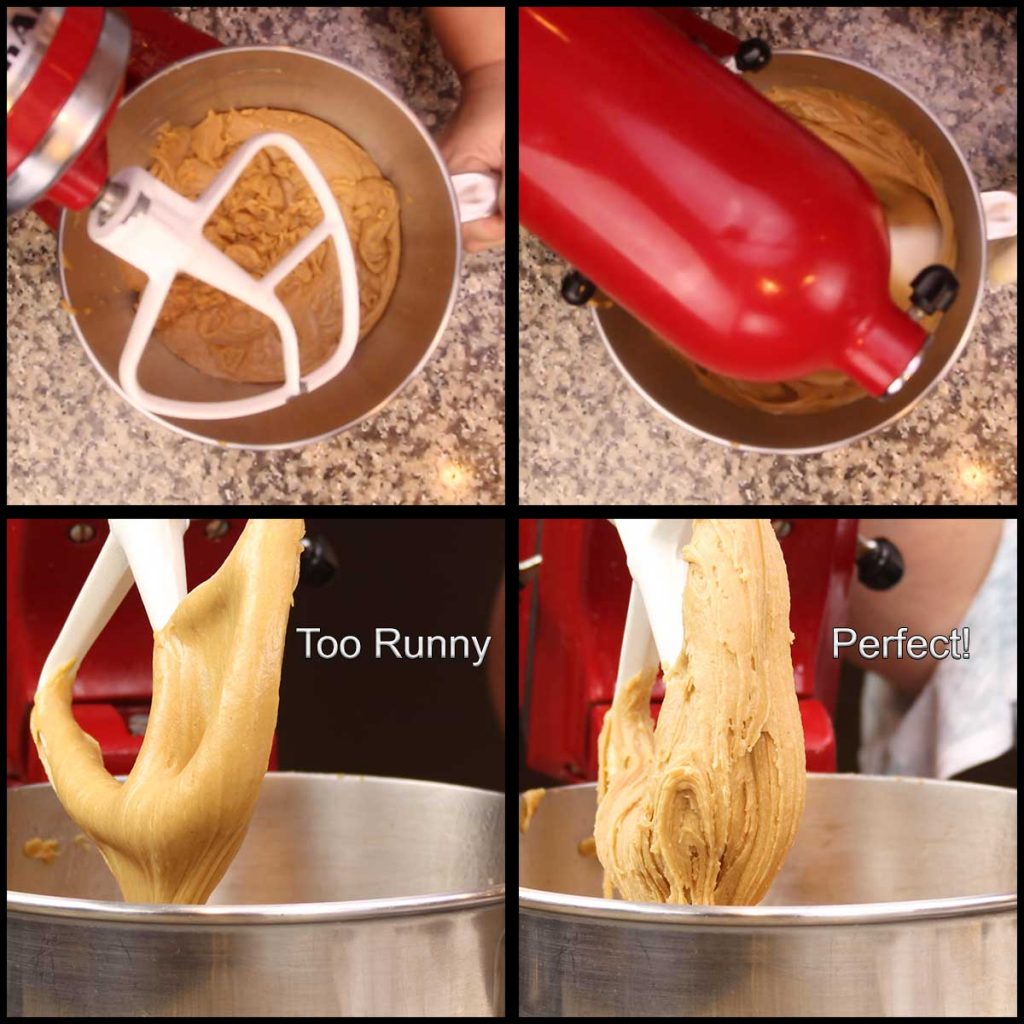
Pour the fudge into the bowl of stand mixer and using the paddle attachment, beat on medium-high speed until the fudge starts to thicken. This takes about 5 minutes or so.
I judge when it is done by how the fudge runs off the paddle when the paddle is lifted out of the bowl. You want the consistency of the fudge to be pourable, but thick.
It's hard to describe in words, so here is a quick video showing you exactly what it should look like.
If you don't have a stand mixer, no worries. You can pour the mixture into a glass bowl and use a hand mixer or even a wooden spoon and some elbow grease. Simply beat with the hand mixer or stir vigorously with a wooden spoon until the fudge is the consistency of the picture/video above.
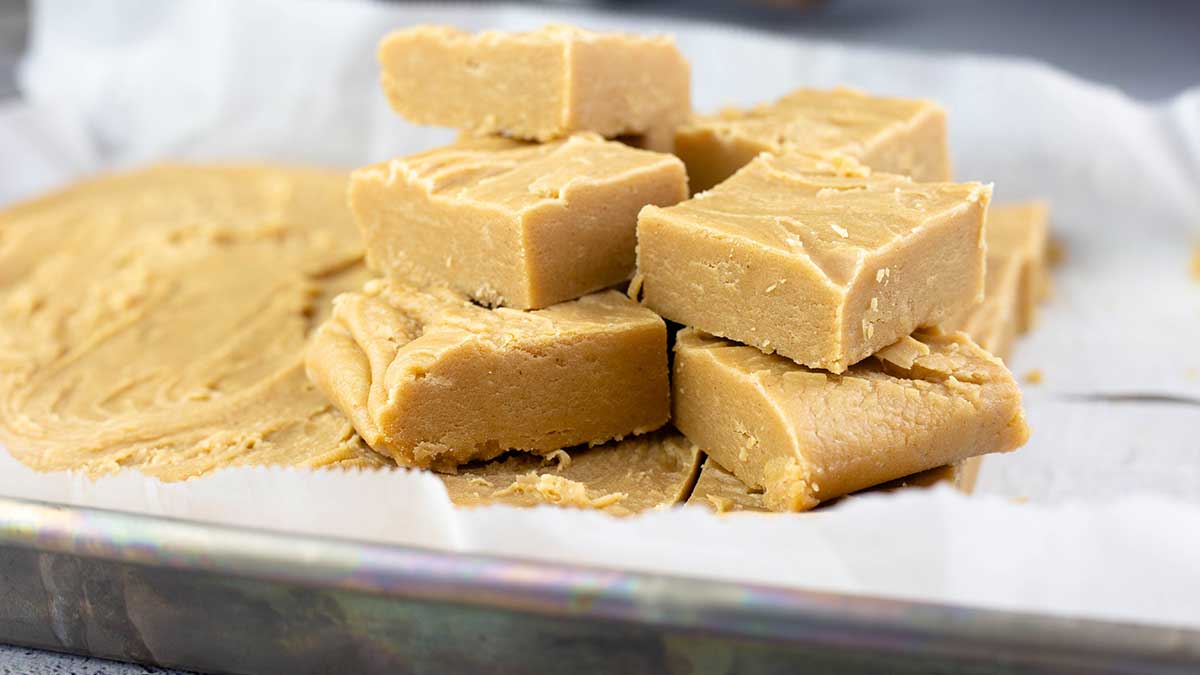
Pour the fudge in the center of the prepared pan and spread evenly in the pan. You can make a design in the top of the fudge by taking the spoon or a silicone spatula and lightly going across the top to create some texture.
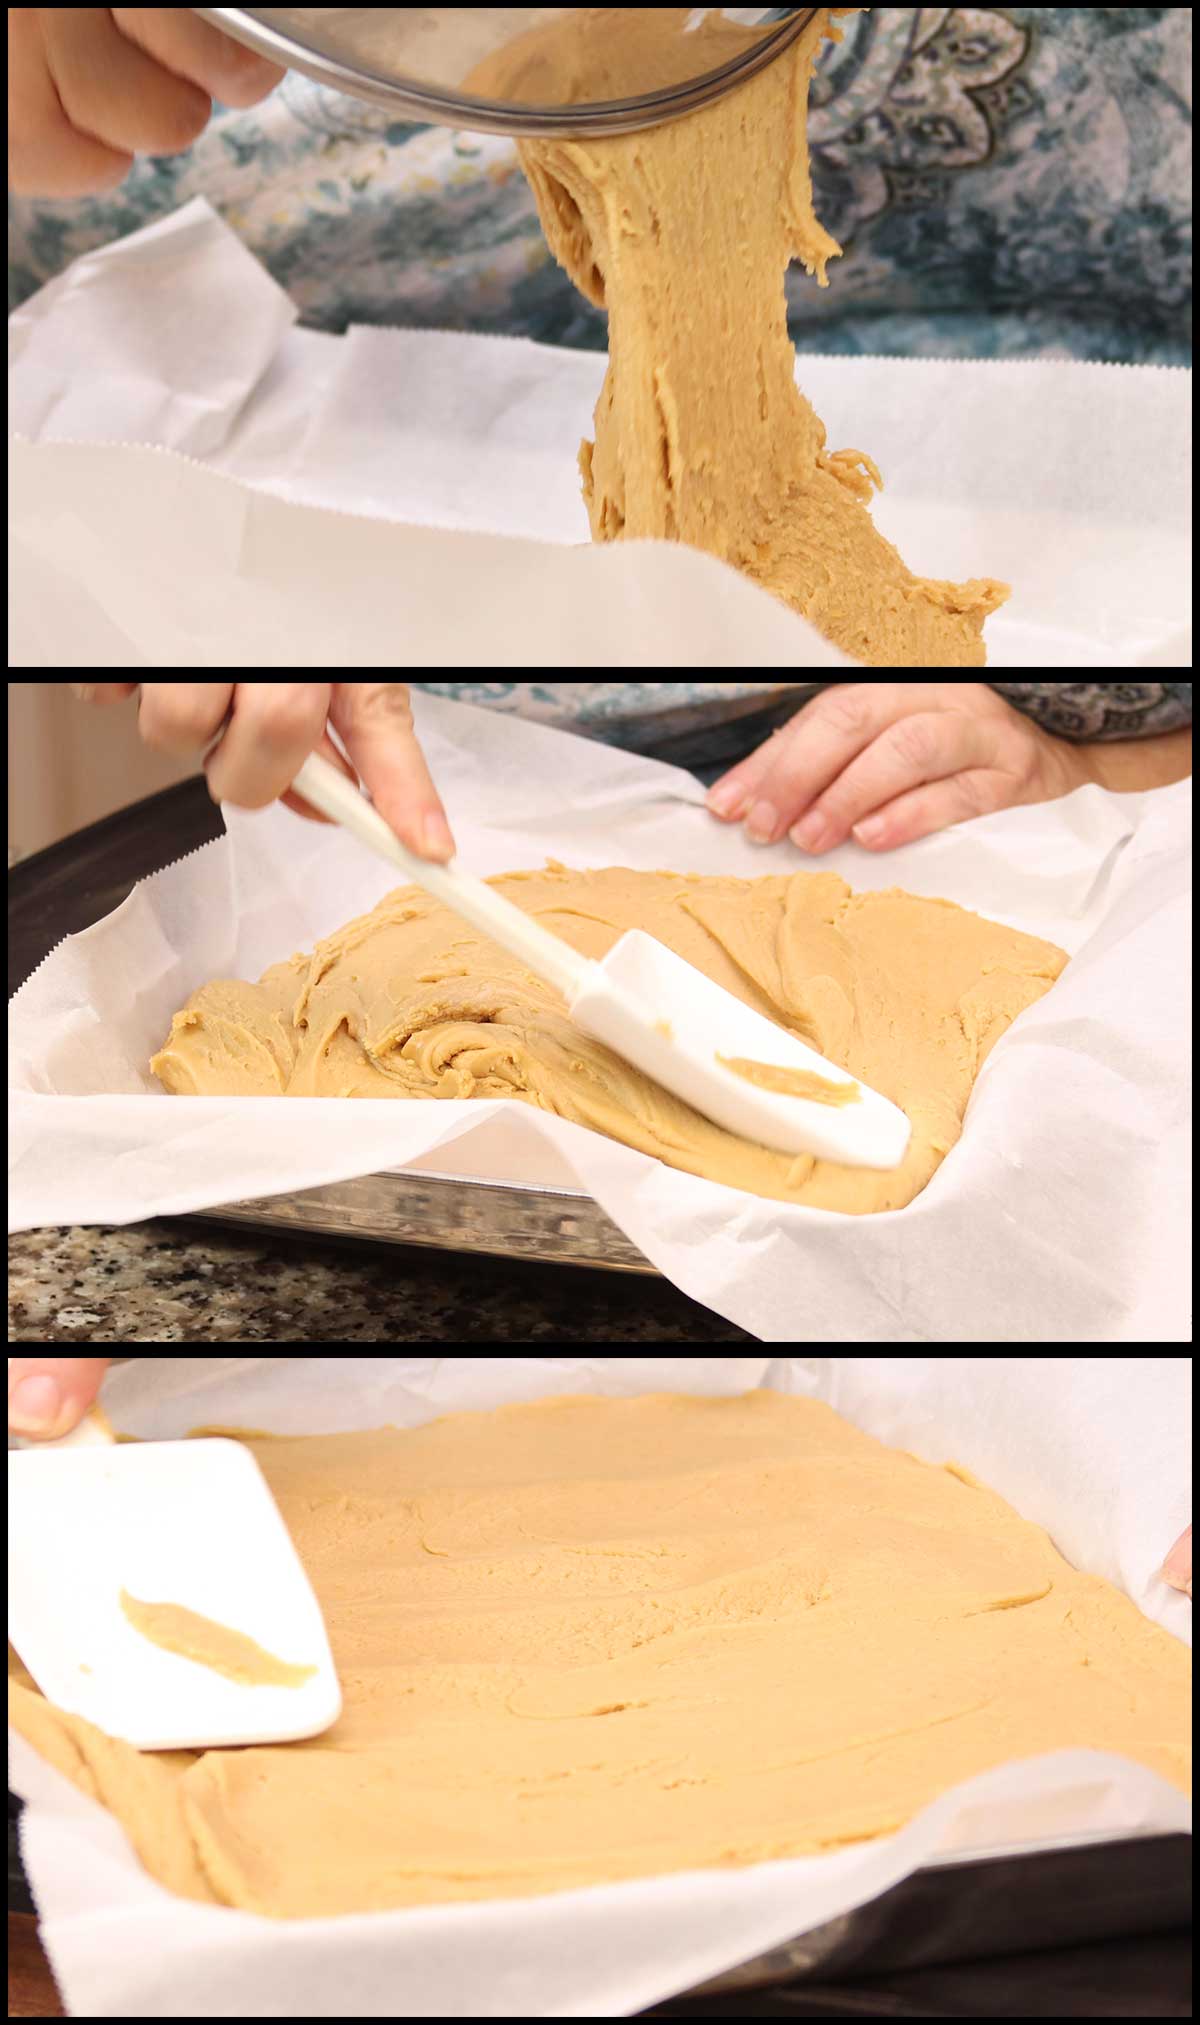
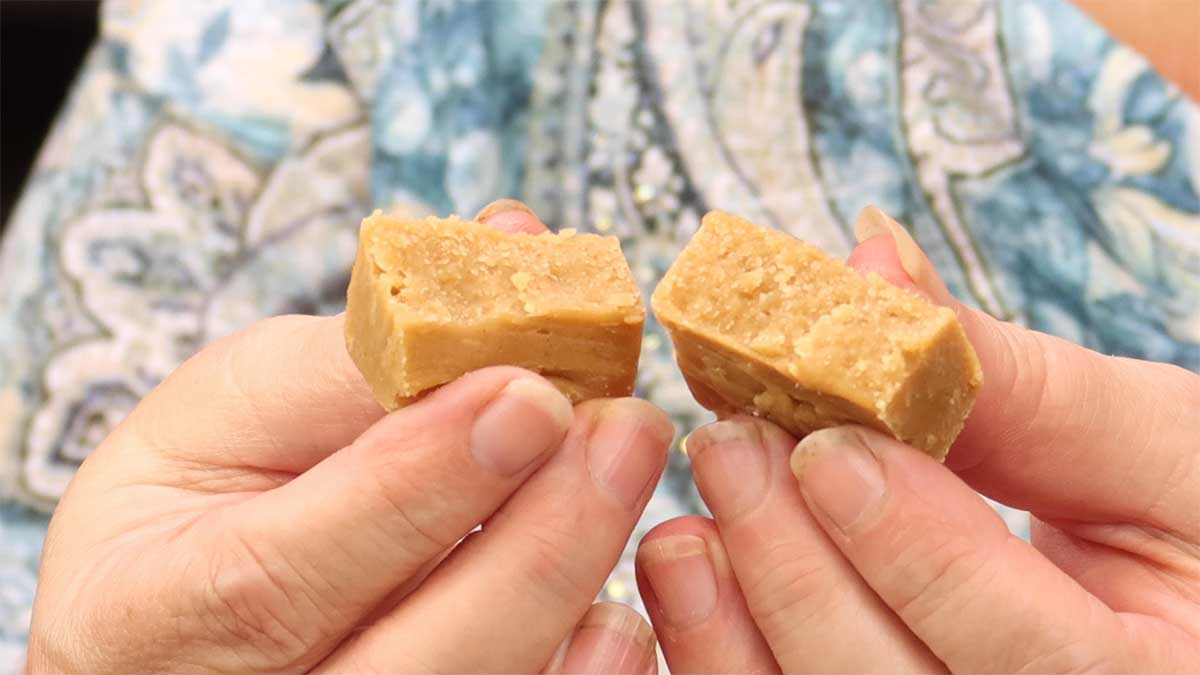
Allow the fudge to cool 1-2 hours on the counter. Cut into small pieces. Serve & Enjoy!
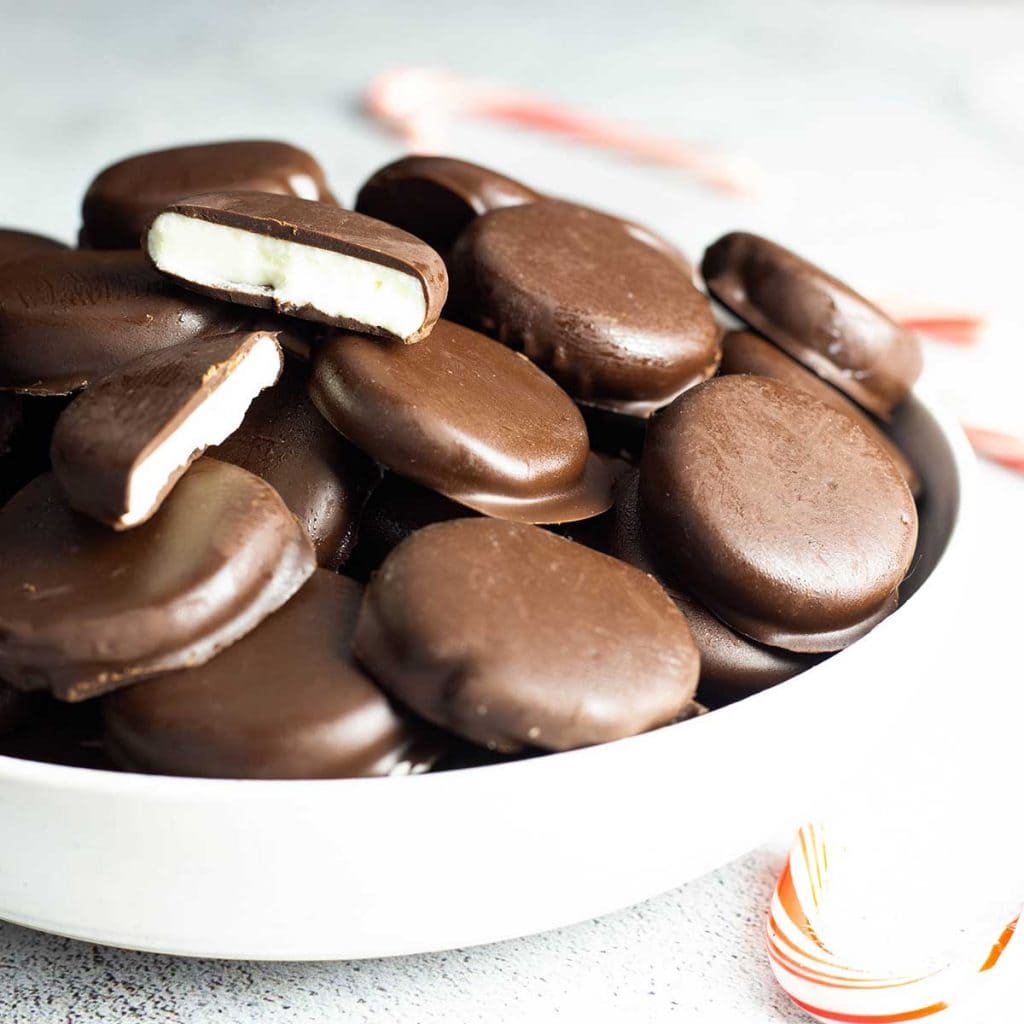
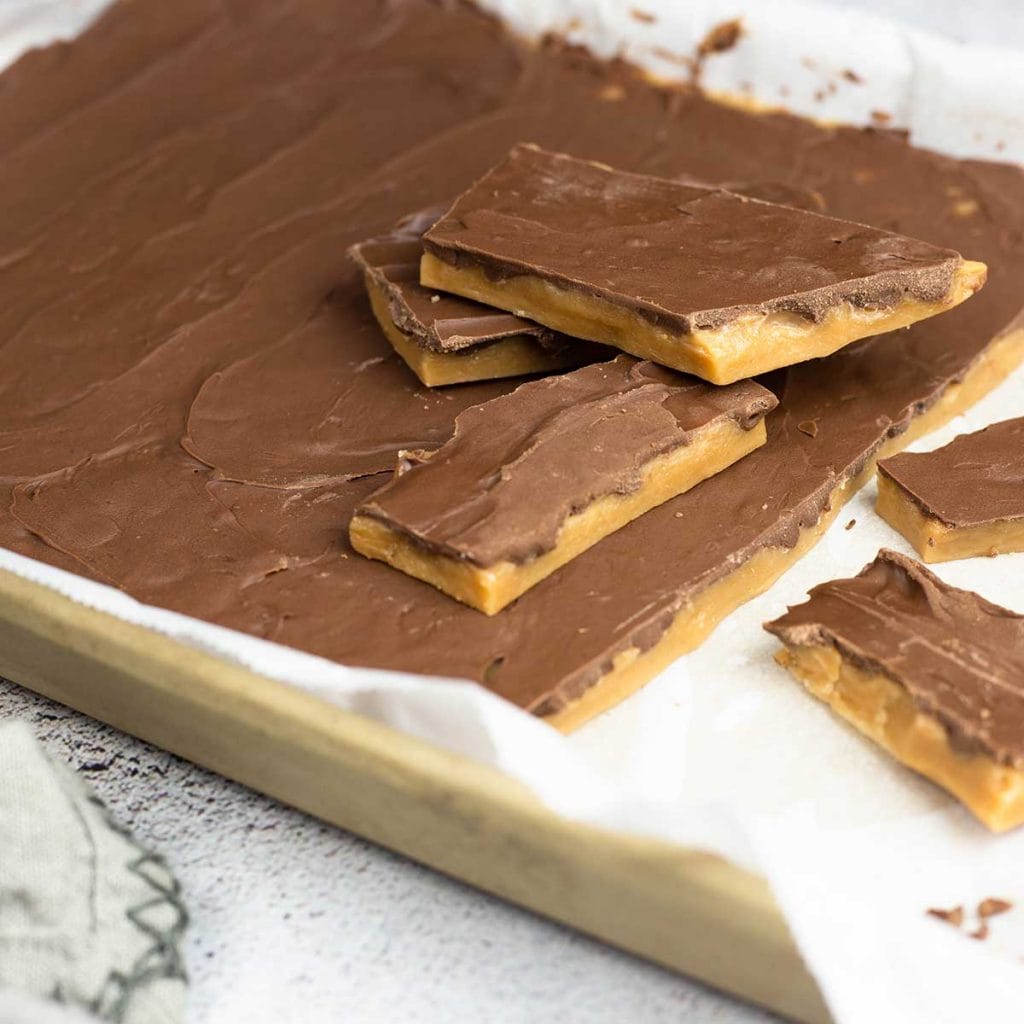
You might also enjoy these other candy recipes!
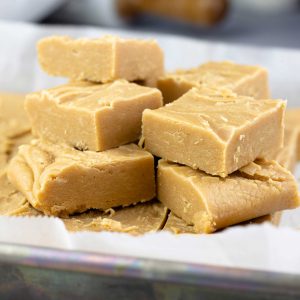
Old Fashioned Peanut Butter Fudge
Ingredients
- 1 teaspoon butter for the pan only
- 1 cup whole milk
- 2 cups white sugar
- 2 cups brown sugar
- 1 teaspoon fine grind sea salt
- 1½ cup creamy peanut butter
- 1 tablespoon vanilla extract
Would you like to save this recipe?
Instructions
- Prepare your 9x13 pan by spreading a small amount of butter on the bottom of the pan and then lining it with parchment paper. The butter just helps the parchment stay in place.
- Add the sugars, the milk, and the salt to a pot on the stove or the inner pot of the Ninja Foodi. Turn the stove on medium high or the Ninja Foodi on high sear/sauté and stir the mixture to combine. Allow to heat for a few minutes to melt the sugar, while stirring occasionally.
- Once the sugar mixture starts to boil, don't stir it and let it boil until the temperature reaches 239-240°F/115-116°C and then turn the heat off. This takes about 5-10 minutes.
- Remove the pot from the stove or the inner pot from the Ninja Foodi and place on a heat resistant surface. Add in the peanut butter and gently stir to melt the peanut butter and incorporate it into the sugar/milk mixture. Add the vanilla extract and stir to combine.
- Pour the mixture into the bowl of a stand mixer (or you can do this with a hand mixer or by hand with a wooden spoon) and use the paddle attachment to beat the fudge on medium speed for about 5 minutes. This will cool the fudge down and allow it to thicken. What I look for is the speed at which the fudge drops off of the paddle when I turn the mixer off and lift the paddle up. If it is running off quickly, you need to beat longer. It's done when the fudge is not runny, but still thin enough to pour. (see video in post for more info)
- Pour the fudge into the middle of your prepared pan and spread evenly. Allow to cool for 1-2 hours. Cut into squares. Serve & Enjoy!
Notes
Nutrition
About the Recipe Author, Louise Long
Louise is a full-time recipe creator and food blogger @ The Salted Pepper. She has over 30 years of experience with cooking and recipe development. She owned a restaurant for several years and was a full-time RN until retiring to blog full-time.

She published her first cookbook in the Fall of 2018 and is very interested in writing several more.
Louise is also the creator of an online Ninja Foodi Pressure Cooking Course with over 100 instructional step-by-step videos. People absolutely rave about the course and all the value they have received from it.
Louise has several very active Facebook groups that help people with the basics of cooking and learning more about the appliances they love.
Ninja Foodi Pressure Cooker & Air Crisper 101
Ninja Woodfire Outdoor Grill & Smoker
Louise is also a YouTube creator and you can find most of her recipes in video format on The Salted Pepper YouTube channel.
She is very responsive to messages and eager to help in any way she can. Get more Information about Louise & contact information
I WOULD LOVE TO SEE WHAT YOU ARE COOKING UP IN YOUR KITCHEN! TAG ME @THESALTEDPEPPER ON YOUR FAVORITE SOCIAL MEDIA PLATFORM WHEN YOU MAKE A DISH!
BE SURE TO FOLLOW THE SALTED PEPPER RIGHT HERE ⇓⇓⇓⇓⇓
Chris says
This is literally the best peanut butter fudge that I've ever tasted; and I've tasted A LOT of fudge. I am a self-proclaimed food snob, and love good, rich, flavorful fudge-- so much so, that I rarely buy it because, while I enjoy trying new things, I'm usually disappointed. Bravo, Louise!!
Louise says
This made my day! I'm so happy you were pleased with the outcome! Happy Holidays!