- Sous Vide Circulator
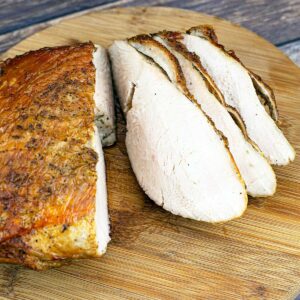
Do you want a super tender turkey breast with crispy turkey skin? Of course you do!
Using Sous Vide cooking method for boneless turkey breast is a game changer!
Perfectly cooked turkey meat from end to end and it is basically hands off! Then, pop it into your air fryer to crisp the skin and you will have the BEST turkey breast you have ever eaten!
Would you like to save this recipe?
I used my Ninja Foodi Pressure Cooker & Air Crisper, but any sous vide immersion circulator will work just fine. The beauty of using the Ninja Foodi is you can sous vide and then air fry in the same appliance.
Frequently Asked Questions
Yes, it is possible if you have a large enough container to completely submerge the turkey in the sous vide bath and a big enough bag that is able to be sealed. For a quicker cooking time of 6-8 hours for a 10-12 pound turkey, spatchcock it before sous vide cooking.
If you don't mind the longer cooking time of 14-18 hours, then you can leave it whole, BUT you should fill the back with a flavorful stock to ensure uniform cooking. The cavity of the turkey will trap air if no liquid is added to the bag and air is a poor conductor of heat so you can end up with undercooked and unsafe-to-eat turkey.
Filling the bag with stock/broth will fill the cavity with liquid that is heated through the sous vide bath and will conduct heat to the inside of the turkey at the same rate as the outside. So, basically, you are cooking from the inside out.
You do not want to sous vide a stuffed turkey because that will impeded cooking and could prevent the temperature of the turkey meat from reaching the necessary temperature for food safety. I have not personally done this, so I would do some research online before choosing your temperature and timing.
Yes, you can. The rib part of the bone-in turkey breast can be fairly large and most of it doesn't serve much purpose, so I would trim the rib cage down so you don't need such a large bag and sous vide container.
Because the bones do absorb heat and, therefore, slow the cooking time of the turkey breast, I would sous vide for at least 5 hours. The temperature depends on if you are going to air fry the turkey after sous vide cooking to crisp the skin. Please see the section below on temperature settings.
I always recommend cooking meats that are thawed for the best results and so you have the ability to season, but it is possible to sous vide a turkey breast from frozen.
The turkey needs to be removed from its original packaging and any gravy packet removed. If you know you are going to sous vide your turkey breast from frozen, I would season it and then vacuum seal it in a vacuum bag before freezing. That way you can simply grab the bag and put it in your heated sous vide water bath.
It is recommended that you cook the turkey at least an extra hour when cooking from frozen using a sous vide machine.
Yes, you can do that. Once the turkey breast has cooked using the sous vide method, promptly place the bag into an ice bath to stop the cooking process. Then put it in the refrigerator. Remove the turkey breast about an hour before you want to serve it and air crisp the skin as directed in the recipe.
For things like turkey and chicken, where temperature control is important for food safety, I really don't recommend it. If you have a bone-in turkey, this recipe is great choice: Ninja Foodi Turkey Breast Recipe
However, you can test the temperature on keep warm or low sear/sauté with 12 cups of water and test the temperature every hour to determine how well and at what temperature the water stays. If the temperature is conducive to what you want to sous vide cook, then there shouldn't be a problem trying it.
Because these alternative functions aren't specifically designed for sous vide cooking, I would use a resealable bag so you can check the internal temperature of your food every hour during the sous vide process to make sure it reaches and holds at safe cooking temperatures.
Also note that the sear/sauté function will automatically shut off after 30-60 minutes.
Is Cooking a Turkey with Sous Vide Safe?
This is the golden question when it comes to sous vide cooking. How do we know it's safe? There have been many studies done on pasteurization of meat and, based on these studies, we know that it isn't solely temperature that kills bacteria, it's also time.
So, while you need to roast a chicken or turkey until the internal temperature is 165℉/74℃ for food safety that is because at 165℉/74℃ any harmful bacteria is killed instantly. You can also effectively kill any harmful bacteria when you cook poultry to a lower temperature for a longer period of time. Serious Eats goes over this in their article for sous vide turkey: Sous Vide Turkey Breast
I have done a lot of research and, although I trust the sources of information, I still wanted to test things for myself. My big question was how do I know when the turkey breast reaches 135℉/57℃ so I know I hold it at that temp for at least 1 hour. To figure this out, I decided not to use a vacuum seal bag and instead used a plastic bag that I could open and reseal during the cooking time. It took just about 3 hours for the internal temperature to reach 135℉/57℃, so I knew I had to let it cook for a total of 4 hours to effectively kill any harmful pathogens.
Cooking Temperatures & Times For Sous Vide Boneless Turkey Breast
Please note, these times and temperatures are based on a boneless skinless turkey breast that is 2-3 pounds. There are boneless turkey roasts sold that are a combination of dark and white meat that has been chopped and tumbled together with a gumming agent, this recipe does NOT apply to those. Please check your packaging carefully. When you remove your boneless turkey breast from the package and the netting, it should look just like a turkey breast that has been removed from a whole bird and will not be perfectly round.
The boneless turkey breasts that I have seen sold are usually in a bag with a gravy packet and have a stated weight of 3 pounds. What I have found after making at least 6 boneless turkey breasts is they all don't weigh 3 pounds. They average around 2.5 pounds and I think the extra weight is in juices and the gravy packet. Slightly misleading packaging, if you ask me.
Timing for Sous Vide Turkey Breast
The timing for a thawed boneless turkey breast using sous vide cooking method is 4 hours for a turkey breast that weighs between 2-3 pounds AND has a thickness of about 3-4".
The turkey breasts that I cooked were seasoned and left to sit for about 30-60 minutes at room temperature before being placed into the water bath. If your turkey breast is right out of the refrigerator, I would add 30 minutes to the cook time just to be sure. This is especially important if you are cooking to an internal temperature of 135℉/57℃. If you are not going to crisp the skin in an air fryer after cooking and want to cook to an internal temp of 140℉-145℉/60-63℃, then 4 hours should be just fine.
The great thing about sous vide cooking your turkey is you don't have to be precise with timing. 30 minutes to an hour of extra time is not going to affect the texture of the meat. Long cooking times of 6 or more hours may affect the texture, so you don't want to cook it too long.
Temperature
Personally, I would not set the temperature under 135℉/57℃ for turkey breast. While it is possible to go lower and cook longer to achieve food safety, the texture is going to be soft and unpleasant to most of us. Here are my recommendations for temperature settings.
Set the Sous Vide Temperature to 135℉/57℃ IF you are going to air fry, deep fry, or do a high temperature roast after sous viding to crisp the skin. This produced the BEST tasting turkey breast I've ever had. The 4 hours of sous vide time combined with 15 minutes of Air Frying and I had the best of both worlds. Juicy breast meat with crisp turkey skin.
If you are removing the skin either before or after sous vide cooking, then I would increase the temperature to 145℉/63℃ for a tender, moist breast meat that is the texture we all aim for when cooking turkey or chicken breast.
If you want a firmer texture, increase the the temperature to 150℉/65.5℃.
You can absolutely set the temperature to 165℉/74℃ and your turkey breast will still be better than one roasted in an oven to the same internal temperature. I would only do this if you aren't going to crisp the attached skin afterwards, otherwise you may end up with a dry turkey breast.
How to Prepare Your Turkey Breast for Sous Vide Cooking
Thaw and Season
I really recommend starting with a thawed turkey breast and the safest and easiest way to thaw a turkey breast is to leave it in the refrigerator overnight. Remove the packaging and drain the juice. Remove the gravy packet if it came with one. I don't usually use the gravy packet, but you certainly can follow the instructions on the package and use it to make some gravy, if you like.
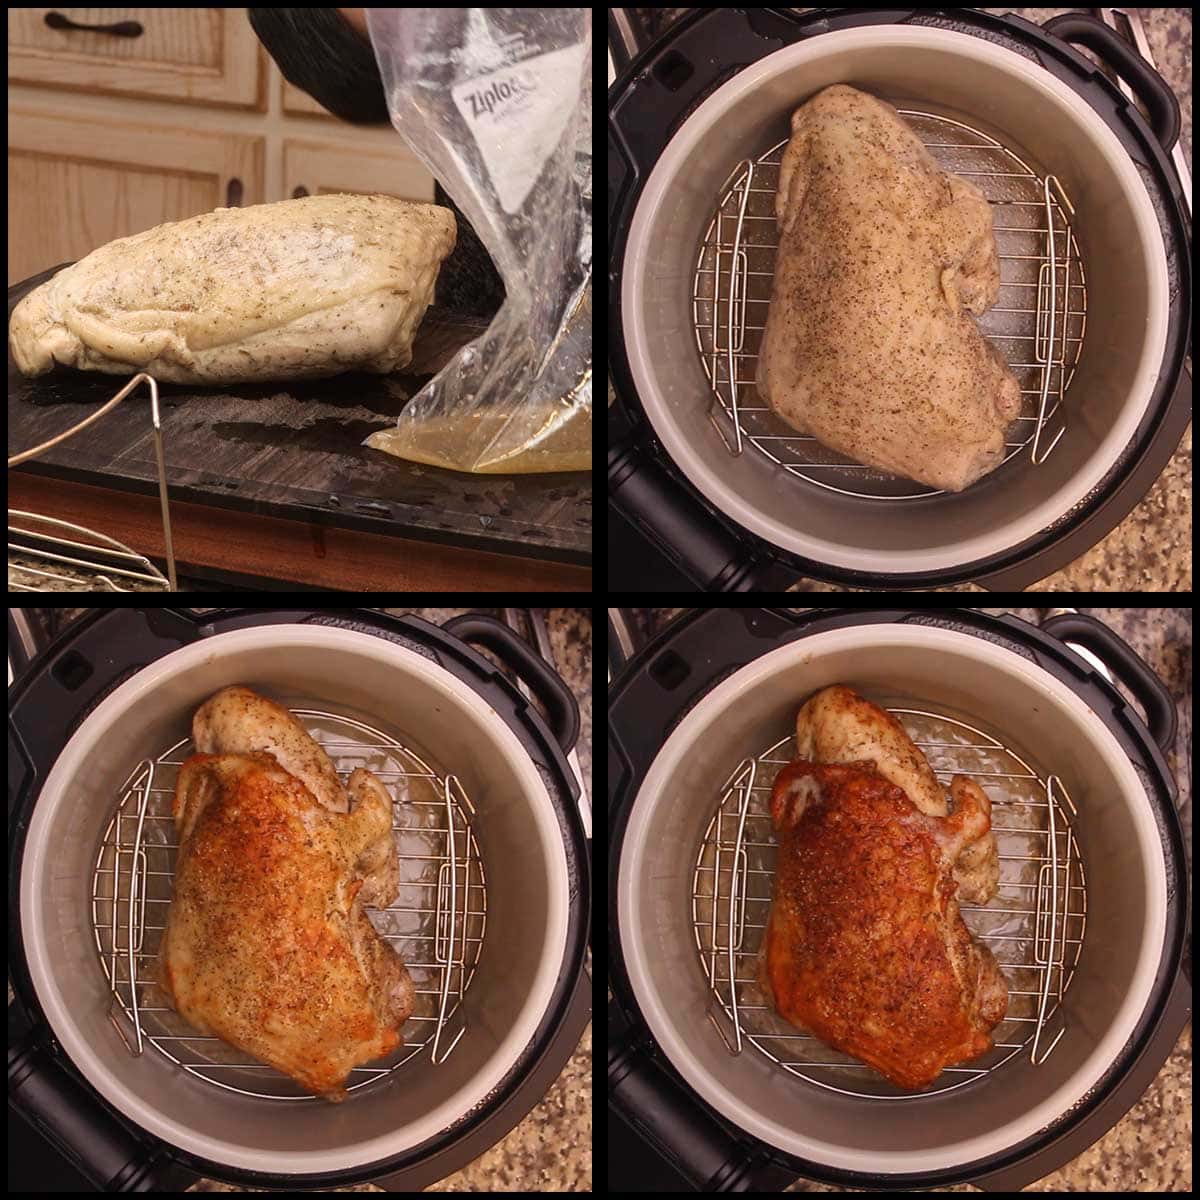
Remove the netting and trim the turkey breast as desired. I usually remove the tough tendons.
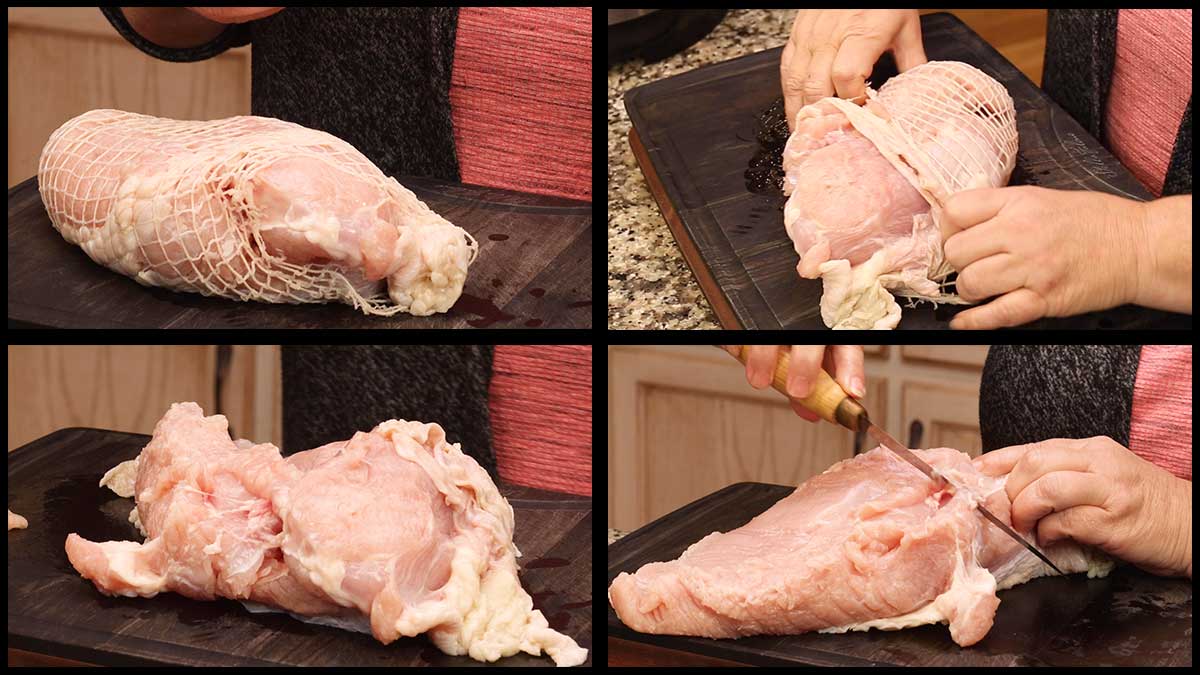
If you want to dry or wet brine it, skip to the next section. If you just want to season it and cook it, then I recommend partially separating the skin from the breast. I do this so I can season the meat directly so it can penetrate the meat fibers while sous vide cooking and give flavor to the turkey meat. This is an optional step, you can simply season the skin and the underside of the turkey breast if you prefer.
Here is a quick video showing how I partially separate skin from breast before seasoning.
You can use any seasoning blend you like. I kept it simple by using sea salt, black pepper, dried thyme leaves, and poultry seasoning. You can add in garlic salt or powder, onion powder, or any other seasonings that you like. If you want to use herbs like fresh rosemary leaves or fresh thyme, you absolutely can do that; however, fresh herbs tend to burn when you air fry at the end. I find this unpleasant, so I prefer using dried herbs.
Dry or Wet Brine
This is completely optional. I opted not to brine and my turkey breast was fantastic. You can certainly brine your turkey breast before sous vide cooking, but I would not sous vide in the brine (wet or dry) because you will most likely end up with a very salty and over-seasoned turkey breast. If you choose to brine your turkey before cooking, a 4-6 hour brine is plenty for a boneless turkey breast. Rinse off the brine and then blot dry before seasoning it.
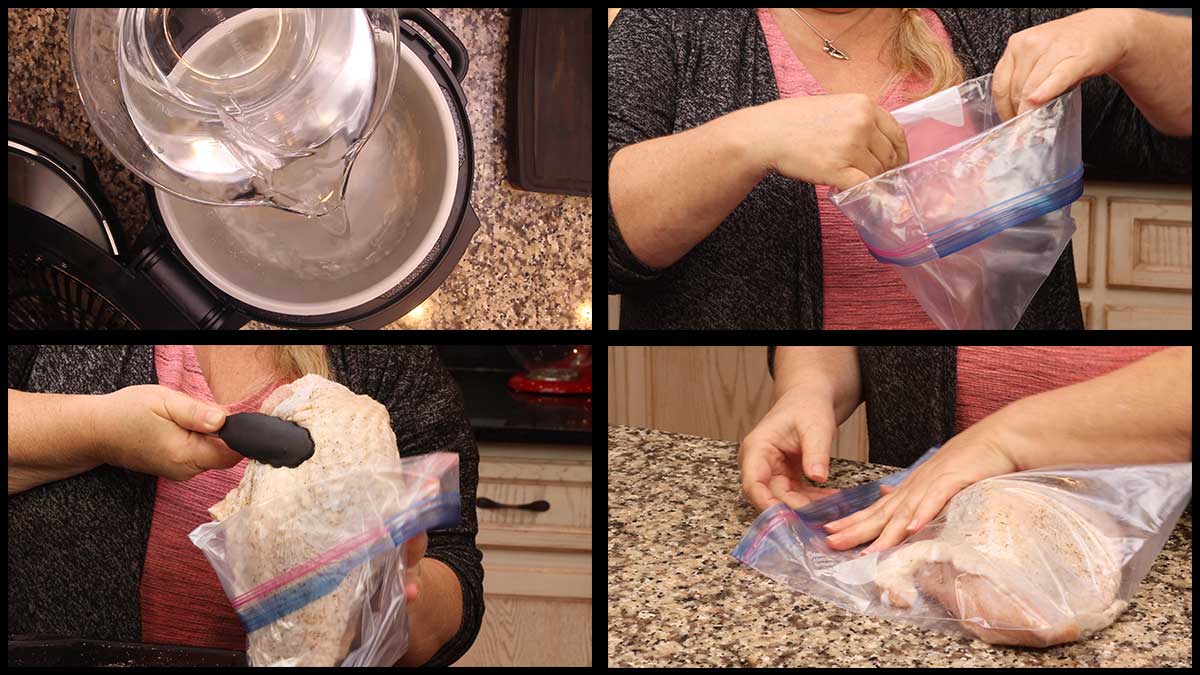
Preparing the Water Bath
If you are using an immersion circulator or another type of sous vide machine, make sure you have a container large enough so the turkey breast can be fully submerged under water.
If you are using the Ninja Foodi or the Instant Pot Duo Crisp to sous vide your turkey breast, fill the water up to the 10 cup mark on the side of the pot. Then you will want to make sure your turkey breast is fully submerged.
To do this, you will place the turkey breast into the sealable bag you plan on using, remove the air and put it into the water bath. If it is completely submerged under the water then you are good to go. If it is above the water line, add more water until it is submerged. If it is floating, then you haven't gotten enough air out of the bag. If you have removed as much air as you can and your turkey breast is still floating after adding water up to the max fill line, then you can certainly use a plate or something else to weigh it down. I haven't found this necessary with heavier foods like the turkey breast, but some lighter foods do require a weight of some sort.
See the next section for how to remove the air from your bag.
Sealing the Bag
When sous vide cooking it is important to have your bag completely sealed and as much air out of it as possible. The best way to do this is by using a vacuum sealer, but if you don't have one you can certainly use the water displacement method for removing the air.
You want to start with a high quality freezer bag, I use a freezer ziplock bag. Place the turkey breast in the bag and make sure it is laying flat. You don't want it rolled up or that can impede the cooking process.
Gently lower the bag into the water and the air will be pushed out. The important thing to remember is you don't want the water to get inside of the bag during this process, so make sure the sealable part is just above the water line at all times. Once all the air is out, seal your bag with the zip closure.
If enough air is out, the bag should sink under the water. If water enters your bag, it either has a leak or isn't sealed.
If this happens, raise the bag out of the water bath and see if liquid leaks out from the sides. If it does, your bag has a leak and needs to be replaced.
If nothing leaks out, then it is most likely not sealed. Empty the liquid out of the bag and do the immersion technique again.
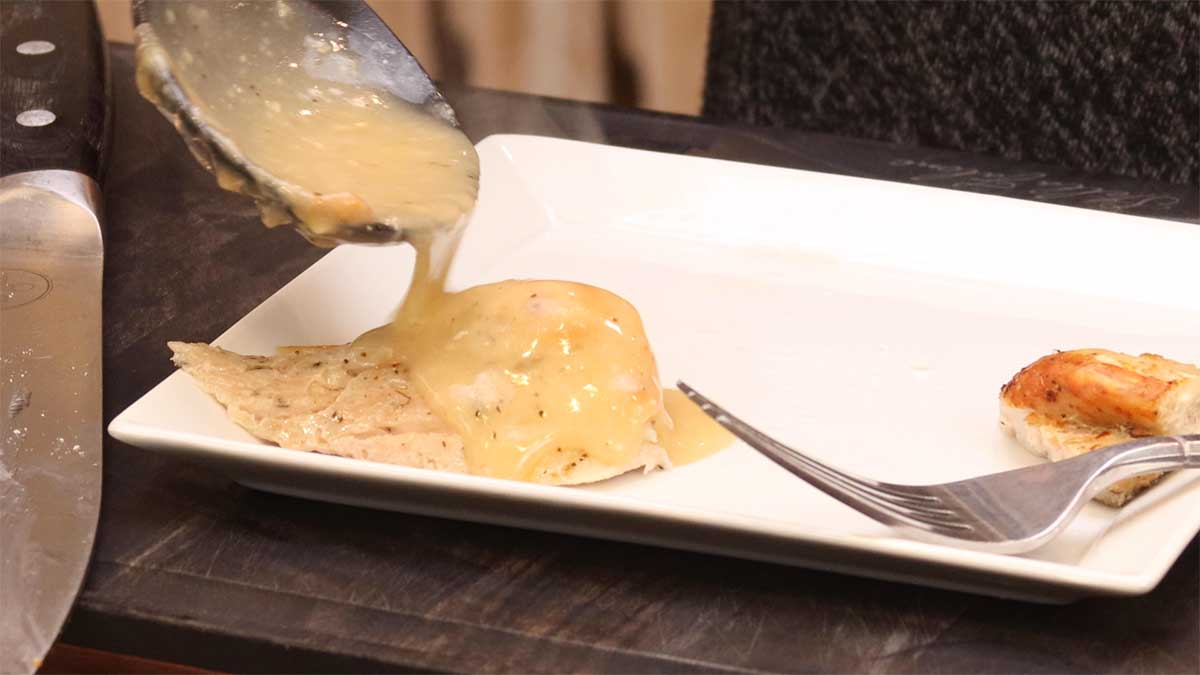
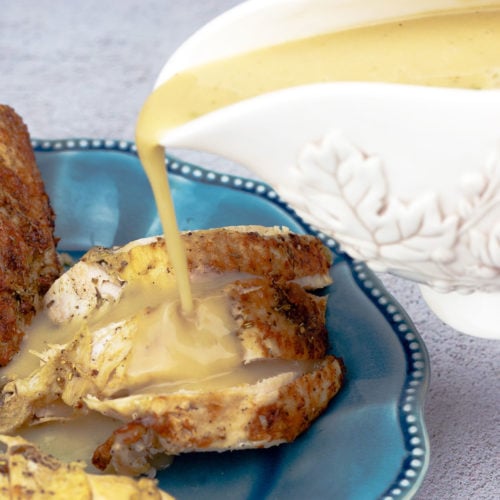
Making Gravy with Sous Vide Juices
Sous vide cooking does not produce as many juices as other cooking methods and that is a good thing! That means the juices stay in the turkey meat, keeping it nice and moist.
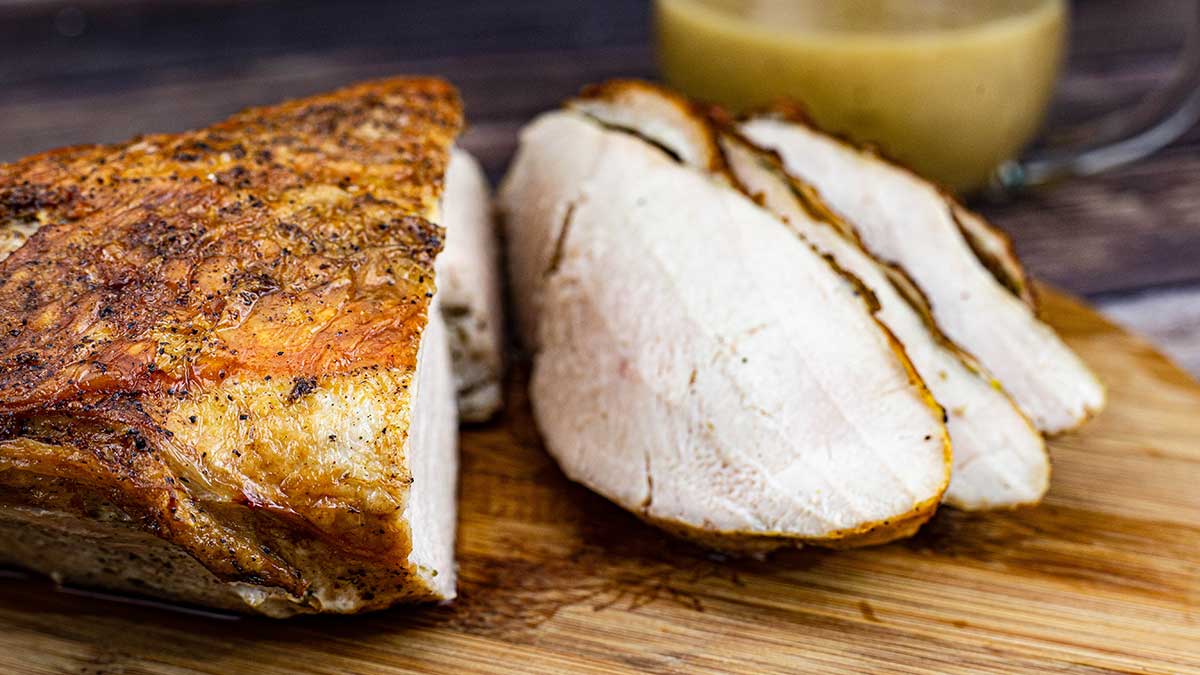
Despite this, you can still make gravy to serve with your turkey breast from the sous vide juices and the fat that renders when air frying the skin.
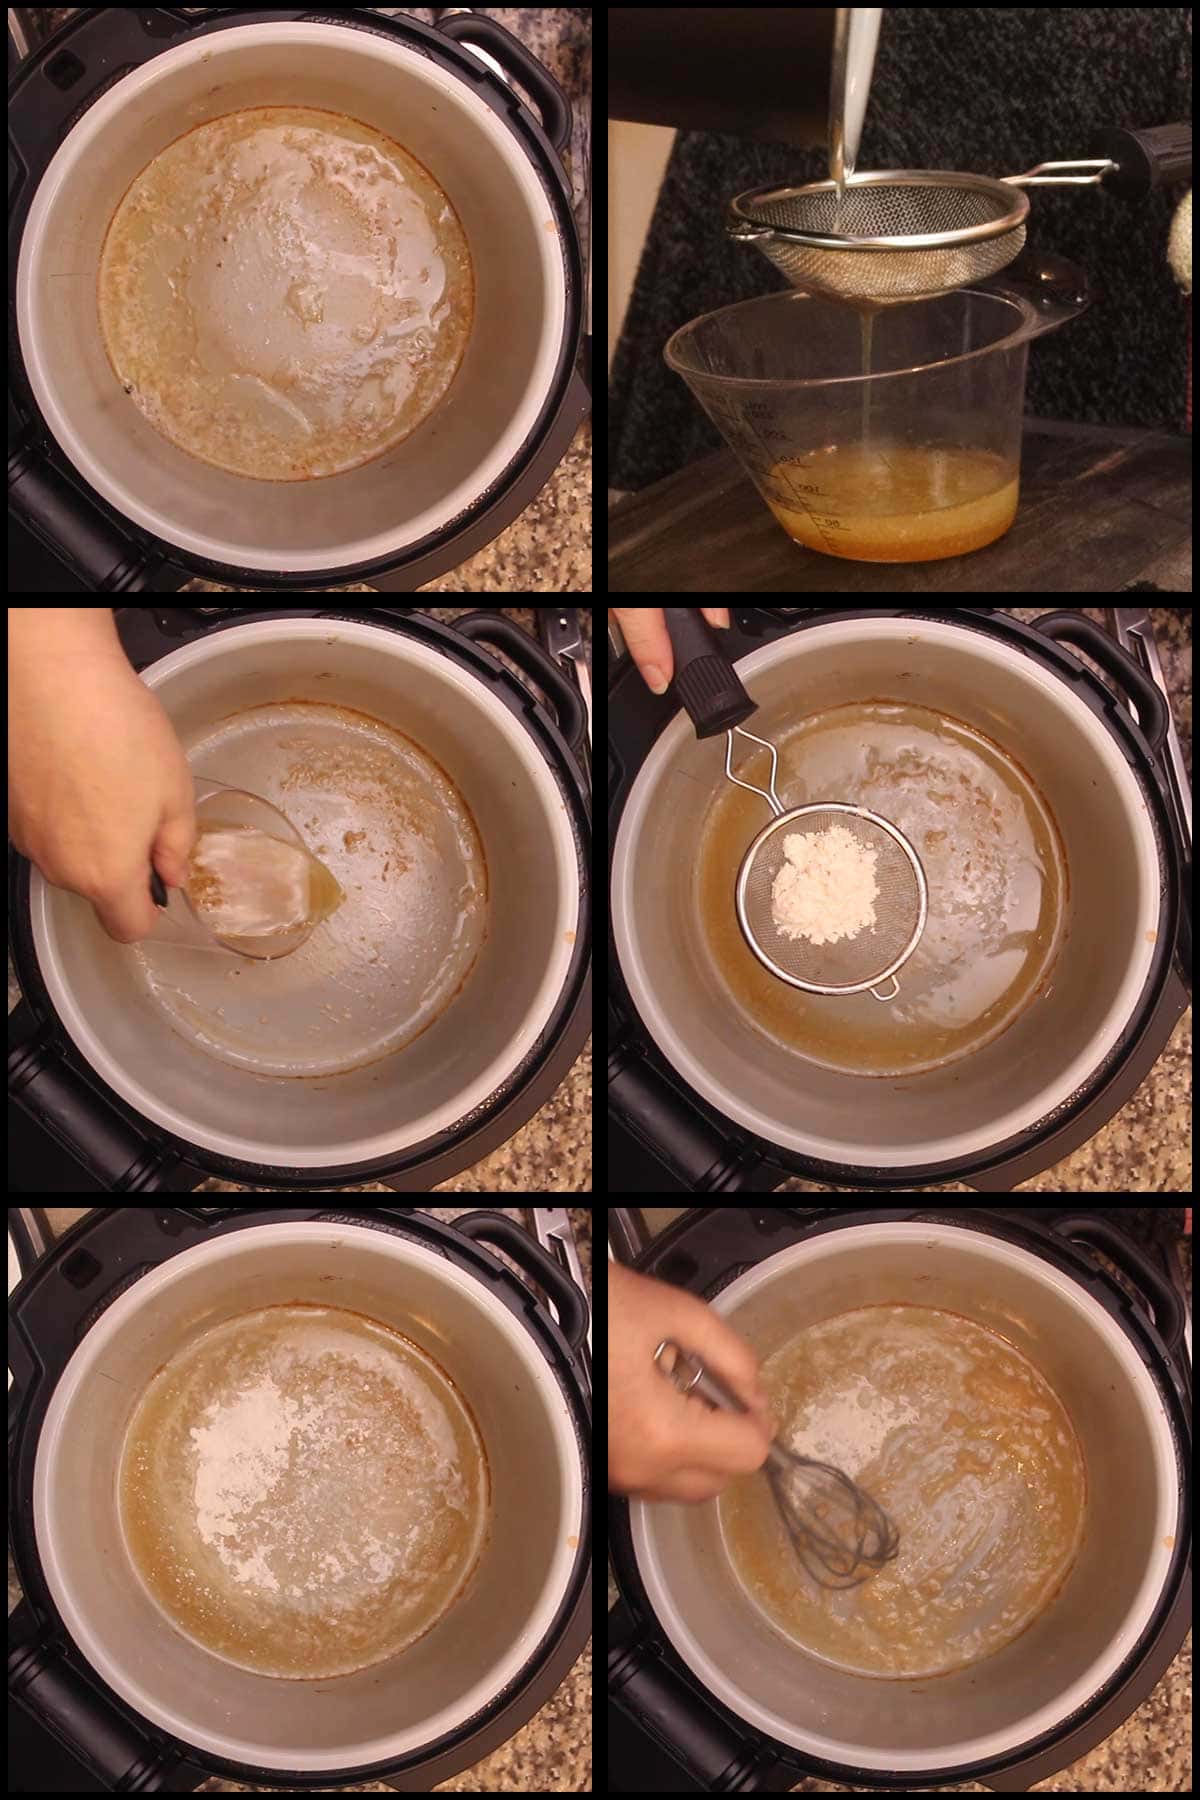
After you dump the liquid from the inner pot after sous vide cooking, put the juices from the sous vide bag into the pot.
Then air fry the turkey breast as directed. When done, you will see a combination of juices and fat in the bottom of the pot. You can strain the juices if you don't want little bits from the turkey in your gravy.
Remove the rack with the turkey breast and make the gravy by turning on the sear/sauté on medium and sifting in 1 tablespoon of flour at a time and stirring until you have a loose paste and there isn't anymore fat left to absorb the flour.
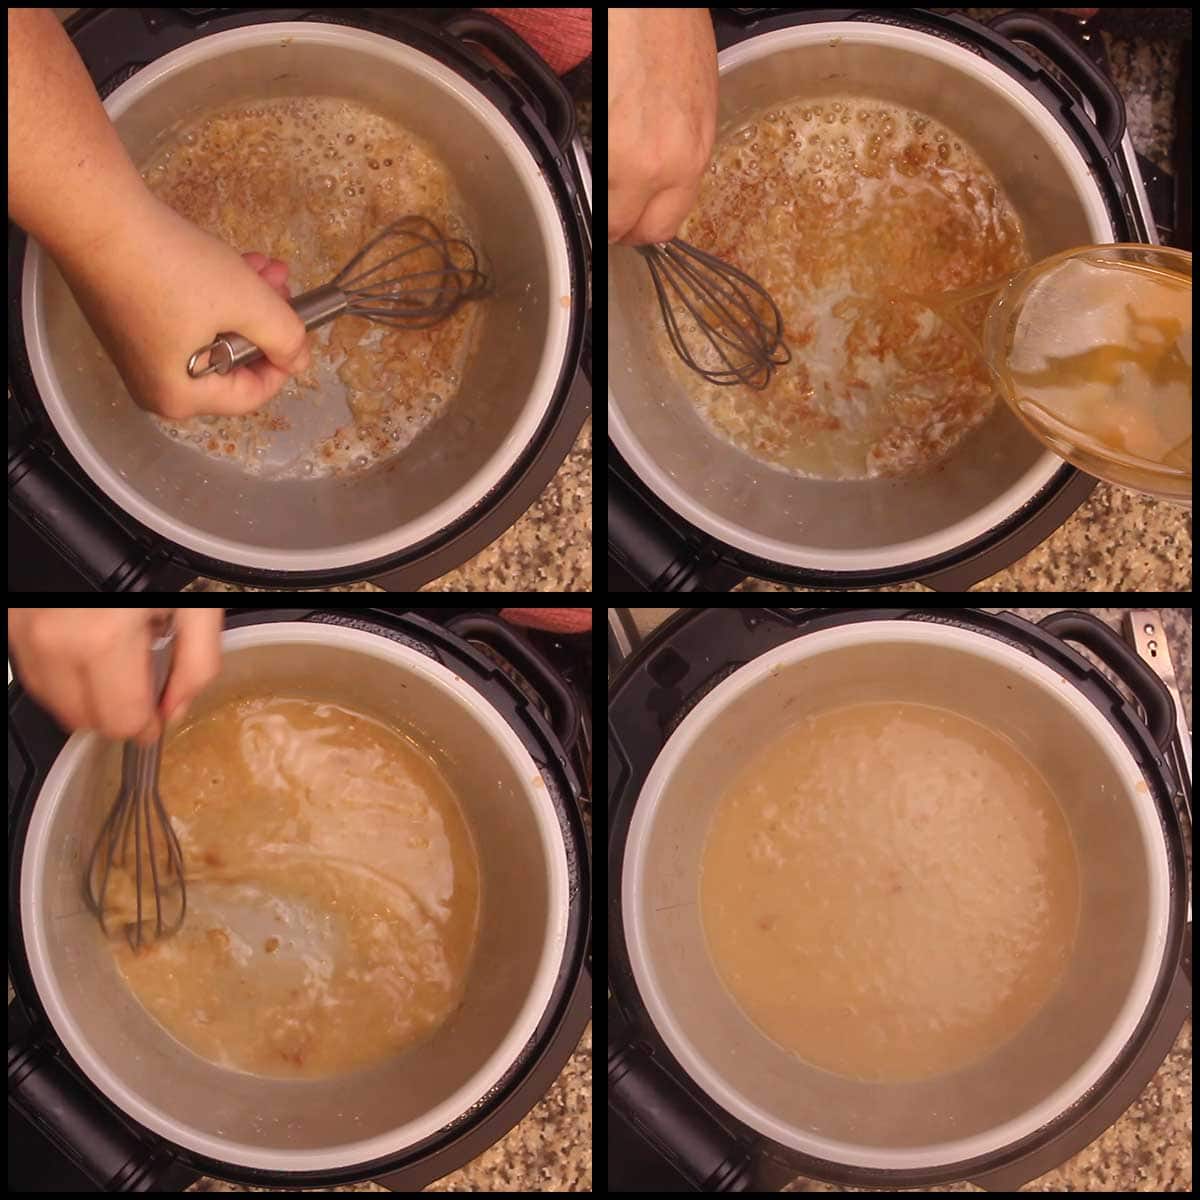
Turn the heat down to low and slowly add in ½ cup of chicken stock/broth (or turkey stock if you have some) and stir. Continue adding in more stock or broth until your gravy reaches your desired consistency. I used about 1½ cups of broth.
Cooking a Boneless Turkey Breast using Sous Vide & Air Fry Methods
Once your turkey breast is seasoned and in a sealed bag, heat the water bath to the desired temperature.
When using an immersion style sous vide circulator, attach the circulator to your container filled with the amount of water needed to completely submerge the turkey breast and dial in the desired cooking temperature (see above for temperature settings).
When using the Ninja Foodi or Intant Pot Duo Crisp to sous vide your boneless turkey breast, fill the inner pot with water to the level where the turkey breast can be fully submerged.
Put the pressure lid on and turn the valve to vent. Select the sous vide function and set the desired temperature (see above for recommended temperature settings). The Ninja Foodi or IPDC will heat the water to the set temperature and prompt you to add the food.
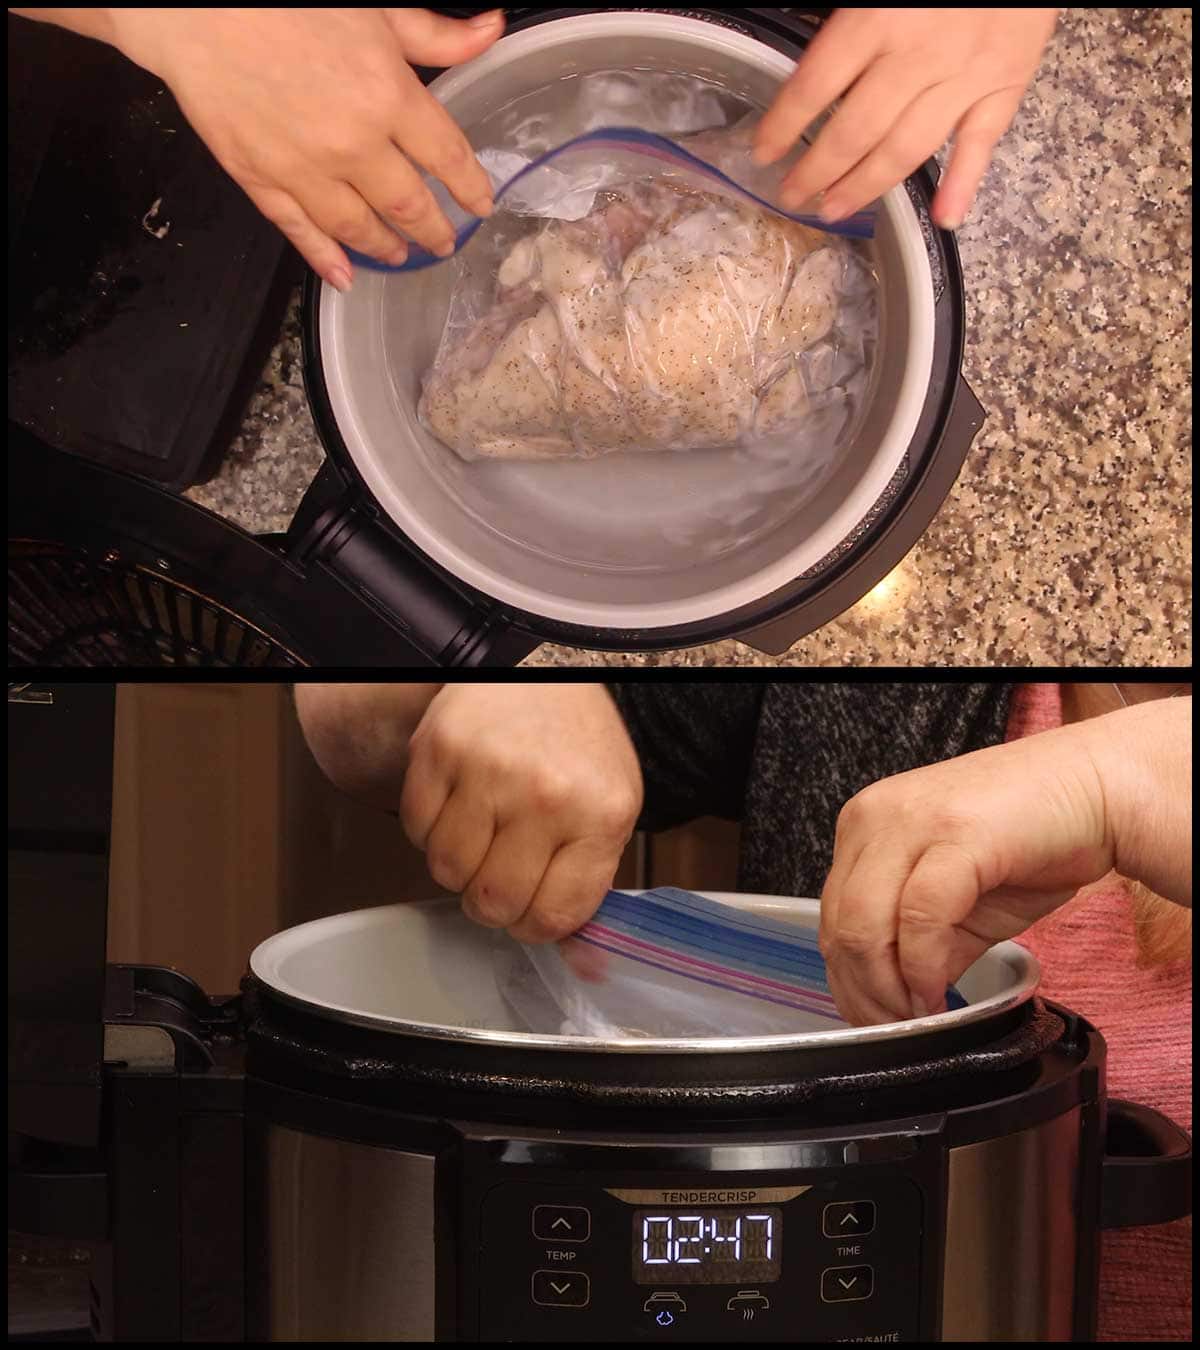
Place the bag into the inner pot filled with heated water and make sure it is submerged. Put the pressure lid back on and turn the valve to vent. Set the time for 4 hours.
Once the water has heated to the desired temperature, place the bag into the container and cover to avoid heat loss. Cook for 4 hours.
When the time is up, remove the bag from the water. Remove the turkey from the bag. Dump the water from the inner pot. Season the turkey skin with extra salt and pepper if desired.
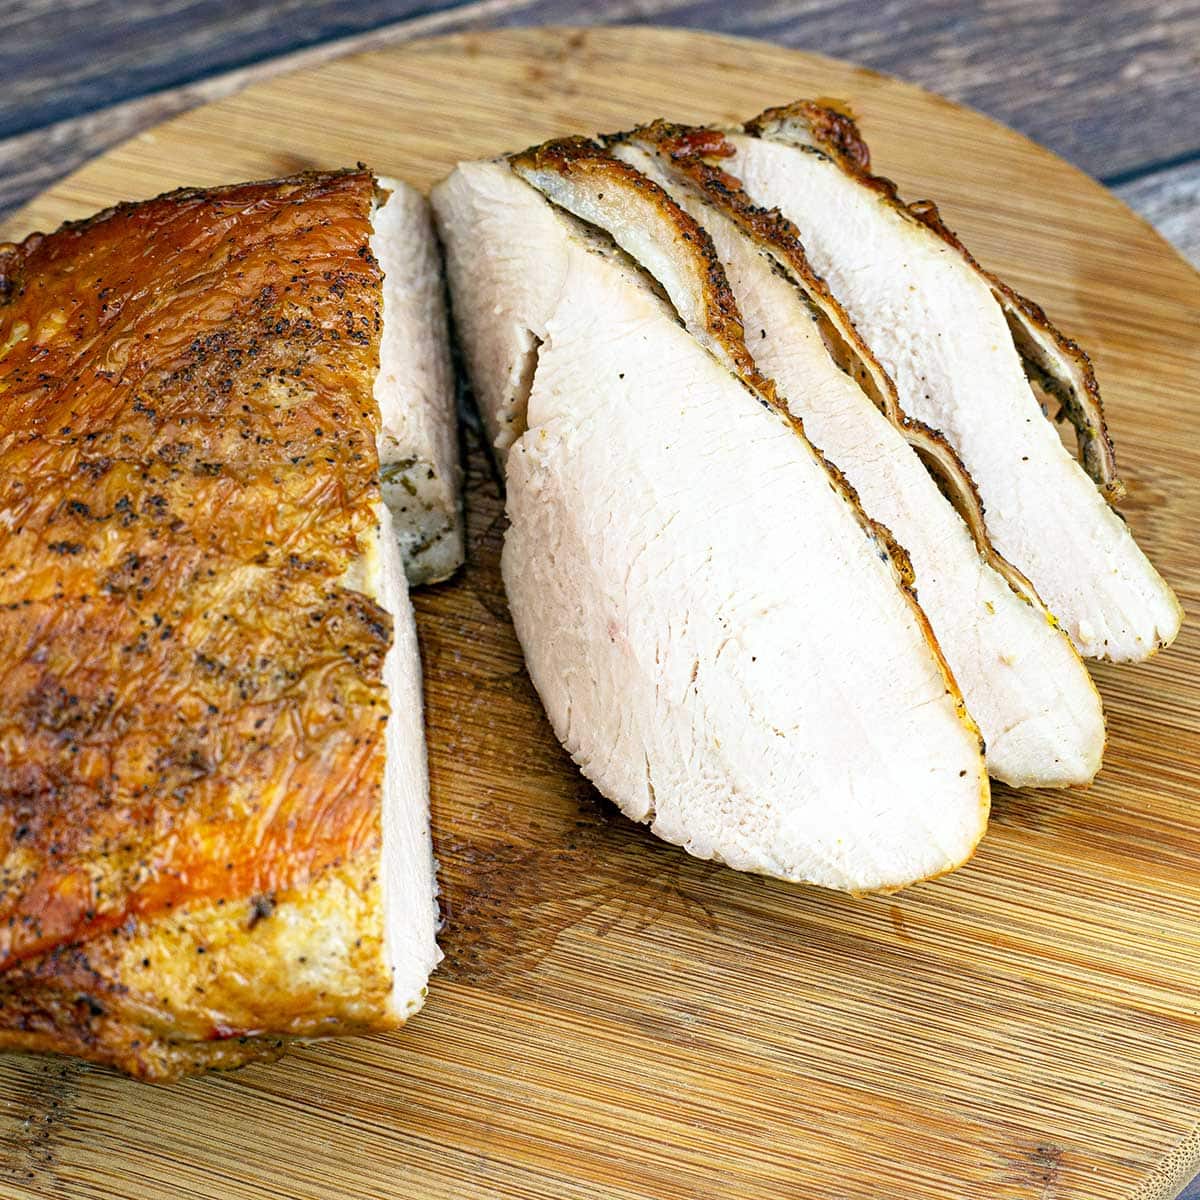
Place the turkey breast on the rack in the low position and air fry on 400°F for 15 minutes or until the skin is golden brown and crispy.
Slice & Serve. You do not need to let the turkey breast rest before slicing. Enjoy!
How to Crisp the Skin without an Air Fryer
If you don't have any air fryer and want to crisp the turkey skin, there are several ways to do it.
Pan Fry
You can heat a cast iron pan (or any frying pan that conducts heat well) on the stove with a little bit of oil. When the pan is very hot, but not smoking, place the turkey breast skin side down into the pan. Let it fry until it's brown and crisp.
Oven
Preheat the oven to its highest temperature for at least 30 minutes. You want the oven to be extremely hot so the skin begins to crisp immediately. Otherwise, you may overcook the turkey breast while the skin is crisping.
Place the turkey breast on a baking sheet pan and put it on the rack in the highest position. Bake until the skin is crispy and golden brown.
Side Dish Recipes That are Perfect with Boneless Turkey Breast
- Blender Gravy in the Ninja Foodi Hot Cold Blender
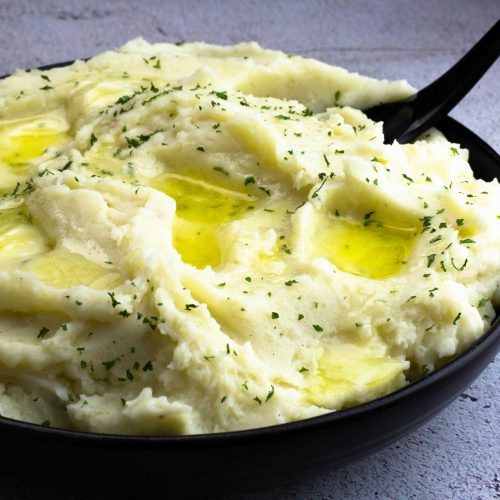
- Ninja Foodi Mashed Potatoes
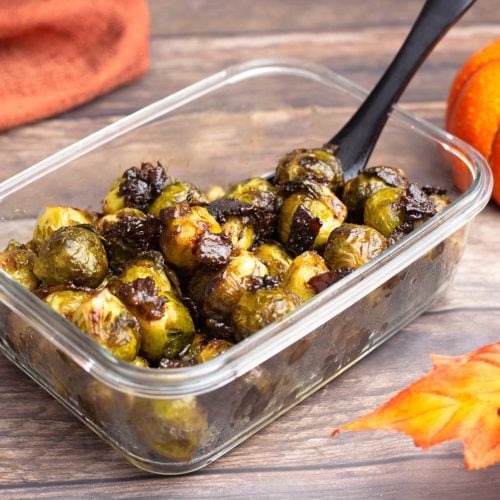
- Candied Brussels Sprouts
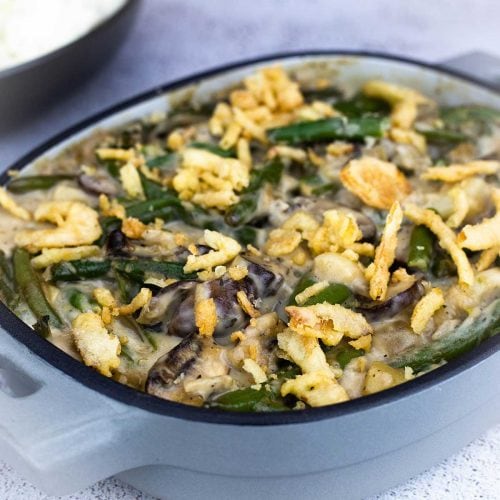
- Ninja Foodi Green Bean Casserole w/ Air Fried Onions
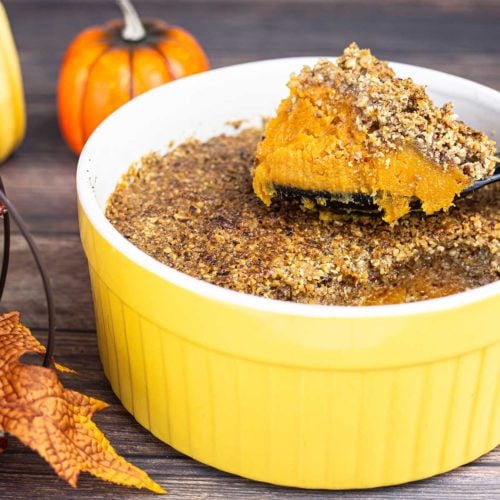
- Sweet Potato Casserole with a Toasted Pecan Topping (Ninja Foodi or Pressure Cooker recipe)
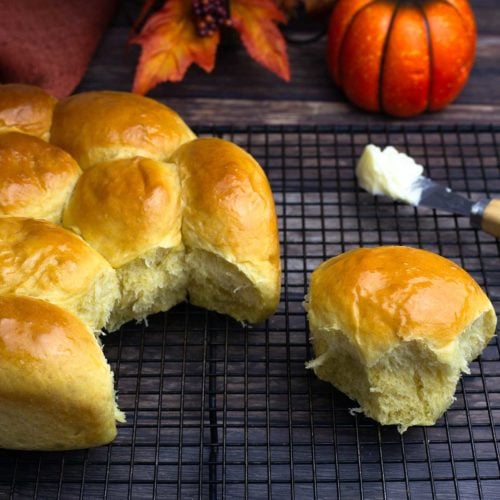
- Homemade Sweet Potato Rolls (Ninja Foodi & Oven Directions)
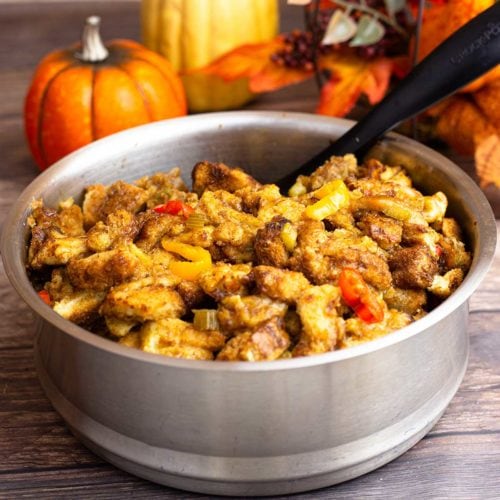
- EASY Homemade Bread Stuffing in the Ninja Foodi (or IP Duo Crisp)
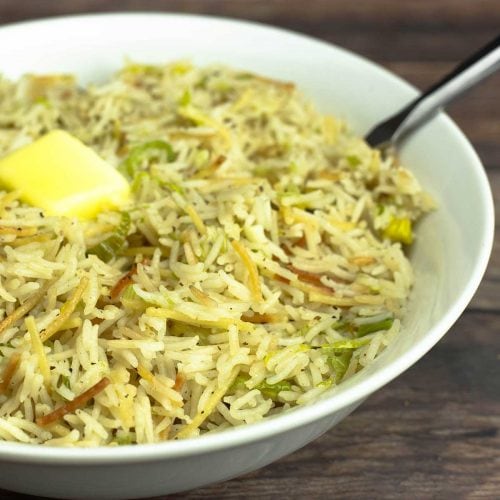
- Homemade Garlic & Herb Rice-A-Roni
Sous Vide & Air Fryer Boneless Turkey Breast
Equipment
- Sous Vide Circulator
Ingredients
- 2-3 lb boneless turkey breast
Seasoning Blend
- 1 teaspoon fine grind sea salt
- ½ teaspoon black pepper
- ¼ teaspoon onion powder
- ¼ teaspoon garlic powder
- ¼ teaspoon dried thyme leaves
- ¼ teaspoon dried rosemary leaves
- ⅛ teaspoon poultry seasoning
Would you like to save this recipe?
Instructions
- Thaw the turkey breast.
- Fill your container or inner pot with enough water so the turkey breast can be fully submerged. This is usually around 10-12 cups of water for the Ninja Foodi.
- Set the temperature to 135°F/57℃ and allow the water to heat up. If using the Ninja Foodi, put the pressure lid on and keep it vented while the water heats up.
- Separate part of the turkey skin so you can season the meat itself. I start at the thin end of the breast and separate it just until I get to the top of the thicker end. See video in post for more details.
- Season the turkey breast under the skin and on top of the skin and on the underside with seasoning blend. Place the turkey breast in a sealable bag and either vacuum seal or use the water displacement method (details in notes) to get all of the air out of the bag.
- When the water bath has reached the desired temperature, place the sealed bag with the turkey breast into the water. Make sure it is completely submerged. Put the pressure lid on if using the Ninja Foodi or IPDC and turn the valve to vent. If you are using an immersion circulator, cover as you normally would. Set the time for 4 hours.
- When the time is up, remove the bag from the water bath. Dump the water from the inner pot. Remove the turkey breast from the bag and sprinkle on some extra salt and pepper if desired. Place the breast, skin side up, in your air fryer and air fry on 400℉/200℃ for 15 minutes or until the skin is golden brown. I used the reversible rack in the low position in the Ninja Foodi.
- Slice and Serve! No need to let the meat rest.
Notes
Nutrition
About the Recipe Author, Louise Long
Louise is a full-time recipe creator and food blogger @ The Salted Pepper. She has over 30 years of experience with cooking and recipe development. She owned a restaurant for several years and was a full-time RN until retiring to blog full-time.

She published her first cookbook in the Fall of 2018 and is very interested in writing several more.
Louise is also the creator of an online Ninja Foodi Pressure Cooking Course with over 100 instructional step-by-step videos. People absolutely rave about the course and all the value they have received from it.
Louise has several very active Facebook groups that help people with the basics of cooking and learning more about the appliances they love.
Ninja Foodi Pressure Cooker & Air Crisper 101
Ninja Woodfire Outdoor Grill & Smoker
Louise is also a YouTube creator and you can find most of her recipes in video format on The Salted Pepper YouTube channel.
She is very responsive to messages and eager to help in any way she can. Get more Information about Louise & contact information
I WOULD LOVE TO SEE WHAT YOU ARE COOKING UP IN YOUR KITCHEN! TAG ME @THESALTEDPEPPER ON YOUR FAVORITE SOCIAL MEDIA PLATFORM WHEN YOU MAKE A DISH!
BE SURE TO FOLLOW THE SALTED PEPPER RIGHT HERE ⇓⇓⇓⇓⇓
Cundy says
I’m having an early Thanksgiving this year and I did my turkey this way, and it was the best turkey breast ever. I couldn’t fine a boneless skin on turkey so I got a bone-in breast and deboned it myself. I seasoned the bone and roasted it with some carrots, celery, onions and garlic at 400 until the bone was dark brown. Then I put the whole thing, veggies and all, into the Foodi along with enough water to cover. Then I pressure cooked it all for 30 minutes with a 30 minute timed release. It made 2 1/2 quarts of the best turkey broth I ever had. I used it for my gravy and stuffing (yummy) and the what was left for a little turkey noodle soup.
Louise says
That's wonderful! Happy Thanksgiving!
Bailey says
Cindy, happy your pressure cooked turkey breast was wonderful, but this recipe is for a sous vide boneless turkey breast. Or, did you mean to post a sous vide breast you cooked?