- Ninja Foodi Pressure Cooker with TenderCrisp or any Air Fryer
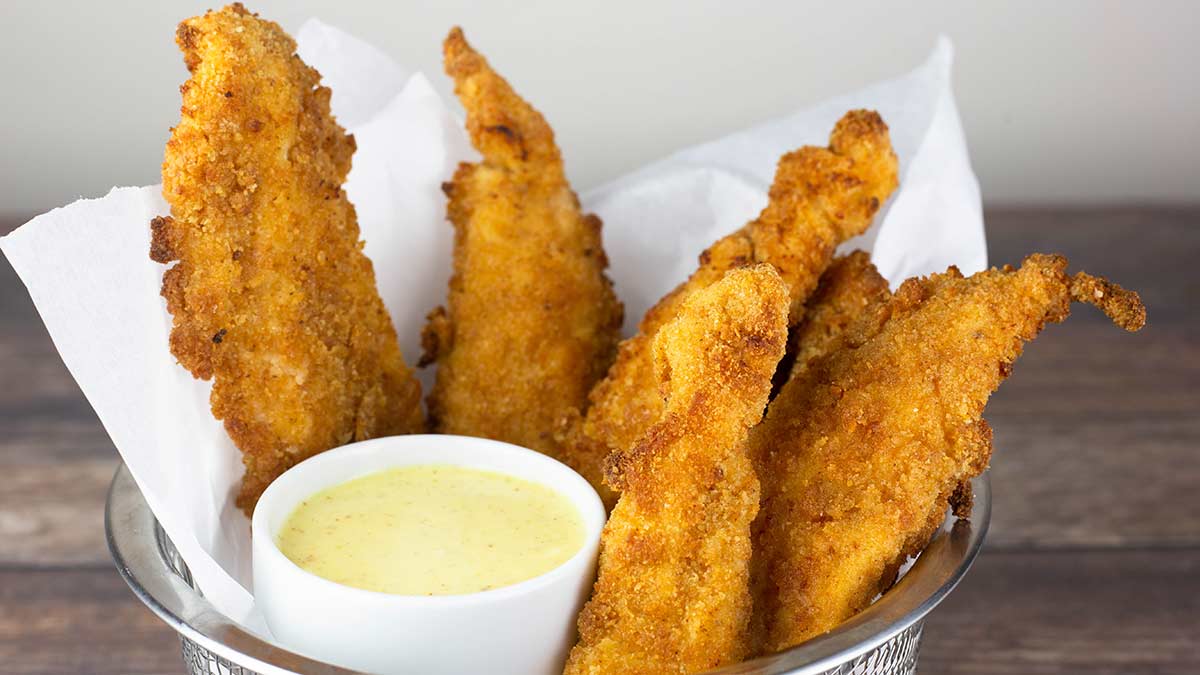
One of the easiest things you can make in your Ninja Foodi using the air fry function is chicken tenders or chicken strips. While it may seem that buying them already breaded is the best way to go, you may be surprised how easy it is to bread them yourself and either cook them right away or freeze them for that quick dinner or snack. This recipe will work with either packaged chicken tenderloins or strips you cut from the chicken like I show in the video.
You only need a few ingredients to make these at home and they are so much better than store-bought! These chicken strips are perfect for meal prep and you can do so much with them; like pair them with your favorite dipping sauce, put them on top of a salad for a quick lunch or dinner, or use them to make a quick and easy chicken parmesan.
Would you like to save this recipe?
This recipe is a variation of my recipe for air fryer chicken nuggets, so if you want chicken strips and the kids want nuggets, you can do both at the same time. Happy kids, happy life!
What is the difference between chicken tenders and chicken strips?
While these terms are often used interchangeably, they are not the same thing. When naming this recipe, I went back and forth about calling them chicken tenders or chicken fingers or chicken strips. In the end, I called the recipe Ninja Foodi Chicken Tenders because I feel like most people still refer to strips of chicken breaded and fried as tenders even though they are not the same thing.
Chicken tenders are a specific area on the chicken breast that is attached to the breast bone and is under the breast. It is a very tender cut of the chicken and usually sold as chicken tenderloins. They are small, averaging about 4-6" in length and are usually removed from the boneless skinless chicken breasts you buy in the grocery store and packaged separately at a premium price. Chicken tenderloins can cost anywhere from $0.50-$1.50 more per pound than the whole boneless skinless chicken breast. The tender or tenderloin is more tender than the breast itself.
Chicken strips or chicken fingers are simply boneless skinless chicken breasts cut into strips. They are usually referred to as chicken strips or chicken fingers when they are breaded and fried.
I recently read that there is a class action lawsuit against Popeye's because they call their breaded chicken strips chicken tenders when, in fact, they are strips cut from the chicken breast. The only fast food chain that I could find that uses actual tenders is KFC. Most fast food chains that I looked up refer to their breaded chicken strips as chicken strips or fingers.
When buying already breaded chicken tenders or chicken strips, make sure to read the packaging because the pictures can look the same, but if the packaging says chicken strips or chicken fingers, they are strips of chicken breast and if it says breaded chicken tenders or tenderloins it is usually the actual tenderloin. Breaded tenderloins usually cost more per pound than breaded chicken strips.
You can certainly use either in this recipe, but I find that strips cut from the chicken breast are just as delicious as using the actual tender and much more economical. I also don't like dealing with the tendon that is usually found on the chicken tenderloin. I always want to remove it even though you don't have to and then I end up making a mess of the tender. So, for that reason (and the cost), I use whole boneless chicken breast in this recipe.
Ingredients & Substitutions
Chicken
I used boneless skinless chicken breast cut into strips for this recipe, but you can use the chicken tenderloins instead, if you prefer. The chicken tenders may cook a little faster than the chicken strips, so make sure to check them around 6 minutes when air frying.
You want to use thawed, raw chicken in this recipe. If you have frozen chicken breasts, make sure you thaw them in the refrigerator so the temperature stays at 40℉/4℃ or lower as they thaw. This prevents any bacteria from multiplying and then you can bread and air fry the chicken strips or bread and freeze them for later.
Already cooked chicken won't work well for this recipe.
Seasonings
I kept things very simple using just salt in the dry breading and cholula in the wet mixture. The cholula does not make the chicken fingers spicy at all, but it does give some flavor. You can easily omit the cholula or use a different brand of hot sauce that you like.
You can also add any type of seasoning to either the dry mixture or the wet batter that you like. If you like things a little spicy, try adding some cayenne pepper to the breading.
I would choose the different spices you use based on what you are using the chicken strips for. If you want to use them to make a quick chicken parmesan, then I would add some Italian seasoning to the breading mixture and maybe even a little parmesan cheese.
If you wanted to use them for tacos (like fish tacos, just chicken) use some chili powder, cumin, or any other Mexican spices you like in the breading mixture.
If you wanted to put them on top of an Asian-inspired salad, you might want to add some soy sauce to the wet batter and maybe some dried ginger and sesame seeds to the breading mixture.
Breading
I found that plain breadcrumbs worked best in this recipe, but you can also use panko breadcrumbs or a combination of the two.
If you want to make a low carb version, see the frequently asked questions below for more information.
How to Make Air Fryer Chicken Tenders in the Ninja Foodi
While there are several different ways you can prepare and bread your chicken tenders or chicken strips, I like to use my (affiliate link)Pampered Chef coating trays. I've also tried a plastic bag for the dry breading and found that I could still only put one chicken strip in at a time or they didn't get fully covered with the bread crumbs.
Setting up the Breading Station
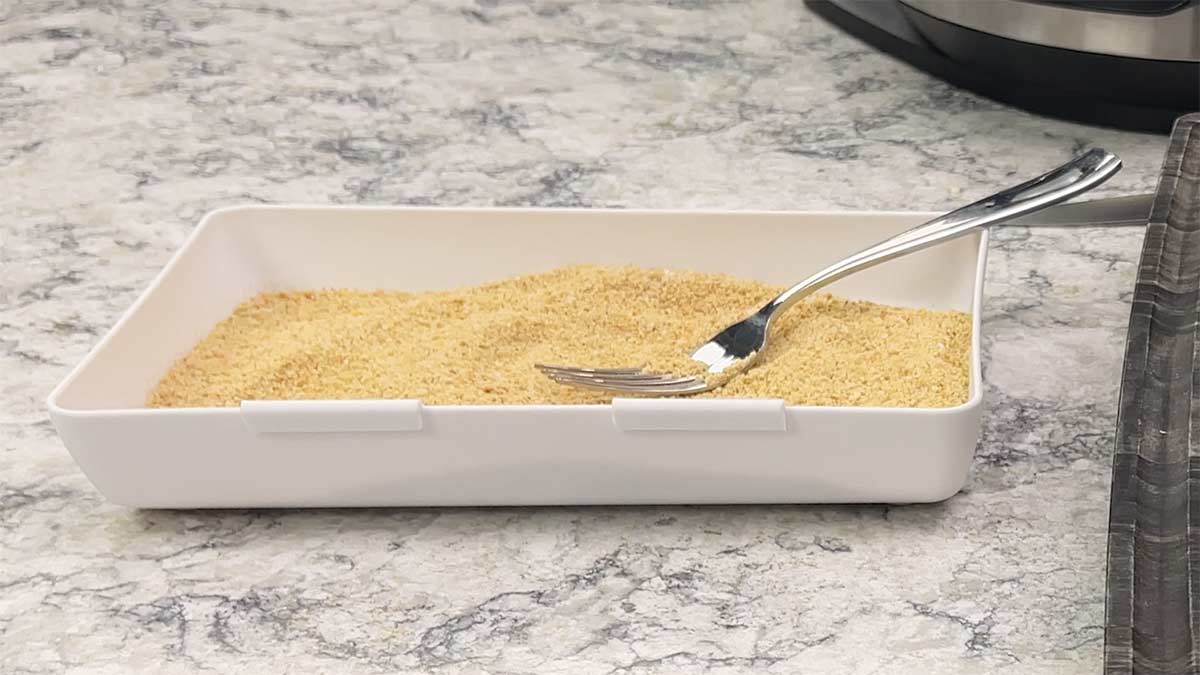
In a shallow bowl or container, combine the breadcrumbs with the salt and any other seasonings you want to add. Mix well.
If you are making a double or triple batch, make sure to double or triple the ingredients and a 9x13 baking dish works great as the breading container.
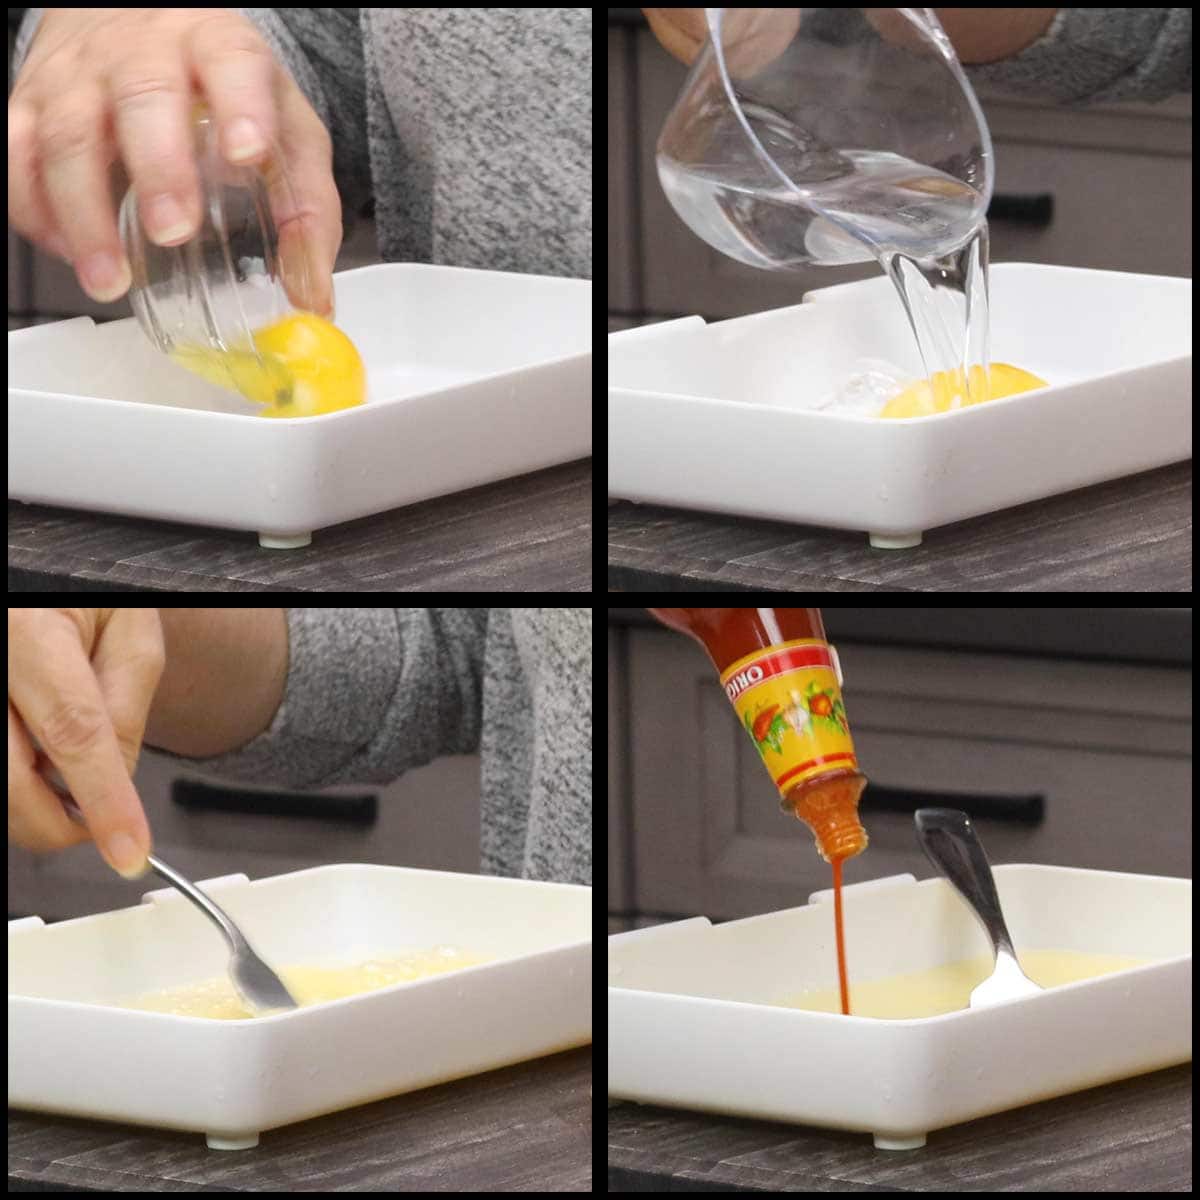
Next, combine the egg, water and hot sauce. Whisk with a fork until combined. You can see in the pictures below that I whisked the egg and water and then added the hot sauce, but you can add all three and whisk them at once.
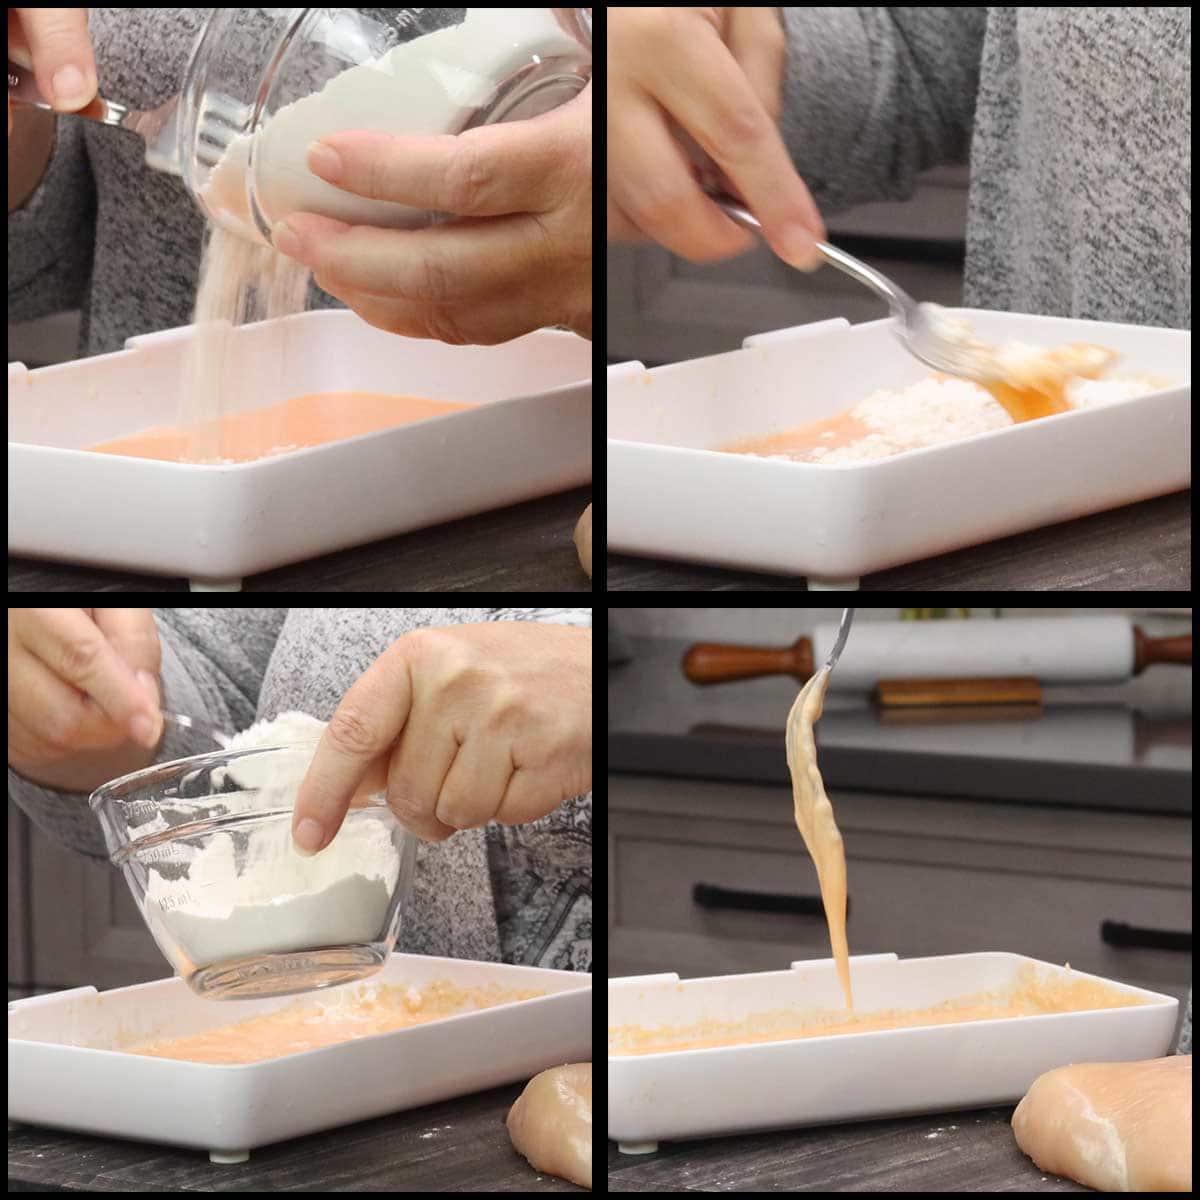
This is the most important part of the recipe because you really want to go by the consistency and not the measurements here. You also don't want to whisk the flour or aggressively stir it into the egg mixture or you can develop gluten in the flour which leads to an unpleasant texture in the breading.
The end goal is to have a smooth mixture that is the consistency of a pancake batter. To do this add the flour gradually and fold it into the egg mixture until incorporated. I usually start off with adding ¼ cup of flour at a time until the mixture gets close to what I'm looking for, and then I will add 1 Tablespoon at a time until it's perfect.
The recipe calls for ¾ cup flour and sometimes I use the entire amount and other times, there is between ¼ cup and 2 Tablespoons left.
Once the flour has been incorporated and the wet batter is the consistency of a pancake batter, set the breading trays aside and prepare the chicken.
Preparing Chicken Breasts
If you are using chicken tenders, you can skip this step and move straight to the breading section.
If you are using whole chicken breasts that you want to cut into strips you will want to trim them up and remove any unwanted areas before slicing.
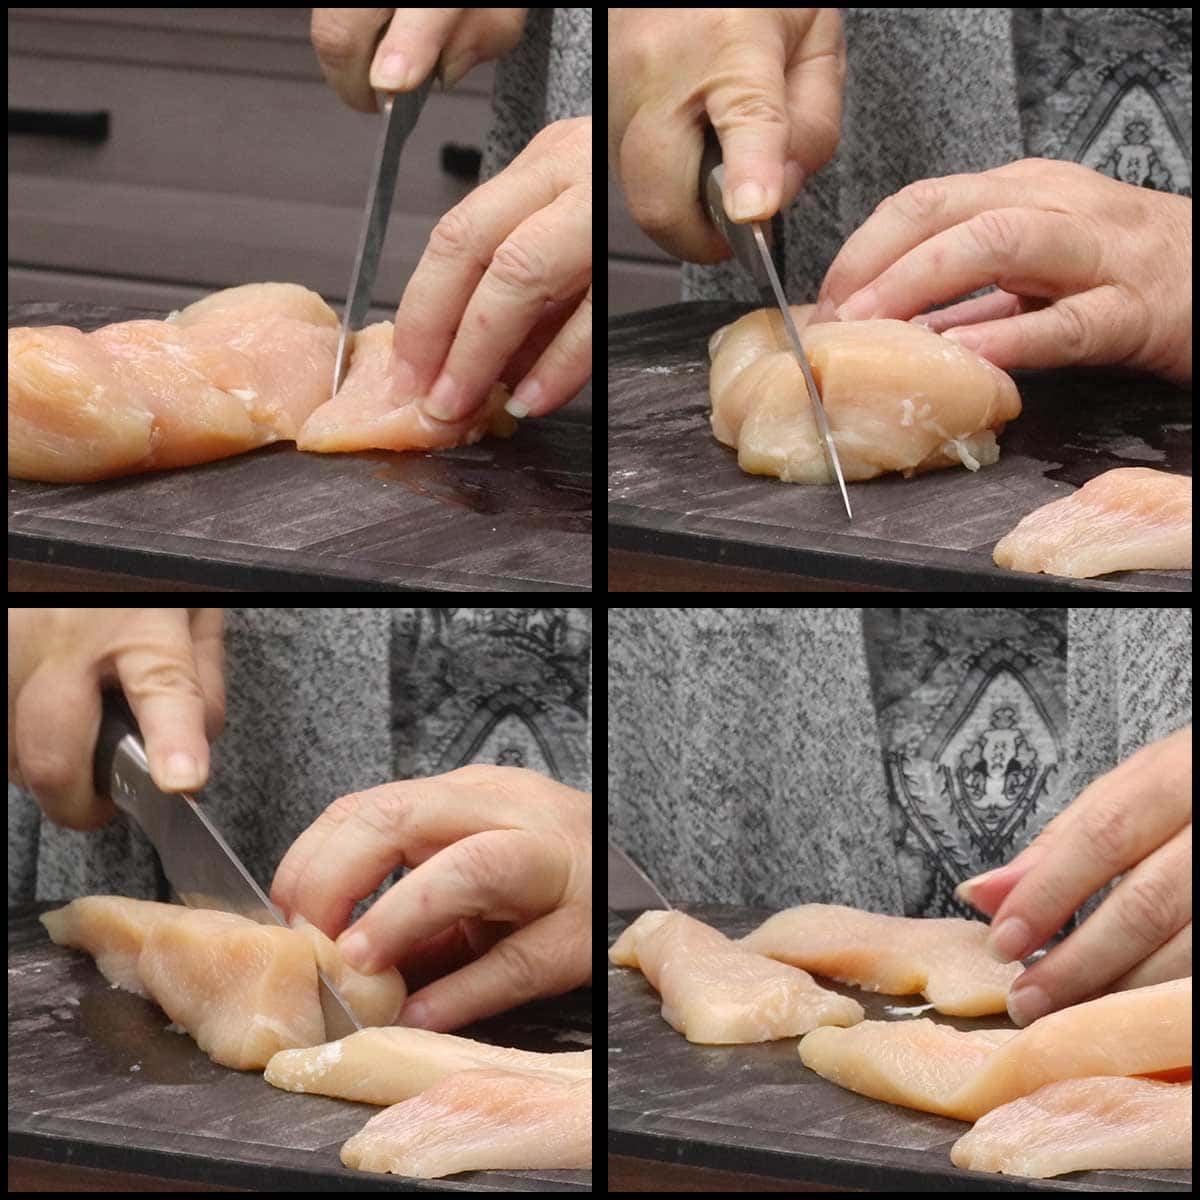
On the underside of the breast, there is a piece of the breast that resembles a tenderloin and I usually remove that first and use it as chicken strip. It isn't a tenderloin, but there is a natural separation from the breast and it comes off easily with a knife.
Then I simply cut the breast into strips. You can get 4-5 strips per breast, including the one I take off of the back side. If you want them shorter, cut each strip in half. Personally, I like to keep them long. Just make sure they will fit into your air fryer basket.
Preheat the Air Fryer
Now is when I preheat the air fryer, because I like to preheat for a full 10 minutes on the hottest setting. On the Ninja Foodi that is Broil/Grill which is 450℉/230℃. If you are using a different air fryer, preheat on the hottest setting on your air fryer.
Make sure the air fryer basket or plate, whatever your cooking surface is, is in the air fryer during the preheat time.
Breading the Chicken Tenders or Chicken Strips
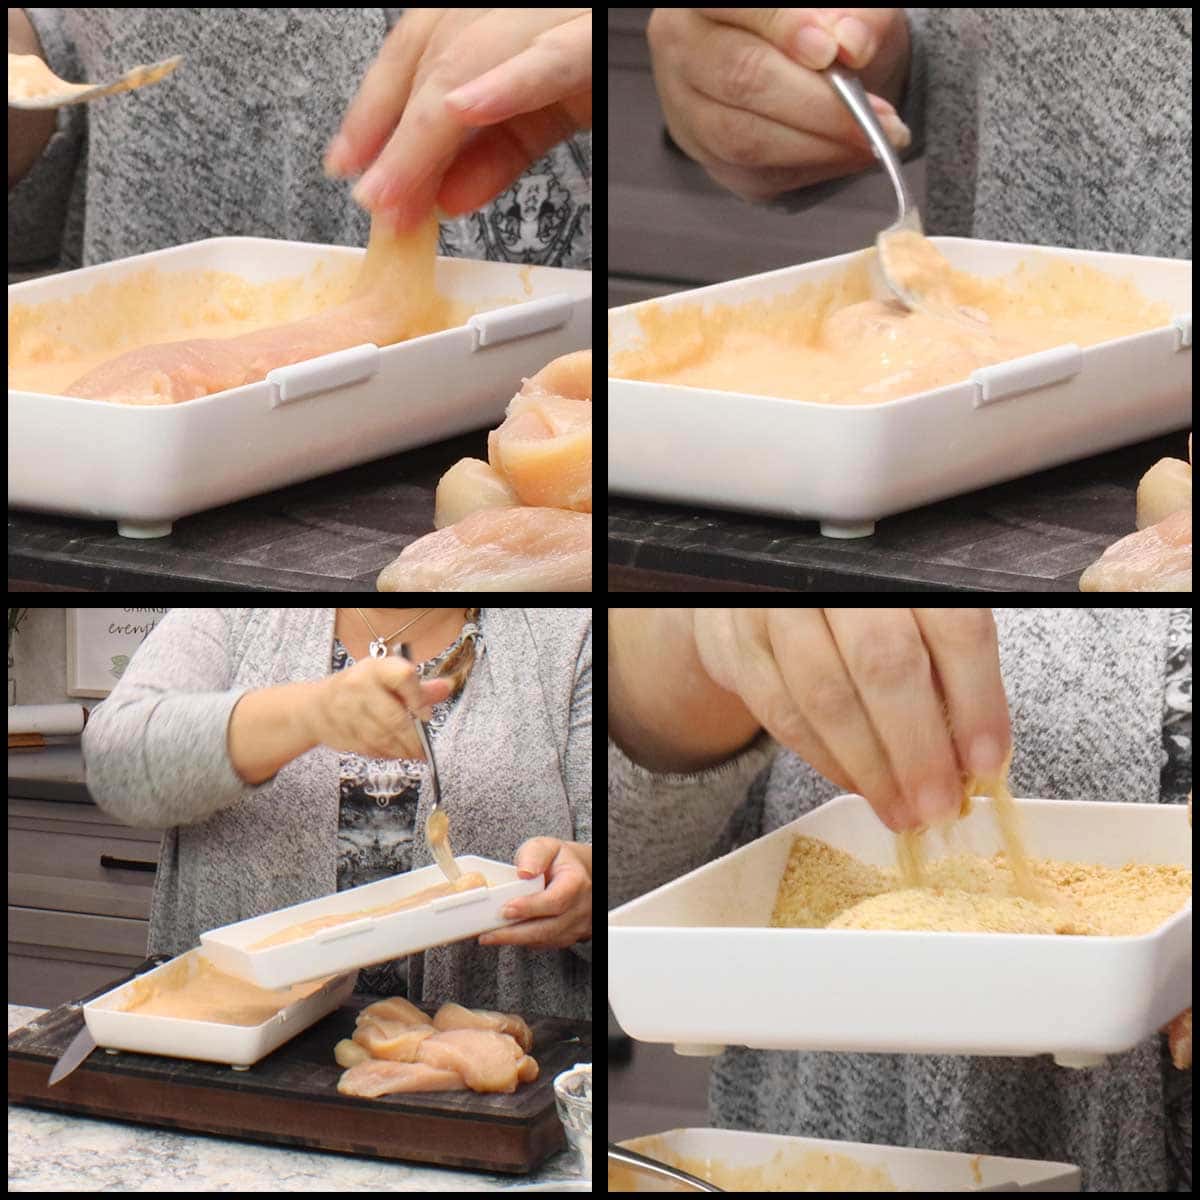
Dip each chicken tender or strip into the egg/flour mixture and make sure it is completely covered. Allow any excess to drip off and then place into the breadcrumb mixture.
I like to use a fork or my hands to push the breadcrumbs over the chicken strips and let it sit for a minute so the breadcrumbs have a chance to adhere. Remove and place the breaded strip on a plate or cooling rack. Repeat for each of your chicken strips.
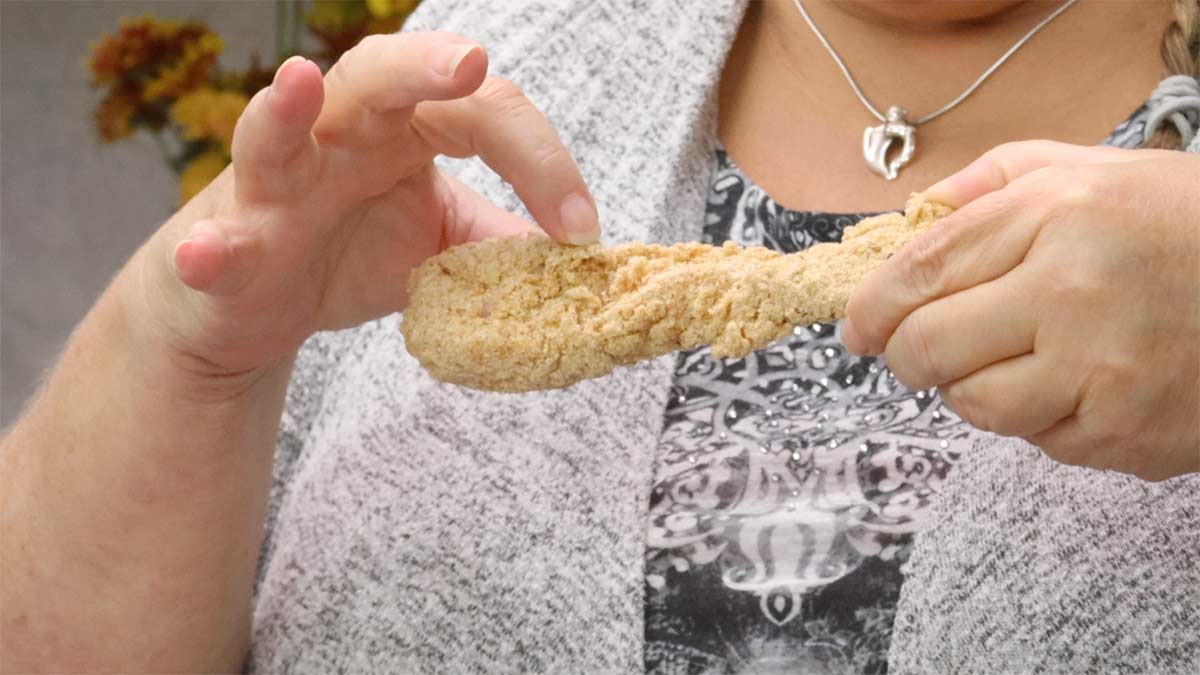
This is what you want them to look like after you are finished breading them. They will have areas that are bumpy with the dry breading, these are the extra crispy parts!
The chicken strip I'm holding below is one I had frozen, so yours won't be as stiff.
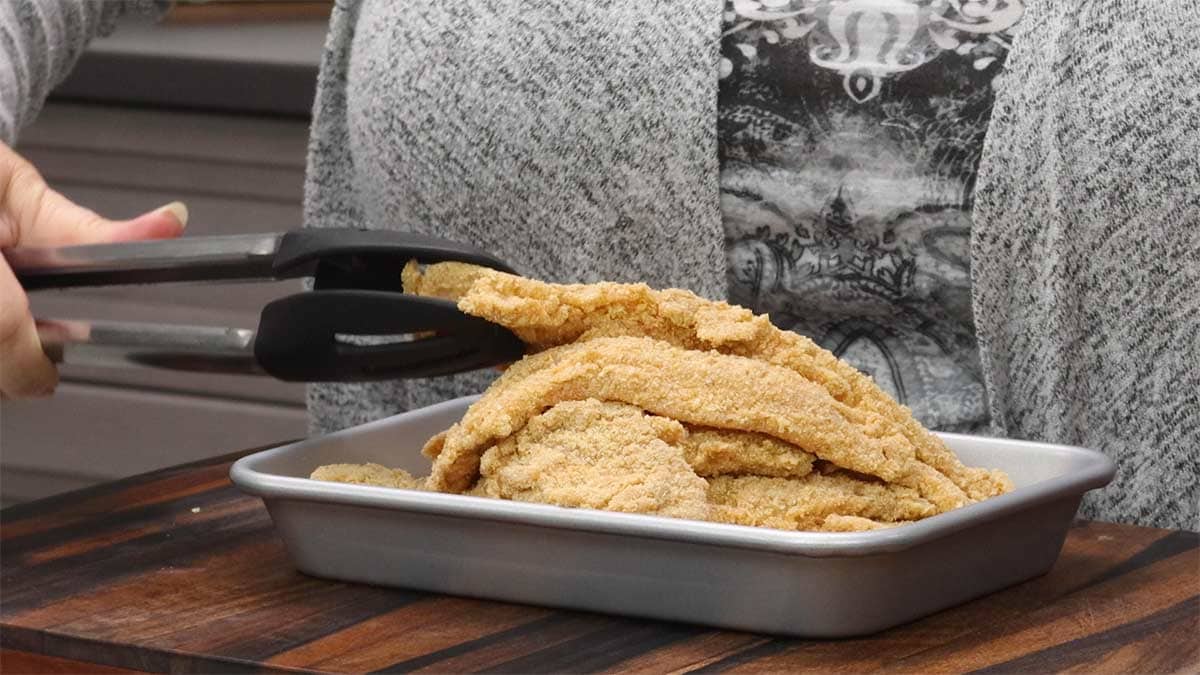
Once they are all coated, you are ready to air fry them or skip to the section below if you want to freeze them for use later.
Air Frying Chicken Strips
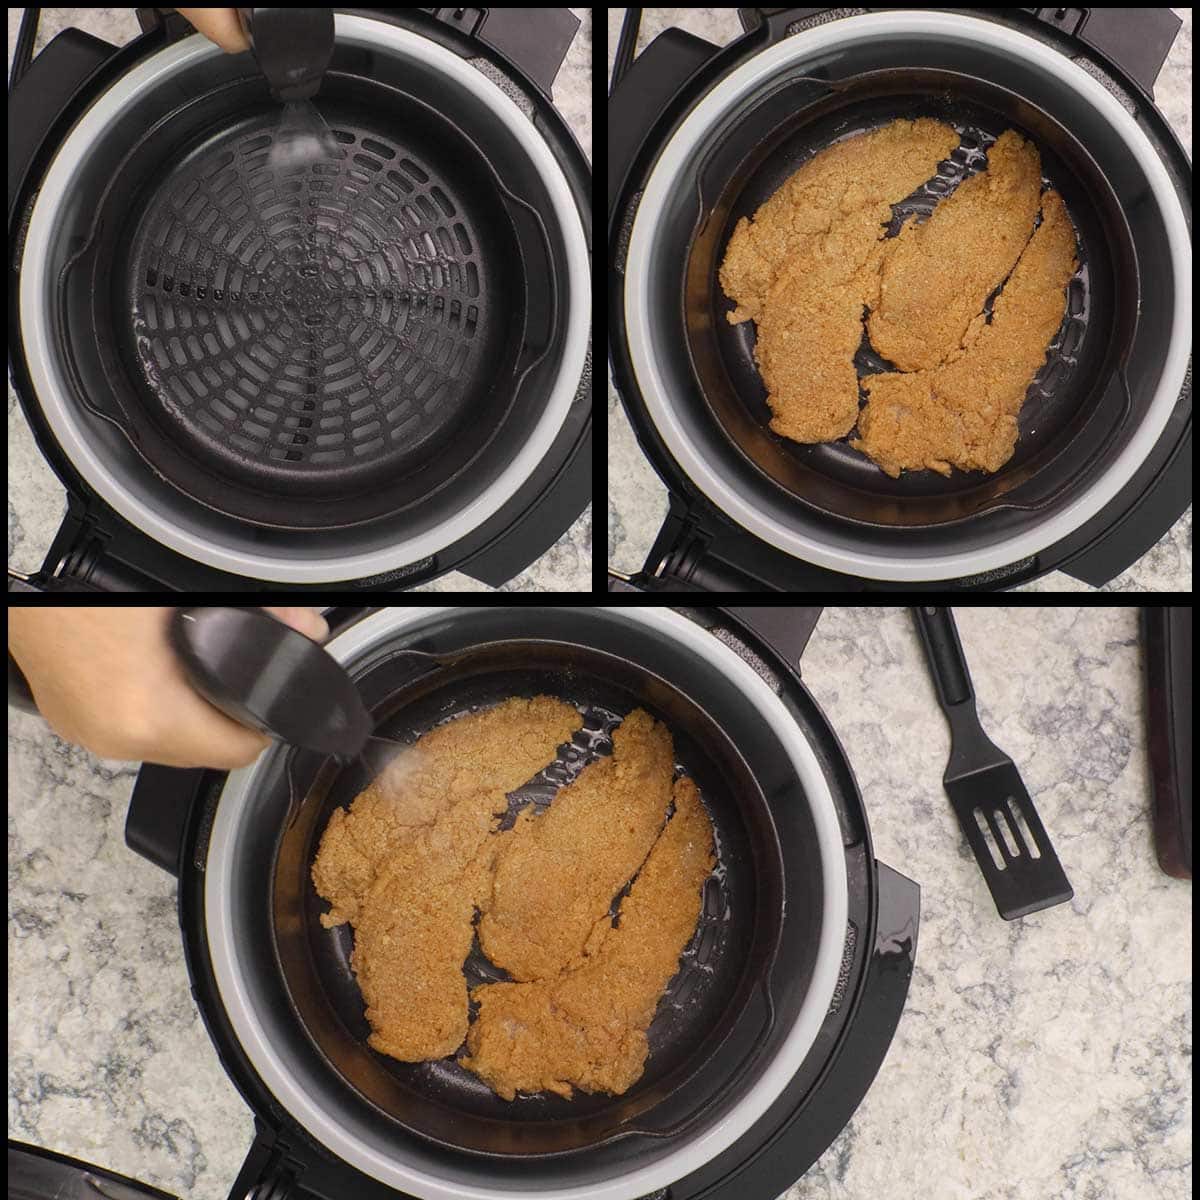
Lightly spritz the basket with avocado oil or oil of choice and place the chicken strips in a single layer in the basket or on the cooking surface you are using. It's important that they are in a single layer so they crisp up on all sides.
The number of chicken strips you can fit into your air fryer will depend on the size of the strips and the size of your air fryer. Usually, I can fit 4 in the Ninja Foodi air fryer basket.
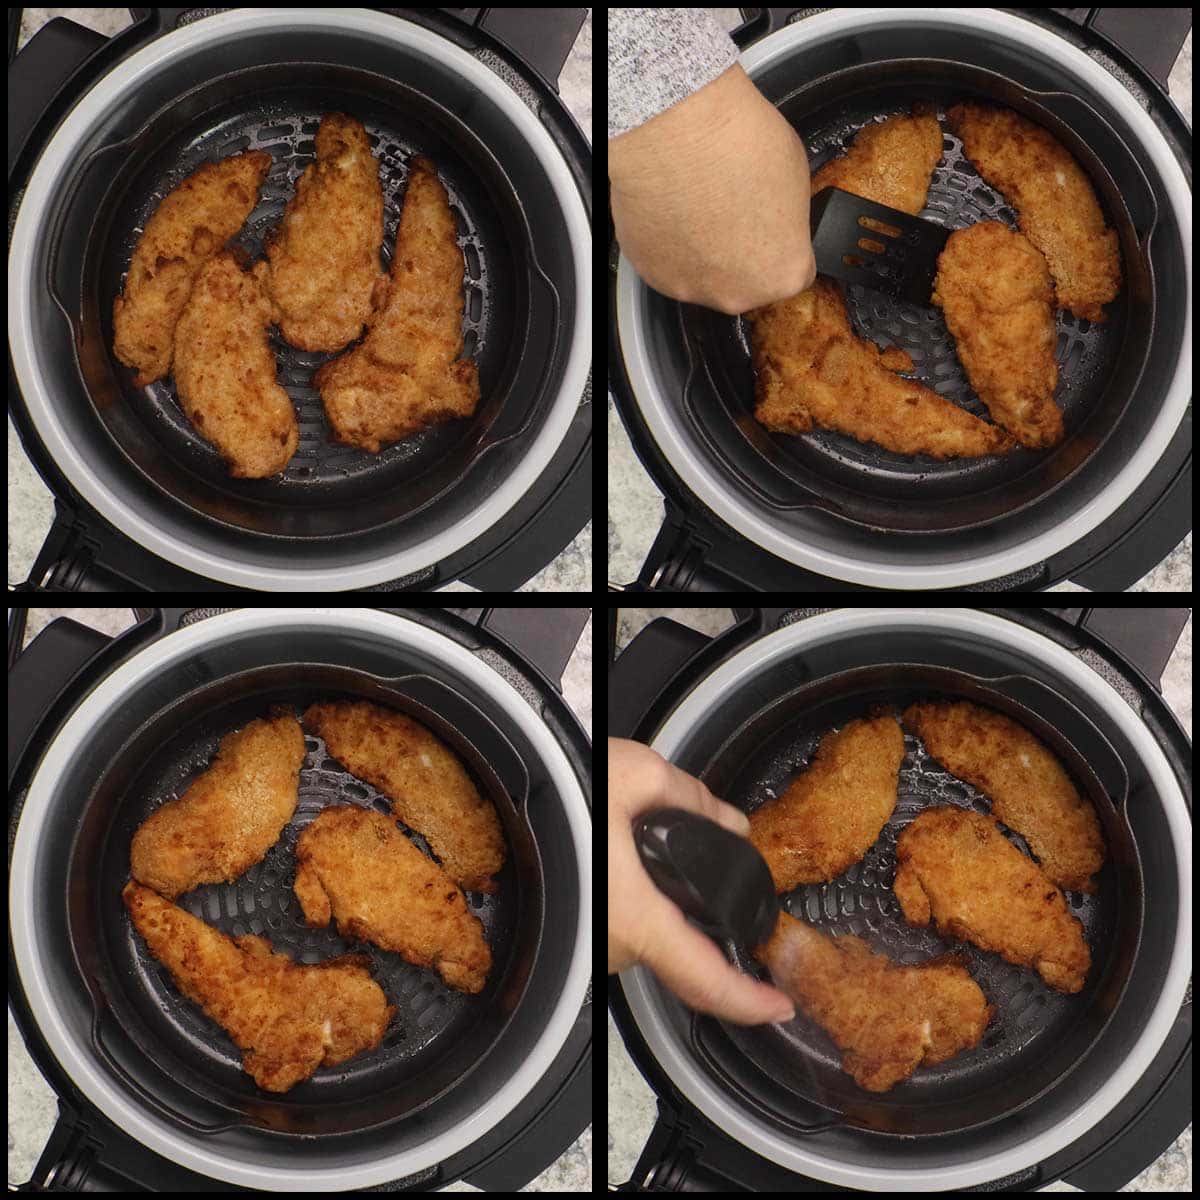
Spritz the tops of the chicken strips with oil and air crisp (air fry) on 375℉/190℃ for 10-12 minutes, flipping at about 6 minutes.
Leave the lid closed for the first 5-6 minutes of the air frying cycle and then gently flip the chicken tenders or chicken strips over. I don't like to use tongs at this stage because it is easy to gouge them and have the breading come off.
Instead, use a small turner or spatula to gently flip them over. They should be golden brown and almost done at this point. If you see any dry areas, which will look like lighter colored bread crumbs, give them a spritz with the oil.
Close the lid and continue air frying for another 2-4 minutes.
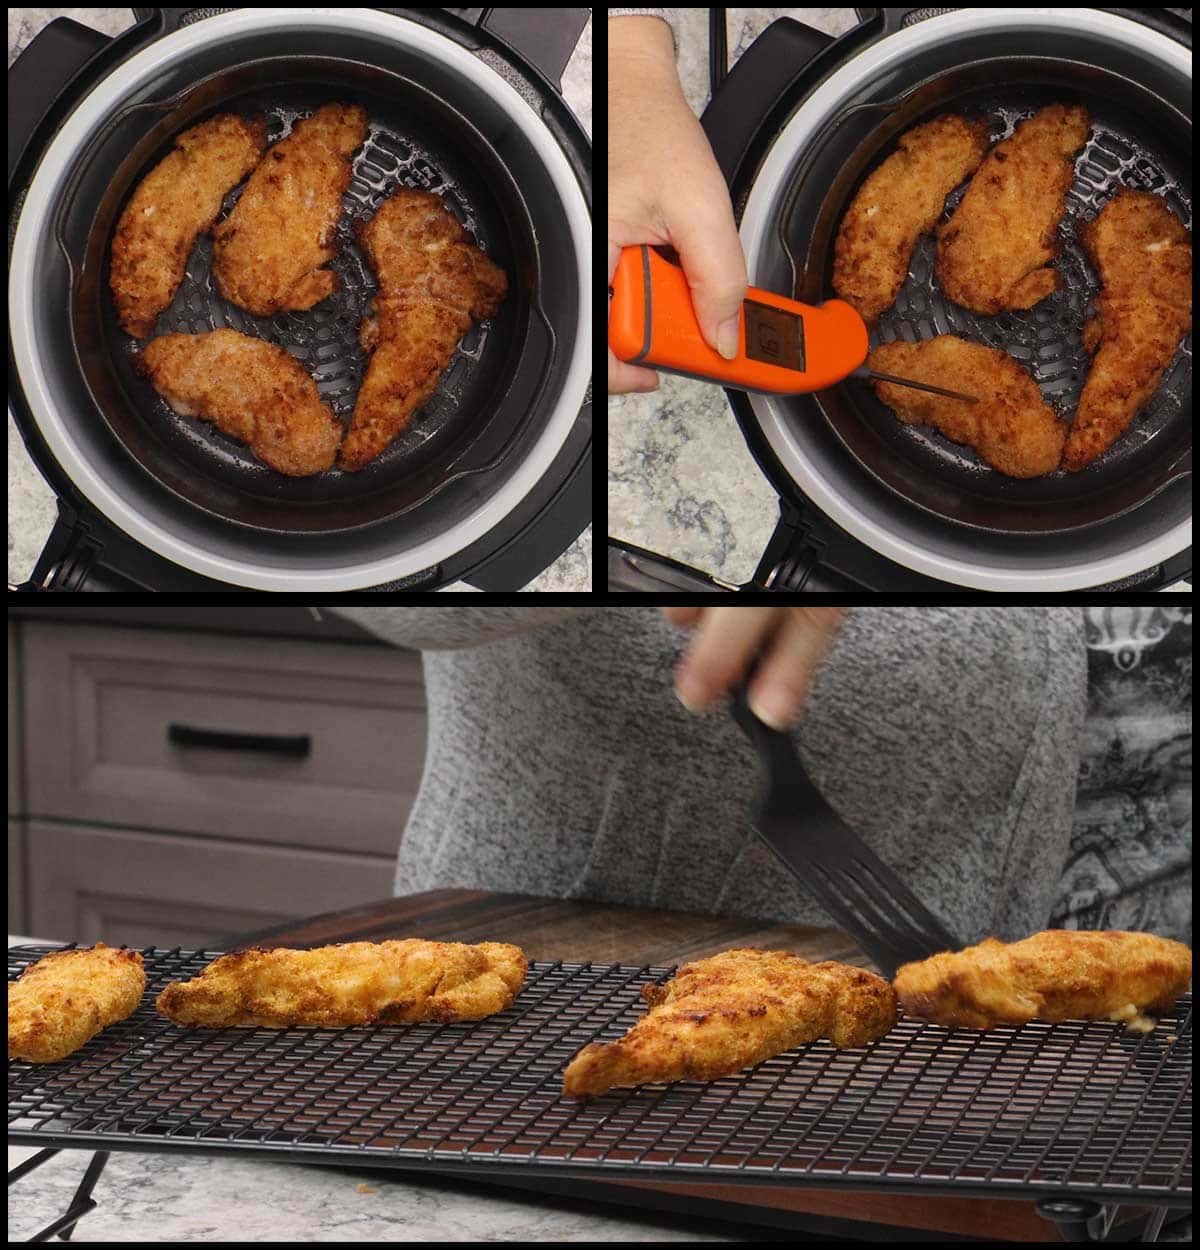
Between minute 8-10, I like to take a temperature of the chicken. Usually I go the whole 10 minutes to maximize the crunchiness of the chicken strip, but you may find that you like them at the 8 minute mark.
The internal temperature of the chicken strips should be at least 165℉/74℃, but don't be concerned if they are in the 180's ℉/80's ℃. The chicken will not be dry because it is breaded.
Remove the chicken strips and place them on a cooling rack for 3-5 minutes before serving. This allows air to circulate all around the chicken strip and allows the coating to set and become even crunchier.
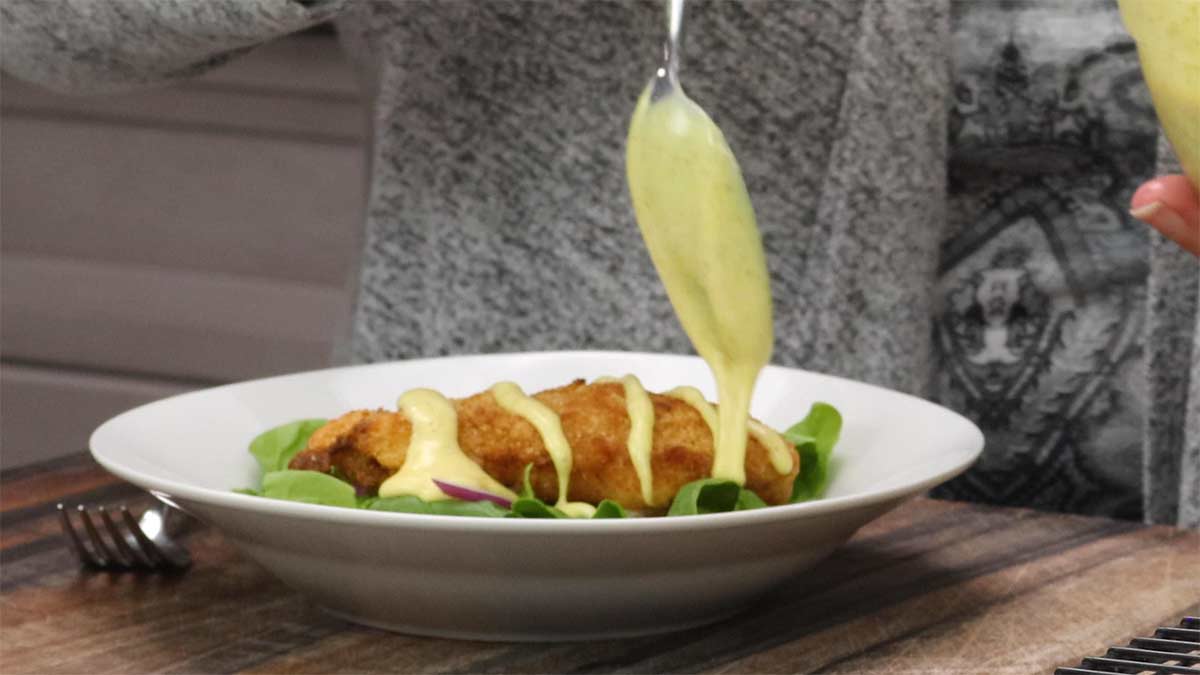
Serve with your favorite dipping sauce or throw one on top of your salad and drizzle with a delicious Homemade Honey Mustard Dressing!
Cooking Instructions for Different Air Fryers
I used the (affiliate link)Ninja Foodi Pressure Cooker & Air Crisper using the air crisp function, but you can also make them in the Ninja Foodi Indoor Grill, the Ninja single or dual air fryer, and in the Ninja Speedi or any brand of air fryer should work just fine. As with any air fryer recipe, the style of air fryer you have can change the temperature settings and/or the cook time.
Ninja Foodi Grill
I make these all the time in the indoor grill and you don't have to make any changes in the recipe. The temperature and cook time are the same.
Ninja Speedi
I made the chicken tenders once in the Speedi and had the rack in the low position. I found that the breading didn't get as crispy using the same temperature and time, so I would suggest either increasing the temperature to 400°F with the rack in the low position or put the rack in the high position if you have enough clearance for the chicken. If the rack is in the high position, you may need to lower the temp to 350°F.
Ninja Air Fryers and Basket Air Fryers
The basket style air fryers, especially the Ninja Foodi Dual Air Fryer, seem to cook the same as the Ninja Foodi Pressure Cooker & Air Crisper so I don't think you will have to make any changes in the recipe.
This could depend on the brand of air fryer you have, so keep an eye on the chicken tenders and increase or decrease the temperature and time according to how they are cooking.
Oven Air Fryers
Oven air fryers are my least favorite for air frying breaded food because I just don't find that they work as well as smaller air fryers. While you gain in the amount of food you can cook at once, you do give up some crispiness.
To maximize the crispiness in an oven-style air fryer, I recommend increasing the temperature to 400℉/200℃ and keeping an eye on the chicken as it browns. If you have the Ninja Flip Oven, you may want to start out at 375℉/190℃ and see if you need to increase the temp.
Freezing & Cooking Chicken Tenders from Frozen
Making a large batch of chicken tenders or chicken strips is a simple way to have delicious chicken tenders or strips on hand for quick and easy dinners or lunch.
The wet mixture in this recipe is usually enough for 3 pounds of chicken strips or chicken tenderloins, but you will need to double the dry mixture. While you can use a bag for the dry breading, I found that the chicken strips didn't get as evenly coated when I dumped a handful into the bag at once. So, I didn't find that the result was worth the time savings, but you can certainly do it that way if you prefer.
What I like to do when making a double or triple batch is use a 9x13 casserole dish for the dry breading mixture so I can bread more than one chicken tender at at a time. You can either put the wet mixture into a smaller container or even a plastic ziplock back and dip each one into the container with the wet mixture or drop them all into the ziplock bag and coat.
Once all of your chicken strips or tenders are breaded, lay them on parchment lined trays that will fit into your freezer. It's important that they are in a single layer so they don't get stuck together.
One thing I like to do before freezing my breaded chicken strips is to lightly coat them with oil. I do this by using an oil spritzer or quickly dipping them in oil. This serves two purposes: One, you don't have to spritz with oil before air frying from frozen. Two, the oil helps prevent ice crystals when frozen and they last longer in the freezer.
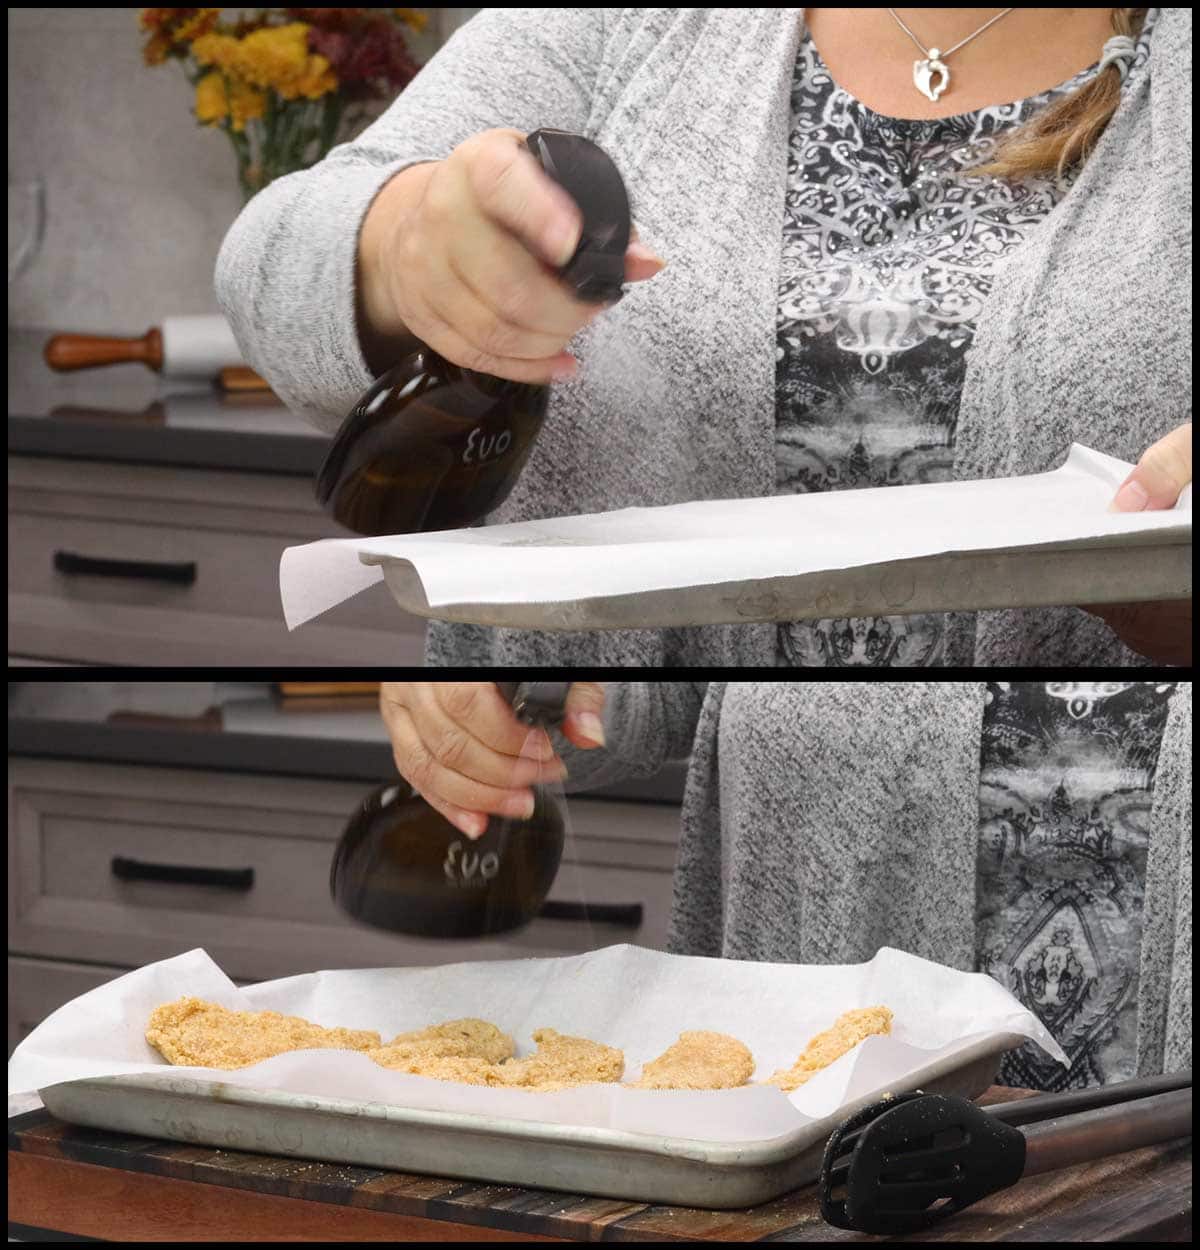
Freeze for several hours or overnight. Remove from the freezer and package them into a large zip lock freezer bag or another airtight container and freeze until use.
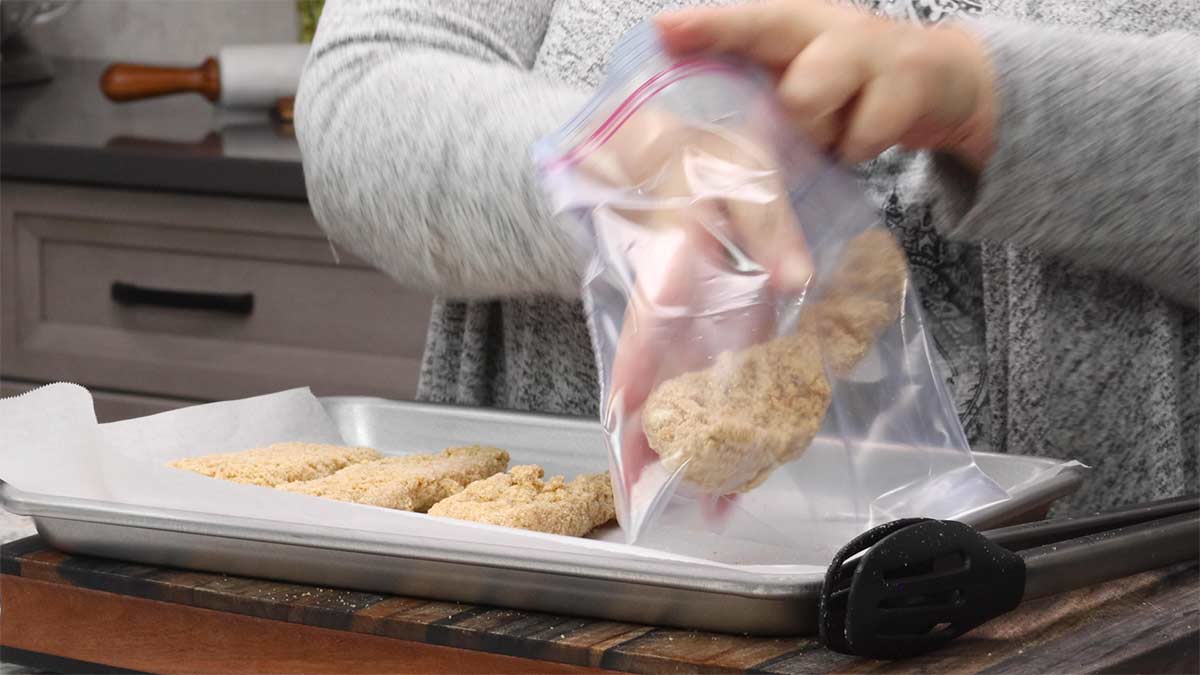
Cooking Chicken Strips from Frozen
Surprisingly enough, frozen chicken strips haven't taken much longer to cook than the thawed ones.
Preheat the air fryer on the hottest setting for a full 10 minutes. Lay the frozen chicken tenders or chicken strips into the air fryer basket or on the crisping plate. Air Fry on 375℉/190℃ for 10-12 minutes or until they are golden brown and the internal temperature reaches at least 165℉/74℃
Frequently Asked Questions
If you don't want to make your own chicken tenders, you can certainly use your air fryer to cook up the frozen ones!
The first thing to check is if the store-bought chicken tenders/strips contain raw chicken or fully cooked chicken. That will determine the cook time and the temperature. Most breaded and frozen chicken strips that I've seen contain breaded raw chicken and a temp of 375°F for 12-15 minutes works great. If the breaded chicken is fully cooked, you would want to increase your temperature to 400°F and cook for 5-7 minutes or until the chicken has thawed and the breading is crispy.
If you are on a low carb or keto diet and want to omit the flour and breadcrumbs, I would skip the wet batter and use crushed pork rinds for the coating.
You could also try using ground almonds or almond flour in place of the bread crumbs and this recipe for Air Fryer Parmesan Crusted Chicken would be a good one to follow for the breading and then use the temp and times in this recipe.
Ninja Foodi Air Fryer Recipes
If you like using your air fryer as much as I do, then check out these delicious recipes made right in the Ninja Foodi using the air crisp/ air fry function.
Air Fryer Chicken Strips
Equipment
- Ninja Foodi Pressure Cooker with TenderCrisp or any Air Fryer
Ingredients
- 1½ pounds chicken breasts (about 2 medium to large) or chicken tenders
- oil for spritzing about 2 teaspoons
Dry Breading
- 1 cup plain breadcrumbs
- 1 teaspoon fine grind sea salt
Wet Batter
- 1 large egg
- ½ cup cold water
- 2 Tablespoons Cholula or favorite hot sauce optional
- ¾ cup all purpose flour sifted
Would you like to save this recipe?
Instructions
Dry Breading
- Combine the breadcrumbs and salt into a shallow container for breading the chicken strips. If you want to add extra seasonings to the breading mix them in with the salt.
Wet Batter
- In a second shallow bowl or container, whisk the egg, water, and hot sauce until well combined.
- Add in about ¼ cup (34 grams) of the flour and fold it into the egg mixture with a fork. You don't want to whisk it, just gently fold it in. When you can no longer see any flour (you may see some lumps and that is fine), add in another ¼ cup (34 grams) of flour and repeat until the wet batter is the consistency of a pancake batter. You may have some leftover flour.
Preparing Chicken
- If you are using chicken tenders, skip this step since they are already prepared.
- Trim any connective tissue or fat from the chicken breast and flip it over so the underside is showing. There is a strip of meat on the underside that resembles a tenderloin (it's not though) and I like to cut that off as one of the chicken strips.
- Flip the chicken breast back over and slice into strips. You can make them any size you like, but I usually get 3-4 more strips (4-5 total) out of 1 large chicken breast. You can also cut the strips in half lengthwise if you want shorter chicken strips.
Preheat the Air Fryer
- You want to preheat the air fryer on the hottest setting for a full 10 minutes. On the Ninja Foodi Pressure Cooker & Air Crisper, this is the broil/grill setting which is 450℉/230℃. Make sure the air fryer basket or crisping plate is inside the appliance during the preheat time.
- If you are using a different air fryer, use the hottest setting on your appliance and let it run for 10 minutes.
Breading the Chicken Strips
- Dip a chicken strip into the wet batter and make sure it is full covered. Allow the excess to drip off and place the strip into the dry breading. Cover it with the bread crumbs and let it sit about 30 seconds while you coat another strip in the wet batter.
- Remove the strip coated with breadcrumbs and set on a plate or a cooling rack while you bread the remaining chicken strips.
Air Frying Chicken Tenders or Chicken Strips
- Spritz the air fryer basket or plate with oil and place the chicken strips in a single layer into the air fryer on the basket or plate. Spritz the tops with oil.
- Select the air crisp or air fry function and set the temperature to 375°F/190°C and air crisp for 5-6 minutes.
- Gently flip the chicken strips with a spatula or turner and continue air frying for another 5-6 minutes or until they are golden brown and the internal temperature is at least 165°F/ 74°C. Don't worry if they are reading higher than that, the chicken won't dry out because it's breaded. Mine are often in the 180's°F/80's°C and they are fine. The important thing is the breading is nice and crispy.
- Remove the strips and place on a cooling rack for 3-5 minutes. Repeat for any remaining chicken tenders or strips.
- Serve & Enjoy!
Notes
Freezing Chicken Strips
Place your breaded (uncooked) chicken strips in a single layer on a tray that has been lined with parchment paper and sprayed with oil. Spritz the tops of the chicken strips. Freeze for several hours or overnight. Place the frozen strips into a freezer bag or container and pull out as needed. *The oil helps prevent ice crystals and you do not need to oil again when cooking.Cooking Chicken Strips from Frozen
Preheat the air fryer on the hottest setting for a full 10 minutes. Lay the frozen chicken tenders or chicken strips into the air fryer basket or on the crisping plate. Air Fry on 375℉/190℃ for 10-12 minutes or until they are golden brown and the internal temperature reaches at least 165℉/74℃Nutrition
About the Recipe Author, Louise Long
Louise is a full-time recipe creator and food blogger @ The Salted Pepper. She has over 30 years of experience with cooking and recipe development. She owned a restaurant for several years and was a full-time RN until retiring to blog full-time.

She published her first cookbook in the Fall of 2018 and is very interested in writing several more.
Louise is also the creator of an online Ninja Foodi Pressure Cooking Course with over 100 instructional step-by-step videos. People absolutely rave about the course and all the value they have received from it.
Louise has several very active Facebook groups that help people with the basics of cooking and learning more about the appliances they love.
Ninja Foodi Pressure Cooker & Air Crisper 101
Ninja Woodfire Outdoor Grill & Smoker
Louise is also a YouTube creator and you can find most of her recipes in video format on The Salted Pepper YouTube channel.
She is very responsive to messages and eager to help in any way she can. Get more Information about Louise & contact information
I WOULD LOVE TO SEE WHAT YOU ARE COOKING UP IN YOUR KITCHEN! TAG ME @THESALTEDPEPPER ON YOUR FAVORITE SOCIAL MEDIA PLATFORM WHEN YOU MAKE A DISH!
BE SURE TO FOLLOW THE SALTED PEPPER RIGHT HERE ⇓⇓⇓⇓⇓


Katie Swihart says
Could this recipe be adapted for the Woodfire Grill using the airfry option? if so could the smoke be used? Thanks so much.
Louise says
You could definitely use the grill's air fry. function. As far as adding smoke, I'm not sure if it would affect the crunch of the breading and I think it could become overpowering fairly quickly. You could cold smoke the chicken strips before breading them to add a little smokiness to the chicken. Keep me posted if you try to add in smoke while air frying, it will be interesting to see the outcome!
Debera Owen says
I used pounded flat chicken breast. I doubled the panko crumb mixture. Added 1/2t of baking soda to the flour to the wet batter. Dipped in the crumbs, the batter, then the crumbs again. Used grapeseed oil spray and let them rest for a few minutes before frying in a preheated 400 degree fryer for 7 minutes each side.
They were incredible! Thank you, Louise!
Louise says
I'm so glad you enjoyed them!
Carrie Tabb says
Would layering be ok say using the crisper plate as well as the crisper basket?
Louise says
If you can layer in such a way that there is good airflow, you can layer them. However, in my experience, it's best if you switch the bottom layer to the top and the top to the bottom half way through and they might take a few minutes longer to cook and get crispy.
Patricia Bell says
Hi. This is a definite “must try” recipe! I’m trying to print it however the print recipe button is not working. Thanks.
Louise says
I'm not sure why that is happening, I just tested it out and it prints fine for me. Perhaps refreshing your browser will fix the problem. If not, let me know, email me at Louise@thesaltedpepper.com and I'll send you the PDF version in an email for you to print.
Bonnie says
Soo, I just made these,but I did make 1 change. I’m Keto, so I chose to mix pork rind crumbs in the we ingredients & the dry ingredients. Oh, & I used red hot drops. I thought they turned out great, especially for a 1st try! I will make them again, but make sure I don’t overcook! Thank you!
Louise says
I'm so glad you were able to make those changes and they worked out!