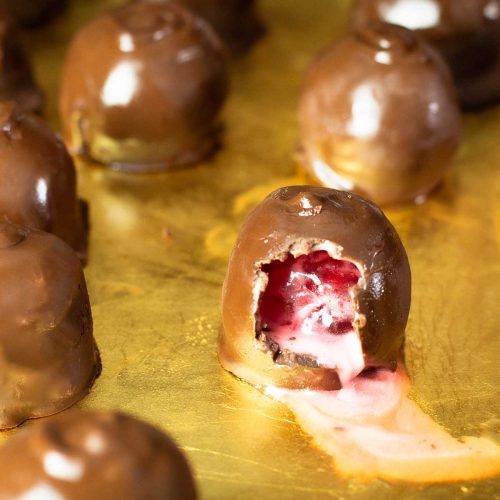
Whether you want to make chocolate covered caramels, cookies stuffed with chocolate, chocolate covered strawberries or a simple chocolate fondue, this is an easy way to the perfect dipping chocolate.
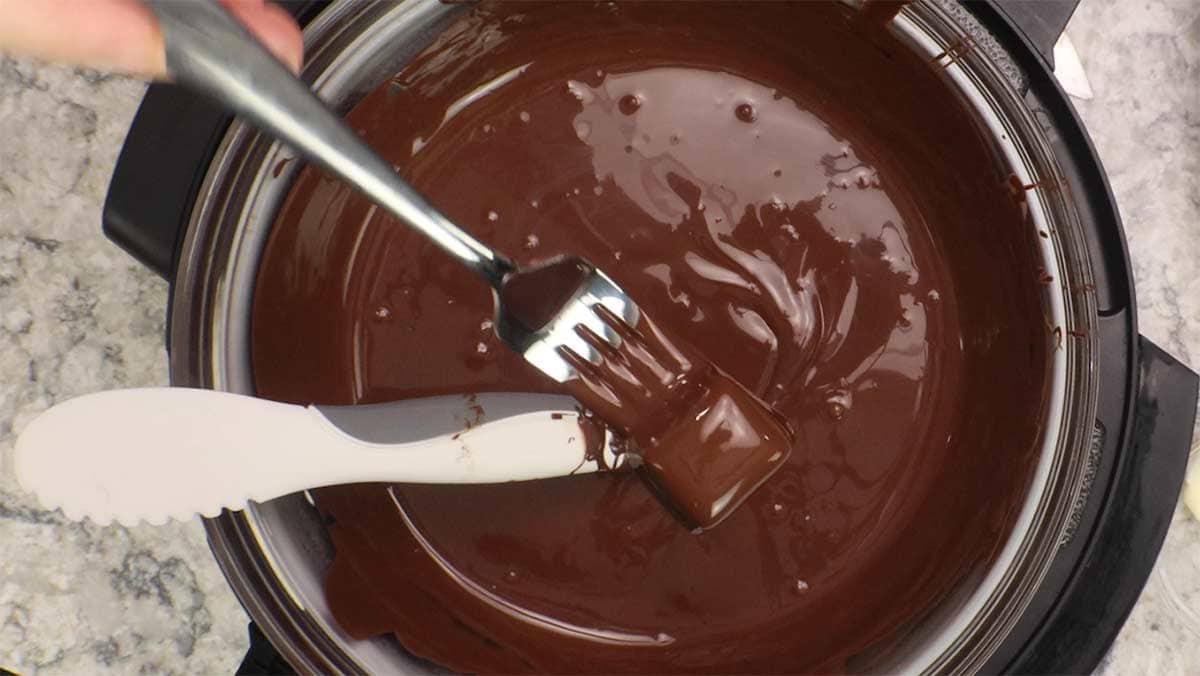
It's no secret that the best chocolate covered candies are made from good quality chocolate bars and couverture chocolate is the recommended type of chocolate since it contains more cocoa butter, making it easier to work with for a dipping chocolate.
There is only one problem... I never have good quality chocolate bars, much less couverture chocolate, lying around when I want to make candy. AND... tempering chocolate, while easy to do, often takes more time than I want to spend melting chocolate. So, I had to come up with a better way to have a melting chocolate that was easy to work with and tasted great. This recipe does just that and only requires 2 ingredients which can be found in most grocery stores!
This recipe for melting chocolate works great for dipping fresh fruit like chocolate-covered strawberries, filling cookies, dipping candy, using as a chocolate sauce, or a fondue type of melted chocolate that you dip anything you want in and enjoy a chocolatey indulgence.
Ingredients & Substitutions
I've tried many combinations of various forms of chocolate over the years to get a good chocolate flavor along with a nice dipping consistency and, although they all work fairly well, I have found that the combination of melting wafers and chocolate chips is the easiest, while still having a great chocolate flavor
Chocolate Chips
You can use any kind of chocolate chips or combination of chocolate chips that you want in this recipe, however, there are some that I highly recommend and some that I don't.
First off, get a decent brand of chocolate chips. Make sure they taste good to you and have a rich chocolate flavor.
My favorite are Ghirardelli Dark Chocolate Chips. They are 60% cacao and are the perfect sweetness for me. Especially when paired with the dark chocolate melting wafers, which are a little sweeter, in my opinion.
You can also use a bittersweet chocolate that is 72% cacao and a little less sweet. These chips would be great for dipping fresh fruit in when you want the sweetness of the fruit to be more intense than the chocolate.
Milk Chocolate or Semi Sweet Chocolate are also great choices if you aren't a fan of the darker chocolates.
While you can use chips like peanut butter or butterscotch, they aren't actual chocolate and don't melt as easily. You can melt them over a double boiler while stirring frequently, but you may have trouble getting that smooth consistency for dipping. If you want to use these types of chips, try adding in a little Crisco or even Coconut Oil. This will help get that smooth texture, but also will harden when cooled. Butter has water in it, so I don't recommend using that.
White chocolate is another type of chip that can be challenging to work with when using for melting chocolate. Since white chocolate isn't actually chocolate either, it doesn't have the same properties. What I find the best practice is to skip the chips and use all melting wafers. Make sure to get a good quality, Ghirardelli White Melting Wafers is what I always use and I think they taste better than white chocolate chips.
If you have done any research about melting chocolate, you probably have heard that chocolate chips are made with less cocoa butter than other forms of chocolate so they hold their shape in cookies and other baked goods, like Congo Bars.
While this is true, I have found that you can use them for dipping chocolate as long as you add in something else.
My go-to used to be semisweet chocolate chips or dark chocolate chips combined with a little Crisco and this does work, but I found it a little finicky and, if the chocolate overheated it would thicken and, if too much Crisco was used, it would not taste the same as straight chocolate.
Coconut Oil can also be used, but it does impart a coconut flavor to the chocolate. My mom used to add paraffin wax, which is completely safe, but let's face it, slightly off putting to think of wax in your chocolate.
What I do now is combine the chocolate chips with chocolate melting wafers and it works perfectly.
Melting Wafers
There are a few important things to know when using this combination of chocolate chips and melting wafers for a dipping chocolate. Quality does matter, so don't grab the dollar store brand of melting wafers. Instead I recommend using a brand like Ghirardelli for both the chips and the melting wafers, but especially the melting wafers. I've tasted quite a few different brands of melting wafers and Ghirardelli are the best I've found.
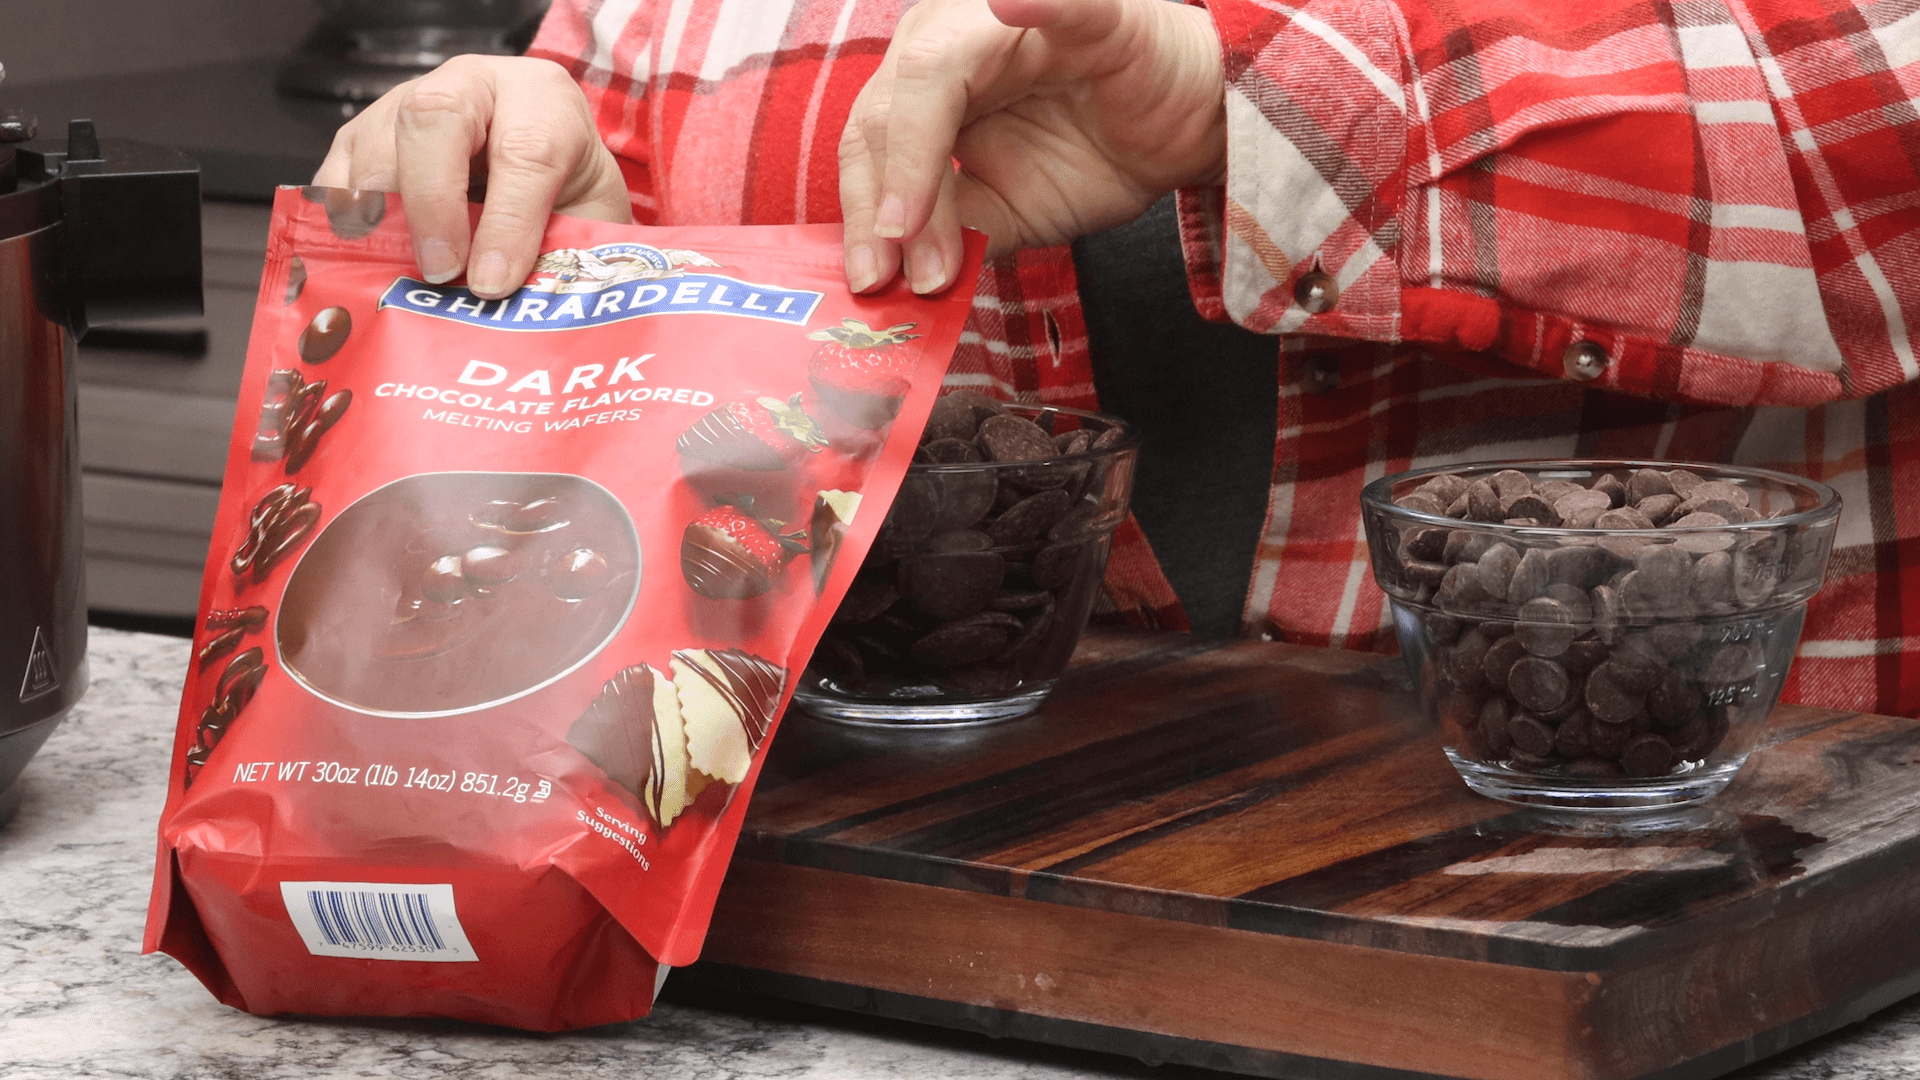
Pick the flavor of melting wafer based on the flavor of chocolate you are using. Although you can certainly mix and match by using bittersweet chocolate and dark chocolate melting wafers, I usually stick to the same flavors.
In this easy recipe for dipping chocolate, I use dark Ghirardelli chocolate chips and Ghirardelli dark melting wafers. They also come in milk chocolate flavor, so if you prefer a sweeter chocolate those would be great if you are using semi sweet chips or milk chocolate chips.
Tips for Making Dipping Chocolate
- Avoid Moisture
Avoid any drops of moisture. Chocolate and water do not get along and even the slightest bit of water or water-based ingredient will cause the chocolate to seize up and form a hard ball that is difficult to work with and definitely not good for dipping anything in.
- Use Indirect Low Heat
Many people love to melt their chocolate in a microwave and if that works for you, it's perfectly fine. What I find is that it works 50% of the time and the other 50% of the time I overheat it and it becomes a chalky mess or just tastes burnt.
I prefer using a double boiler for consistent results each and every time, but if you want to use the microwave, make sure to set it to a low power to avoid overheating the chocolate.
- Use Oil-Based Flavorings
There is nothing easier than making flavored chocolate bark for that special occasion when you want a beautiful, yet simple dessert. One of my favorites around Christmas is peppermint bark made with dark chocolate, white chocolate flavored with peppermint and topped with candy canes. Dark chocolate almond bark is another great combination.
Flavoring the chocolate itself really boosts the entire eating experience, but you can't simply use flavored extracts, like peppermint extract, or even baking emulsions because they are alcohol and water based and will cause your chocolate to seize up.
Instead, use baking oils that come in many different flavors. I use (affiliate link)L'oran oils for all my flavored candies.
How to Create a Double Boiler for Melting Chocolate with a Ninja Foodi or Instant Pot
The best way to melt chocolate is over indirect heat, like when you use a double boiler. High heat and chocolate don't get along and it is very easy to burn chocolate, so make sure the bowl with the chocolate in it is at least 2-3" away from the simmering water below.
If you have an electric pressure cooker like the Ninja Foodi or Instant Pot, you can use your appliance as a double boiler that is perfect for making dipping chocolate. One of the best things is that you can hold the chocolate at the perfect temperature for hours and hours without having to fuss with anything.
First add about 6 cups of water to the inner pot and turn on the sear/sauté on high. Grab a mixing bowl that is glass or metal that fits into the inner pot, but rests on the rim and set it on top. If you have a smaller mixing bowl, you can set it on a rack about the water level and use foil to close in the sides.
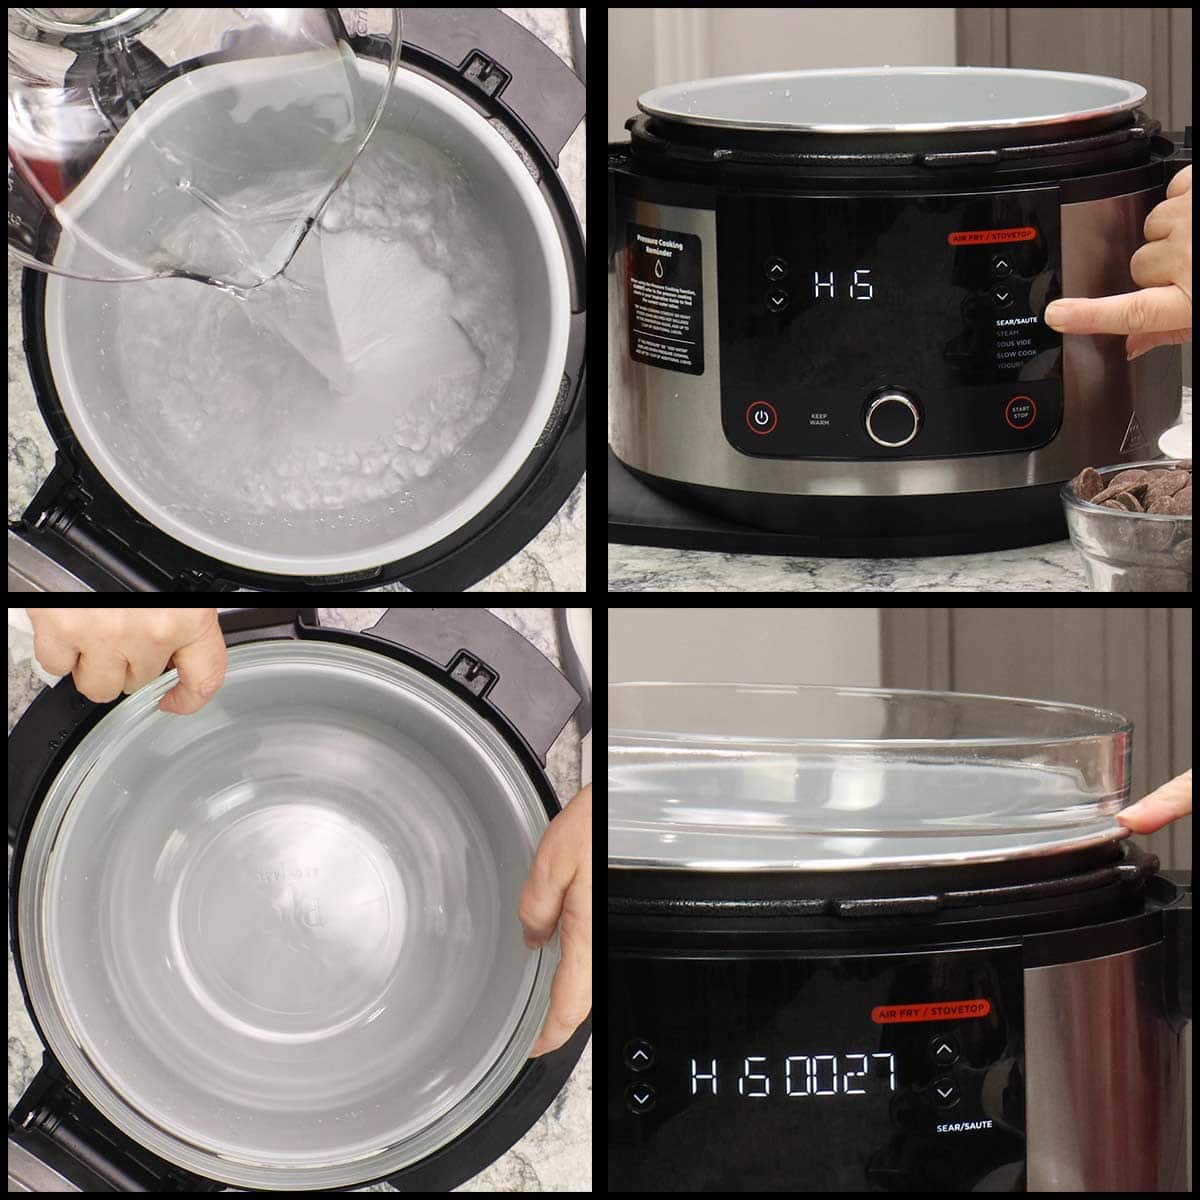
Place chocolate chips and the melting wafers into the bowl. Once you start to see steam, turn off the sear/sauté function and switch to the slow cooker function on low. On the Ninja Foodi Pressure Cooker and Air Crisper you will only be able to set the time to 6 hours, but there is a workaround. Once you hit start, use your time down button and reduce the time to 15 minutes.
Stir mixture occasionally to evenly melt chocolate chips and chocolate wafers. I like to use a silicone or rubber spatula or my (affiliate link)scoop 'n spread from Pampered Chef also works great!
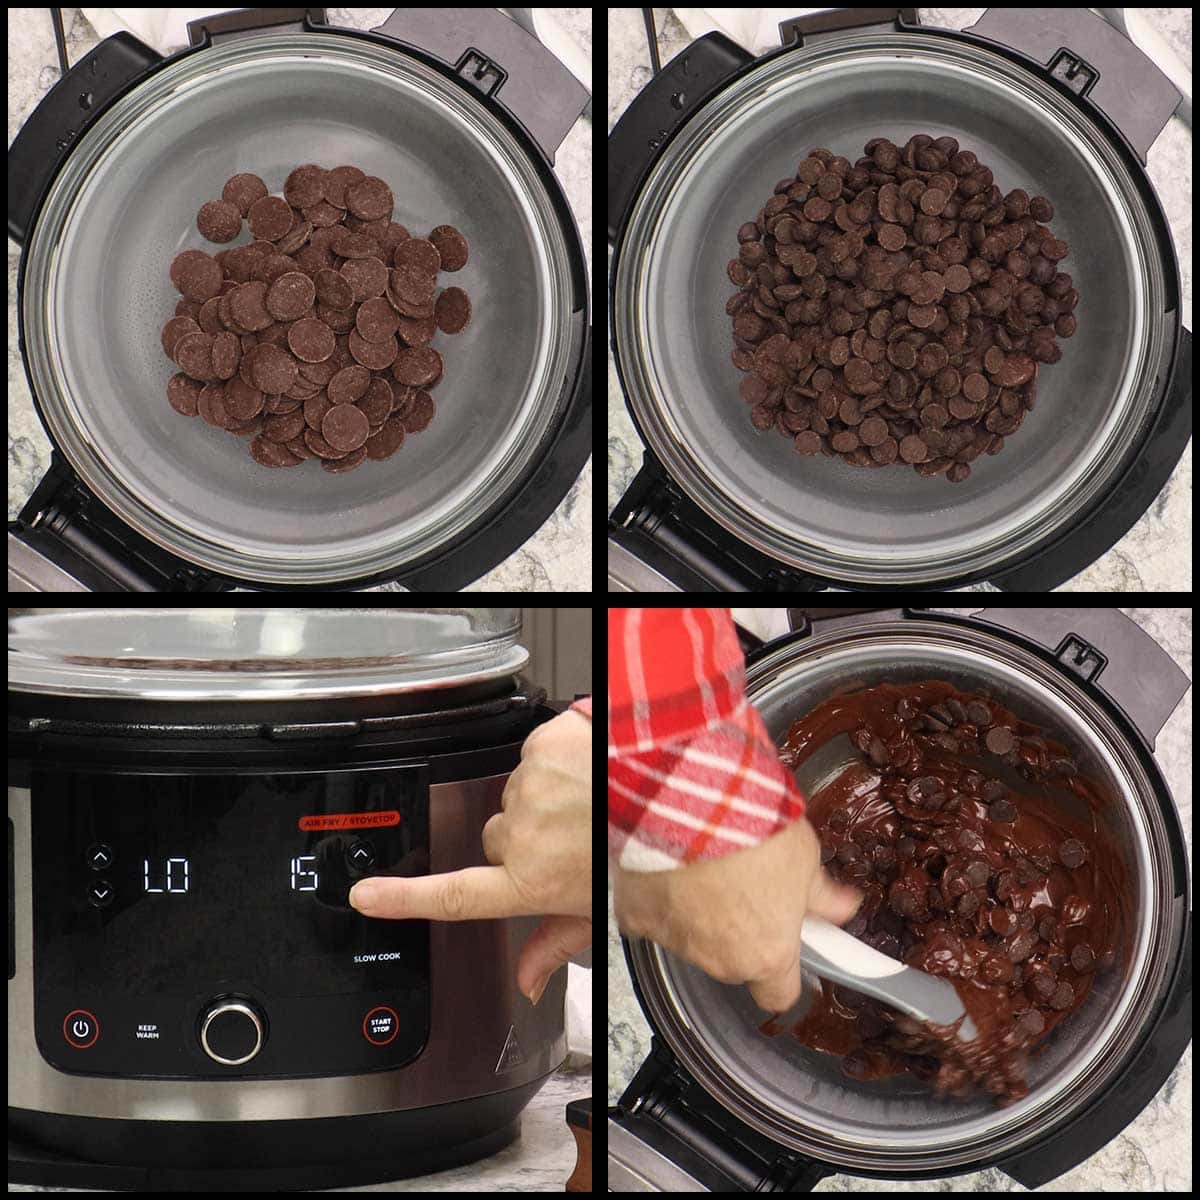
Usually the chocolate is done melting in about 10 minutes. Once the 15 minutes is up, slow cook will revert to the Keep Warm setting and that is the setting you want to hold your dipping chocolate at the correct temperature.
If you aren't in a hurry and your Ninja Foodi or Instant Pot has the ability to go right to the keep warm function, you can absolutely do that and skip the slow cook time. On the OL series with smart lid and a few other Ninja Foodi models, you can also use the buffet function. This function is found by hitting the slow cook function's temperature buttons (or dial) down past the "Lo" setting to where the word, "buffet" displays across the screen.
Stir occasionally as the chocolate melts and once melted it's time to dip all your treats! This chocolate will harden as it sits, so if you wanted to turn your chocolate into a sauce that doesn't harden, whisk in about ½ of a cup of cream and that should keep it from hardening.
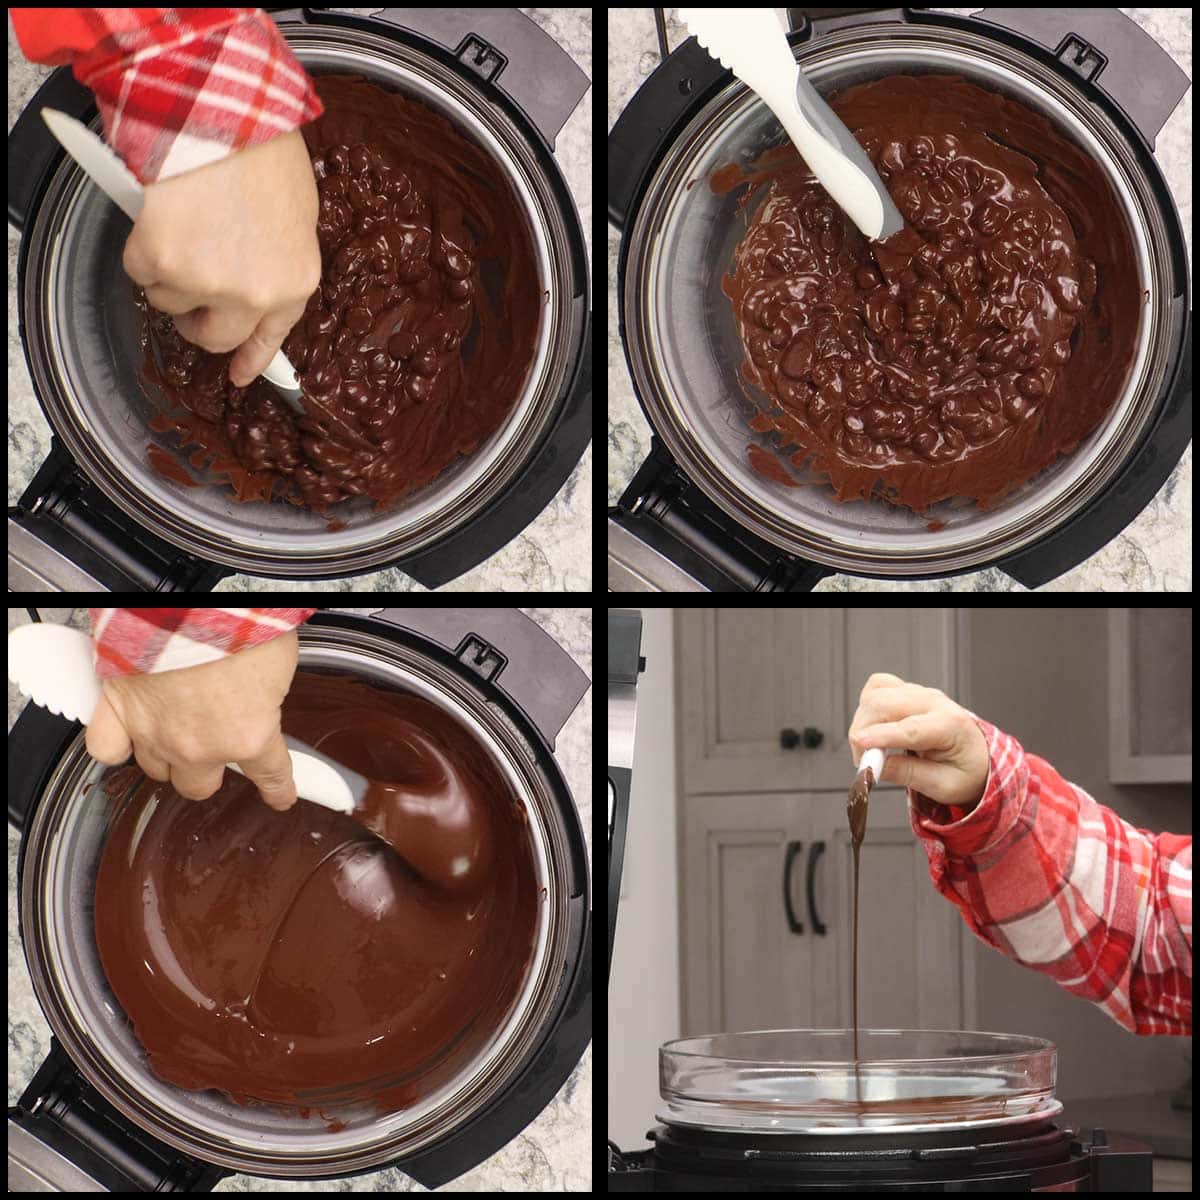
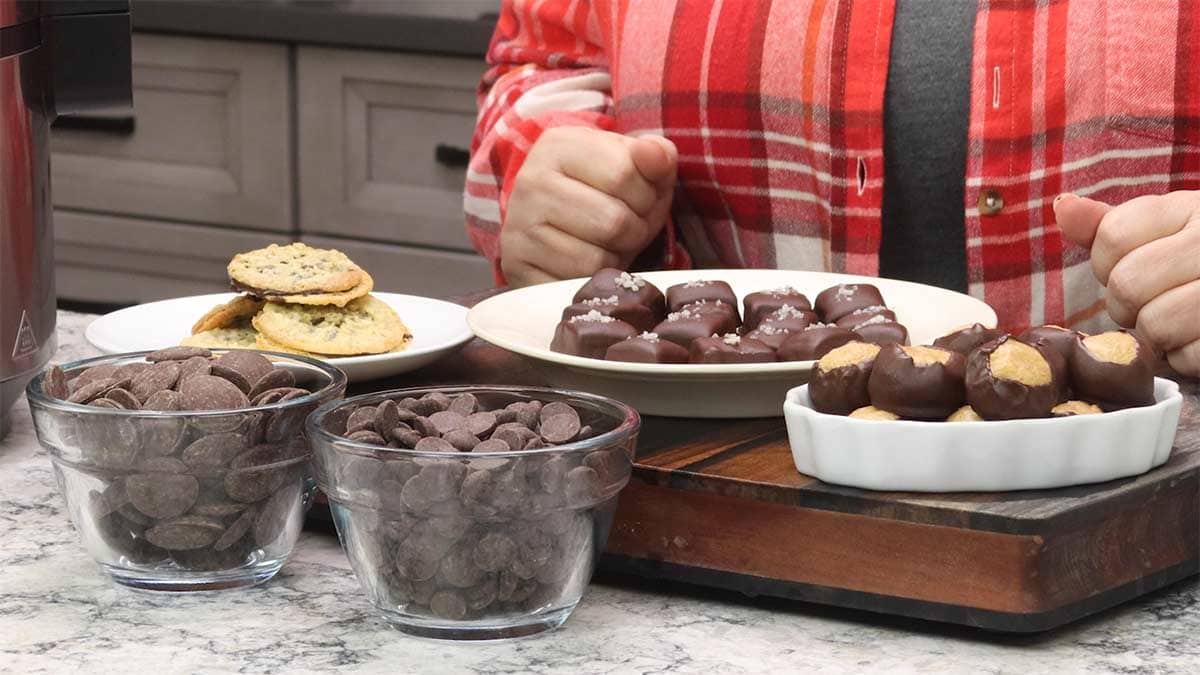
So, now that your chocolate is melted and you have a smooth chocolate dipping sauce, get to dipping! This chocolate is also wonderful for using in molds for different shaped chocolate or for pouring over ice cream.
Frequently Asked Questions
Since chocolate doesn't like extreme temperature changes, the best way to store it is in an airtight container at room temperature. Just remember it will harden in the shape of the container you use and that may make it hard to remove from the container.
I recommend using a microwave safe container so you can pop it into the microwave on 50% power for 30 seconds at a time until it softens enough to be removed from the container or is melting consistency if you want to use the chocolate right from the container.
You can make as much or as little dipping chocolate as you think you will need for the recipe. Just remember that you want the depth of the melted chocolate to be enough to fully submerge your candy into for an even coating of chocolate.
Absolutely! If you want to store the chocolate right in the bowl you used to melt it in, let it cool and harden completely before covering with plastic wrap. If you want to transfer it to a smaller container, make sure it has completely cooled before covering. The slightest drops of condensation can cause your chocolate to change color, which is called bloom.
Recipes that use Dipping Chocolate
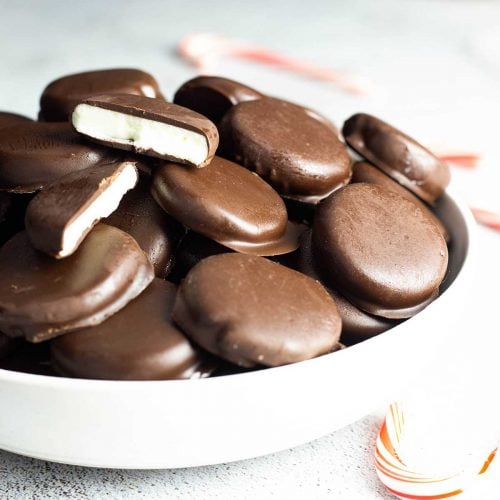
This dipping chocolate is perfect for coating fruit, candy, filling cookies, or putting on ice cream. Here are some of the recipes where I use dipping chocolate.
Easy Dipping Chocolate Recipe
Equipment
- Ninja Foodi Pressure Cooker, Instant Pot, or Double Boiler
Ingredients
Instructions
Ninja Foodi or Instant Pot Directions
- Place 6 cups of water into the inner pot and turn on sear/sauté on high to begin heating the water.
- Place a glass or metal bowl over the top of the inner pot so it fits into the pot, but is elevated 2-3" above the water line.
- Add the melting wafers and the chocolate chips to the bowl. Once you start to see steam, switch the function to slow cook on low and reduce the time to 15 minutes (see notes below).
- Stir chocolate occasionally until it has all melted into a smooth dipping sauce. Once the time runs out on the slow cooker function, it will revert to keep warm and you can hold your chocolate for hours and hours.
- Dip your candy and treats into the chocolate and Enjoy!
Double Boiler Instructions
- In a large pot, bring 6 cups of water to a simmer. Place the double boiler on top and add the chocolate chips and melting wafers.
- Make sure the water does not touch the bottom of the bowl. Stir occasionally until the chocolate has melted and is nice and smooth. Reduce the heat to the lowest setting to keep the water barely simmering. Add more water as needed.
- Dip all your favorite treats in the silky smooth chocolate!
Notes
- Select the Slow Cook function on low. The time will default to 6 hours. Hit start.
- Once you hit start, manually reduce the time using the arrows or the dial until 00:15 appears on the screen.
- This will keep the slow cook on low for 15 minutes and then revert to keep warm which is a nice holding temperature for dipping chocolate.
Nutrition
ABOUT THE RECIPE AUTHOR, LOUISE LONG
Louise is a full-time recipe creator and food blogger @ The Salted Pepper. She has over 30 years of experience with cooking and recipe development. She owned a restaurant for several years and was a full-time RN until retiring to blog full-time.

She published her first cookbook in the Fall of 2018 and is very interested in writing several more.
Louise is also the creator of an online Ninja Foodi Pressure Cooking Course with over 100 instructional step-by-step videos. People absolutely rave about the course and all the value they have received from it.
Louise has several very active Facebook groups that help people with the basics of cooking and getting the most out of the Ninja Foodi.
Louise is also a YouTube creator and you can find most of her recipes in video format on The Salted Pepper YouTube channel.
She is very responsive to messages and eager to help in any way she can. Get more Information about Louise & contact information
I WOULD LOVE TO SEE WHAT YOU ARE COOKING UP IN YOUR KITCHEN! TAG ME @THESALTEDPEPPER ON YOUR FAVORITE SOCIAL MEDIA PLATFORM WHEN YOU MAKE A DISH!
BE SURE TO FOLLOW THE SALTED PEPPER RIGHT HERE ⇓⇓⇓⇓⇓



Cindy Fillpot
Thank you so much for getting the shine back on my dipped treats. I use Ghiradelli melting wafers. My dipped treats have always had a shine but this year they were dull when dried. I always used a melting pot with no problem. I tried you method with my Instant Pot and voila I had a shine on my treats again…even using the same wafers I had left over.
I’m as much about the look of the treat as the taste….eyes do affect the taste 😊. Thank you!!
Louise
I'm so glad it worked for you!